How to use SF Symbols in Swift
A step by step guide on the basics behind using SF symbols in Swift.

A step by step guide on the basics behind using SF symbols in Swift.
SubscribeDownload open source projectWhat are SF Symbols ?
"With over 5,000 symbols, SF Symbols is a library of iconography designed to integrate seamlessly with San Francisco, the system font for Apple platforms. Symbols come in nine weights and three scales, and automatically align with text. They can be exported and edited using vector graphics editing tools to create custom symbols with shared design characteristics and accessibility features. SF Symbols 5 introduces a collection of expressive animations, over 700 new symbols, and enhanced tools for custom symbols."
Resources
We recommend checking out the two WWDC videos on SF Symbols linked below to get an introduction into SF Symbols and to see what the latest updates are
Tutorial
We recommend that you clone our Open Source Swift Starter Project, checking out the main branch and carrying out the steps below. The changes can be found on the tutorial/sf-symbols/basics branch.
git clone git@github.com:delasign/swift-starter-project.gitStep One: Download SF Symbols
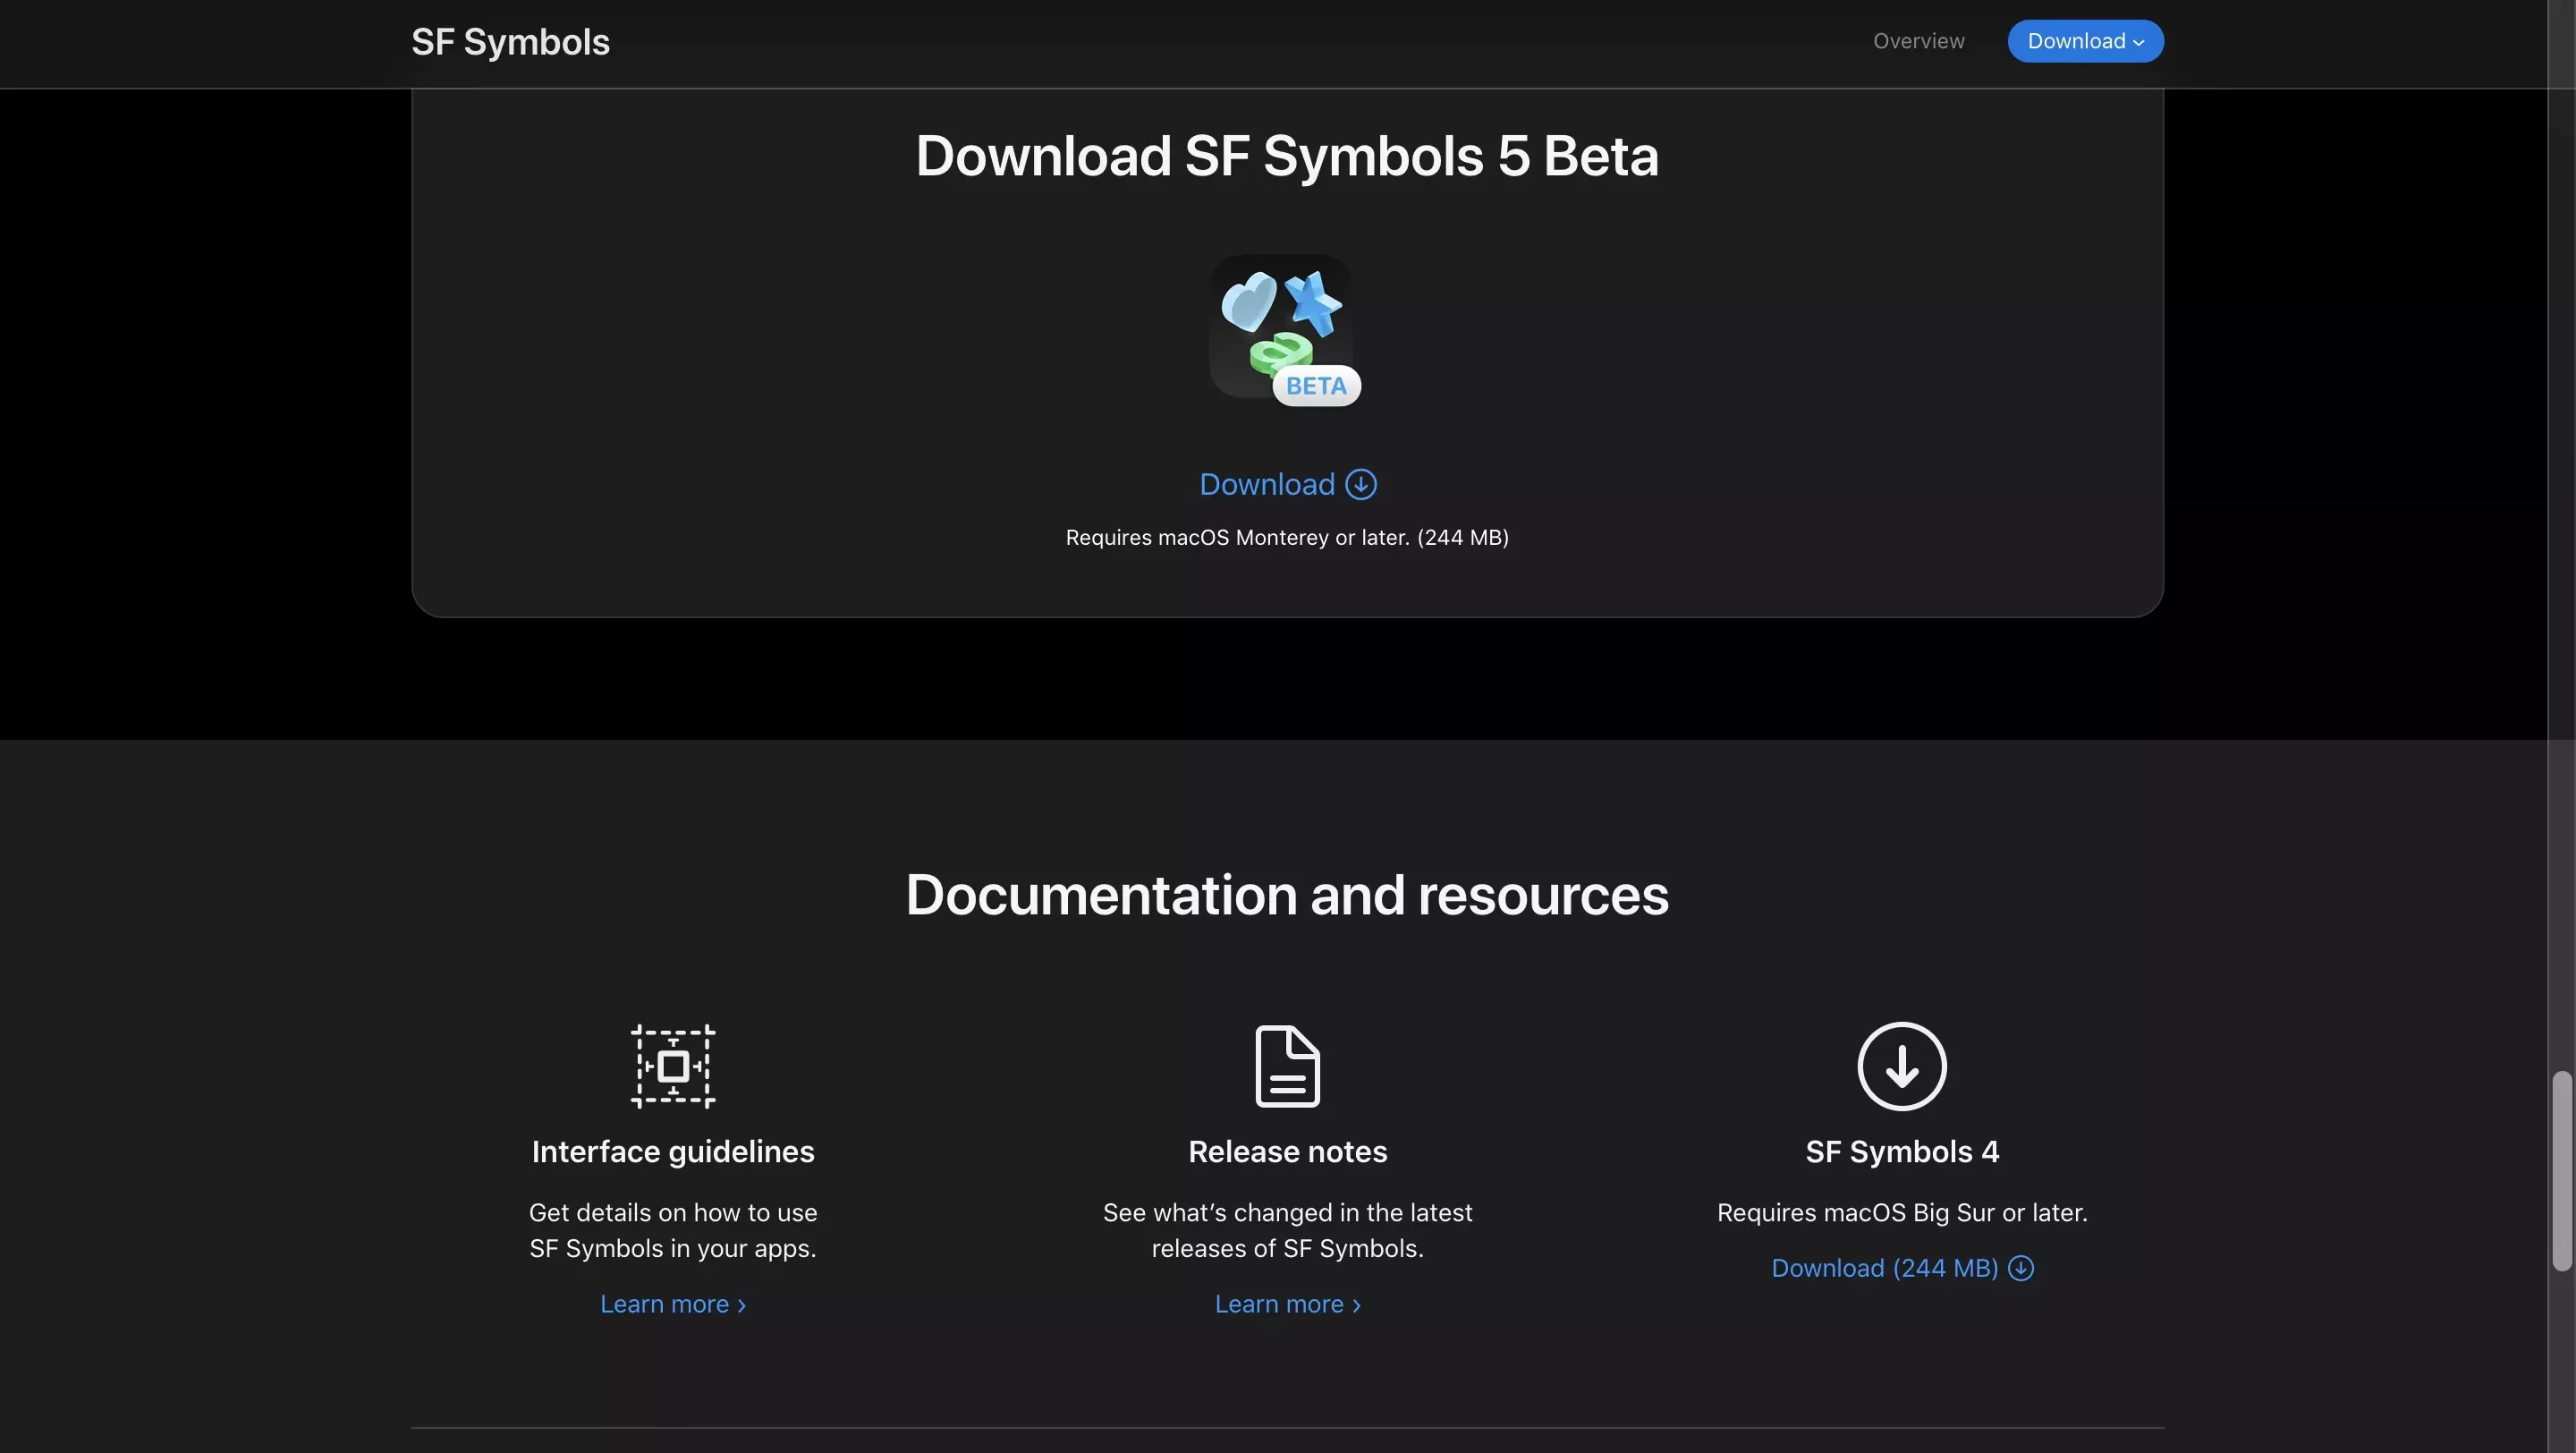
Download SF Symbols using the link below.
Step Two: Find the Symbol
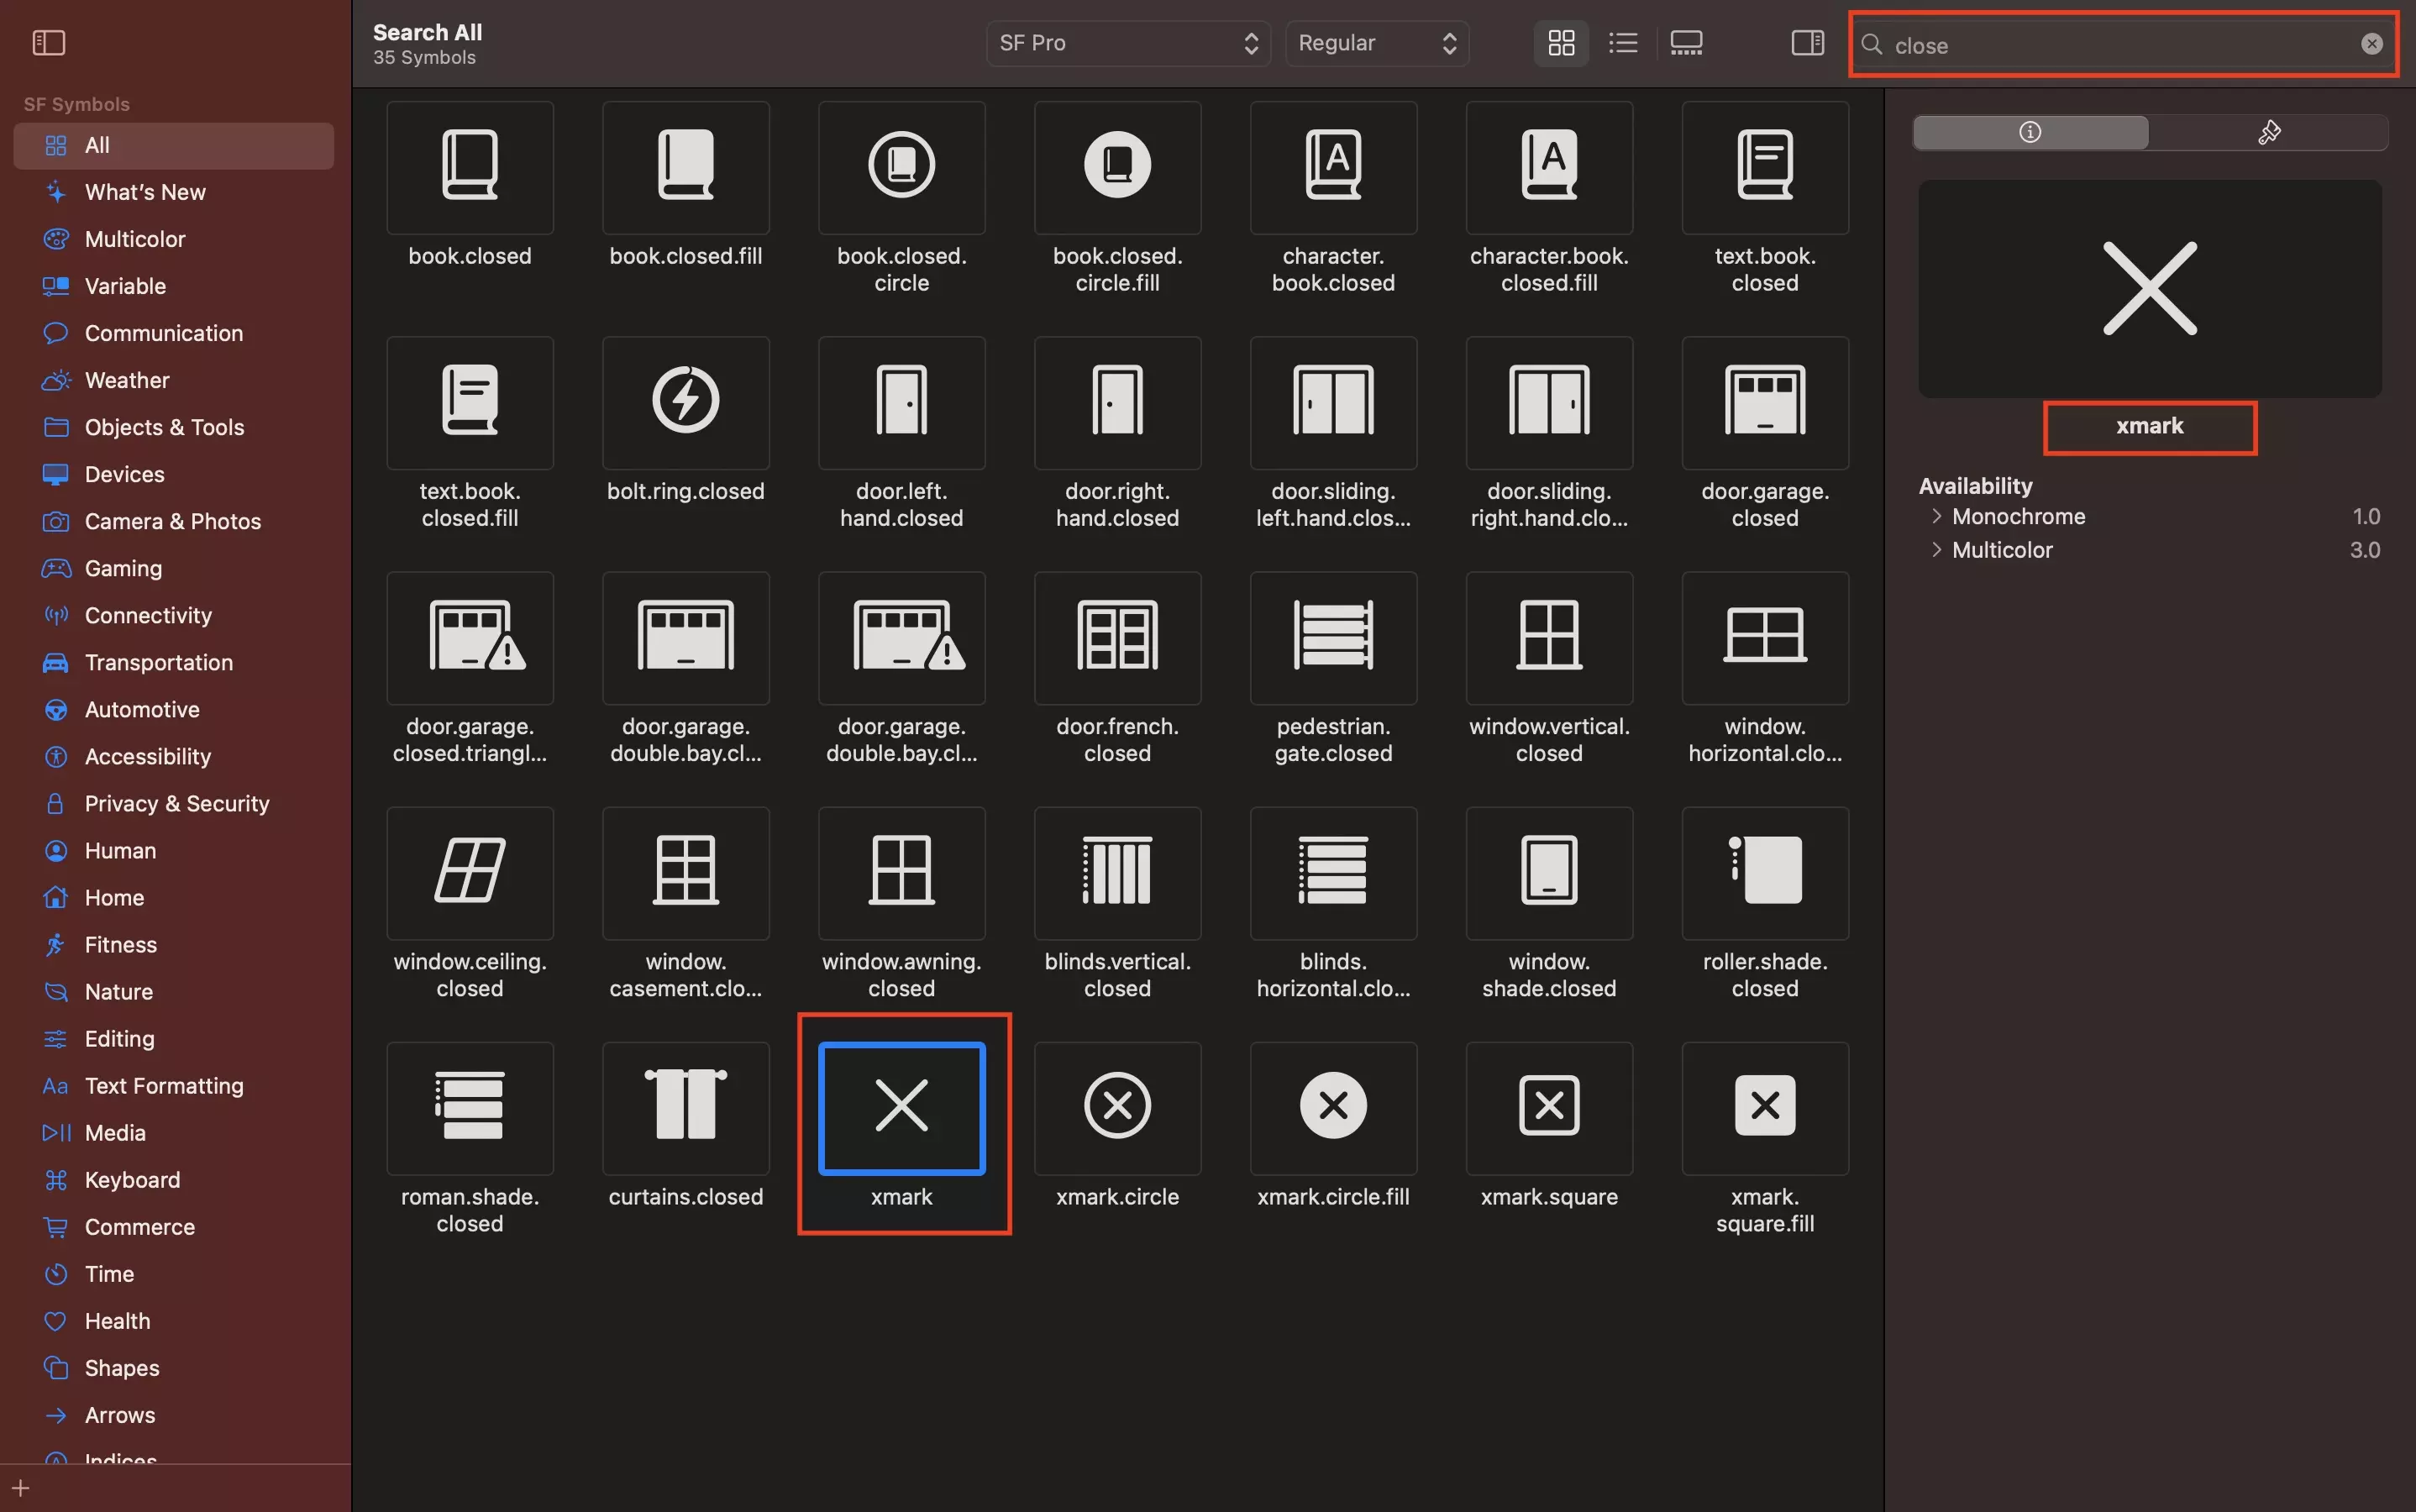
Using SF Symbols, search for the symbol and take a note of its name (i.e. xmark or book.closed.circle.fill).
To learn more about the naming conventions, consult the WWDC episodes linked in the resources section.
Step Three: Create an SF Symbols Reference File
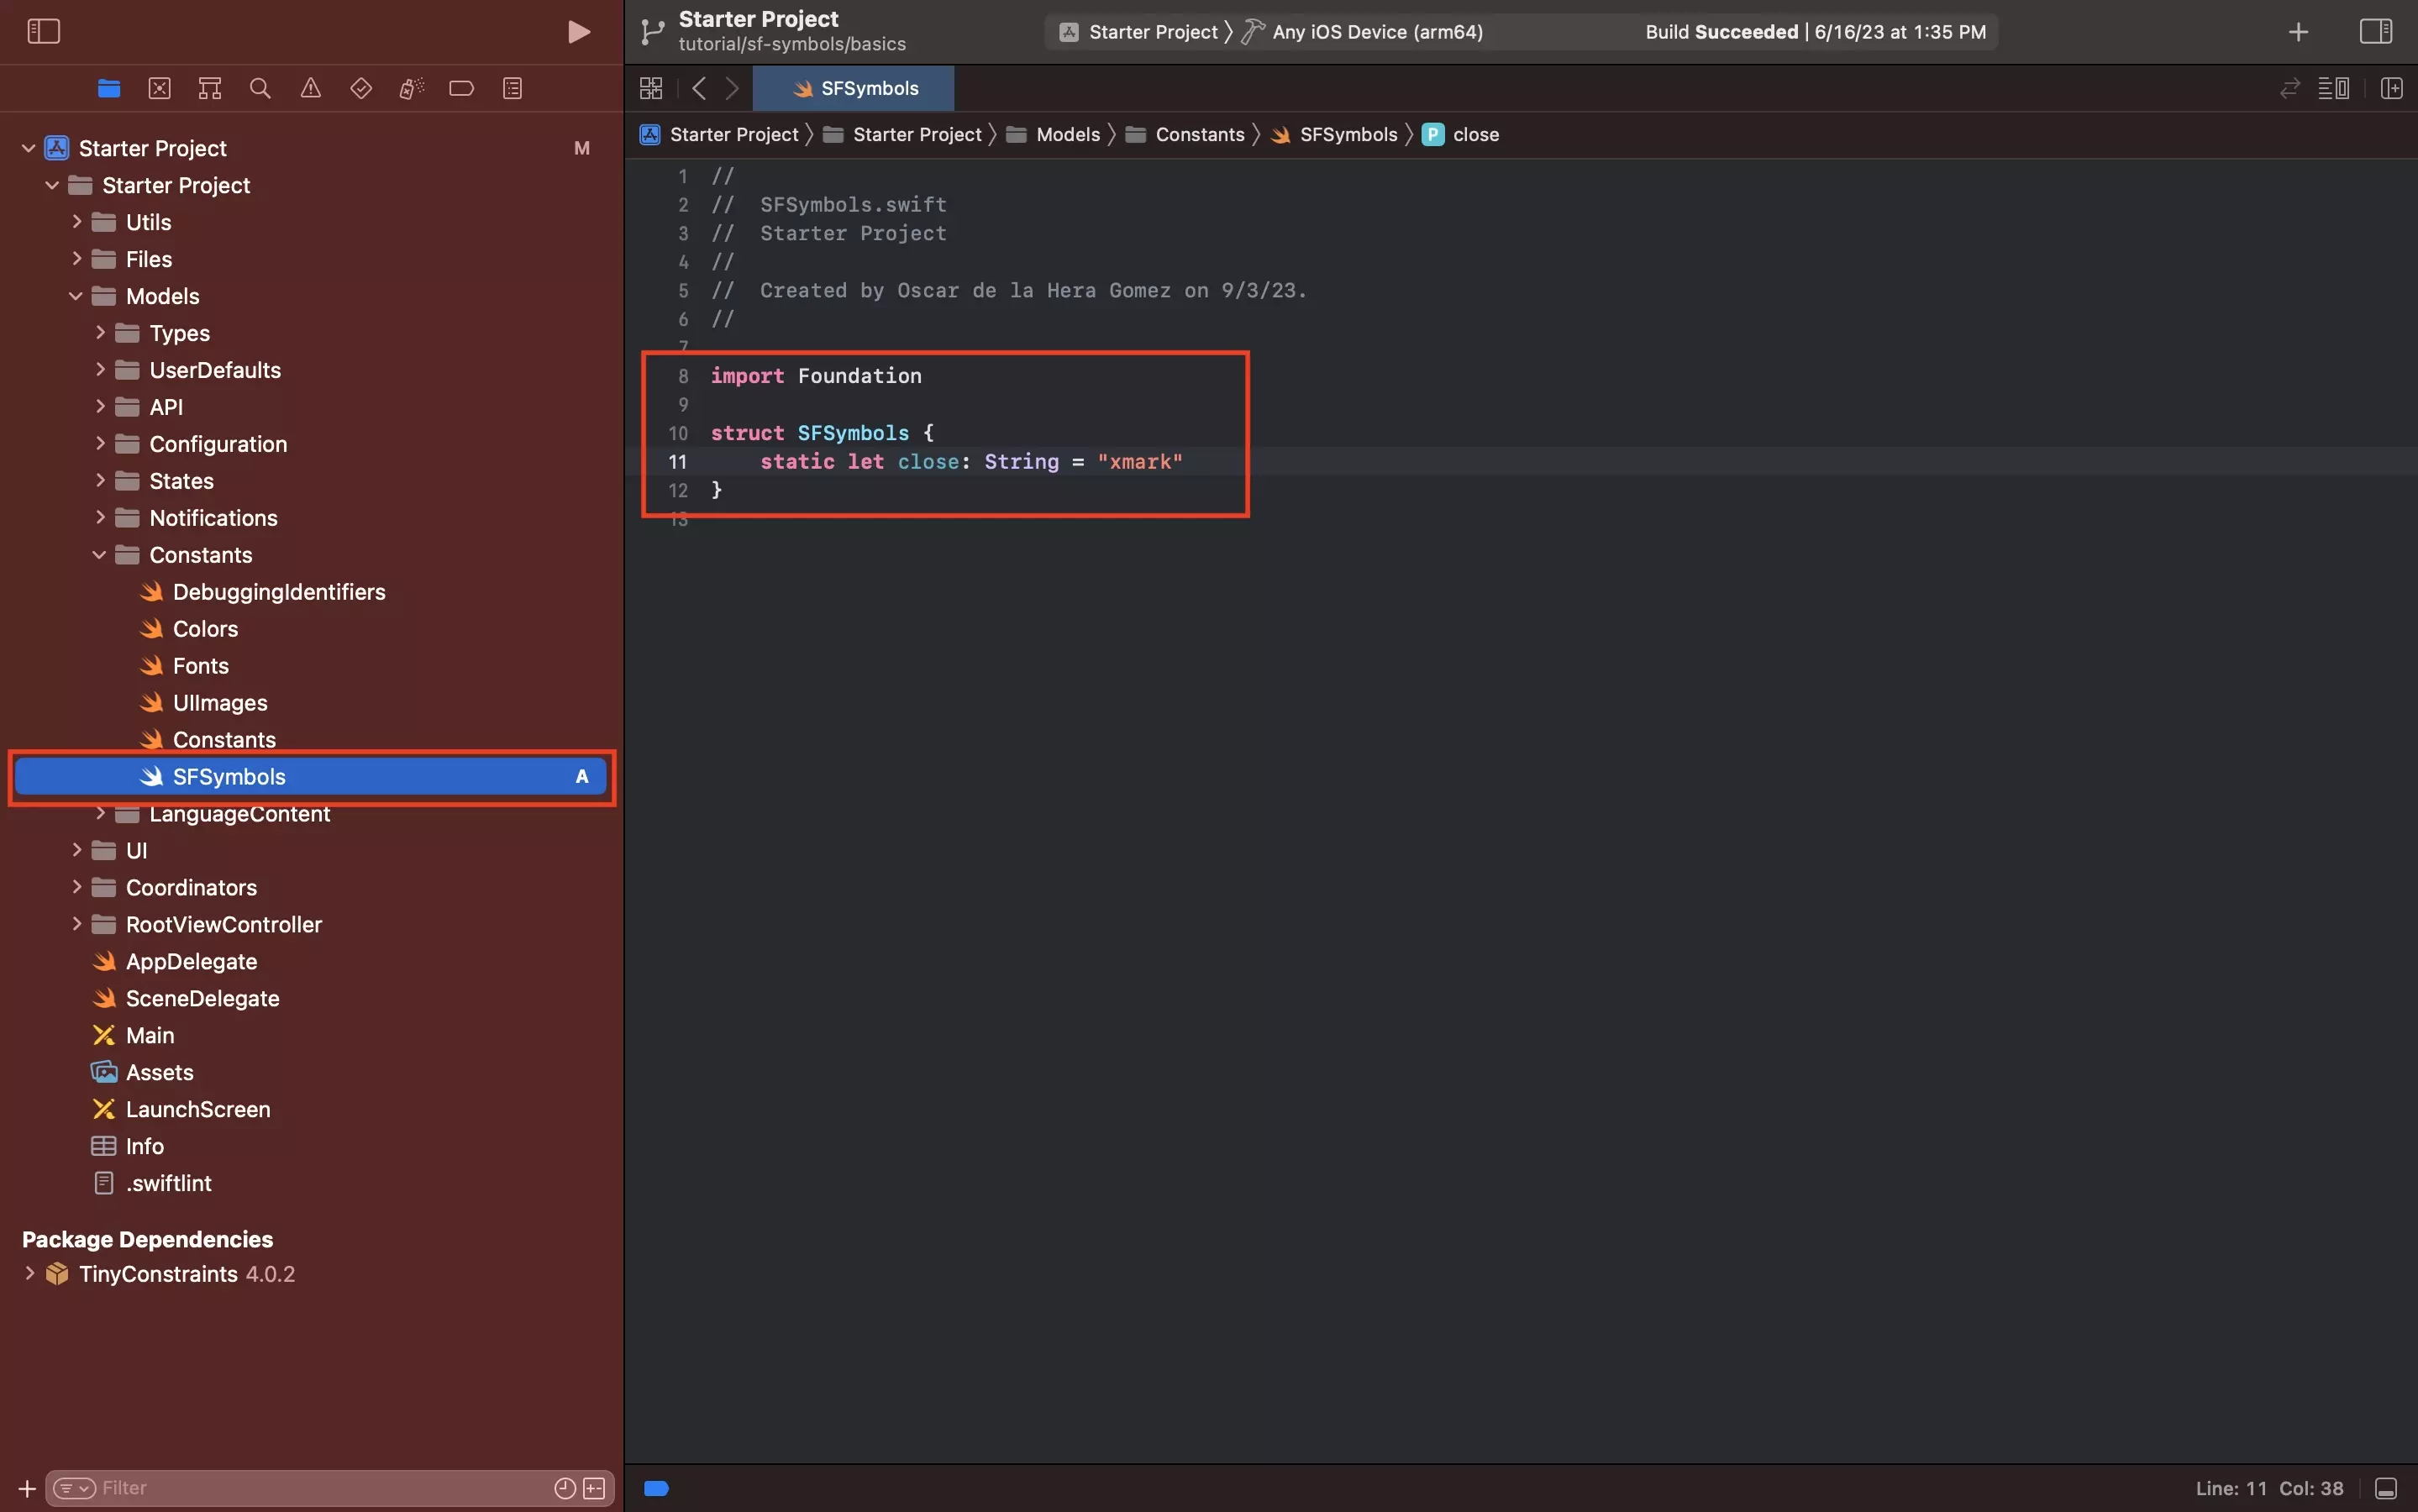
Create a SFSymbols.swift reference file and add the symbol names to a struct called SFSymbols.
Step Four: Add the SF Symbol to the App
SF Symbols work in ways that are very similar to UIImages.
Follow the steps below to learn how to add a Symbol to a UIView.
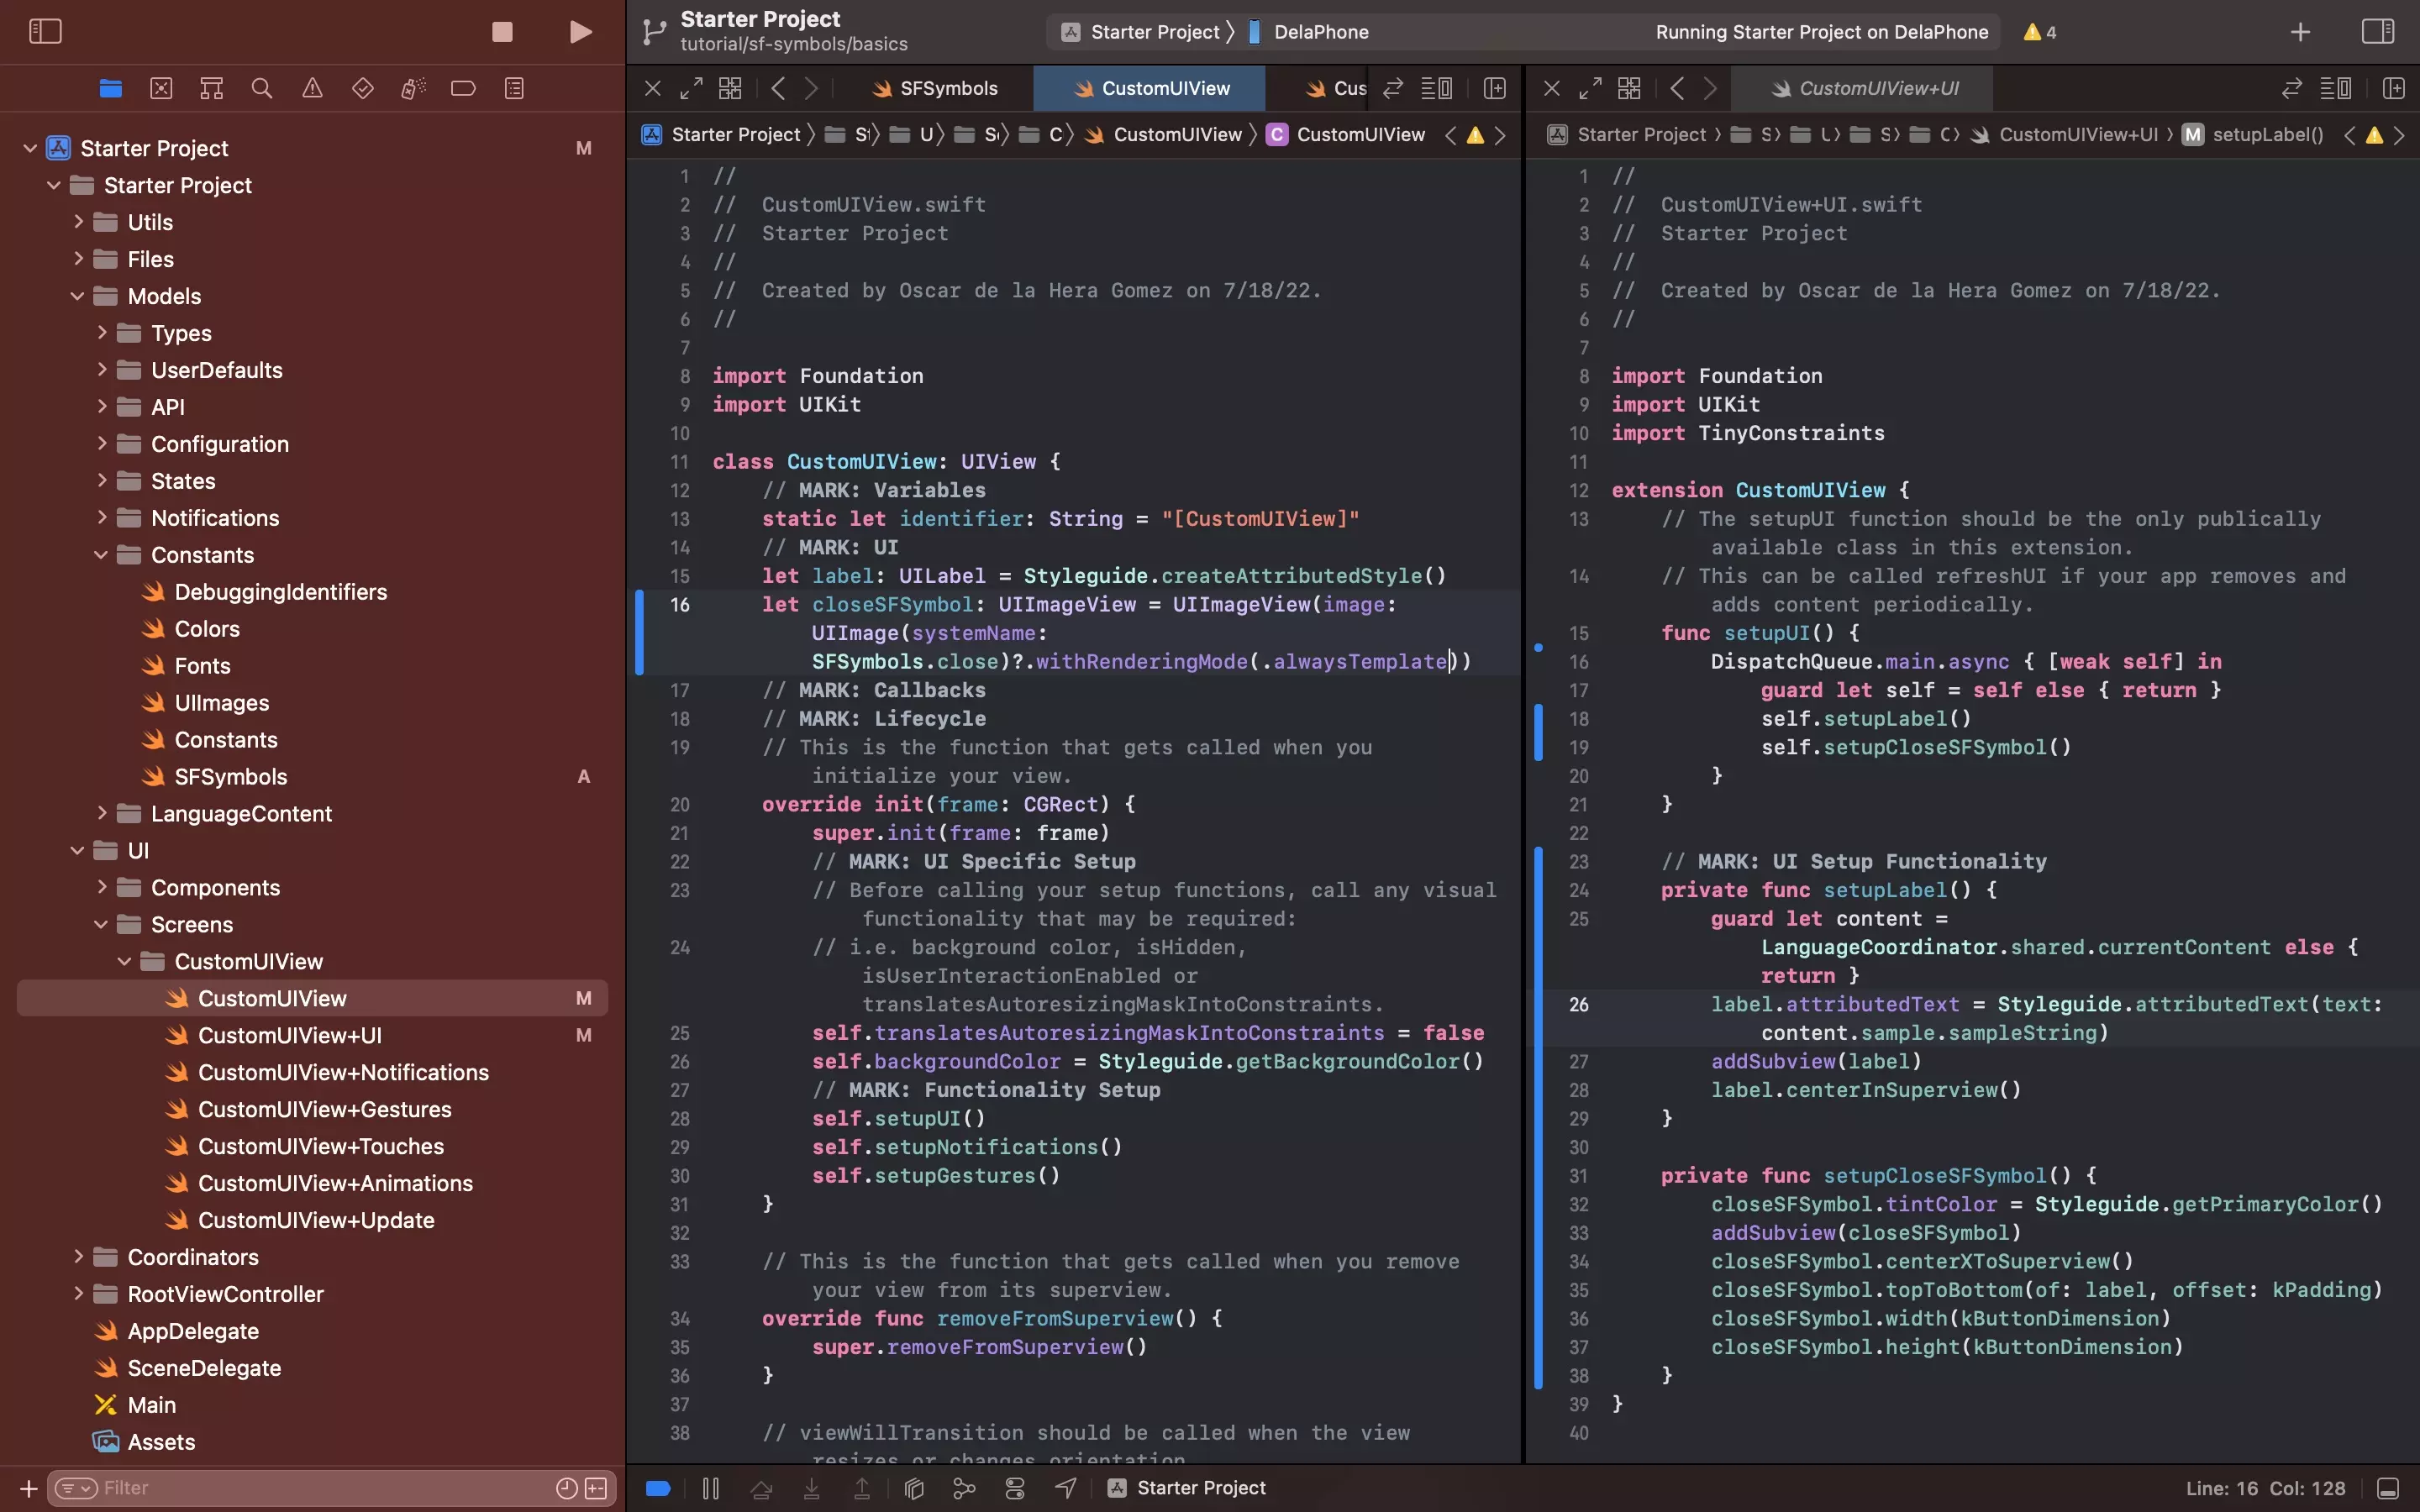
A | Declare the UIImageView
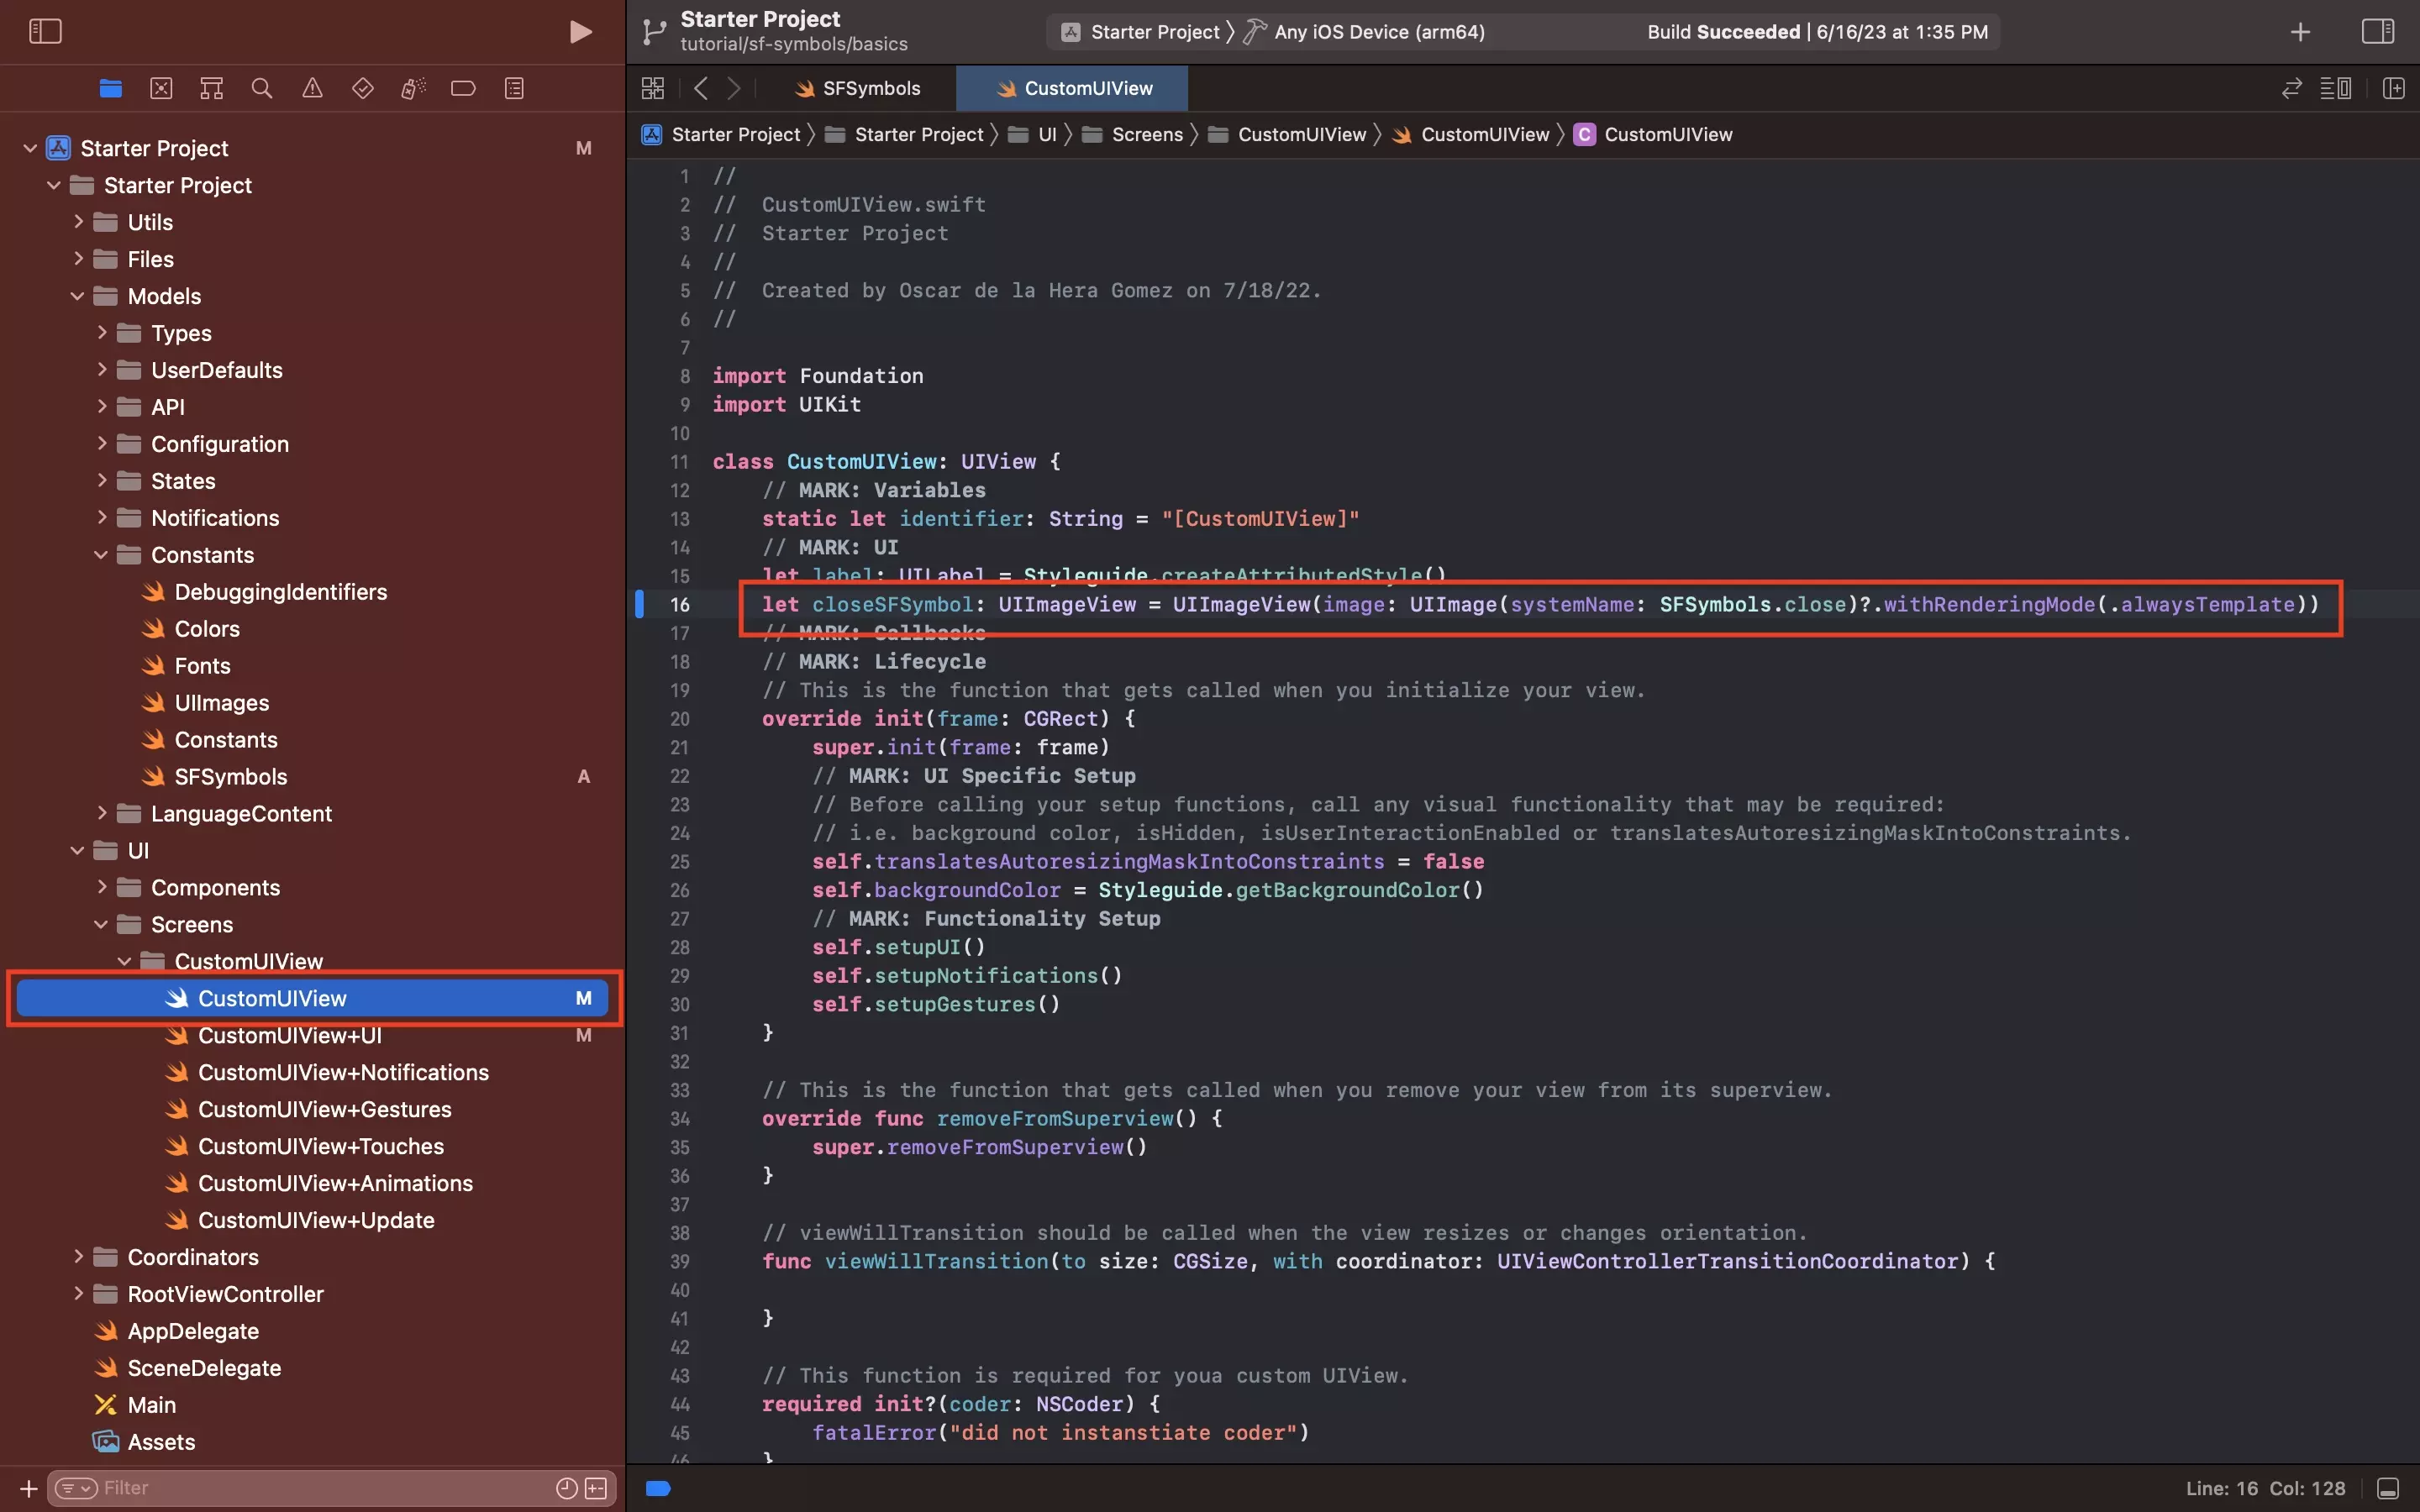
In the UIView which you wish to add the SF Symbol to, declare a UIImageView that uses the SF Symbol as an image.
let closeSFSymbol: UIImageView = UIImageView(image: UIImage(systemName: SFSymbols.close)?.withRenderingMode(.alwaysTemplate))We recommend that you set the UIImage to work with a rendering mode always template to allow you to change the tint (i.e. color) of the symbol programatically.
B | Add the SF Symbol to the UI
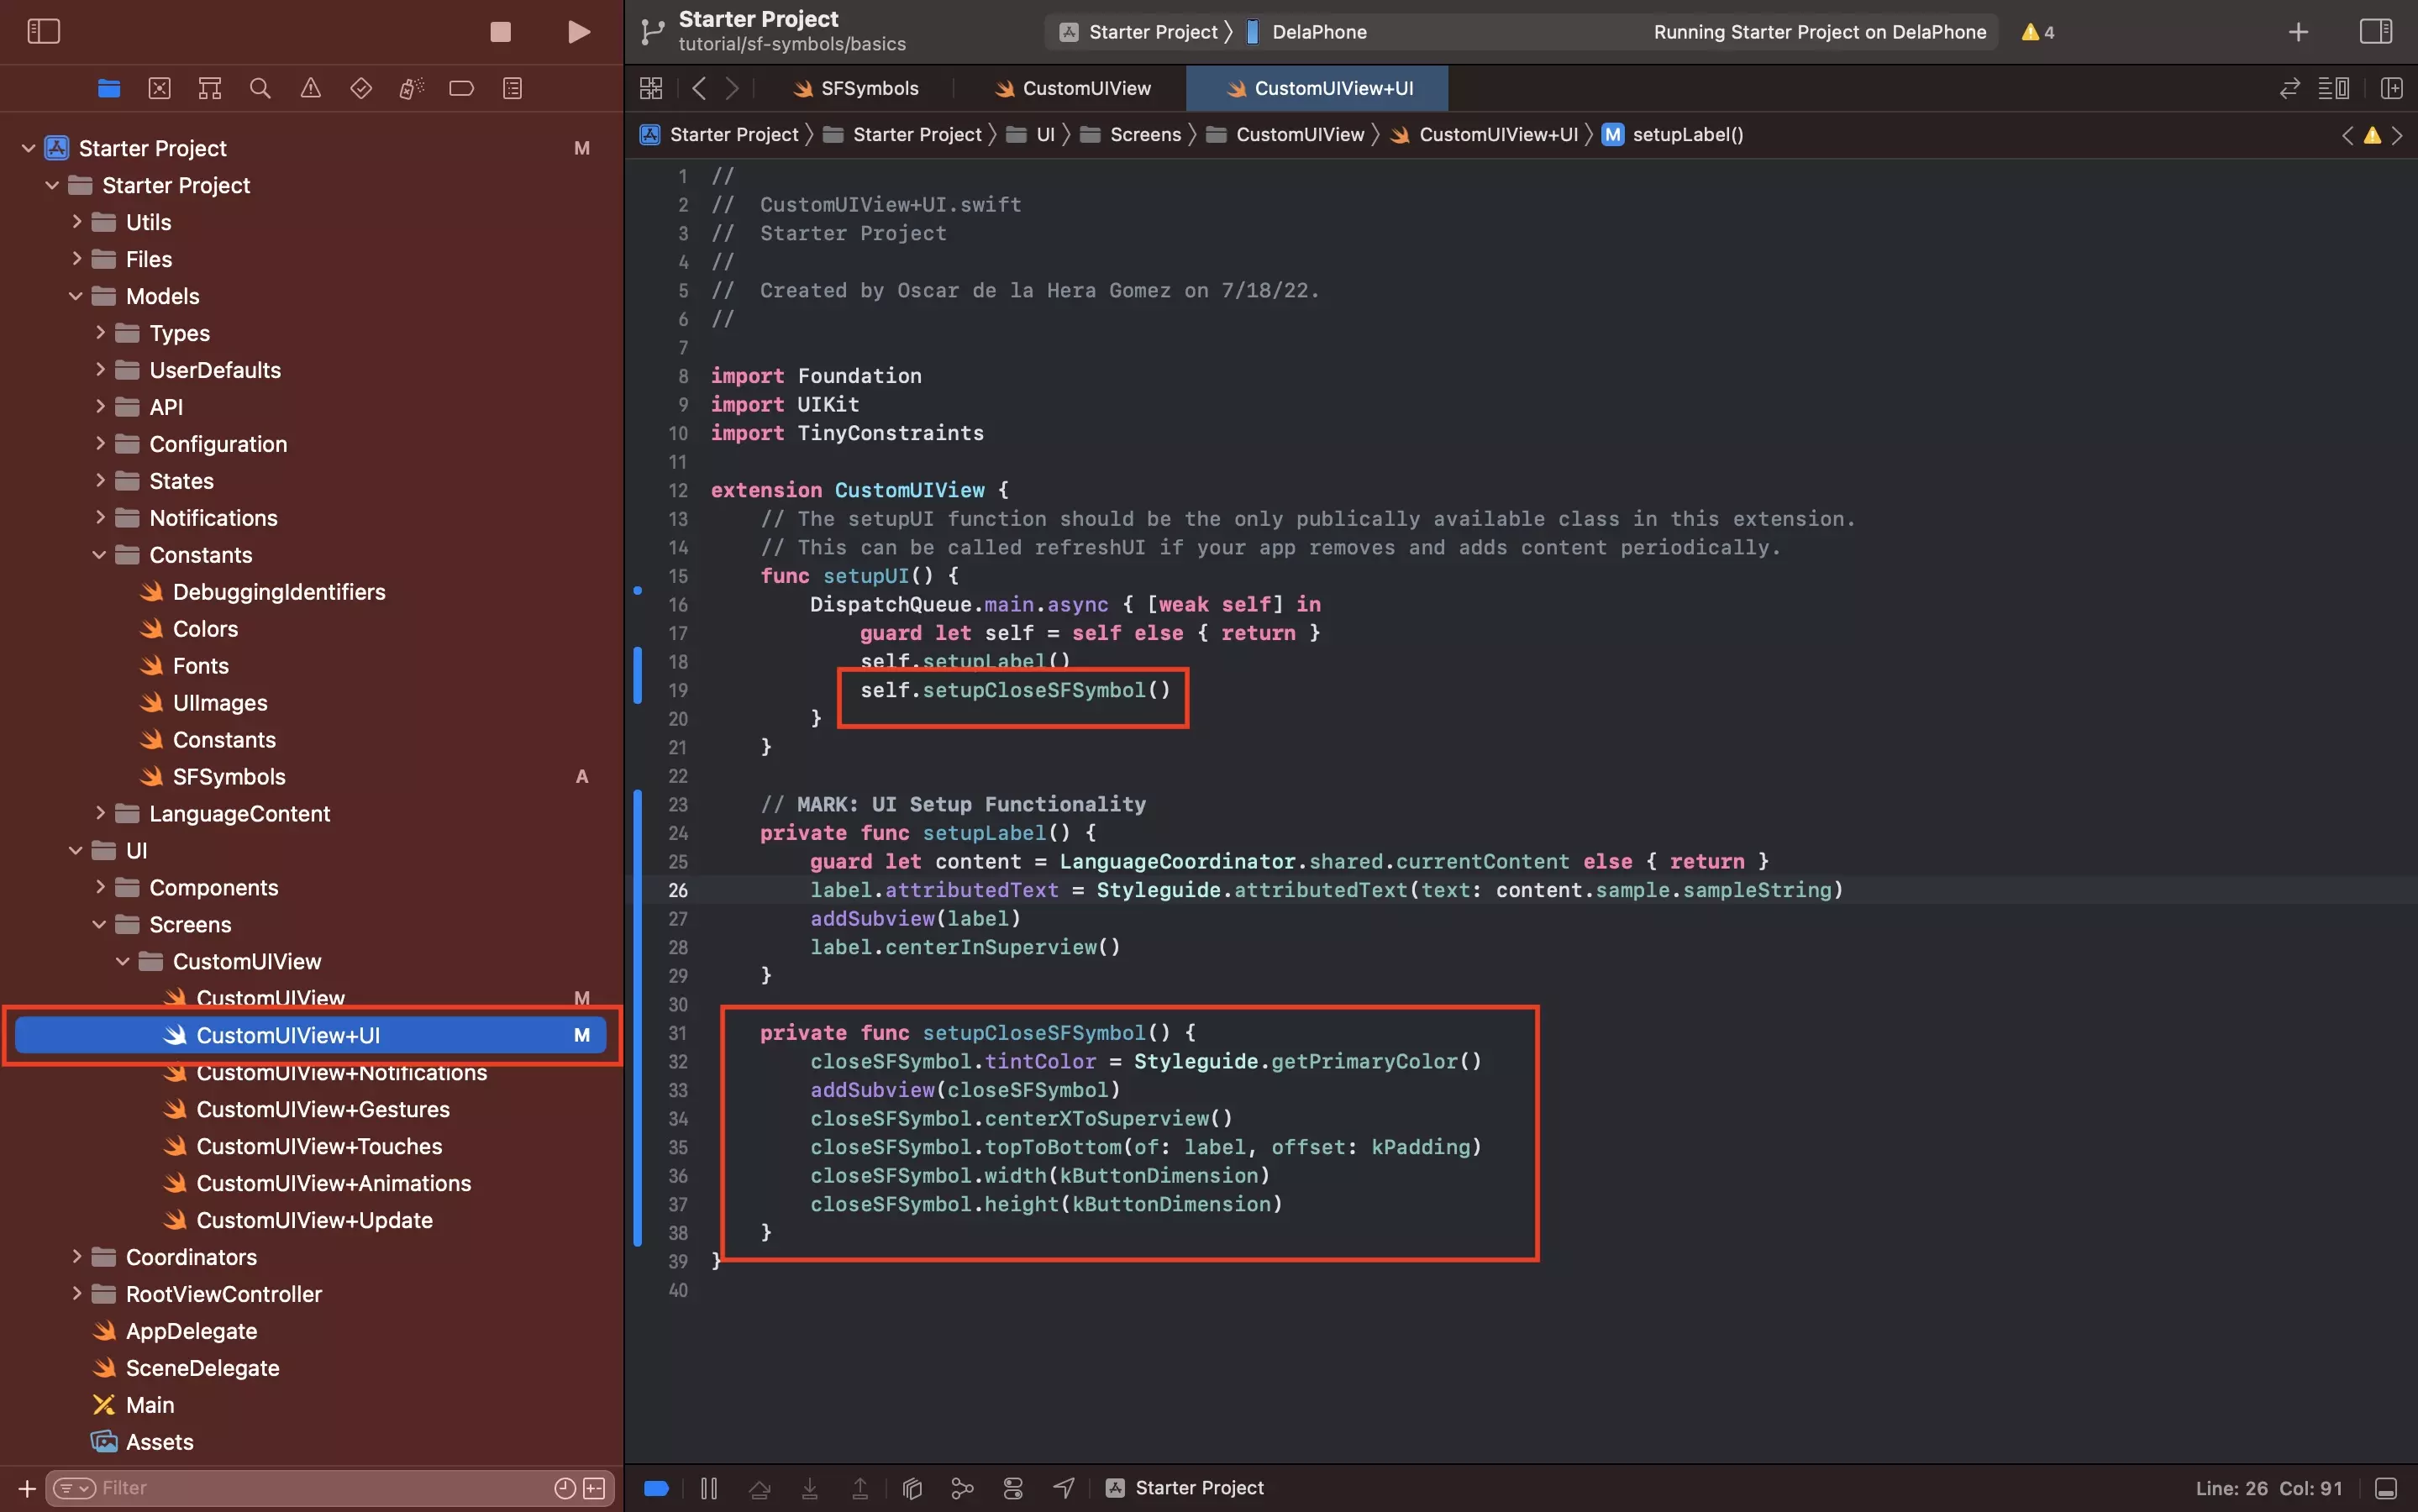
Add the UIImageView to the UIView.
To change the tint color, either here or in another moment within the app, set the tintColor of the UIImageView that holds the SF Symbol.
Step Five: Test
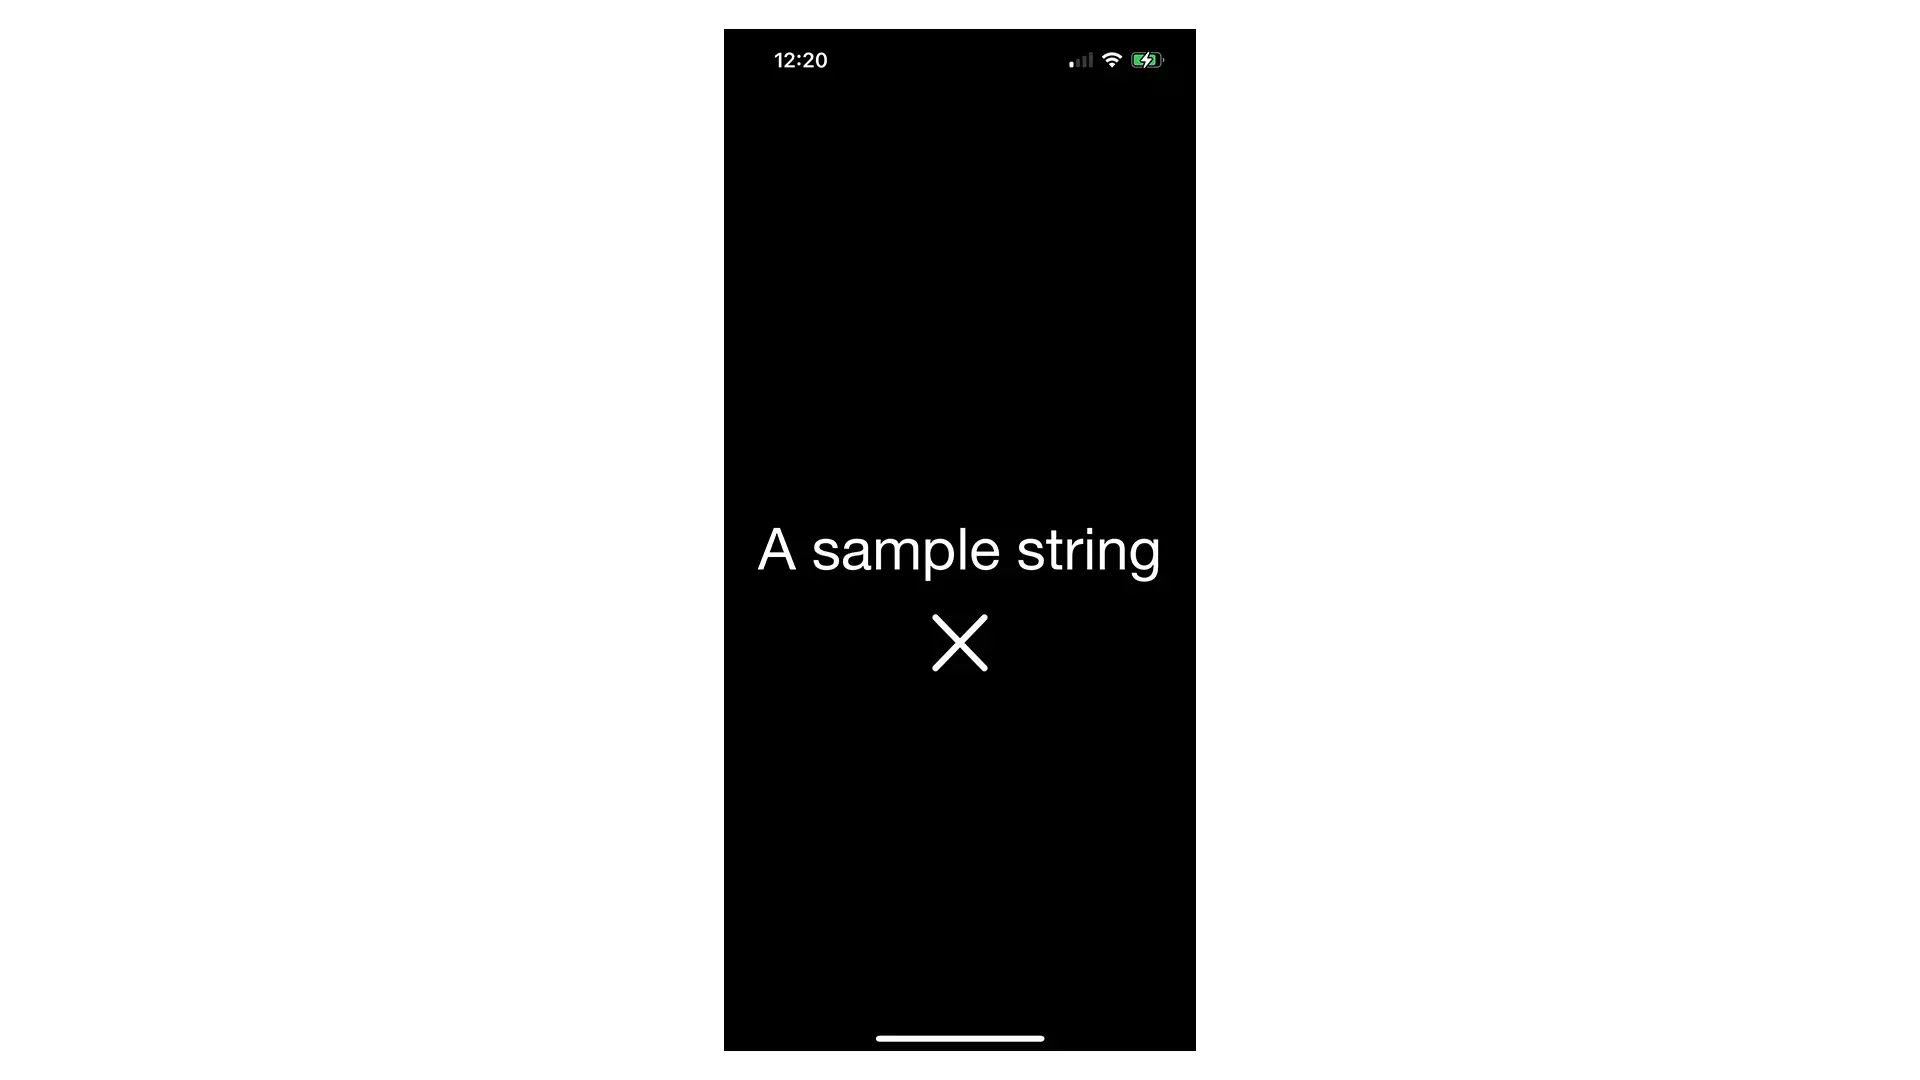
Run the app and confirm that the image looks as expected.
Looking to learn how to animate SF Symbols?
To learn how to add SF Symbol Effects to a UIImageView or to perform an animation when updating an UIImageView to use a different SF Symbol, consult the articles below.