How to constrain a UI component in a storyboard in XCode

Select the UI component and add constraints using the constraints or alignment menu.

Oscar de la Hera Gomez
Written by Oscar de la Hera Gomez
First published on 08/31/2023 at 11:55
Last Updated on 08/31/2023 at 14:52
<p>A flower that represents Xcode with the text "Constrain UI Components in a Storyboard" beneath it.</p>

Select the UI component and add constraints using the constraints or alignment menu.

SubscribeDownload open source project

Step One: Add a UI Component

<p>A screenshot of Xcode showing the launch screen storyboard. An image has been applied to the UIImageView.</p>

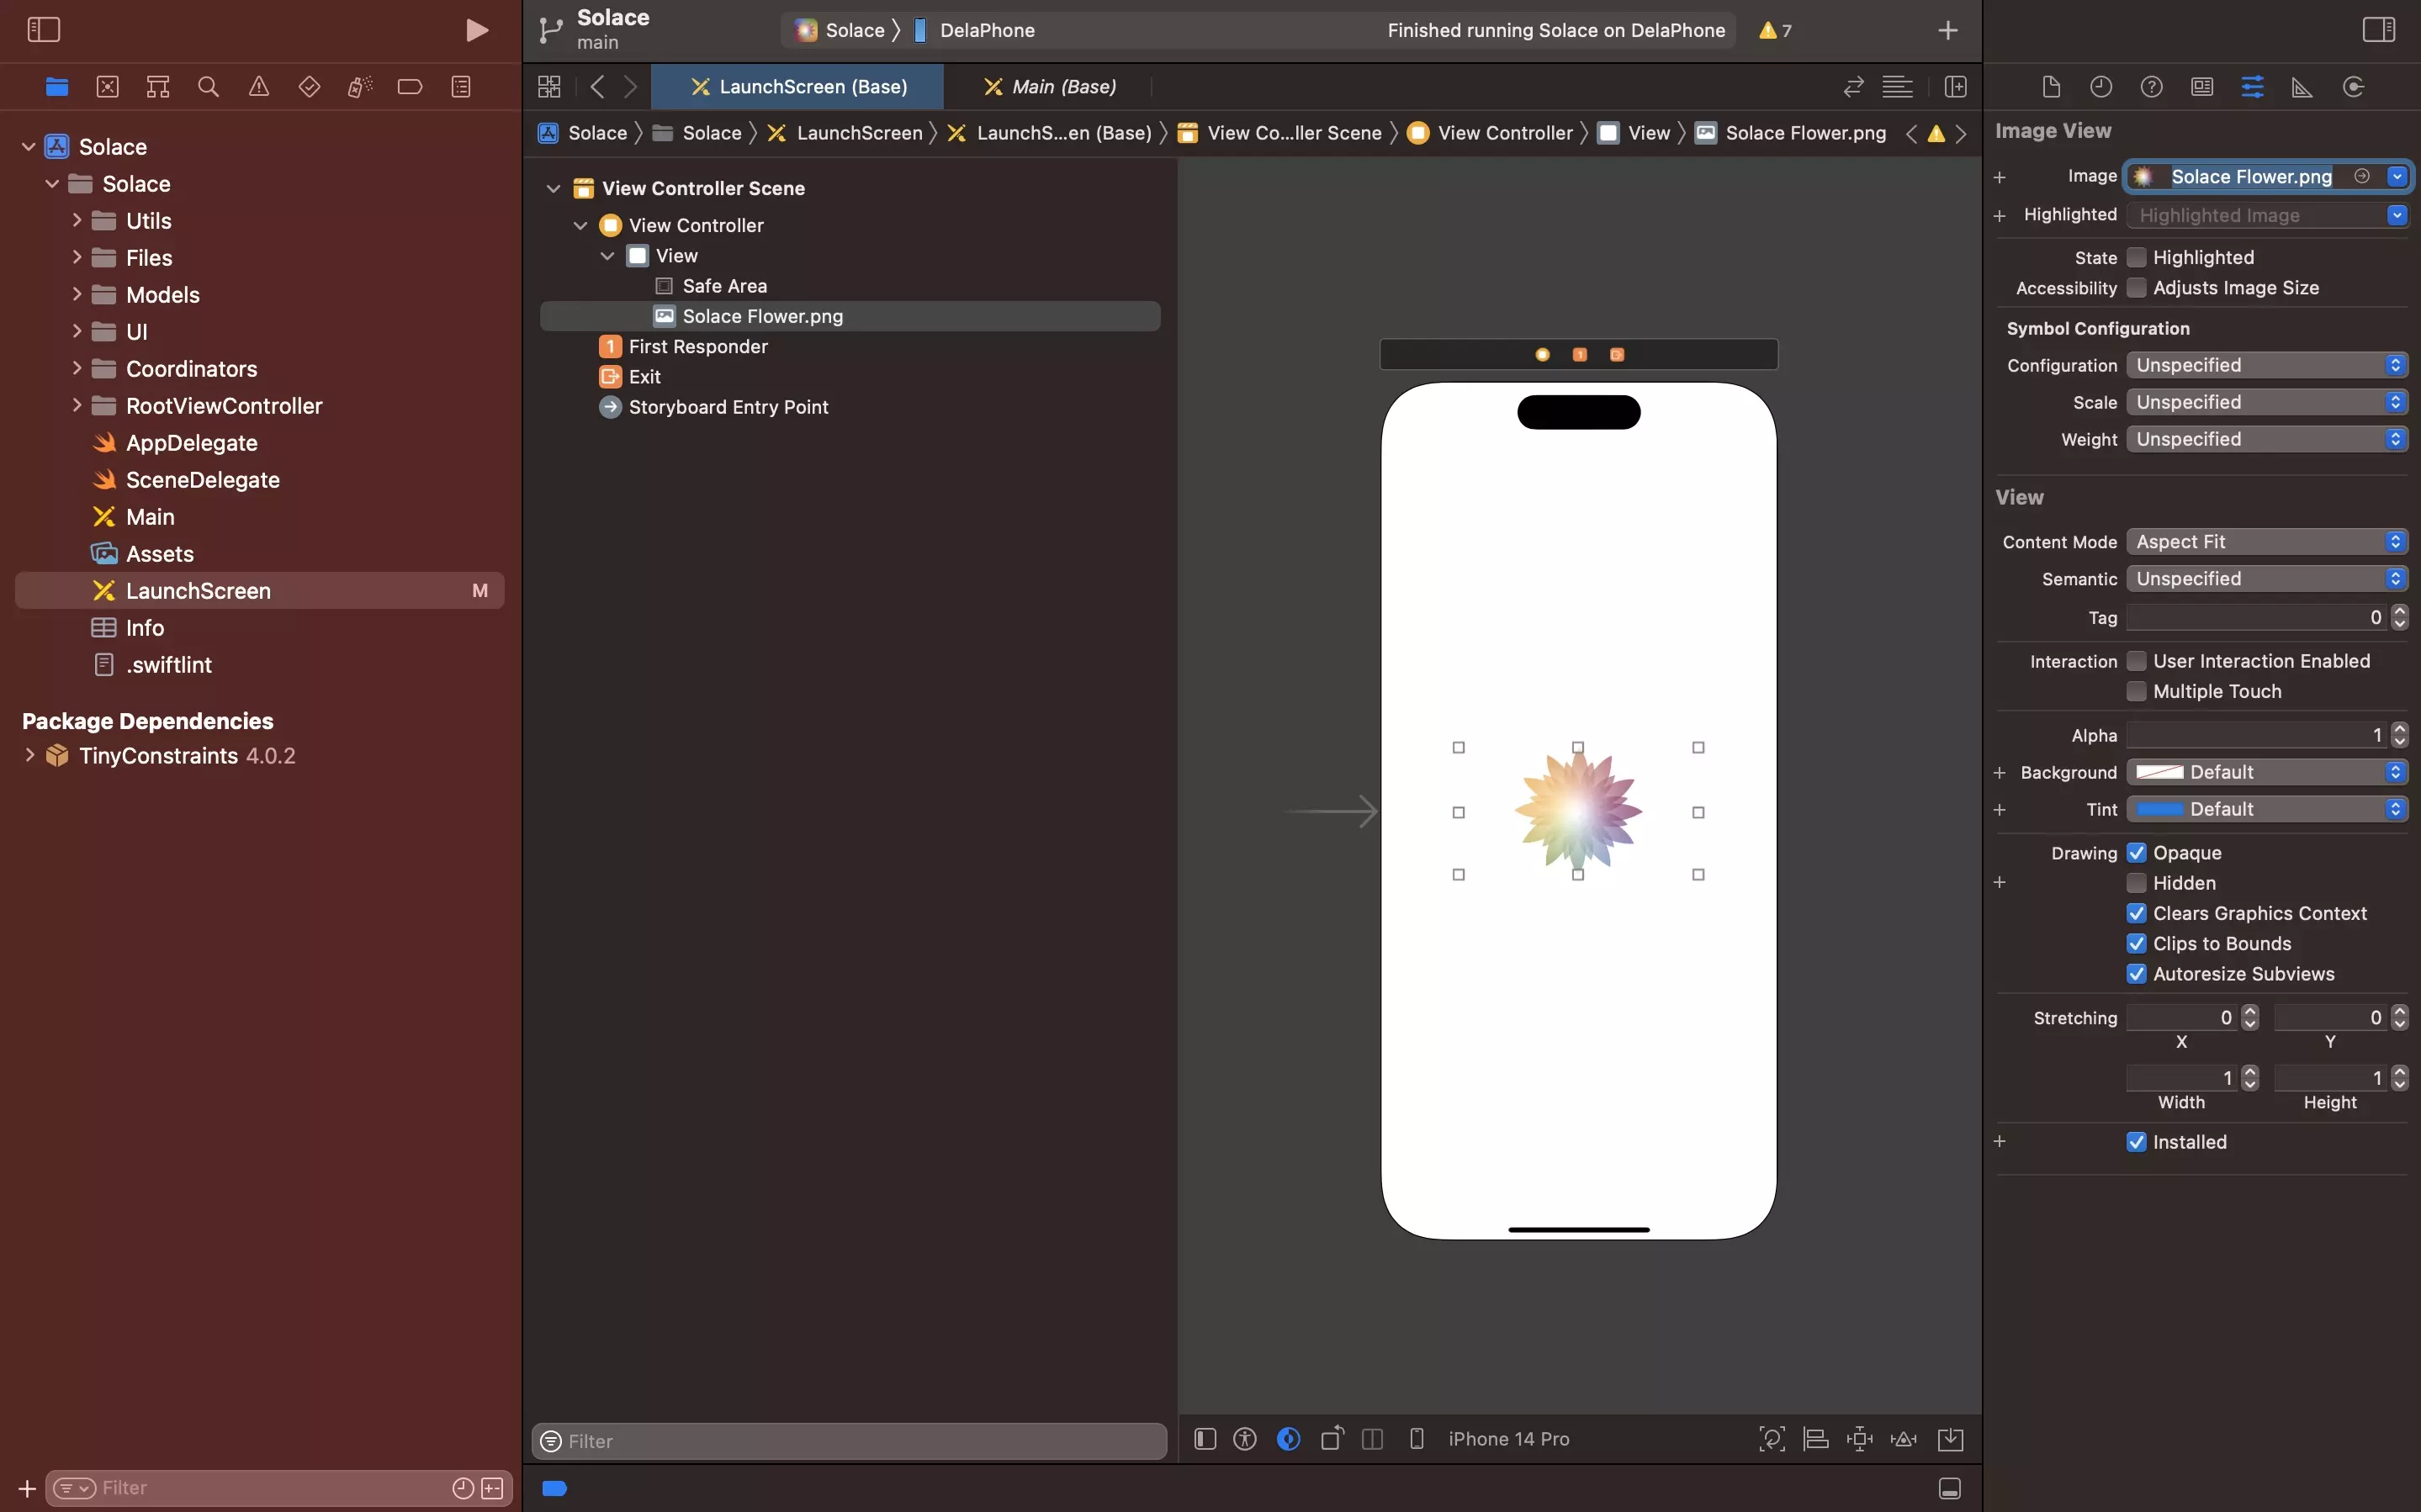
Follow the tutorial below to learn how to add UI components to a storyboard.

How to add a UI component to a view in a storyboard in XCodeHow to use an image within a storyboard in XCode

Step Two: Set the Constraints

<p>A screenshot of Xcode showing the launch screen storyboard. An image view has been selected and we have highlighted the constraints menu and alignment menu on the bottom bar in Xcode.</p>

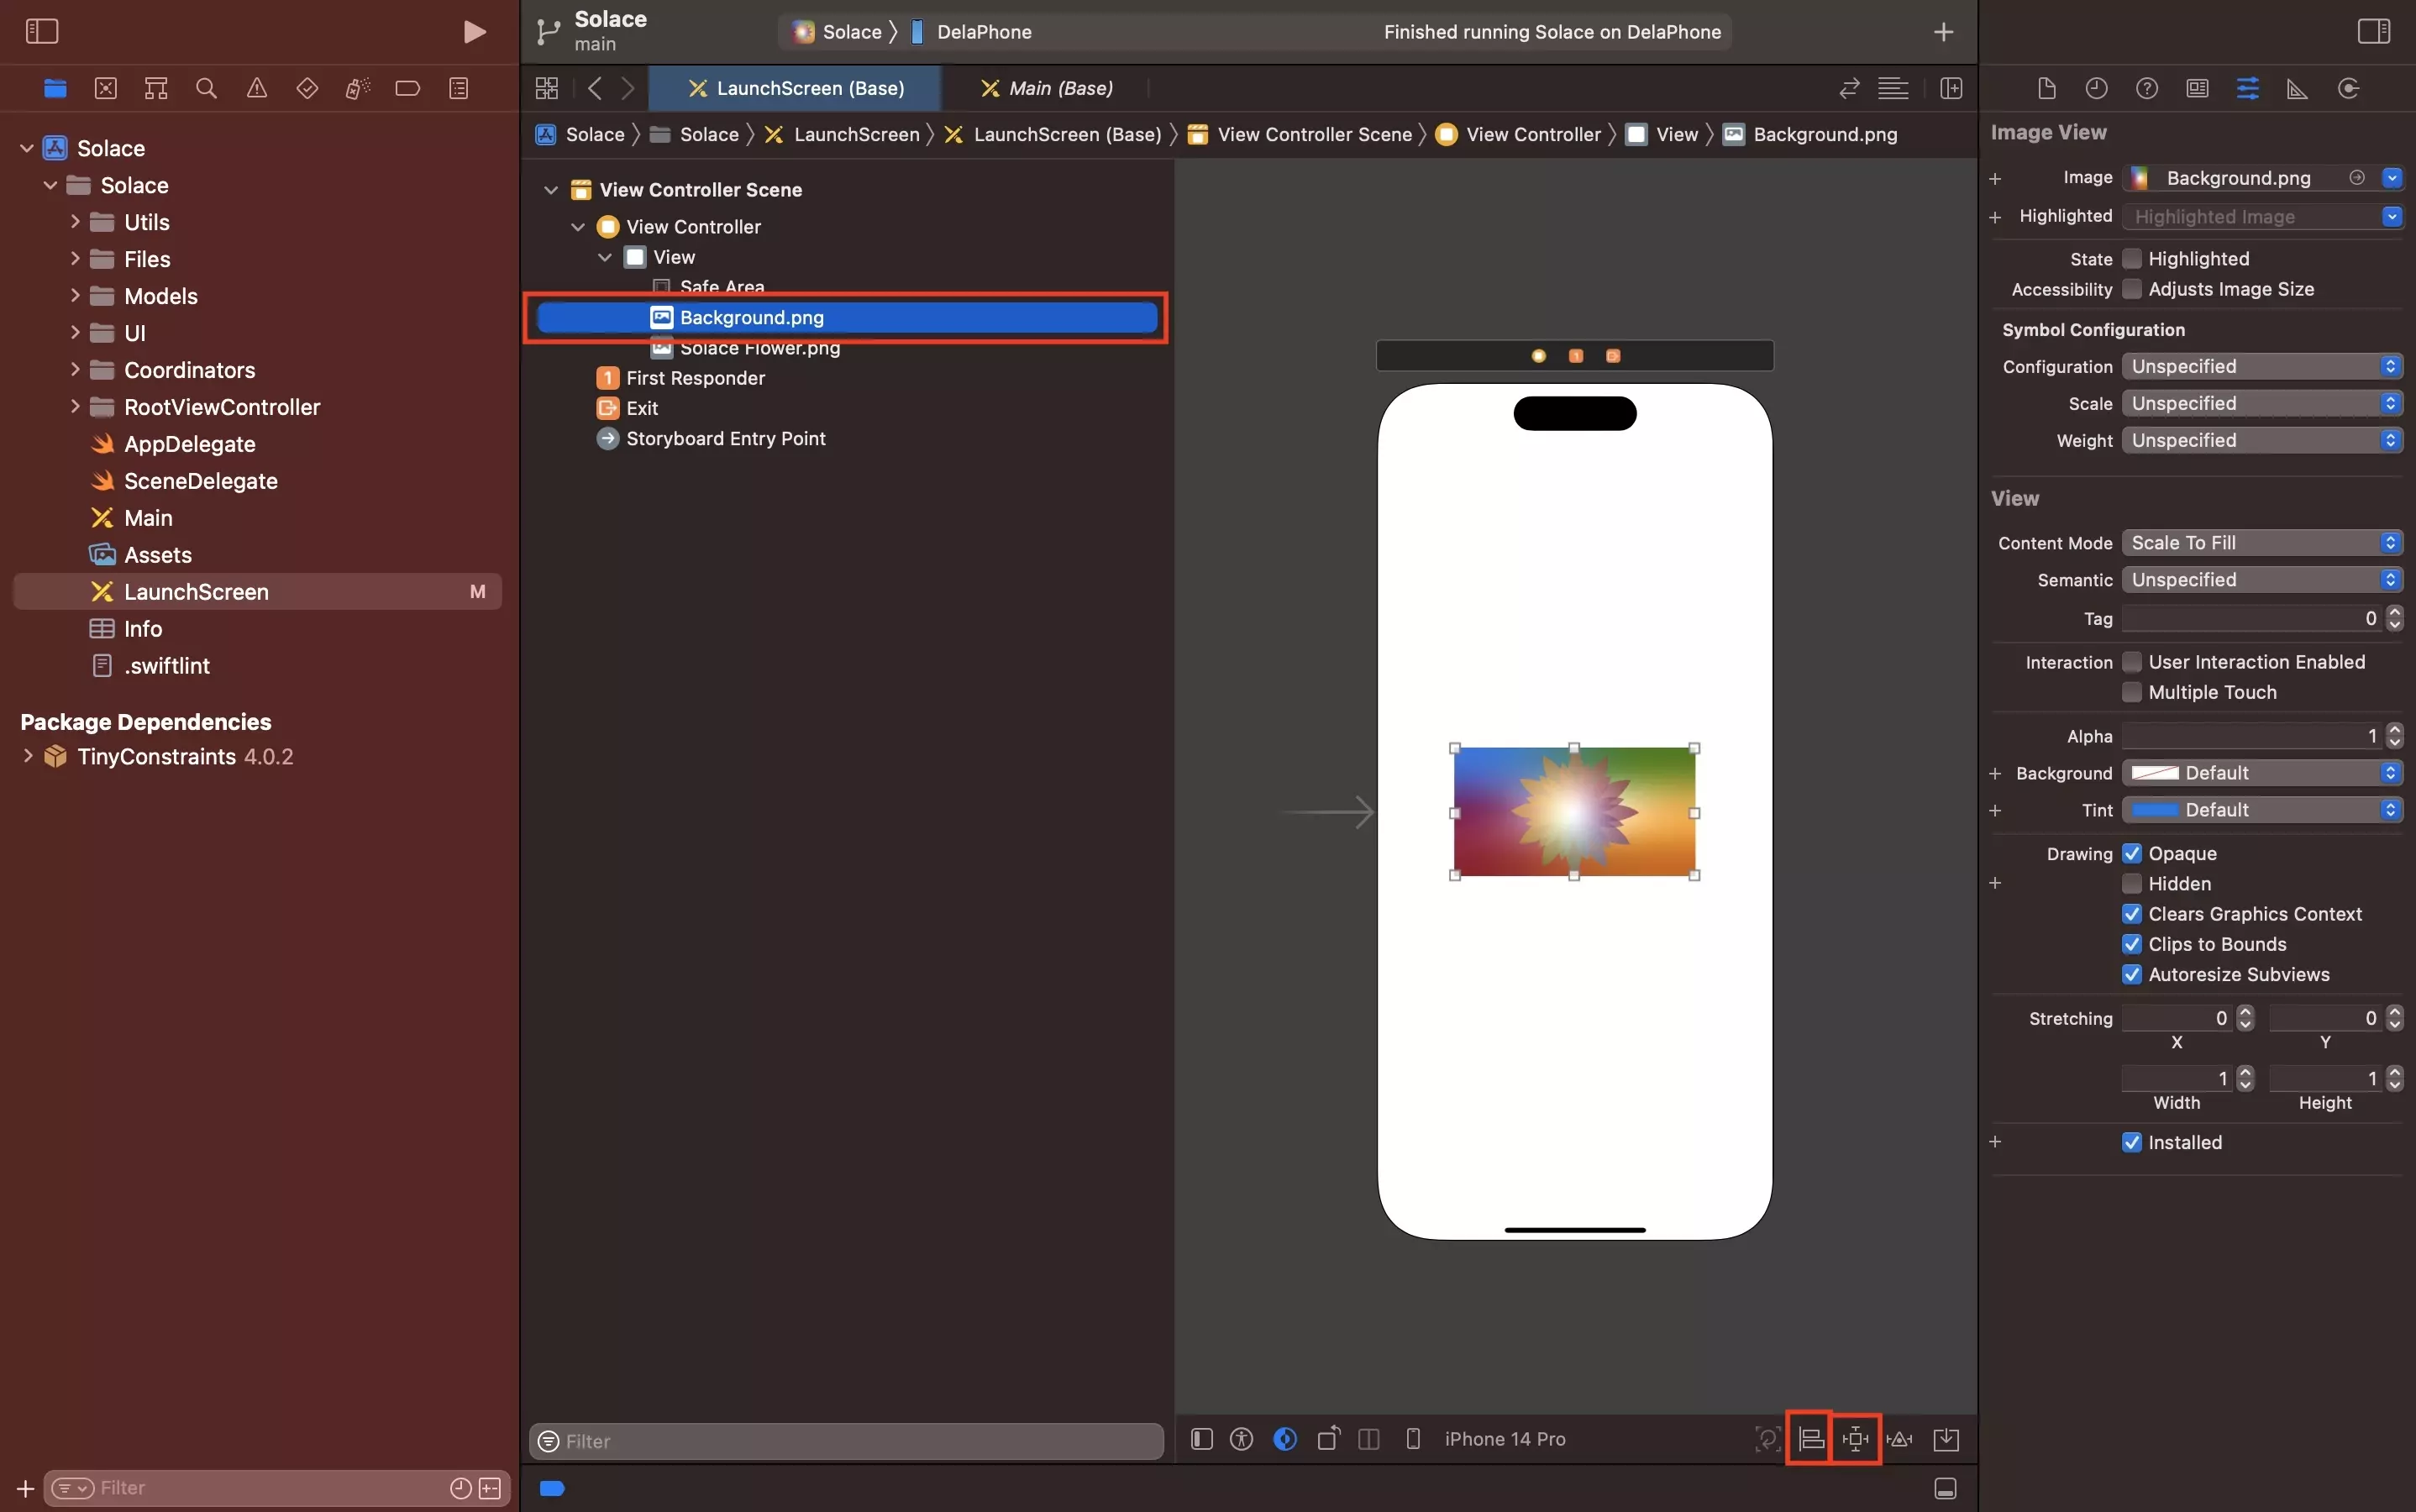
Select the UI component and open the relevant constraints menu:

  • Constraints menu: For constraining the component to edges of a view or setting the width or height.
  • Alignment menu: For horizontally and/or vertically aligning the component to the center of a view.
<p>A screenshot of Xcode showing the launch screen storyboard. An image view has been selected and the constraint menu is open. We have highlighted how if you click the constraint icon next to an edge it turns red and how you can change the value using the input next to the relevant constraint. We have also highlighted that a button becomes active at the bottom of the constraint menu that allows you to apply the constraints.</p>

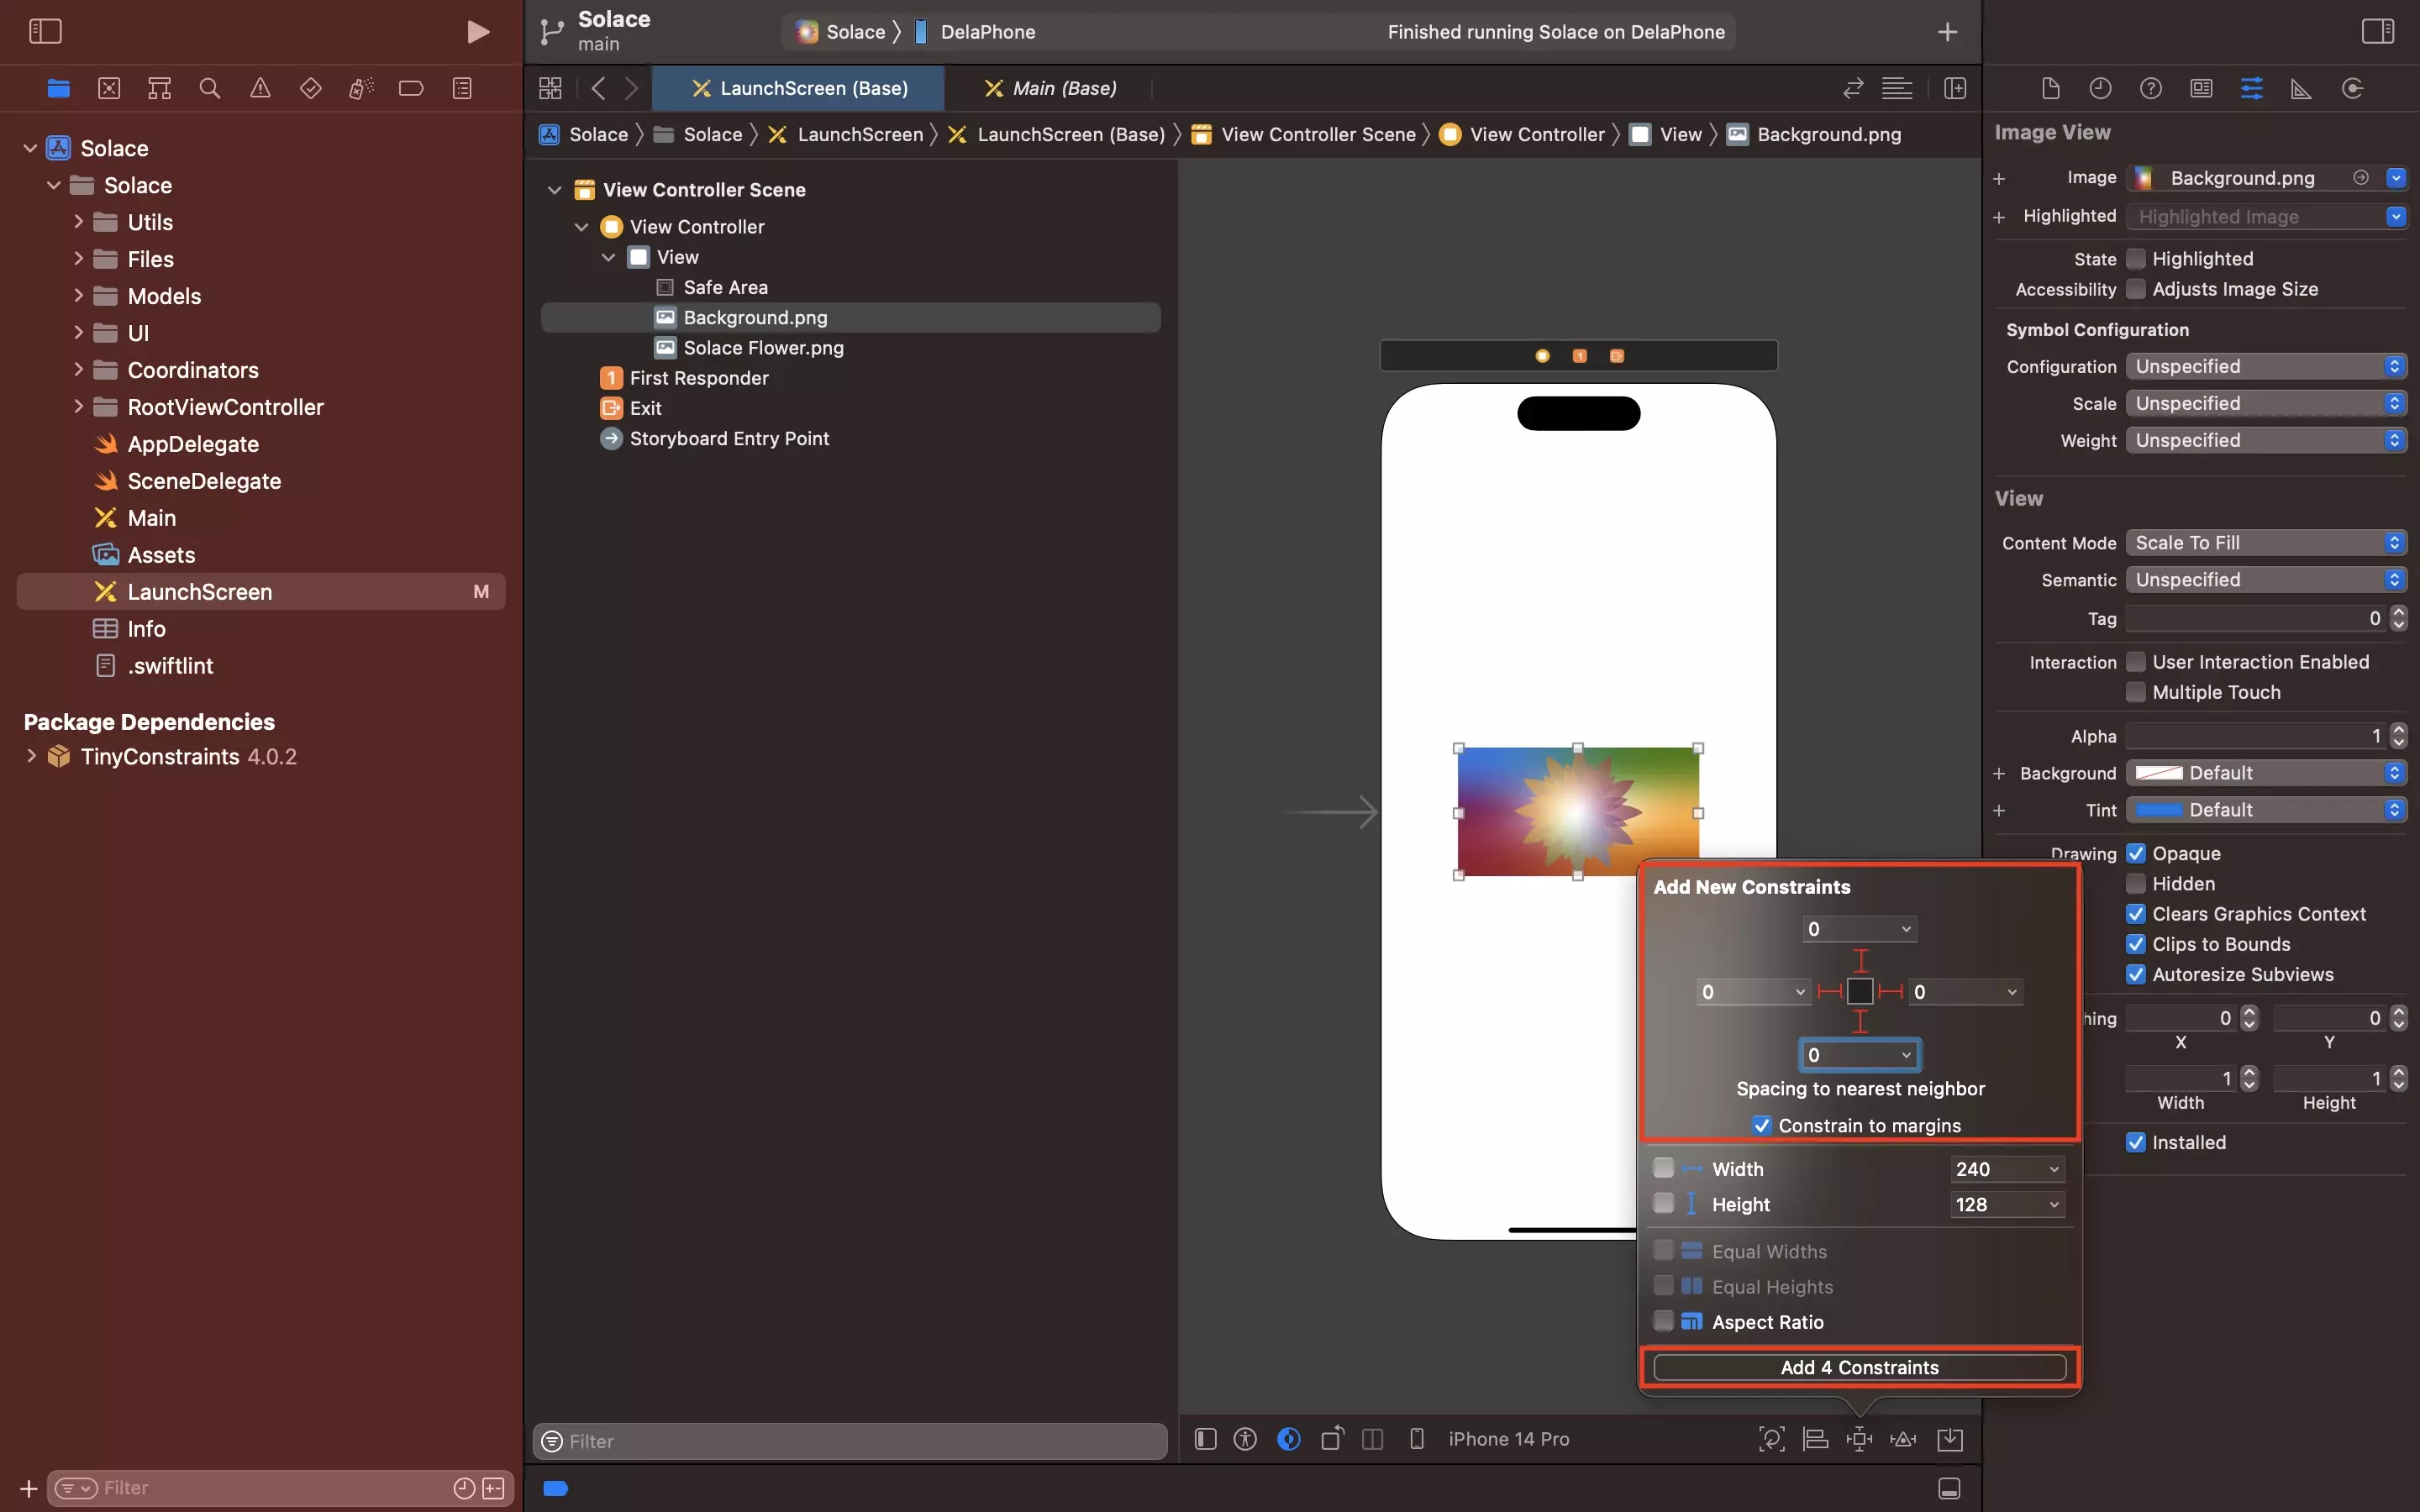
To set the constraints of a component to the edges of a view, select the relevant UI component and open the Constraints menu.

Click the relevant edges that you wish to constrain the UI component to. If they are selected, the constraints should appear in red.

You can change the offset (i.e. the distance from) by changing the number in the input next to the constraint.

Click the Add Constraints button to apply the constraints.

Please note that:

  • For this to work, the UI component must fall under the view you wish to constraint it to. If it is not within the correct view, drag and drop it into the correct view.
  • The edges that you are constraining to are the safe area insets of the view controller.

To learn how to constrain a UI component to the edges of the view of a UIViewController and not its safe area insets, follow the tutorial below.

How to constrain a UI component to the edges of a UIViewController
<p>A screenshot of Xcode showing the launch screen storyboard. An image view has been selected and the constraint menu is open. We have highlighted how you can set the width and the height to match a value through options found near the bottom of the constraint menu. We have also highlighted that a button becomes active at the bottom of the constraint menu that allows you to apply the constraints.</p>

To constrain the components width or height, select the relevant UI component and open the Constraint menu.

Check off the width and/or height and set the dimension by editing the value in the input next to the relevant constraint.

Click the Add Constraints button to apply the constraints.

<p>A screenshot of Xcode showing the launch screen storyboard. An image view has been selected and the alignment menu is open. We have highlighted how you can align the component vertically or horizontally to a view by checking off the options that appear at the bottom of the alignment menu. We have also highlighted that a button becomes active at the bottom of the alignment menu that allows you to apply the constraints.</p>

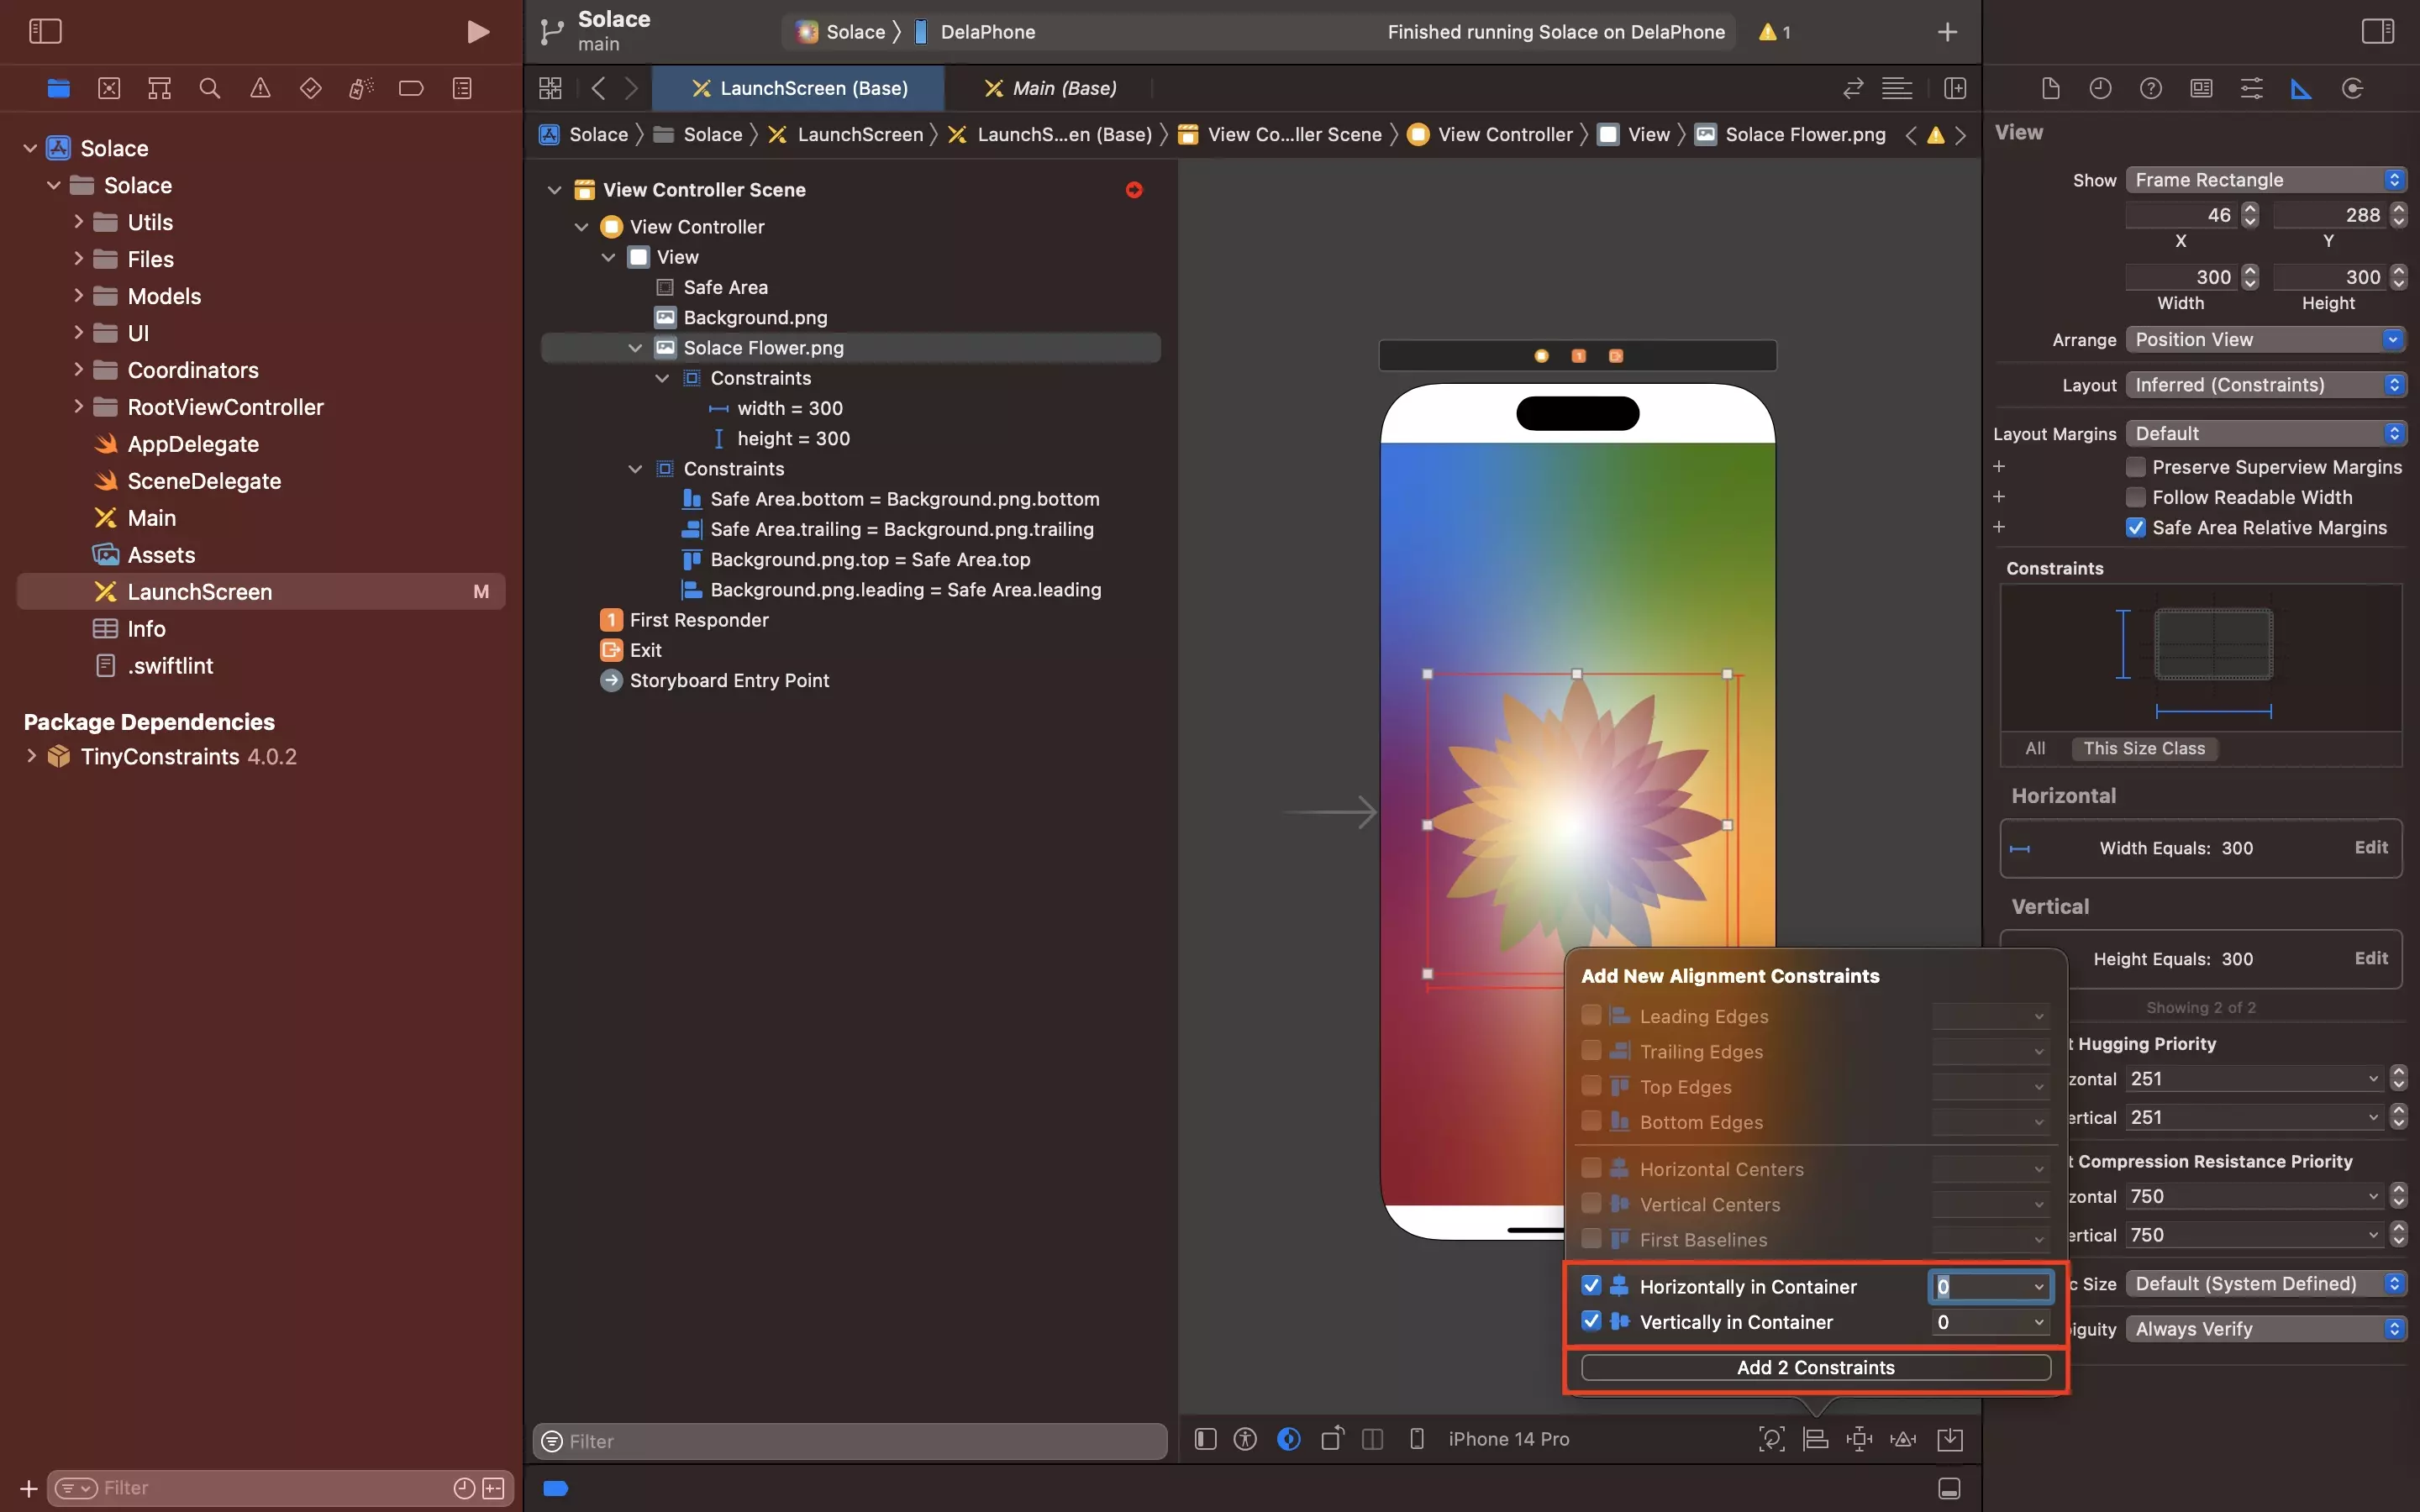
To horizontally or vertically align a UI component to a view, select the component and open the Alignment menu.

Check off Horizontally in Container and/or Vertically in Container to horizontally or vertically align the UI component in the view.

Change the number in the input next to the relevant container to change the offset from the center.

Click the Add Constraints button to apply the constraints.

<p>A screenshot of Xcode showing the launch screen storyboard we have highlighted how you can find the constraints applied to a view controller if you open up the relevant views within a view controller in a storyboard.</p>

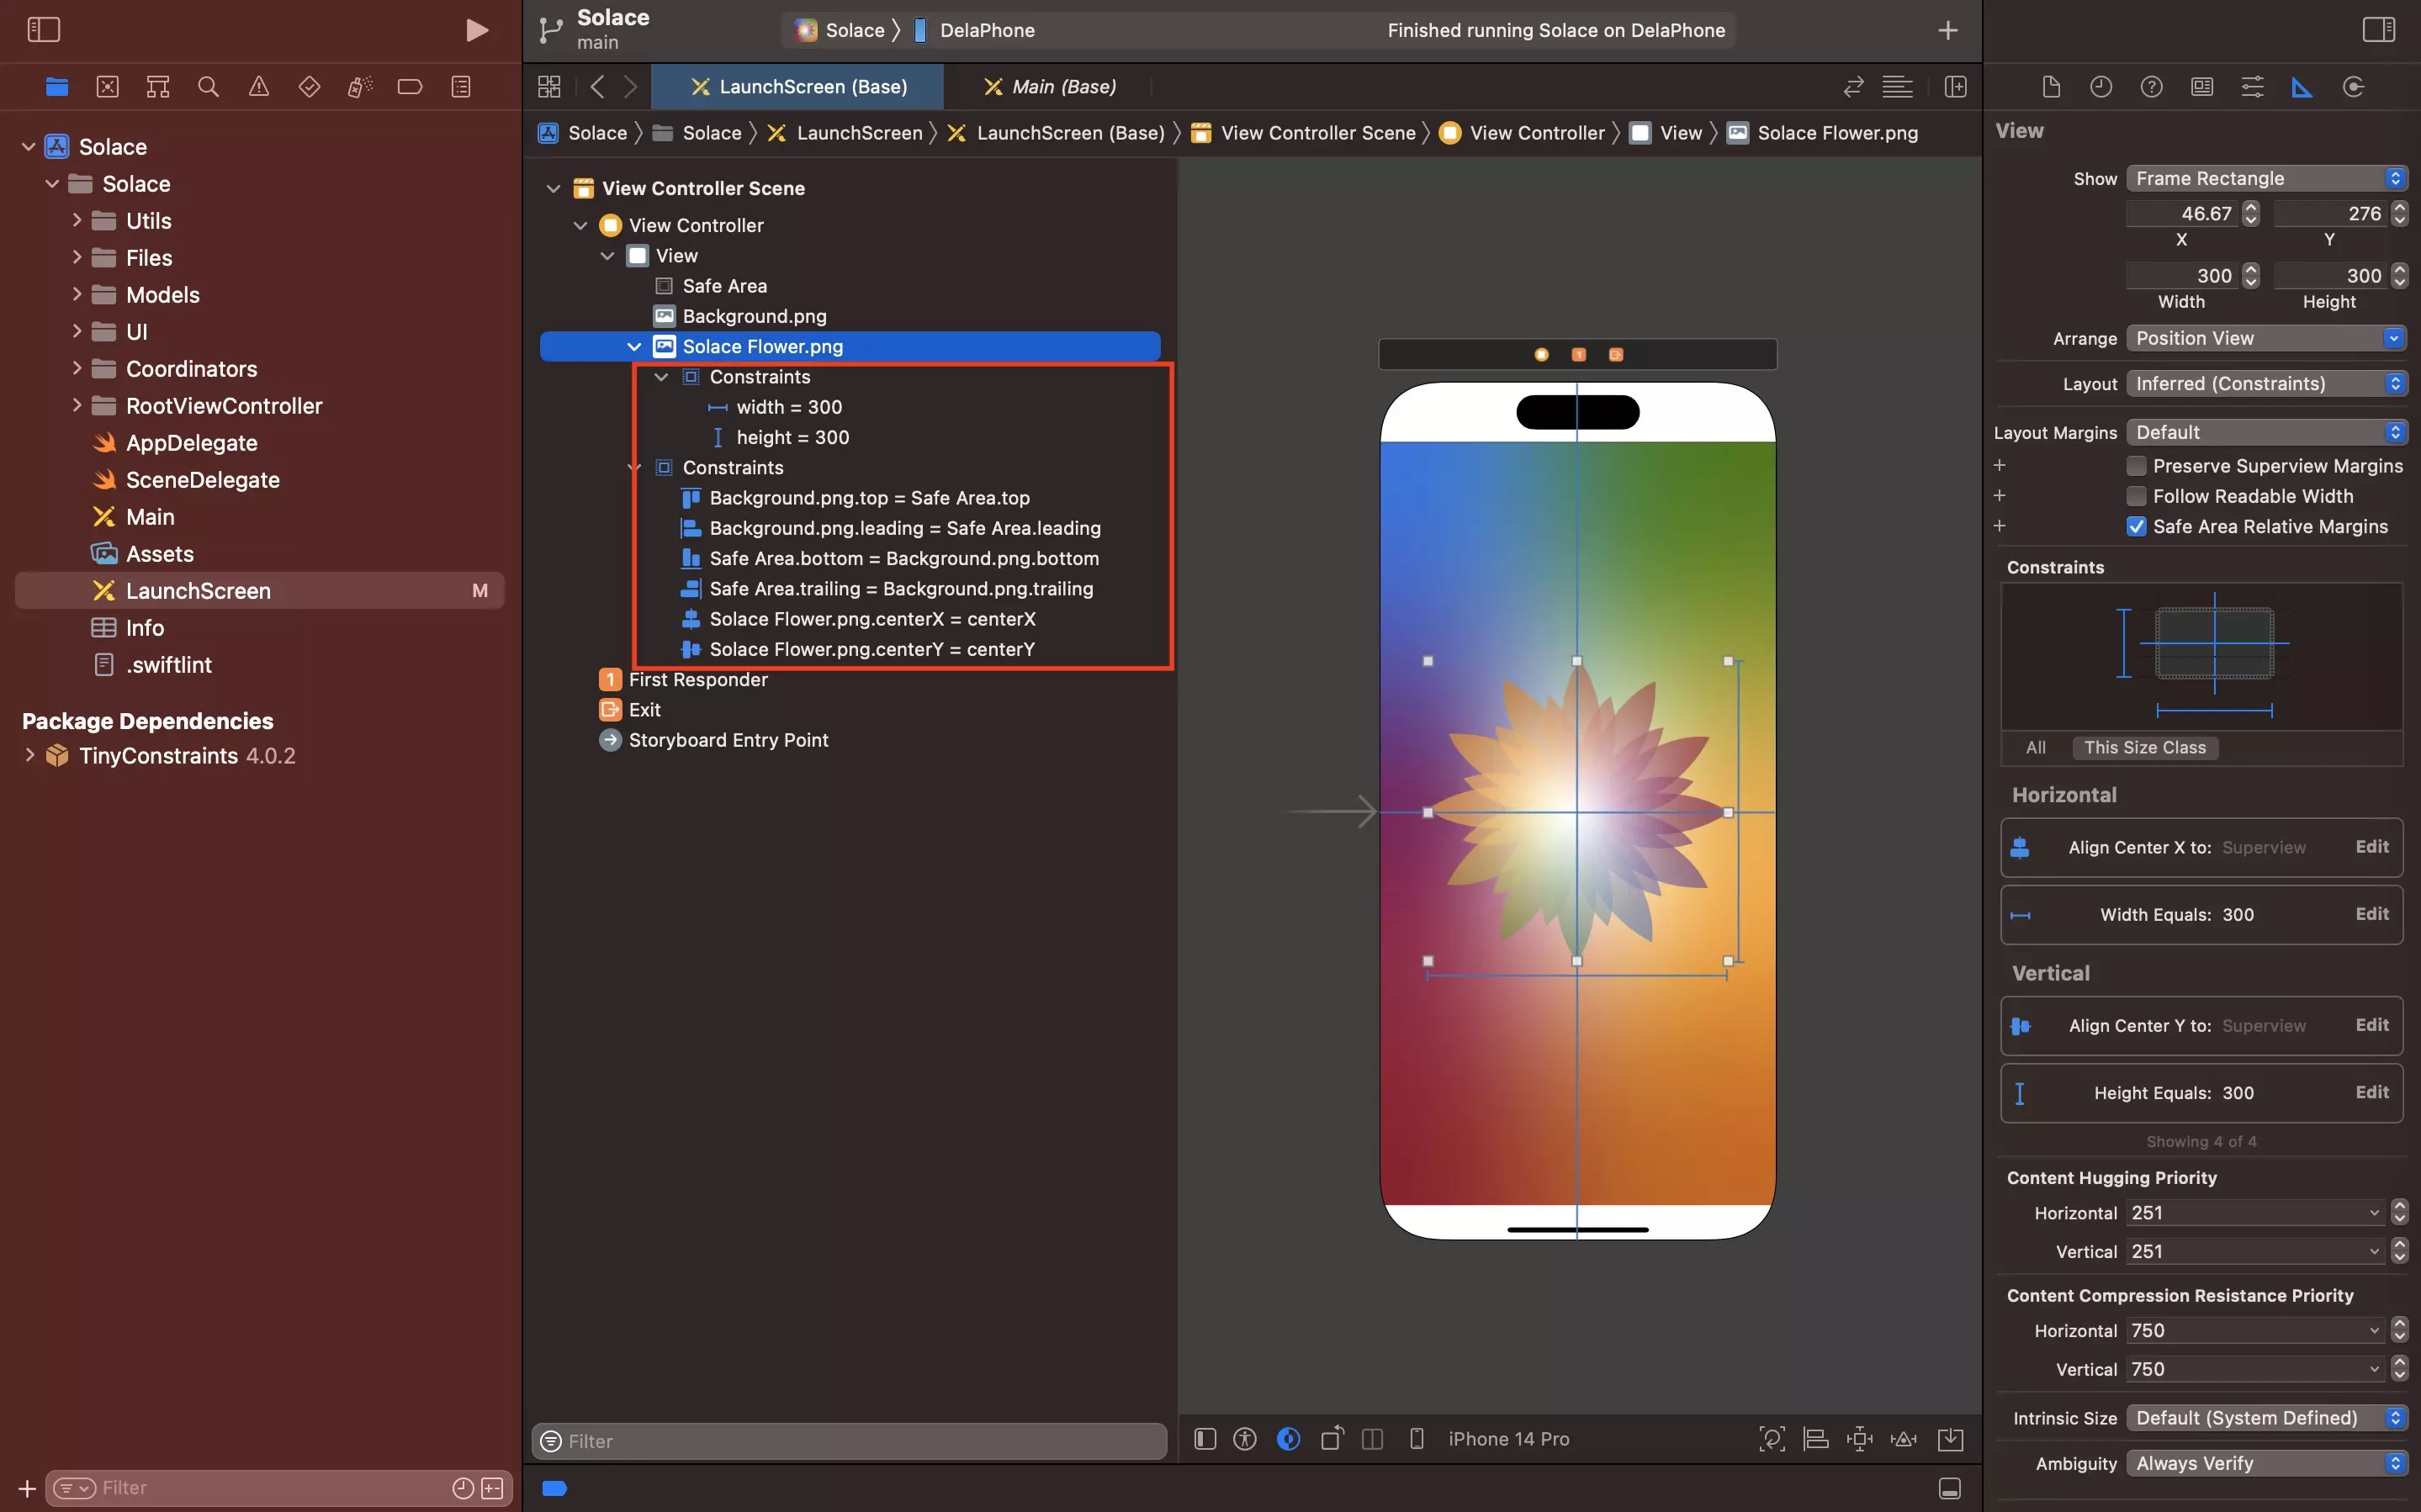
All constraints will appear on the Storyboard inspector, either under a views Constraints or within the UI components Constraints.

Any Questions?

We are actively looking for feedback on how to improve this resource. Please send us a note to inquiries@delasign.com with any thoughts or feedback you may have.
SubscribeContact UsVisit our BlogView our ServicesView our Work

Partner with us

We would love to get to know you and see how we can help your organization with its goals and needs.
Let's Talk

Stay Informed

Get occasional updates about our company, research, and product launches.
Subscribe