How to upgrade to GA4 from Universal Analytics with GatsbyJS
The following step by step tutorial walks you through how to upgrade to a Google Analytics 4 Property and implement it into an existing GatsbyJS project.


The following step by step tutorial walks you through how to upgrade to a Google Analytics 4 Property and implement it into an existing GatsbyJS project.
Step One: Navigate to your project within to Google Analytics
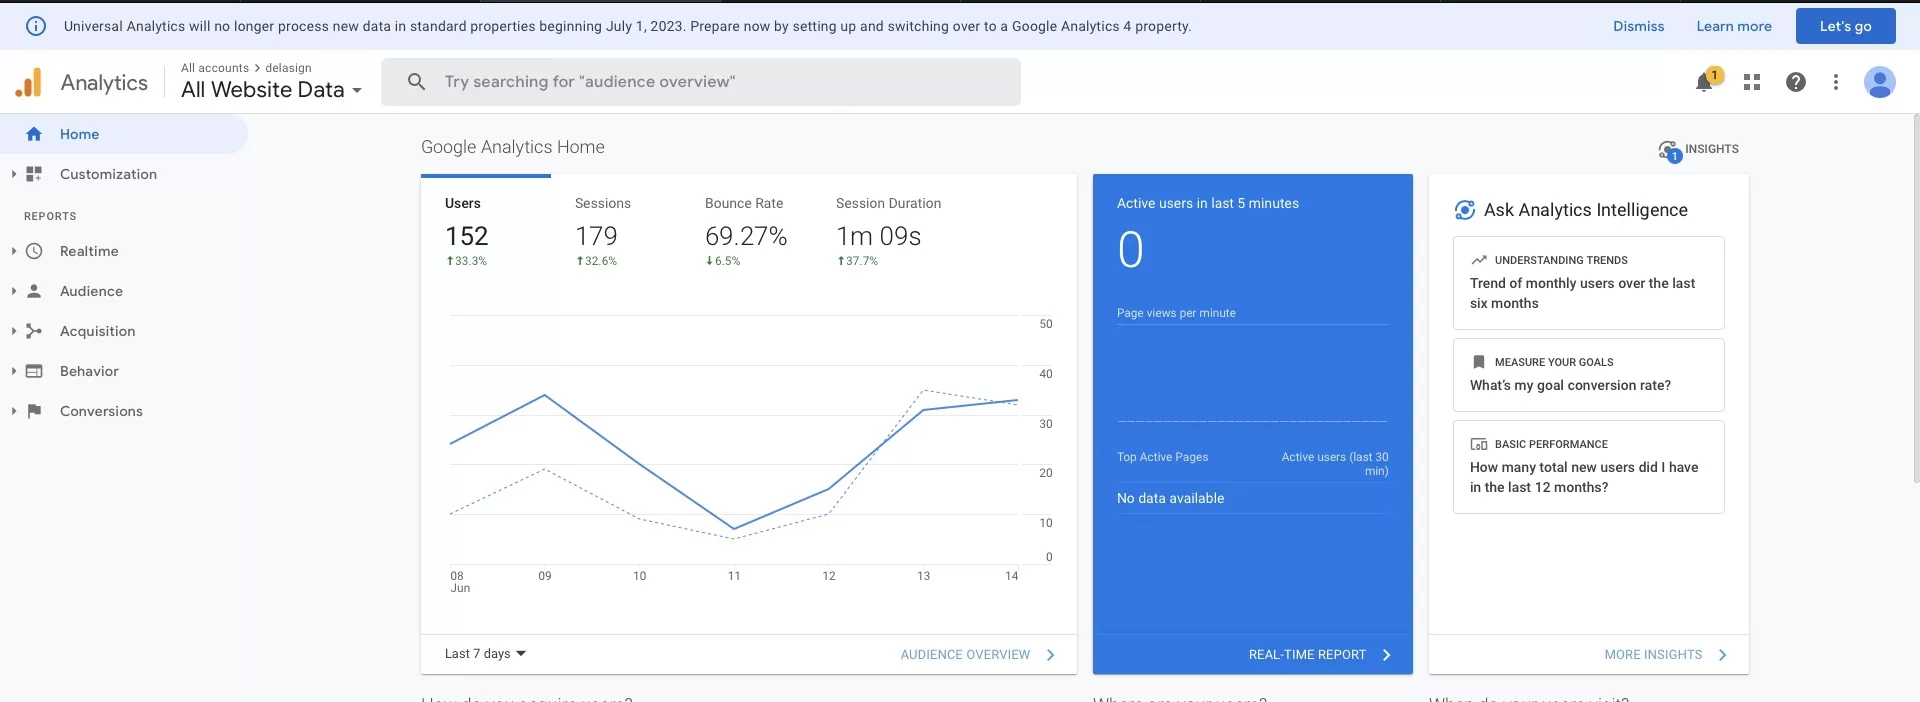
Go to Google Analytics and find your property.
Step Two: Navigate to Admin for your project
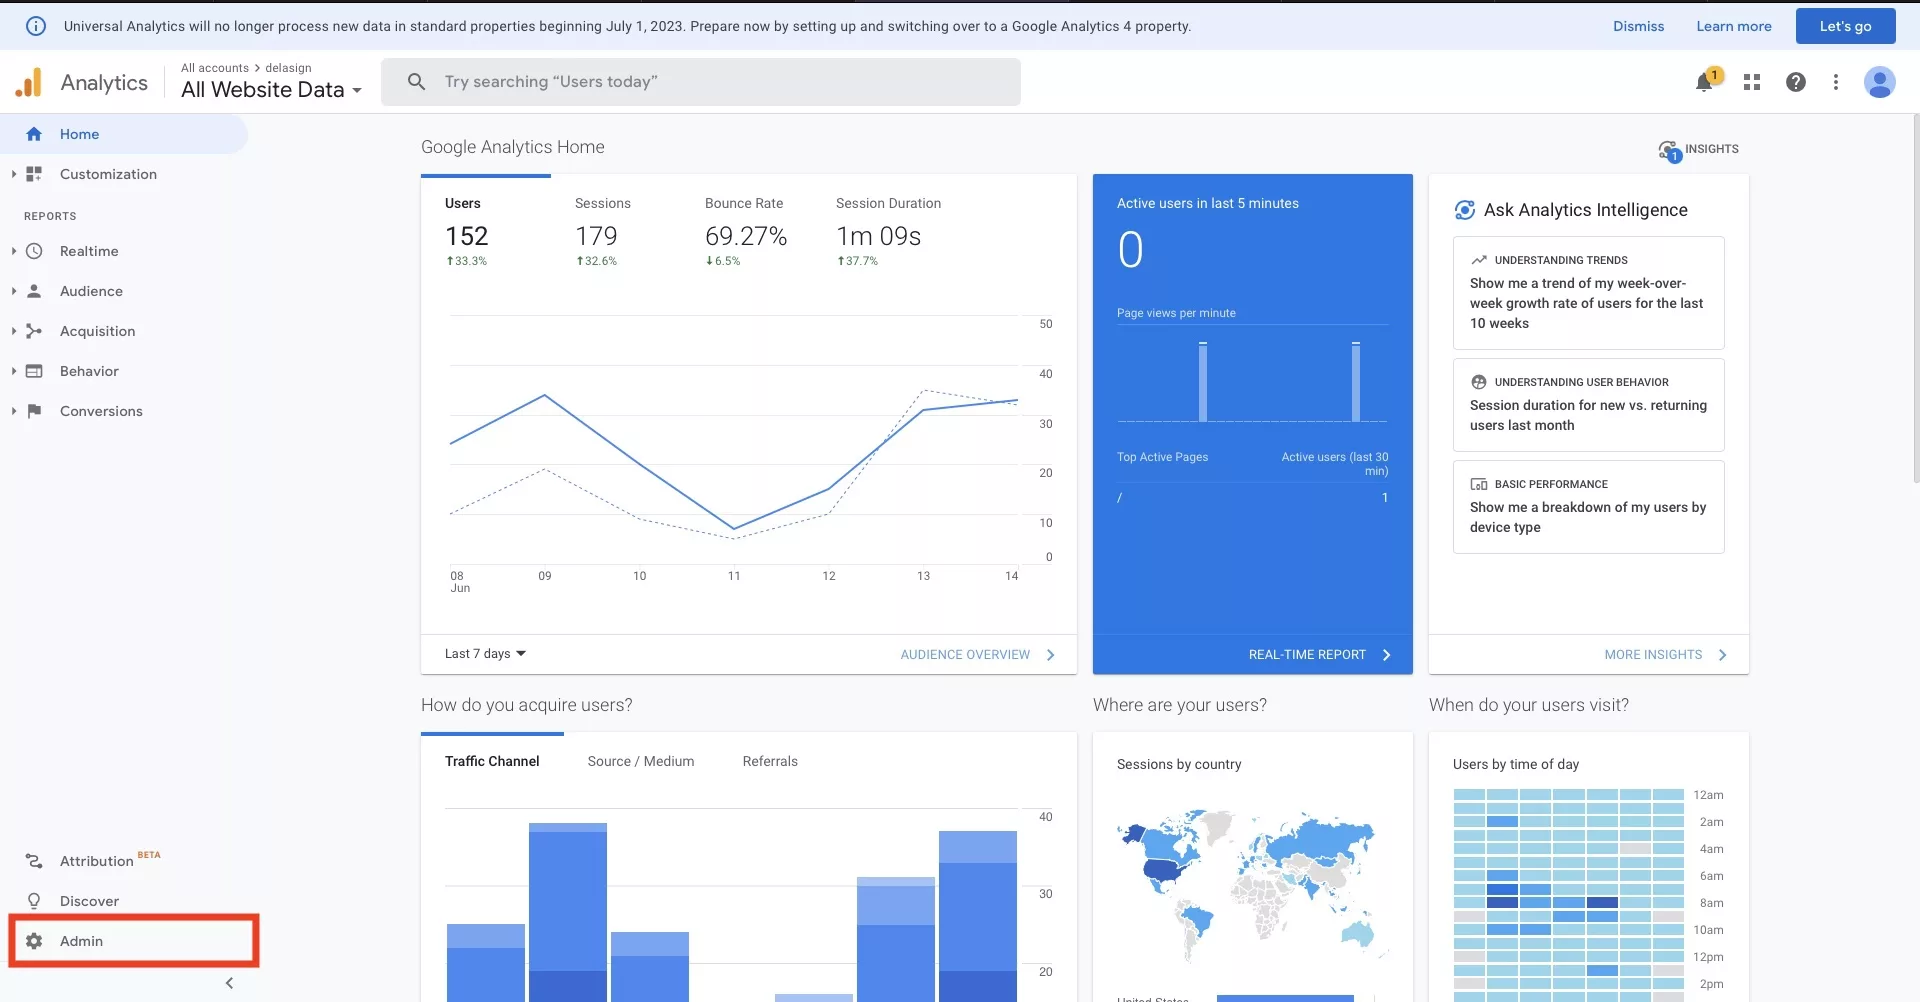
Select Admin on the bottom left.
Step Three: Select GA4 Setup Assistant
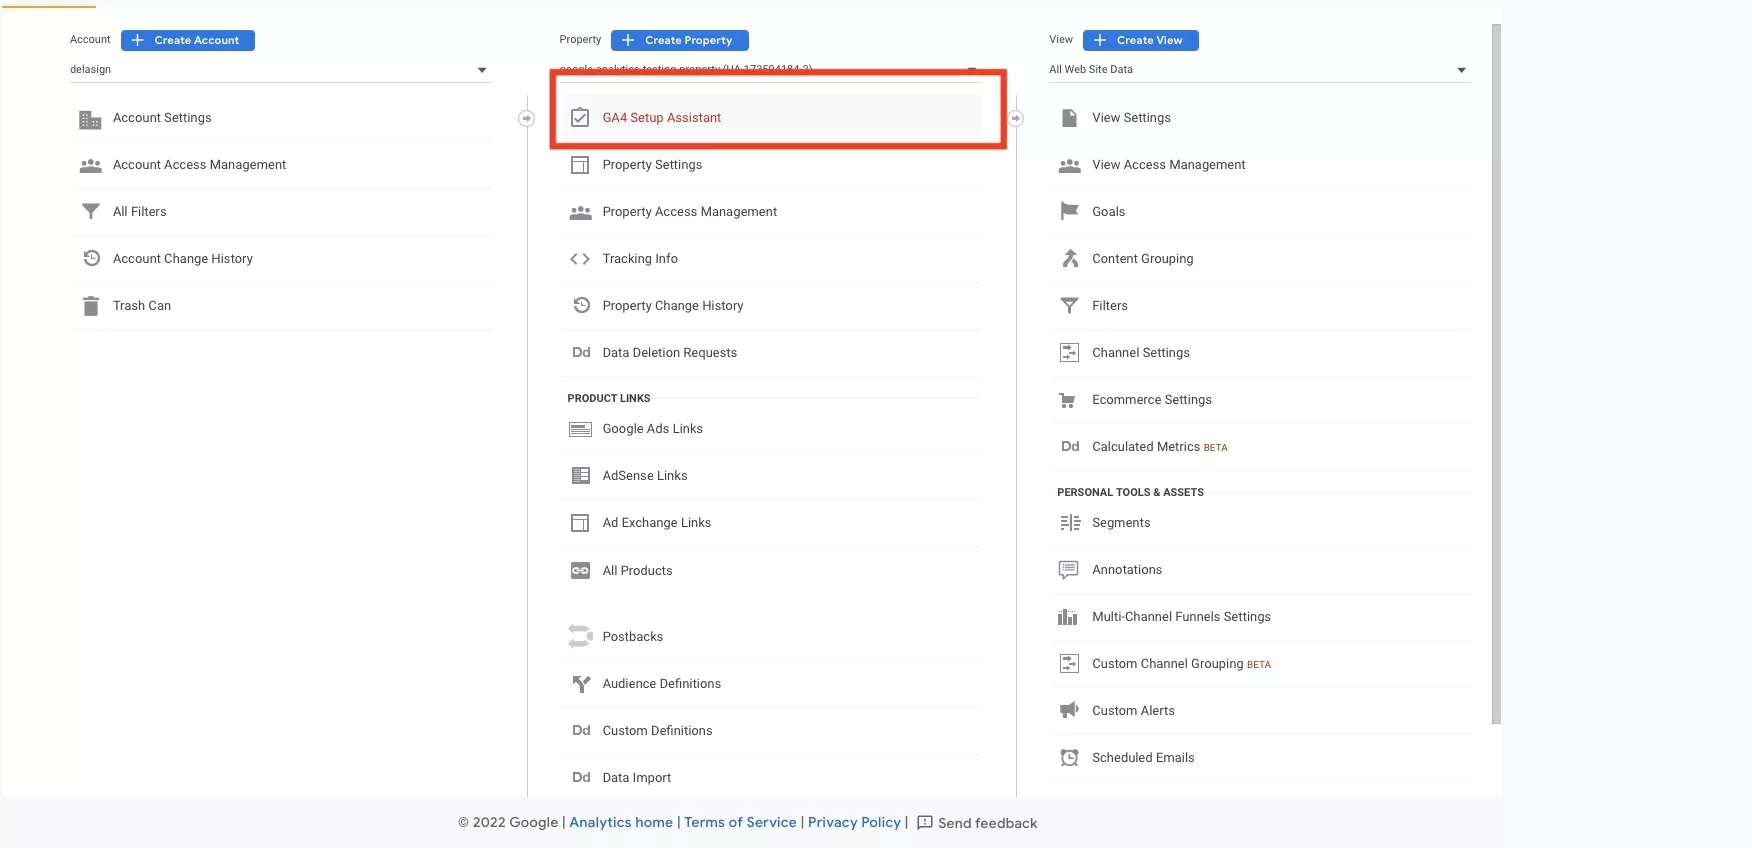
In the Admin page for your project, select GA4 Setup Assistant.
Step Four: Select Get Started
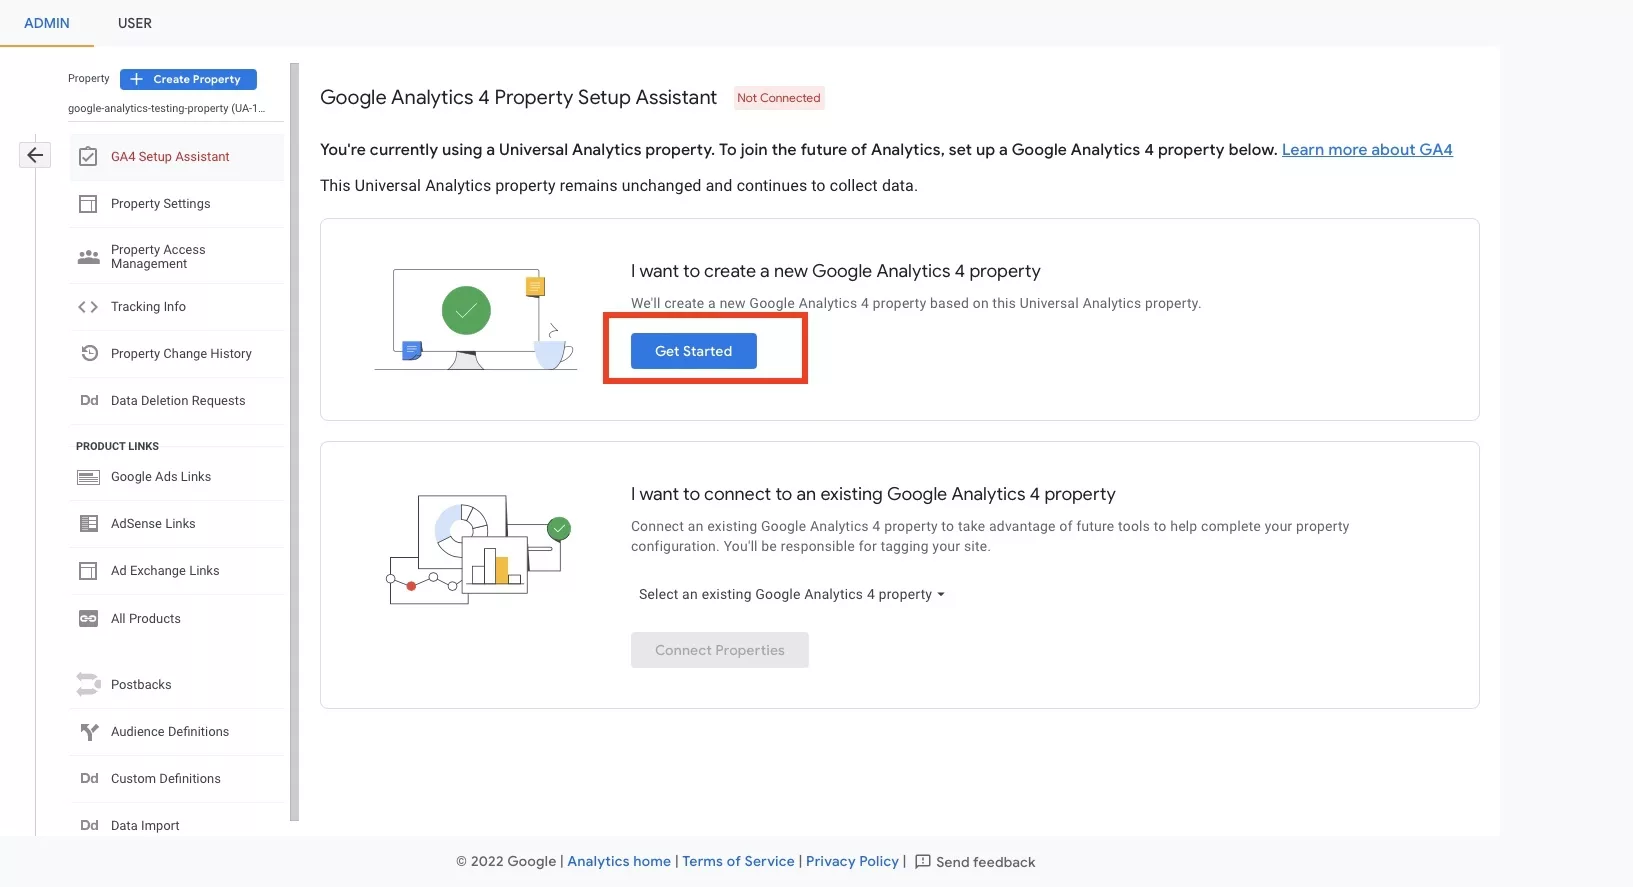
In the page that appears, select Get Started under I want to create a new Google Analytics 4 property.
Step Five: Select Create Property
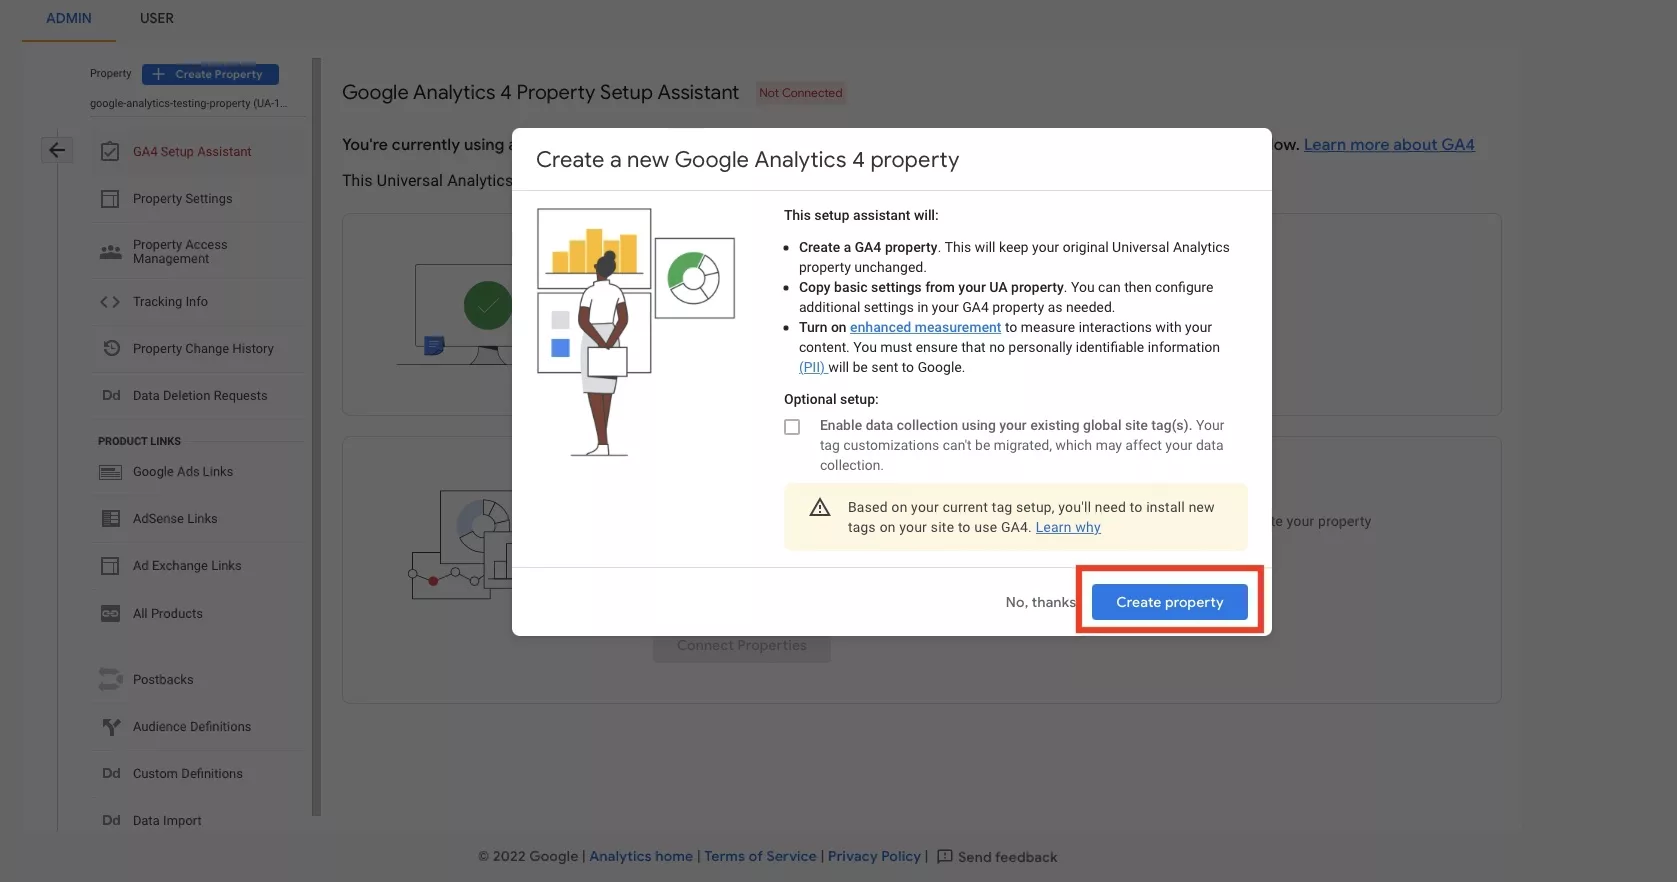
In the pop up that appears, select Create Property.
Please note that you can enable data collection using your existing global site tags as shown in the visual but eventually this data would disappear and we recommend using two analytics providers in the year between the migration from UA to GA4.
Step Six: Select Go to your GA4 property
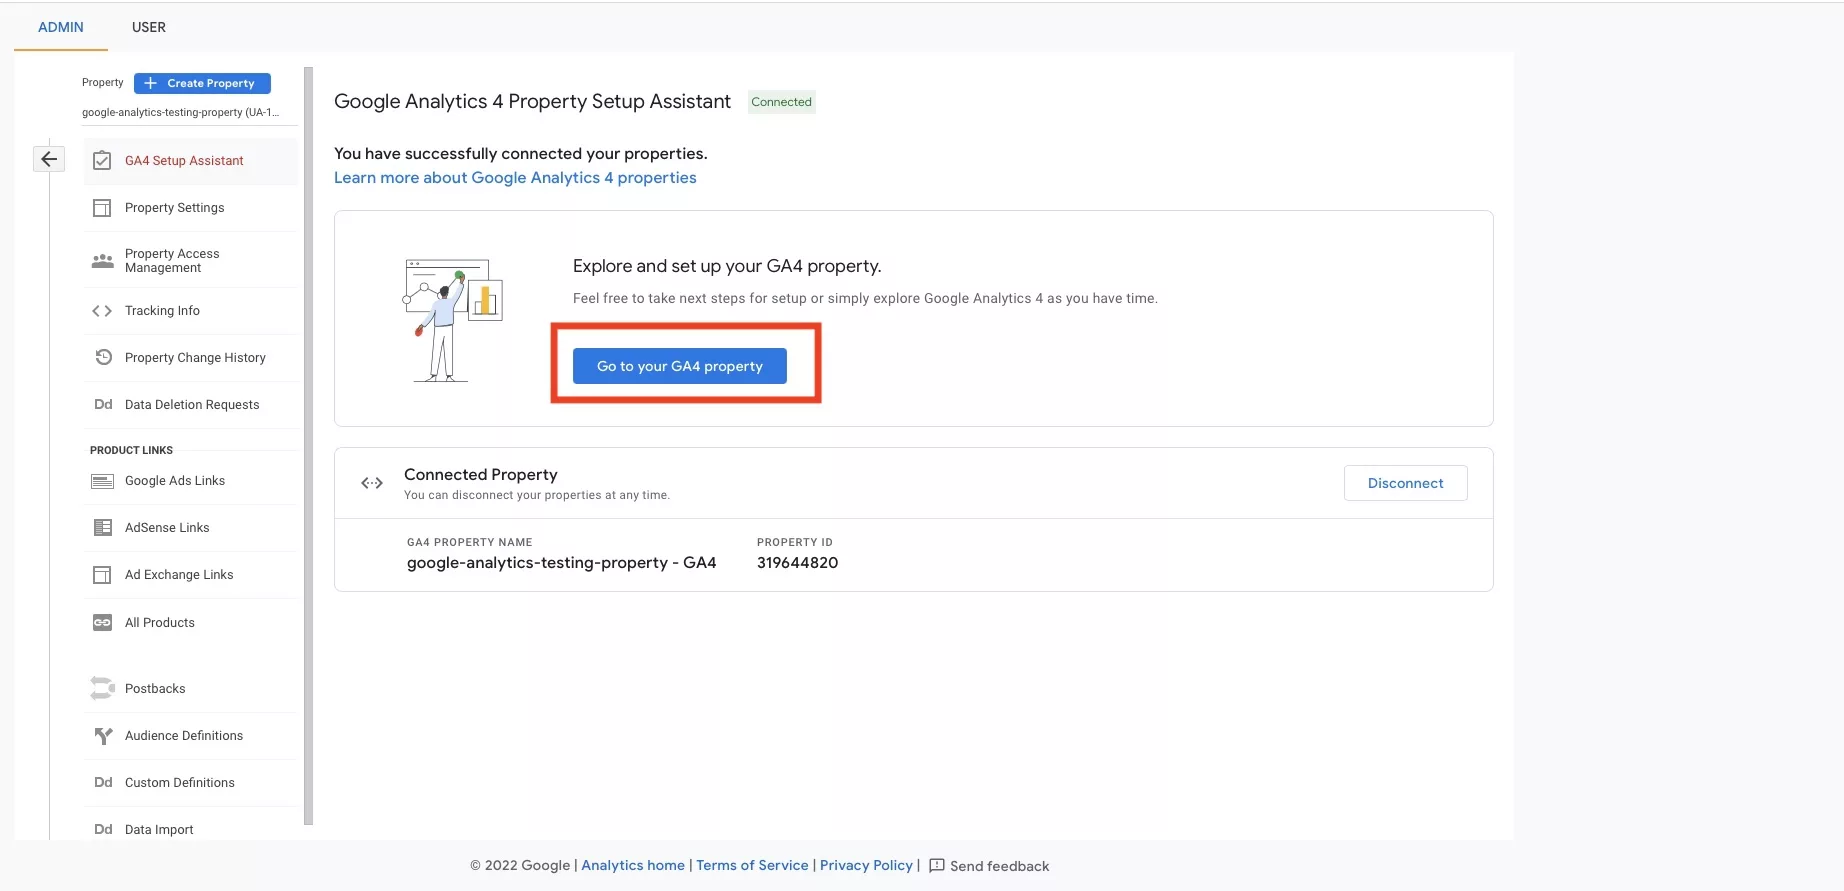
In the page that appears, select Go to your GA4 Property.
Step Seven: Select Data Streams from the Menu
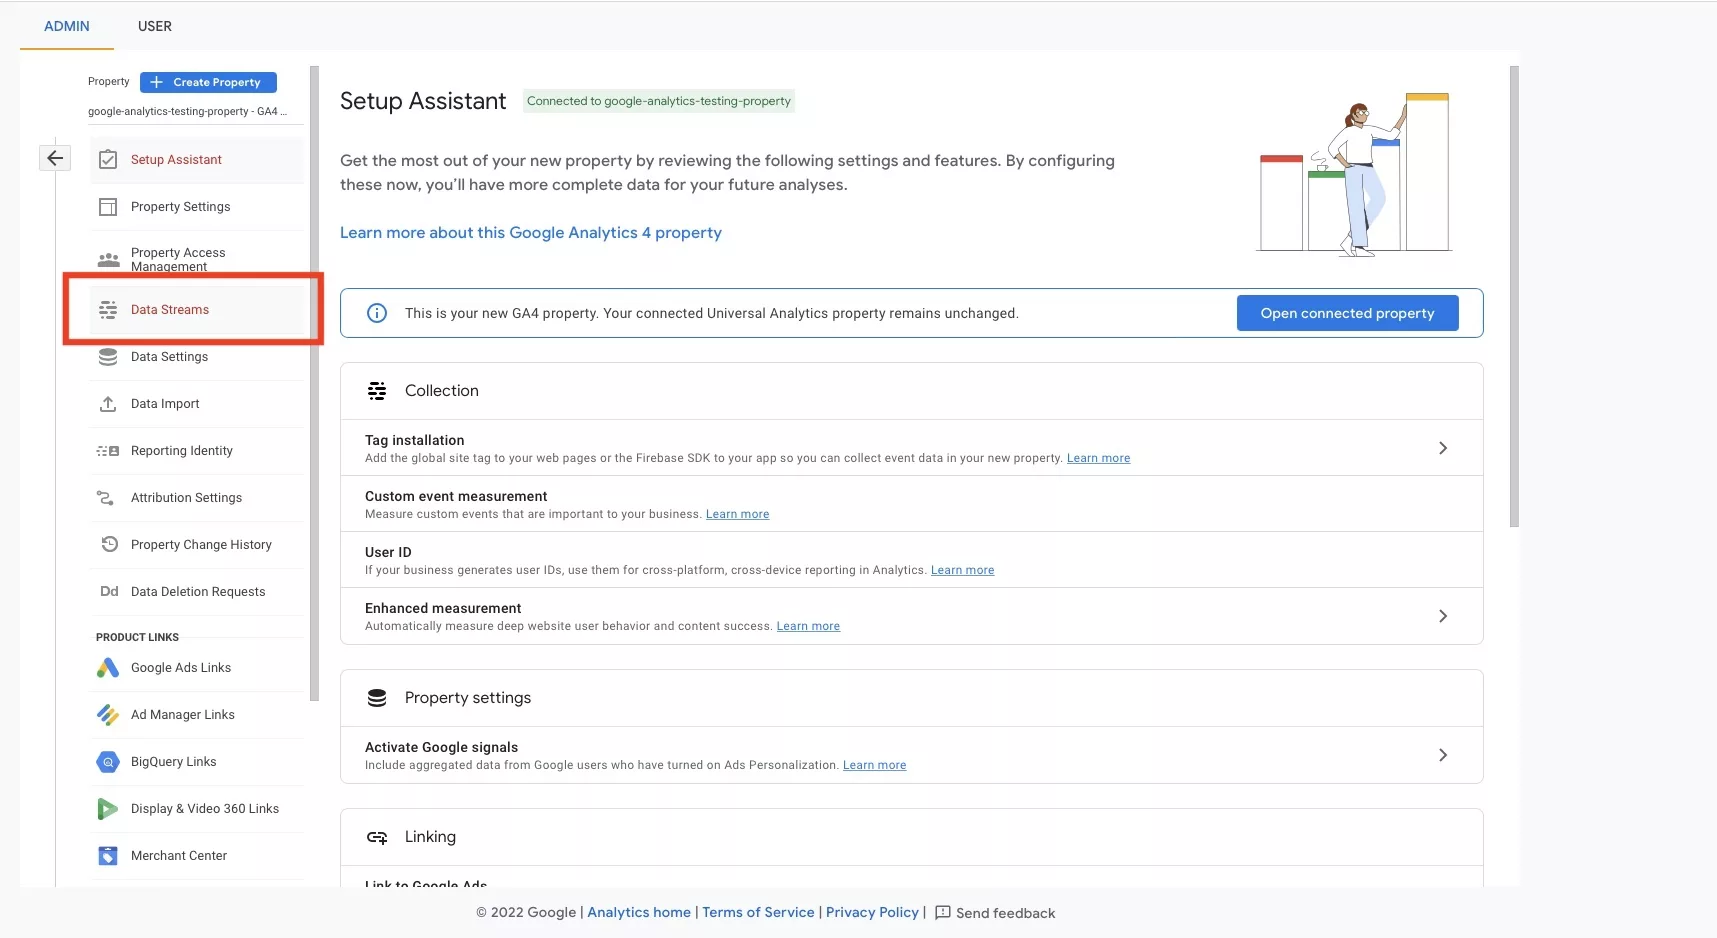
In the page that appears, select Data Streams from the menu under Setup Assistant.
Step Eight: Select your Data Stream
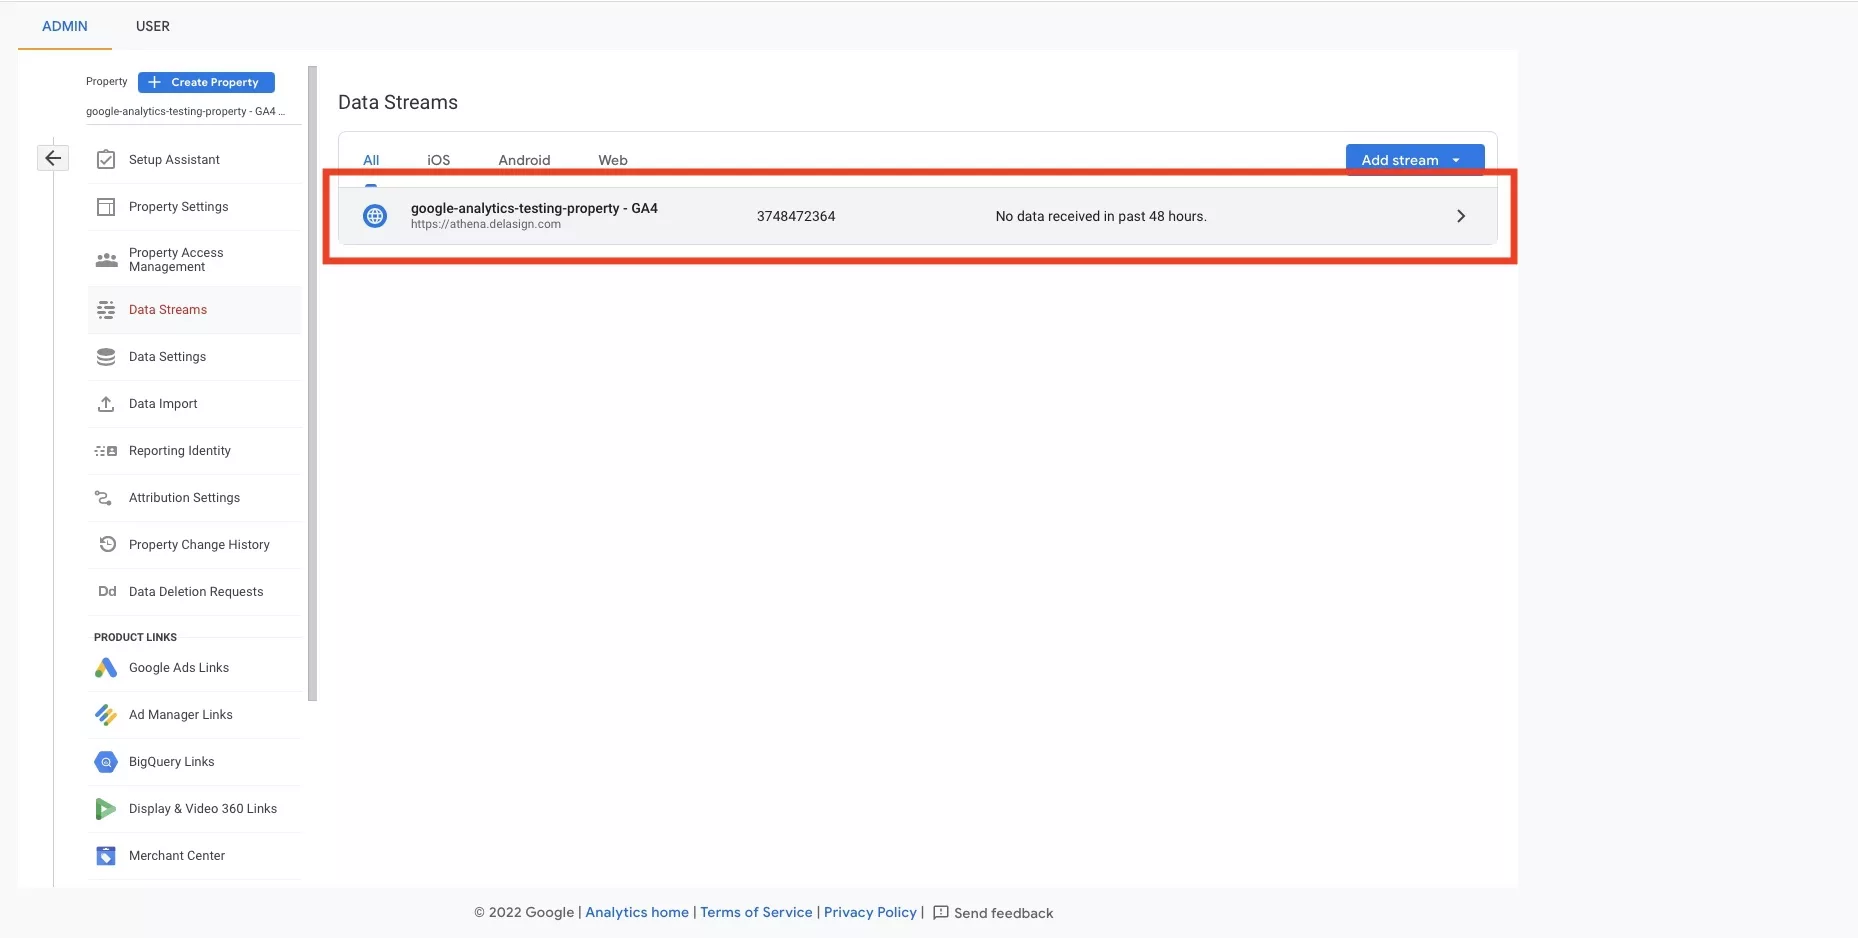
In the page that appears, select your Data Stream.
Step Nine: Copy your Property Identifiers
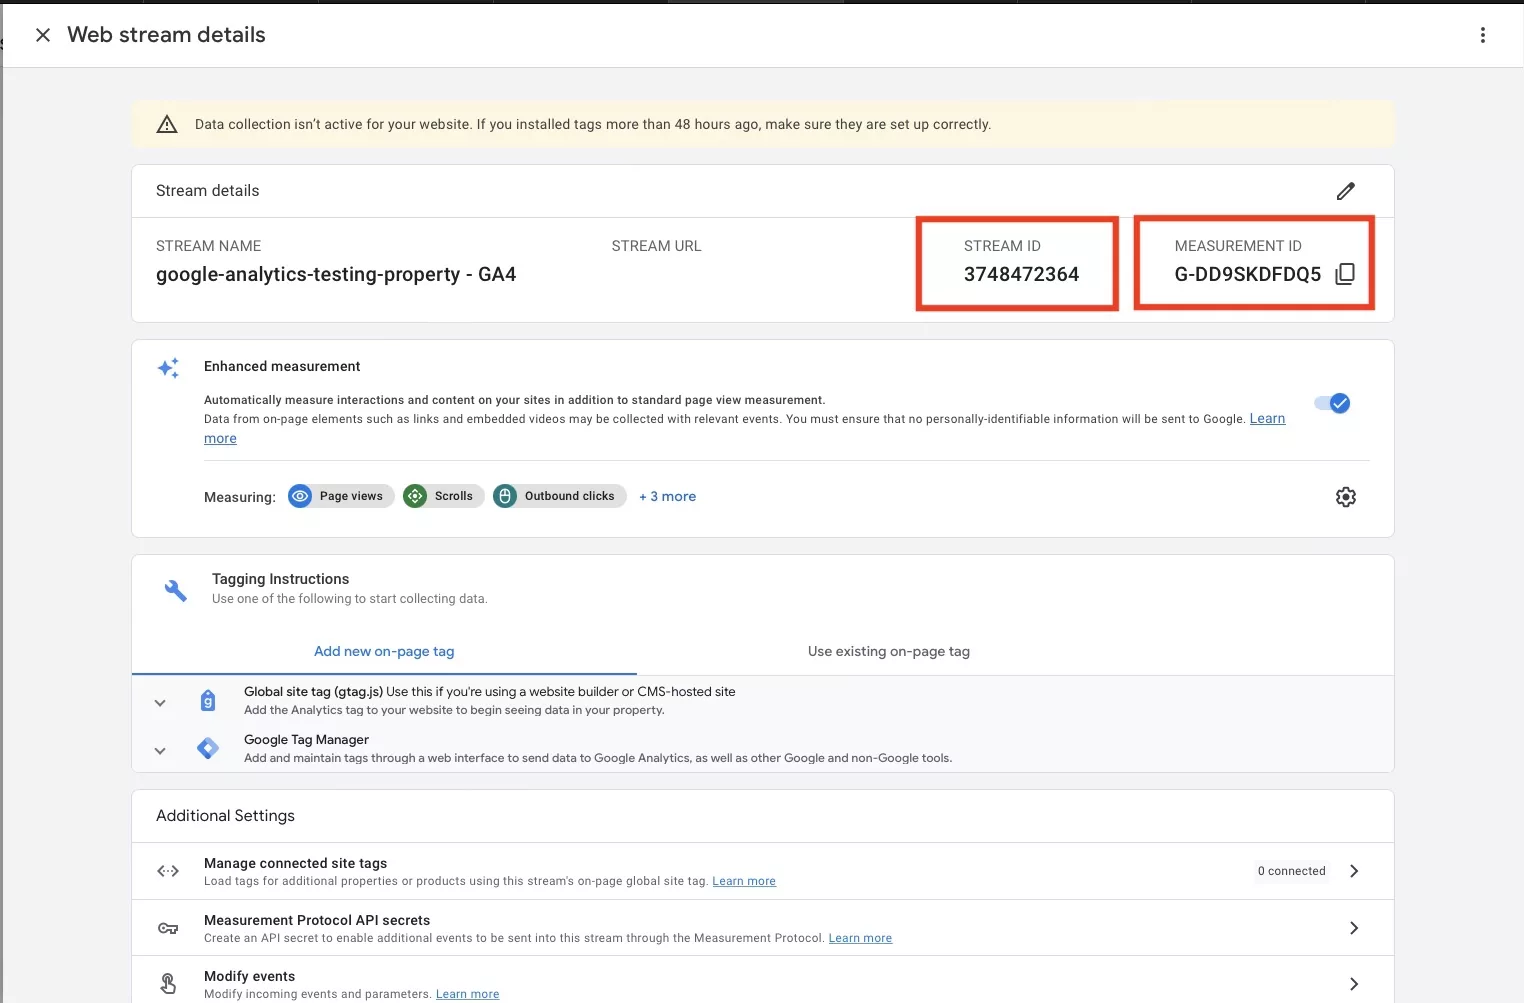
In the page that appears, copy your StreamId and MeasurementId.
Step Ten: Navigate to your GatsbyJS config & add your identifiers
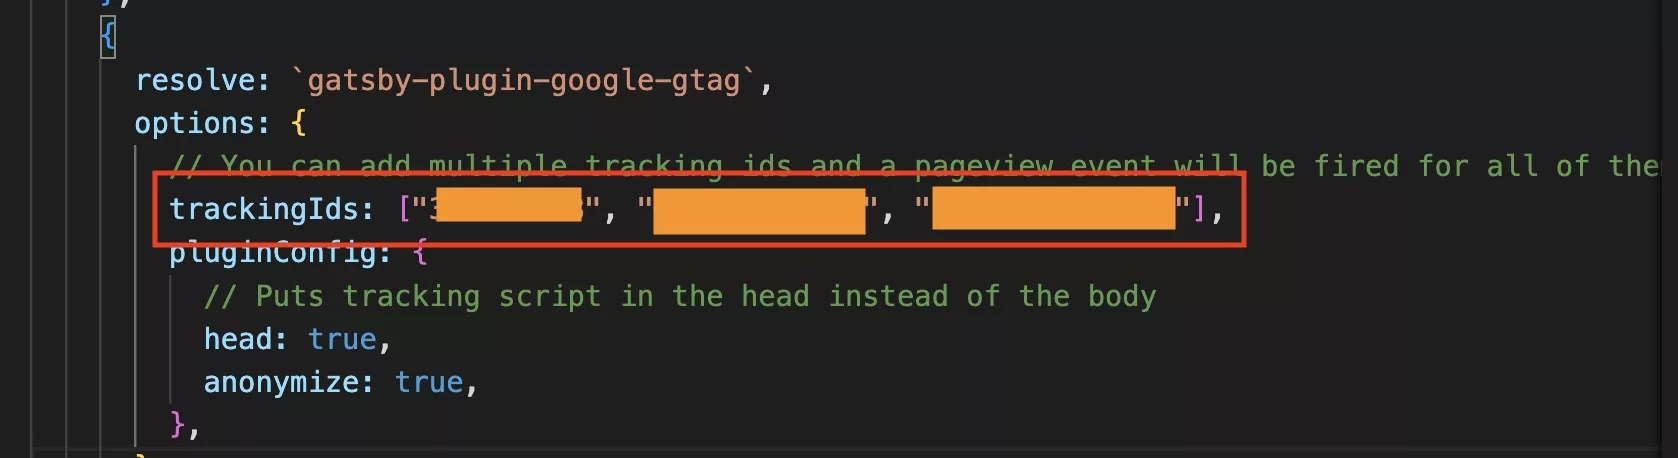
In your Gatsby JS gatsby-config.js, under your gatsby-plugin-google-gtag plugin, add your Stream and Measurement Id's to the array of tracking Ids.
As demonstrated you can have multiple tracking Ids - and we recommend you keep your old UA Id for now.
Step Eleven: Deploy & Confirm
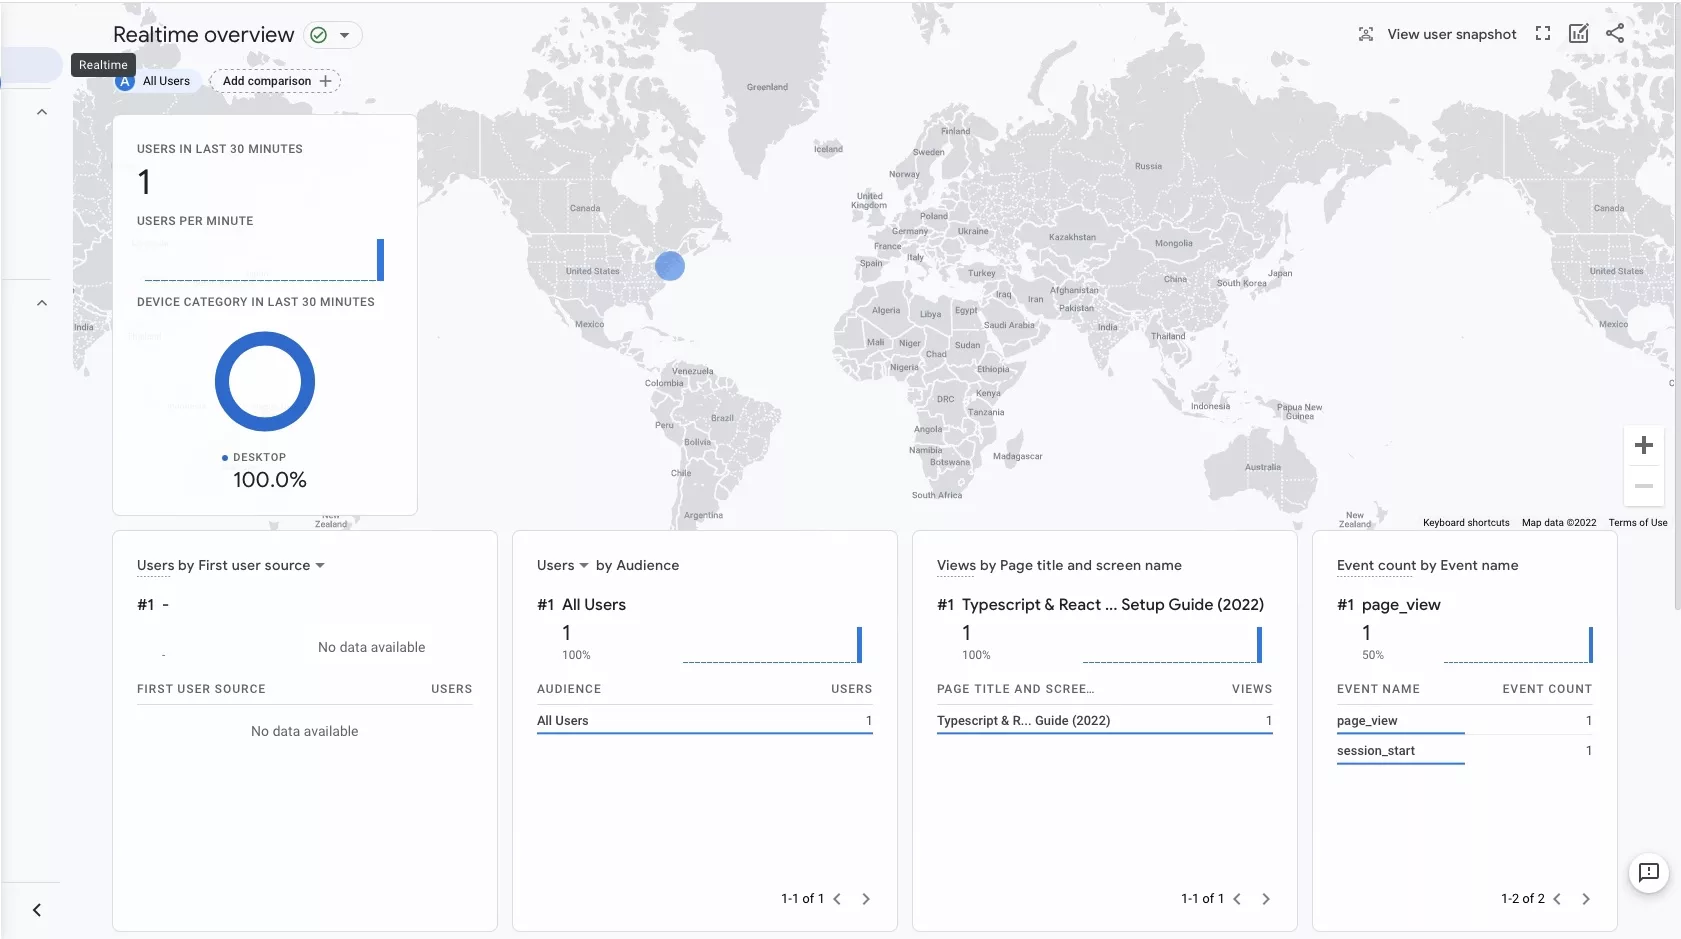
Deploy your code and confirm that it registers on your new GA4 Property.
Please be aware that Filters do not work with Google Analytics 4 Properties.

As can be seen by navigating to your filters in Google Analytics, Filters do not work for GA4 properties.
Any Questions?
We are actively looking for feedback on how to improve this resource. Please send us a note to inquiries@delasign.com with any thoughts or feedback you may have.