How to authenticate a reCAPTCHA token

A step by step guide on verifying that a reCAPTCHA v2 token came from a human and not a robot using Serverless, AWS Lambda and Typescript.

Oscar de la Hera Gomez
Written by Oscar de la Hera Gomez
First published on 08/07/2023 at 09:25
Last Updated on 08/07/2023 at 10:06
<p>Four flowers that represent AWS Lambda, Google reCAPTCHA, Typescript and Serverless side by side. Beneath them sits the text "reCAPTCHA Authentication."</p>

A step by step guide on verifying that a reCAPTCHA v2 token came from a human and not a robot using Serverless, AWS Lambda and Typescript.

Subscribe

The following tutorial demonstrates how to authenticate a token produced by reCAPTCHA v2 on the frontend, and which is sent to the backend via an API call for authentication.

If you are seeking to setup reCAPTCHA v2 on a react front-end, please complete the tutorial linked below before carrying out this portion.

How to add reCAPTCHA protection to a GatsbyJS or ReactJS projectStandardized responses in Typescript & Serverless

This tutorial makes use of functionality that is available on our Typescript and Serverless Starter Project. If you are seeking to jumpstart the process, please consult the tutorial below.

PLEASE NOTE THAT THIS CAN BE DONE ON THE FRONT-END BUT FOR SECURITY REASONS, WE STRONGLY RECOMMEND THAT YOU AUTHENTICATE A RECAPTCHA TOKEN ON THE BACKEND VIA AN API.

How to create a Typescript Serverless project

Step One: Gather the Secret Key

<p>A screenshot of Google's reCAPTCHA website showing settings page for a configured site. Highlighted is the open “reCAPTCHA keys” section that shows how you can copy the SITE KEY and SECRET KEY.</p>

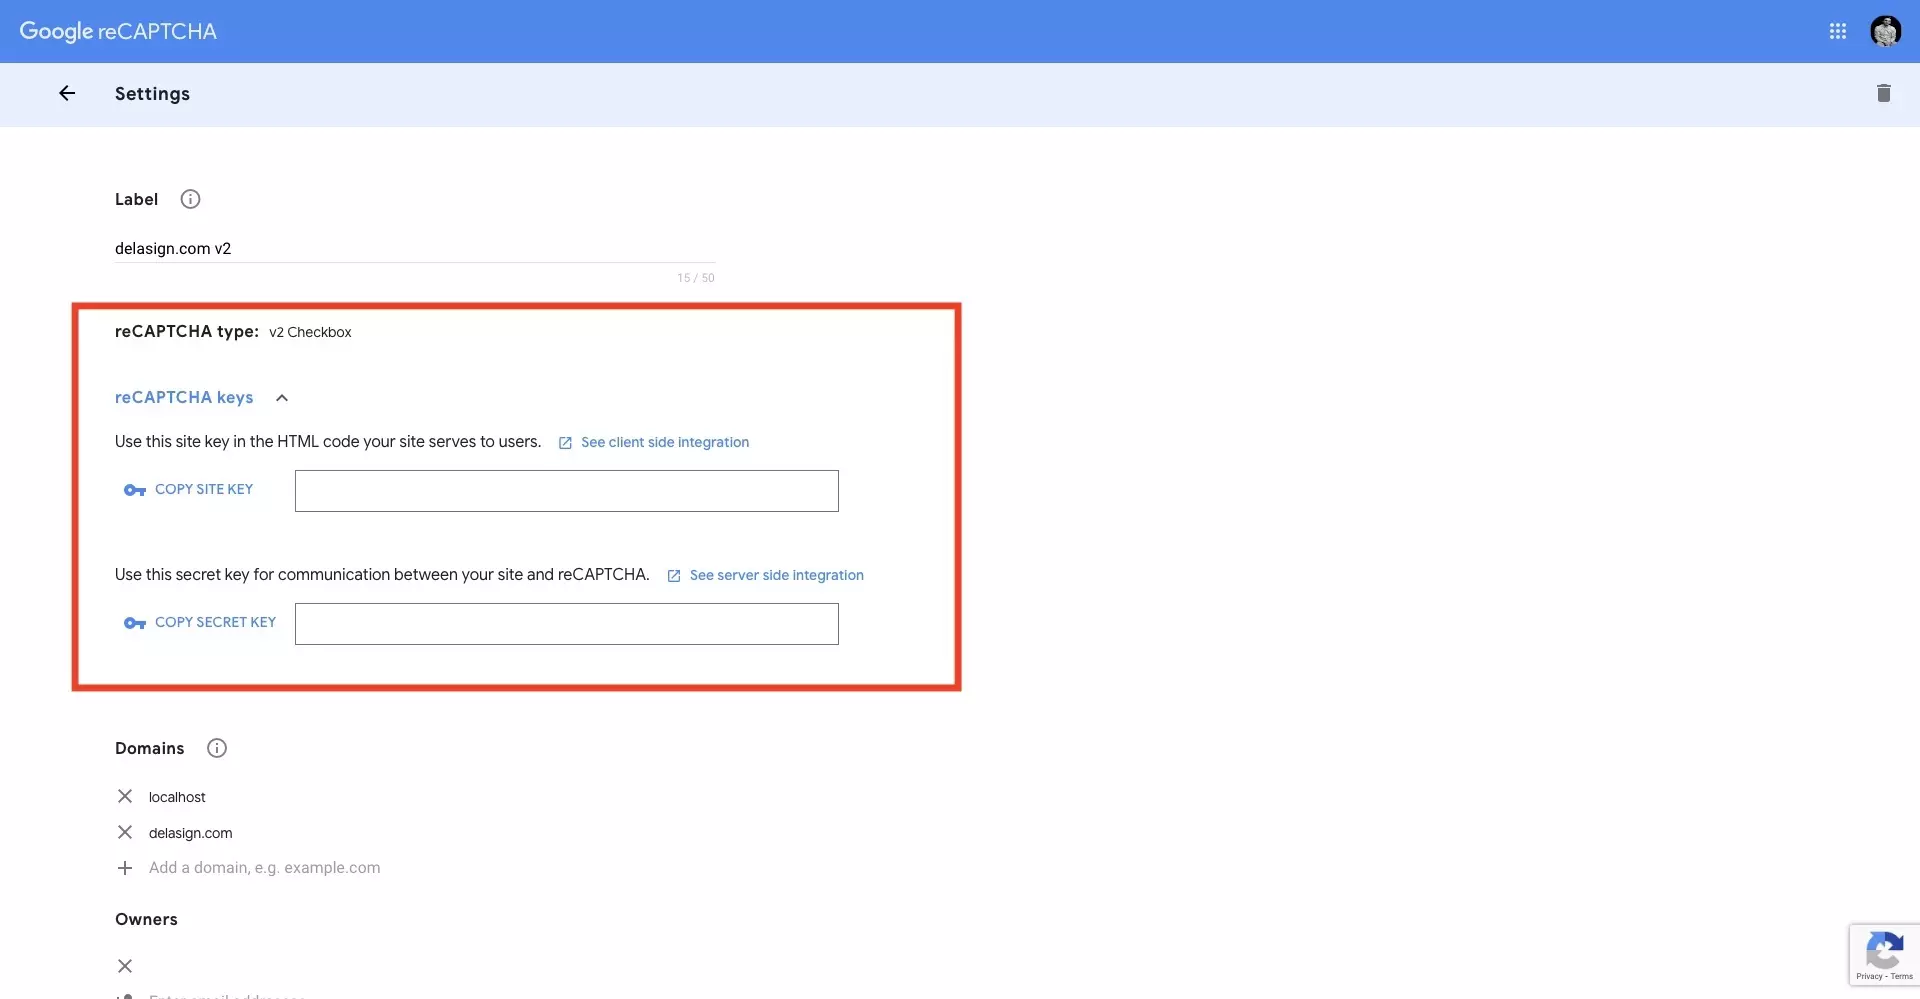
In the reCAPTCHA website, under the settings of your site copy the SECRET KEY.

Visit the reCAPTCHA website

Step Two: Add the Environment Variable

<p>A screenshot of a VSCode serverless.yml file showing how we added the SECRET KEY as an environment variable.</p>

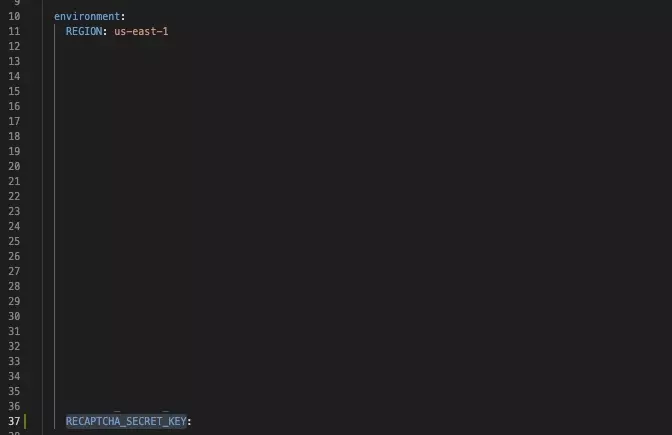
Add the SECRET KEY to your projects environment variables.

How to create and use environment variables in Typescript & Serverless

Step Three: Add the Dependencies

<p>A screenshot of Terminal showing how Axios was added to the project dependencies.</p>

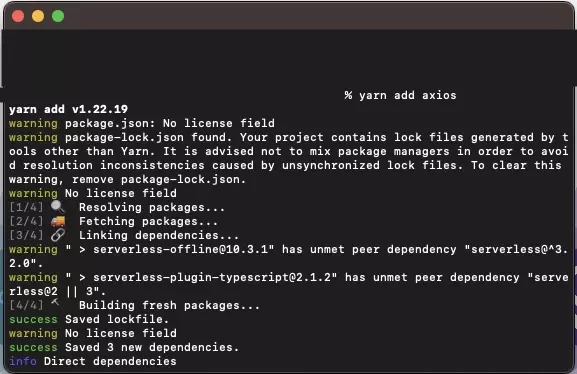
In Terminal, with the directory set to that of the project, add the axios dependency using the code below:

yarn add axios
Discover the Axios NPM package

Step Four: Authenticate the Token

<p>A screenshot of VSCode showing the function that is available below that we use to authenticate the token.</p>

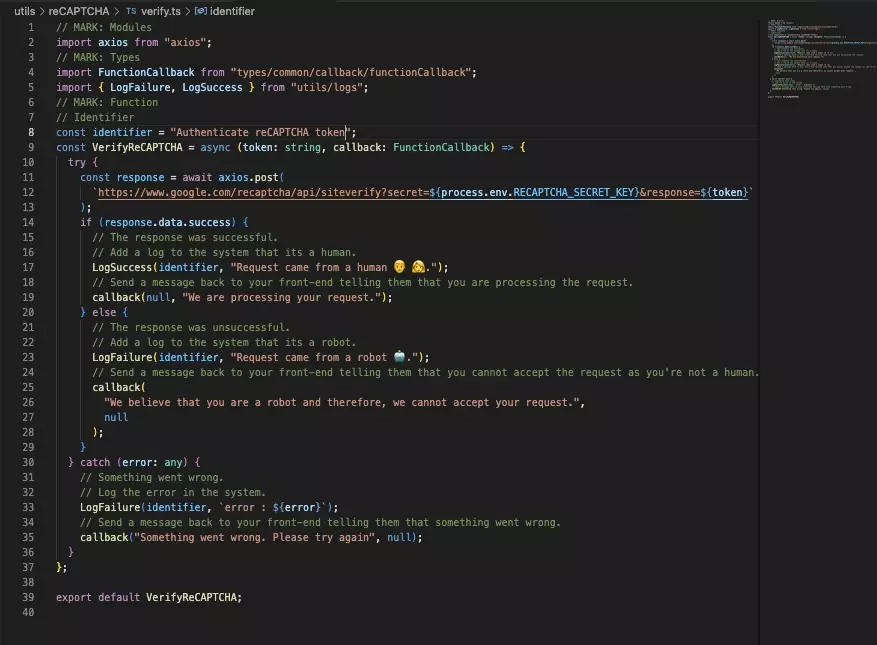
In your project, authenticate the token using a function similar to the one below.

To learn more about our logging system, consult the article below.

Learn more about our Typescript & Serverless Log System

Step Five: Test

<p>A screenshot of AWS Cloudwatch logs showing that the token was authenticated successfully and that the request came from a human.</p>

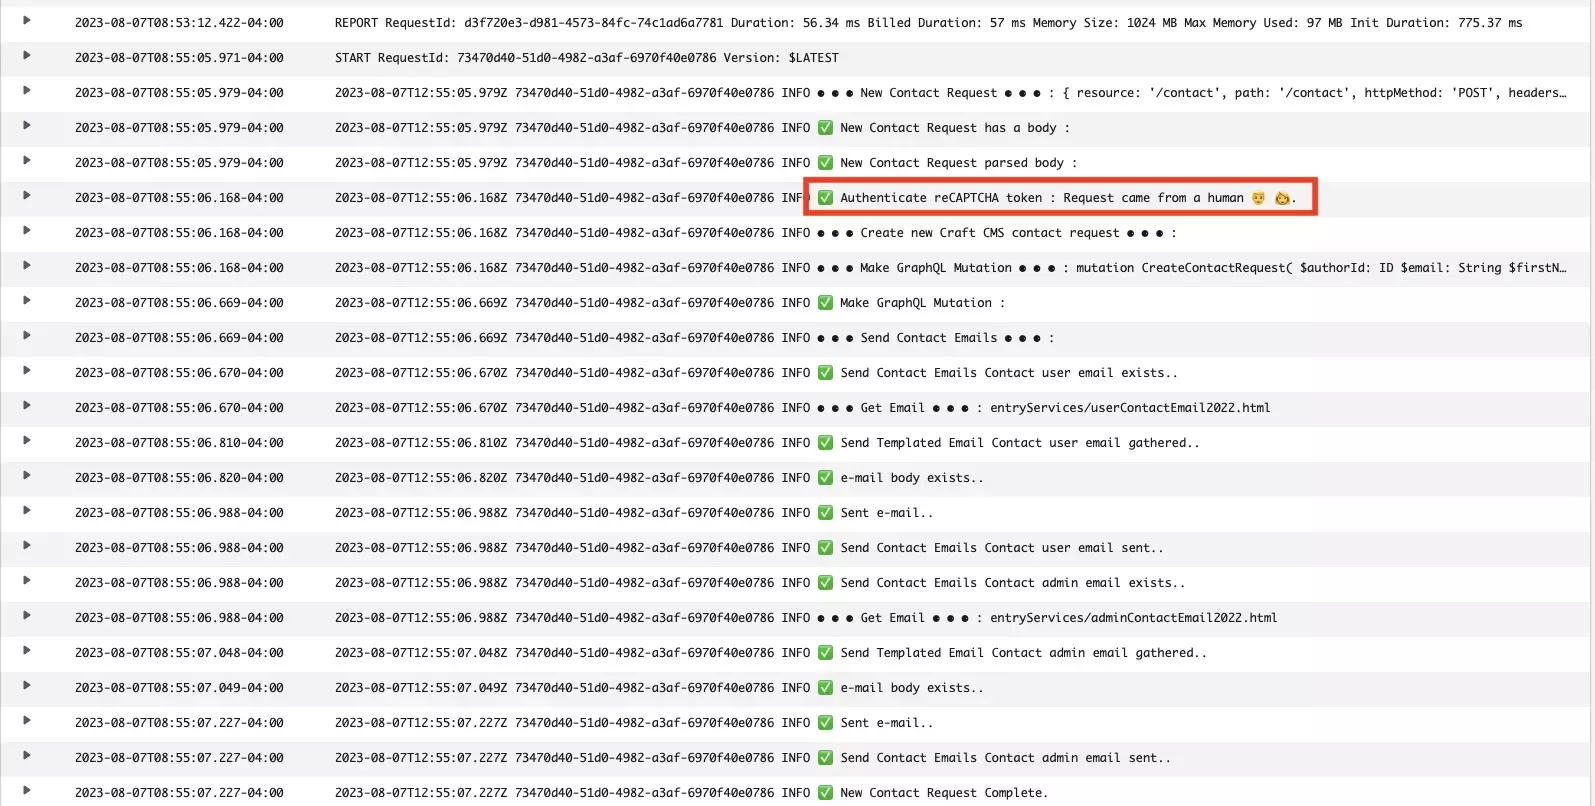
AWS Cloudwatch logs from our contact lambda function demonstrating that the reCAPTCHA authentication was successful and that the request was made by a human.

Deploy and test the reCAPTCHA.

View the Lambda AWS Cloudwatch logs of your function to confirm that the reCAPTCHA token authentication was successful.

How to deploy a Serverless project to AWSHow to view logs from Lambda functions in AWS

Any Questions?

We are actively looking for feedback on how to improve this resource. Please send us a note to inquiries@delasign.com with any thoughts or feedback you may have.
SubscribeContact UsVisit our BlogView our ServicesView our Work

Partner with us

We would love to get to know you and see how we can help your organization with its goals and needs.
Let's Talk

Stay Informed

Get occasional updates about our company, research, and product launches.
Subscribe