How to recognize voice commands in Swift

A step by step guide on using iOS speech recognition to trigger intents based on voice commands in Swift.

Oscar de la Hera Gomez
Written by Oscar de la Hera Gomez
First published on 02/01/2023 at 15:30
Last Updated on 02/03/2023 at 12:36
Two flowers that represent Swift and Xcode side by side. Beneath them sits the text "Voice Commands."

A step by step guide on using iOS speech recognition to trigger intents based on voice commands in Swift.

The following tutorial builds off our Speech Recognition tutorial which can be accessed using the link below.

SubscribeHow to setup Speech Recognition in Swift

We recommend that you clone our Open Source Swift Starter Project, checking out the tutorial/voice-loop branch and carrying out the steps below. The changes can be found on the tutorial/voice-commands branch.

Please note that if you do this you can jump to Step Three.

git clone git@github.com:delasign/swift-starter-project.git
View RepositoryHow to create a SwiftLint enabled Swift XCode projectSearch our blog for other Swift tutorials

Step One: One: Setup Speech Recognition

A screenshot of Xcode showing "Hello World" on the terminal. This was created using the code in this tutorial and demonstrates that the SpeechCoordinator works.

Setup Speech Recognition by following Apple's tutorial or following the tutorial below.

How to setup speech recognition in SwiftView Apple's Recognizing Speech in Live Audio

Step Two: Setup Looping Speech Recognition

A screenshot of Xcode showing the looping functionality working.

Follow the tutorial to make the Speech Recognition Algorithm endlessly loop.

Please note that we have updated the restartTimeInterval to 60 seconds.

How to continuously start and stop speech recognition in Swift

Step Three: Create Voice Commands

A screenshot of Xcode highlighting the Speech folder and VoiceCommands.swift file that we created in this step. It also shows the code available below.

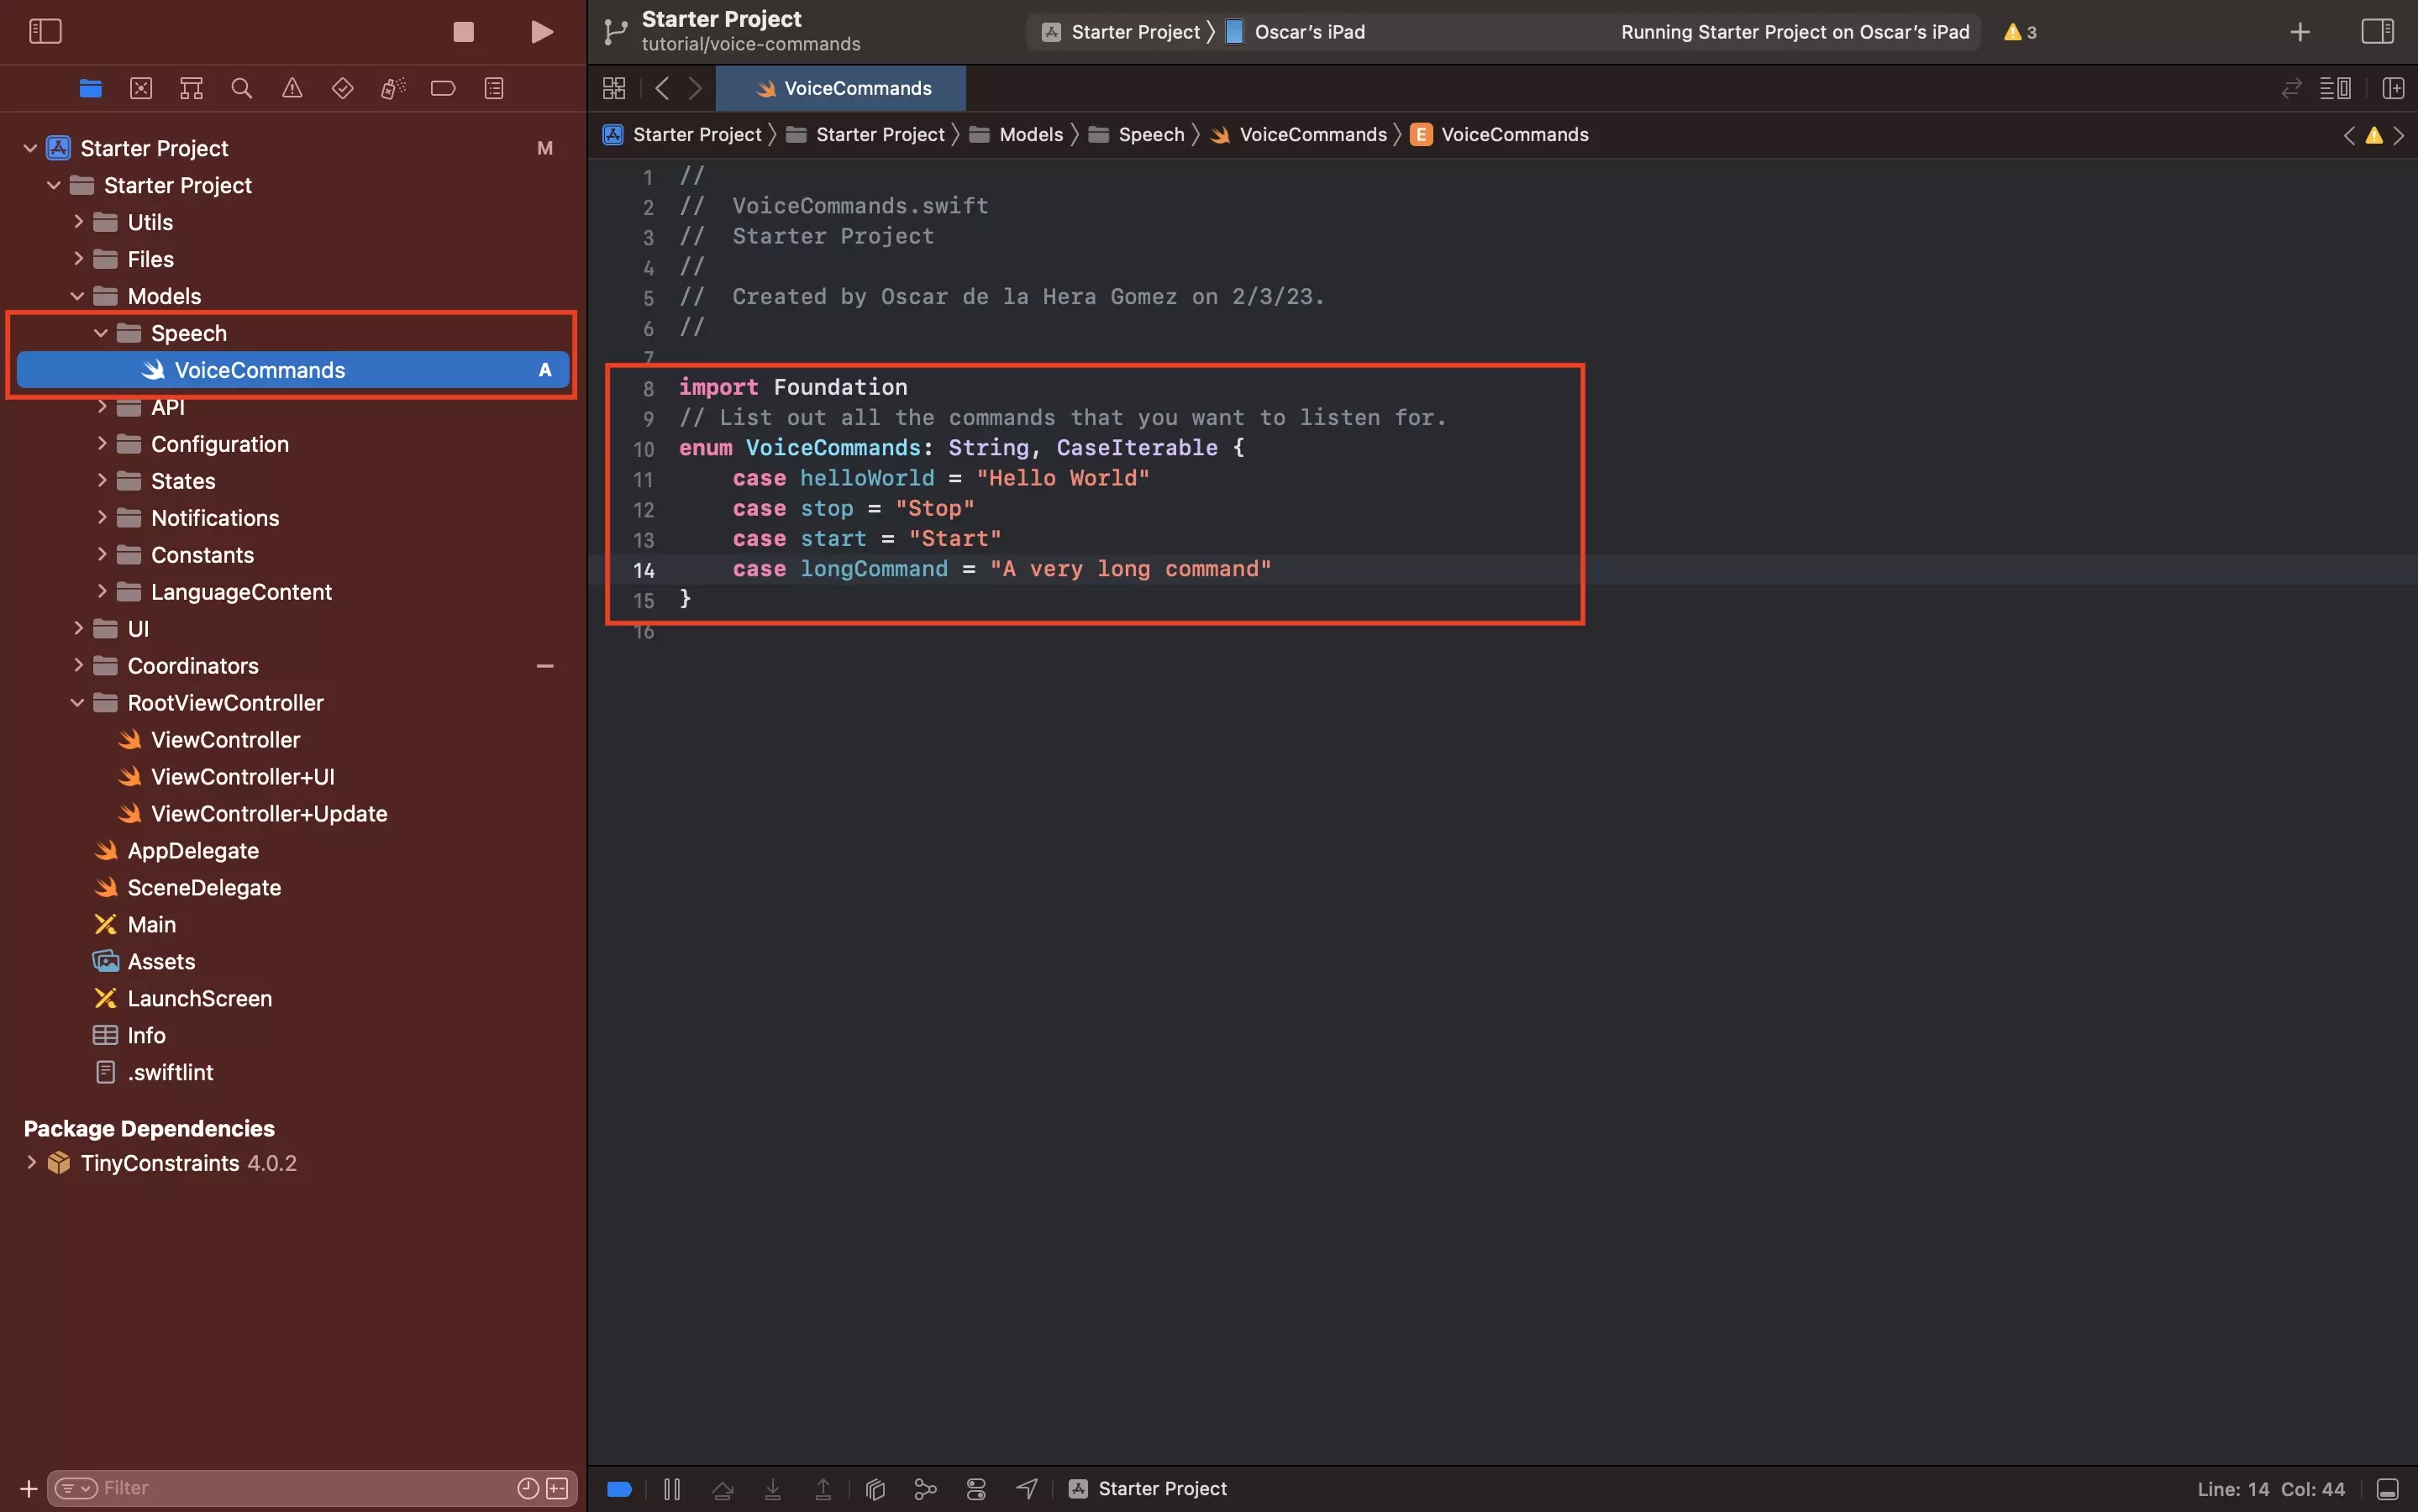
Under the Models folder, create a new folder called Speech.

Within the Speech folder, create a new file called VoiceCommands.swift and paste in the code below.

Step Four: Create Voice Commands Functionality

A screenshot of Xcode highlighting the SpeechCoordinator+Commands.swift file. It also shows the code that is available below.

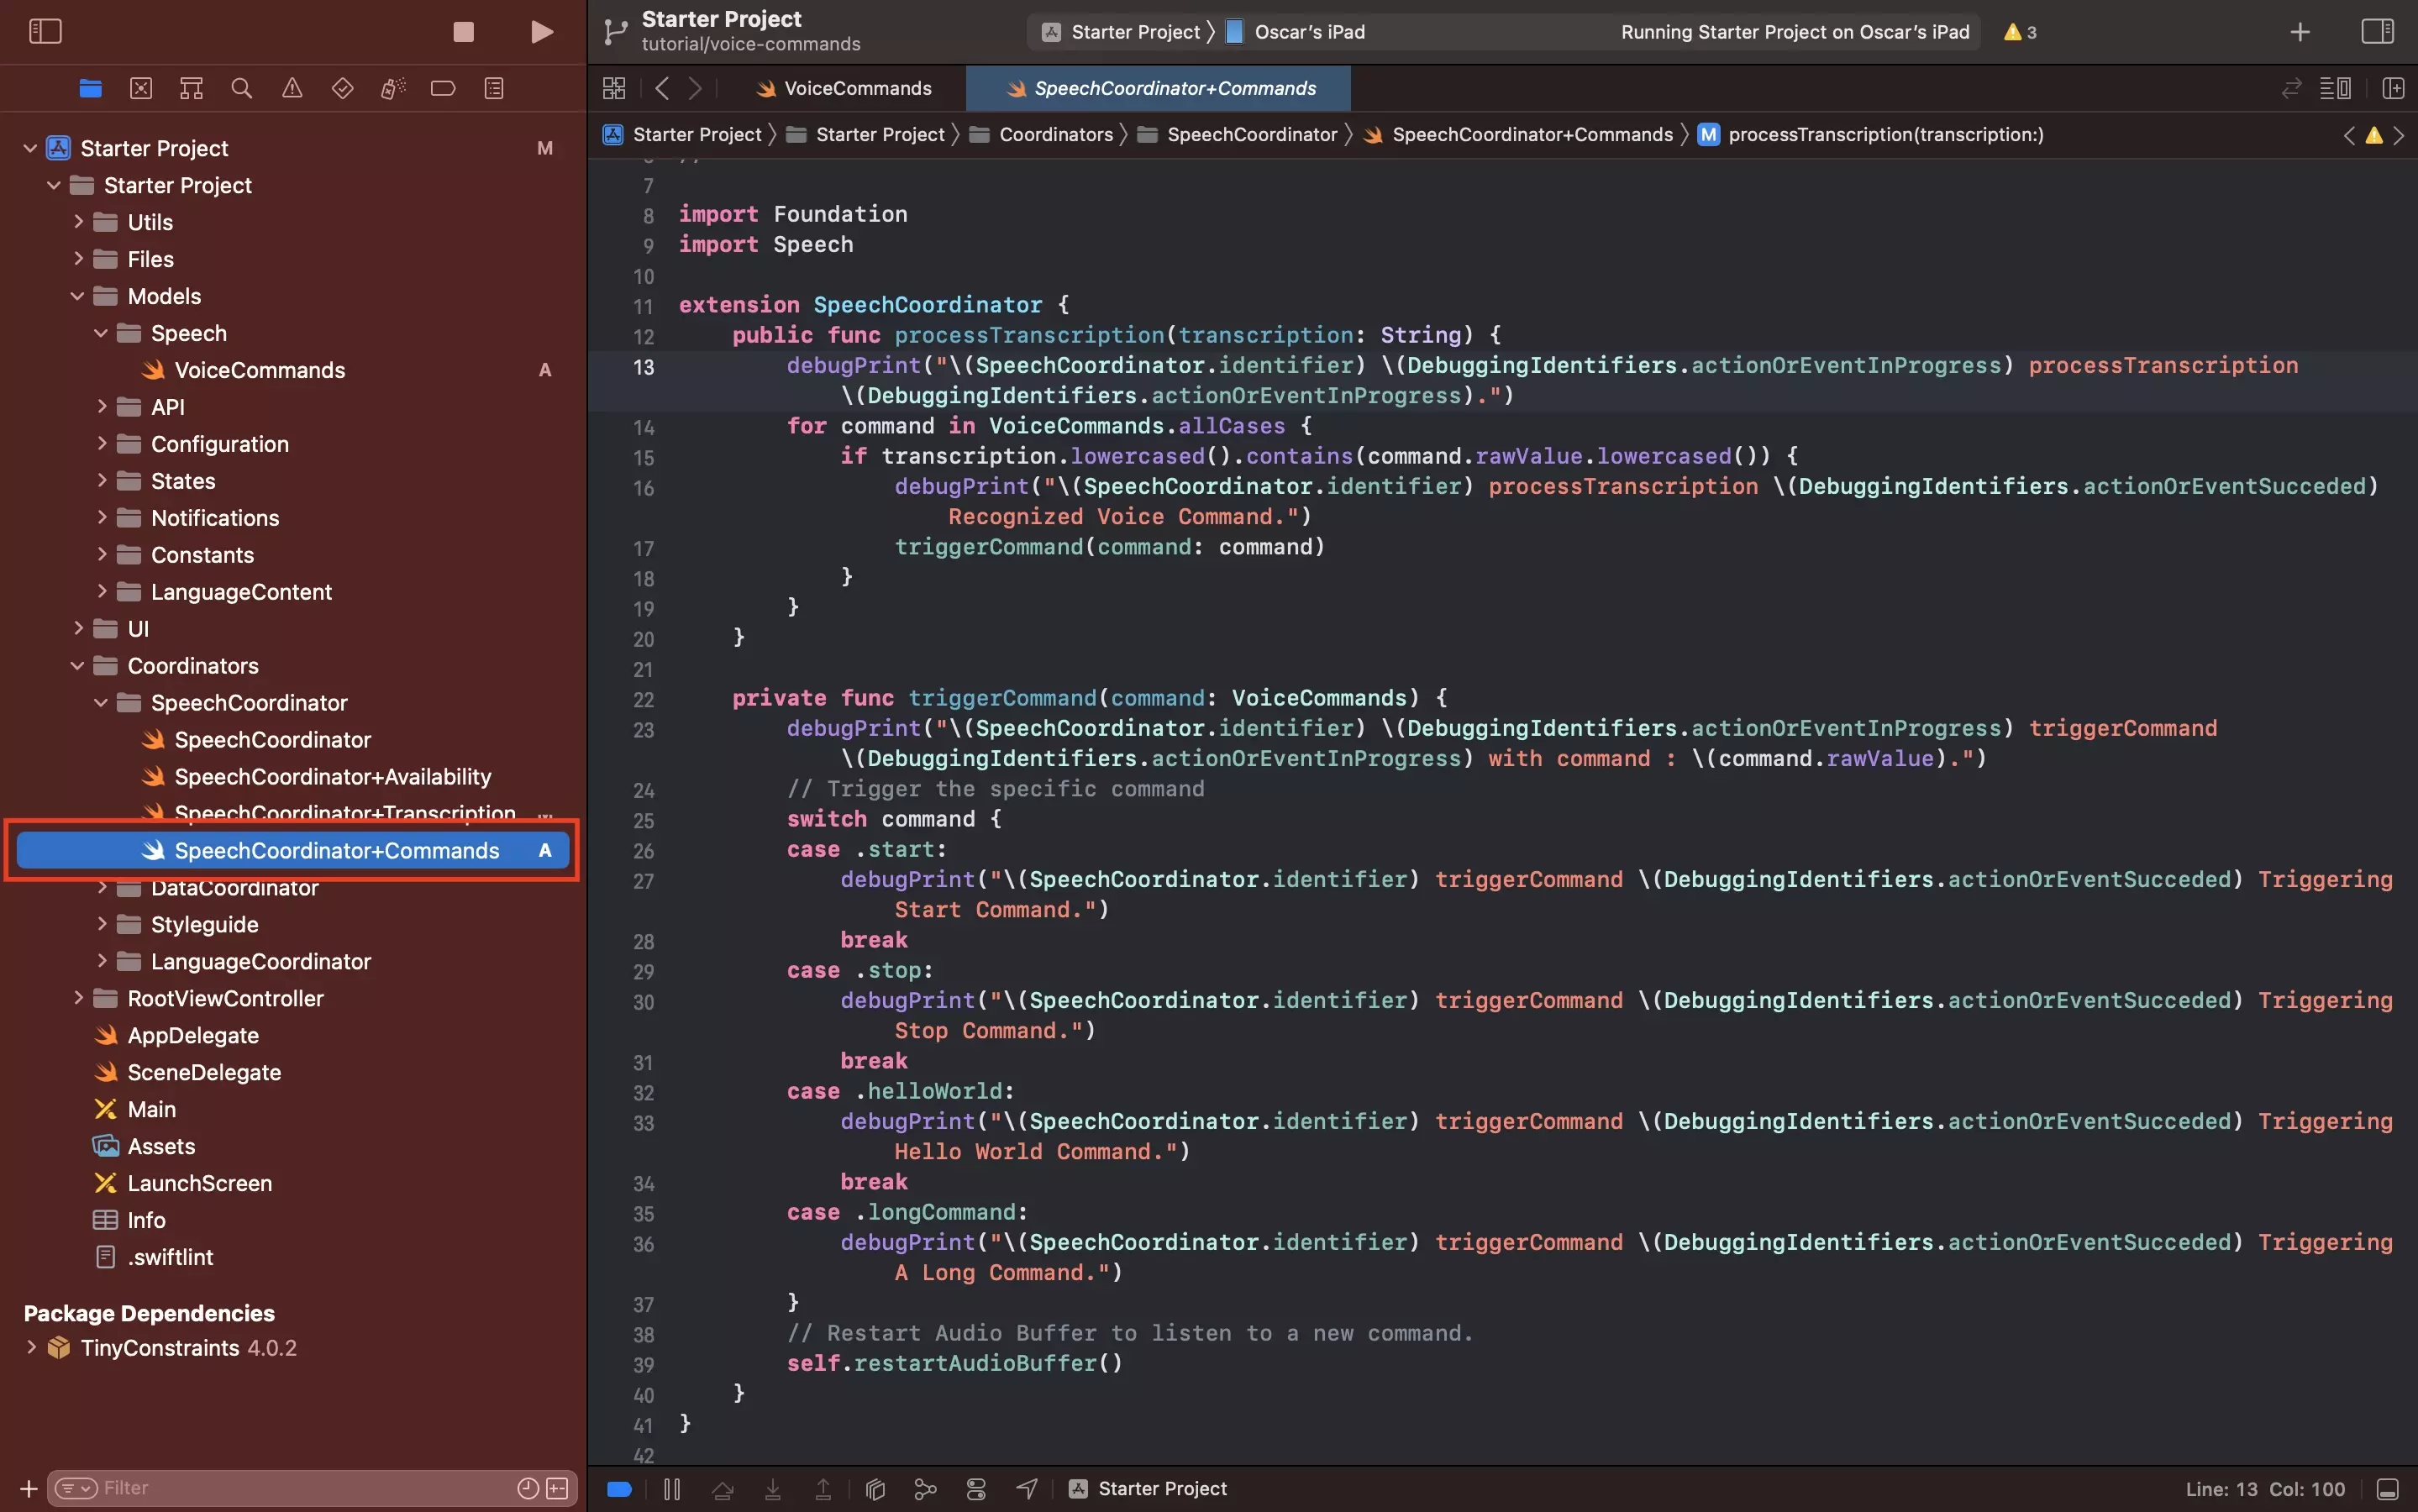
Under the SpeechCoordinator folder, create a new file called SpeechCoordinator+Commands.swift and paste in the code below.

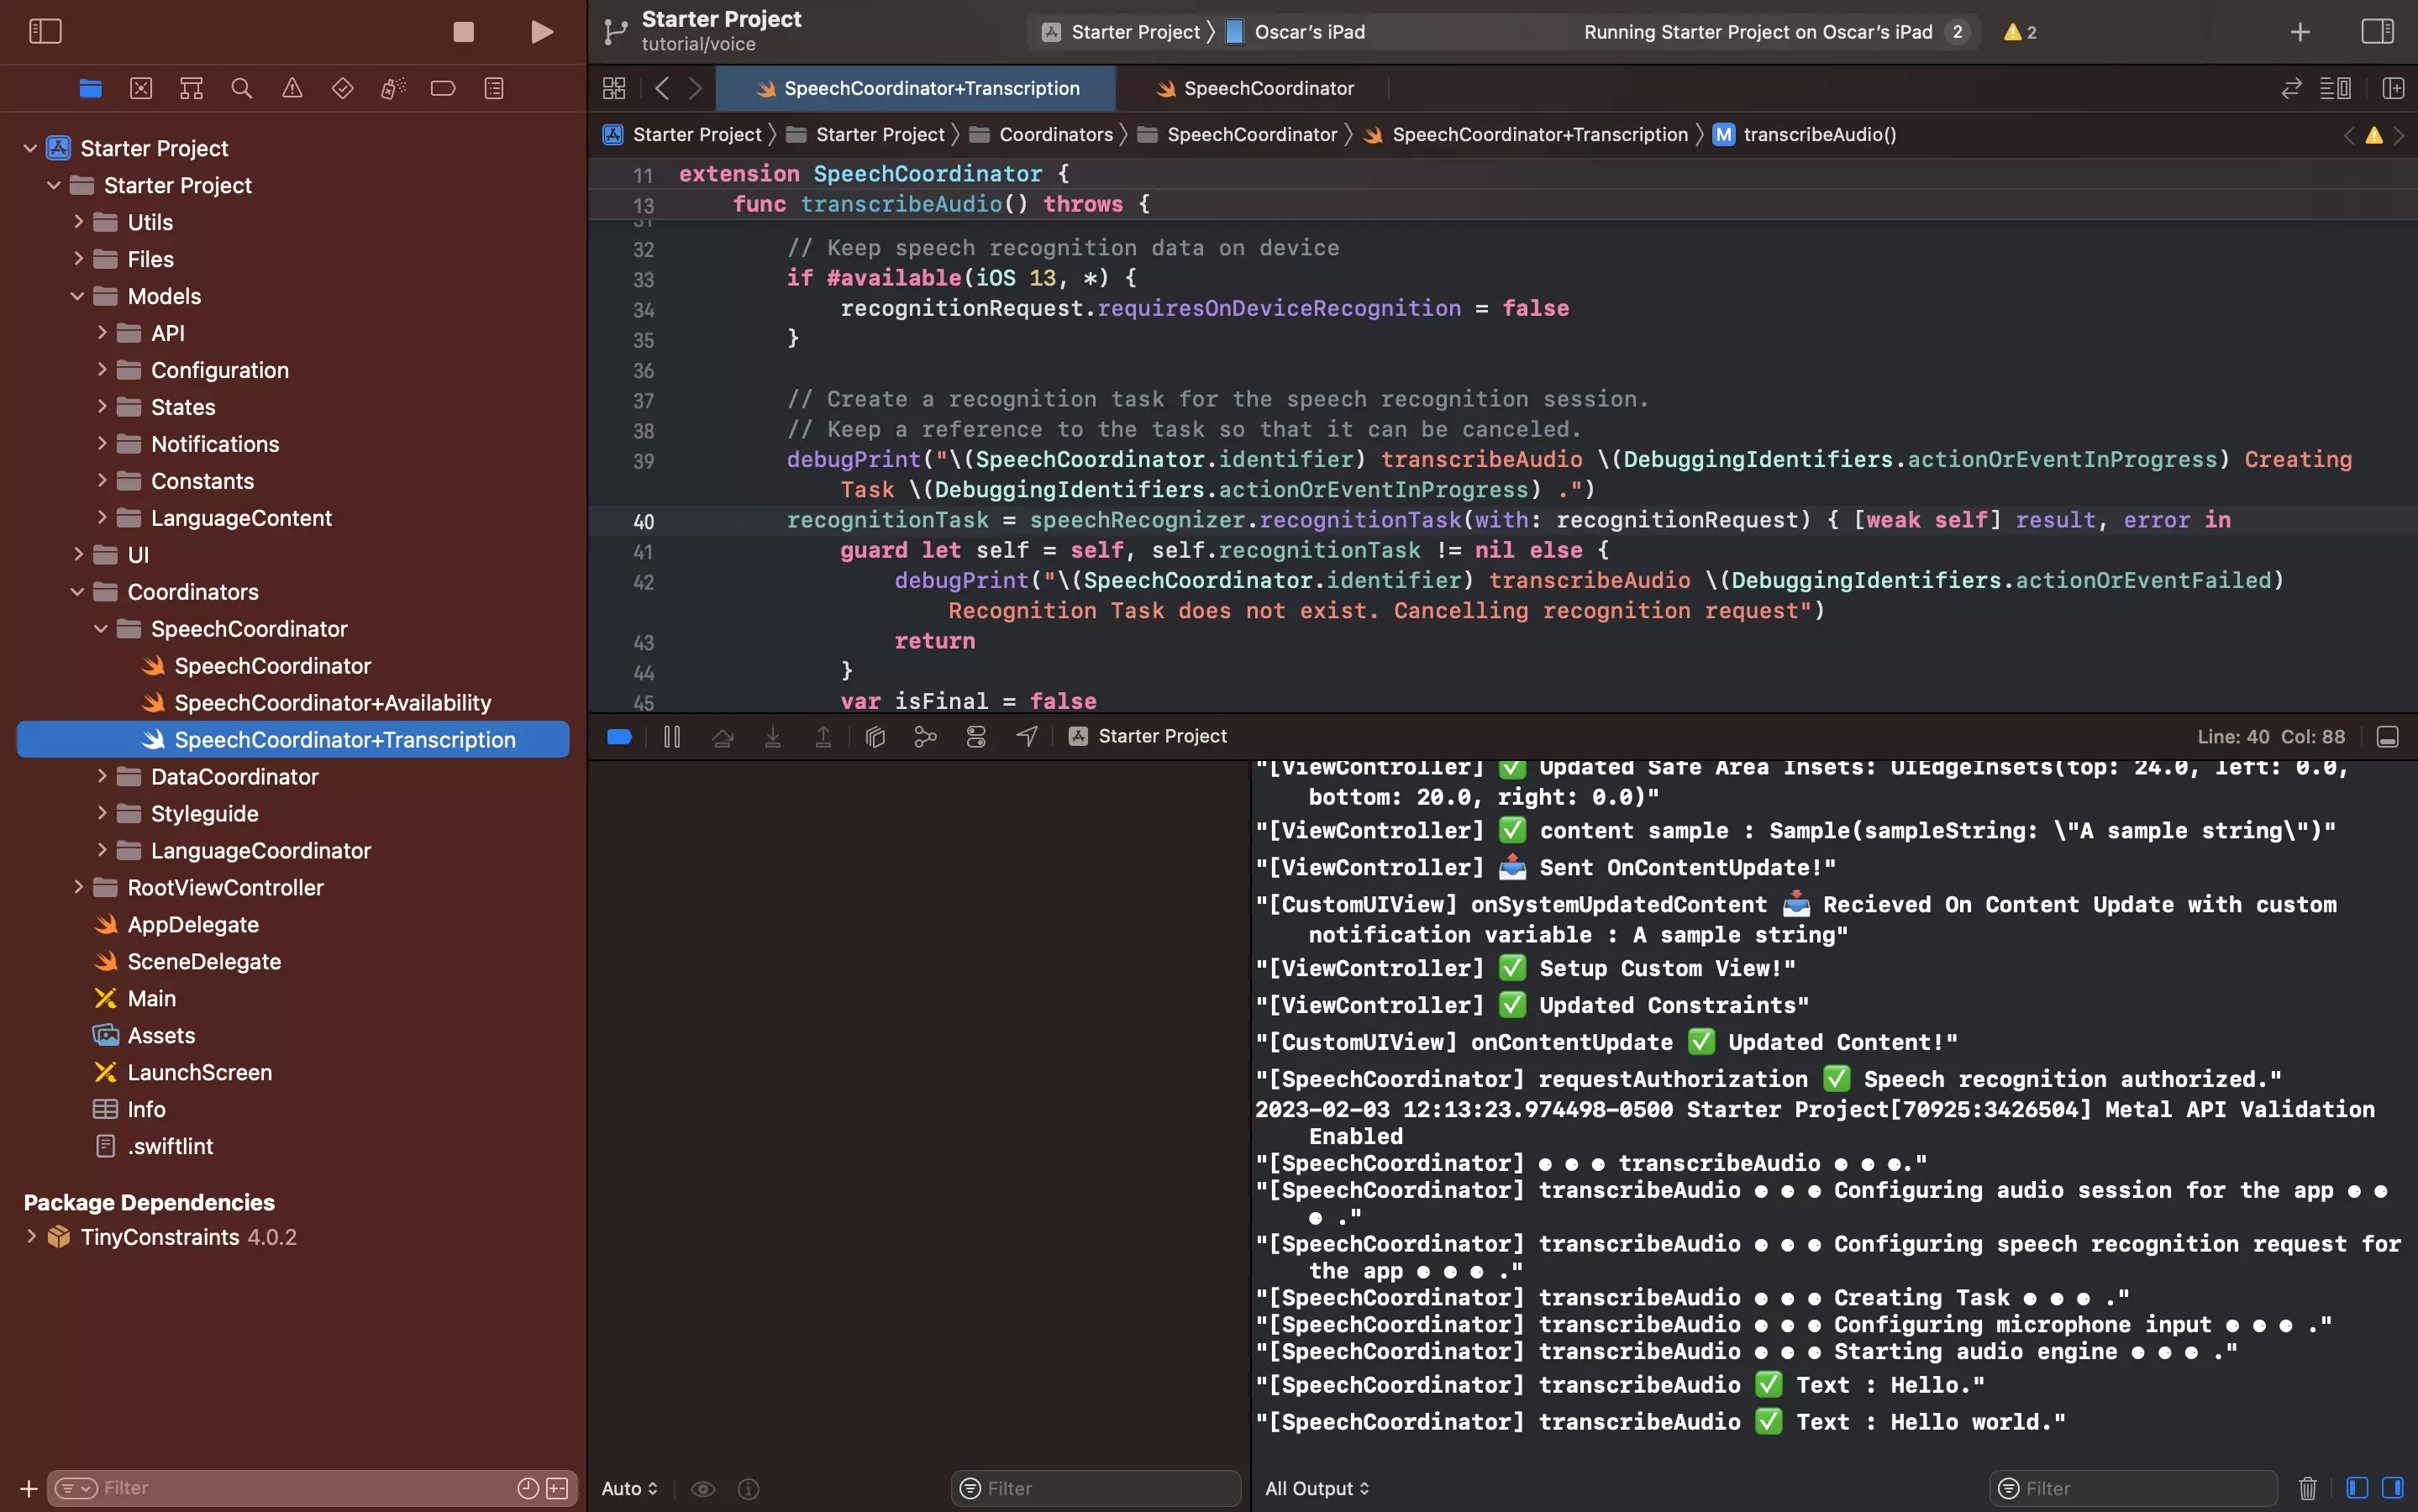
Step Five: Update Transcription Functionality

A screenshot of Xcode highlighting the SpeechCoordinator+Transcription.swift file, as well as the changes that were applied to the file.

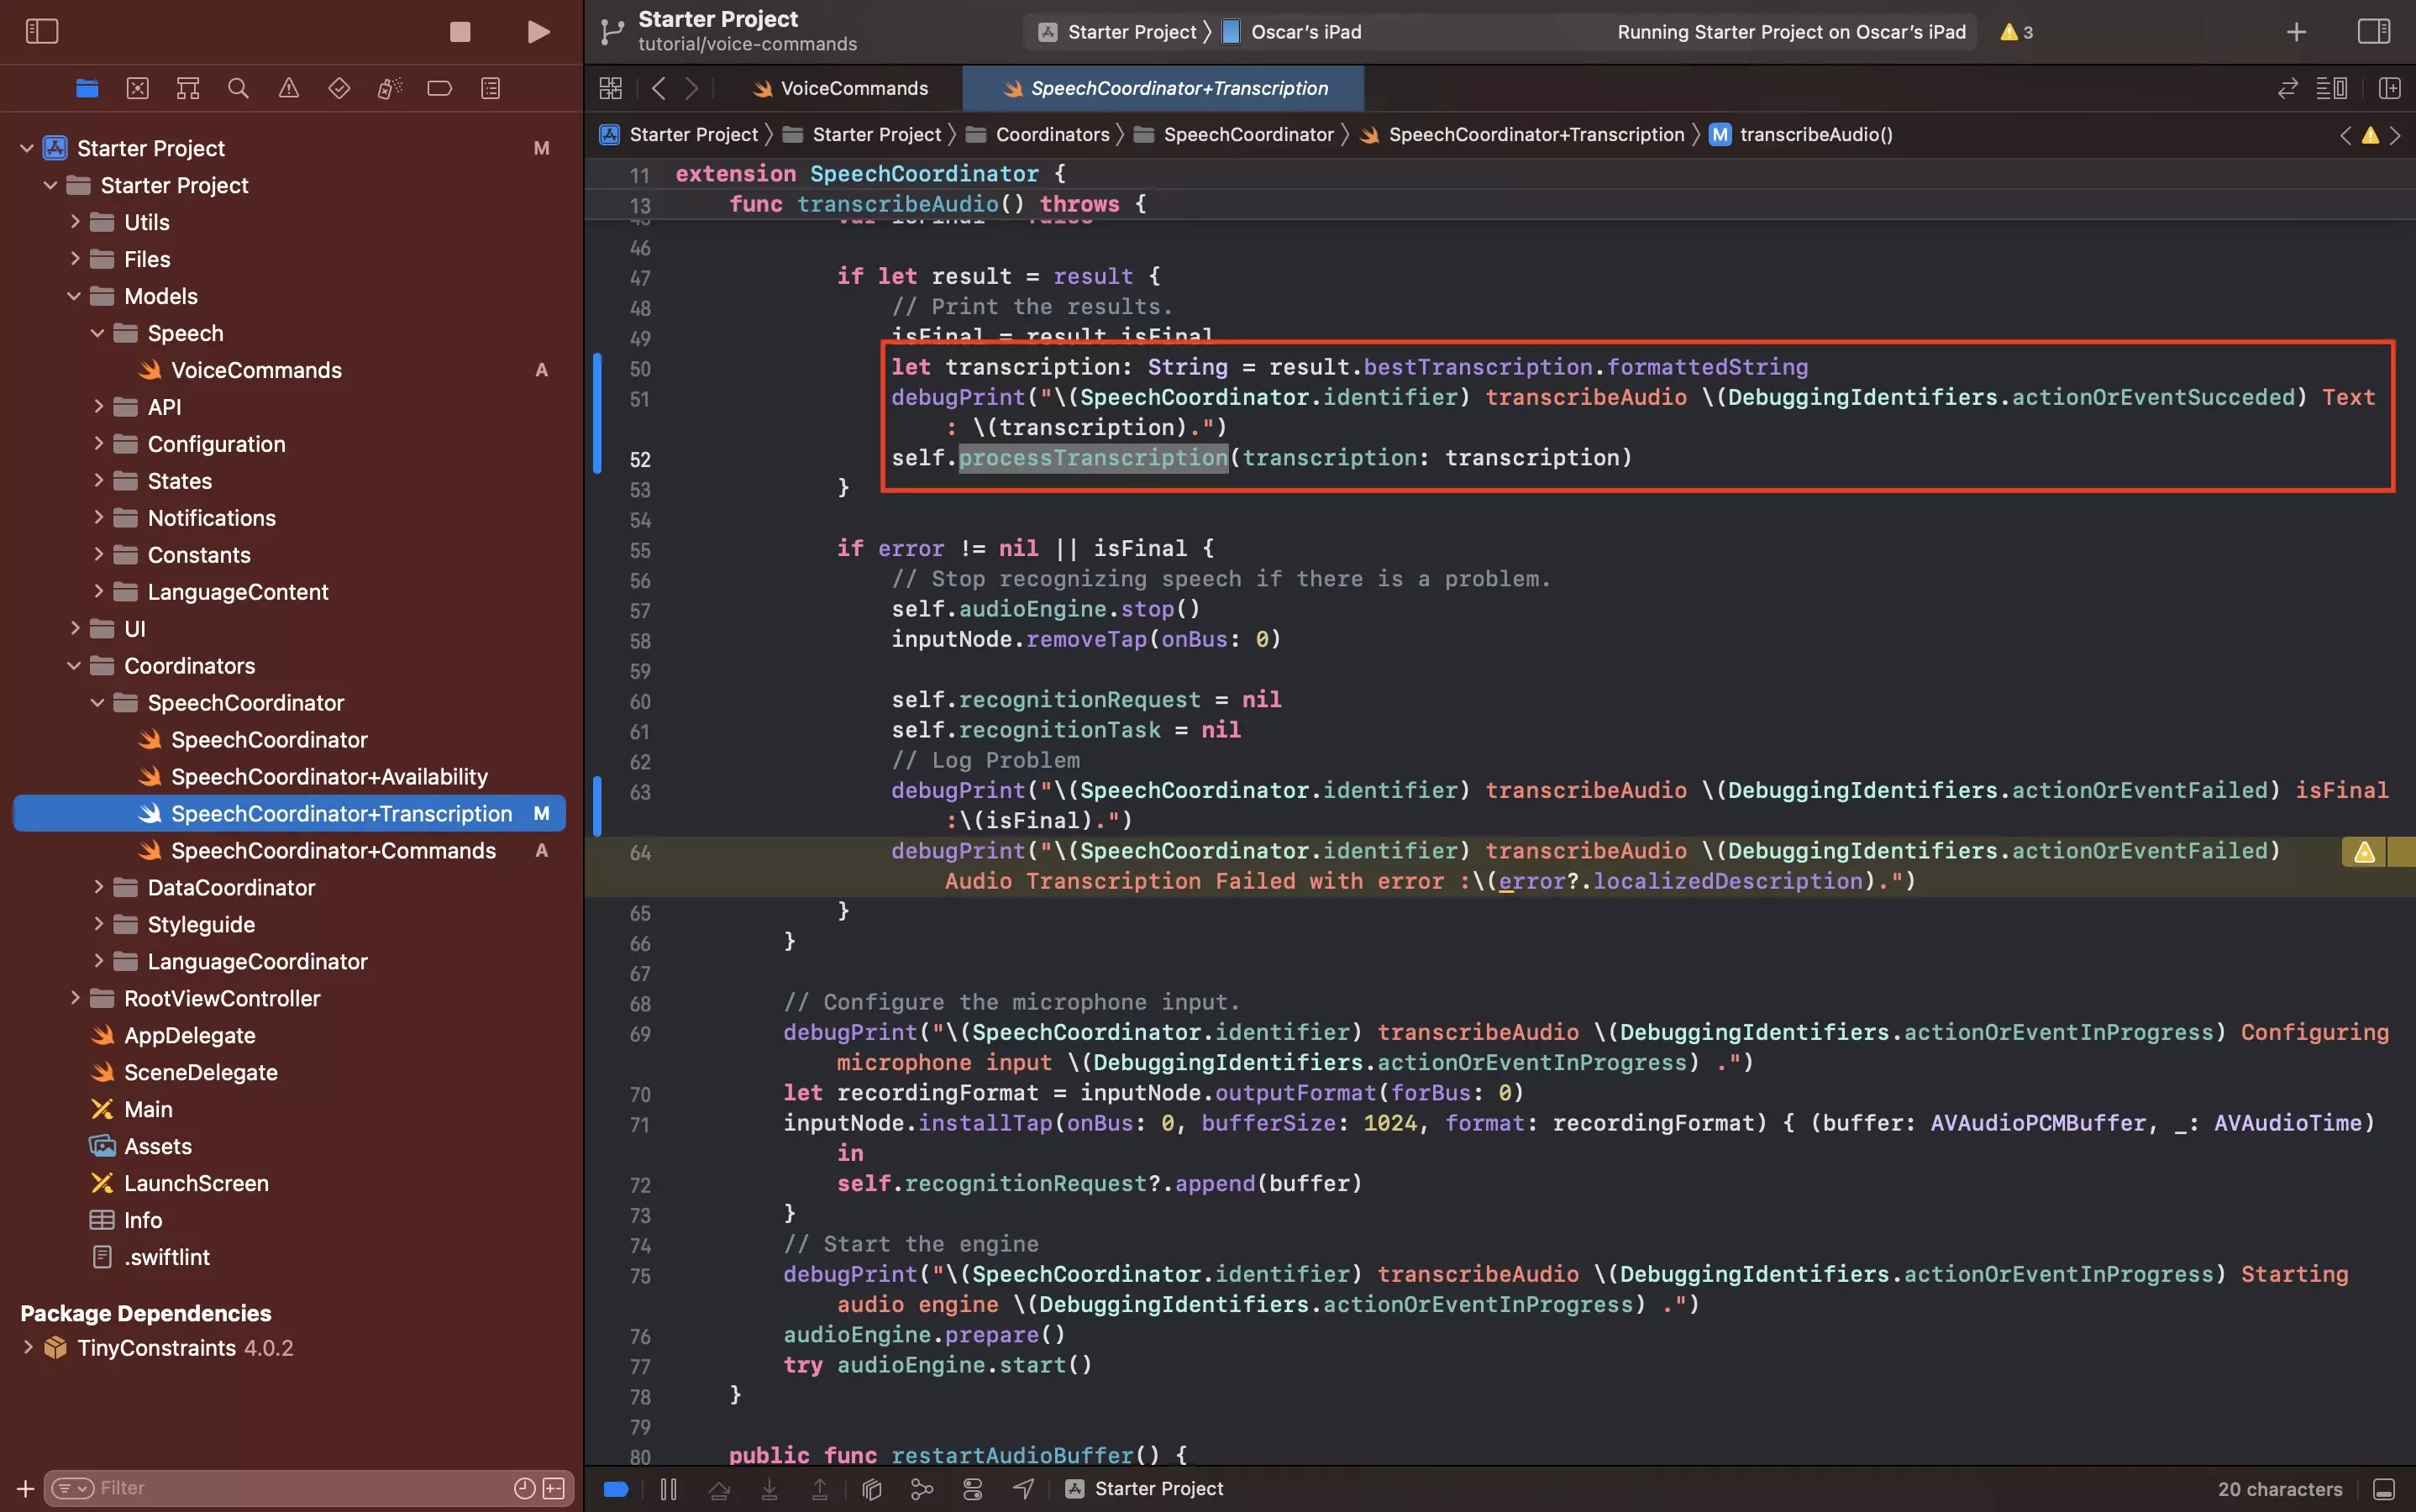
In SpeechCoordinator+Transcription.swift, update the recognition task closure to process the transcription that is received using the functionality created in Step Four.
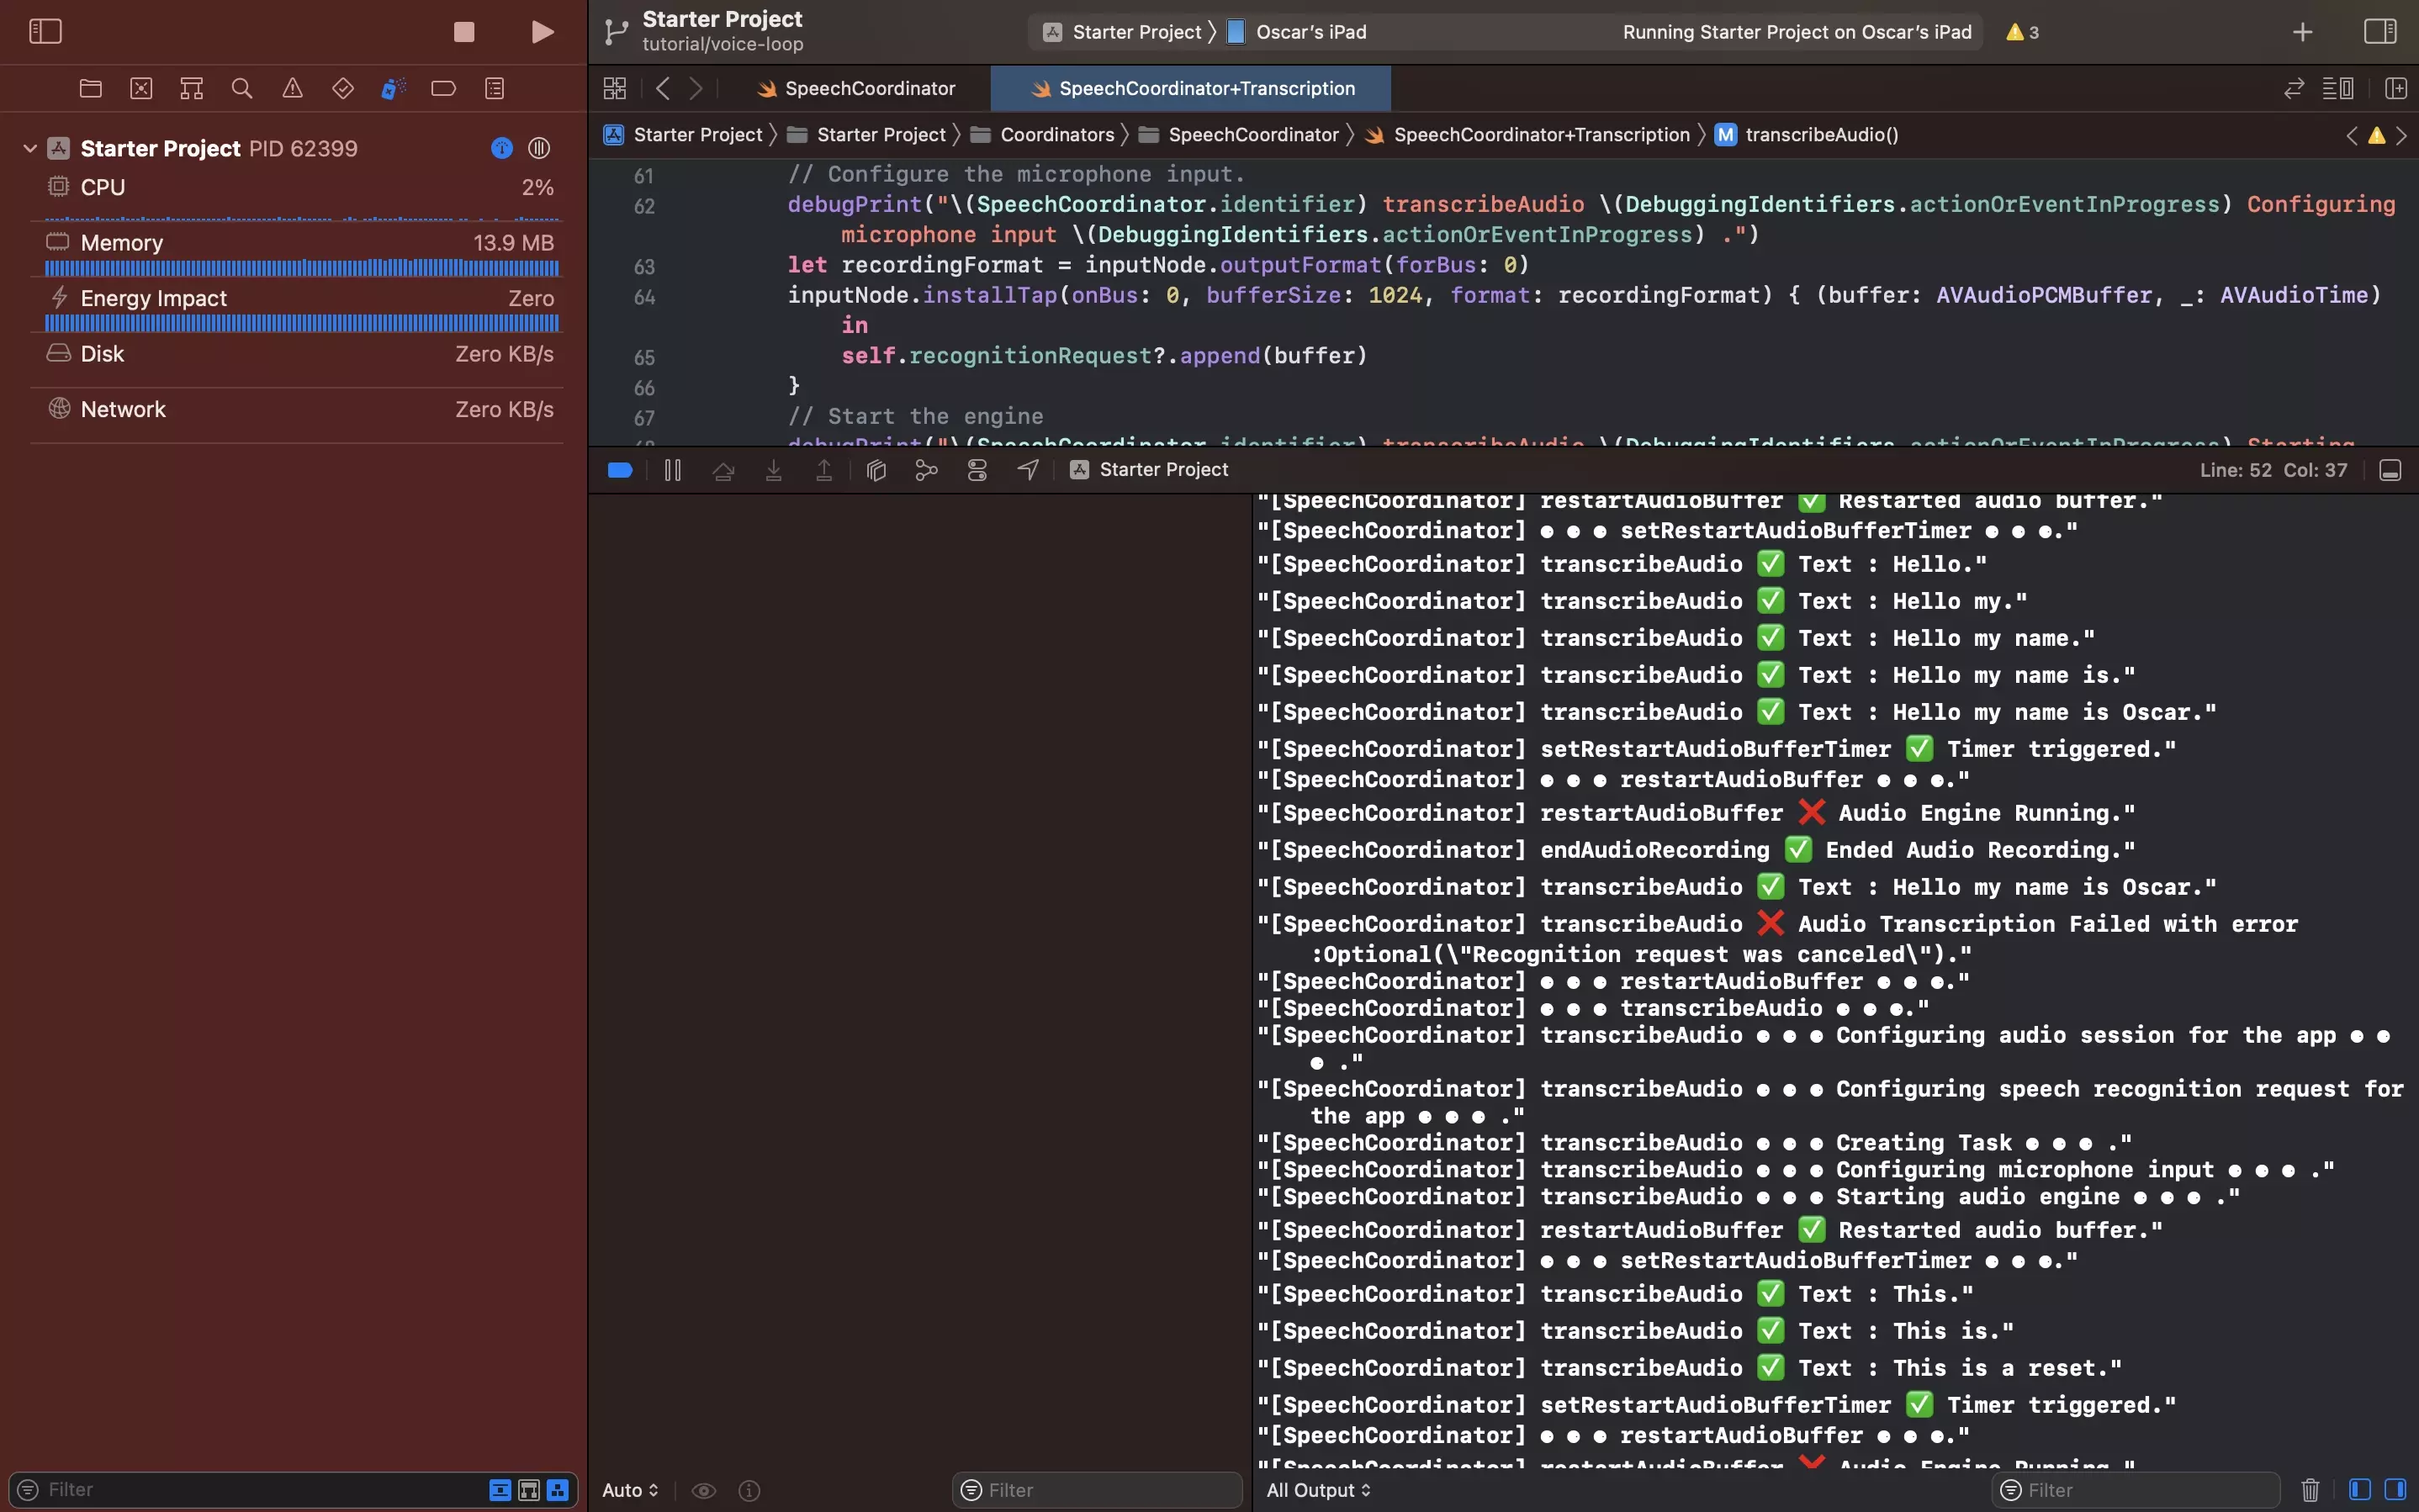
Step Six: Verify

A screenshot of Xcode showing the application logs that verify that the commands are being successfully triggered and processed.

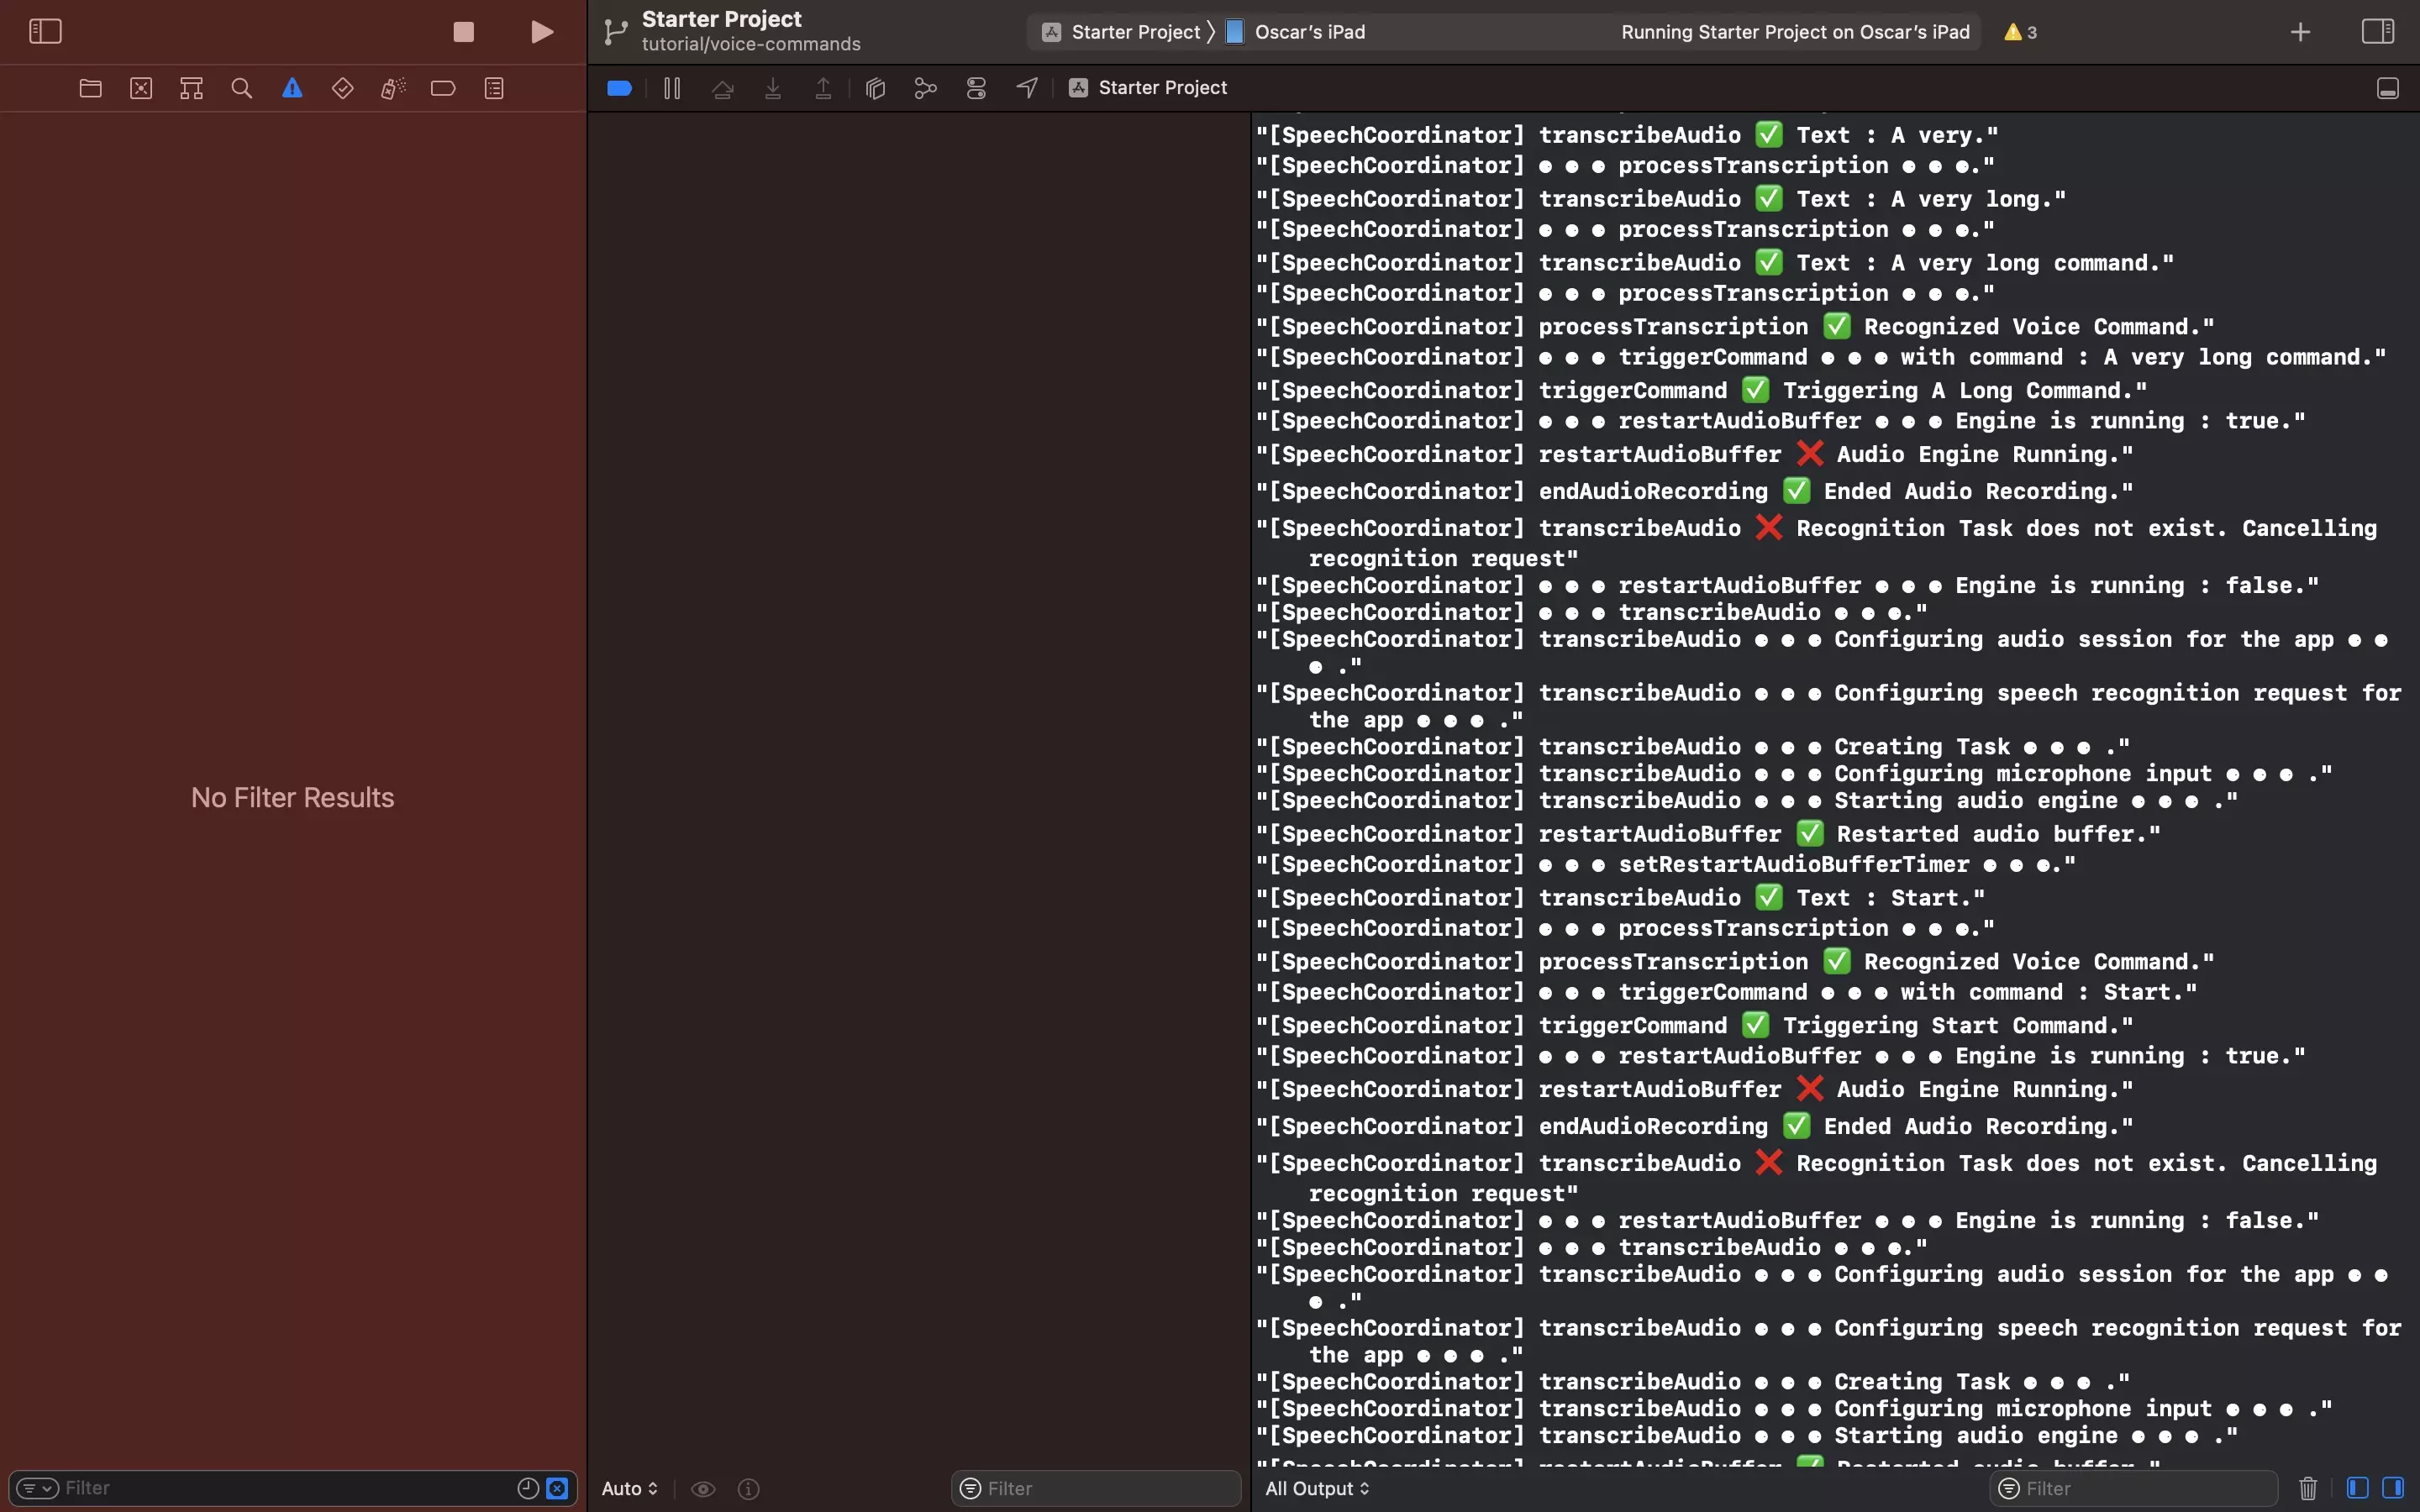
Run your app and confirm that the commands are processed as expected, by checking the logs in the console.

Any Questions?

We are actively looking for feedback on how to improve this resource. Please send us a note to inquiries@delasign.com with any thoughts or feedback you may have.
SubscribeContact UsVisit our BlogView our ServicesView our Work

Partner with us

We would love to get to know you and see how we can help your organization with its goals and needs.
Let's Talk

Stay Informed

Get occasional updates about our company, research, and product launches.
Subscribe