How to create a styleguide in XCode & Swift
A step by step tutorial on creating a Styleguide with colors and styled labels in Swift (iOS). Github repository included.

A step by step tutorial on creating a Styleguide with colors and styled labels in Swift (iOS). Github repository included.
The following tutorial walks you through how to create a simple styleguide that includes a single standard label style (i.e. not attributed strings) as well as two colors (black and white) for your application. It builds on our starter project which can be downloaded or discovered using the links below.
If by any chance you are curious on how to create a styleguide, please read the article linked below.
Step One: Create your folder
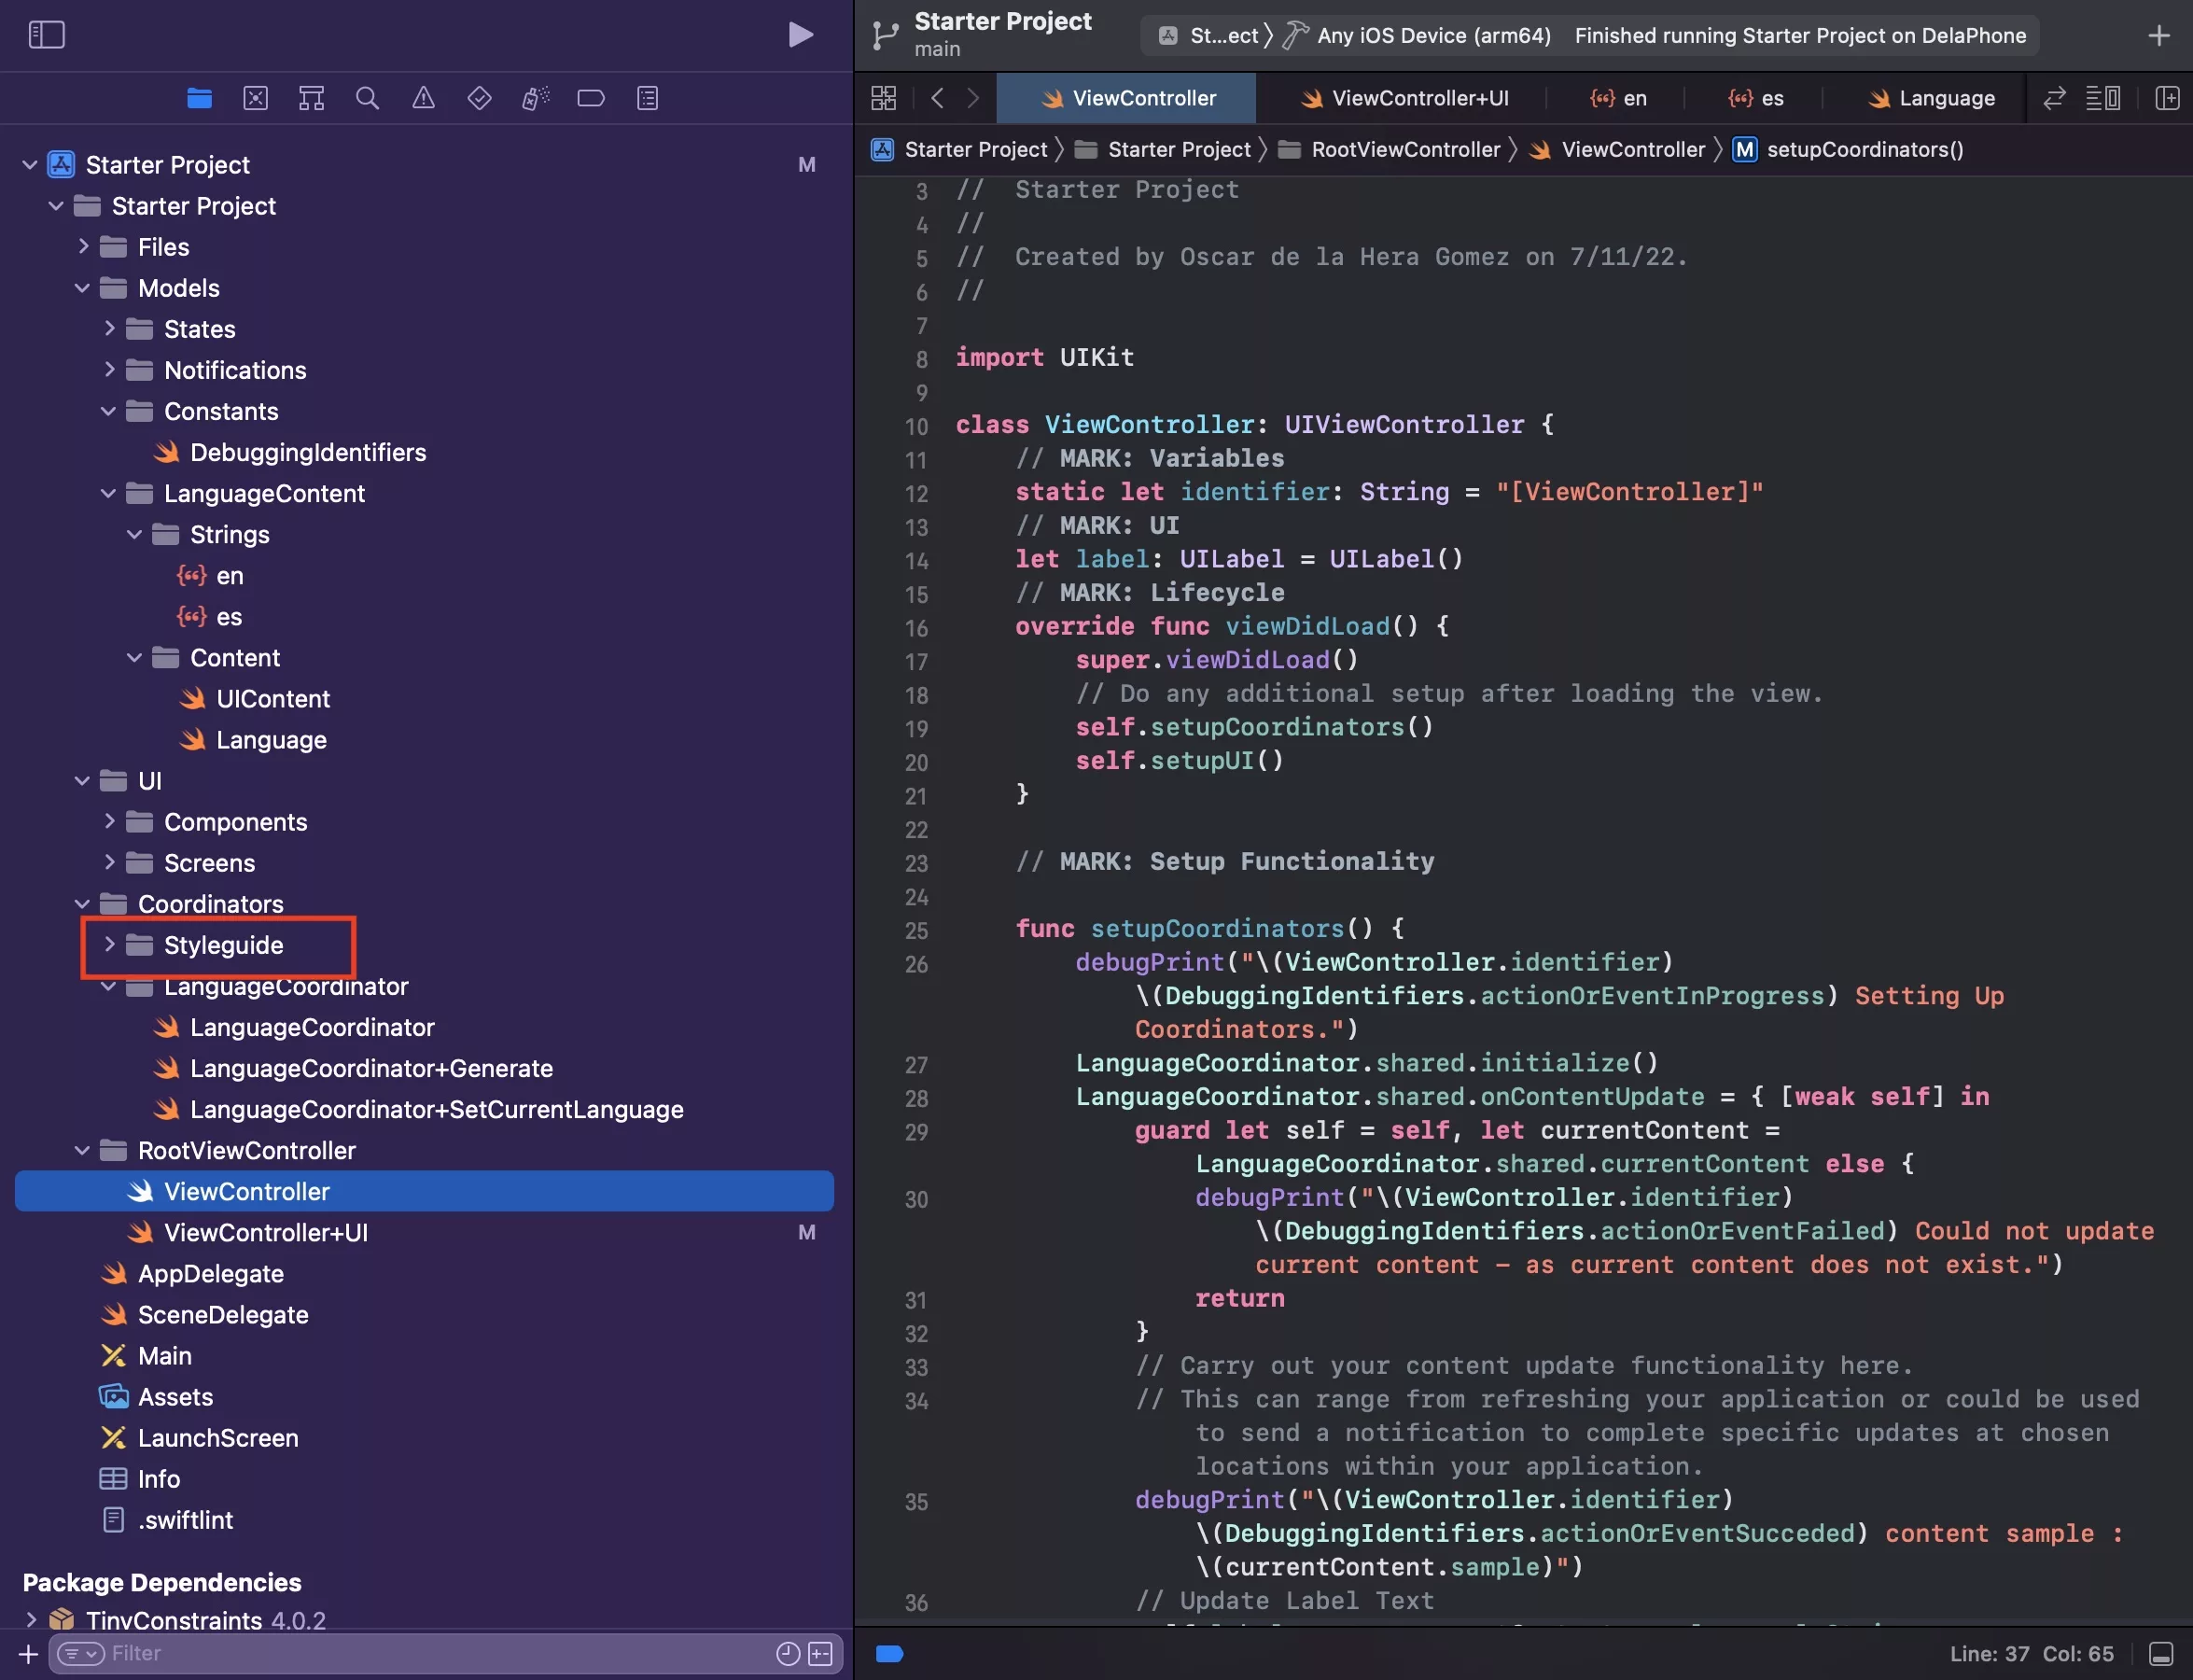
Under Coordinators, create a Styleguide folder.
Step Two: Create your Styleguide file
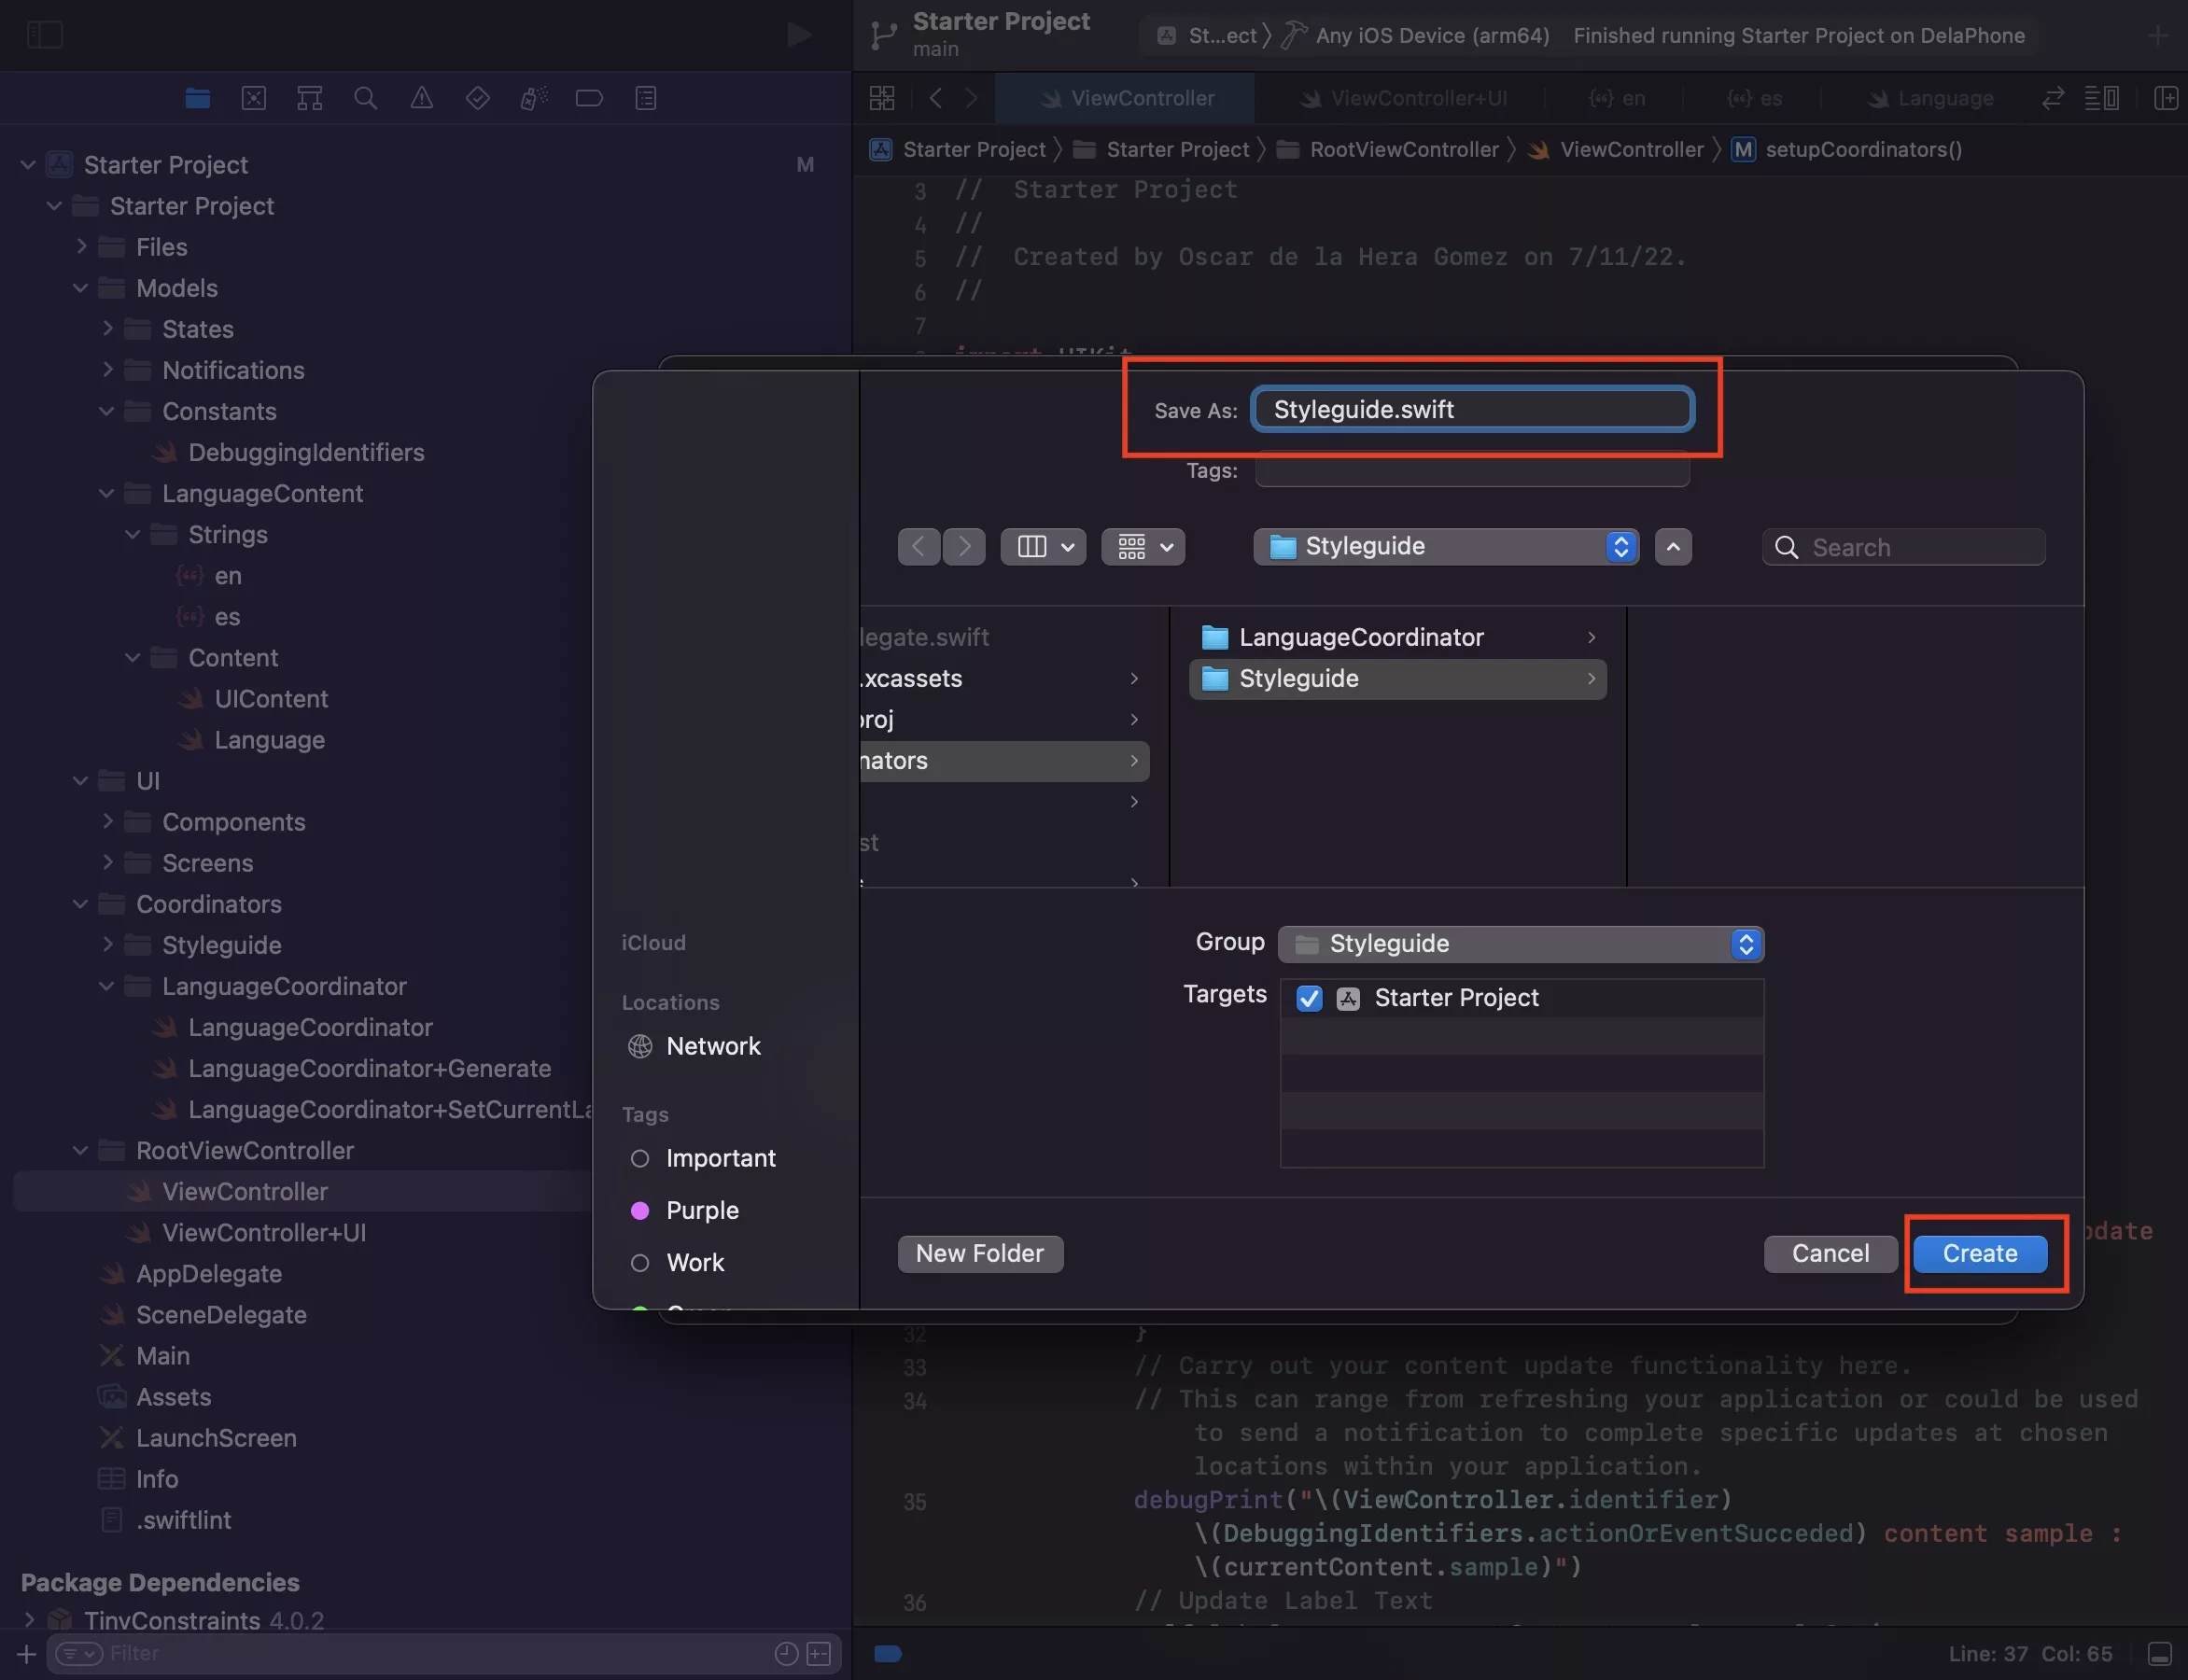
Select the Styleguide folder and press Command + N.
This will select the Swift, iOS file type. Press Next.
After that enter the name of your file - Styleguide - and press Create.
Step Three: Create your Colors file
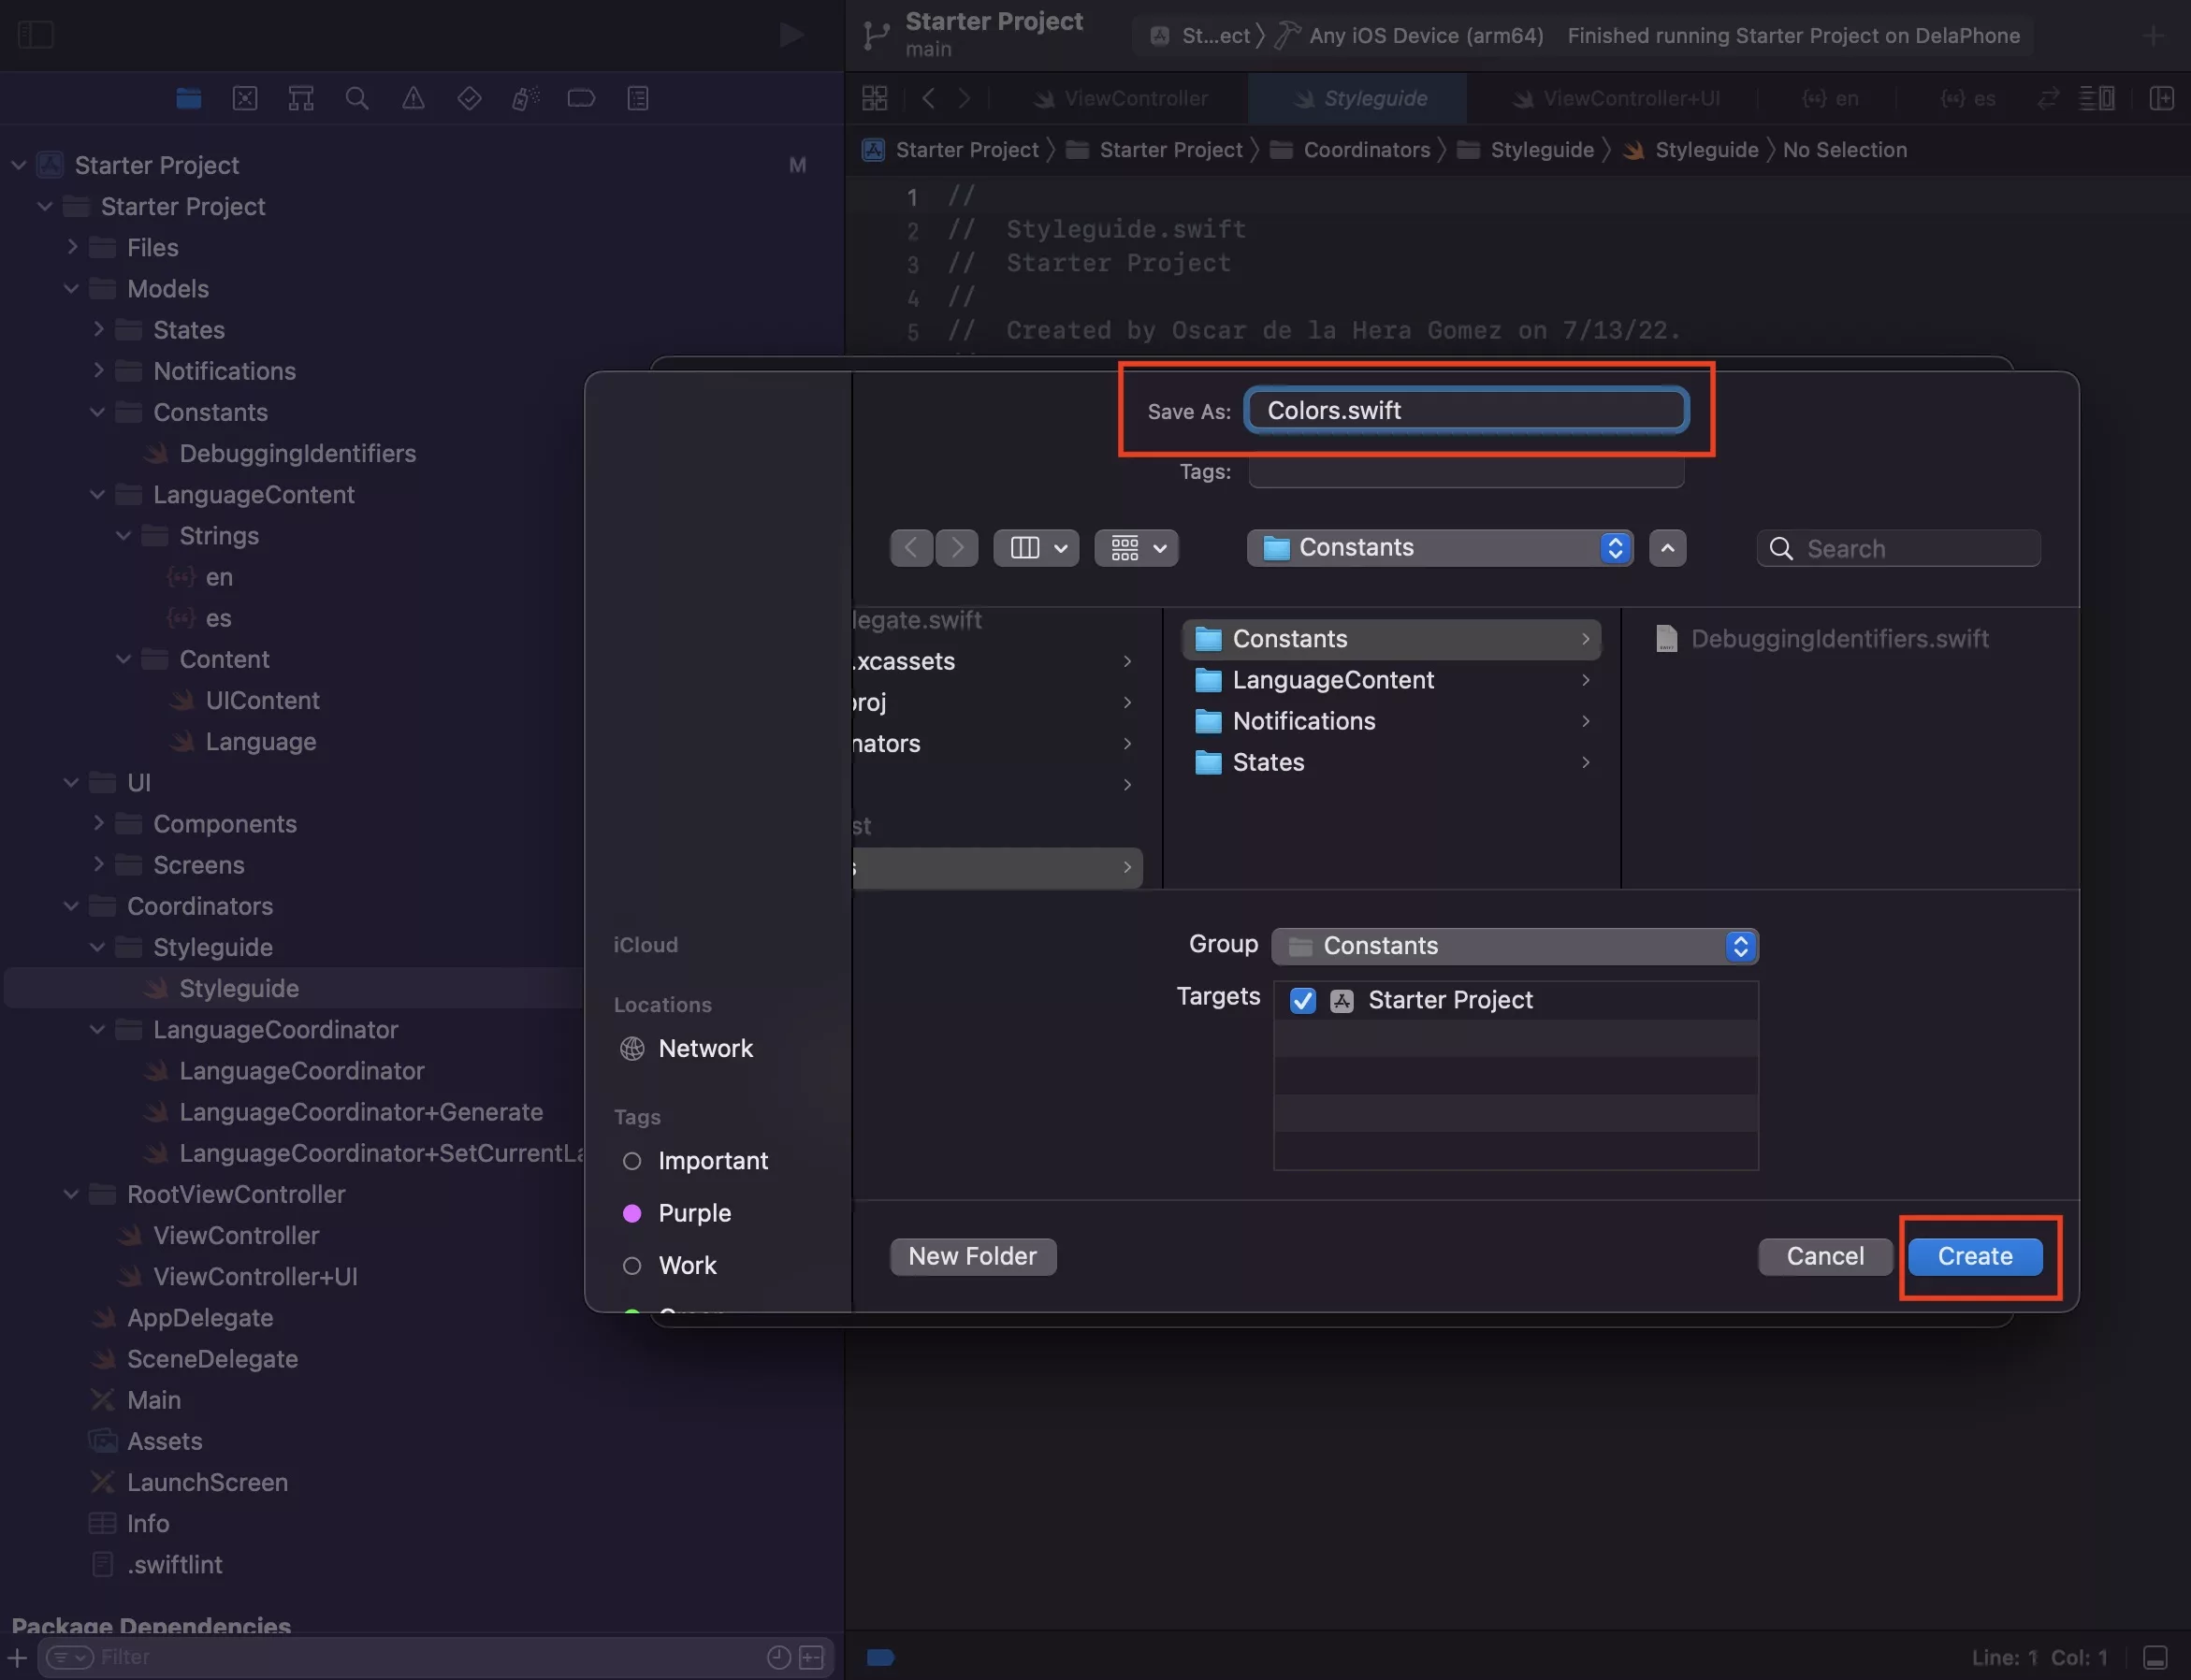
Under Models, Select the Constants folder and press Command + N.
This will select the Swift, iOS file type. Press Next.
After that enter the name of your file - Colors - and press Create.
Step Four: Create your colors struct
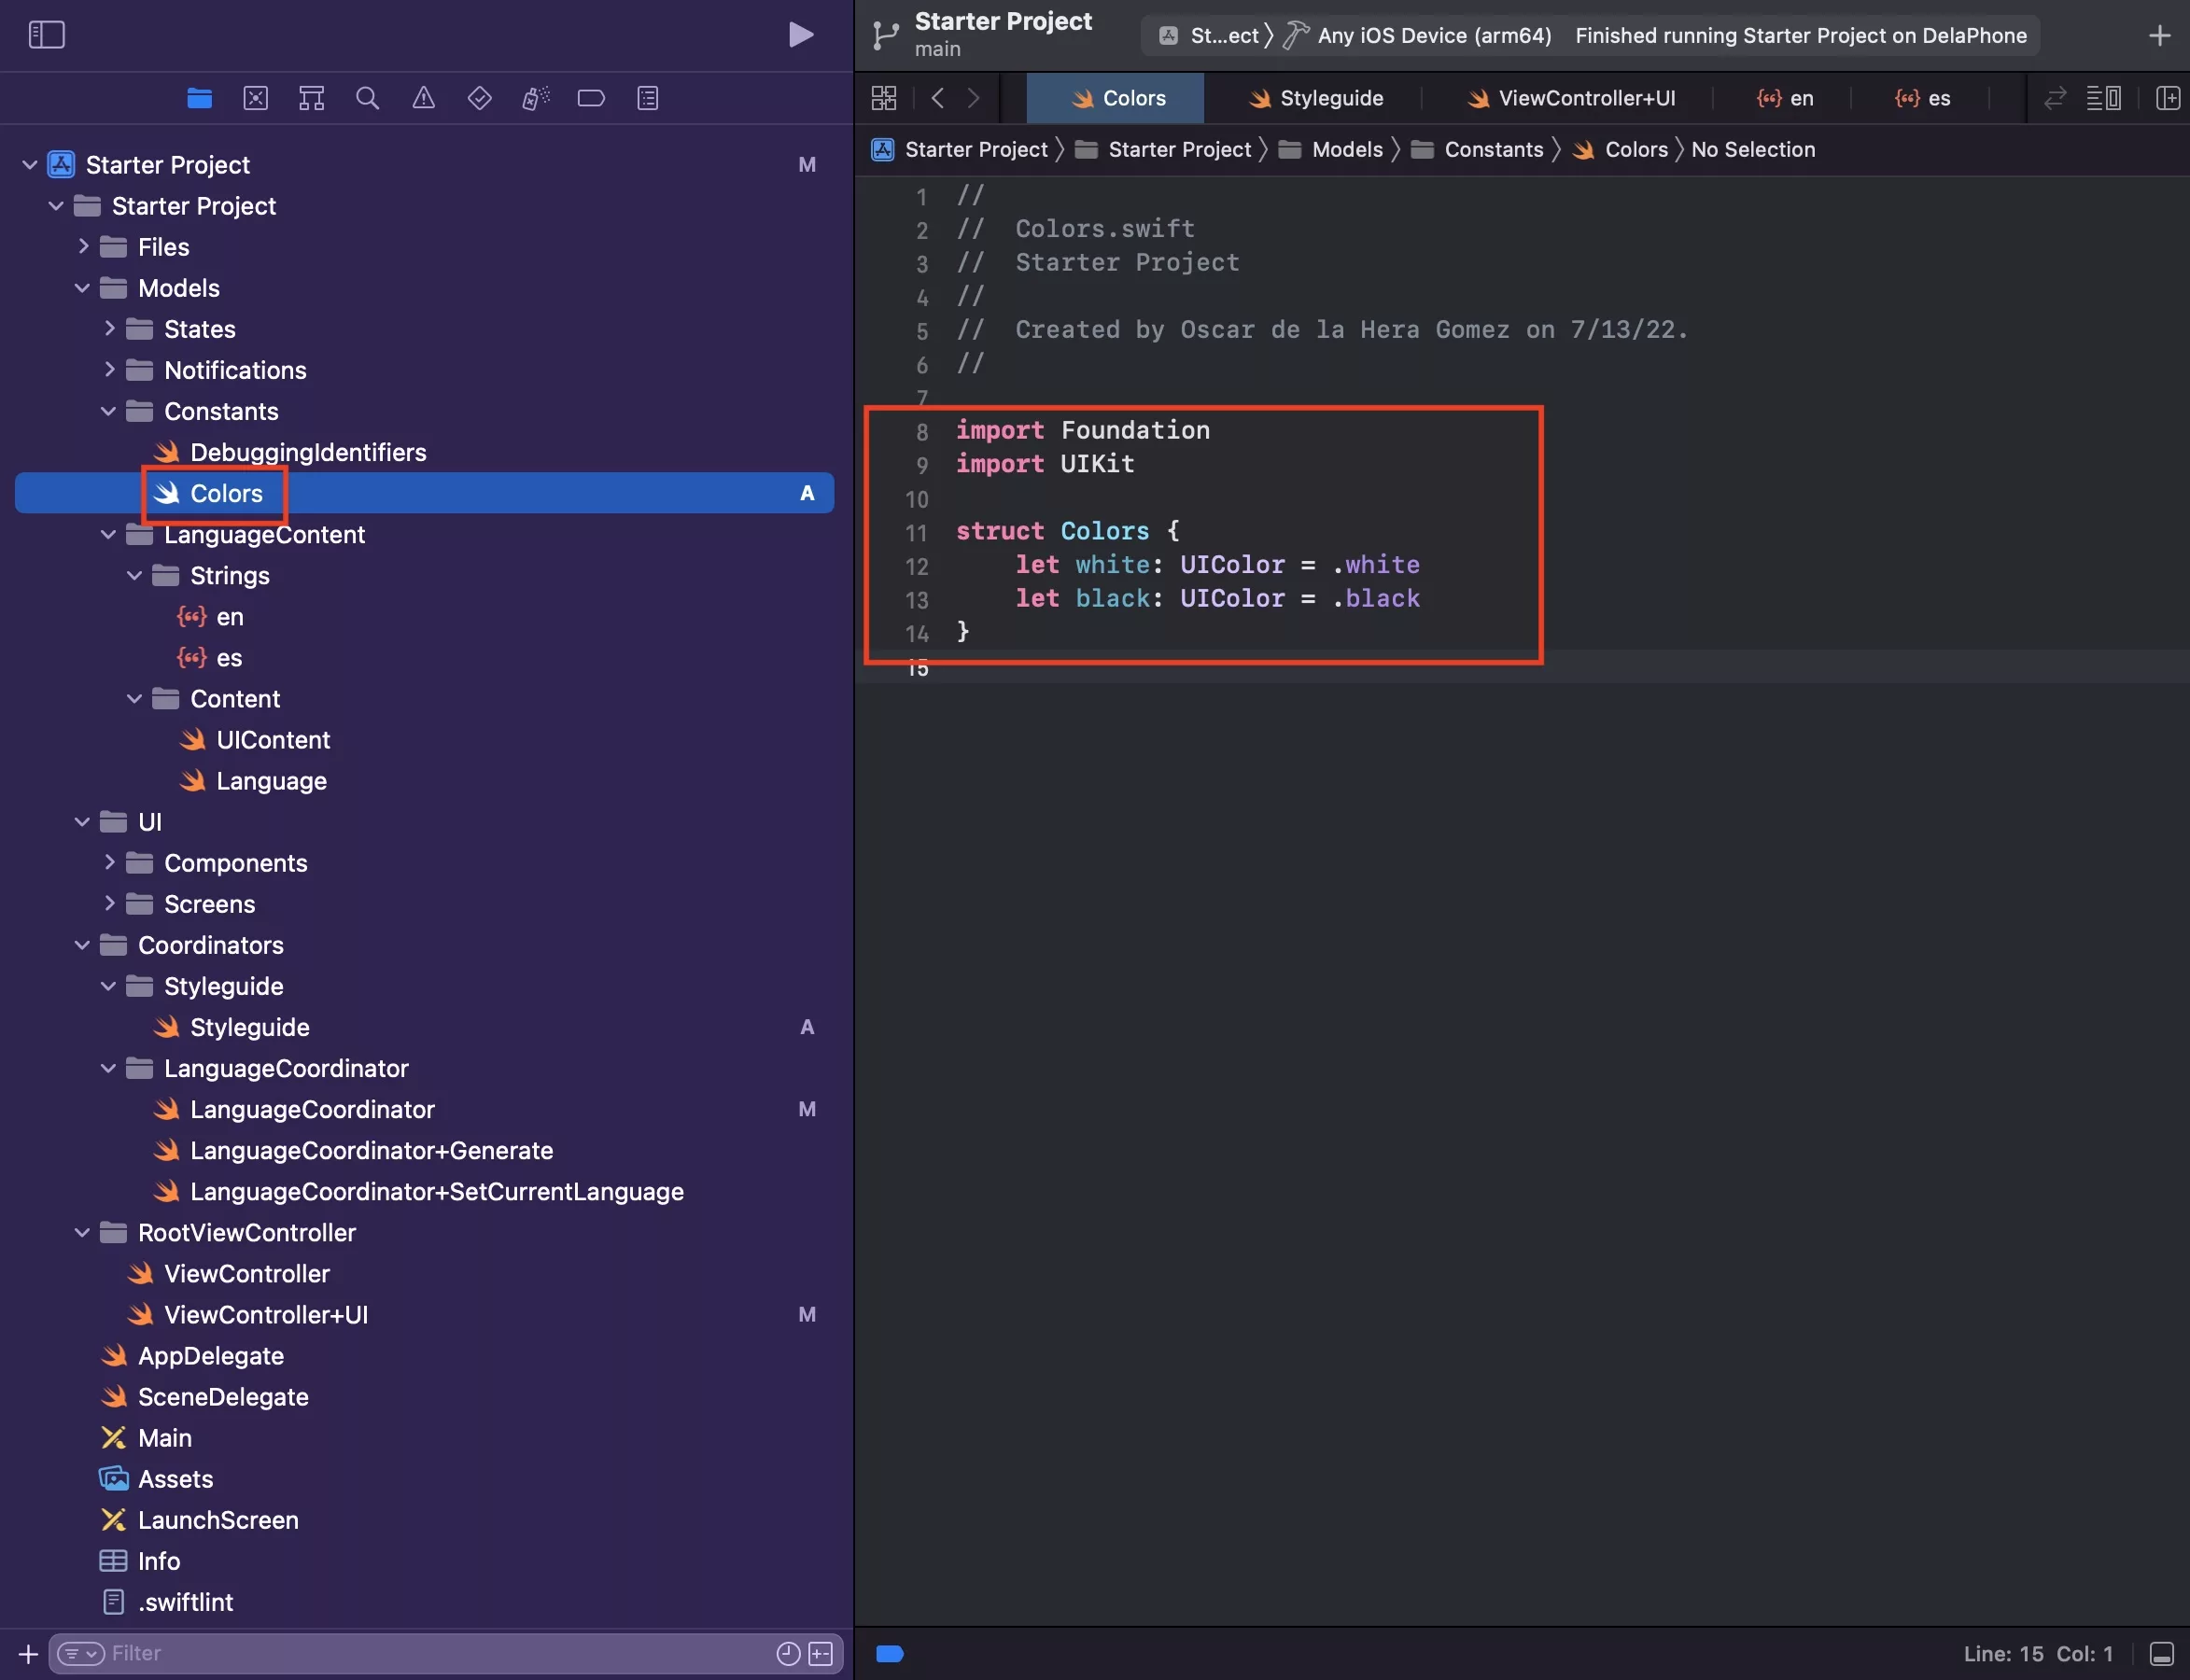
Copy the code below
Step Five: Create your Fonts file
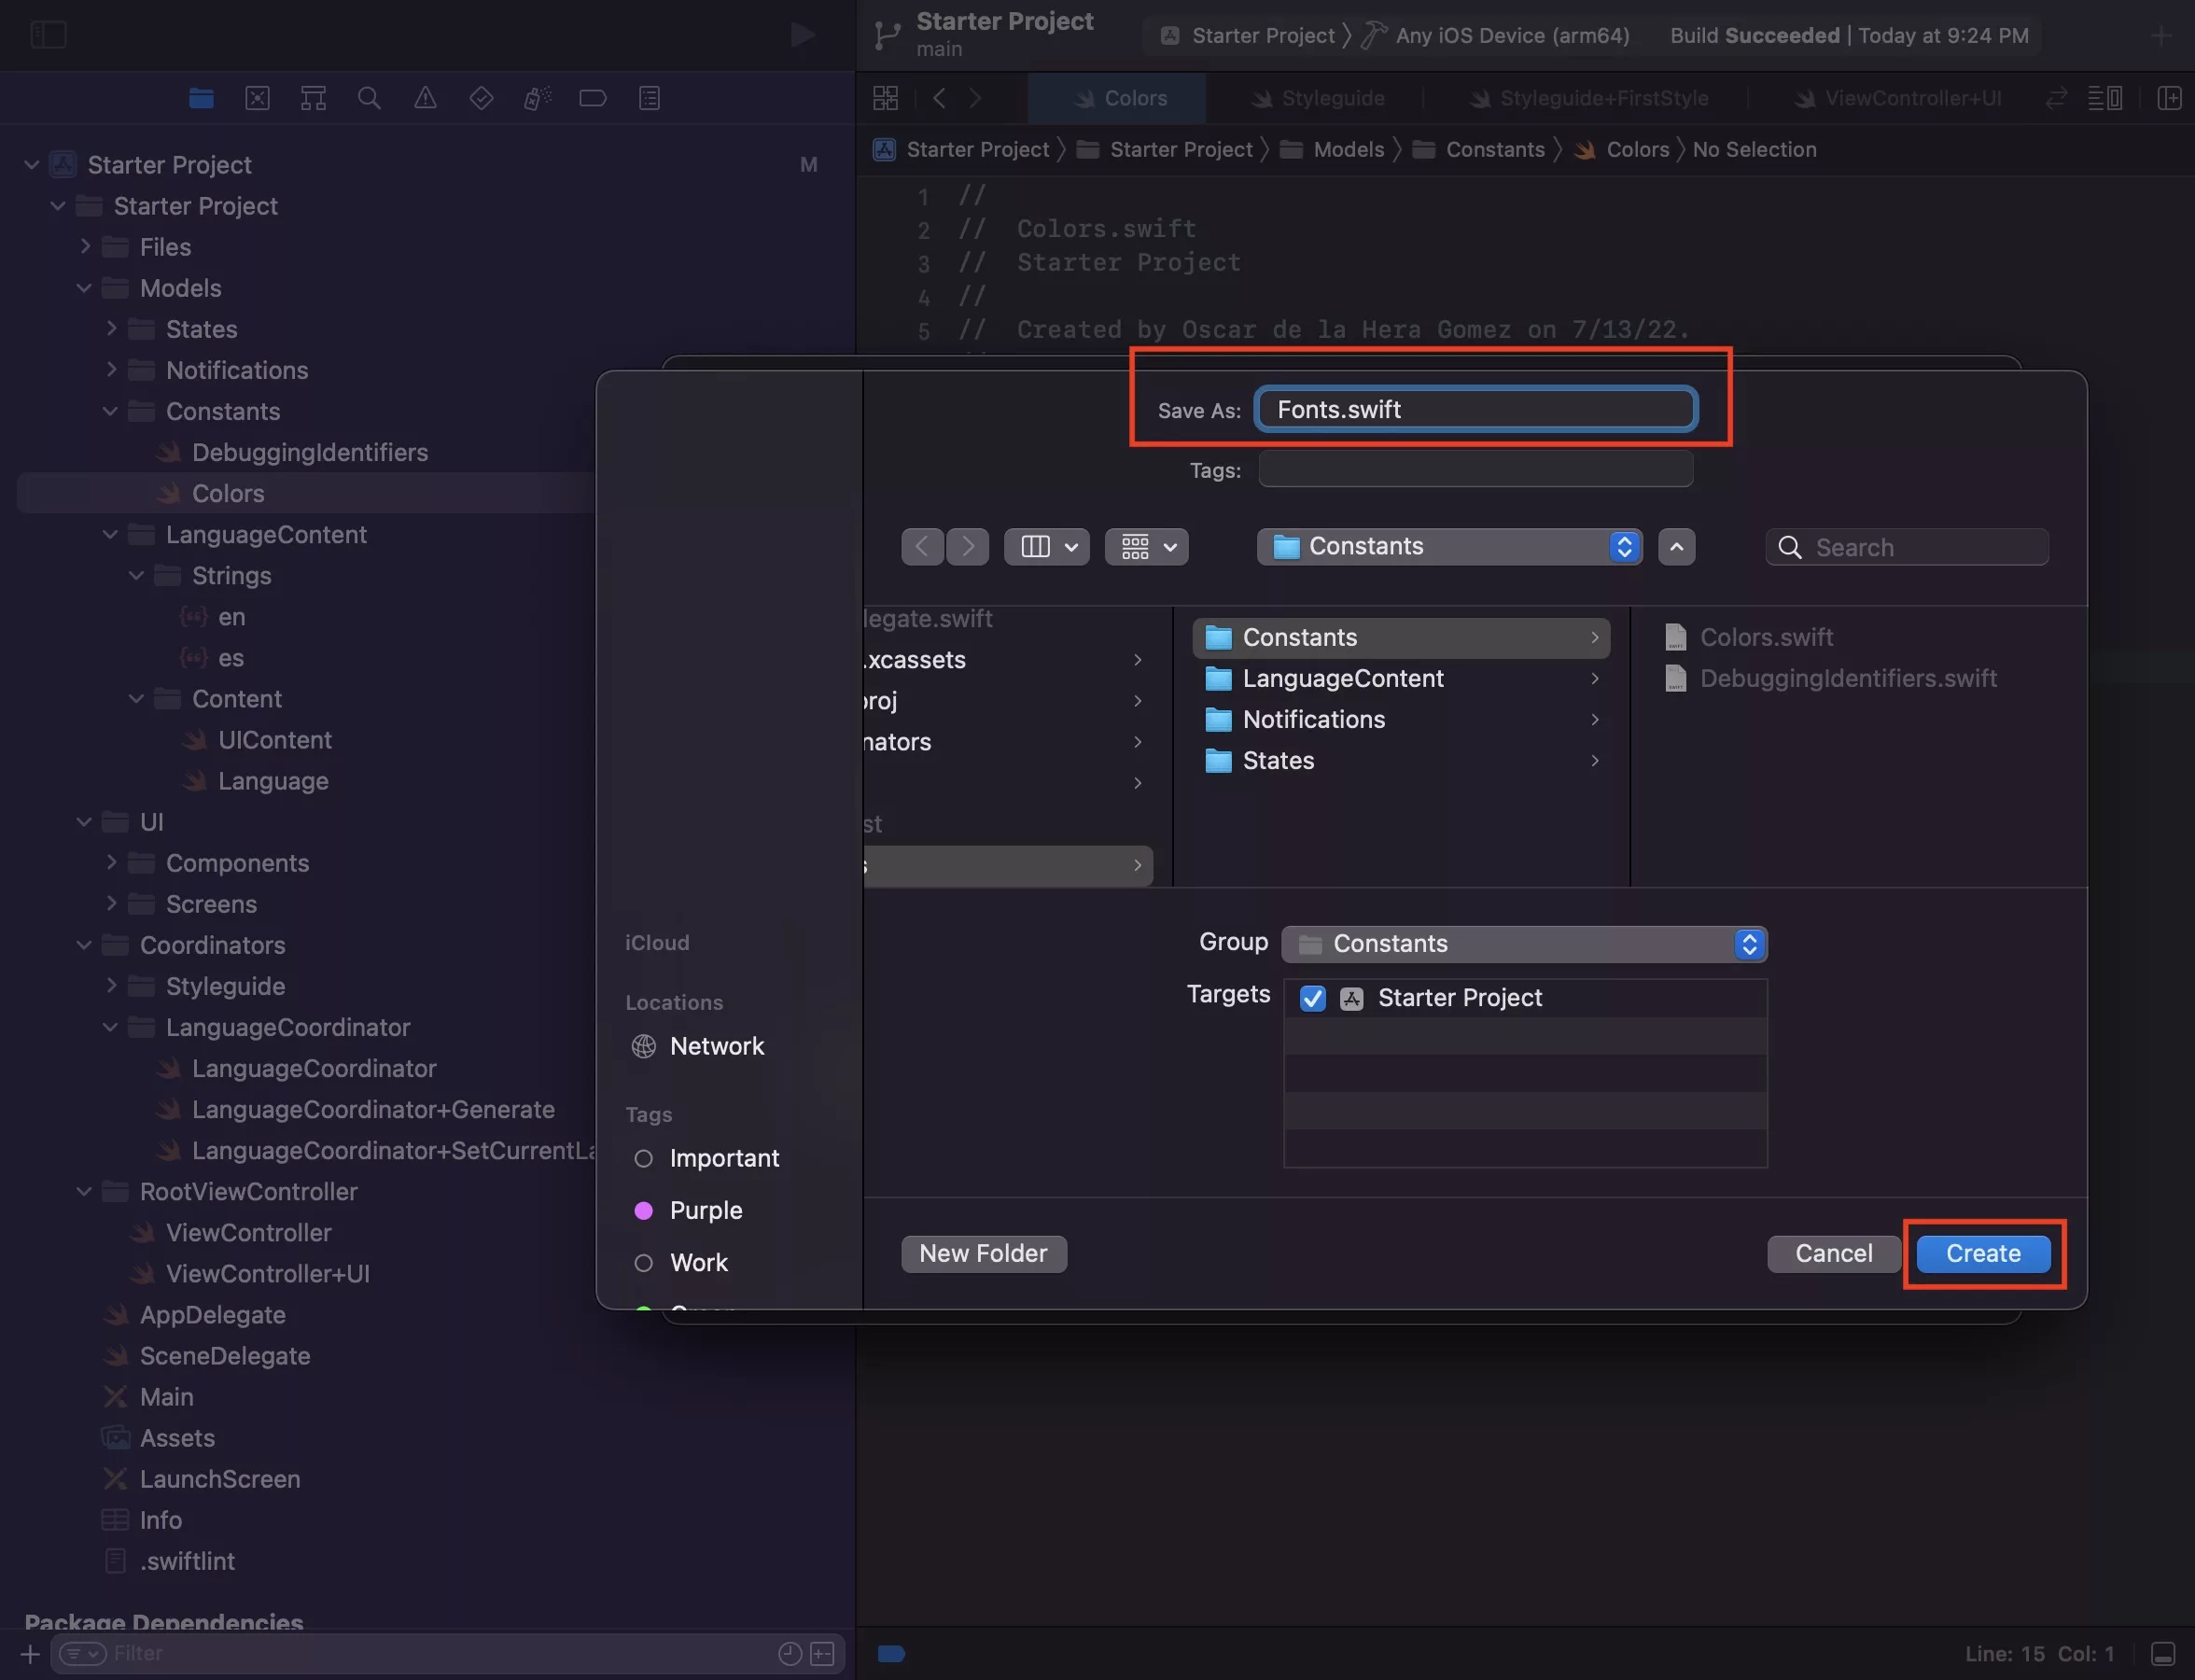
Under Models, Select the Constants folder and press Command + N.
This will select the Swift, iOS file type. Press Next.
After that enter the name of your file - Fonts - and press Create.
Step Six: Code your Fonts file
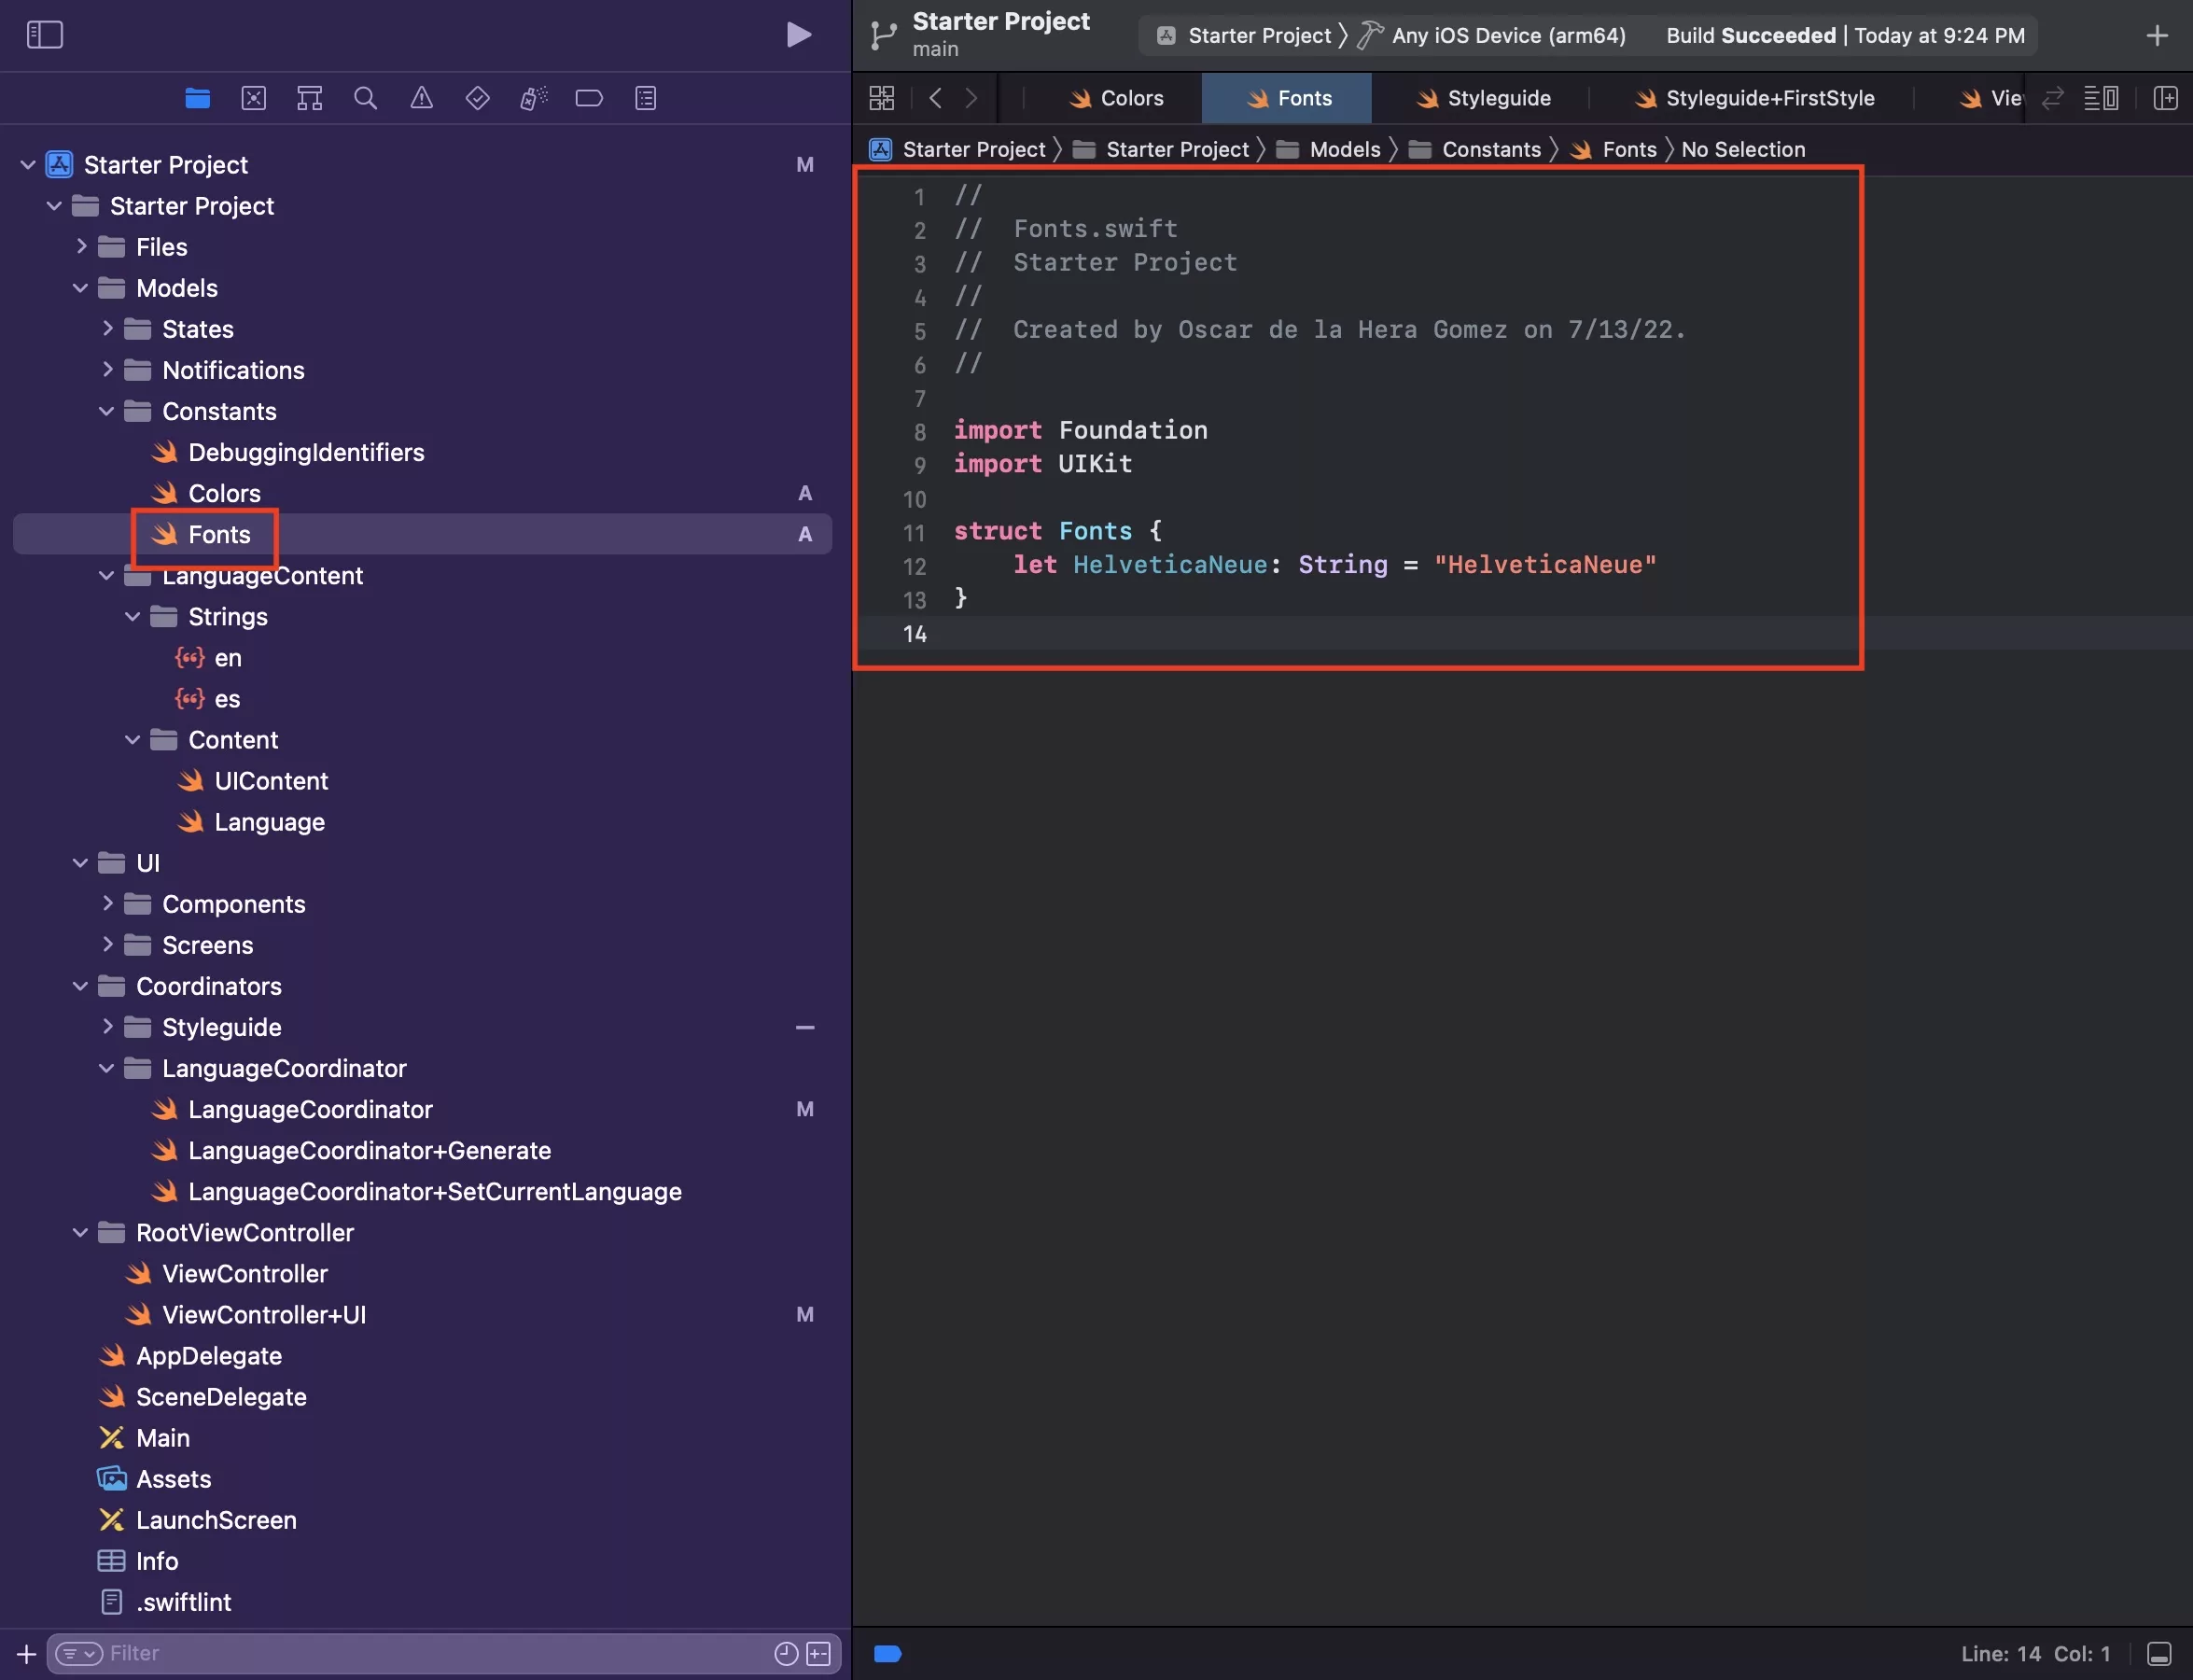
Copy the code below
Step Seven: Code your Styleguide
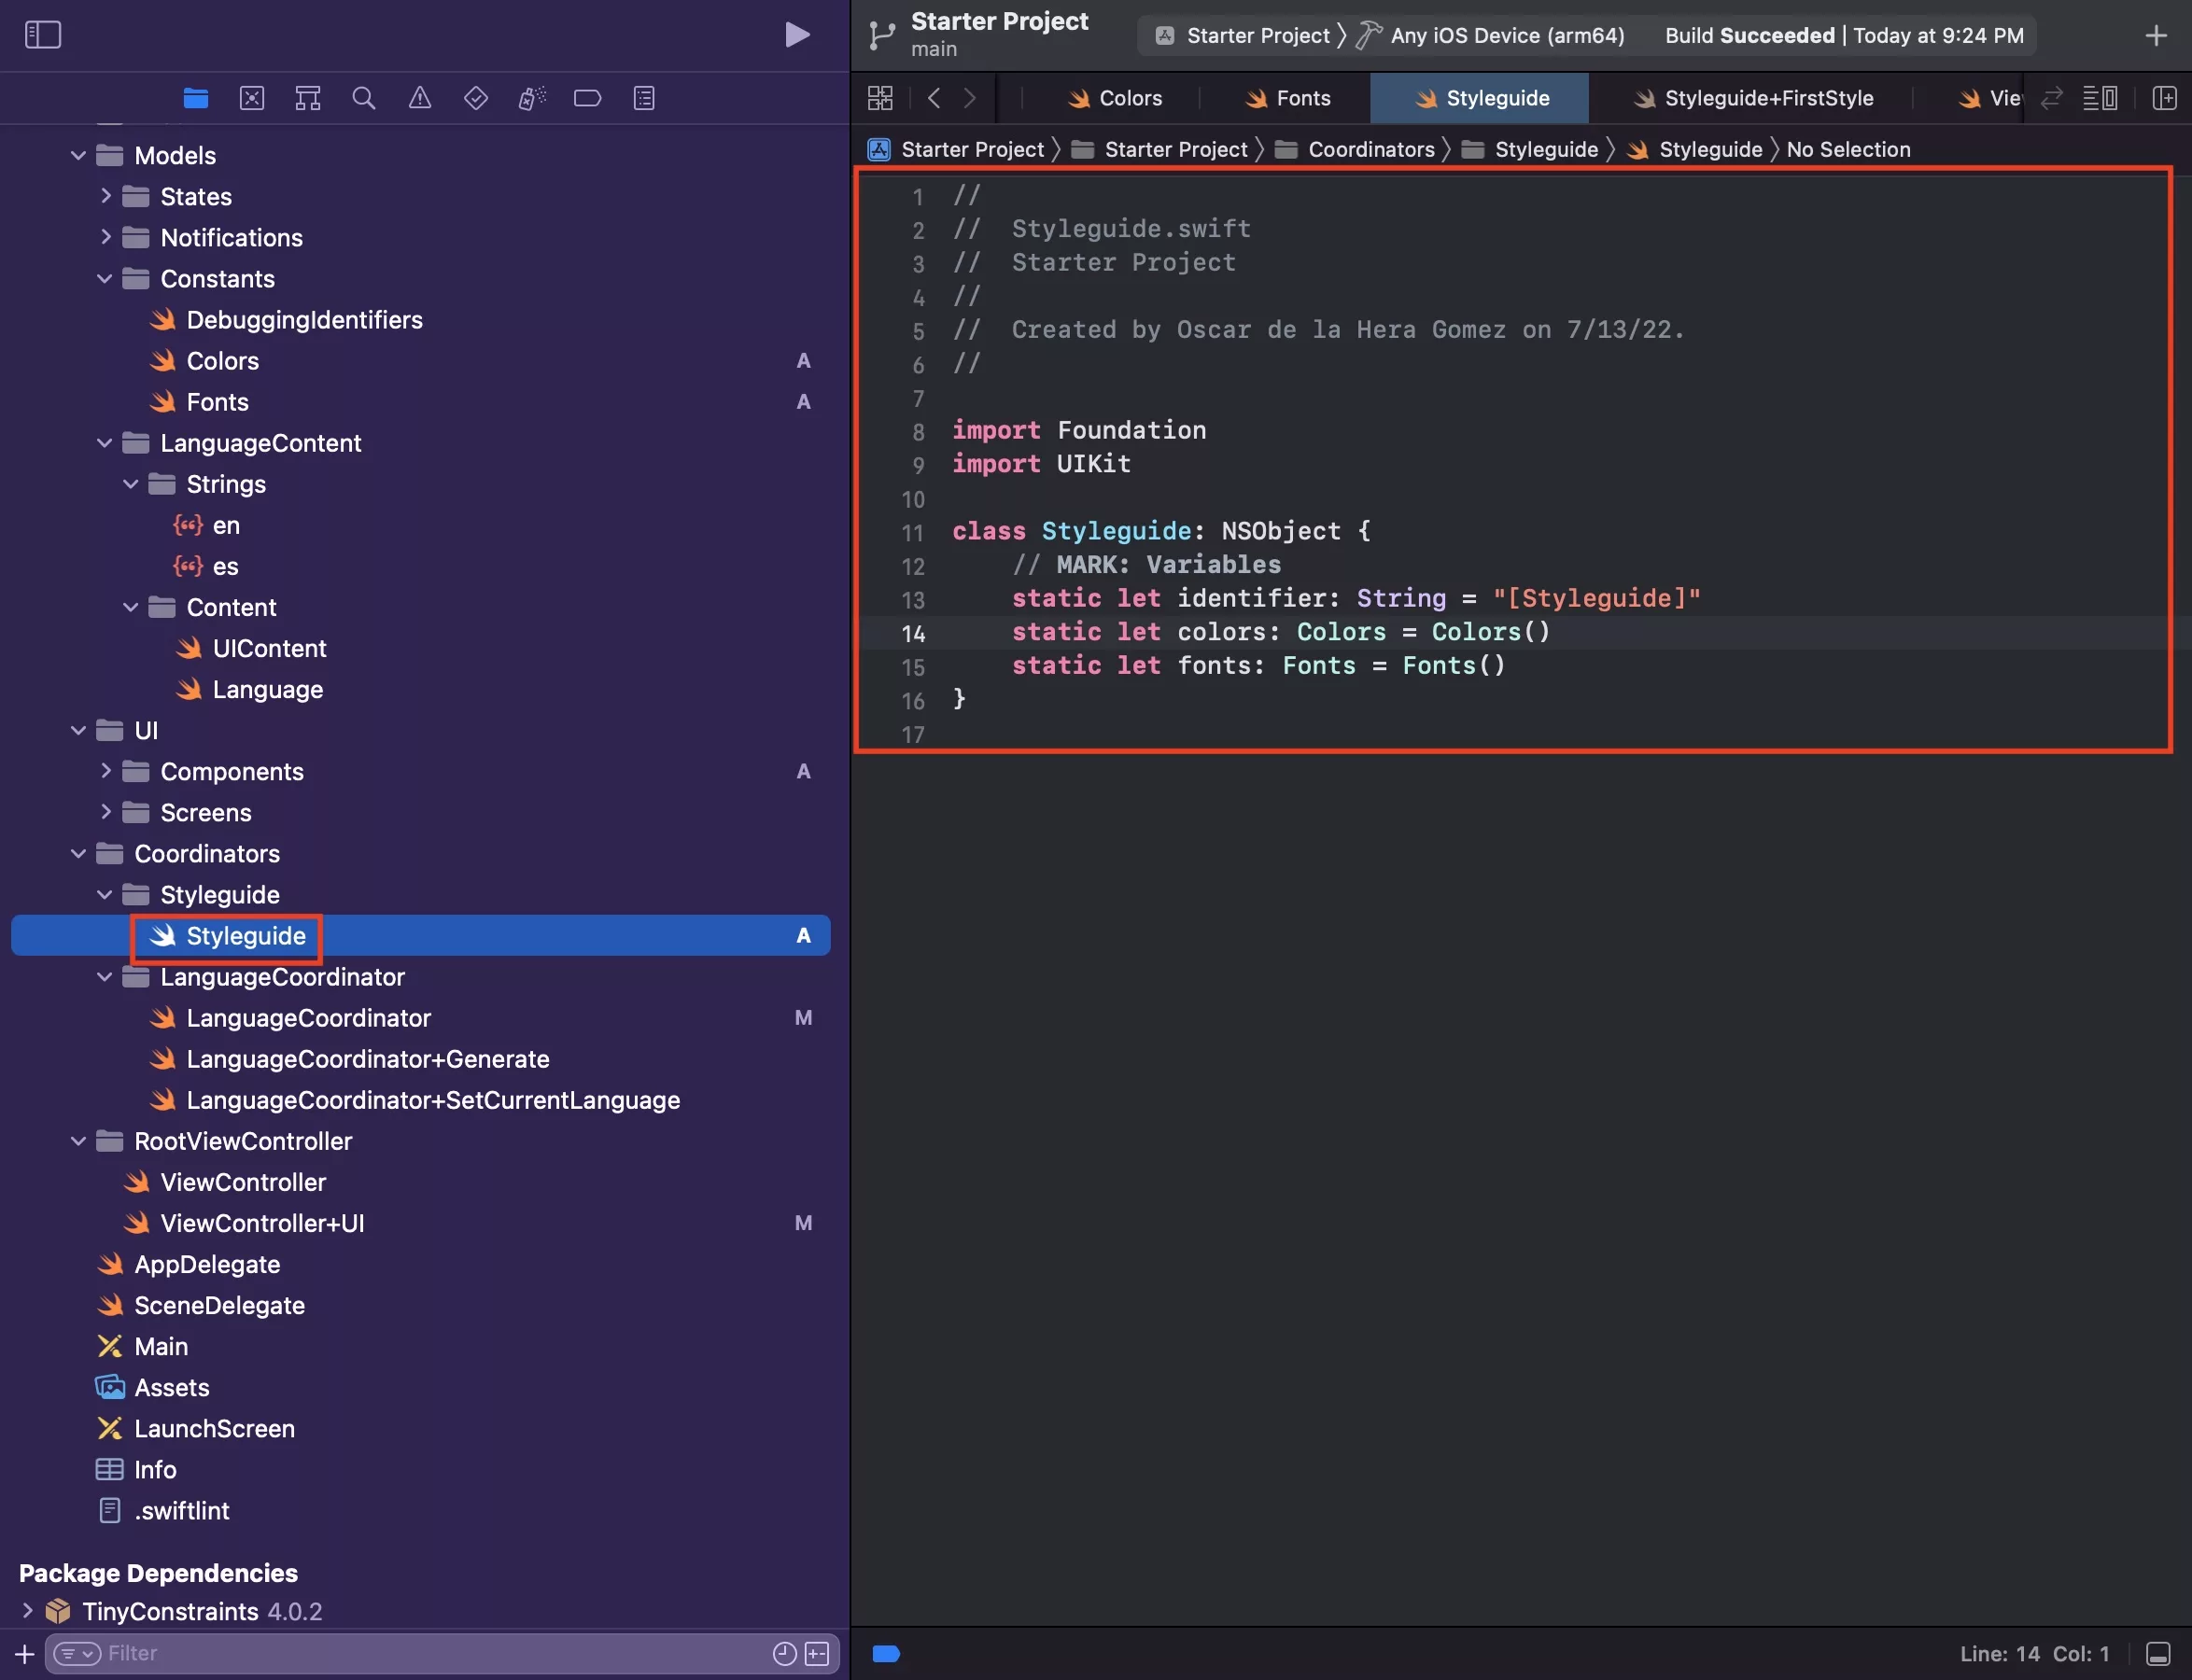
Select the Styleguide.swift file that you created earlier and copy the code below.
We have made the colors available as a variable on line 14. These can be accessed using Styleguide.colors.white for white and Styleguide.colors.black for black.
The Styleguide is not a Singleton as all its functions are static, but if you are curious how to make a singleton follow our tutorial available in the link below.
Step Eight: Create your first style file
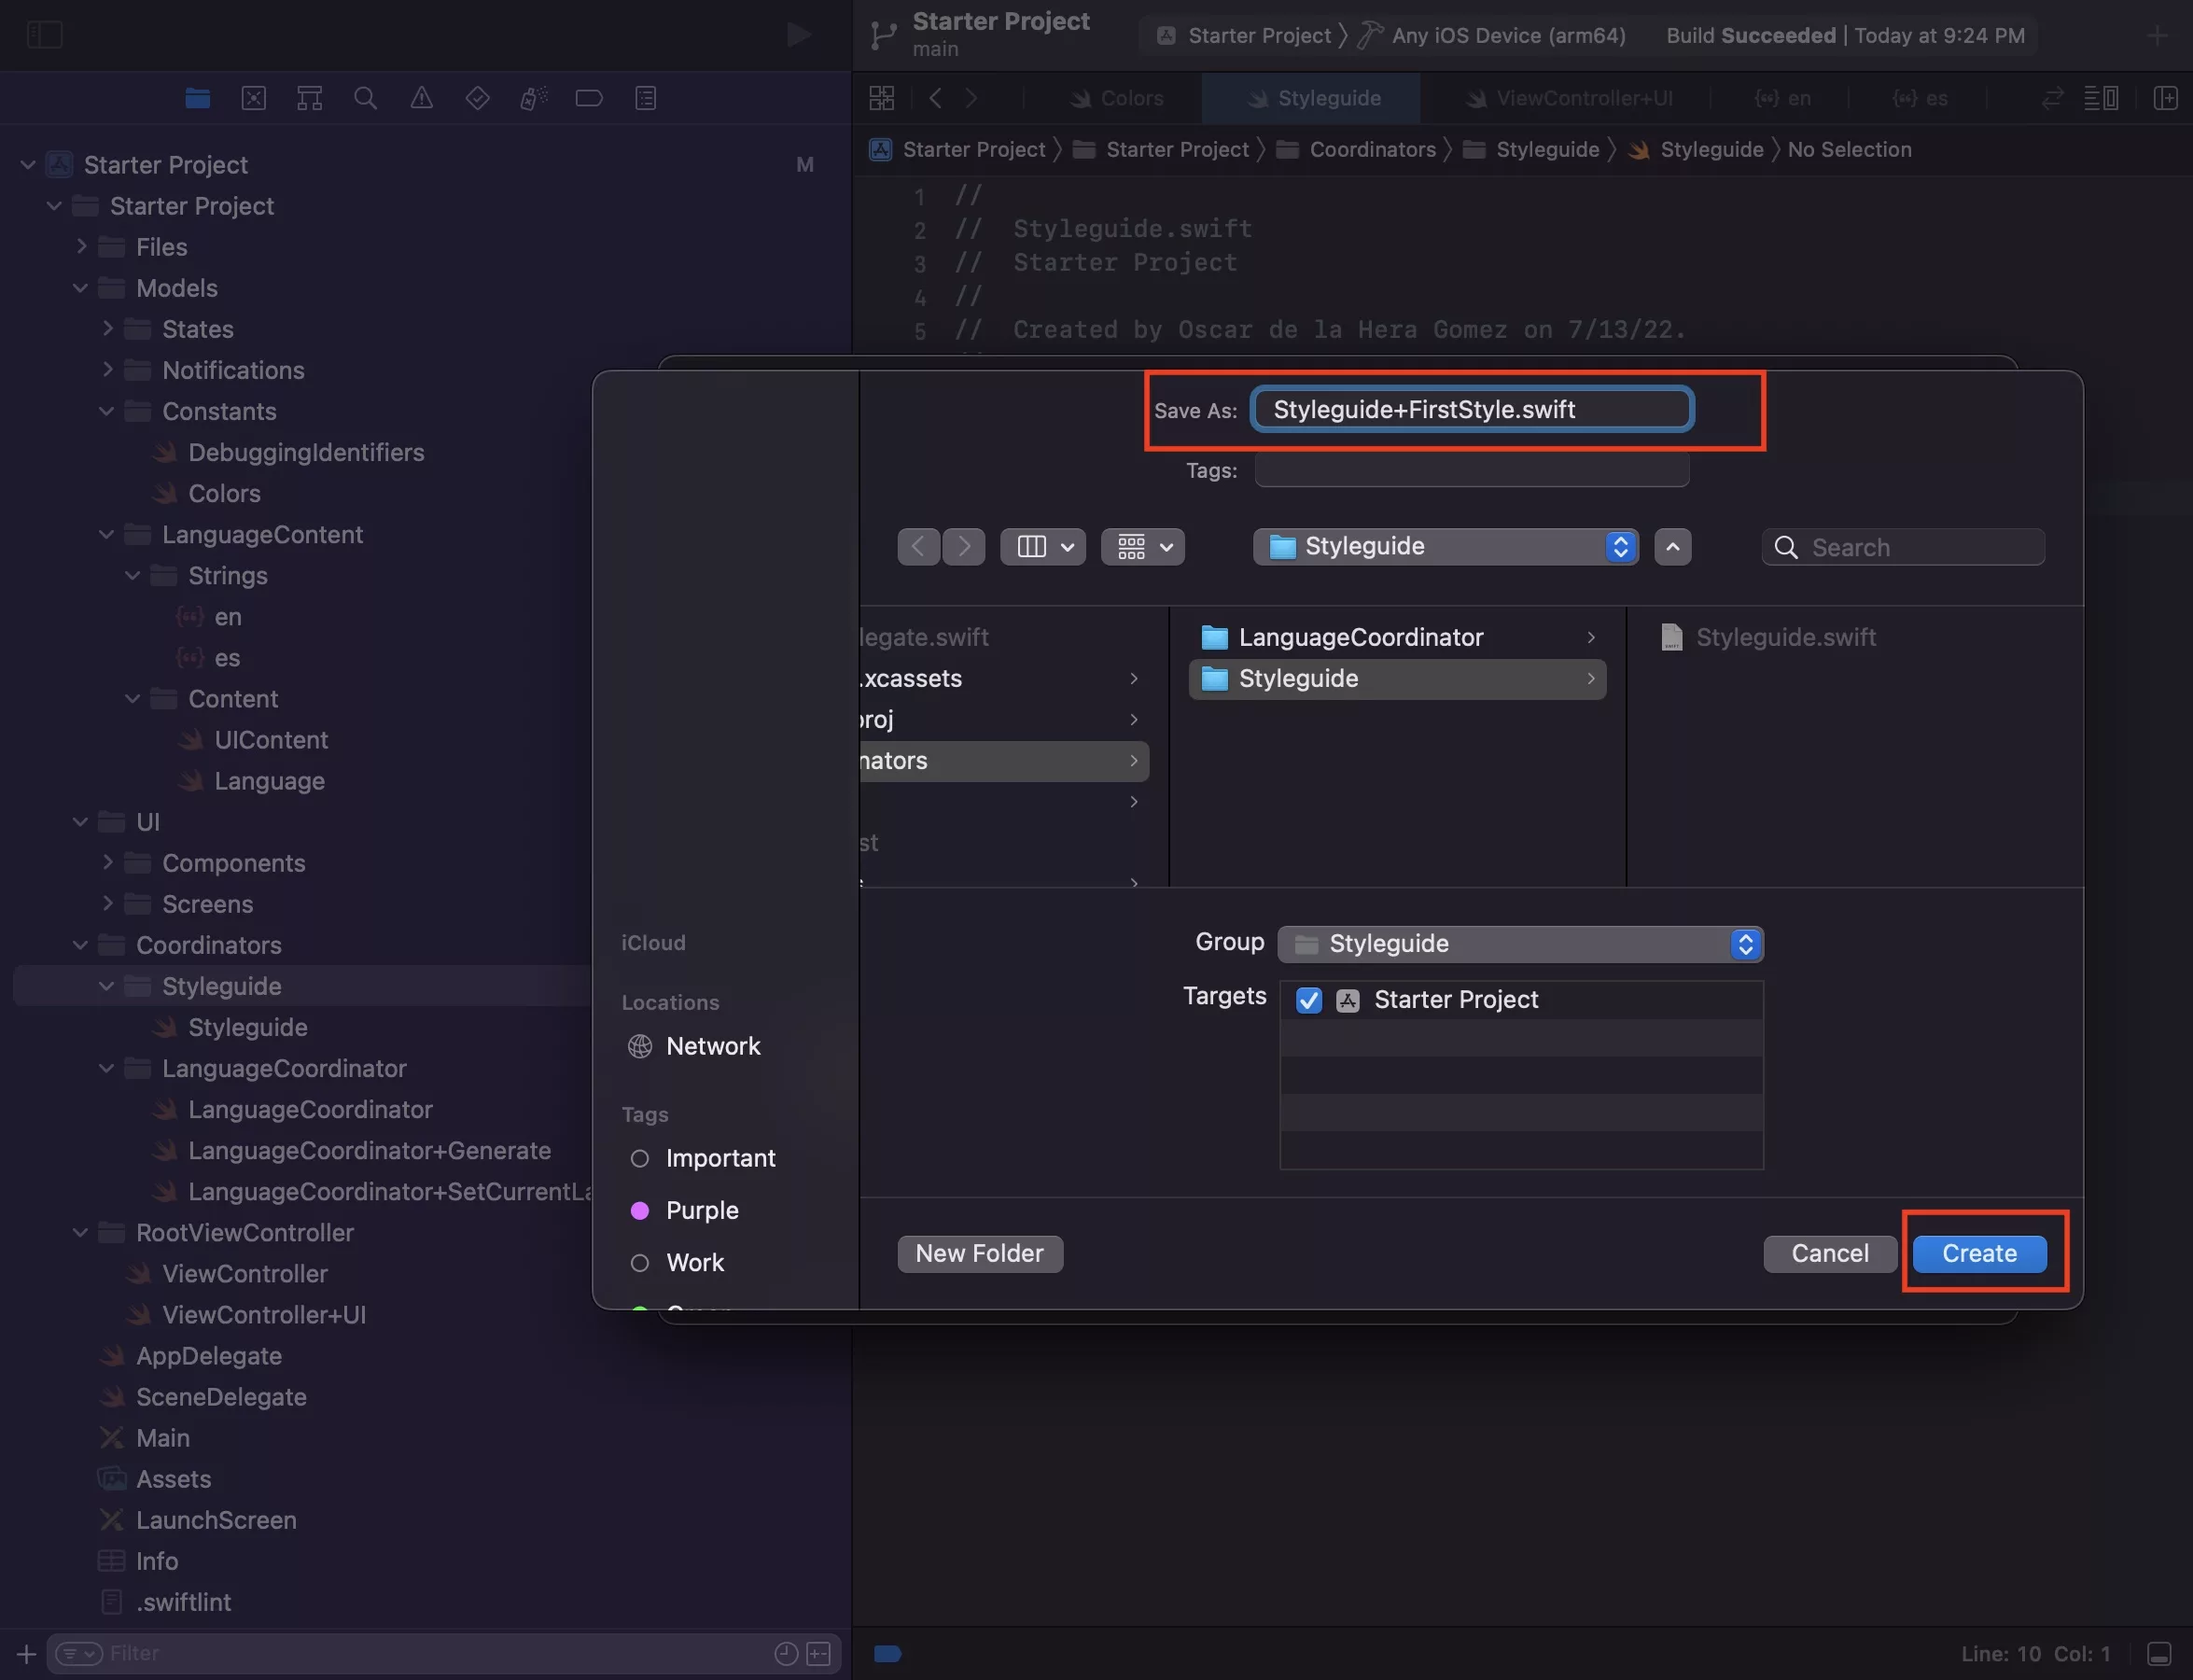
Select the Styleguide folder and press Command + N.
This will select the Swift, iOS file type. Press Next.
After that enter the name of your file - Styleguide+FirstStyle - and press Create.
Please note that these extensions should be named to match the style named in your typographic styleguide.
What is a Typographic Style?Step Nine: Code your first styled label
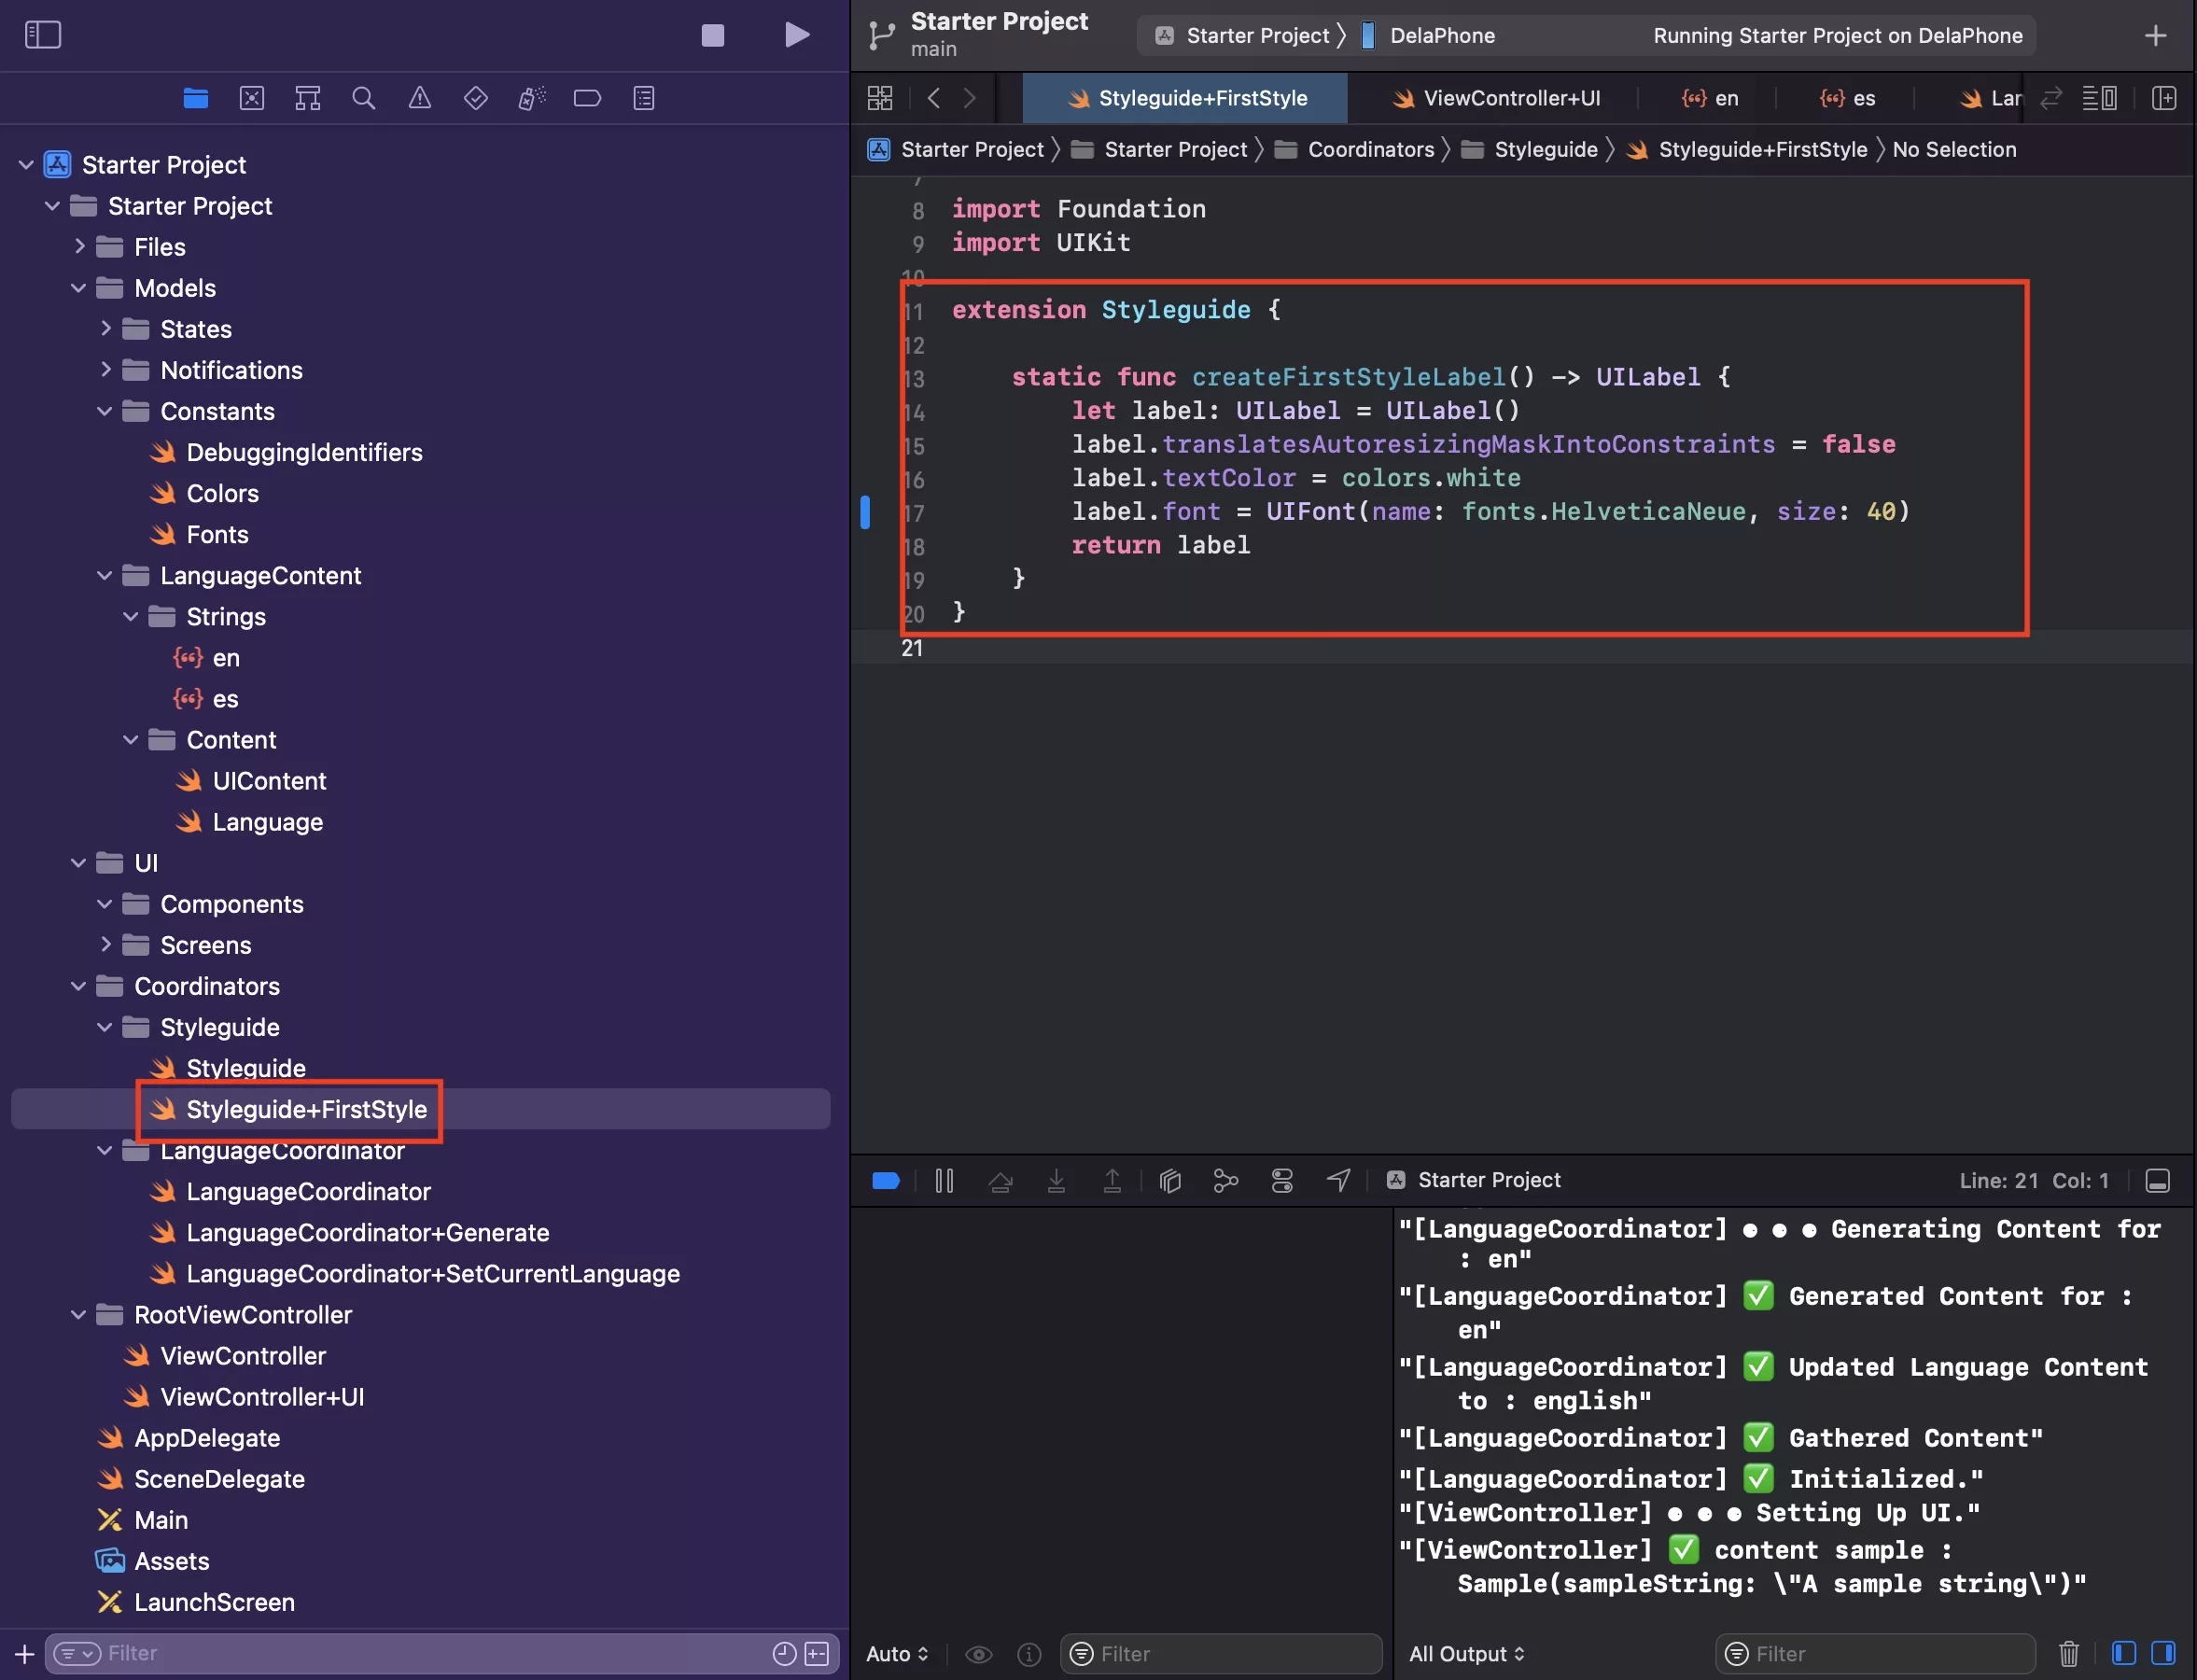
Copy the code below into your newly created file.
This sample creates returns a UILabel with Helvetica Neue, sized 40 in white - accessed from the styleguide.
Step Ten: Apply your Style
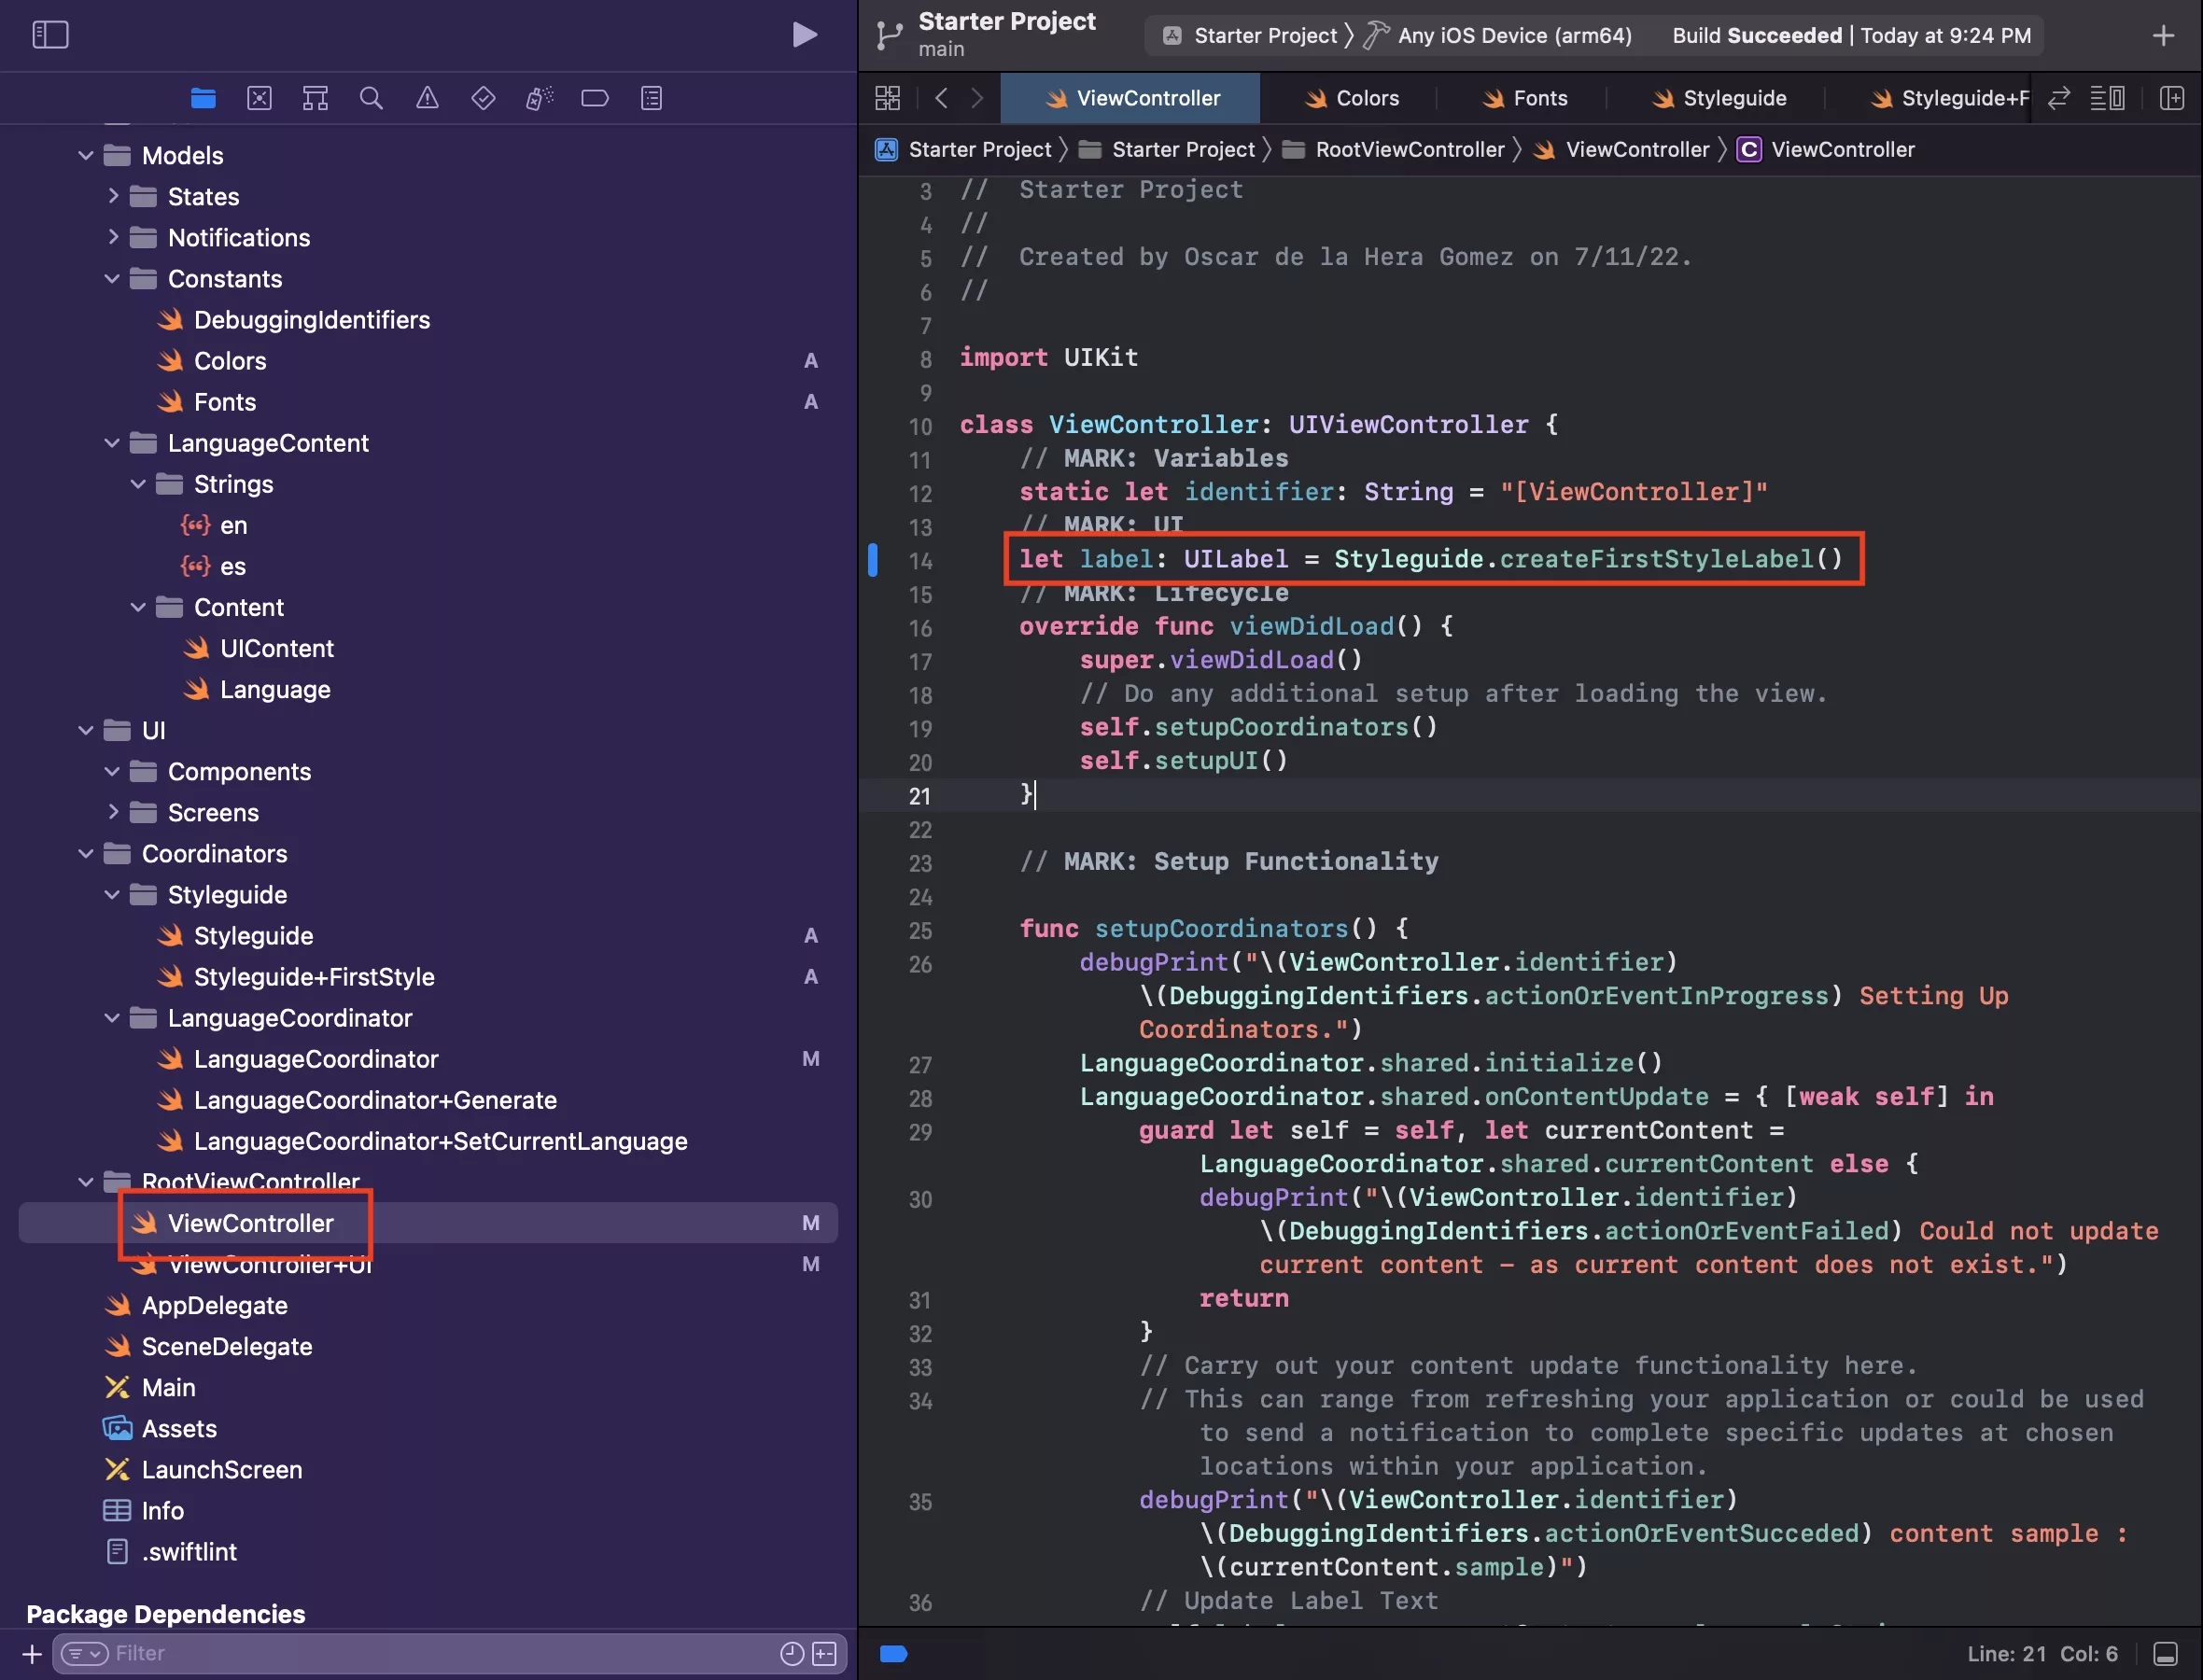
Select ViewController and update the label constant declared on line 14 to match the newly created style using the line Styleguide.createFirstStyleLabel()
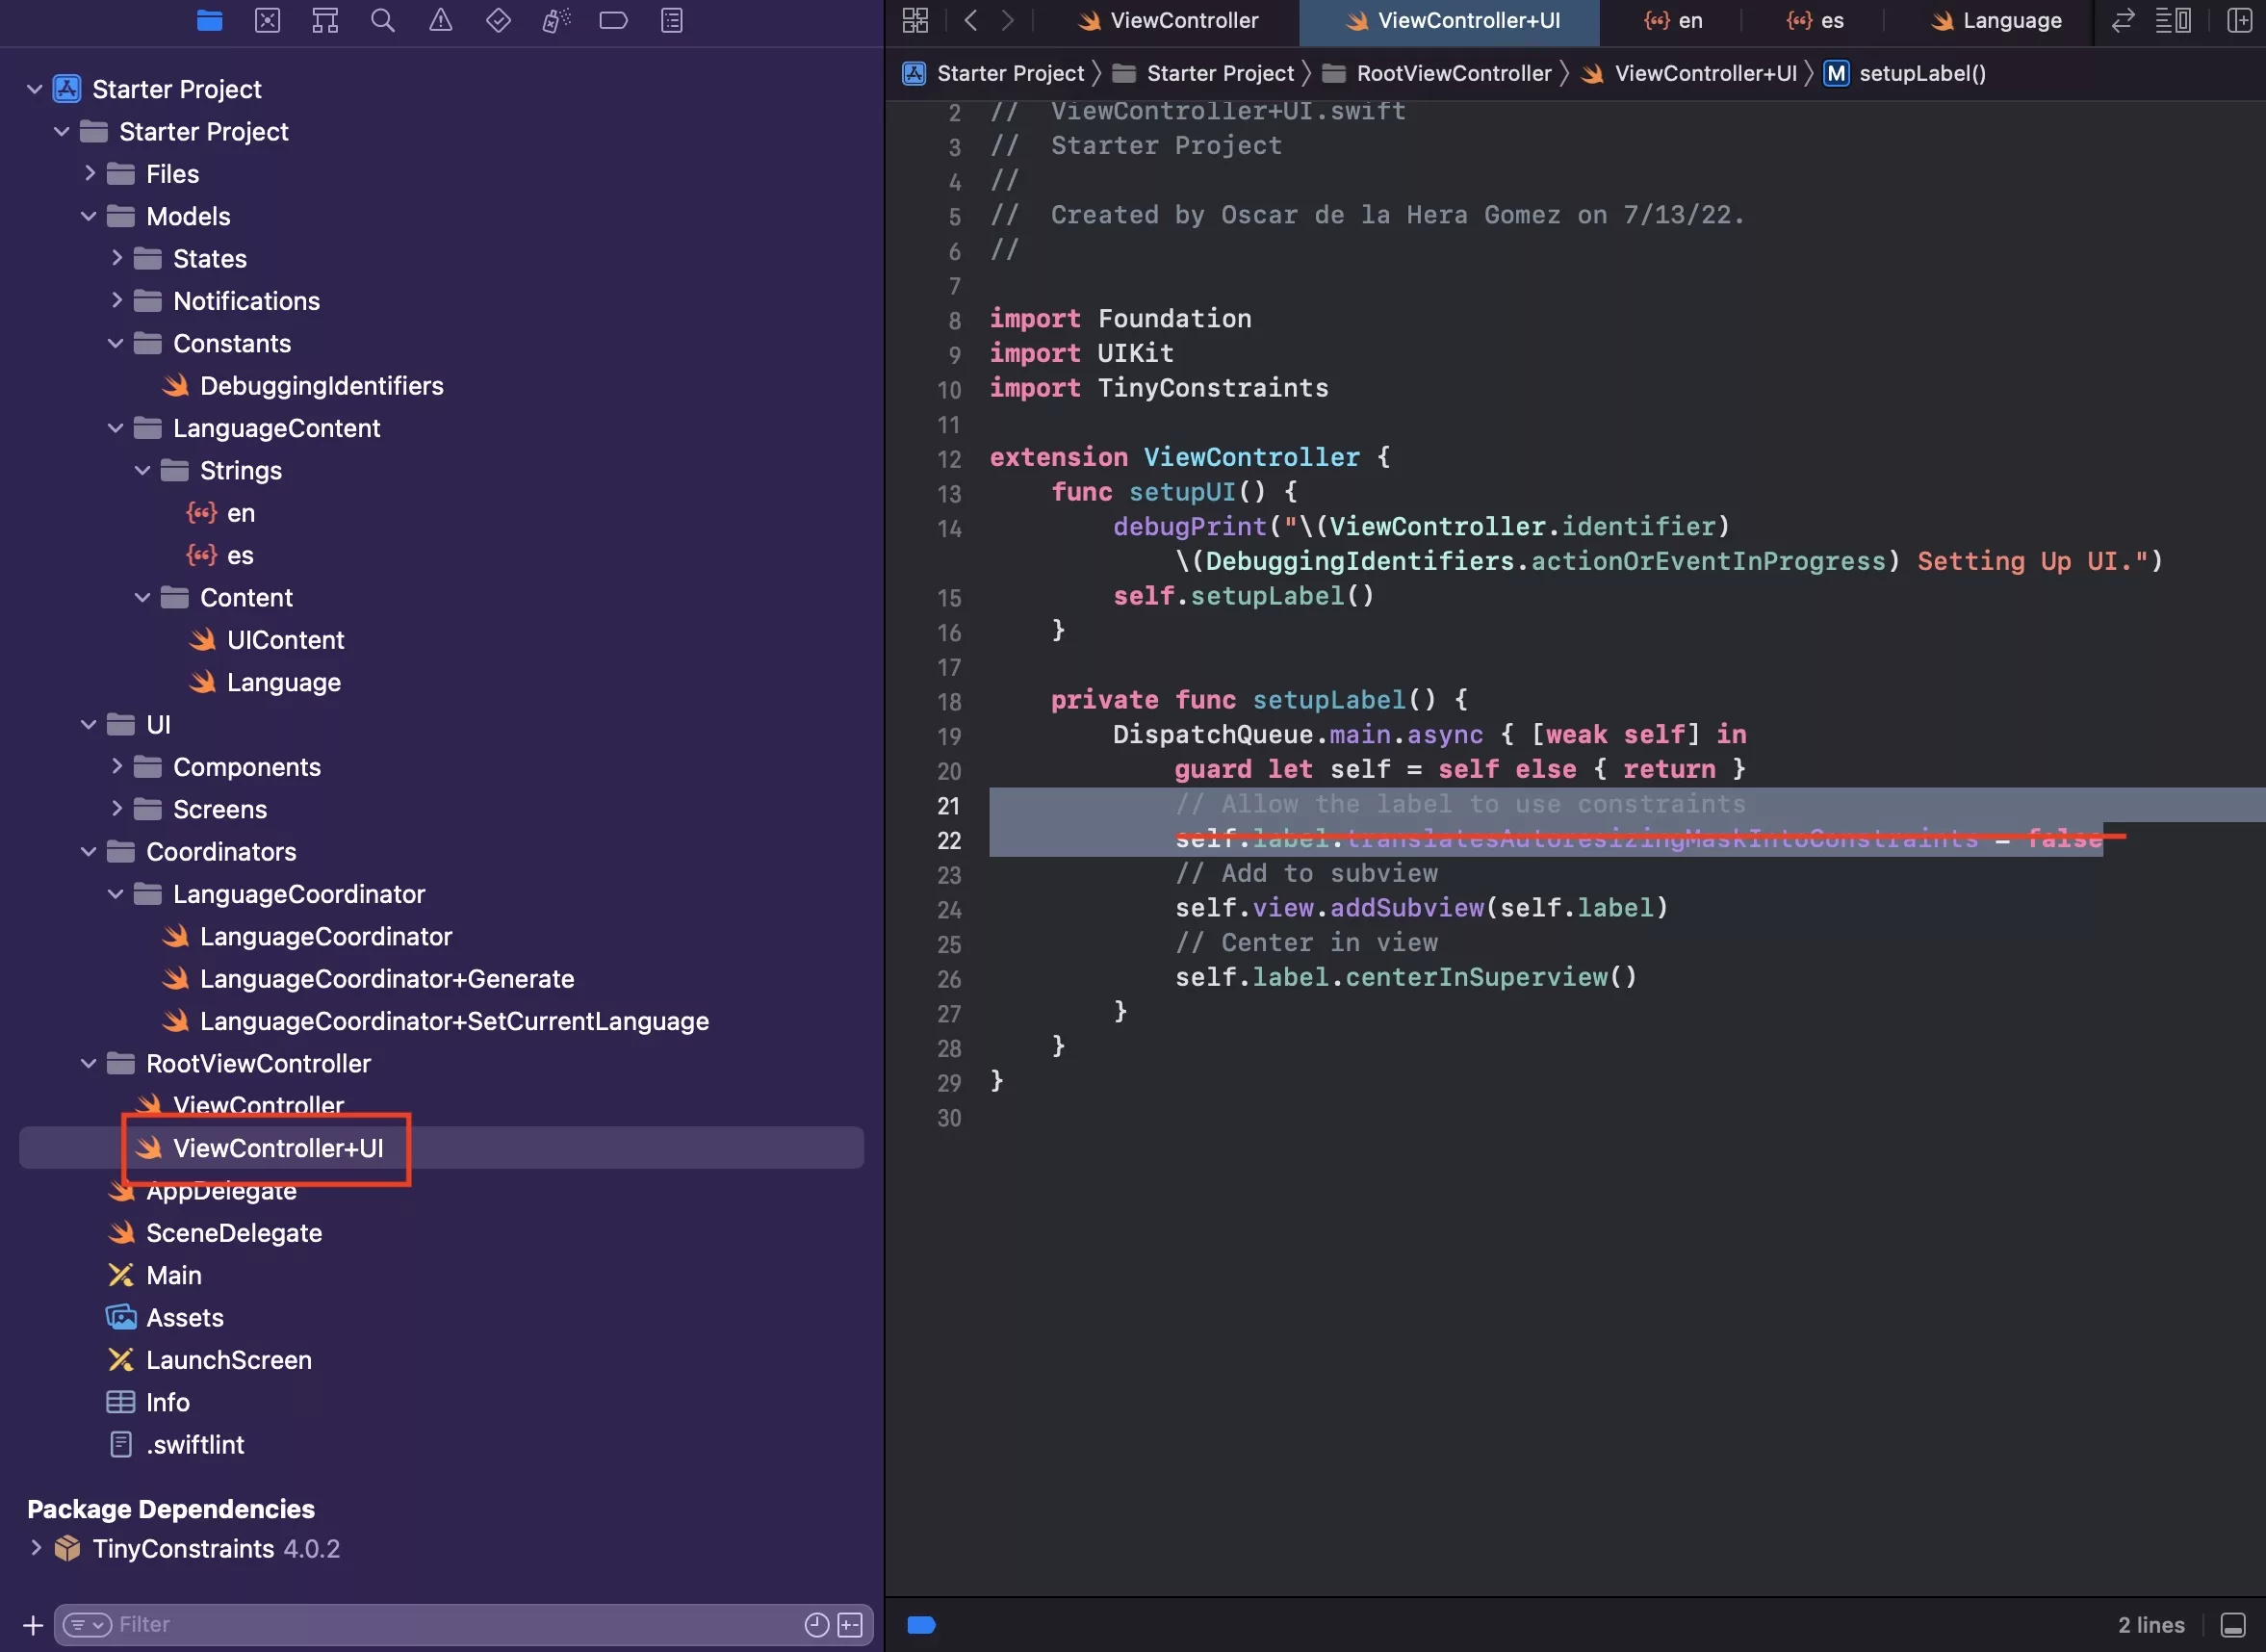
Given that we have made it constraints-ready in the style function, we can remove self.label.translatesAutoresizingMaskIntoConstraints = false from the ViewController+UI, setupLabel function on line 22.
Step Eleven: Verify
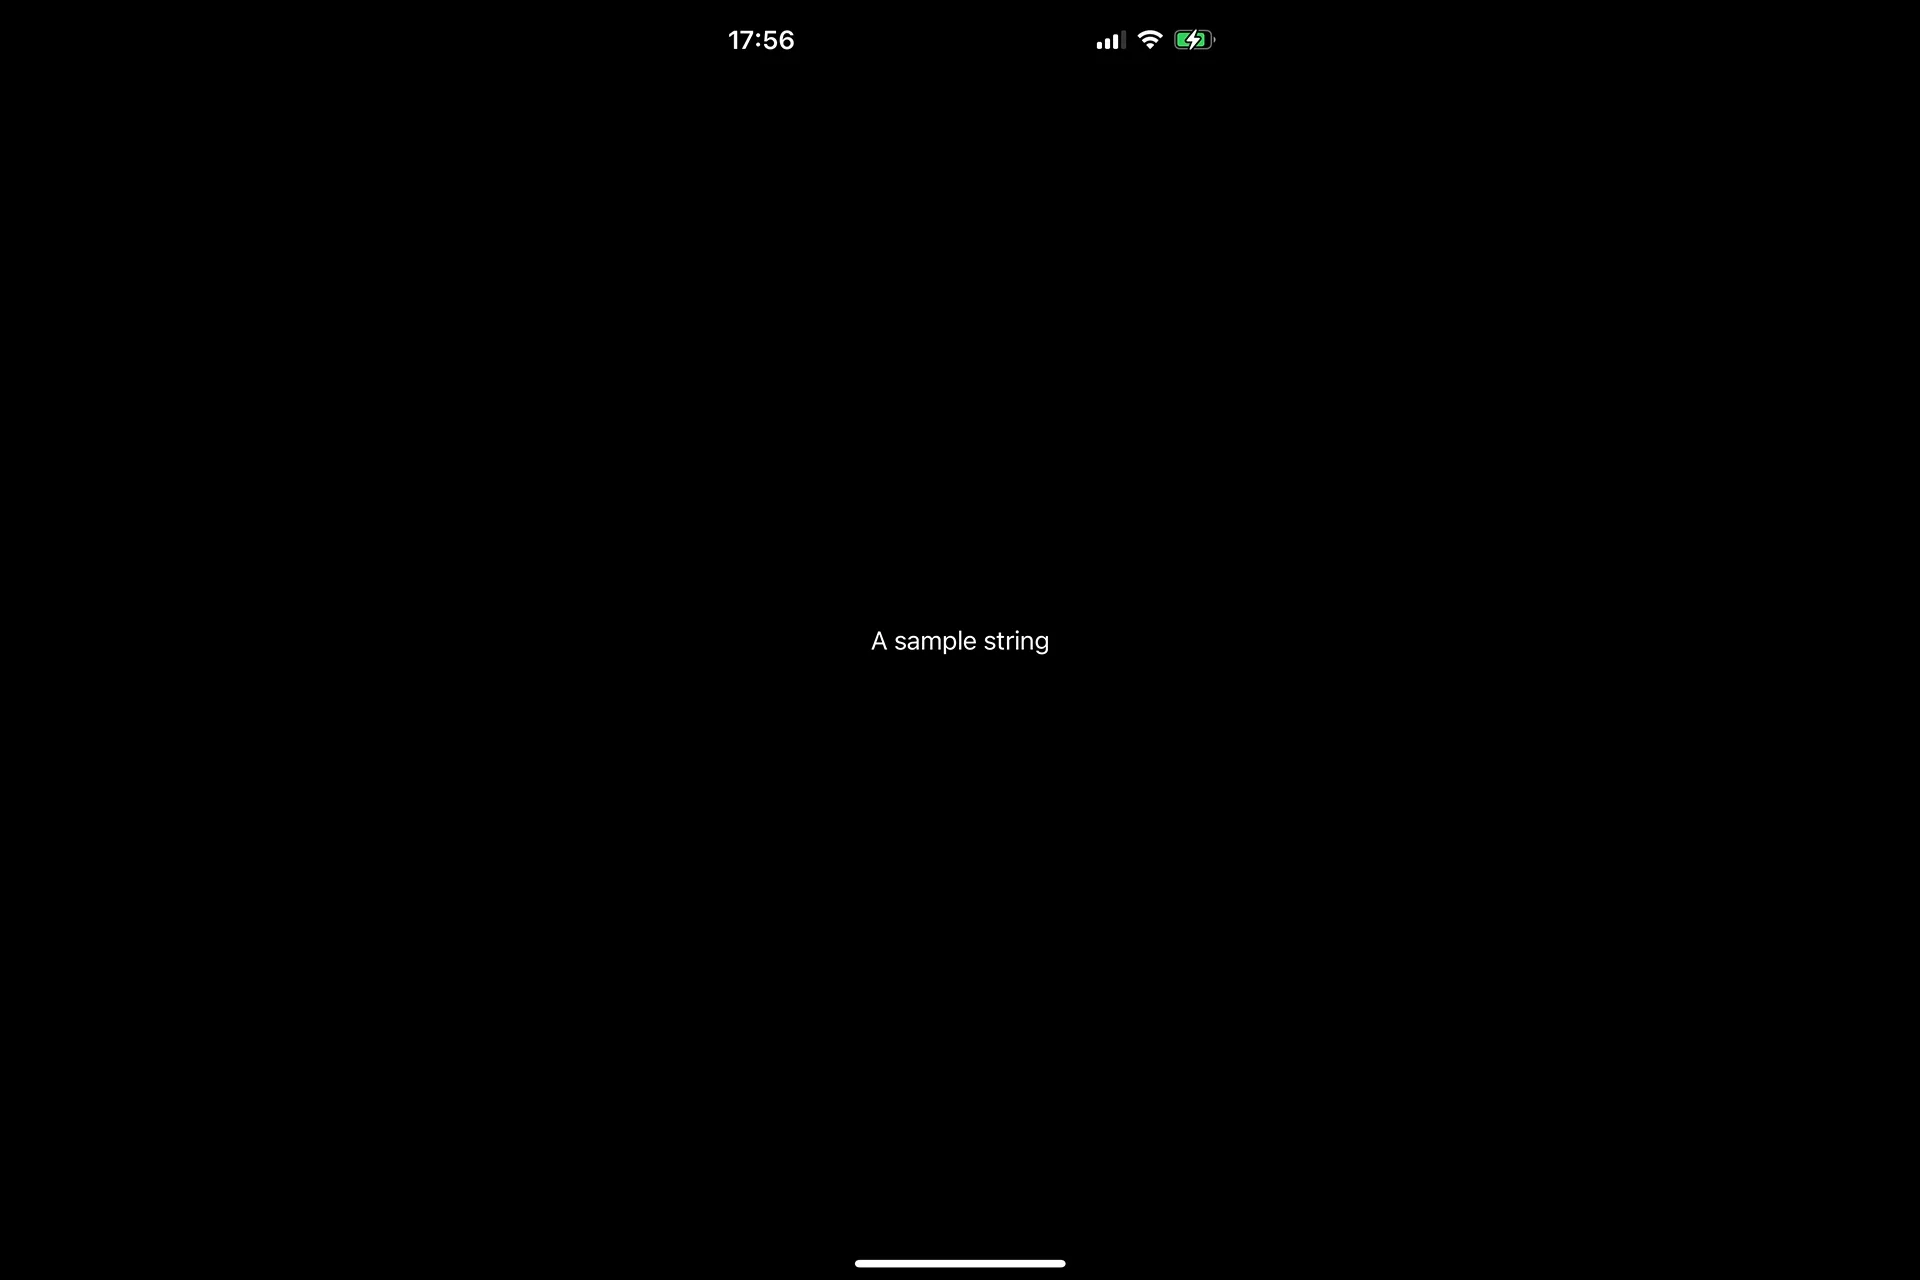
Before
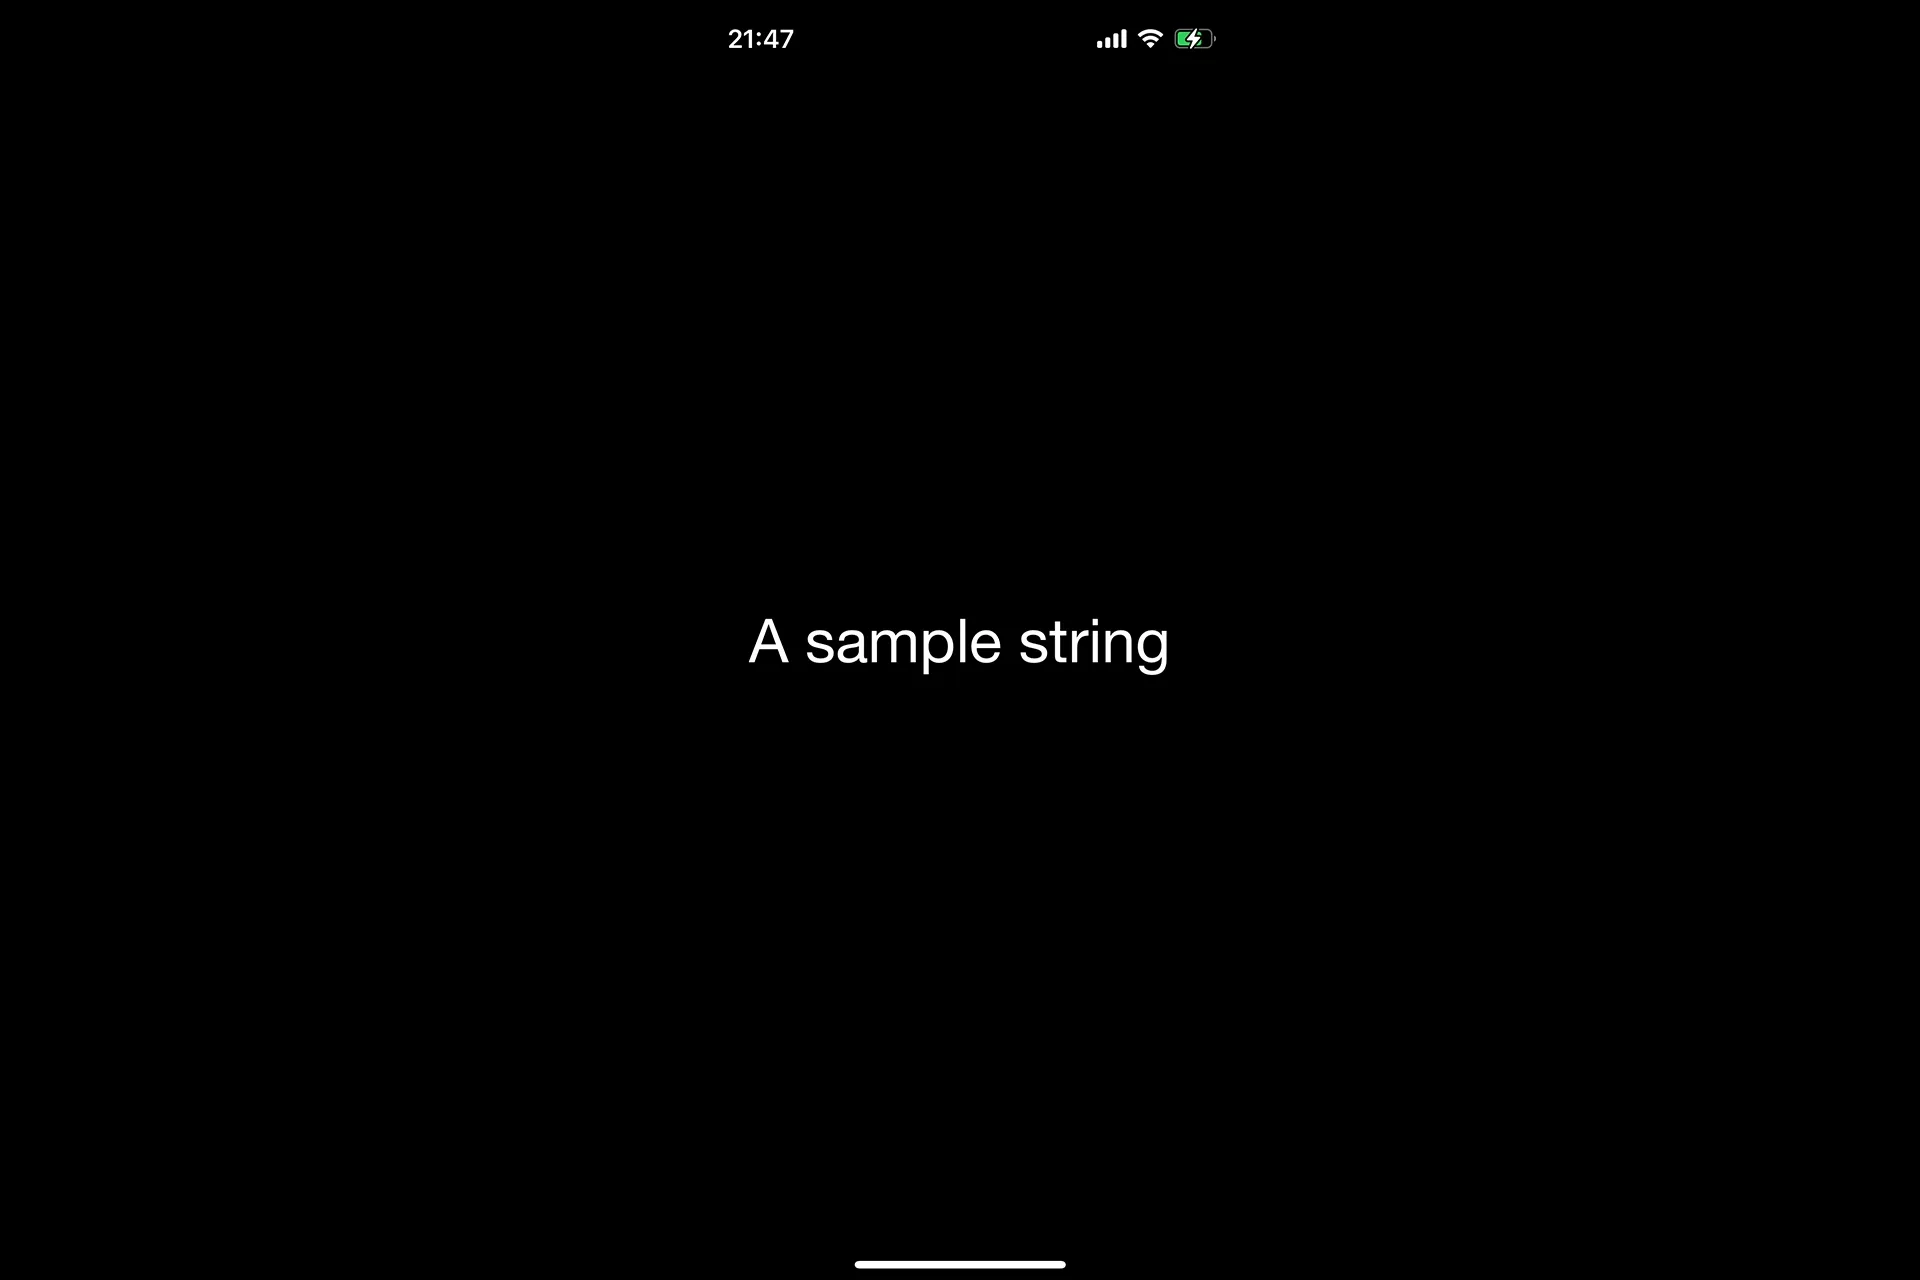
After
Run the application and you should see your label update to the new style.
Incase you're curious how we made this label, follow the tutorial below.
Any Questions
We are actively looking for feedback on how to improve this resource. Please send us a note to inquiries@delasign.com with any thoughts or feedback you may have.