How to code and test refund requests in Swift and Xcode
A step by step guide on implementing and testing StoreKit refund requests for In-App Purchases and Subscriptions.

A step by step guide on implementing and testing StoreKit refund requests for In-App Purchases and Subscriptions.
The guide was made using our Free iOS StoreKit 2 Open Source project which is recommended for developers or business folk wishing to learn about how In-App Purchases or Subscriptions work and the code behind them.
The following walkthrough assumes that you have already setup StoreKit with an offering, have developed a UI that allows an app to display, buy and refund products and have already made at least one successful purchase.
Please consult the guides below to learn how to setup StoreKit, create a StoreKit offering, design a UI that considers all StoreKit scenarios or make StoreKit product purchases.
Step One: Add the Request Refund Utility
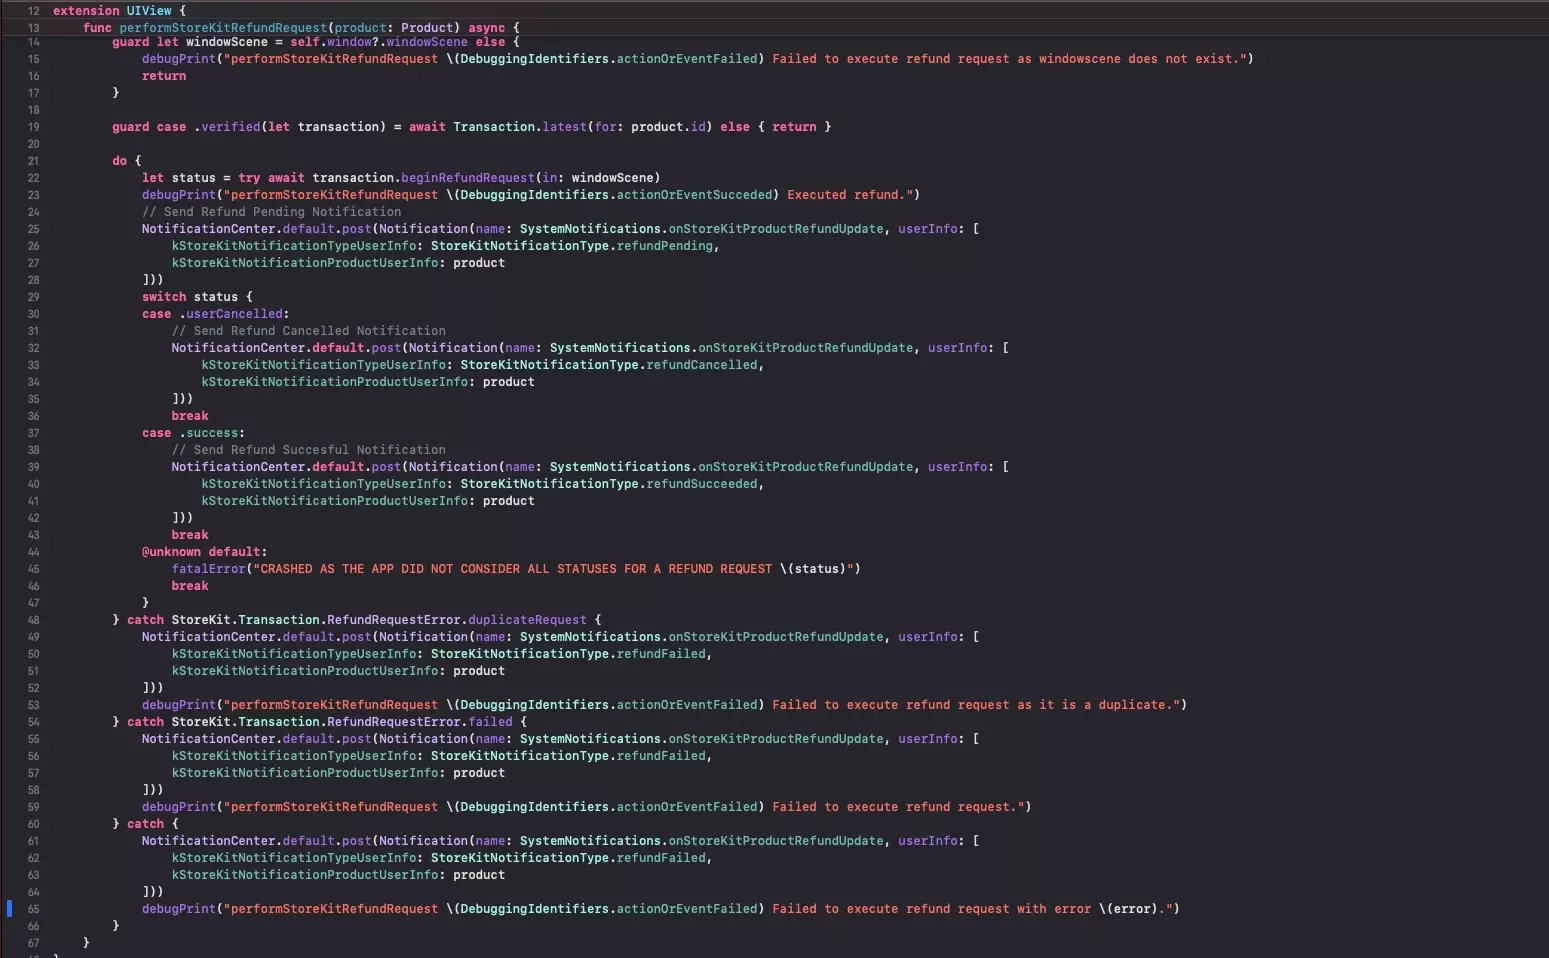
Add a new file called performStoreKitRefundRequest.swift and paste in the code below.
We recommend placing it in the StoreKit folder under utilities, to make sure your code remains structured.
Please note that we have created this as a UIView extension so that you can call it from a UIView.
Step Two: Implement the code

Where ever you have setup your refund UI, call the refund request using the async/await code below.
Please note that if you're calling it from a UIView controller, you should use self.view.performStoreKitRefundRequest(product:product) instead of self.performStoreKitRefundRequest(product:product).
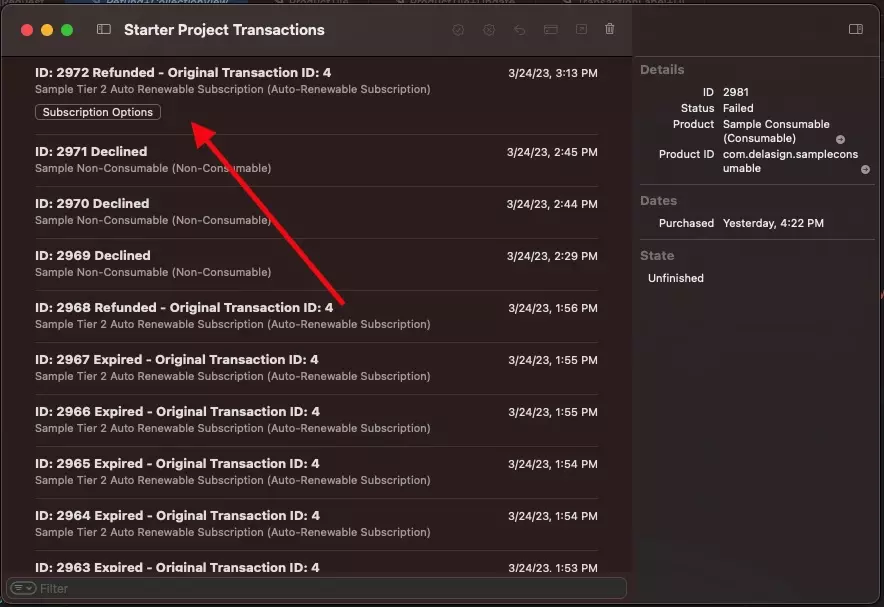
Step Three: Verify
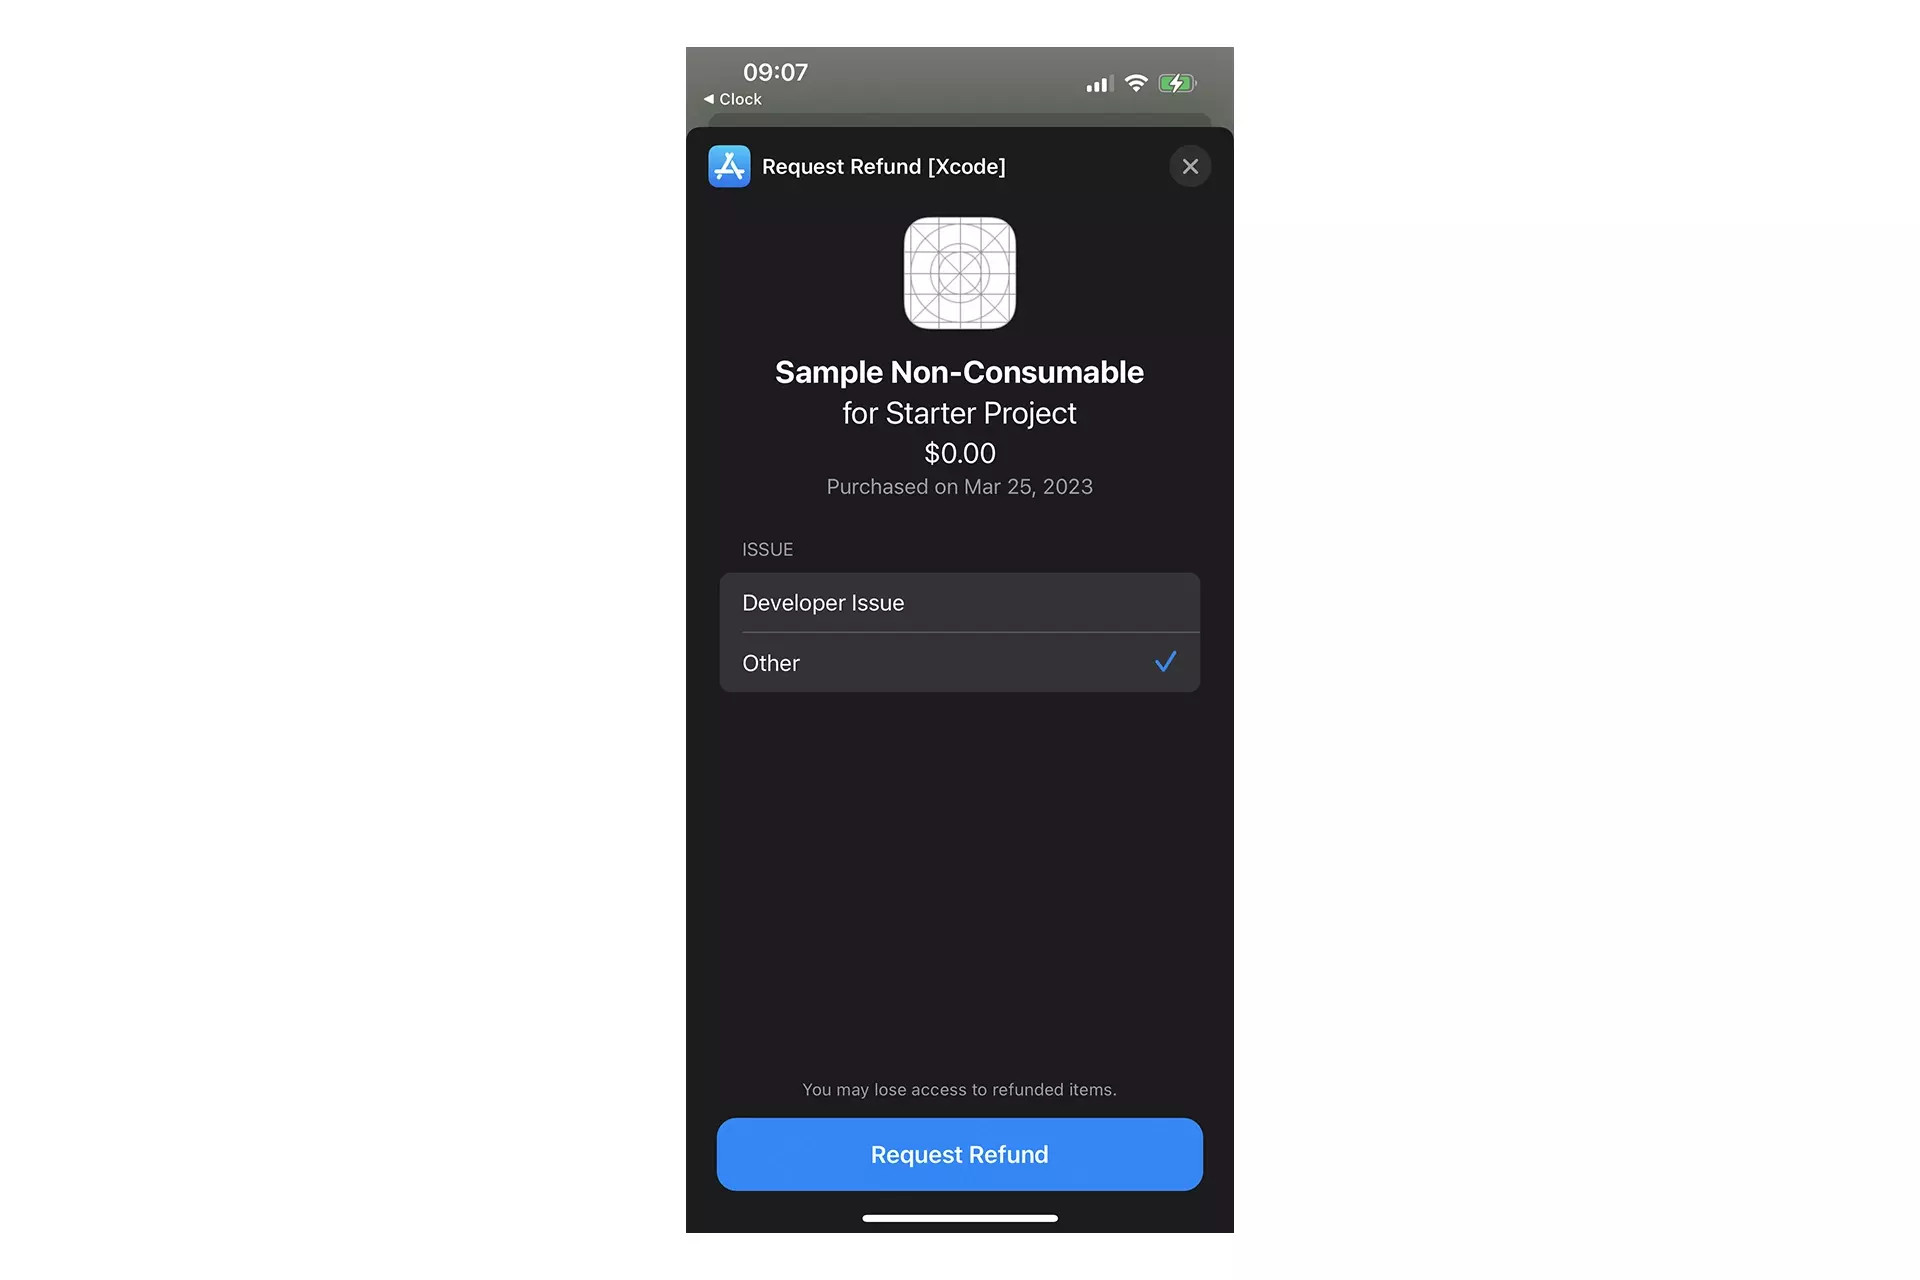
Run the app, perform a refund request and check that it shows up in the StoreKit Transaction Manager.
Looking to simulate a StoreKit refund that occurred outside of an app ?
Consult the guide below to learn how to simulate StoreKit refunds outside of an iOS app in Xcode.
Looking to learn more about developing apps with StoreKit 2?
Read our comprehensive development guide linked below to learn about all the secrets behind developing In-App Purchases and Subscriptions with StoreKit 2.