How to code and test StoreKit pending purchases in Swift and XCode
A step by step guide on implementing and testing StoreKit product pending purchases for In-App Purchases and Subscriptions.

A step by step guide on implementing and testing StoreKit product pending purchases for In-App Purchases and Subscriptions.
The guide was made using our Free iOS StoreKit 2 Open Source project which is recommended for developers or business folk wishing to learn about how In-App Purchases or Subscriptions work and the code behind them.
The following walkthrough assumes that you have already setup StoreKit with an offering and developed a UI that allows an app to display products.
Please consult the guides below to learn how to setup StoreKit, create a StoreKit offering or design a UI that considers all StoreKit scenarios.
Step One: Setup StoreKit Purchases
Follow our guide below to setup StoreKit purchases.
Step Two: Enable Ask to Buy
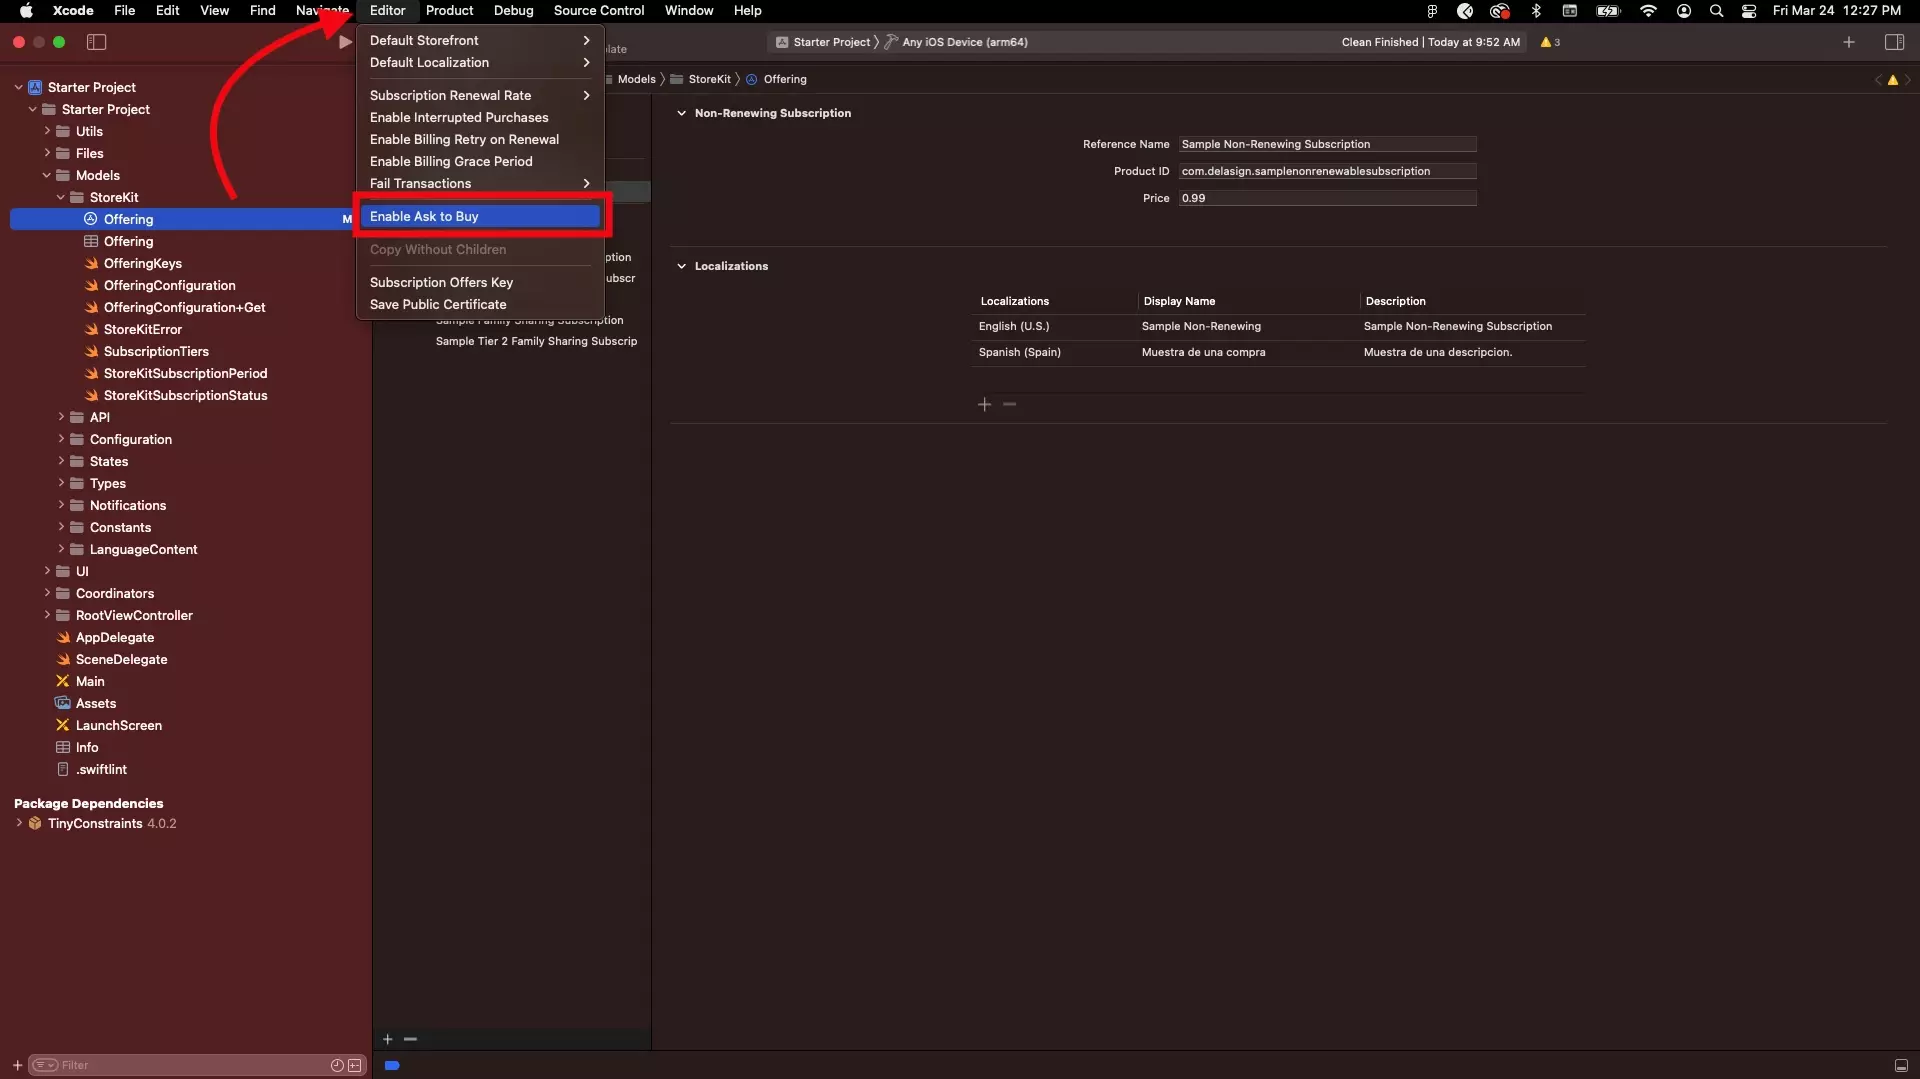
Follow our guide below to enable Ask to Buy in XCode.
Step Three: Make the purchase
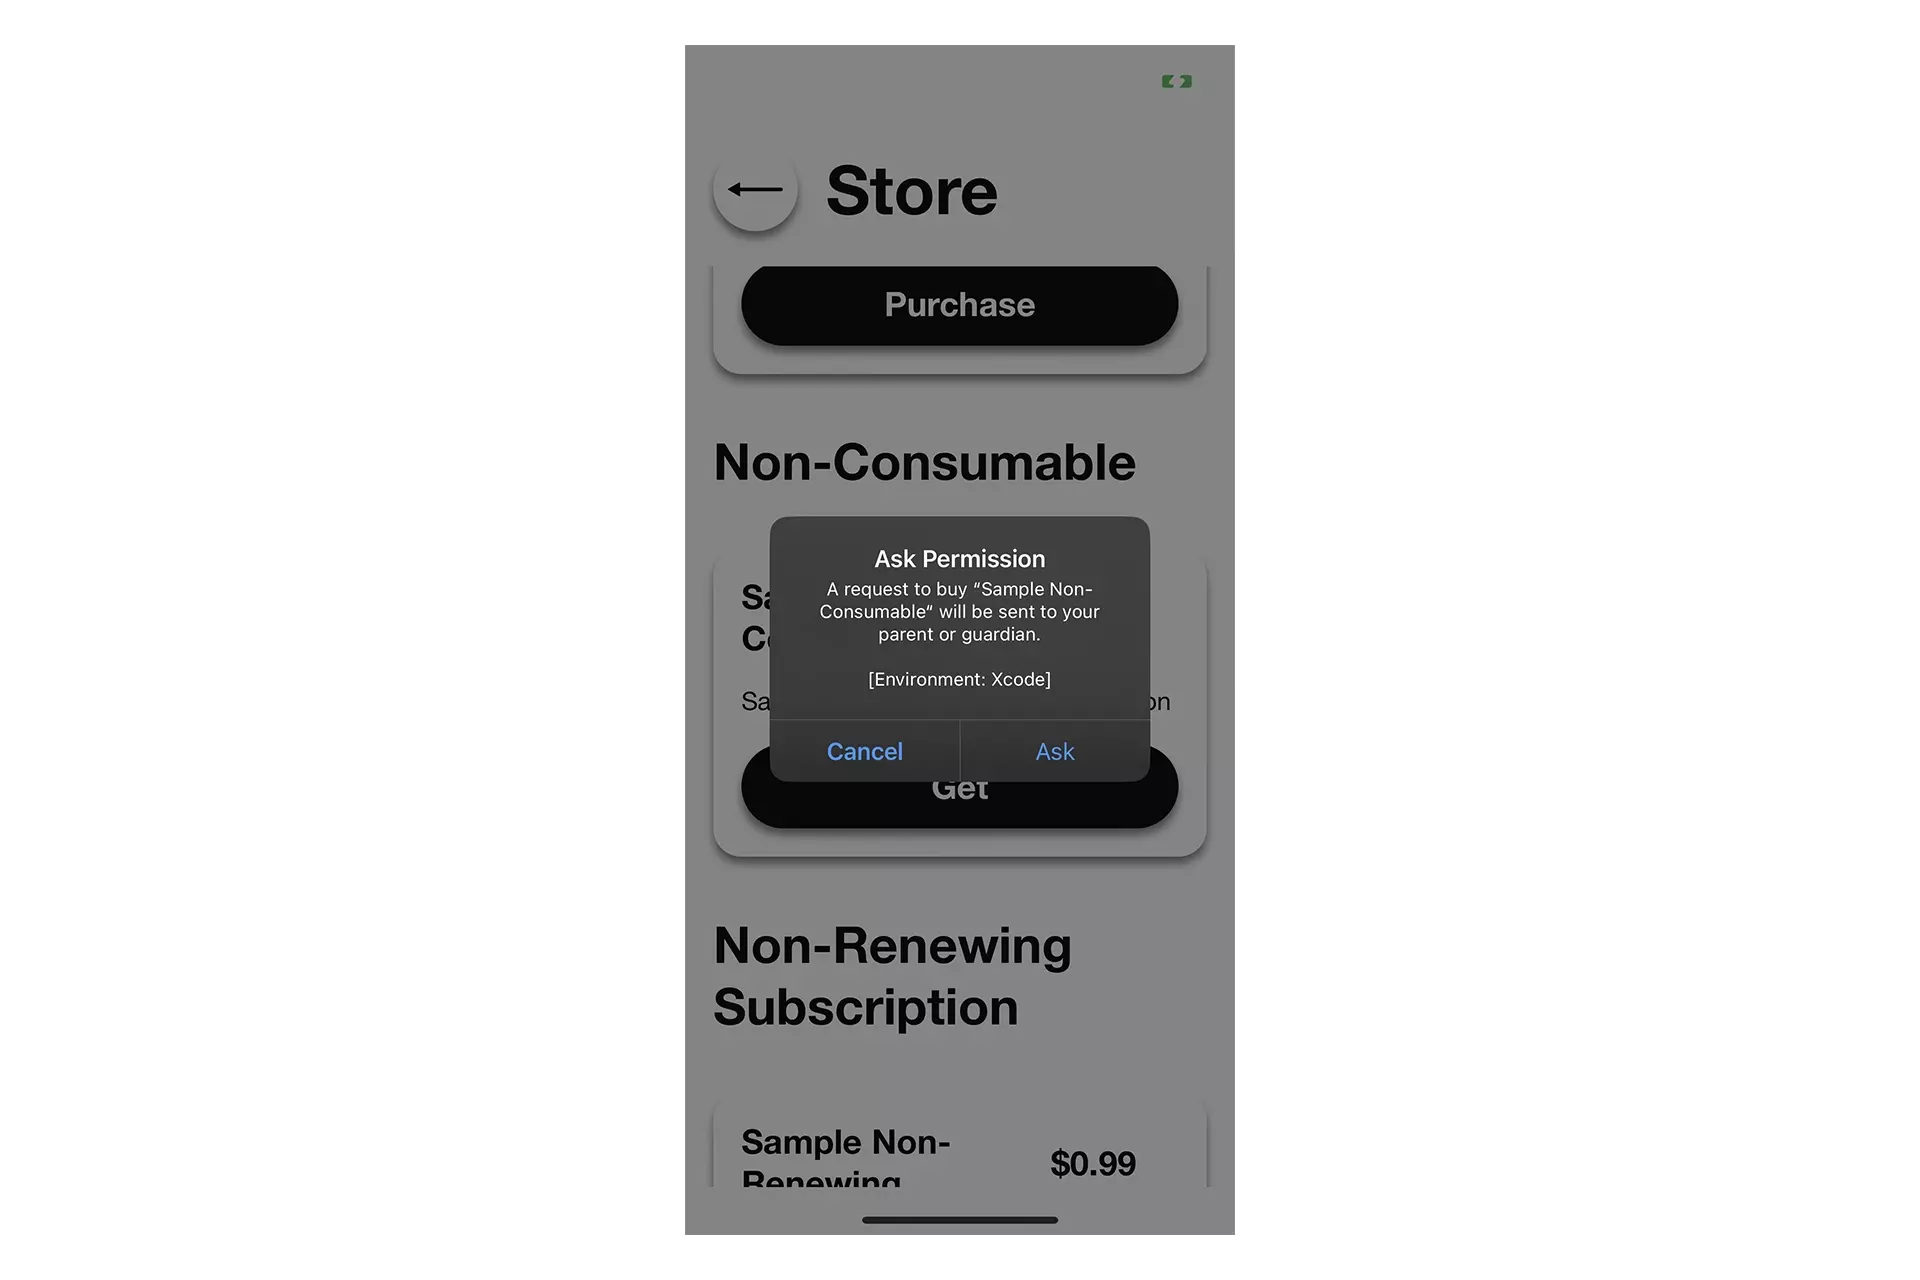
Run the app and attempt to make a purchase.
The app will prompt you to ask for permission.
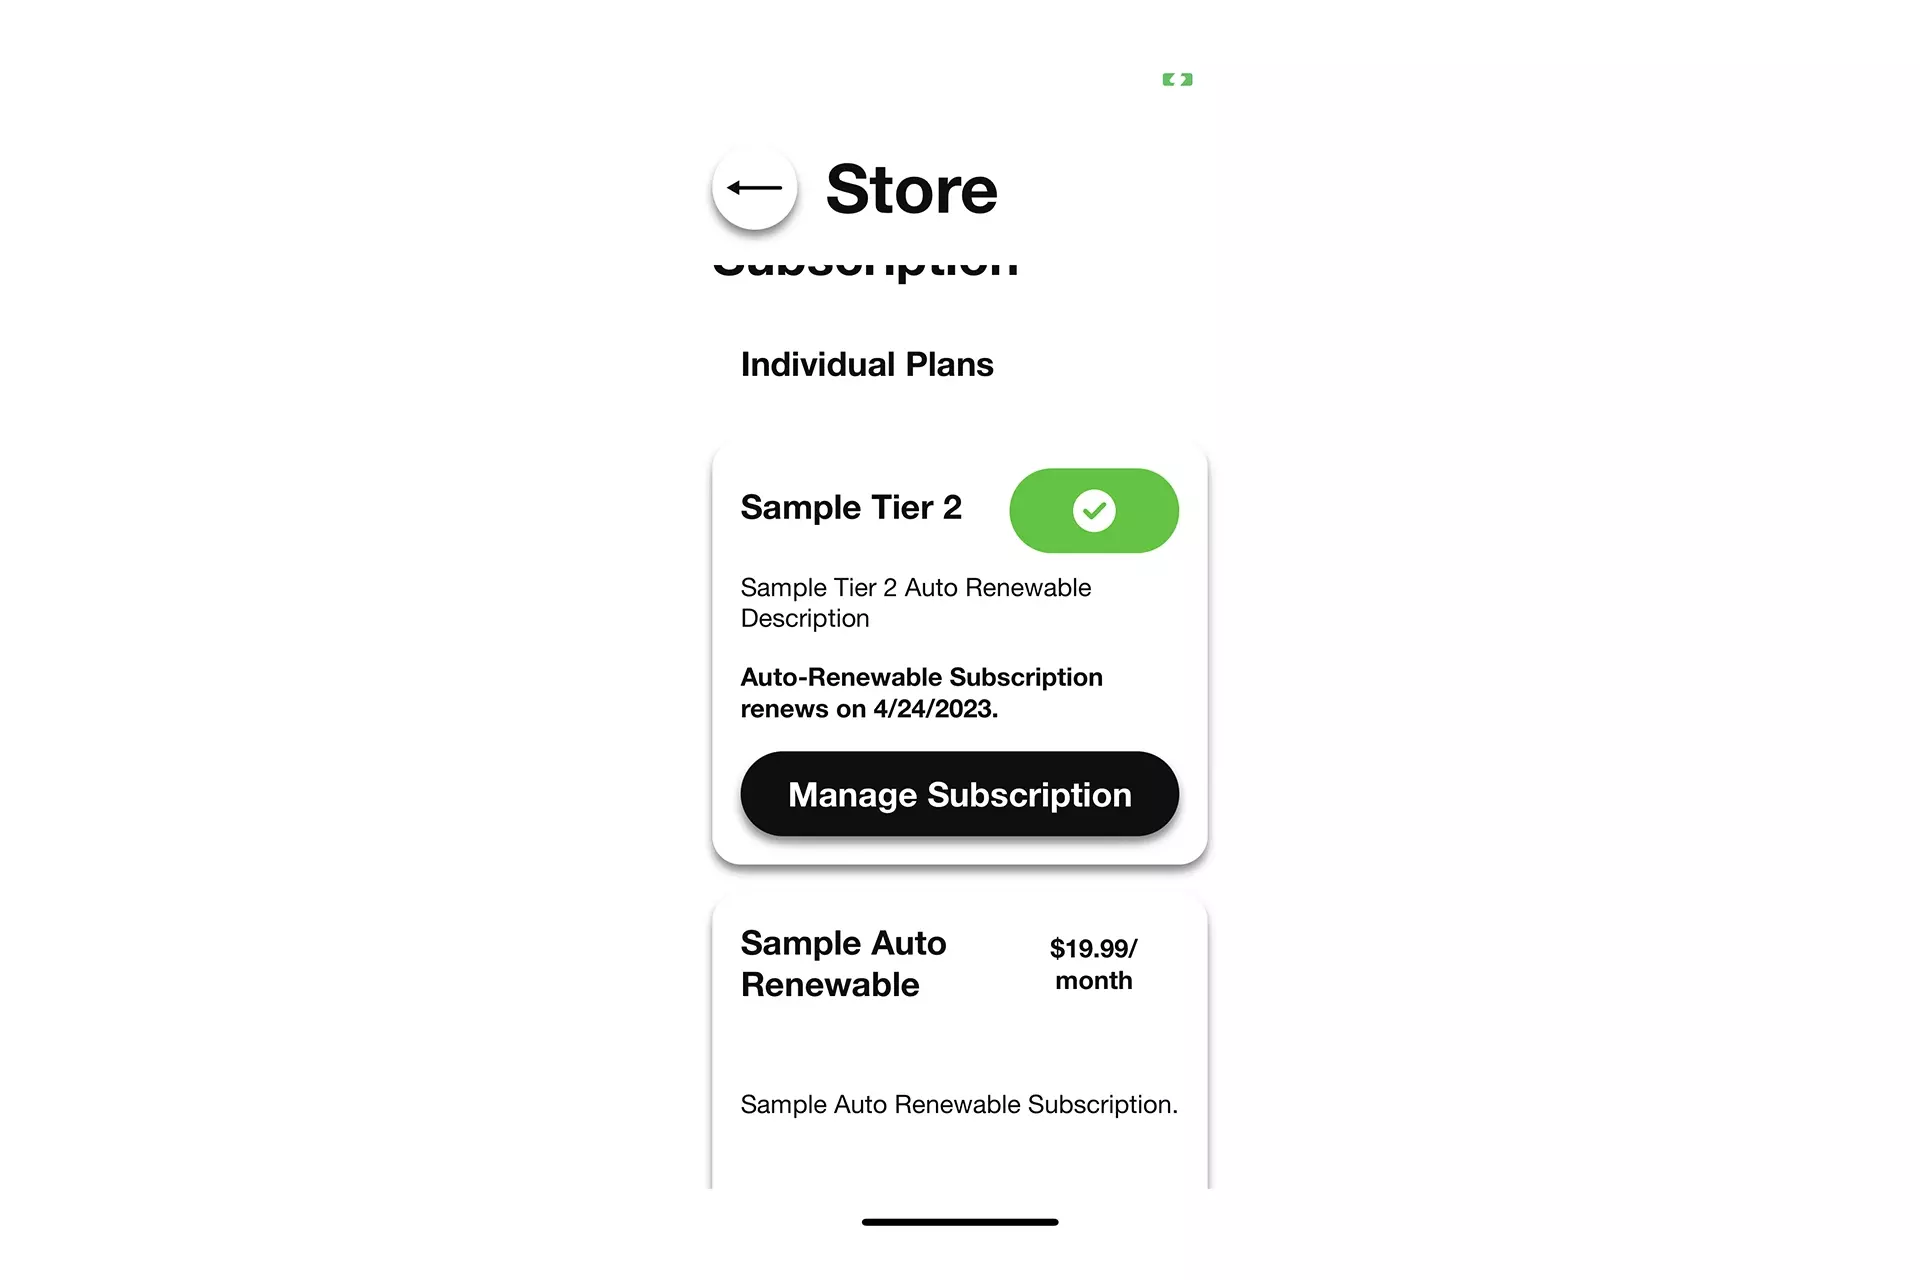
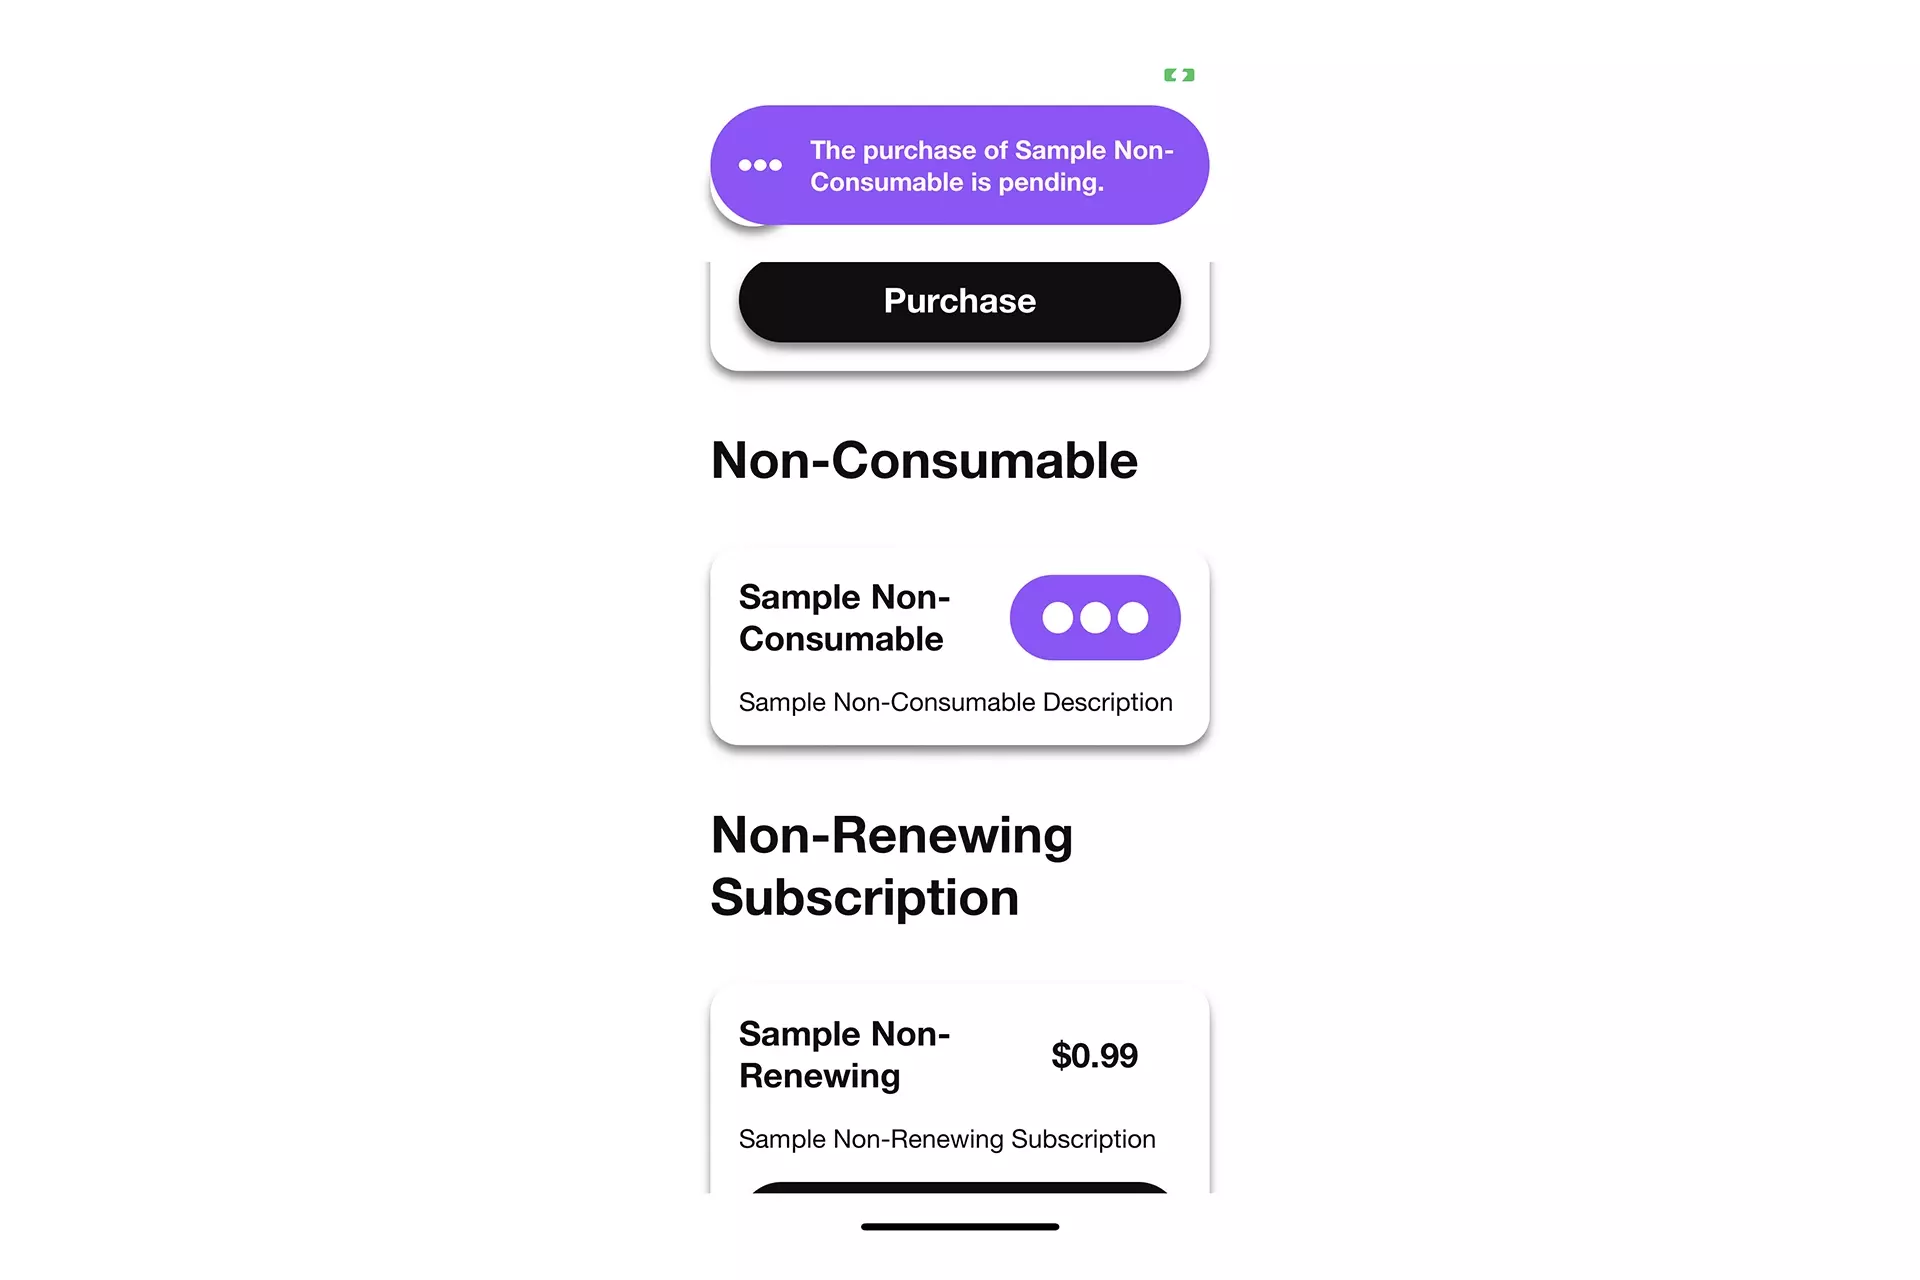
You should also consider marking the transaction as pending using UI similar to the one below.
Step Four: Approve or Deny
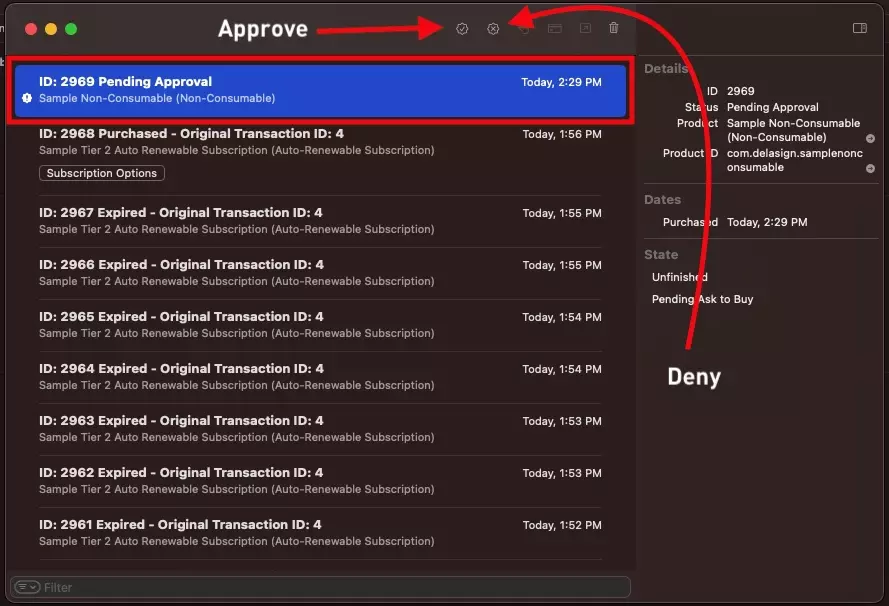
Follow our guide below to learn how to approve or deny a pending transaction.
If you deny a pending purchase, your app will not be notified via the StoreKit listener. This means that in order to update from the pending UI, your app must request the product purchase state again for it to know the transaction is not pending. We recommend requesting product statuses every time an app enters the foreground.
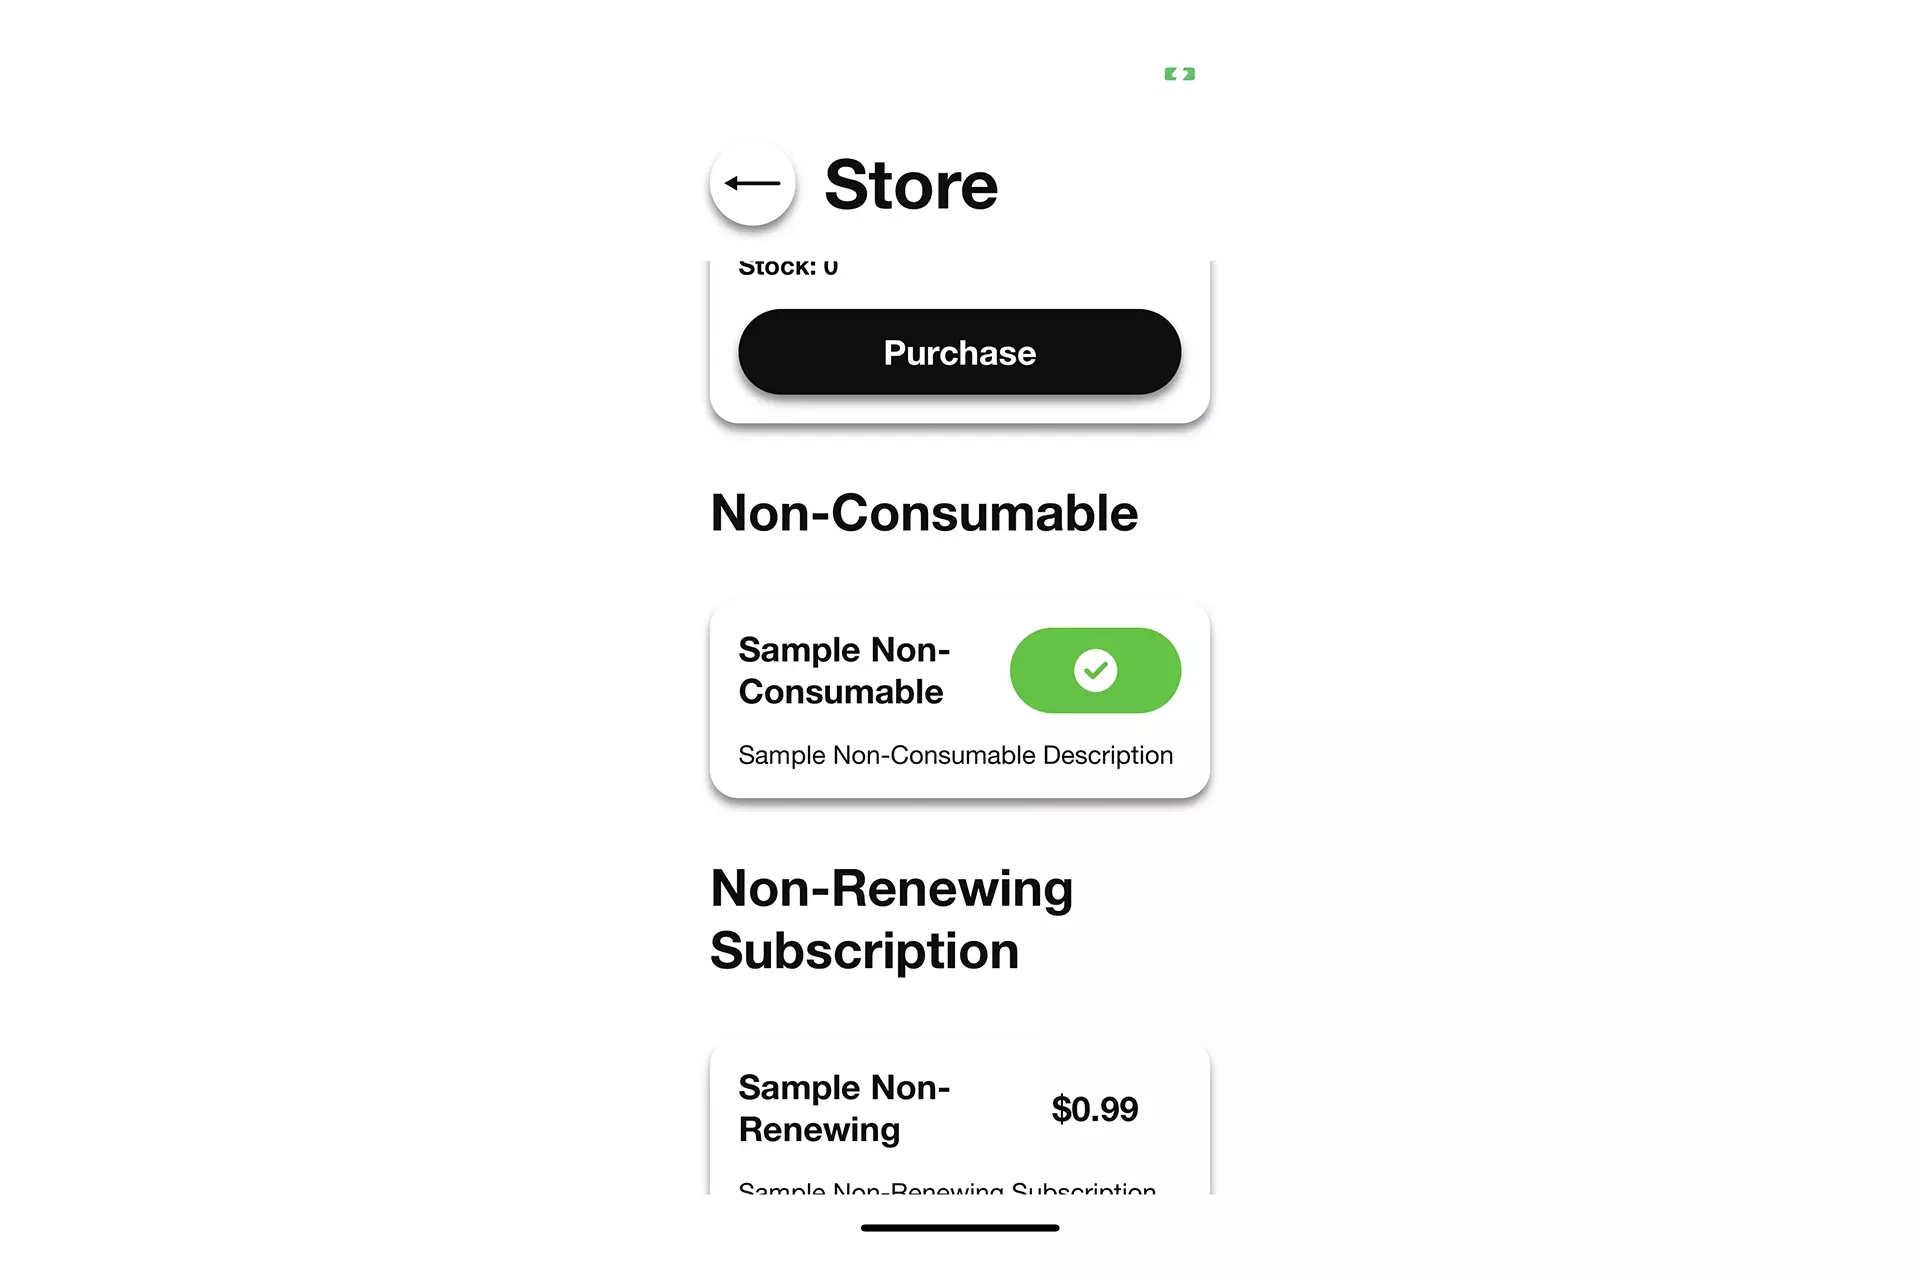
If you approved the purchase, your app will be notified via the StoreKit listener and you should use this to update the UI to show that it has been successfully purchased.
Looking to learn more about developing apps with StoreKit 2?
Read our comprehensive development guide linked below to learn about all the secrets behind developing In-App Purchases and Subscriptions with StoreKit 2.