How to create a singleton in Swift
A step by step tutorial on creating a singleton in Swift (iOS). Github repository available.
A step by step tutorial on creating a singleton in Swift (iOS). Github repository available.
The following tutorial builds on our starter project and covers the creation of a singleton through the example of a LanguageCoordinator.
If you are looking for the specific code, please jump to Step Four.
Step One: Create the folder for the singleton
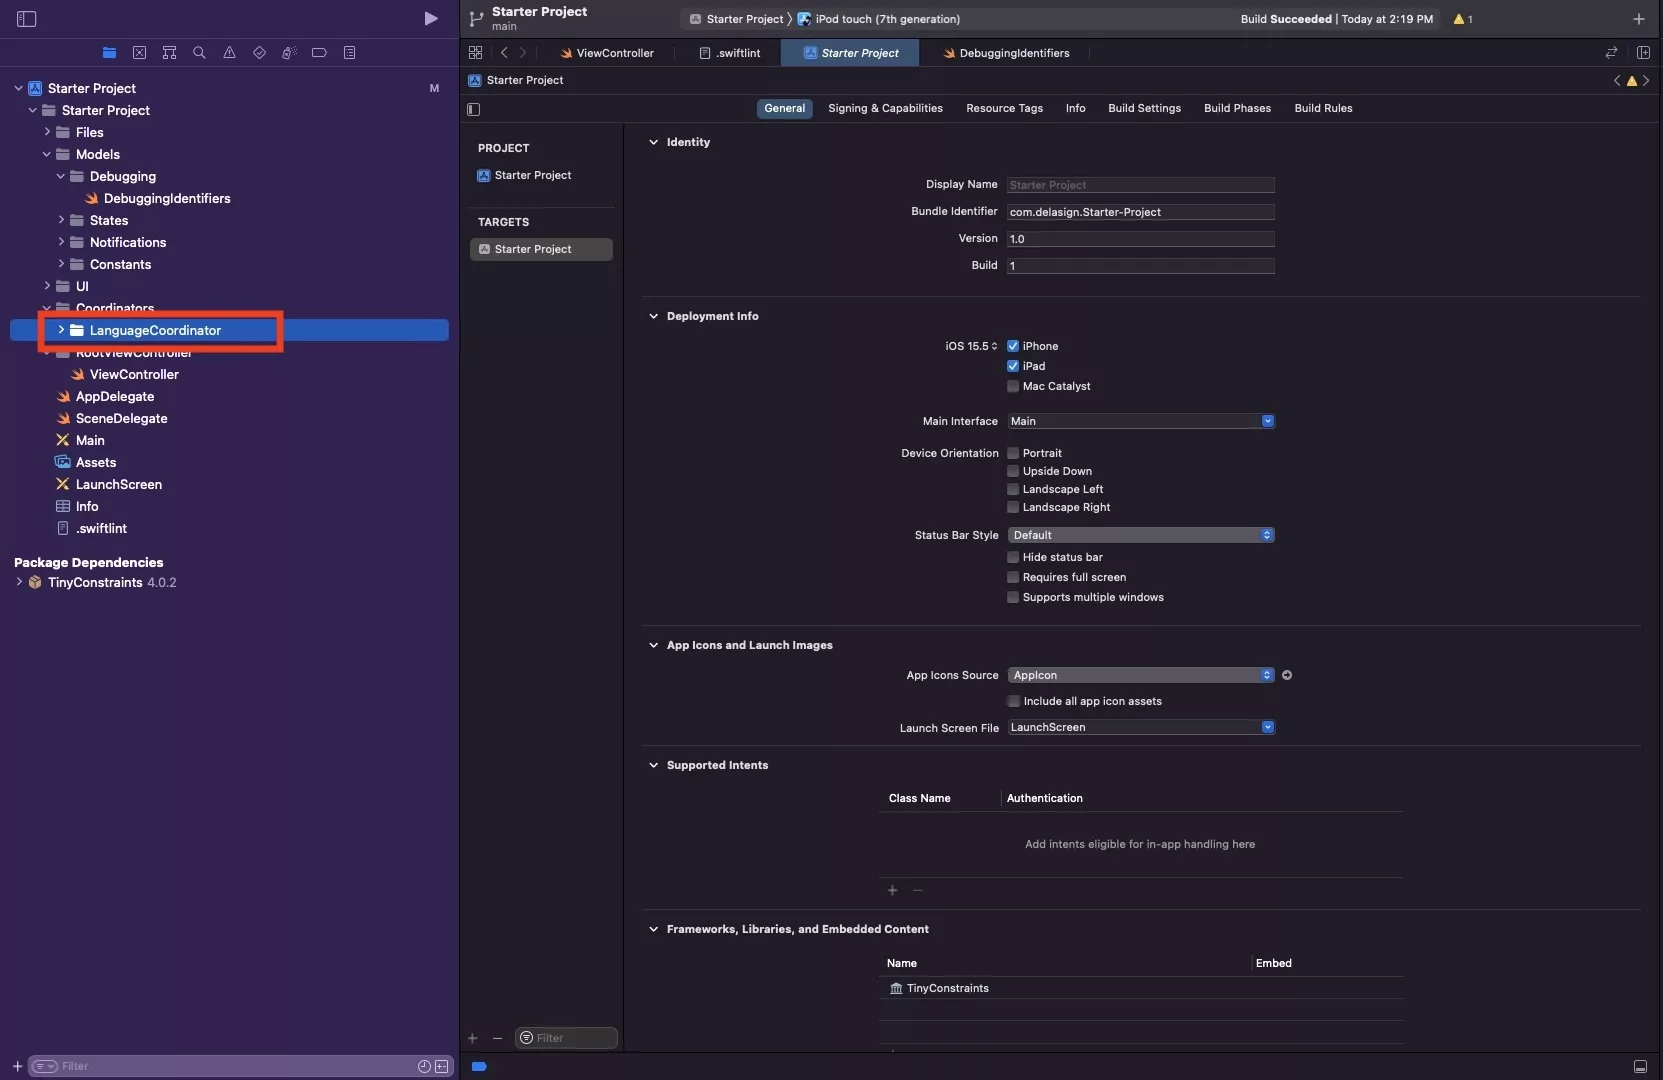
We recommend that you create a folder for your singleton and all associated functionality.
Step Two: Create the file for the singleton
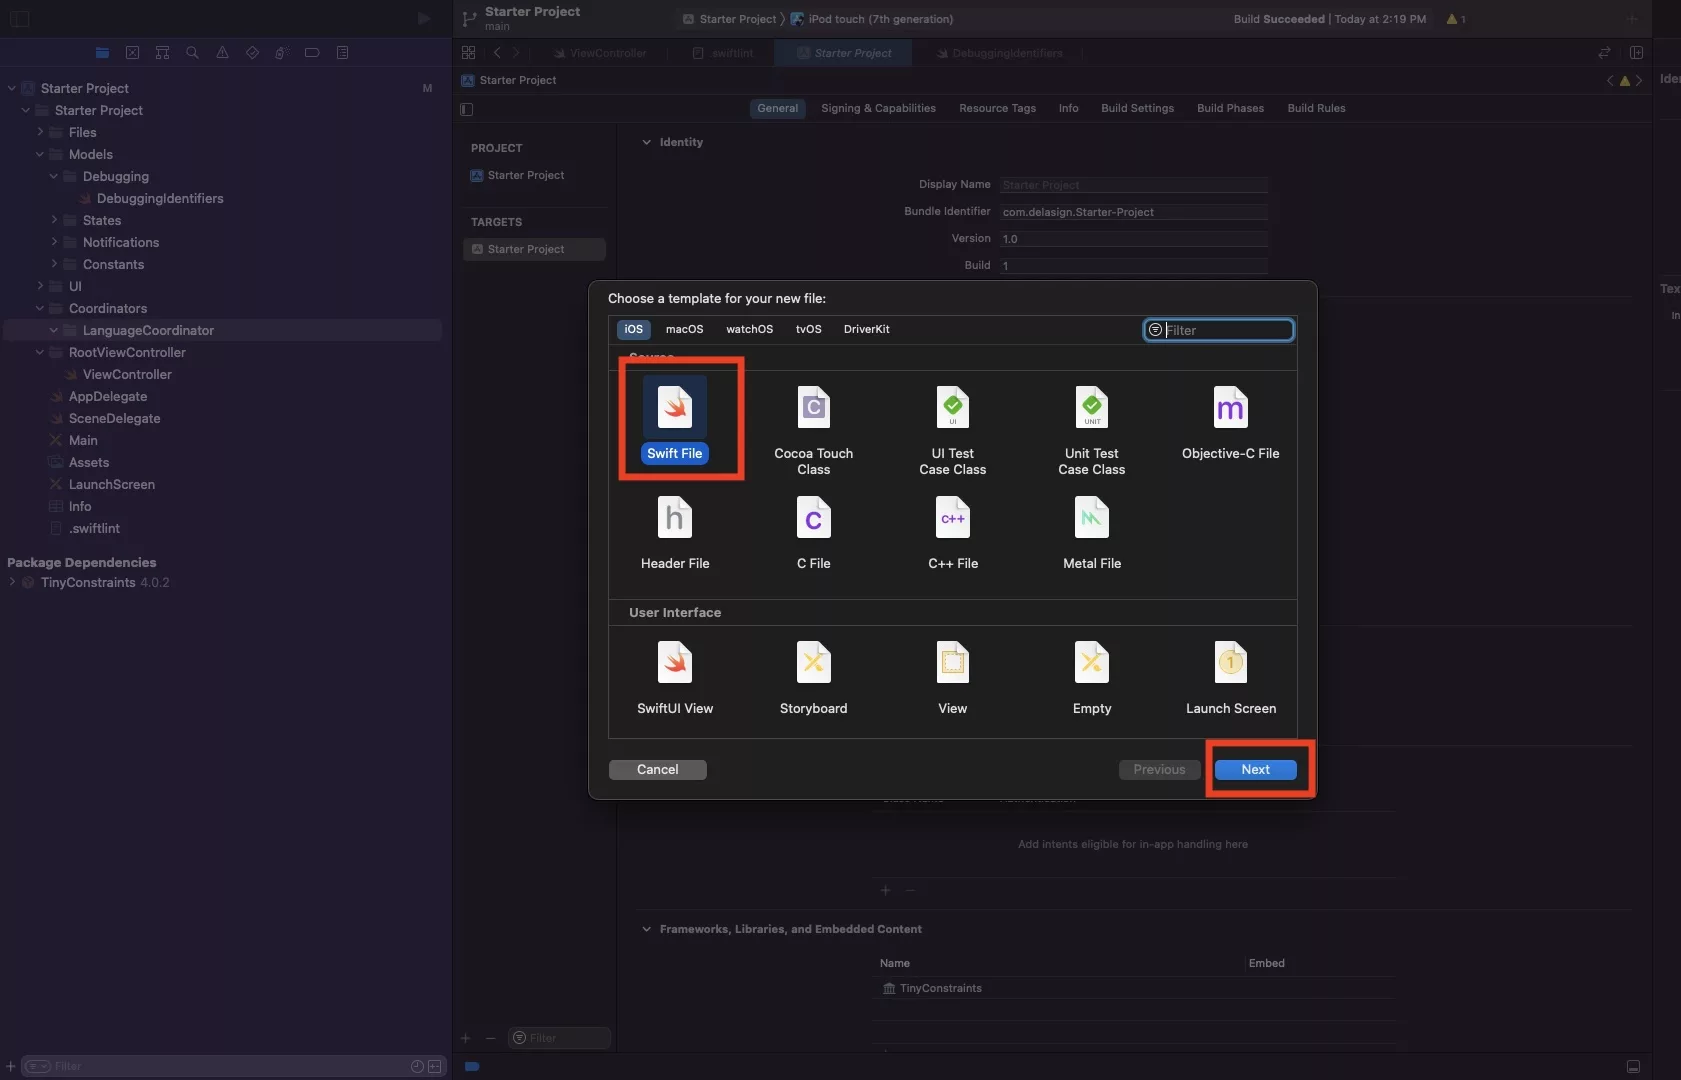
Select your folder and press Command + N to create a file and press next.
Please note that this assumes that a Swift file is auto selected.
Step Three: Name & create the singleton file
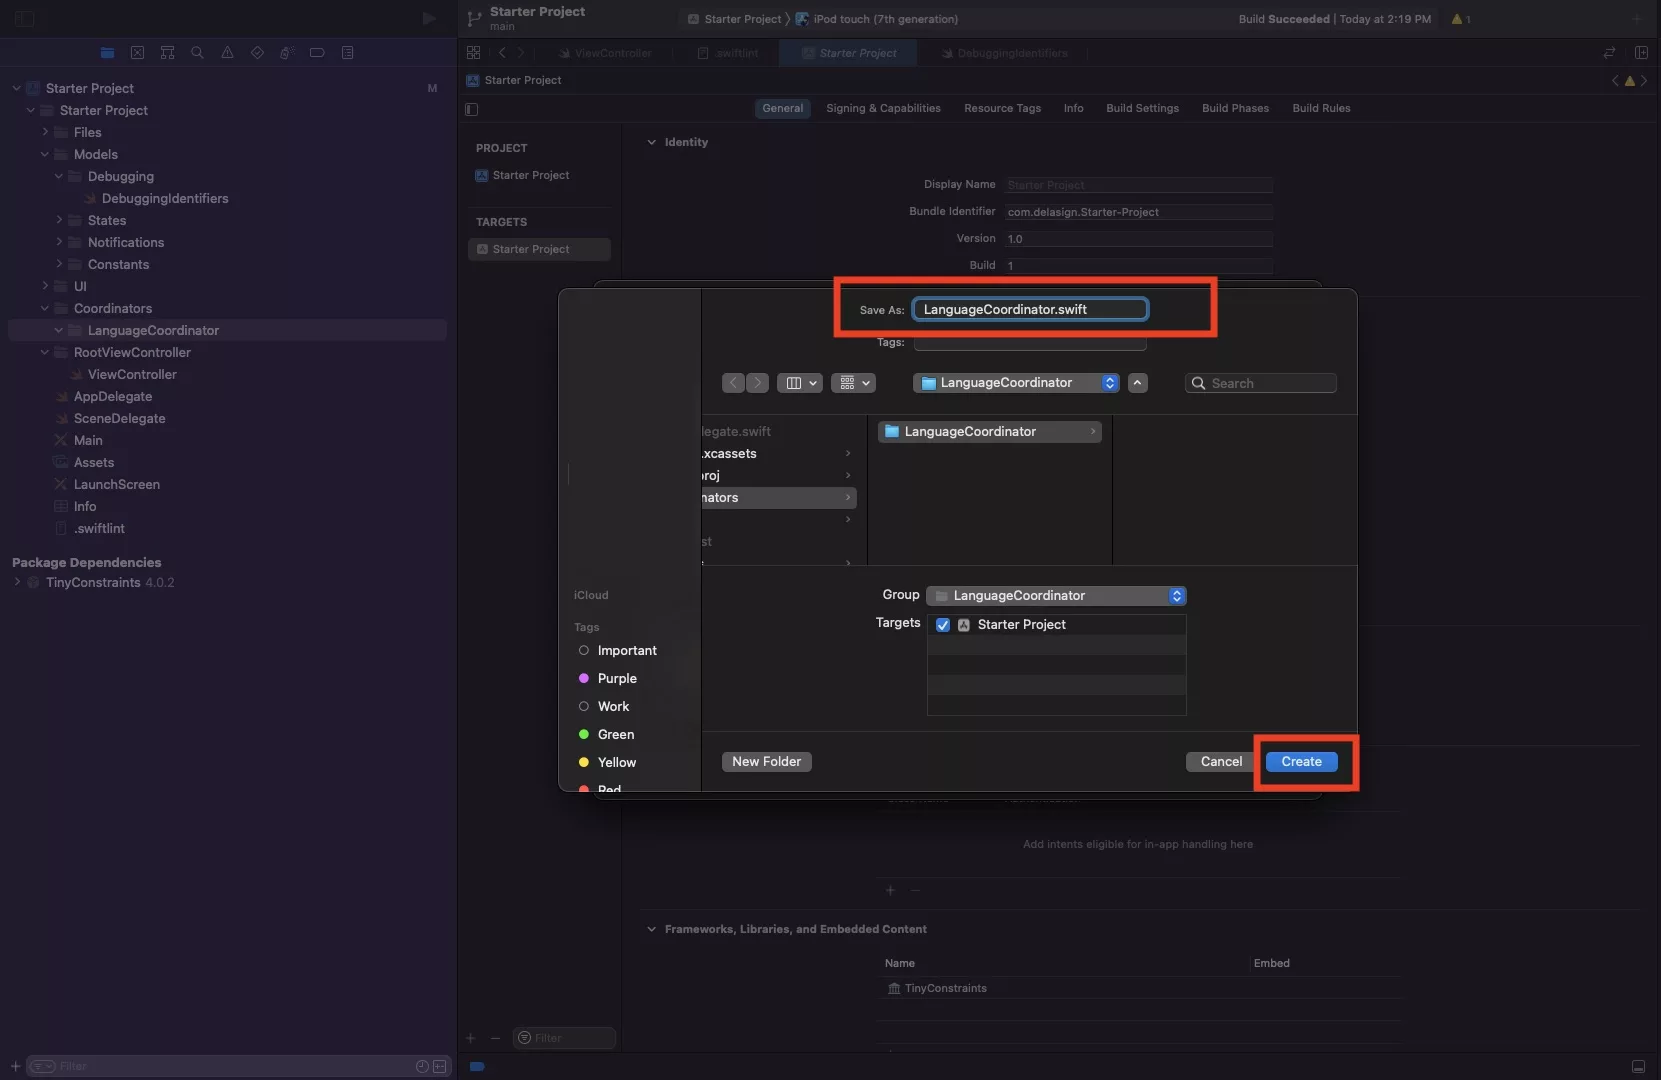
Name your singleton and press Create.
Step Four: Code your singleton

Code your class and functionality.
To make it a singleton, add the following line - which makes the singleton accessible via the .shared parameter - i.e. LanguageCoordinator.shared. You can call this whatever you like, i.e. singleton would be accessed by LanguageCoordinator.singleton.
Alternatively, copy and add to the gist below.
Step Five: Verify
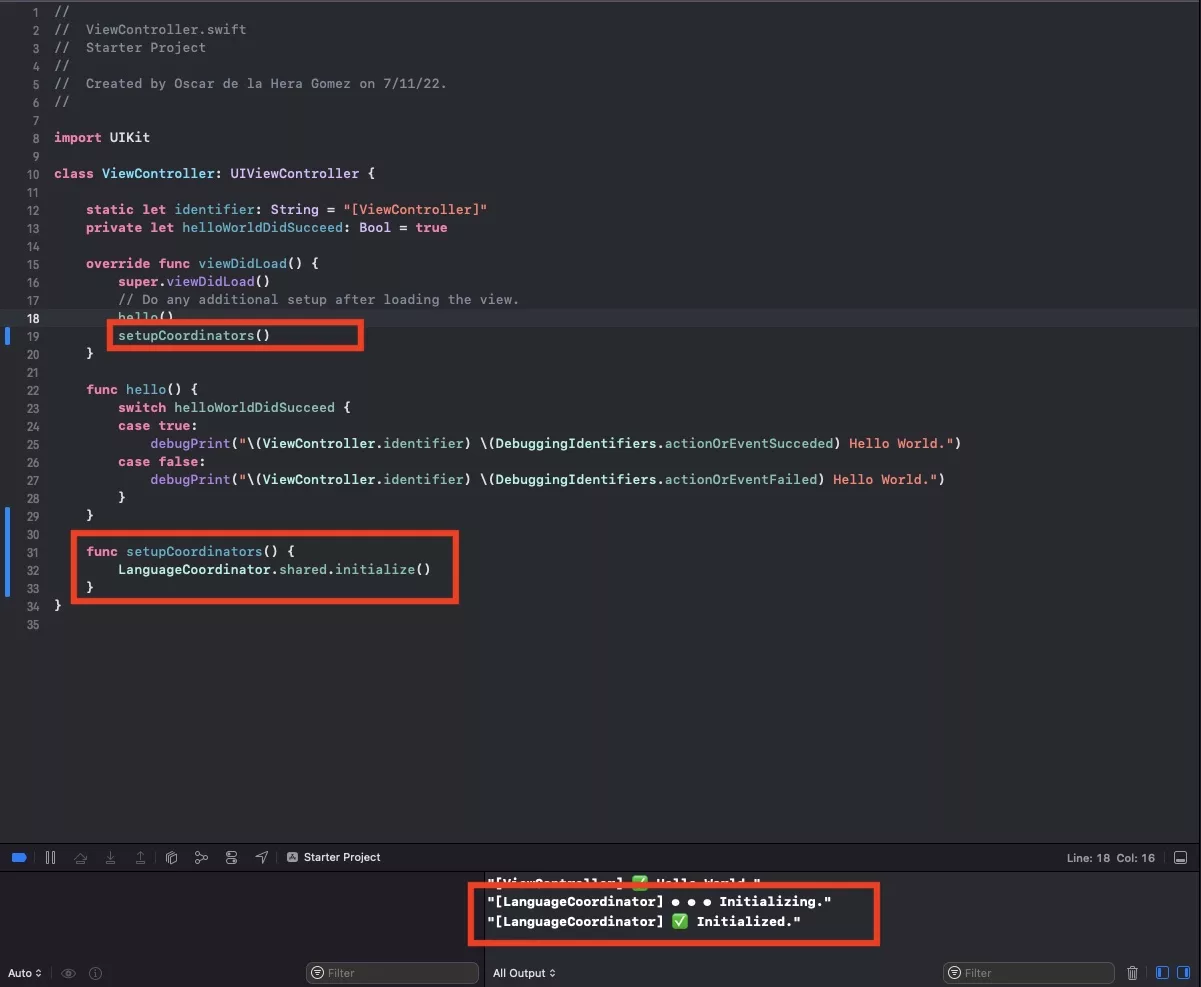
Call a function or variable within your singleton within a part of your app to verify that it's been setup correctly.
In our example we call the LanguageCoordinator singleton initialize function from the ViewController on ViewDidLoad.
Looking for more XCode tutorials ?
Here's a range of resources that might interest you.
Any Questions
We are actively looking for feedback on how to improve this resource. Please send us a note to inquiries@delasign.com with any thoughts or feedback you may have.