How to create a custom carousel in Swift
A step by step walkthrough on creating a carousel in Swift (iOS).

A step by step walkthrough on creating a carousel in Swift (iOS).
The following tutorial walks you through how to create a custom carousel in Swift (iOS) using XCode. The project builds on our Open Source Swift project and implements a carousel in Swift.
This tutorial starts on the main branch and the changes are available on the tutorial/custom-carousel branch of the repository found below.
Please note this tutorial uses the TinyConstraints Swift package, which we added using the Swift Package Manager.
What are we creating in this tutorial ?

In this tutorial we will be programming the view that is shown in the image above.
Tutorial
We recommend downloading our open source project and carrying out the steps outlined below.
git clone git@github.com:delasign/swift-starter-project.gitPlease note that we are building this carousel in the CustomUIView that is setup as part of our Open Source Swift starter project.
Step One: Declare the carousel
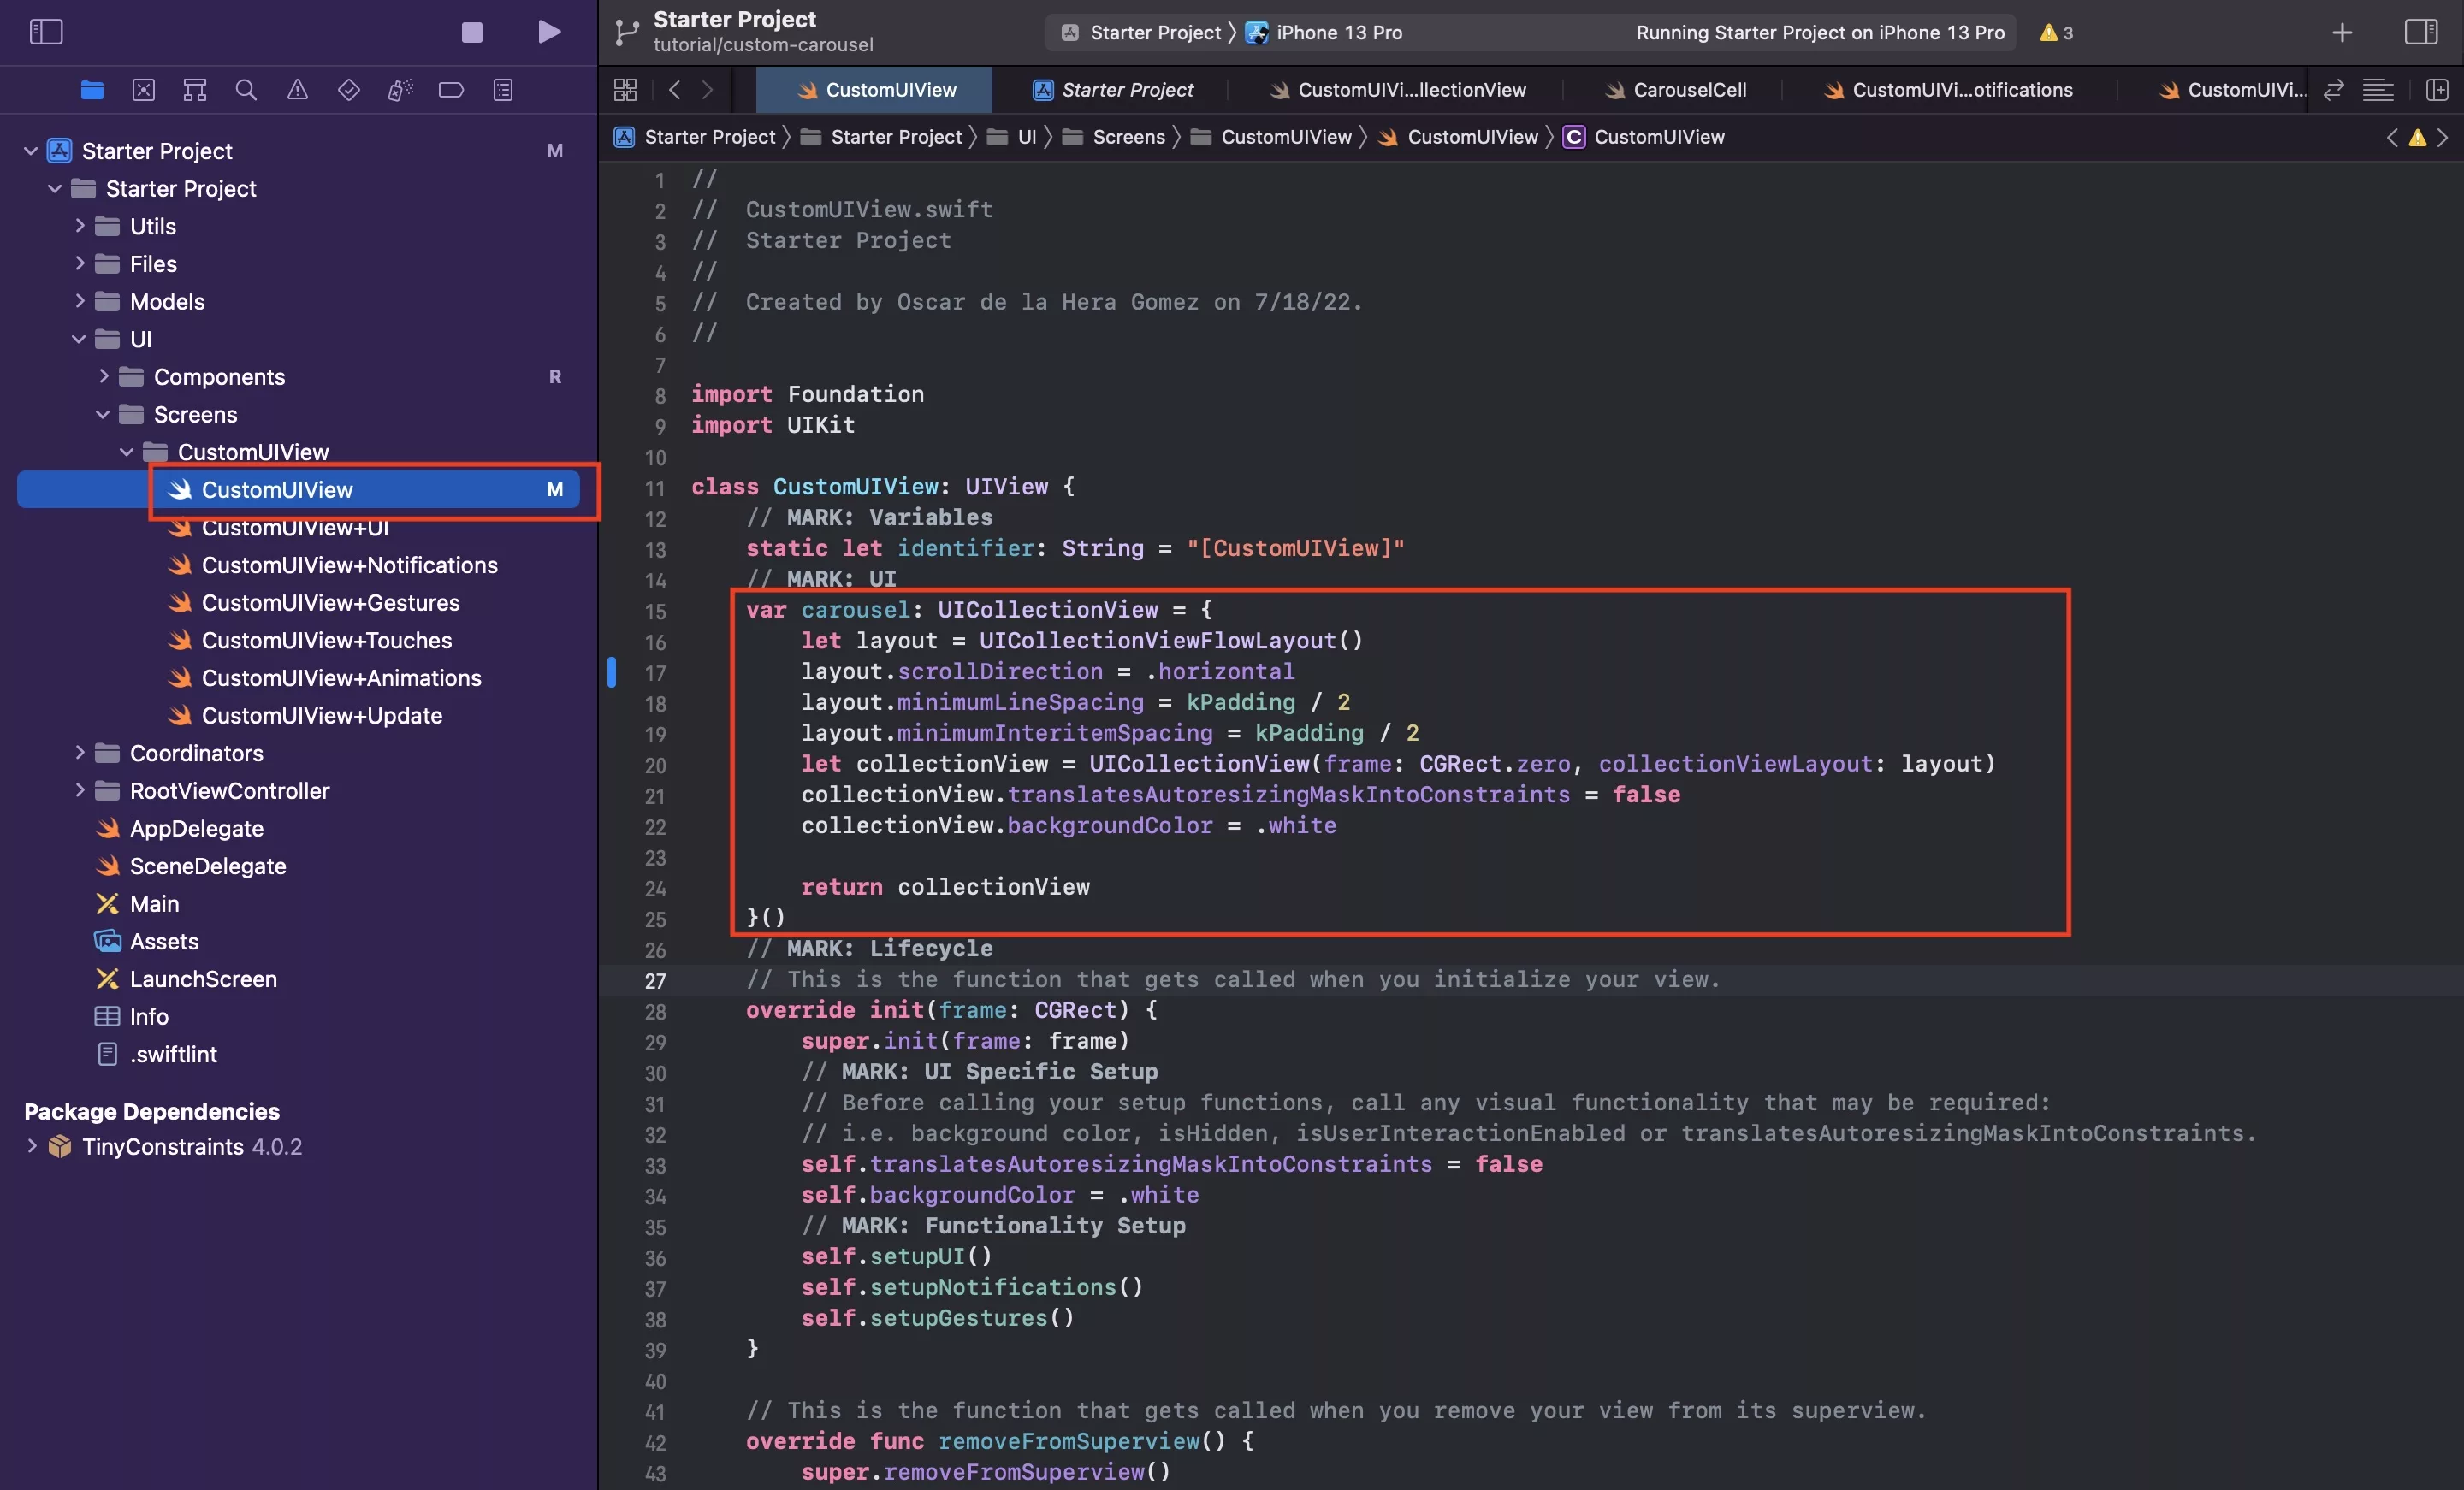
In CustomUIView.swift, declare the carousel as a UICollectionView.
In the case of UICollectionViews, we like to declare and set them up functionally, as demonstrated in the snippet below.
Please note that we have also removed the label from the UI declarations for this tutorial.
Step Two: Create your custom carousel cell
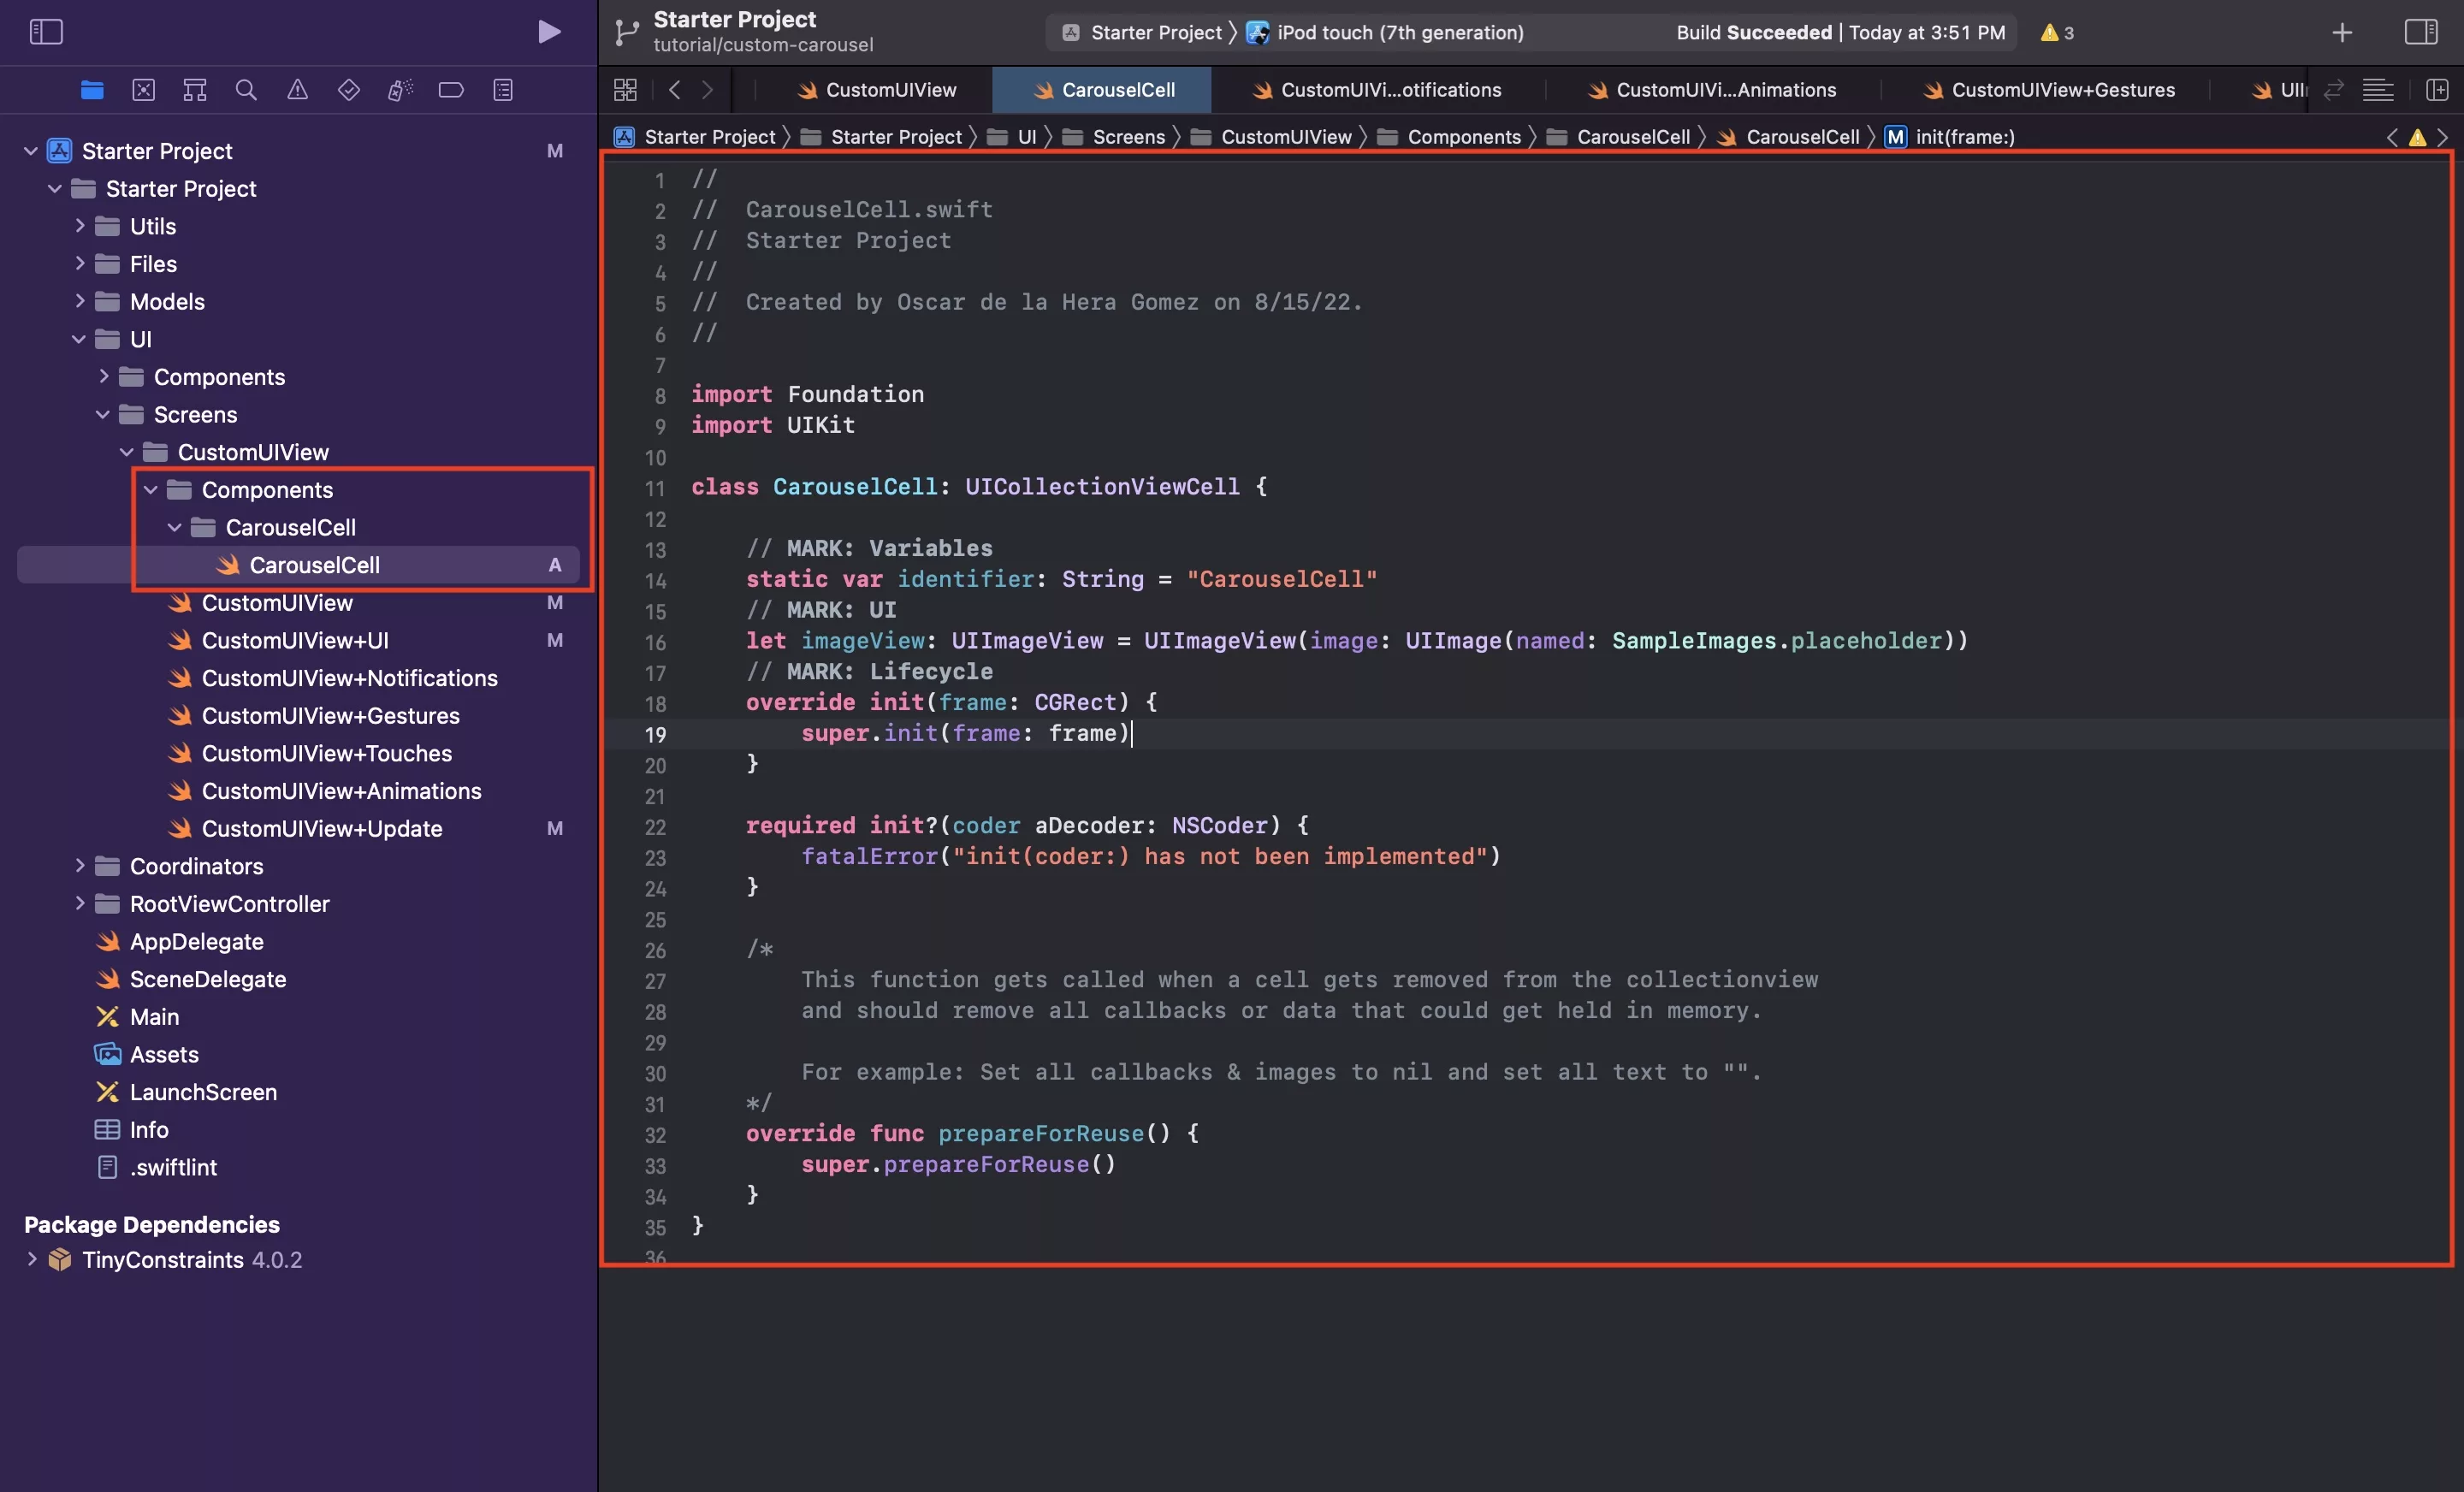
UICollectionview's require you to register UICollectionView cells for them to function. This can be seen as the card view that sits within your carousel.
Under the CustomUIView folder, create a new folder called Components.
Within the Components folder, create another folder called CarouselCell.
Within this, create a new Swift file called CarouselCell and paste in the code below.
It is important to note that the identifier will be used as a reuseIdentifier in the UICollectionview to know what cell it takes in and reuse via its prepareForReuse - which is called when a cell leaves the screen. As described in the comment, this should clear the cell from all of its data to allow it to change for the next card within the carousel.
As this tutorial has a static cell with no changes, we will not do anything.
Step Three: Setup the custom carousel cell UI
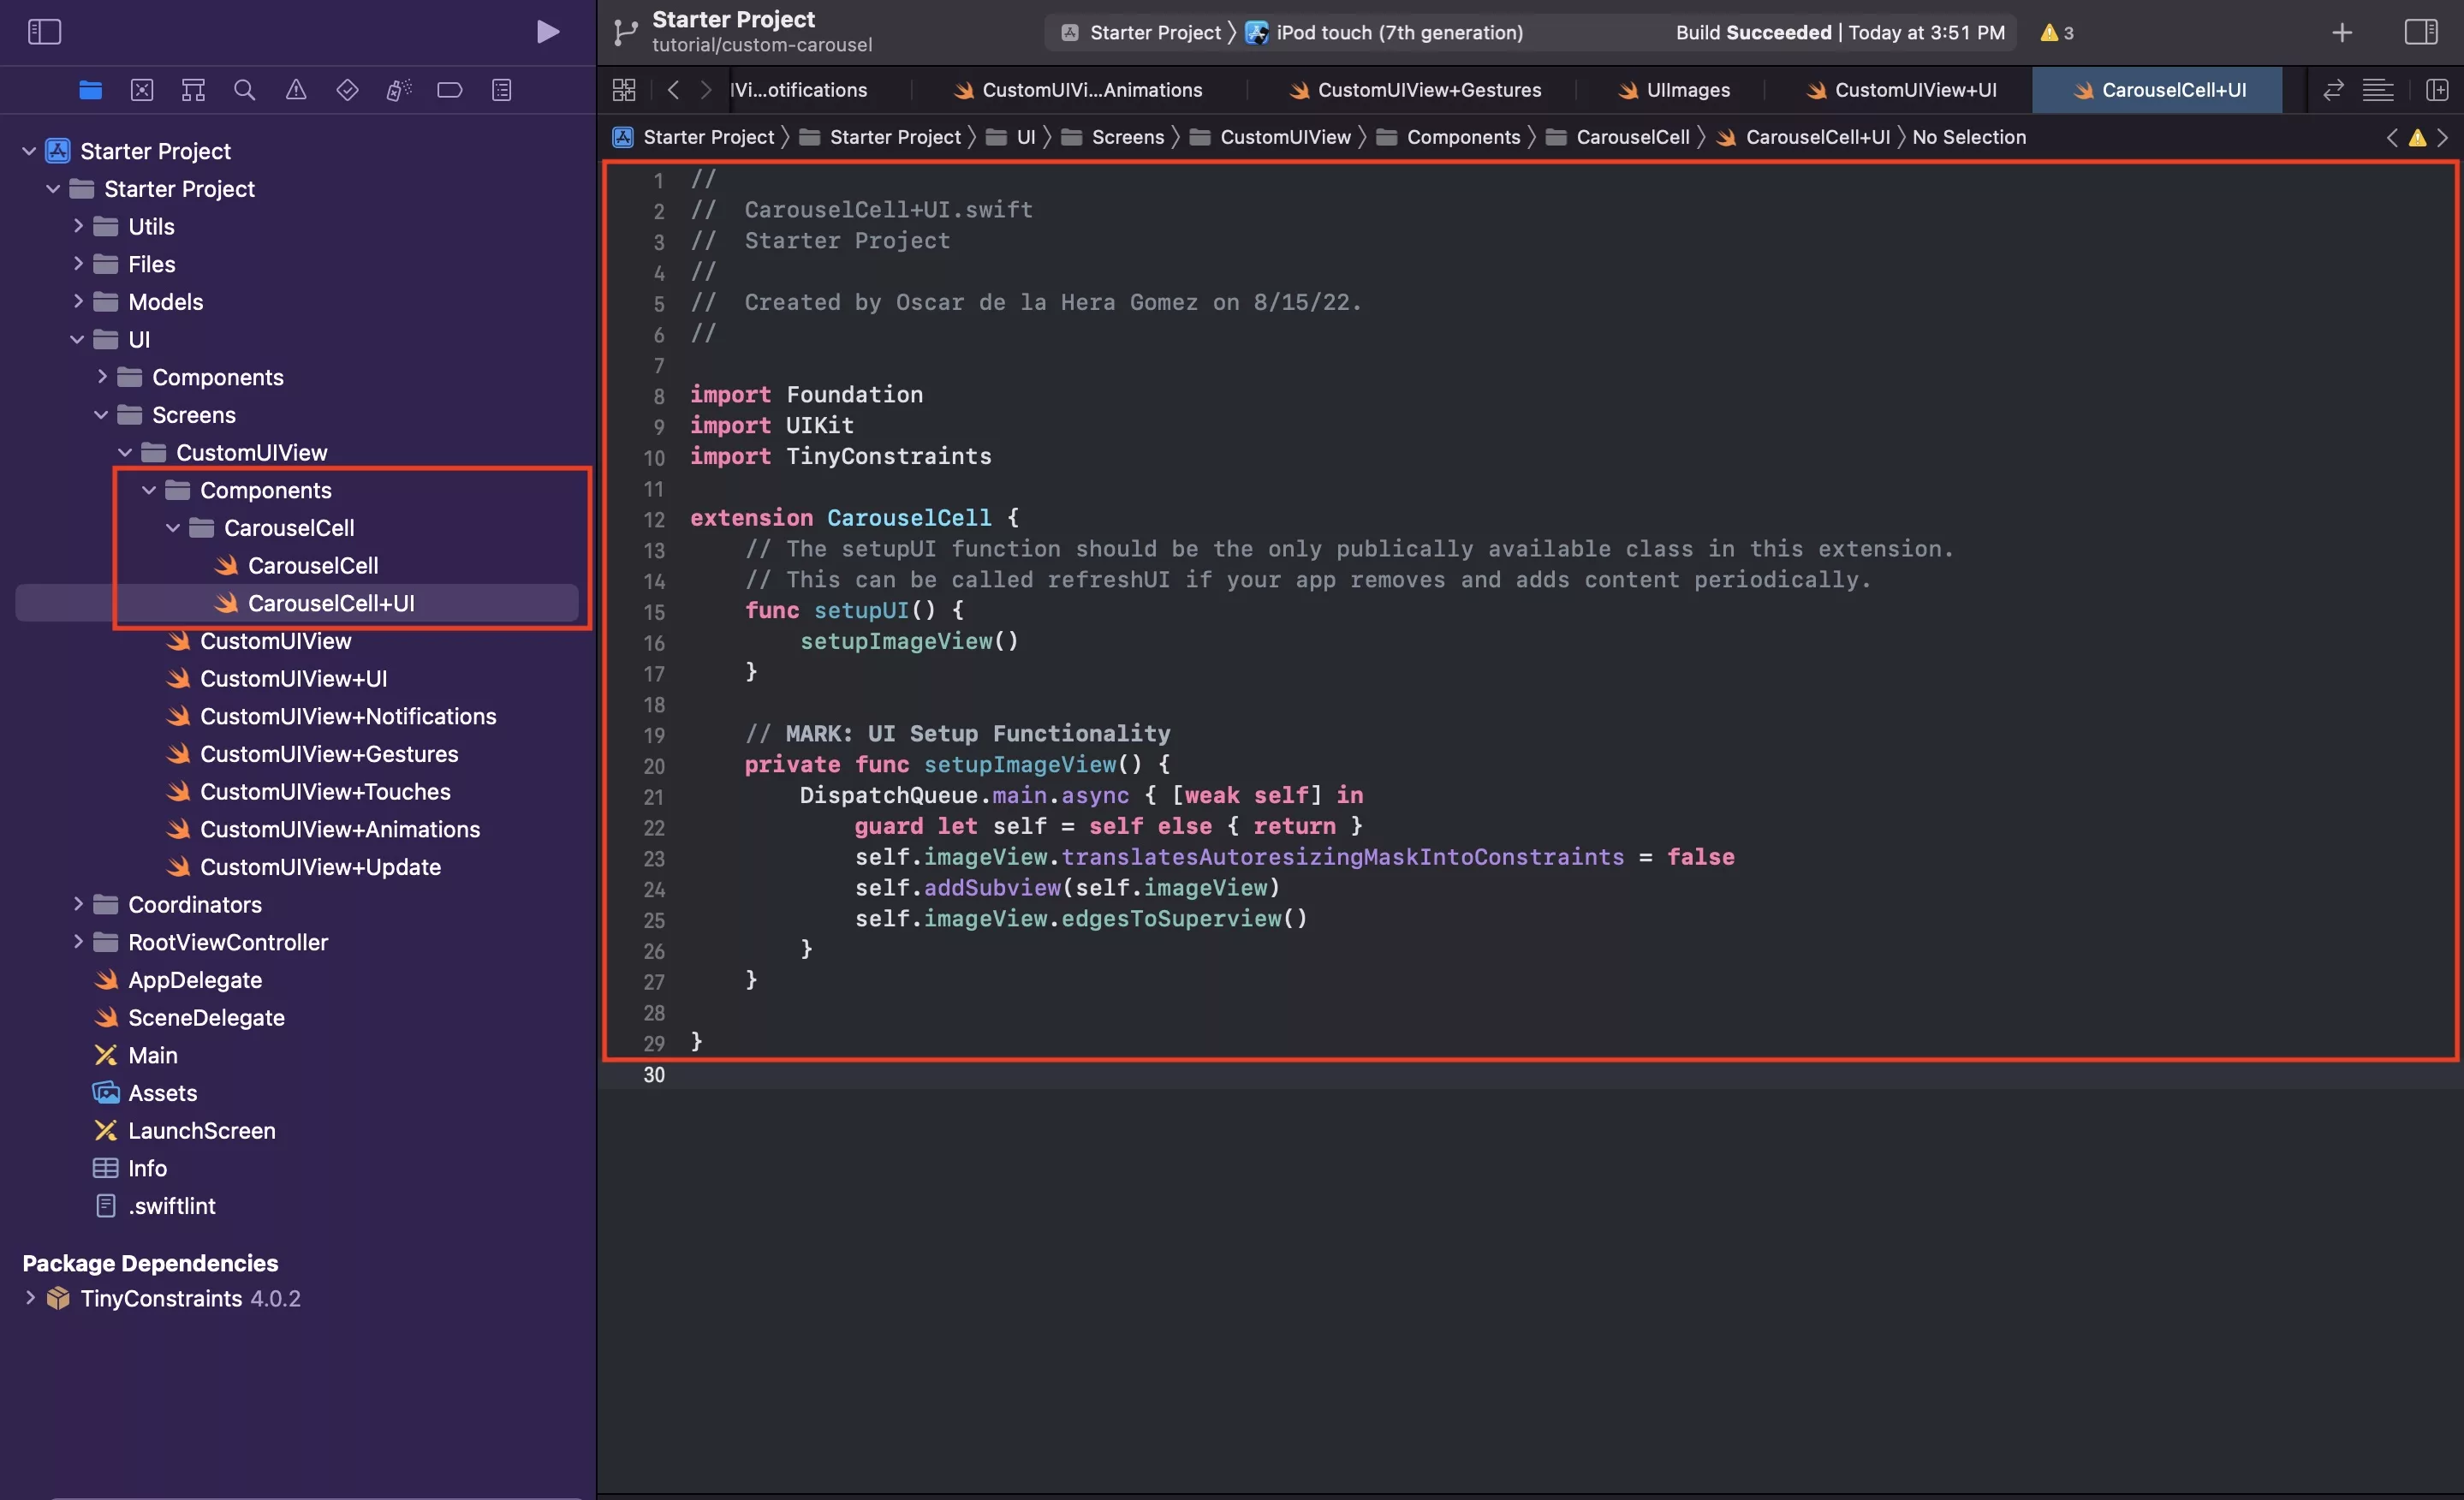
Under the CarouselCell folder, create a new Swift file called CarouselCell+UI.swift and paste the code below.
Step Four: Call setupUI in the CarouselCell initializer
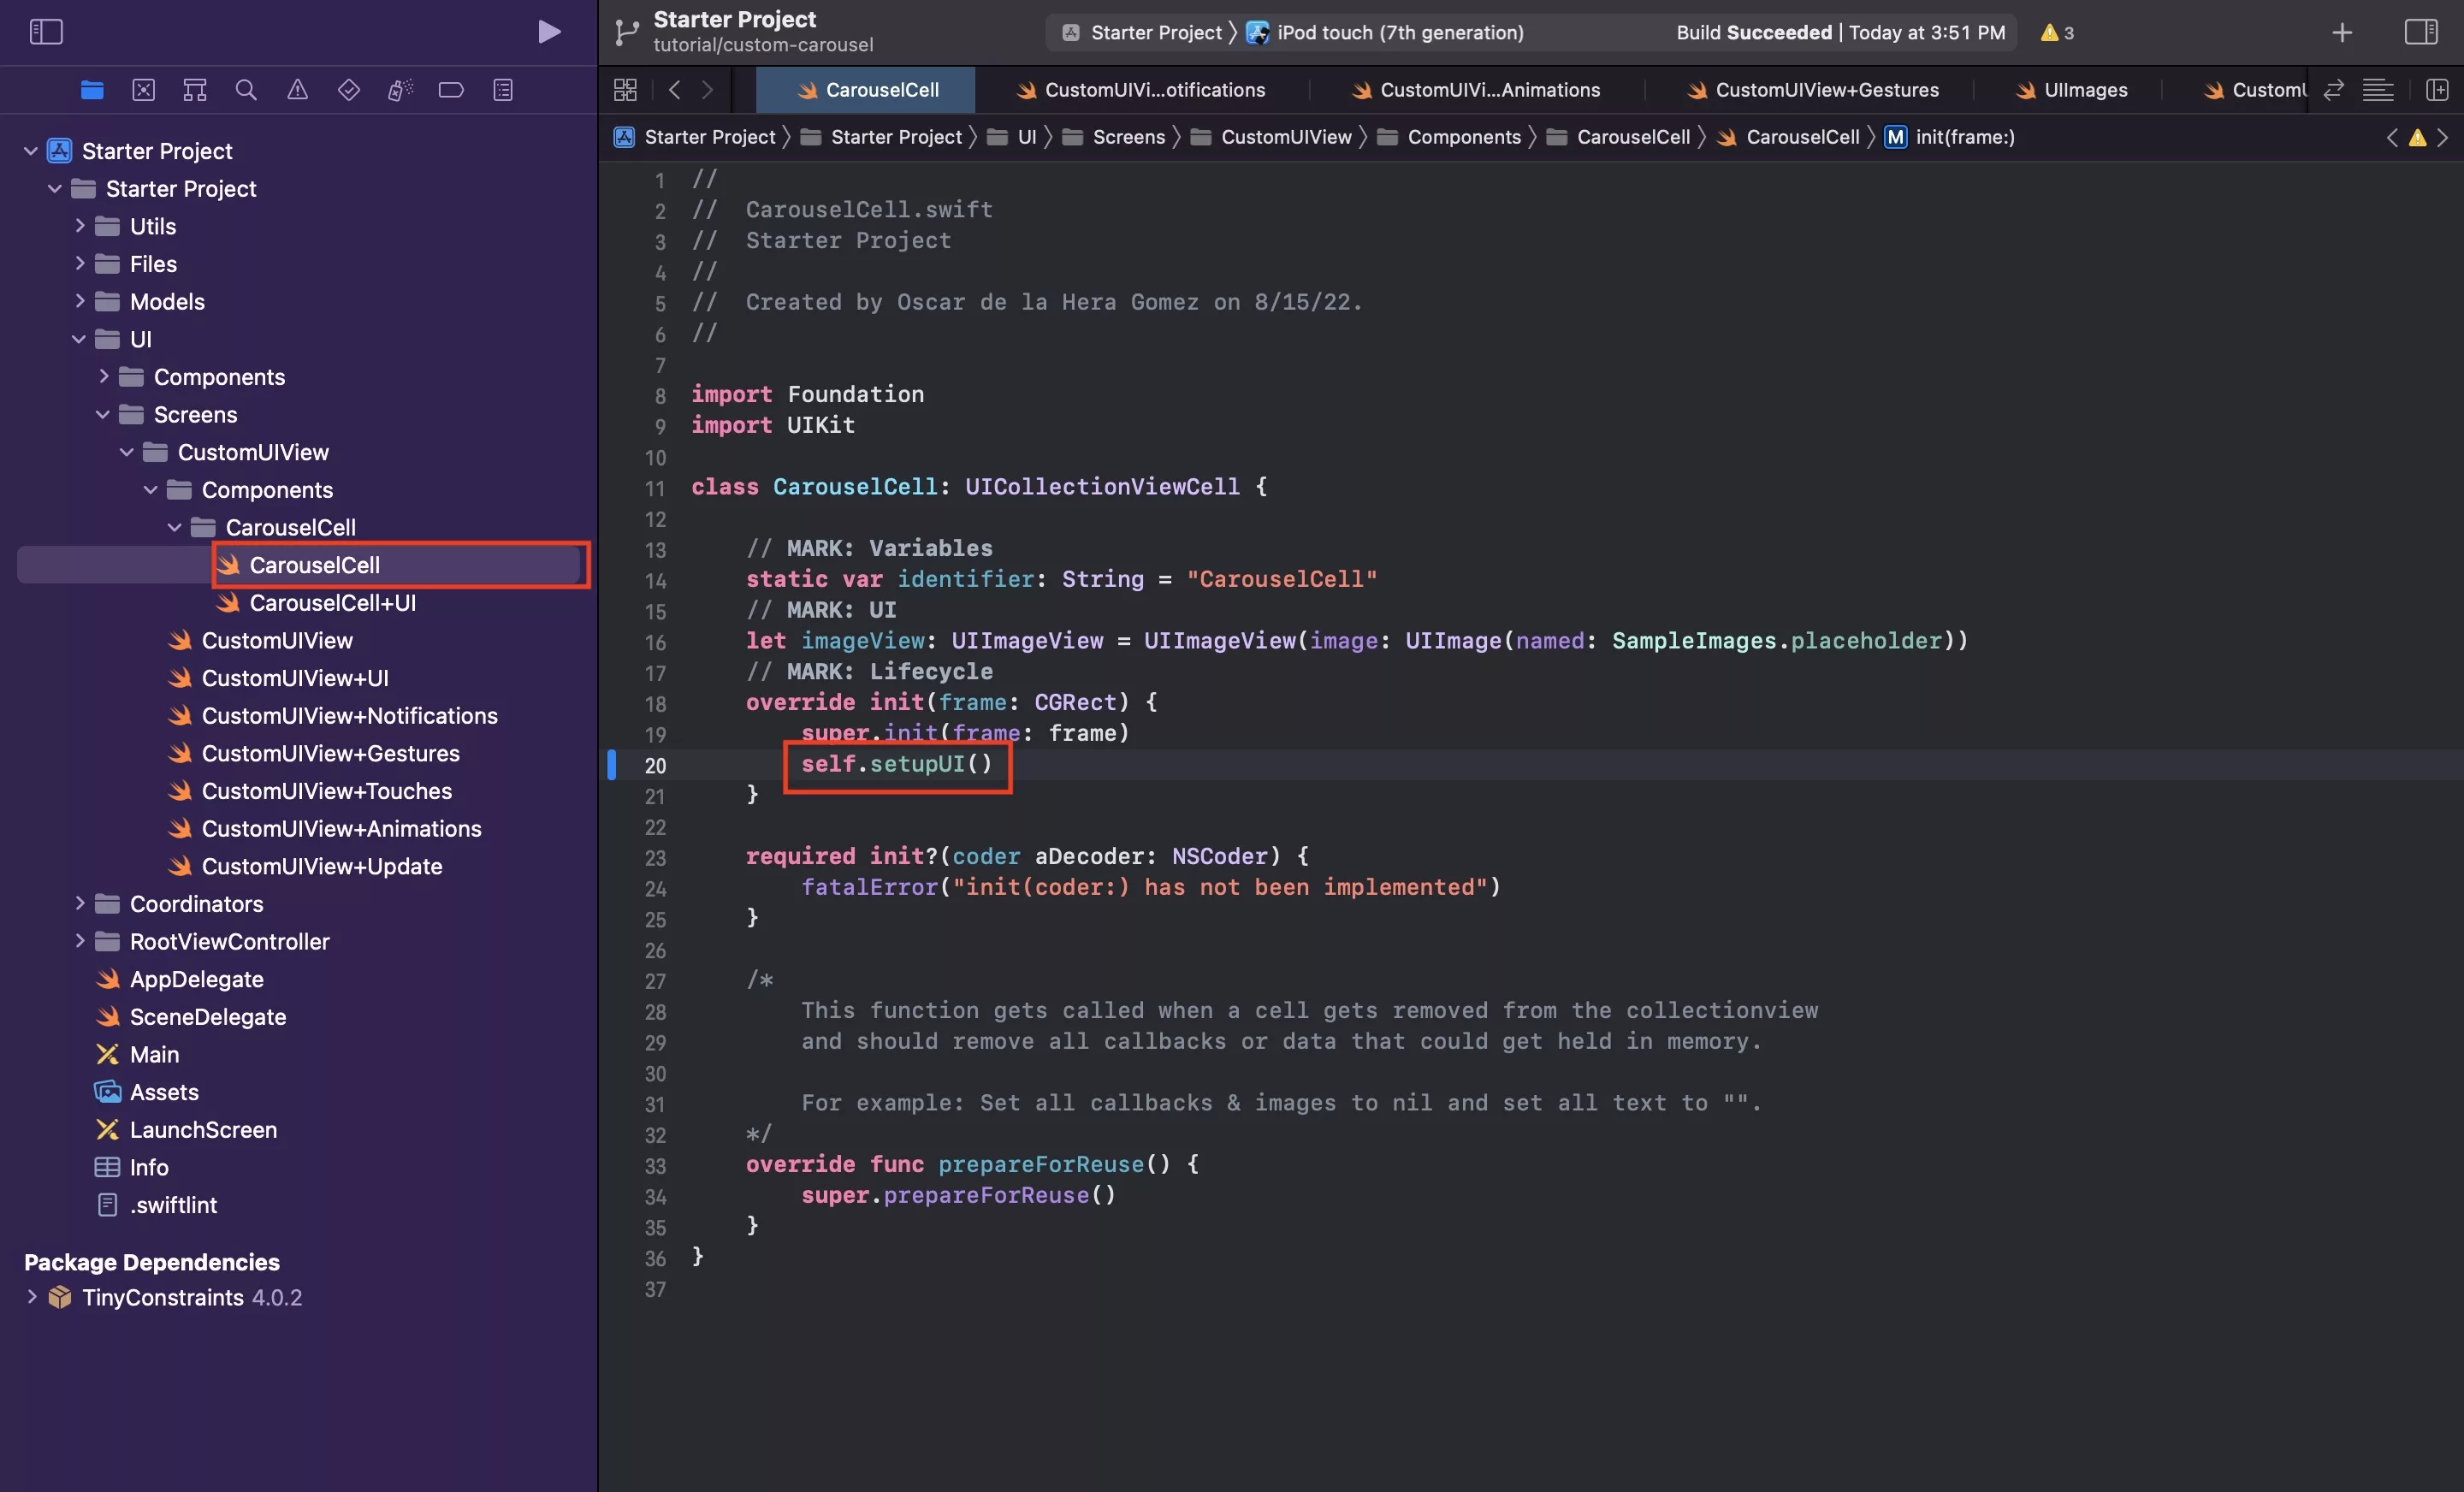
In CarouselCell.swift in the init function, call setupUI() to make sure the UI gets setup.
Step Five: Setup your carousel
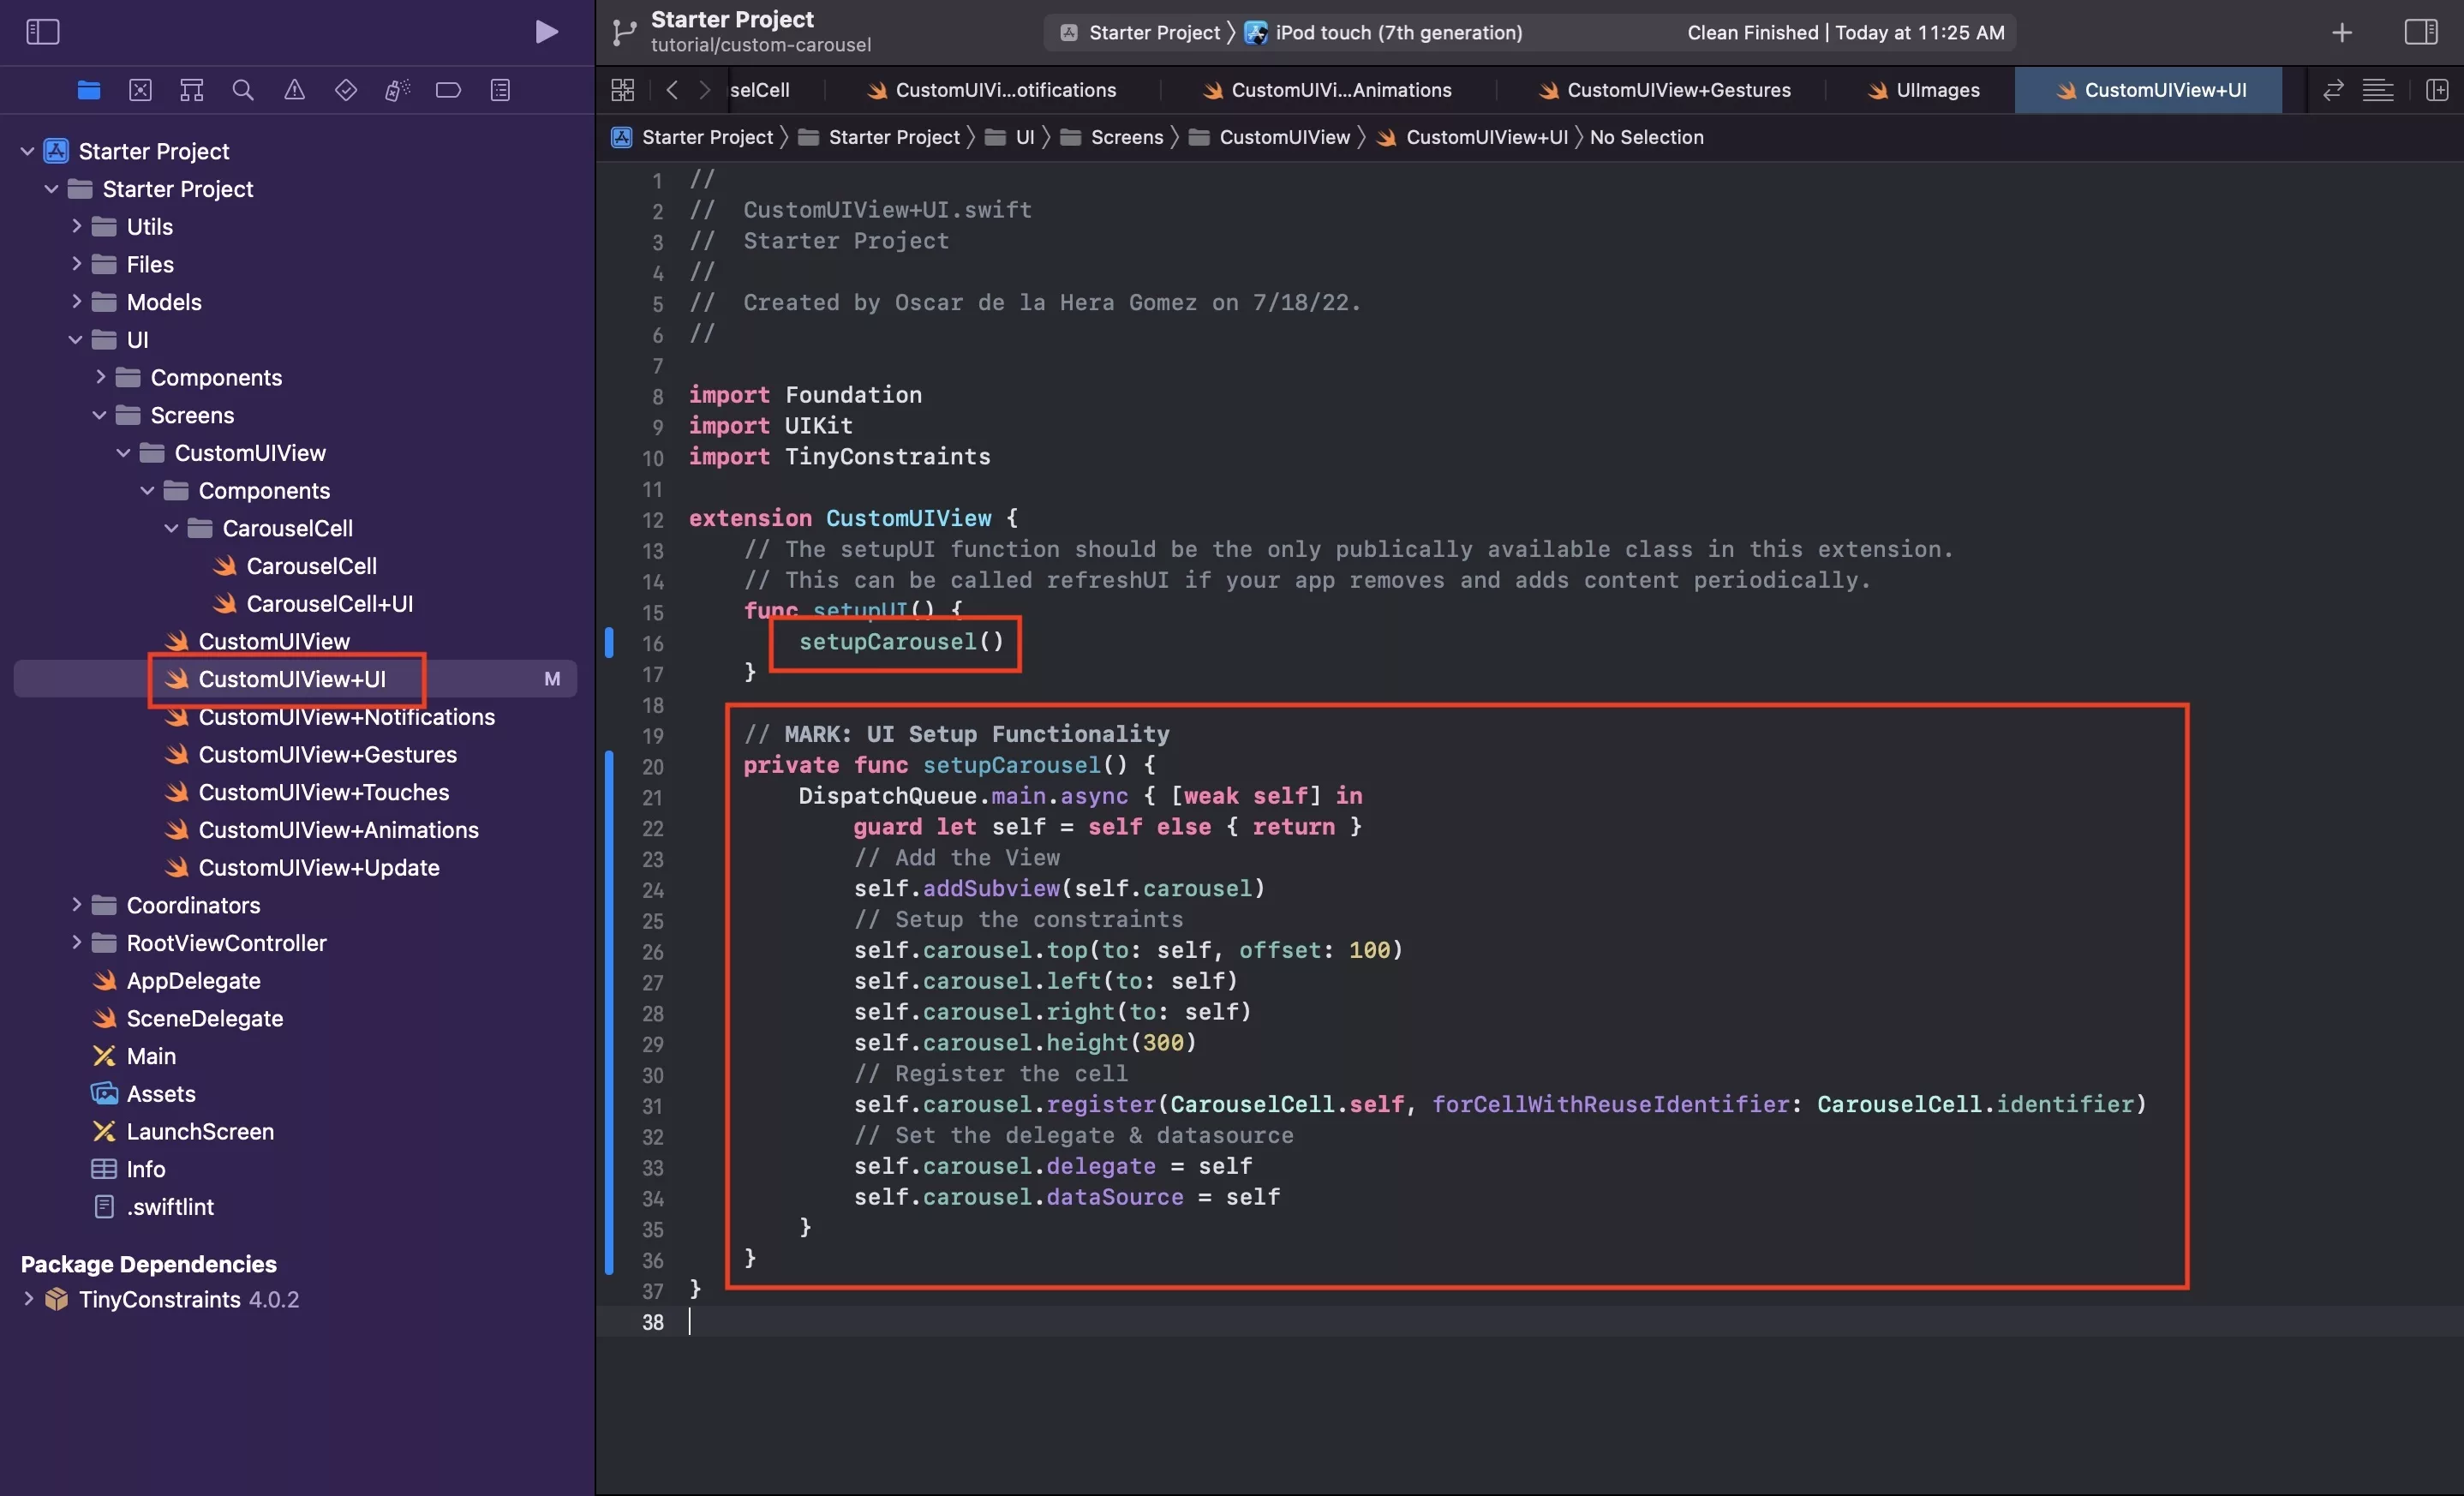
In CustomUIView+UI.swift replace the code with the snippet below.
The code above is responsible for:
- Adding the carousel to the CustomUIView.
- Registering the CarouselCell that we created in previous steps.
- Setting the delegate and datasource to the CustomUIView.
Step Six: Add the delegate and datasource functionality
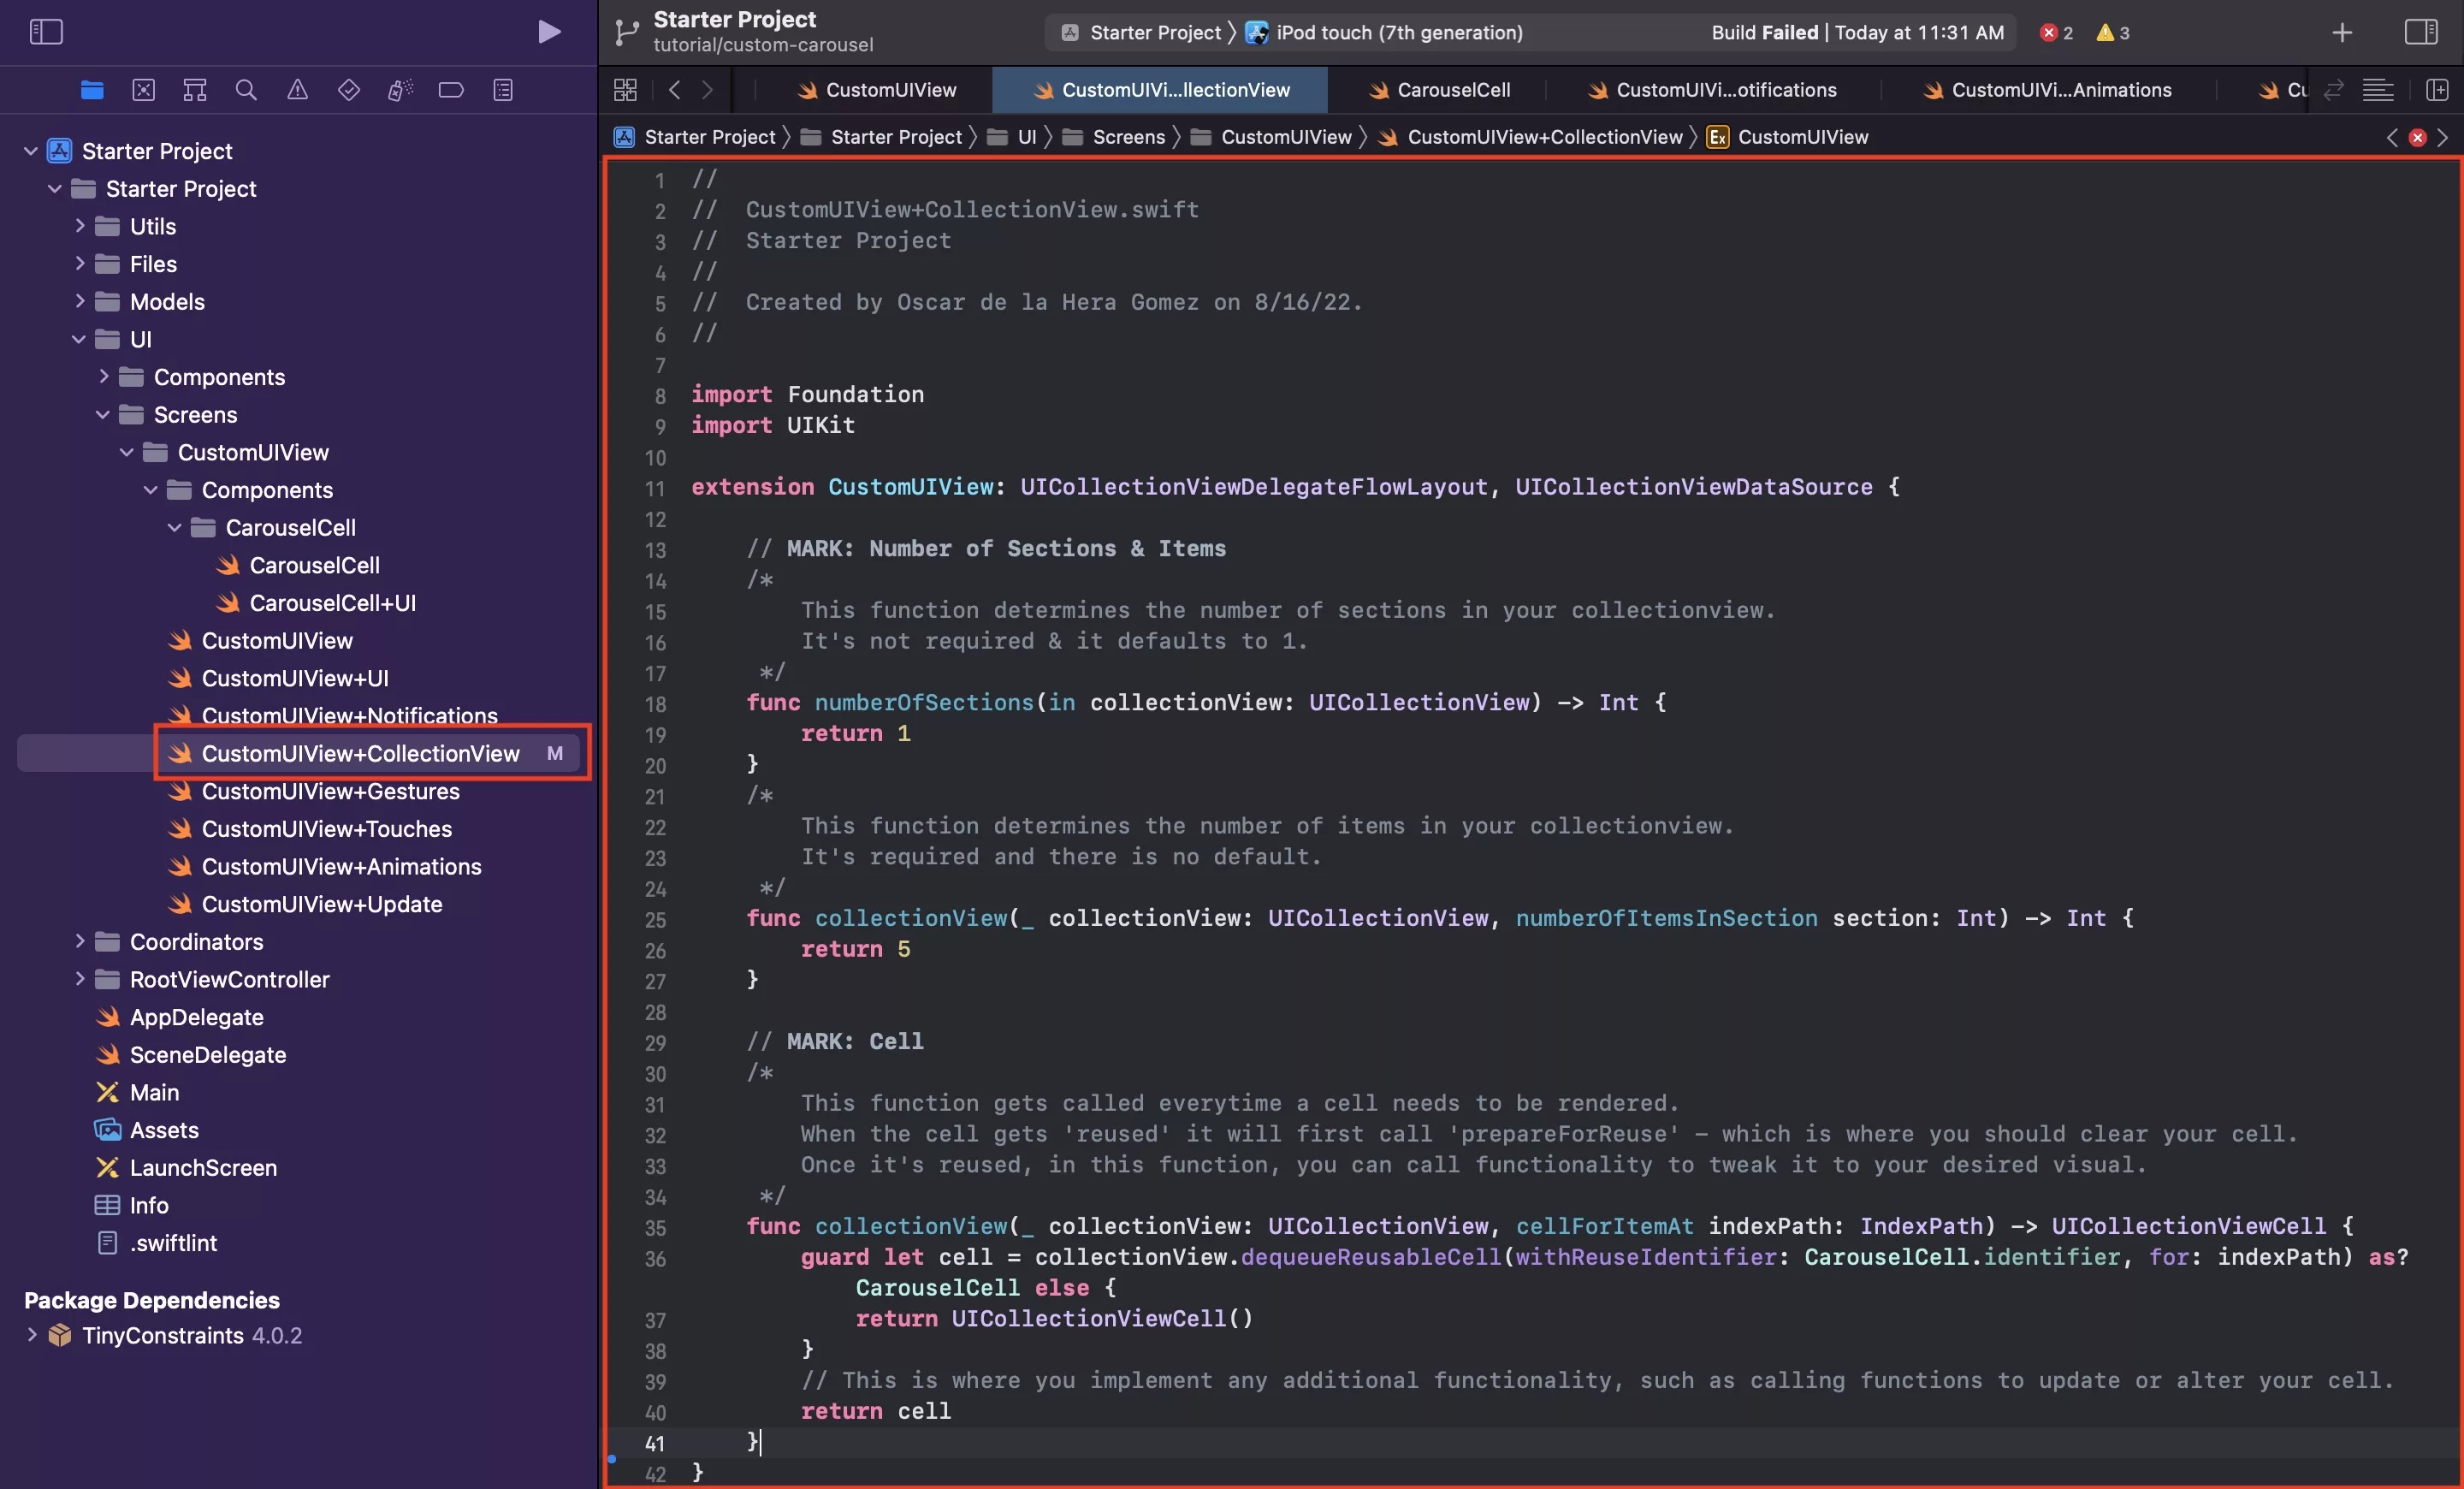
Under the CustomUIView folder, create a new file called CustomUIView+CollectionView.
Within this, paste in the code below.
We recommend that you place it under the +Notifications extension.
Step Seven: Add the visual parameters functionality
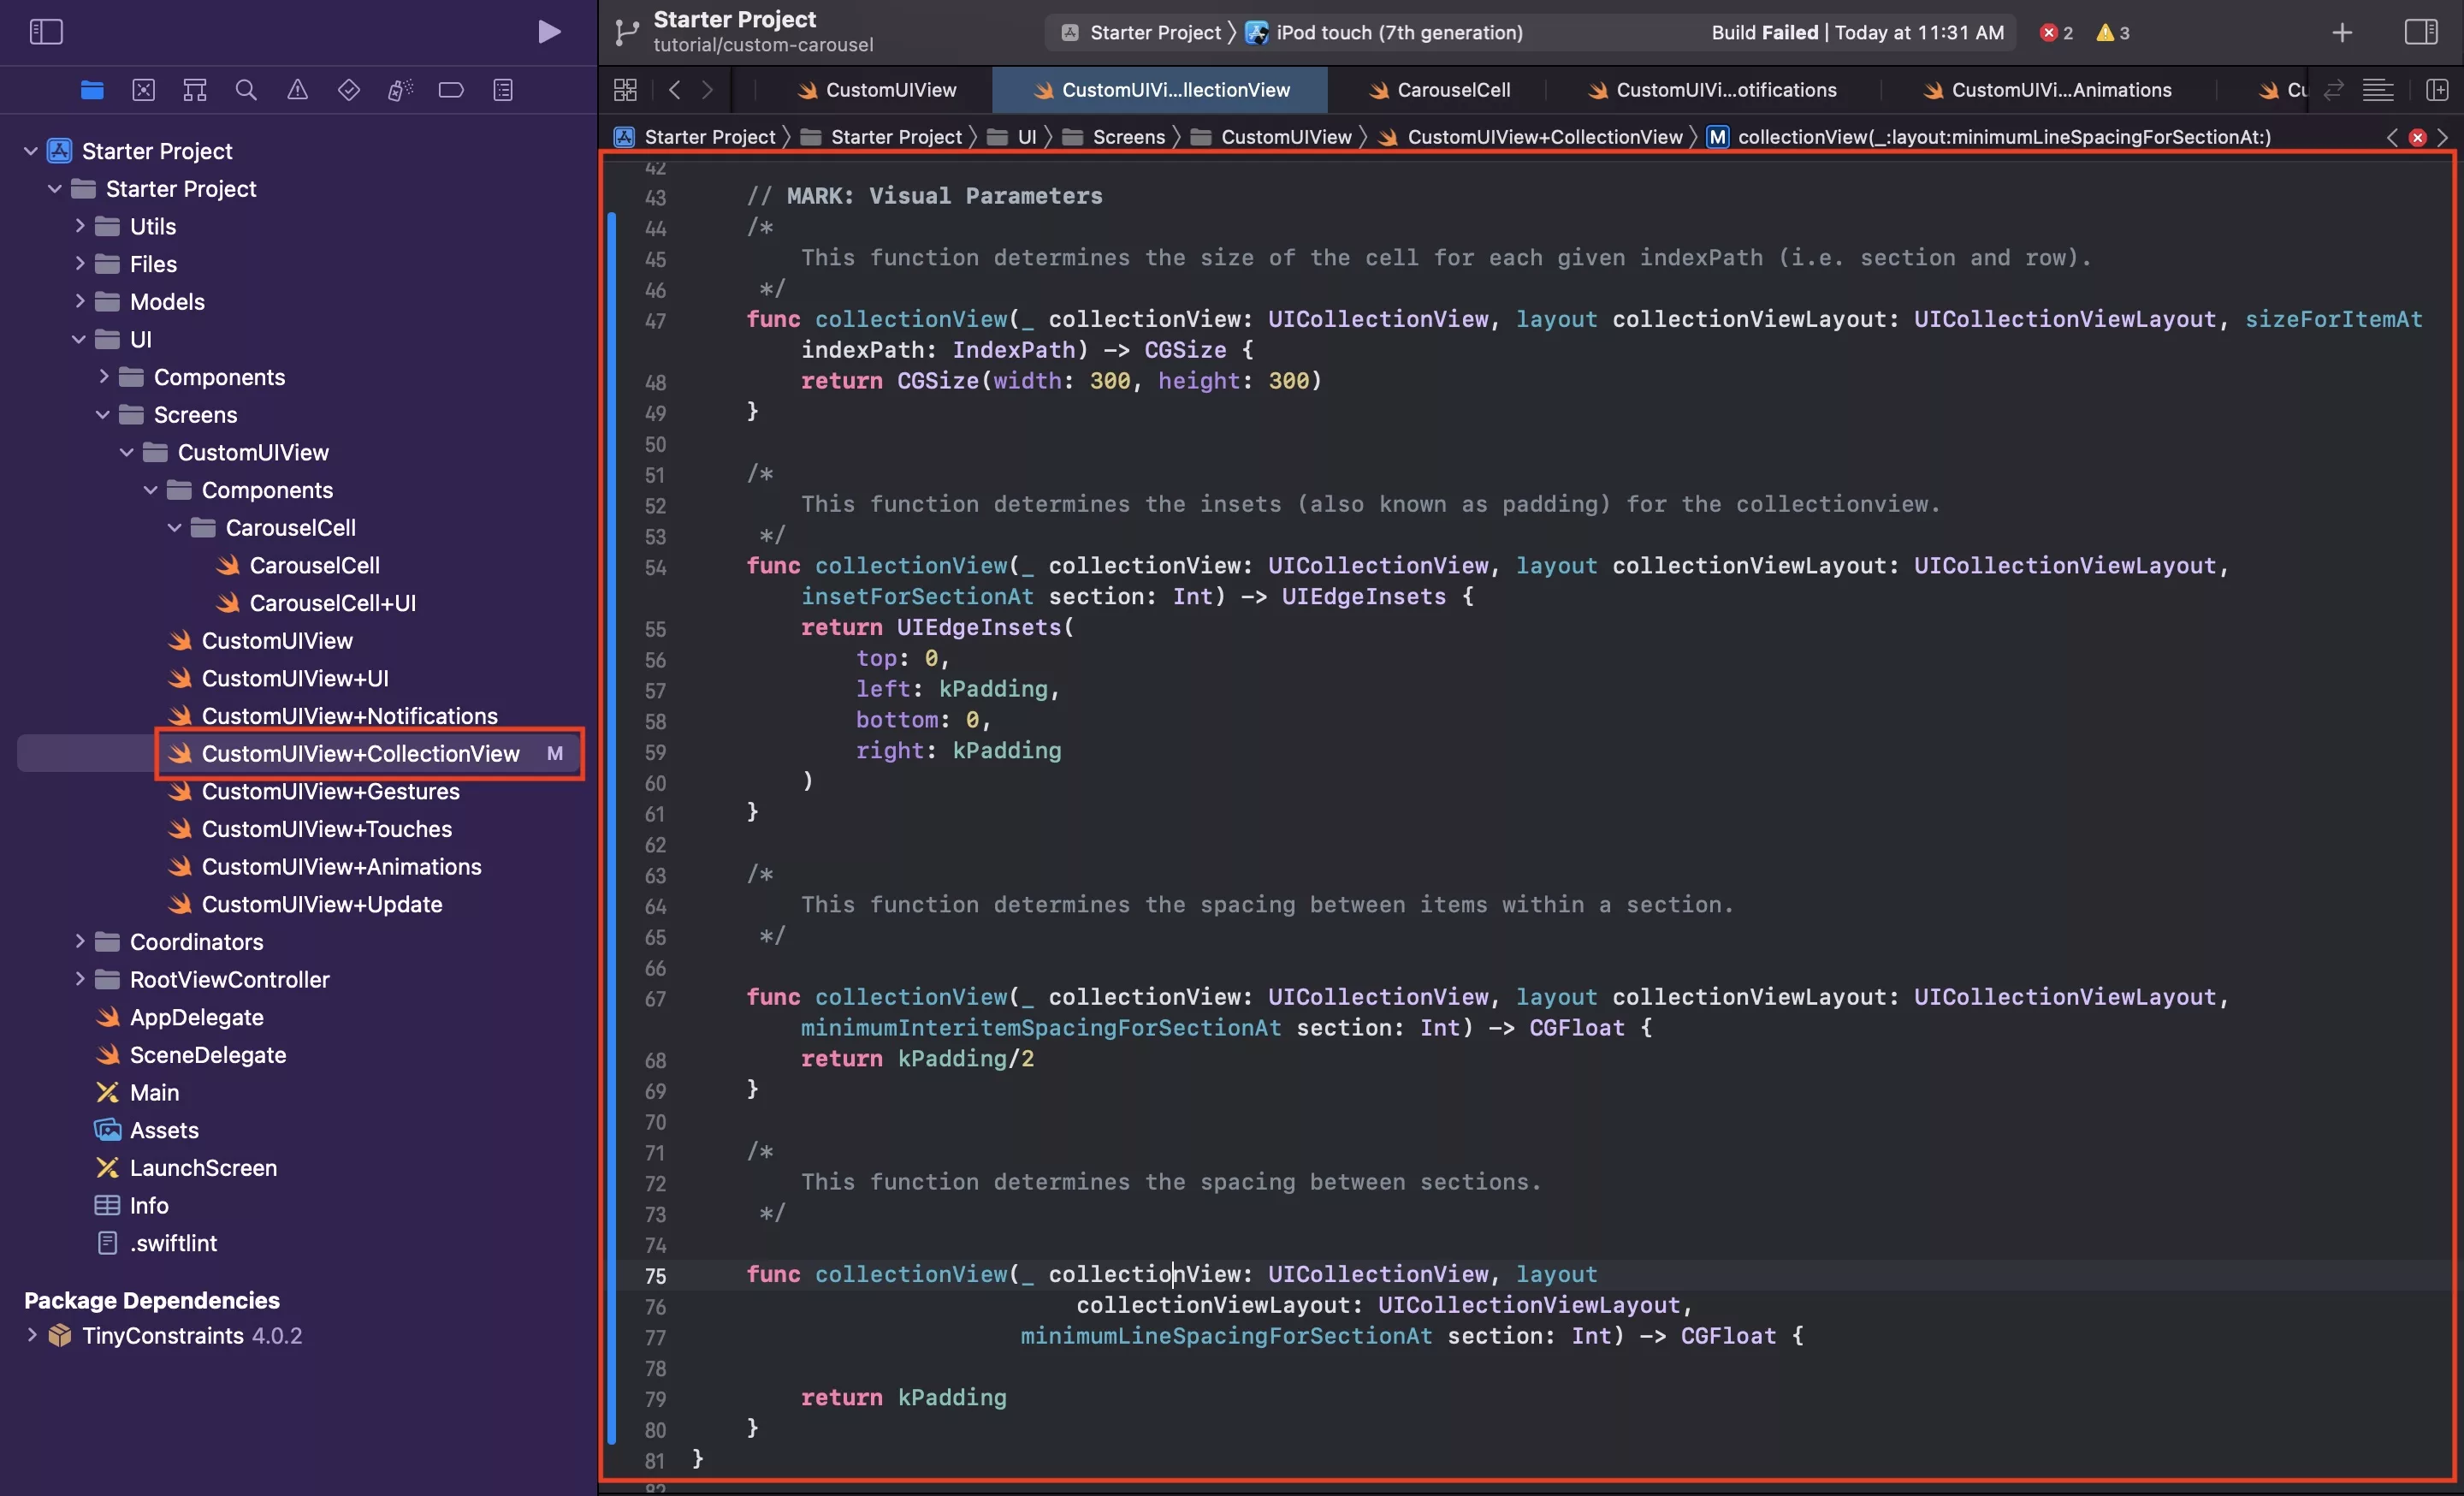
Within CustomUIView+CollectionView.swift, below the delegate and datasource functionality, add the following code.
Step Eight: Invalidate the Carousel Layout
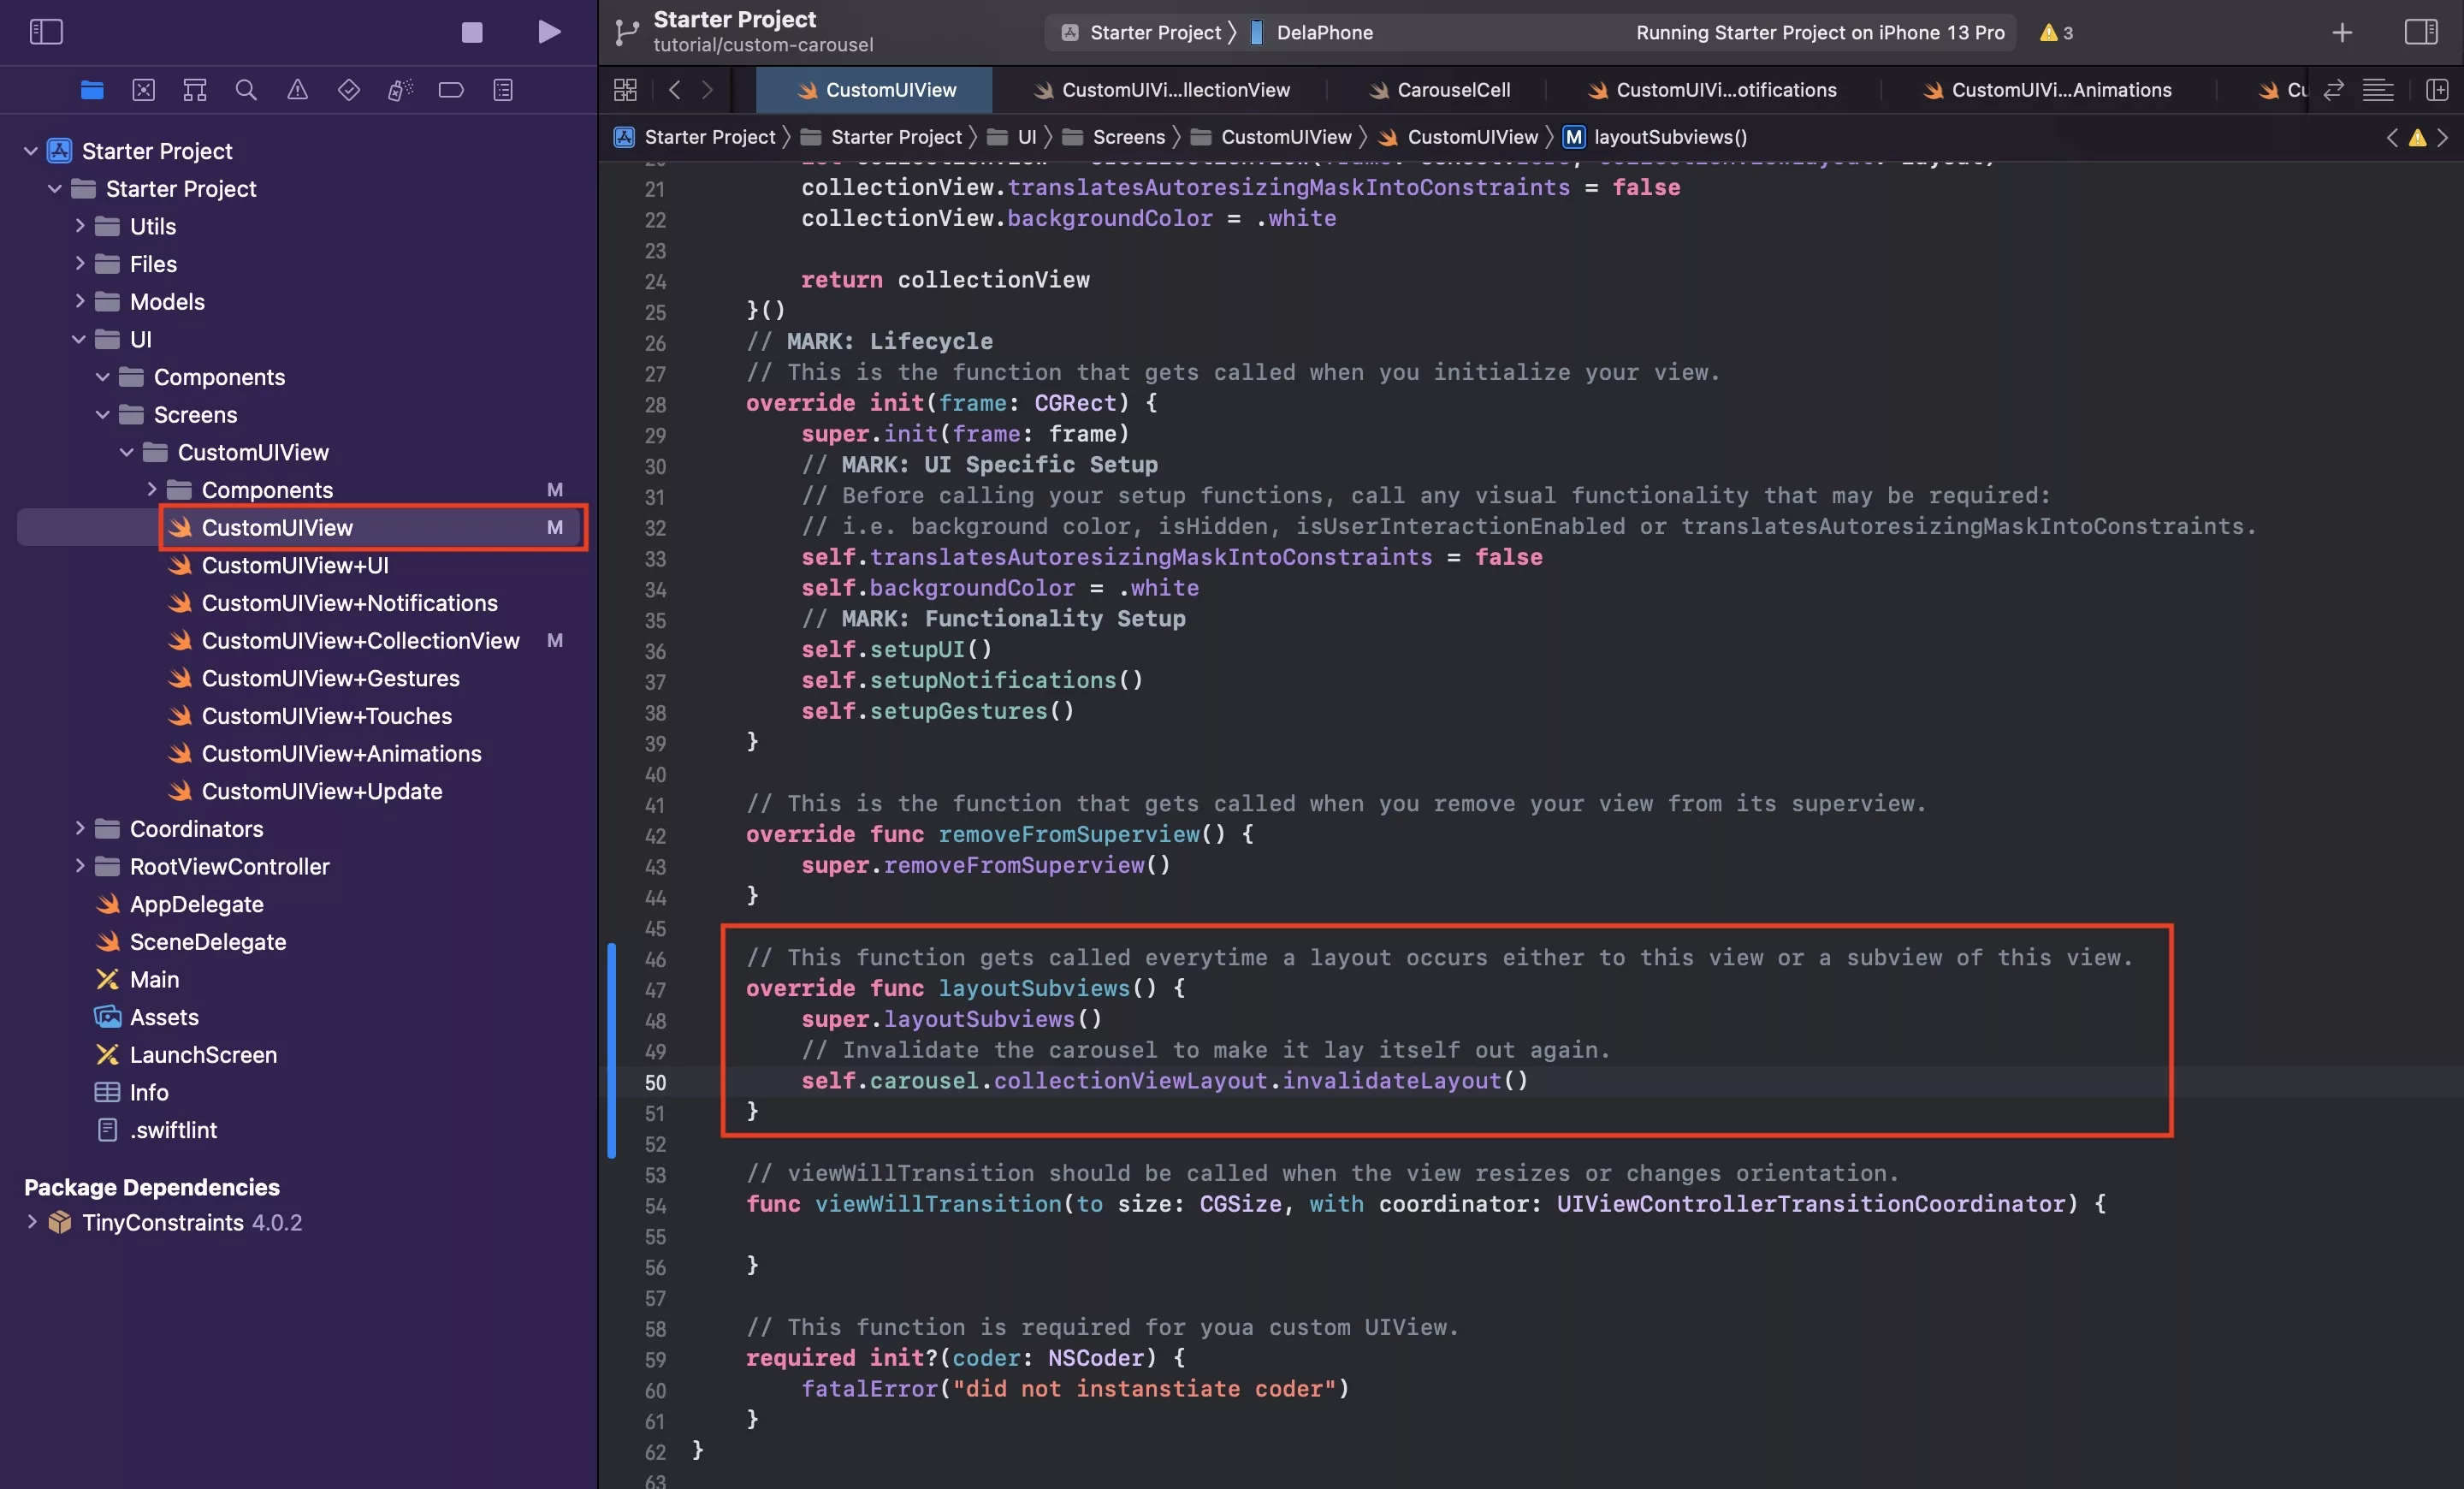
In CustomUIView.swift, add the following code to your lifecycle, below the removeFromSuperview functionality.
This is particularly important to make sure that your view updates:
- When the ViewController SafeAreaInsets change.
- On orientation change.
- If your view changes dimension through an animation or alteration.
Step Nine: Verify
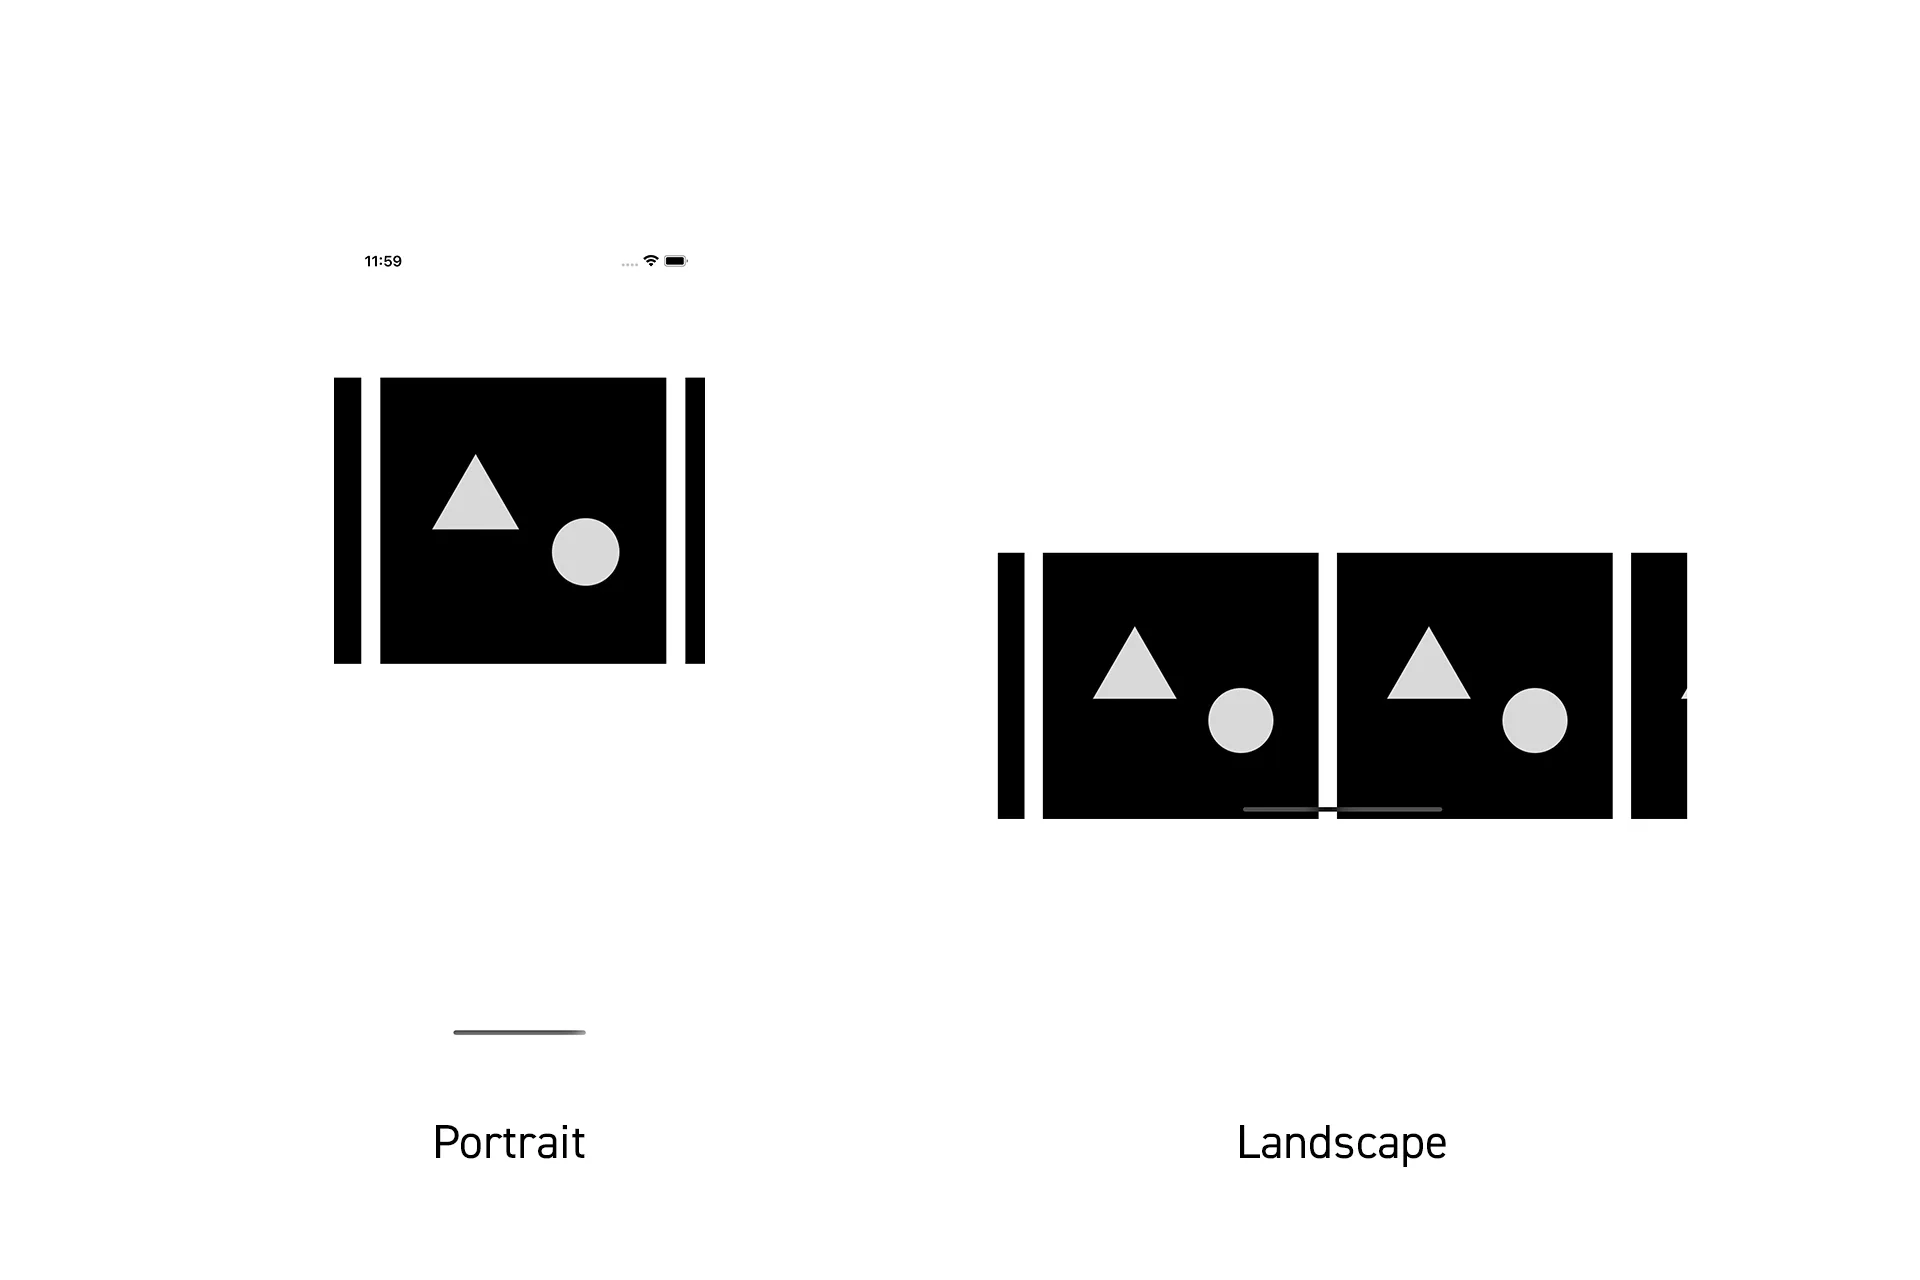
Run the app using Xcode and rotate it to see the results.
Any Questions
We are actively looking for feedback on how to improve this resource. Please send us a note to inquiries@delasign.com with any thoughts or feedback you may have.