How to create an animated progress indicator in Swift
A step by step on creating a custom progress indicator in Swift and Xcode.
A step by step on creating a custom progress indicator in Swift and Xcode.
SubscribeDownload Open Source Starter ProjectWe recommend that you clone our Open Source Swift Starter Project, checking out the main branch and carrying out the steps below. The changes can be found on the tutorial/custom/progress-indicator branch.
git clone git@github.com:delasign/swift-starter-project.gitStep One: Create the Progress Indicator
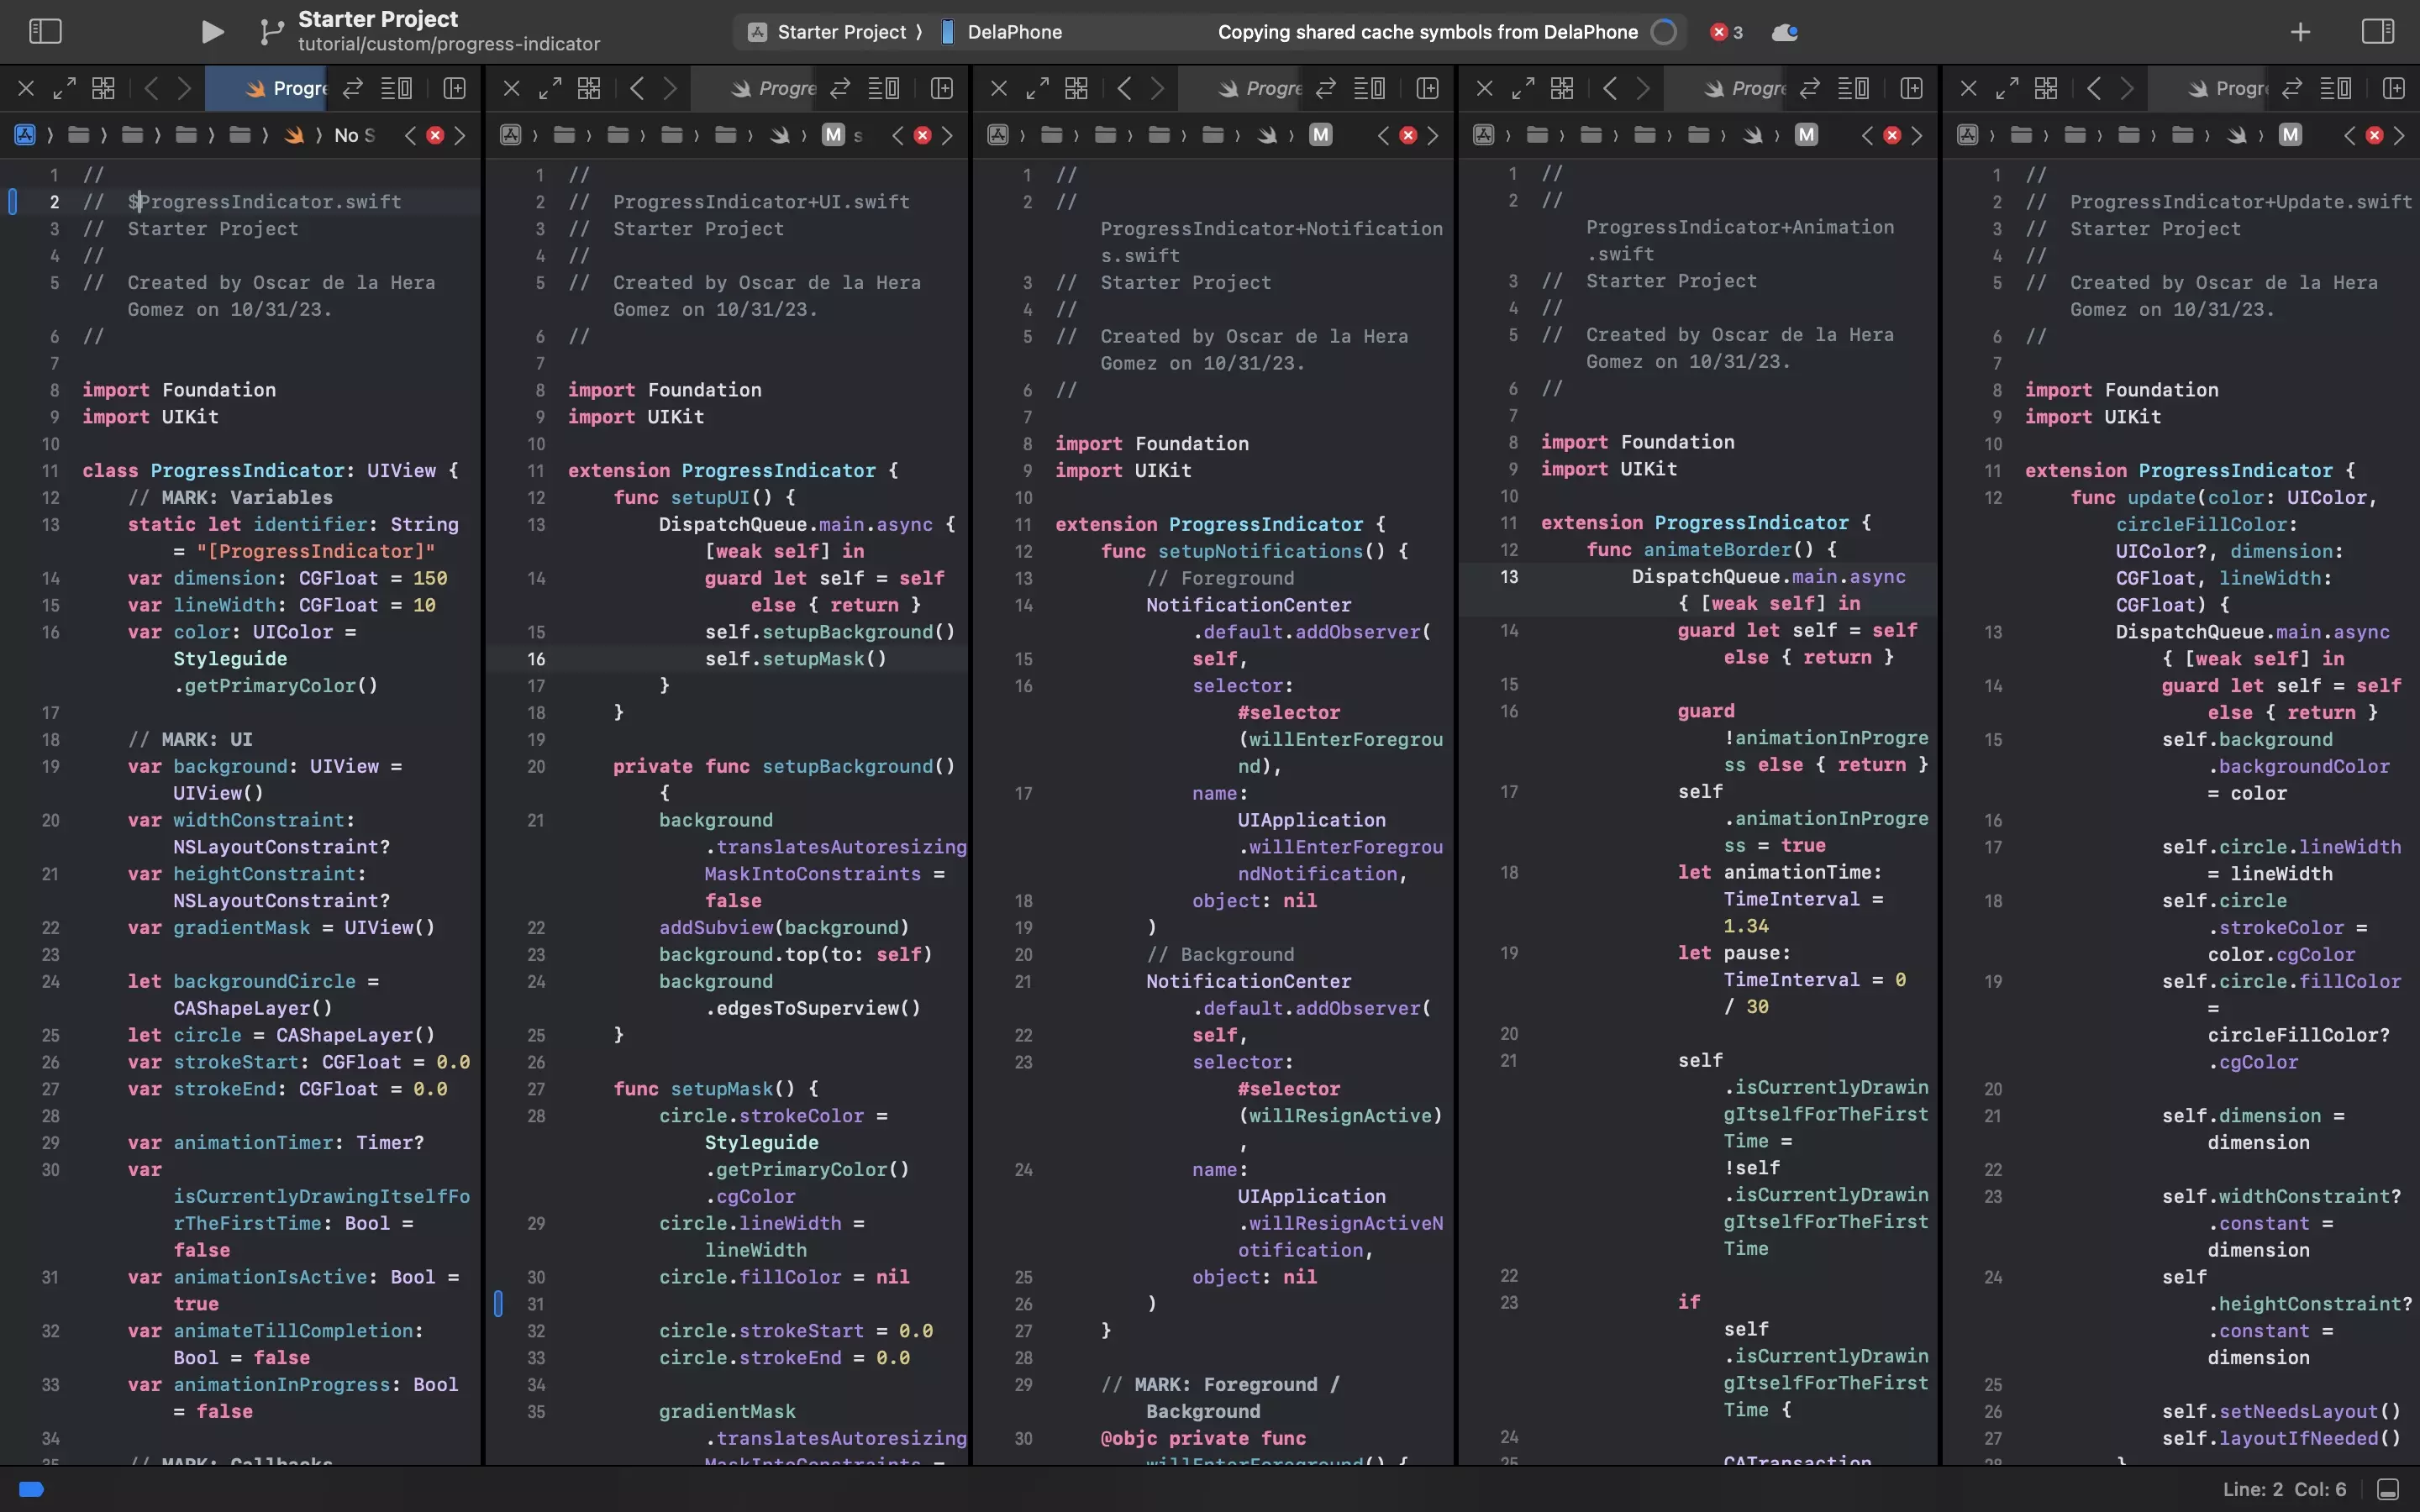
The following step involves creating the files and code for the Progress Indicator.
We recommend that these files fall under the UI/Components folder.
A | Declaration
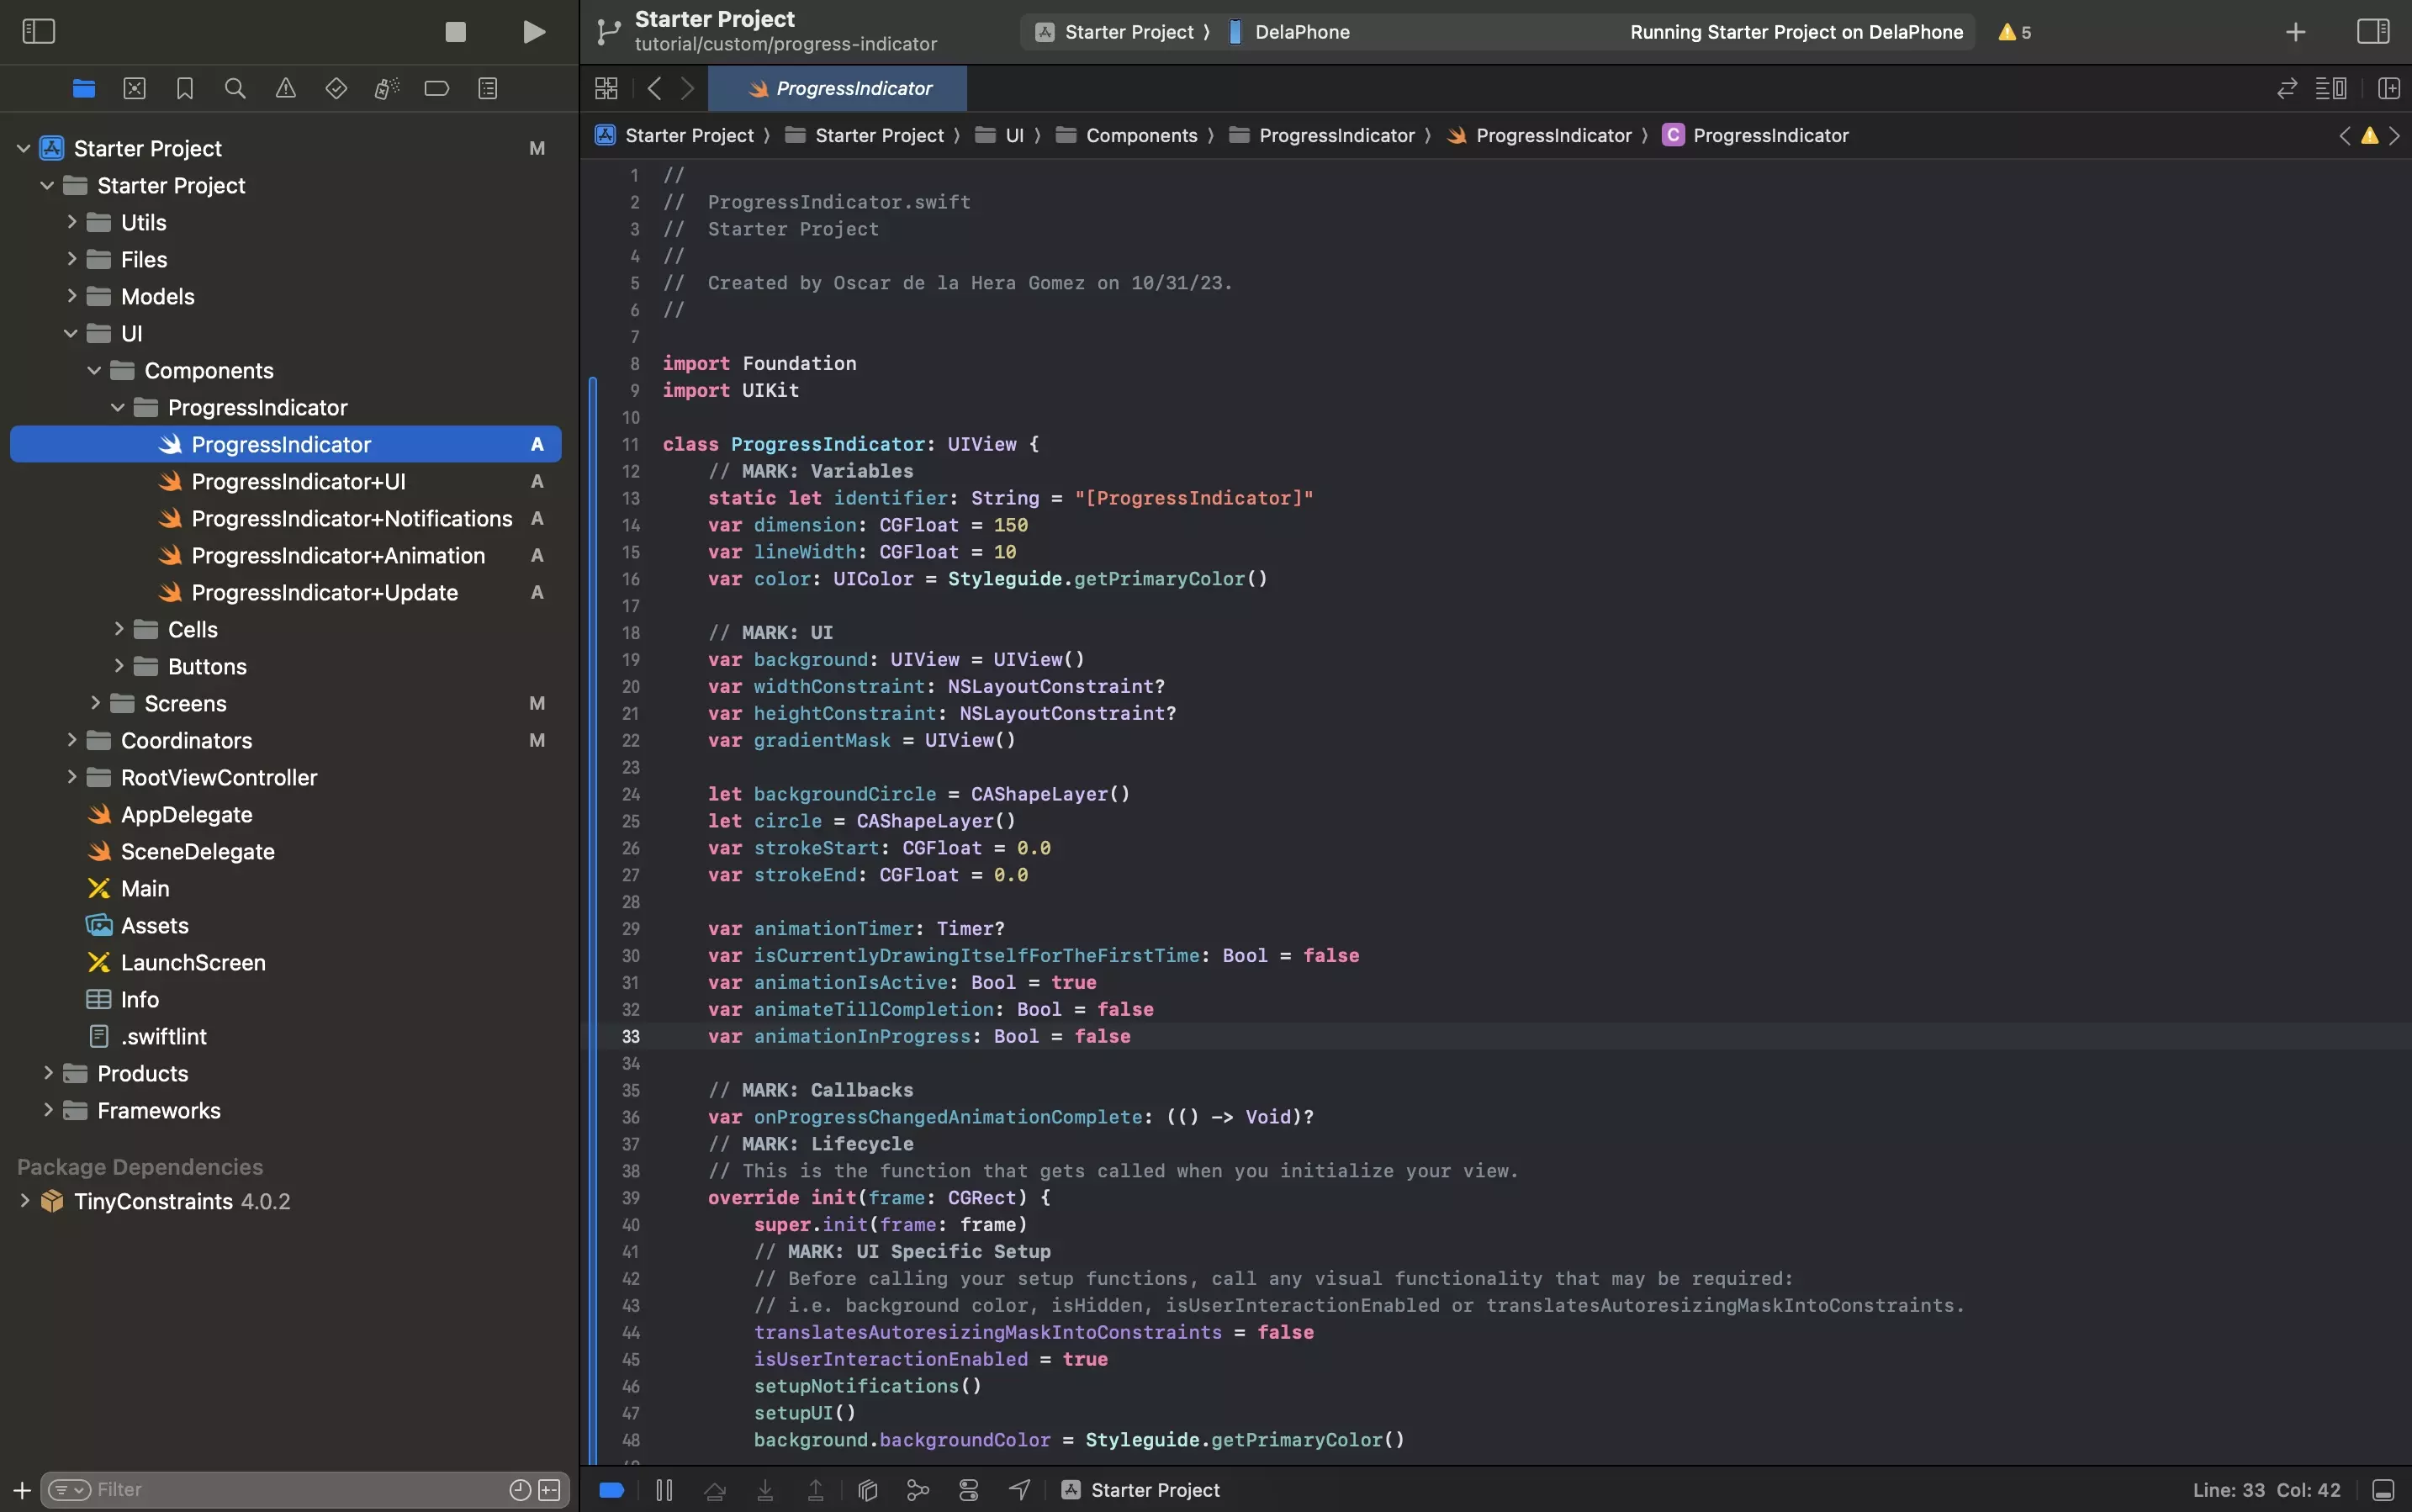
Create a file called ProgressIndicator.swift and paste in the code below.
B | UI
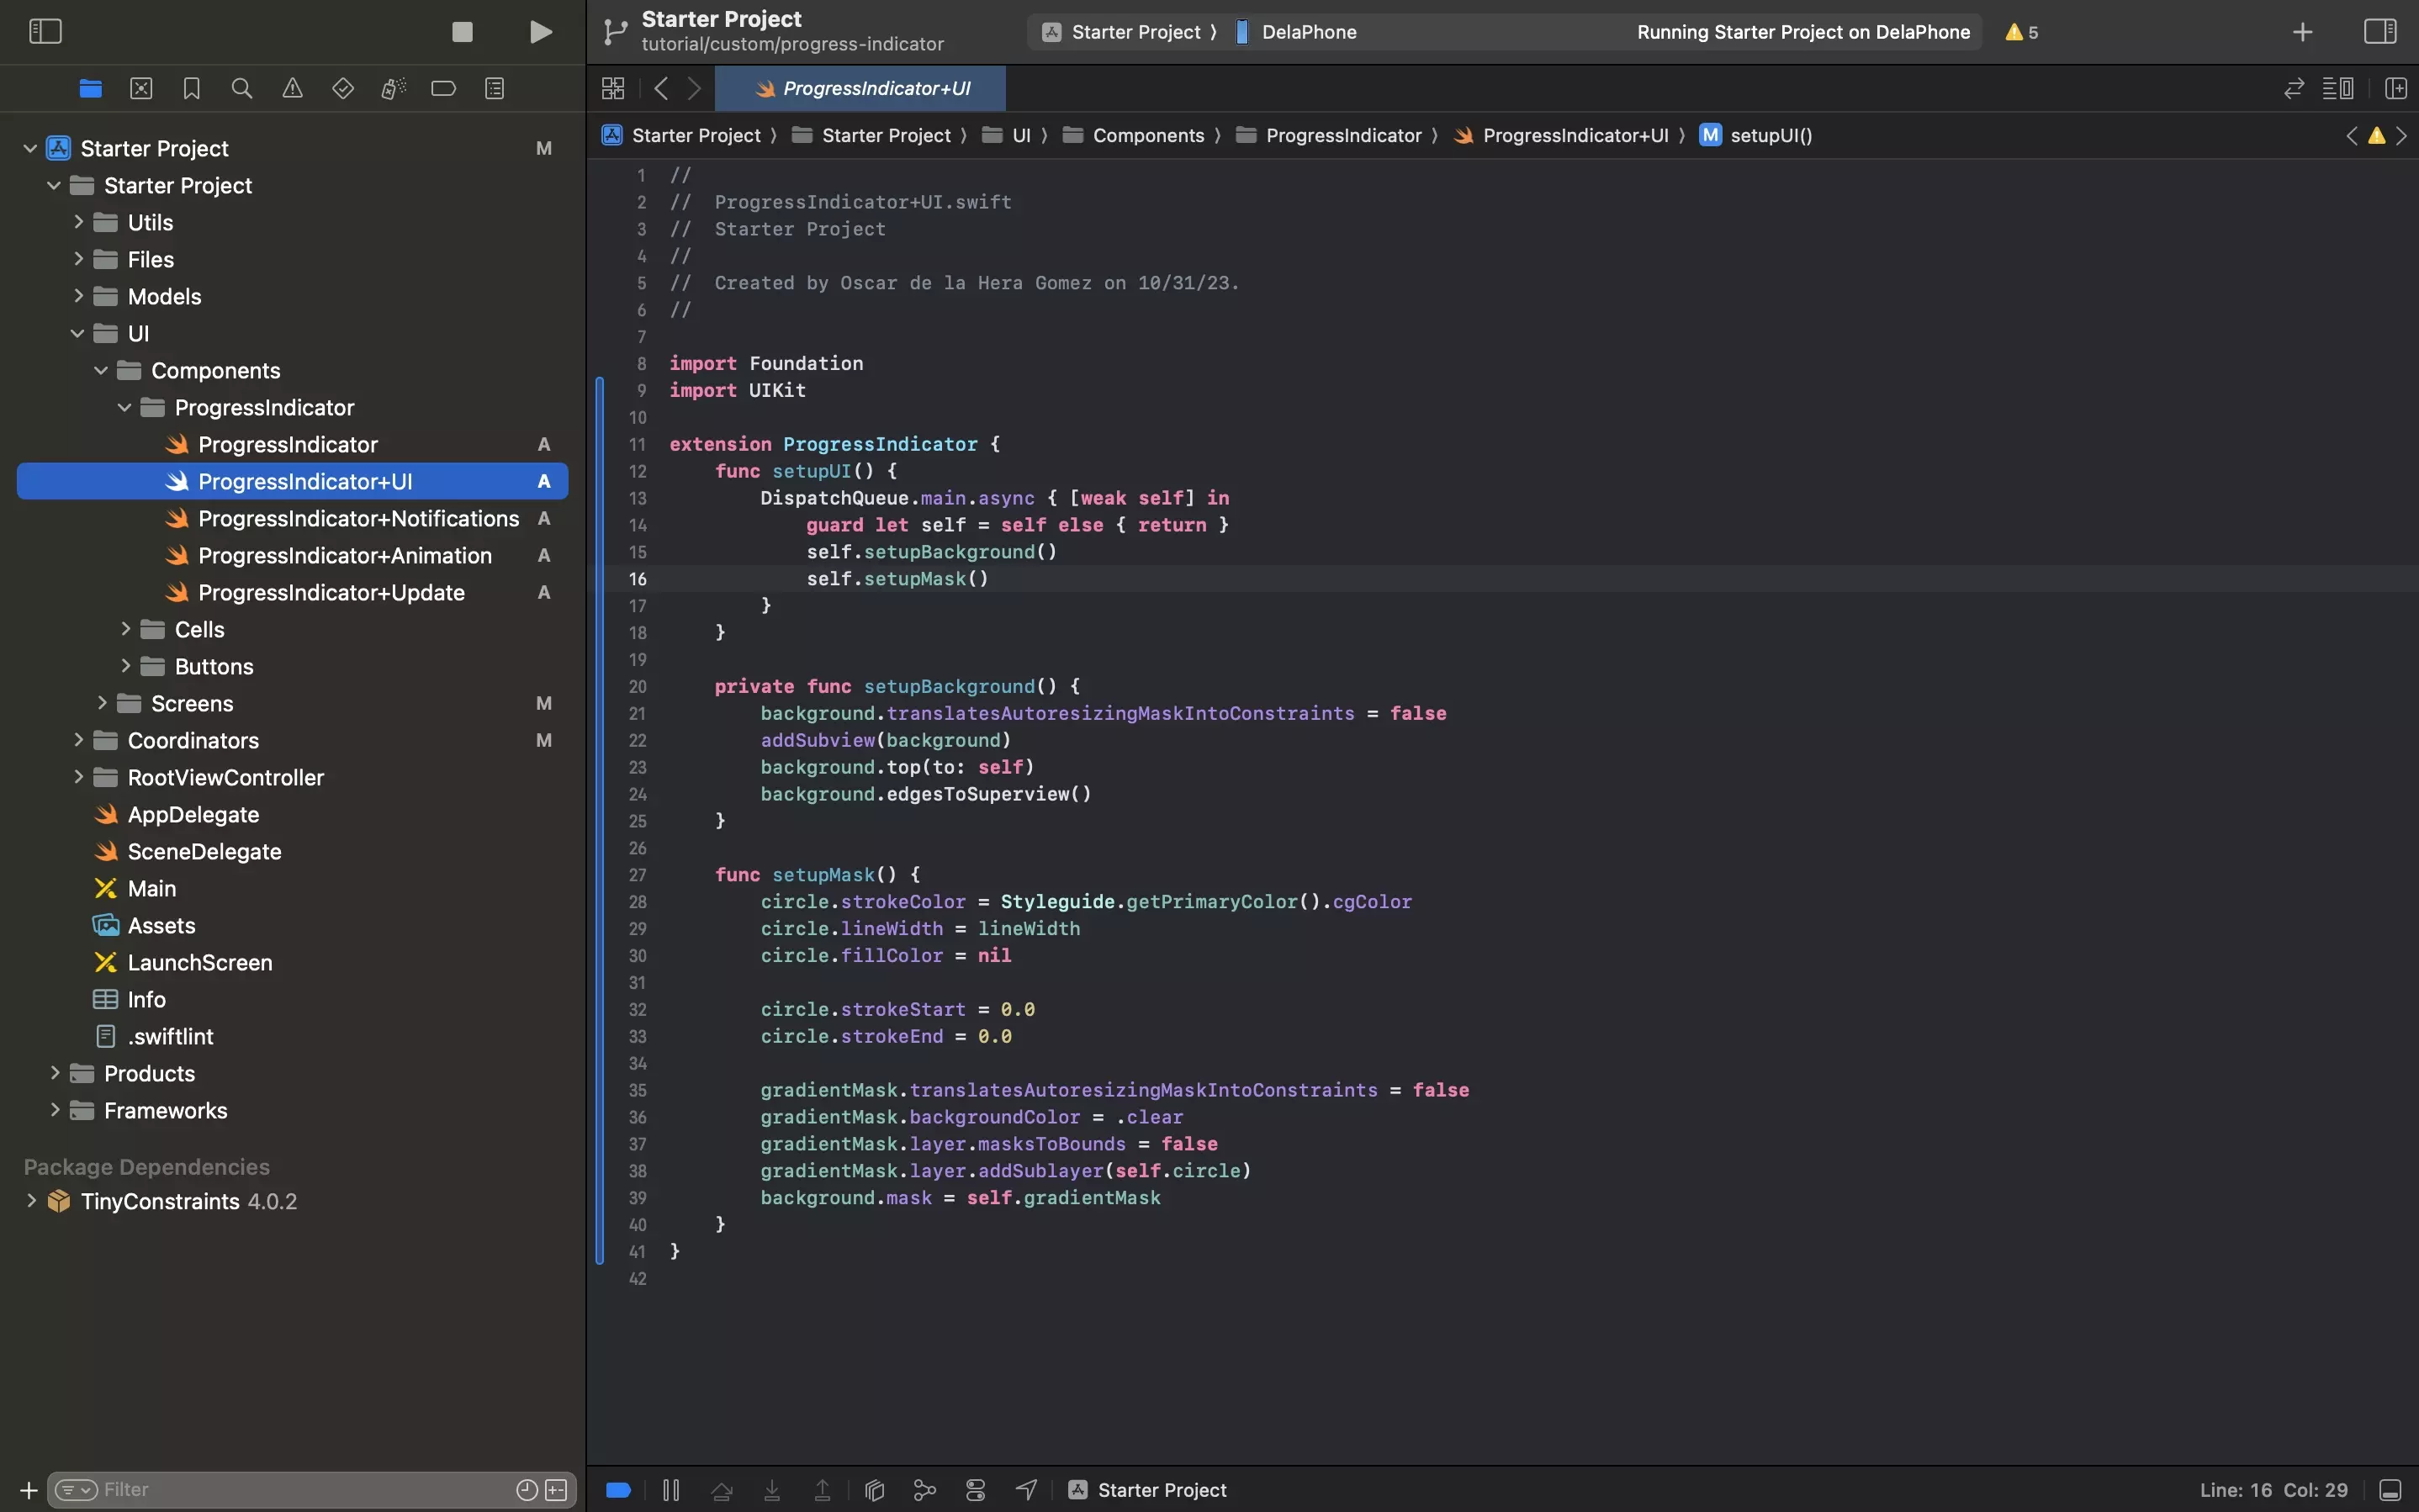
Create a file called ProgressIndicator+UI.swift and paste in the code below.
C | Notifications
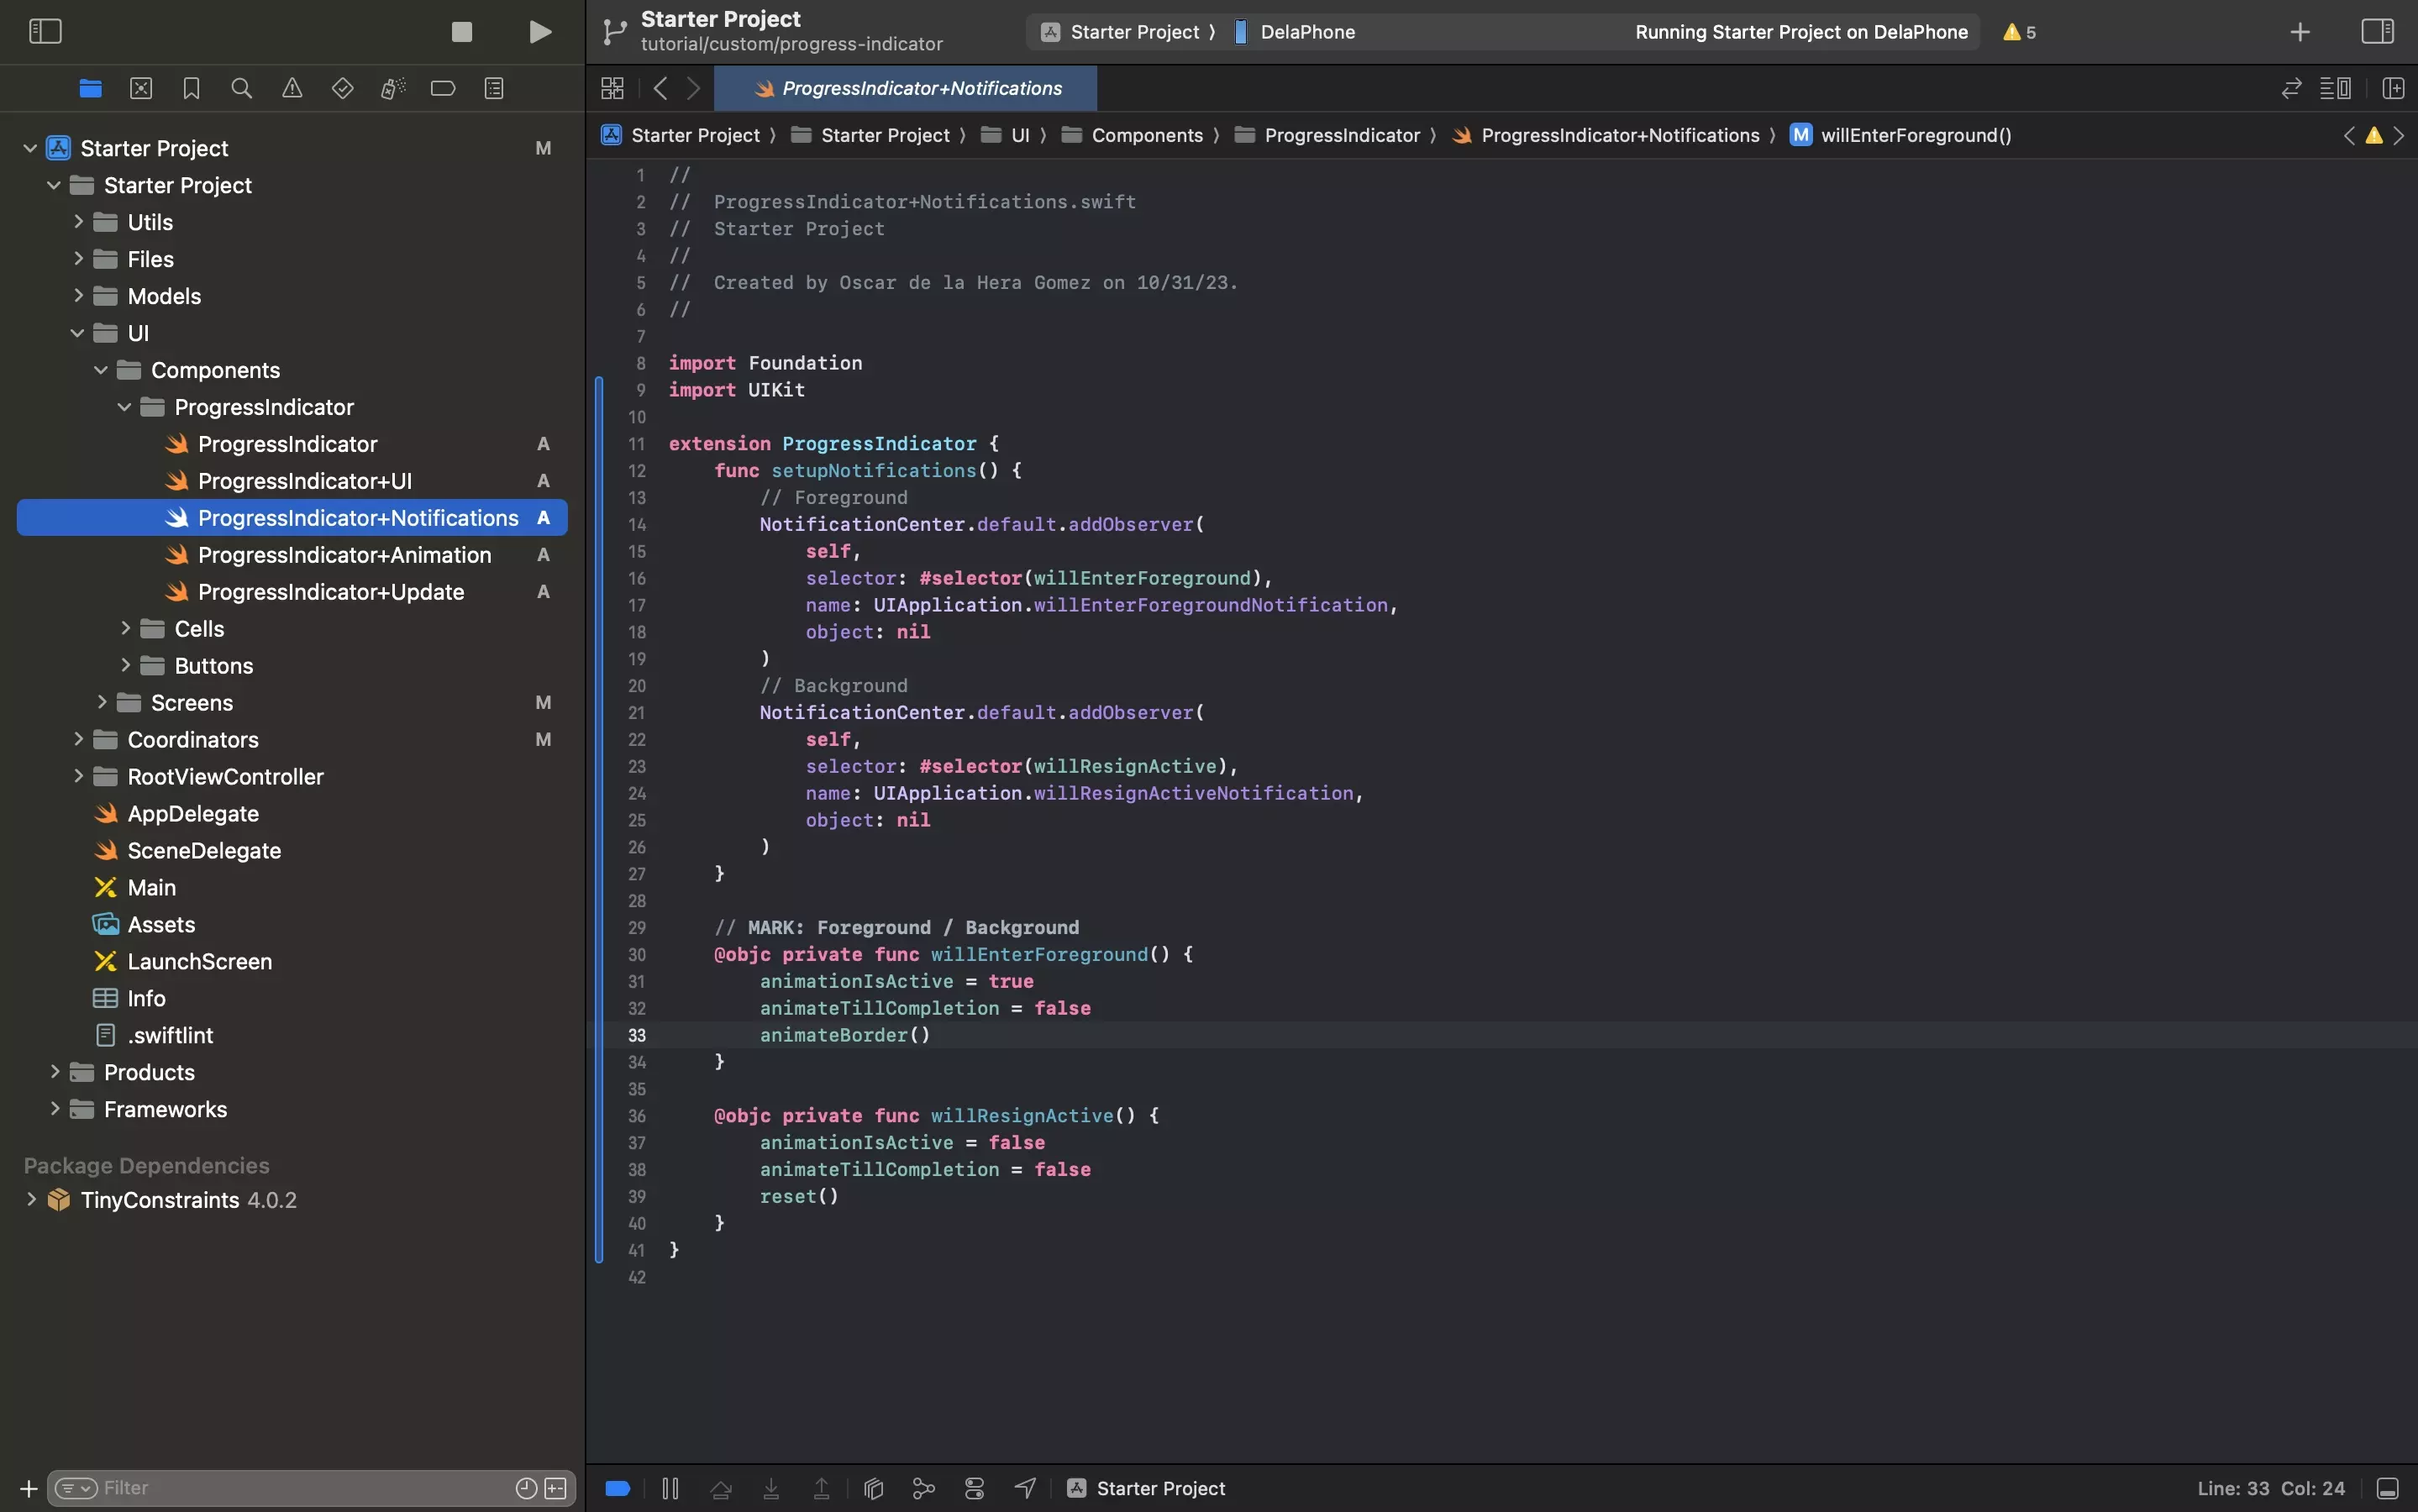
Create a file called ProgressIndicator+Notifications.swift and paste in the code below.
This code is responsible for stopping animation when the app goes into the background and starting it when it comes back to the foreground.
If you do not stop it it will cause the app to severely hang when coming from the Lock Screen or background.
This code should be modified depending on how you use the progress indicator.
D | Animations
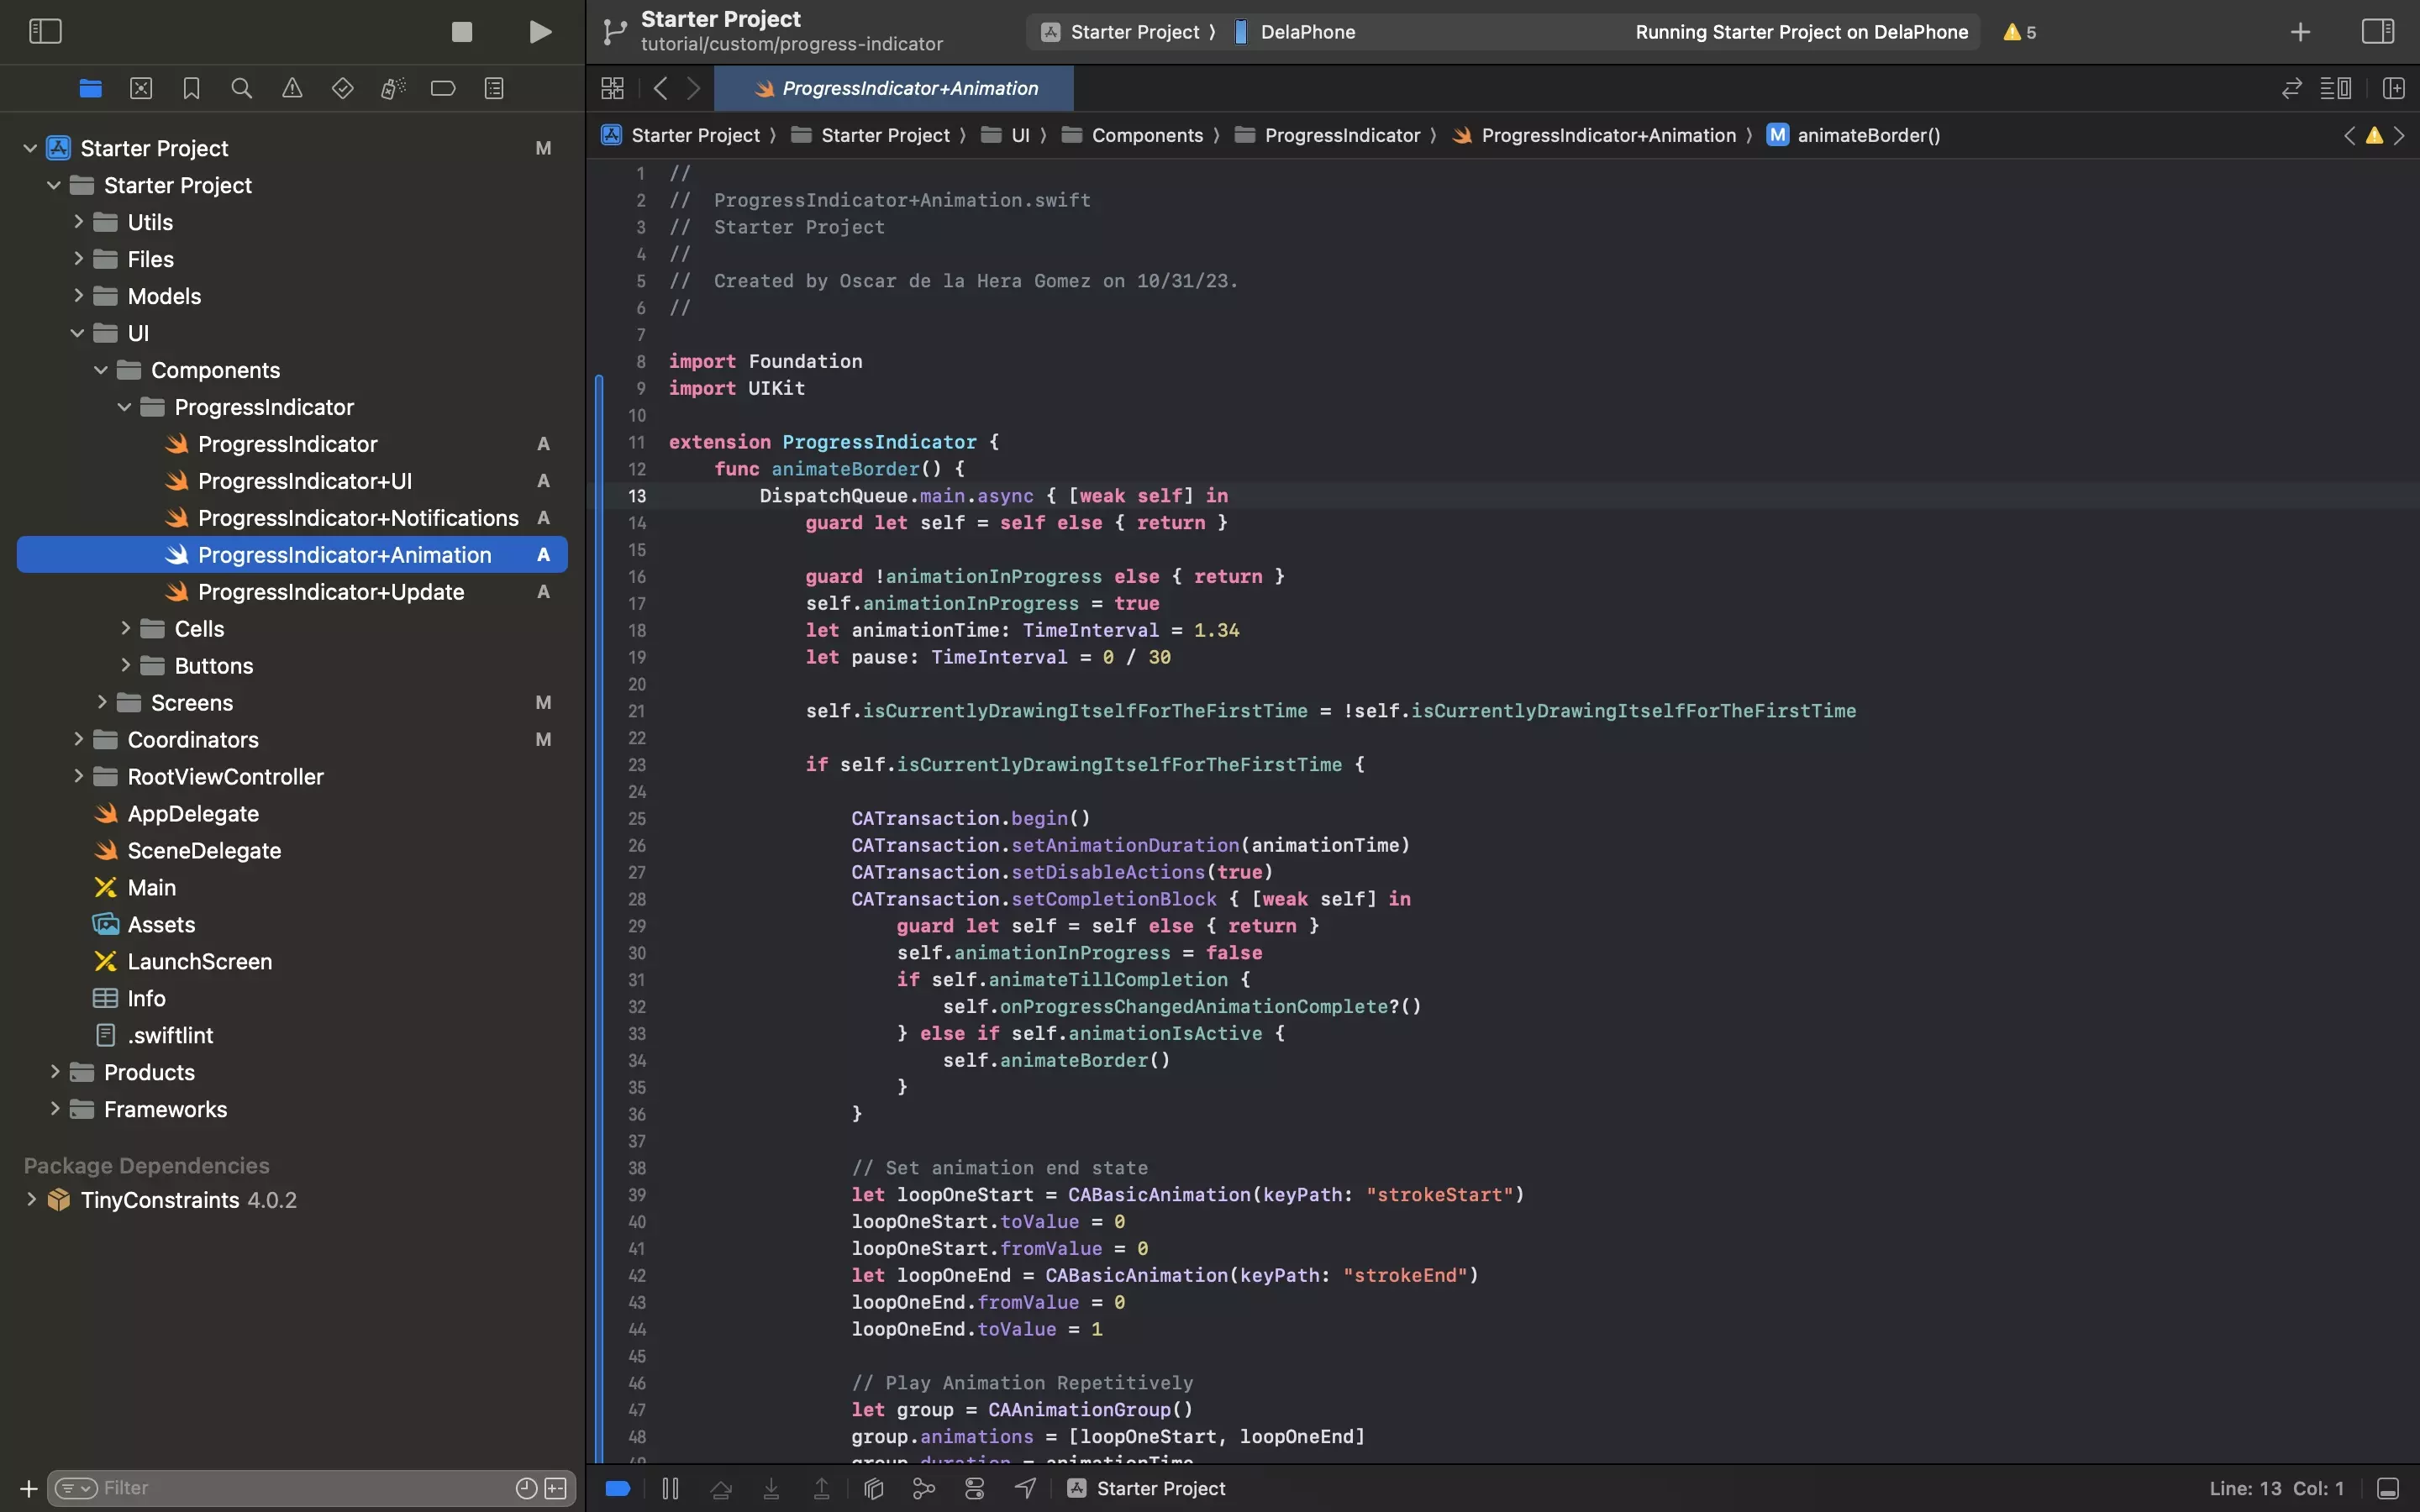
Create a file called ProgressIndicator+Animations.swift and paste in the code below.
E | Update
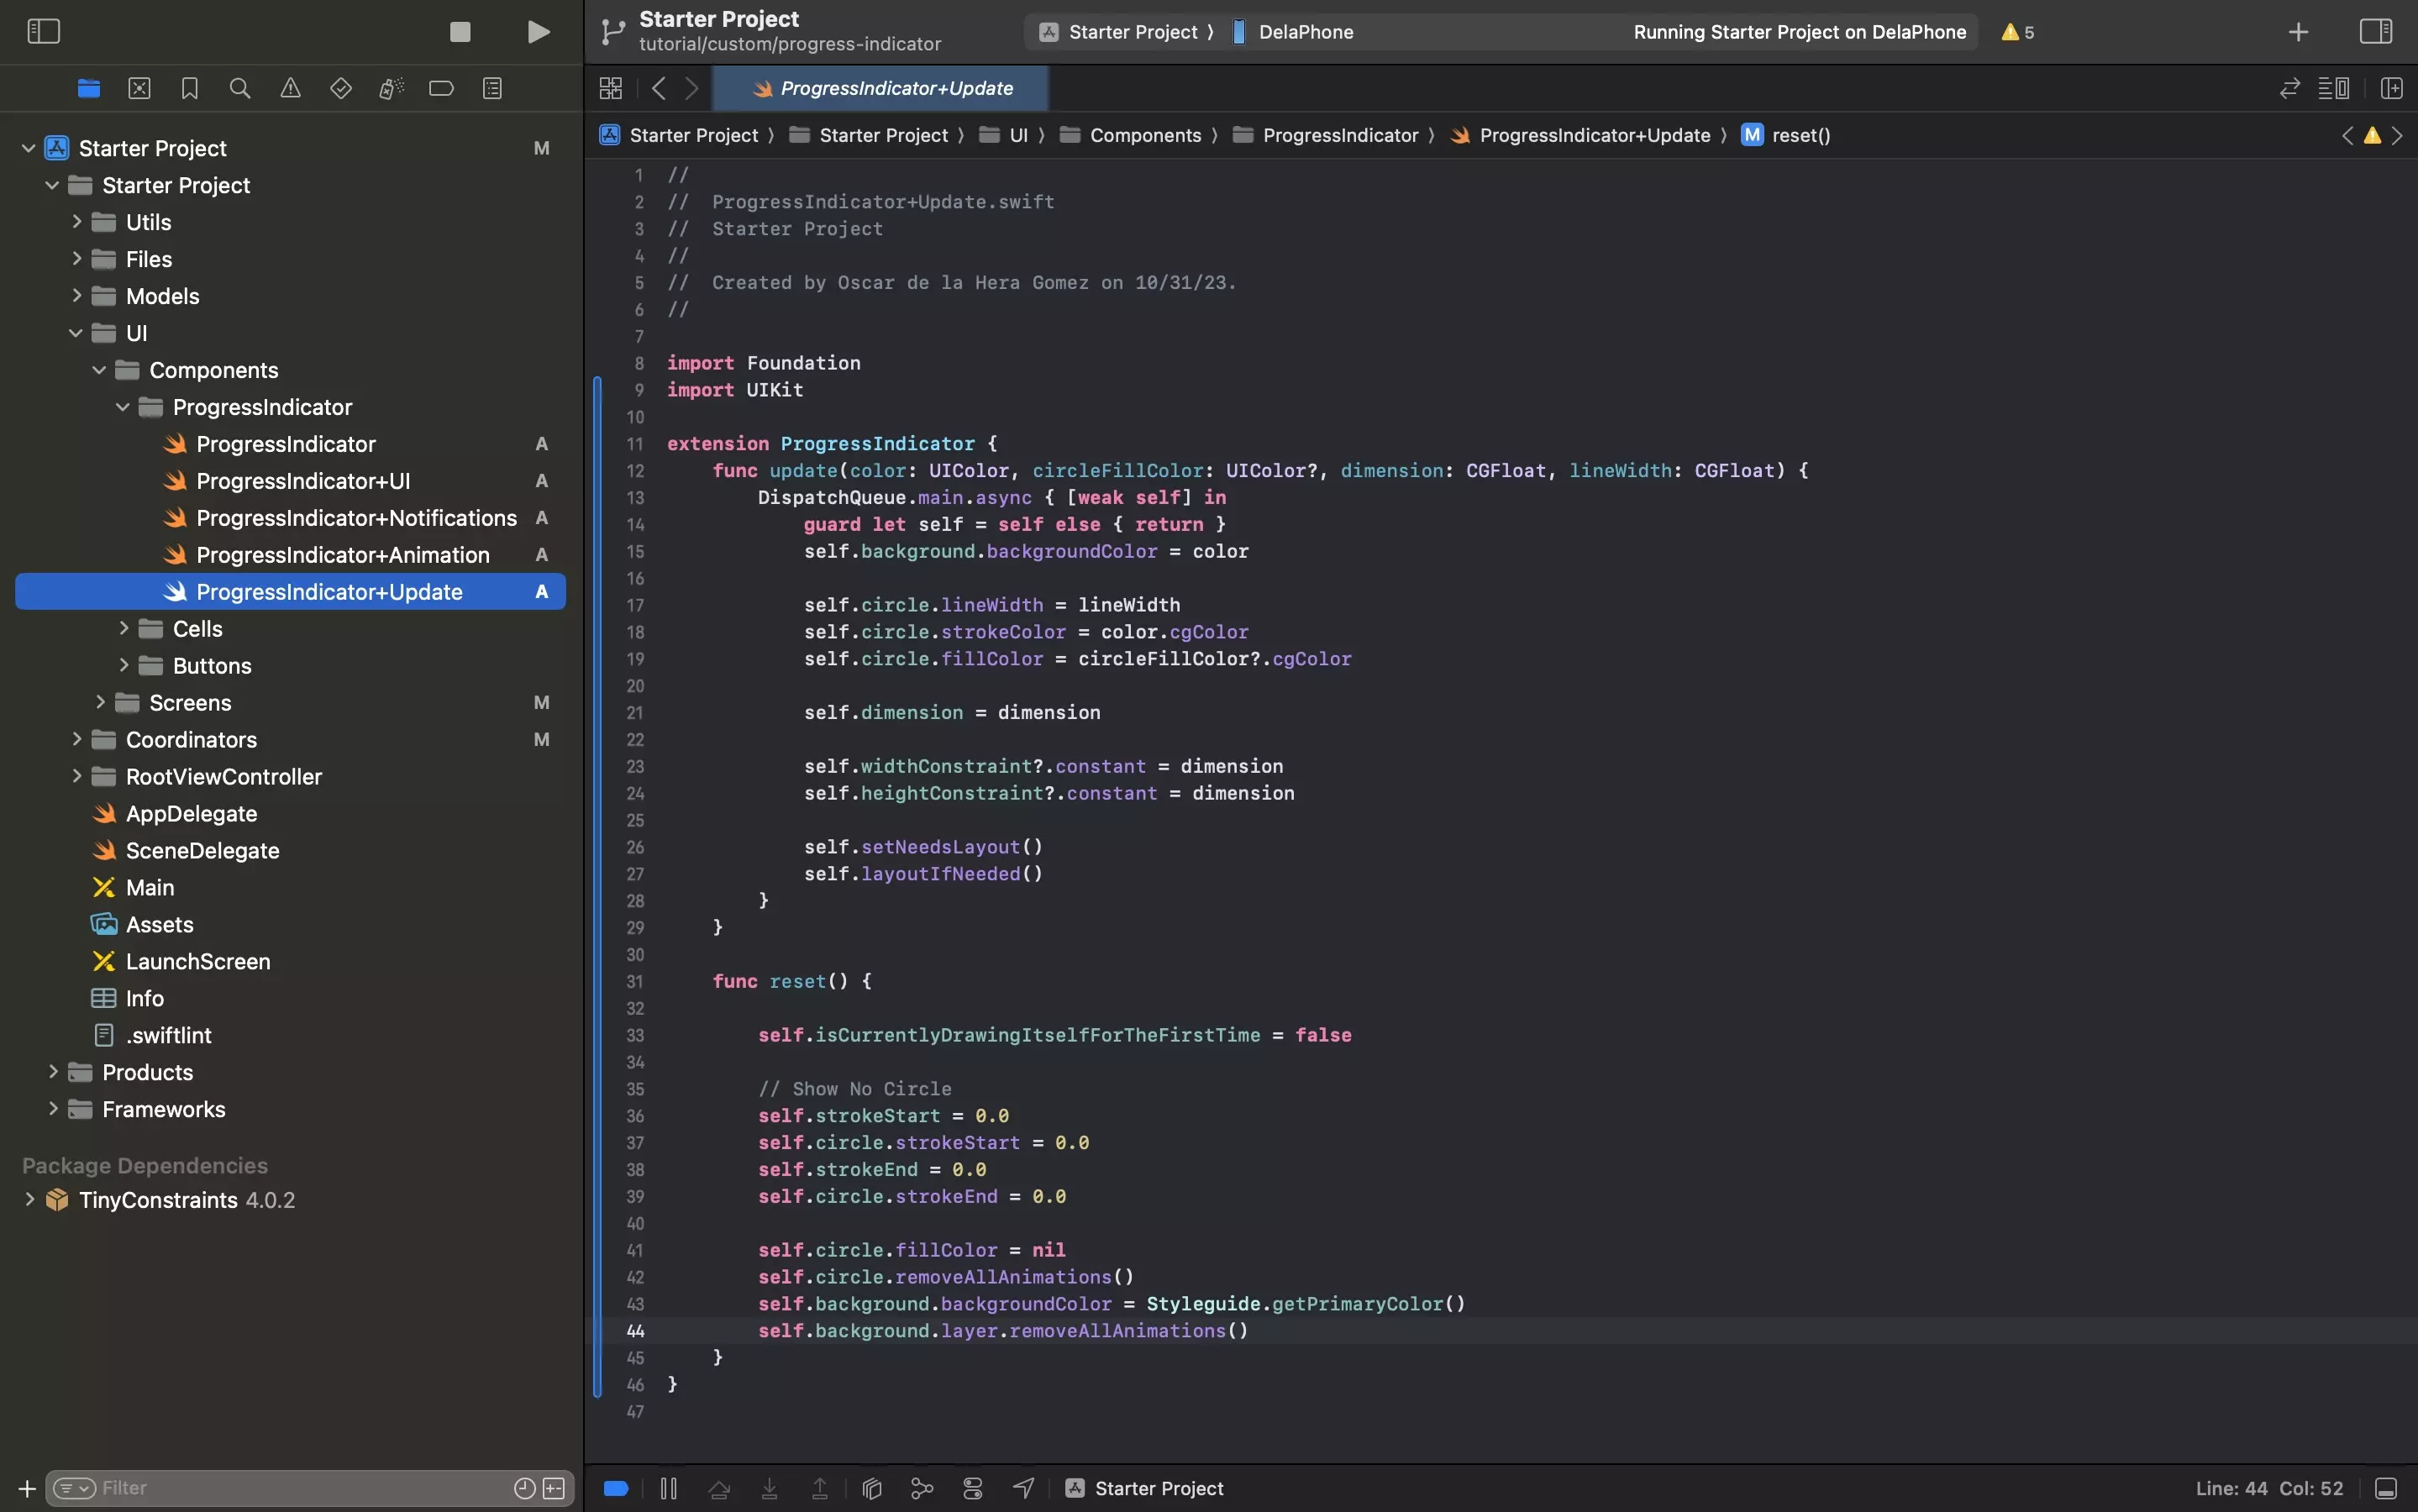
Create a file called ProgressIndicator+Update.swift and paste in the code below.
Step Two: Add to the UI
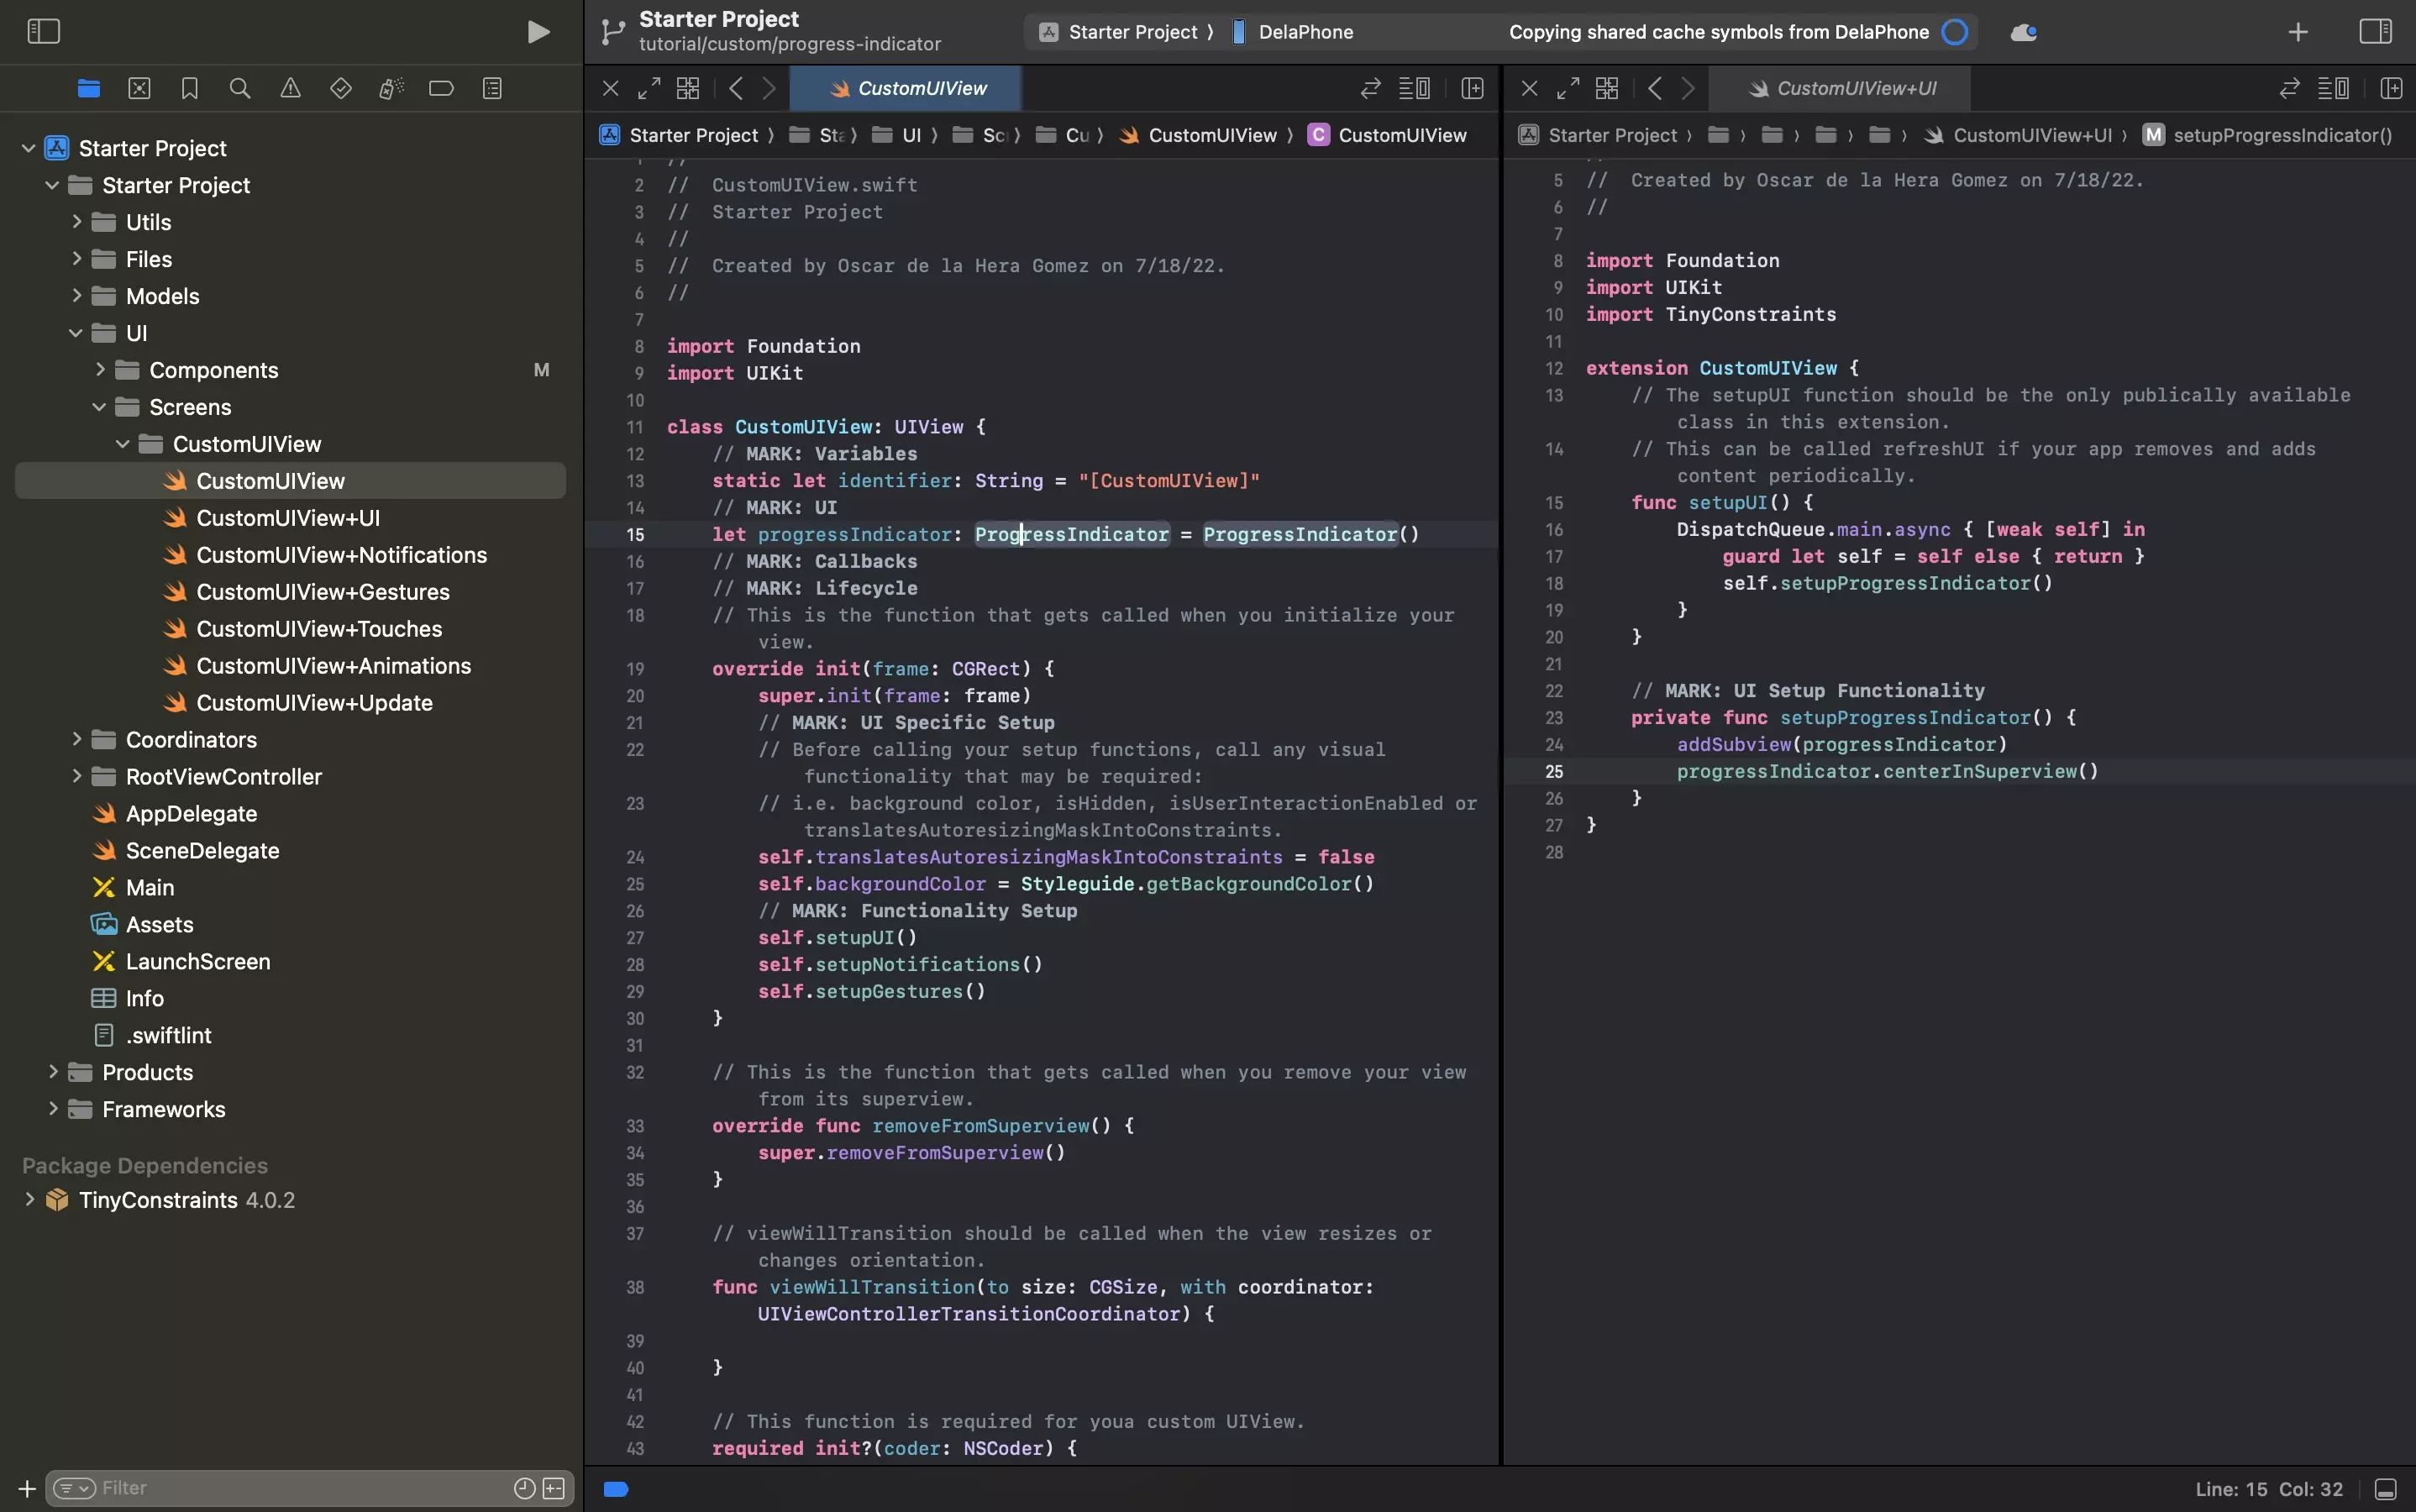
The following step involves adding the Progress Indicator to the UI.
Please note that we have removed the label functionality that comes with our main branch, but have not documented how to do this as part of this tutorial.
A | Declare
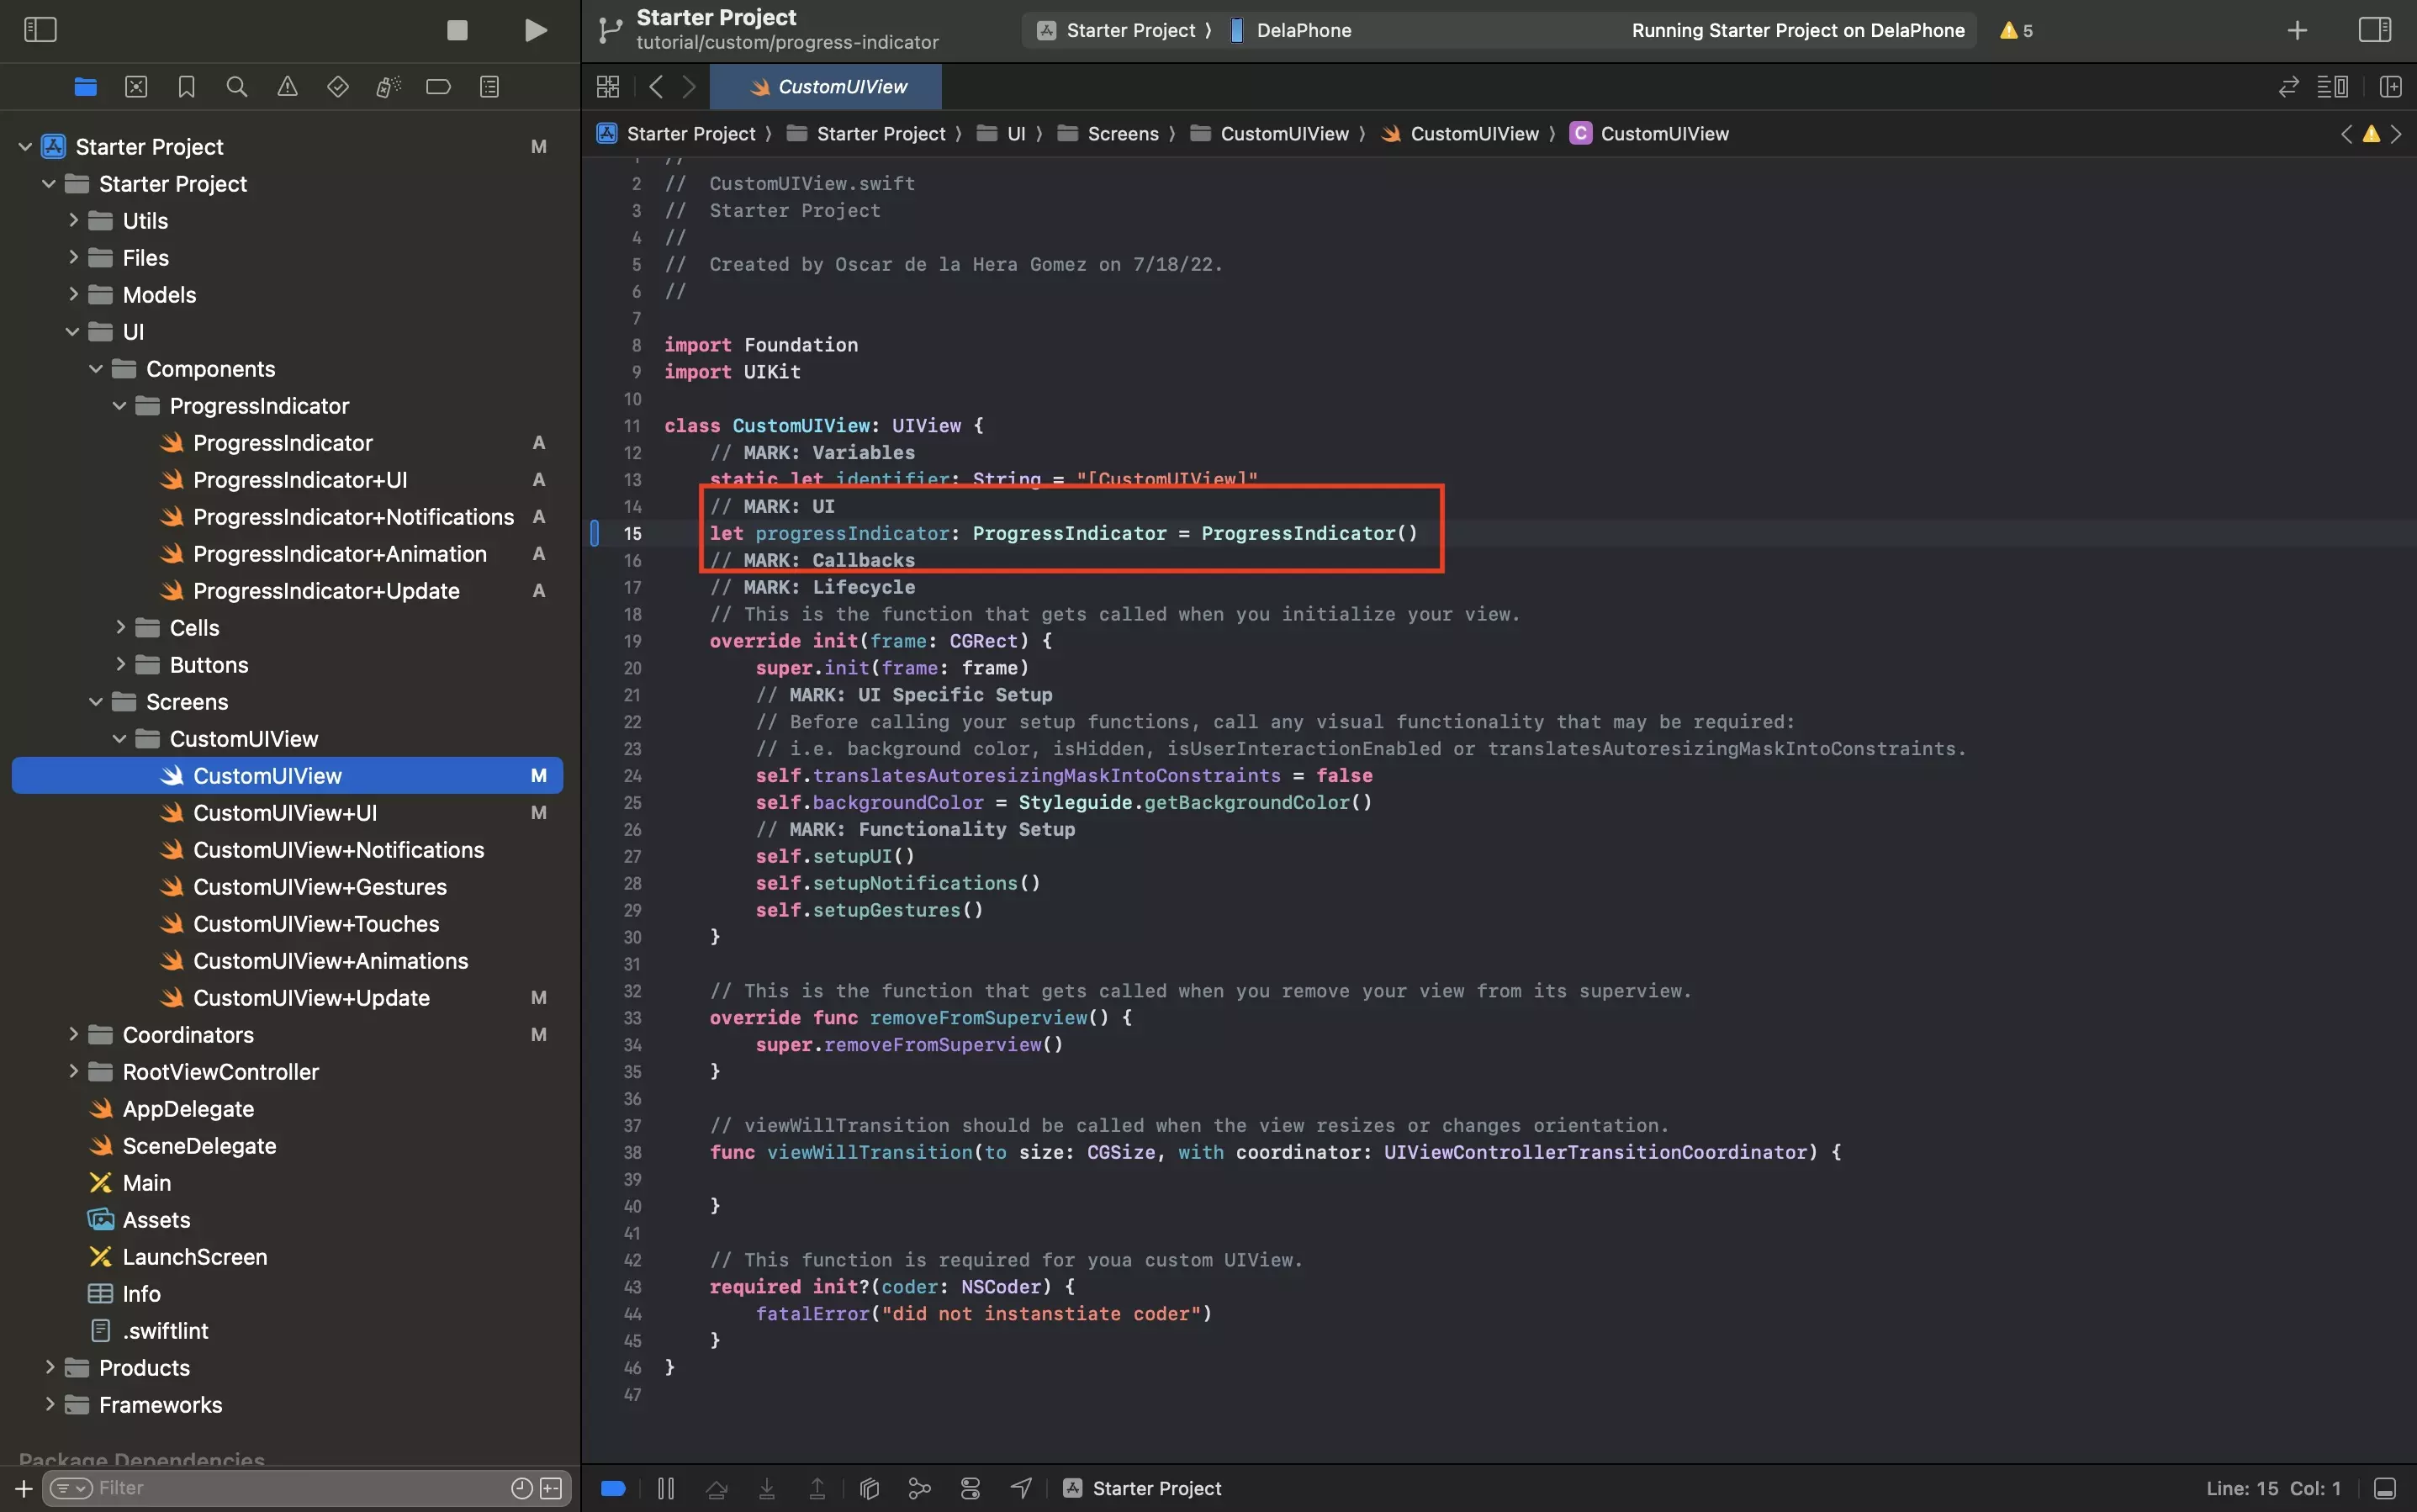
In CustomUIView.swift, or your UIView/UIViewController, add the Progress Indicator.
B | Add to UI
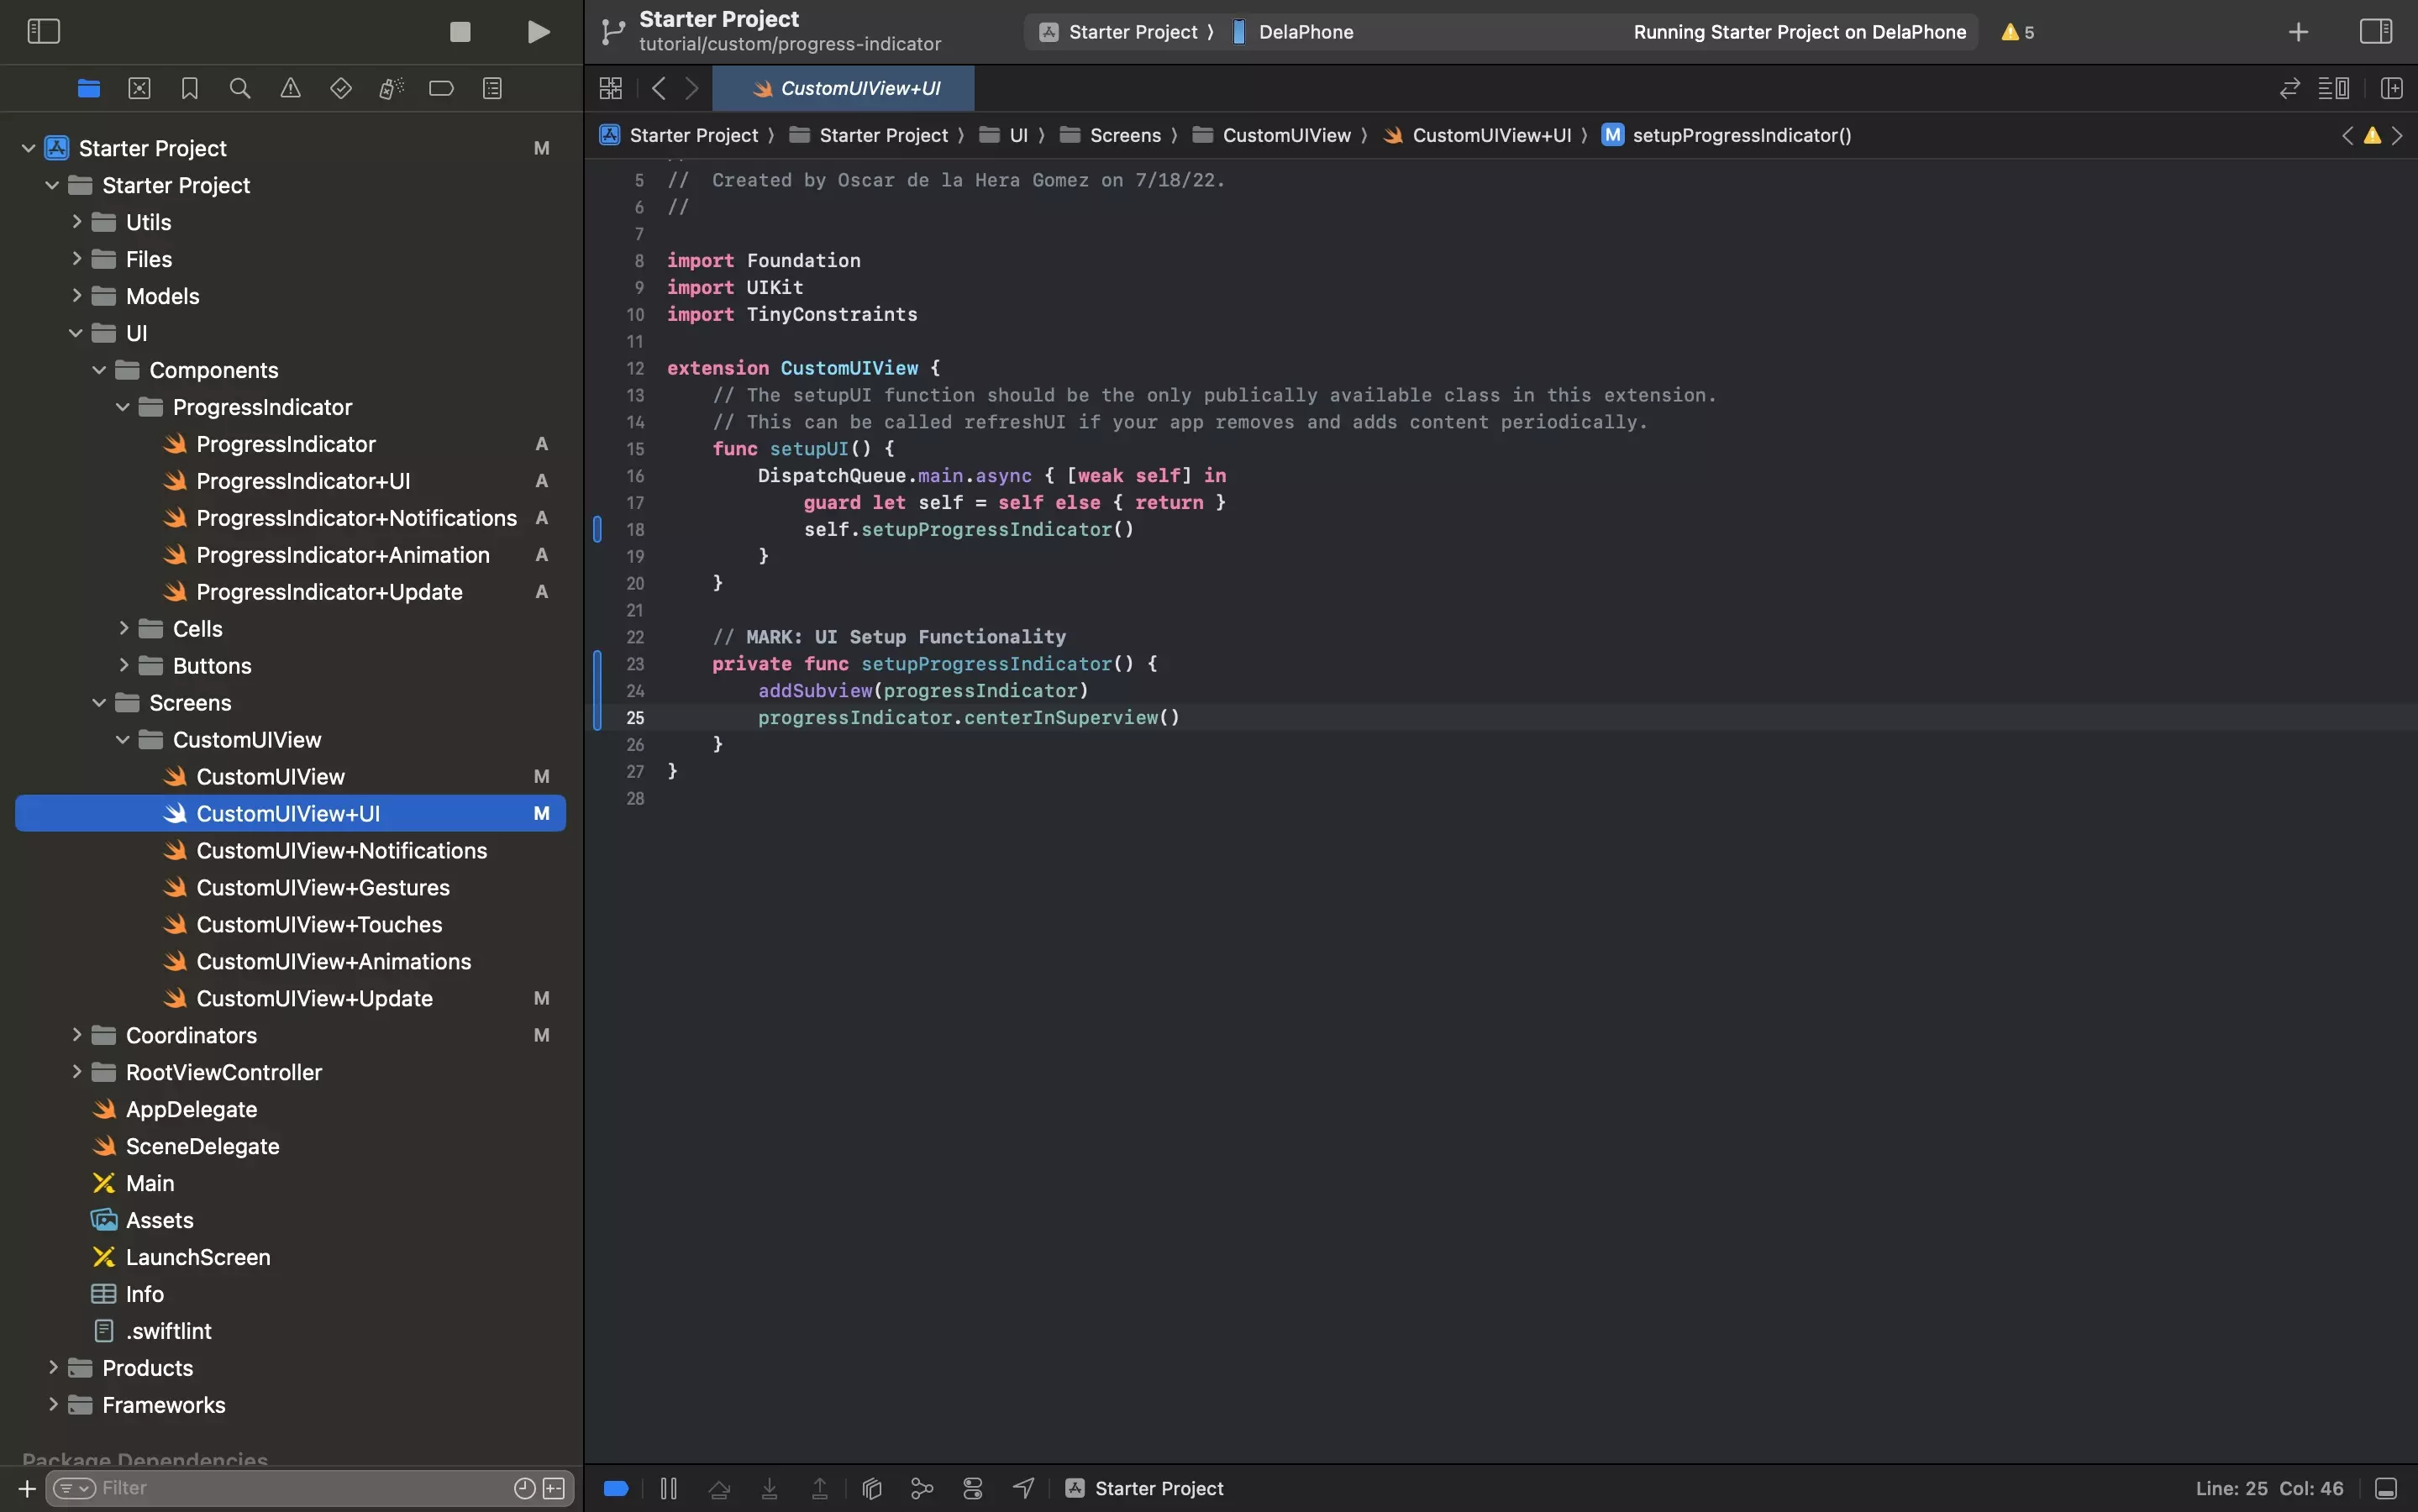
In the ViewController+UI.swift file, add the progress indicator declared in part A to the app.
Step Three: Test
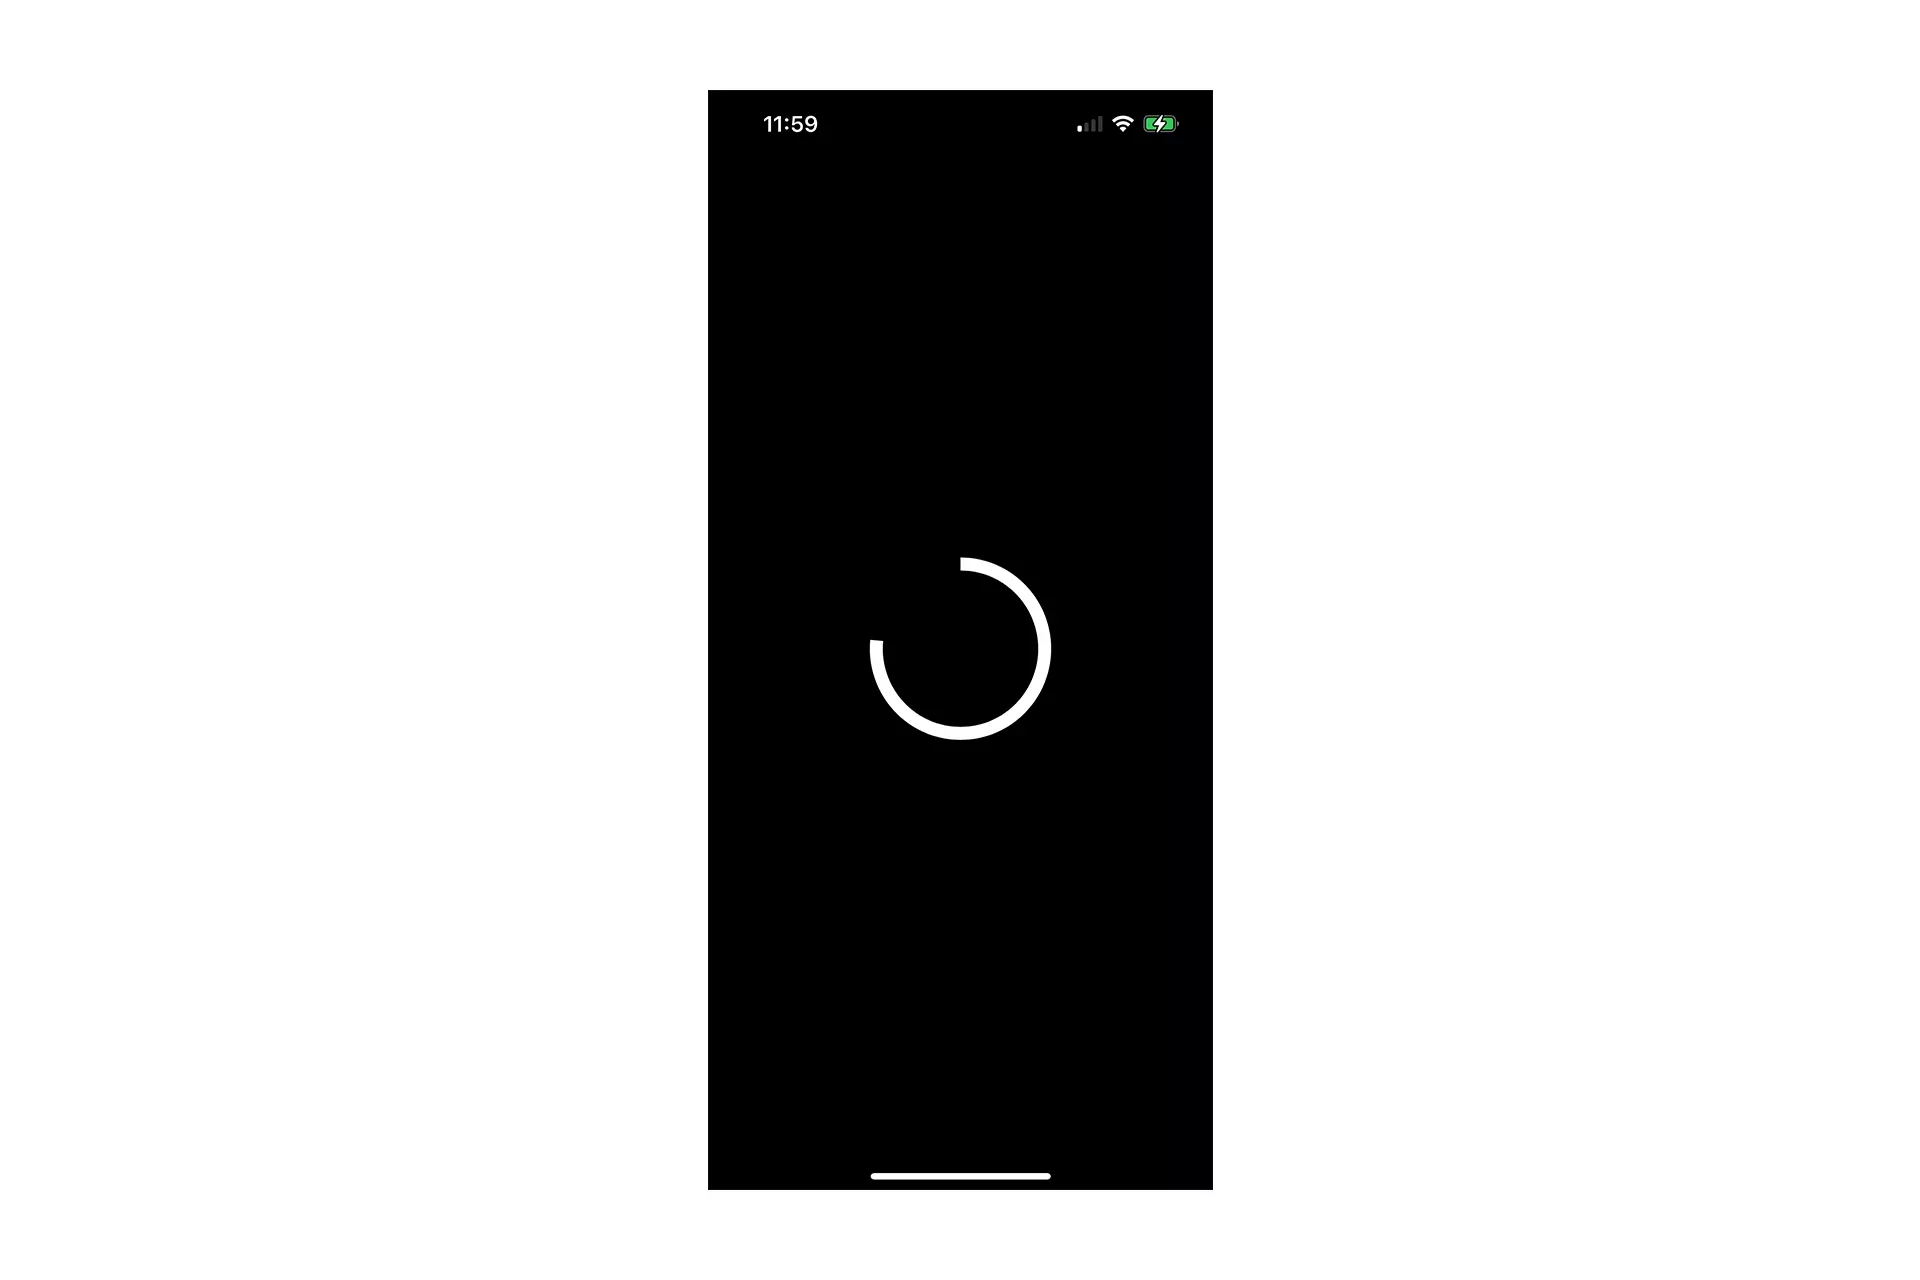
Run the code on a device and confirm that the progress indicator works as expected.
Looking to learn more about things you can do with Swift and XCode ?
Search our blog to find educational content on learning how to use Swift and XCode.