How to manage Auto-Renewable Subscriptions in XCode
A three step guide demonstrating how to simulate a change in an Auto-Renewable Subscription using the StoreKit Transaction Manager.

A three step guide demonstrating how to simulate a change in an Auto-Renewable Subscription using the StoreKit Transaction Manager.
The guide was made using our Free iOS StoreKit 2 Open Source project which is recommended for developers or business folk wishing to learn about how In-App Purchases or Subscriptions work and the code behind them.
In order to be able to simulate a change in an Auto-Renewable Subscription, you need to have a project that has StoreKit setup with a coordinator that can make purchases, have StoreKit testing enabled and have made at least one successful purchase of an Auto-Renewable Subscription in the XCode environment.
To learn how to do this consult the guides below.
Step One: Open the StoreKit Transaction Manager
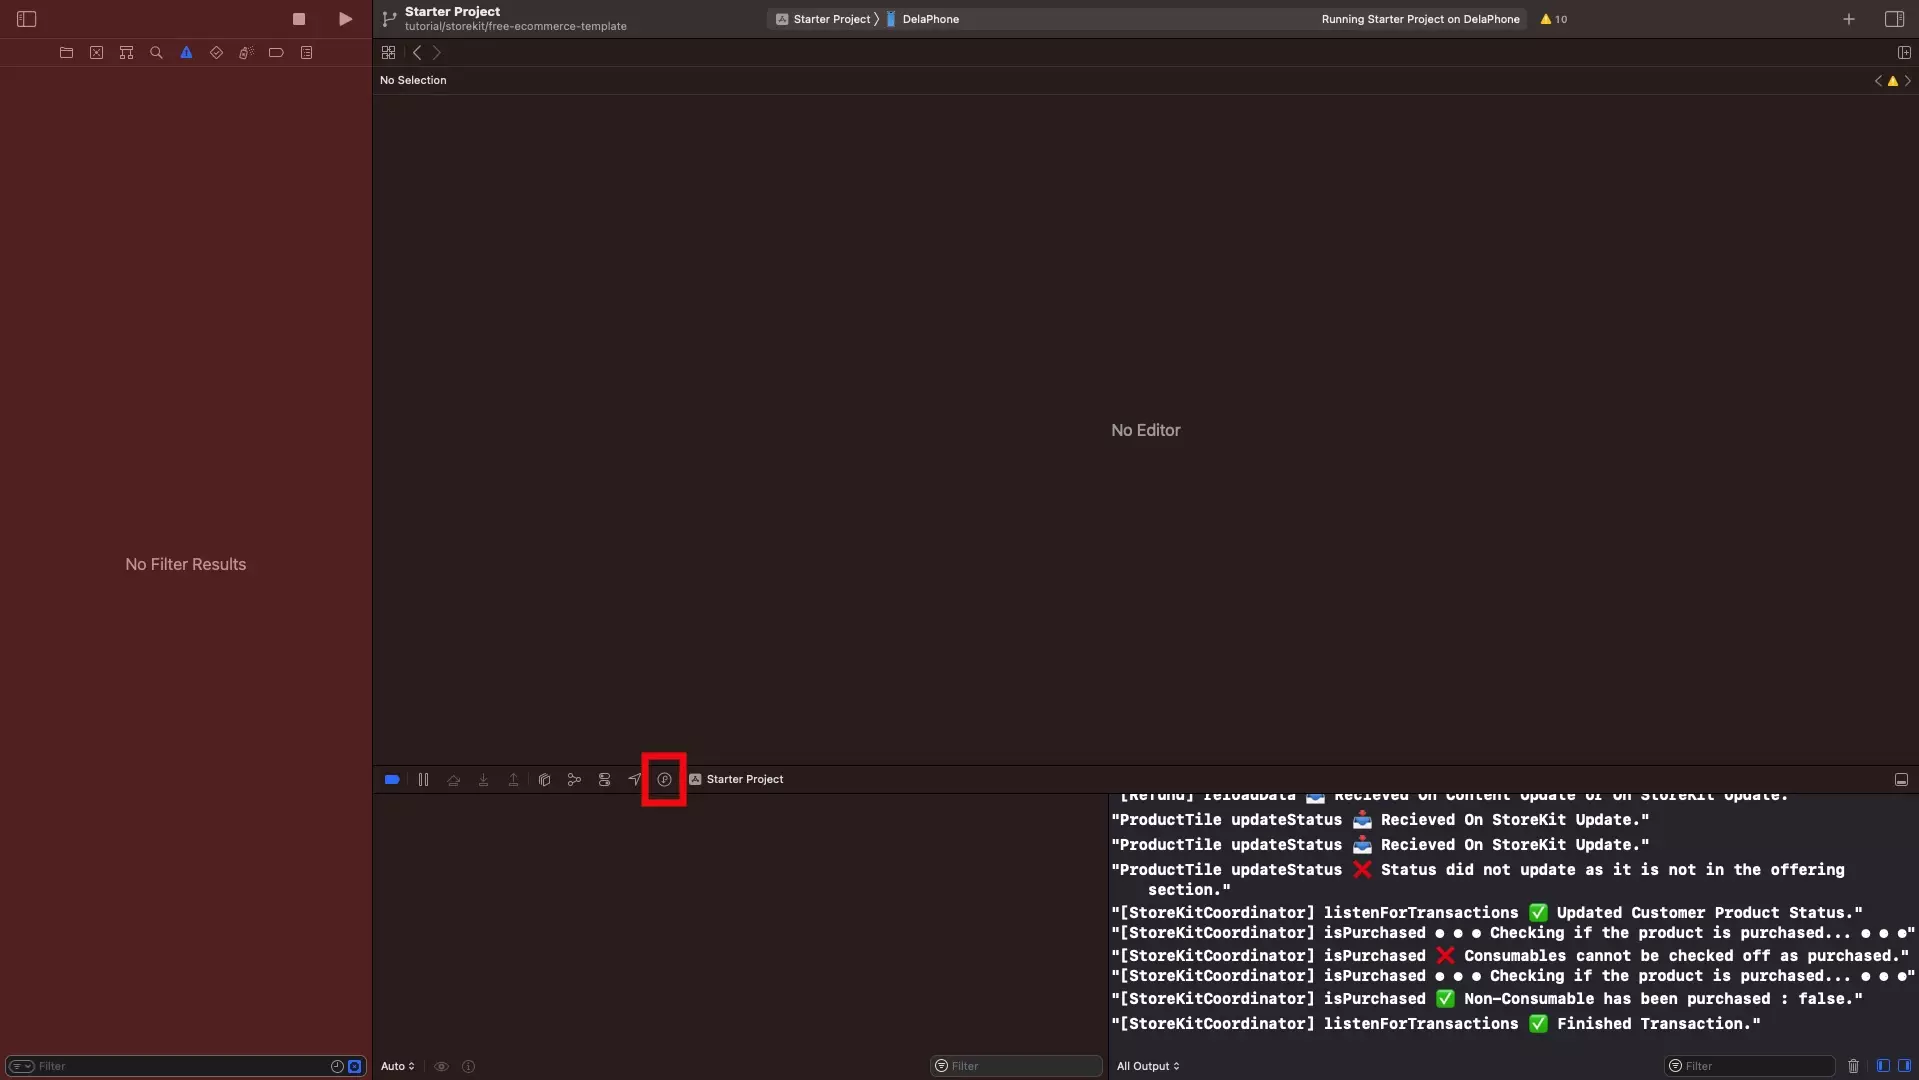
Open the StoreKit Transaction Manager.
For a guide on how to do so, use the link below.
Step Two: Select Subscription Options
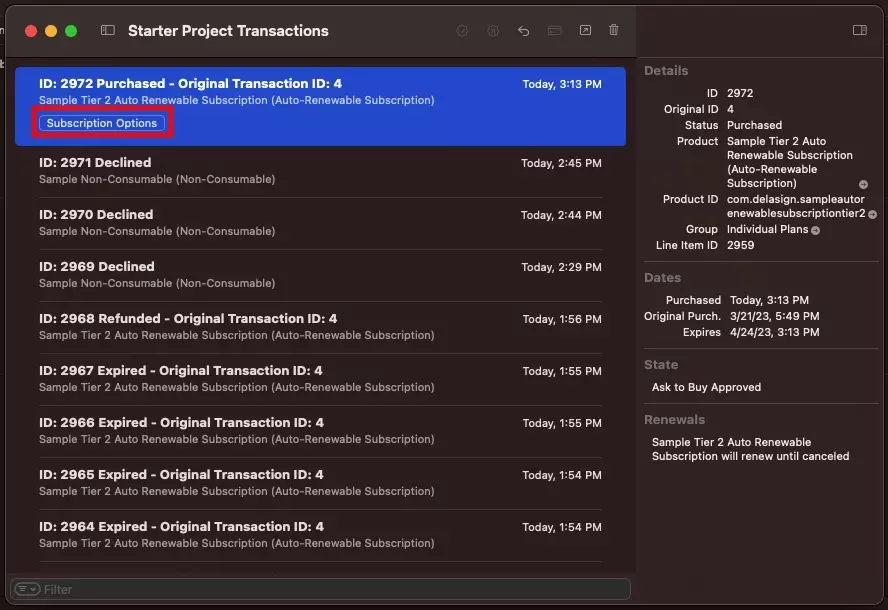
Click Subscription Options on the Auto-Renewable Subscription which you wish to simulate a change on.
Step Three: Make the Change
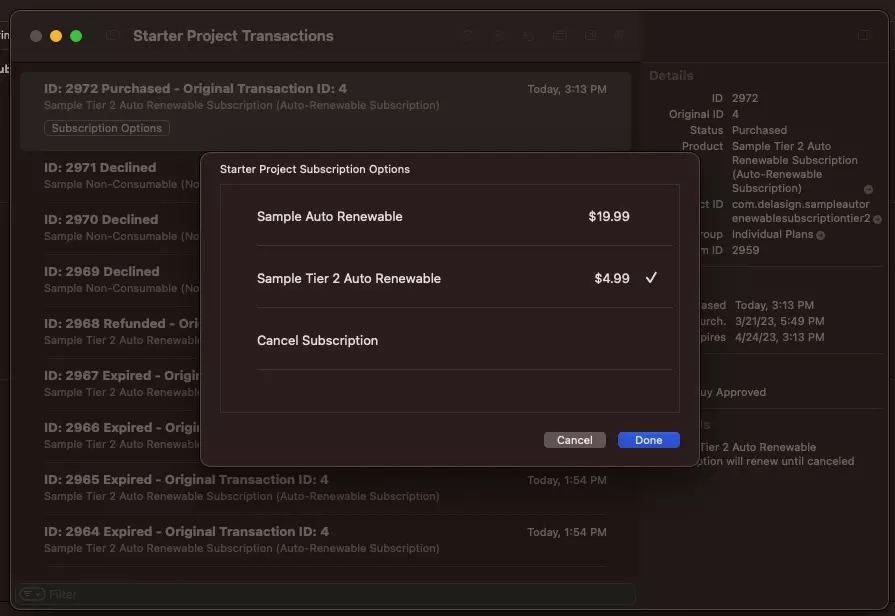
Apply the changes you wish to make to the subscription and click Done.
Once you have clicked done, depending on your decision:
- The transaction will update to expiring if you selected to cancel the subscription.
- A new transaction will be generated if you choose to change subscription plan.
Please note that only in the event of a new subscription will the StoreKit transaction listener update your app.
Looking to learn more about developing apps with StoreKit 2?
Read our comprehensive development guide linked below to learn about all the secrets behind developing In-App Purchases and Subscriptions with StoreKit 2.