How to add lights to a material that uses a shader in ThreeJS
A step by step guide on adding an ambient light to a scene in ThreeJS and learning how they adapt a material that uses a shader on a plane geometry in ReactJS.
A step by step guide on adding an ambient light to a scene in ThreeJS and learning how they adapt a material that uses a shader on a plane geometry in ReactJS.
SubscribeDownload Open Source Starter ProjectWe recommend that you clone our Open Source React-Redux Starter Project, checking out the tutorial/three-js/plane-shader branch and carrying out the steps below. The changes can be found on the tutorial/three-js/lights-shader-material branch.
git clone git@github.com:delasign/react-redux-starter-project.gitStep One: Setup the project
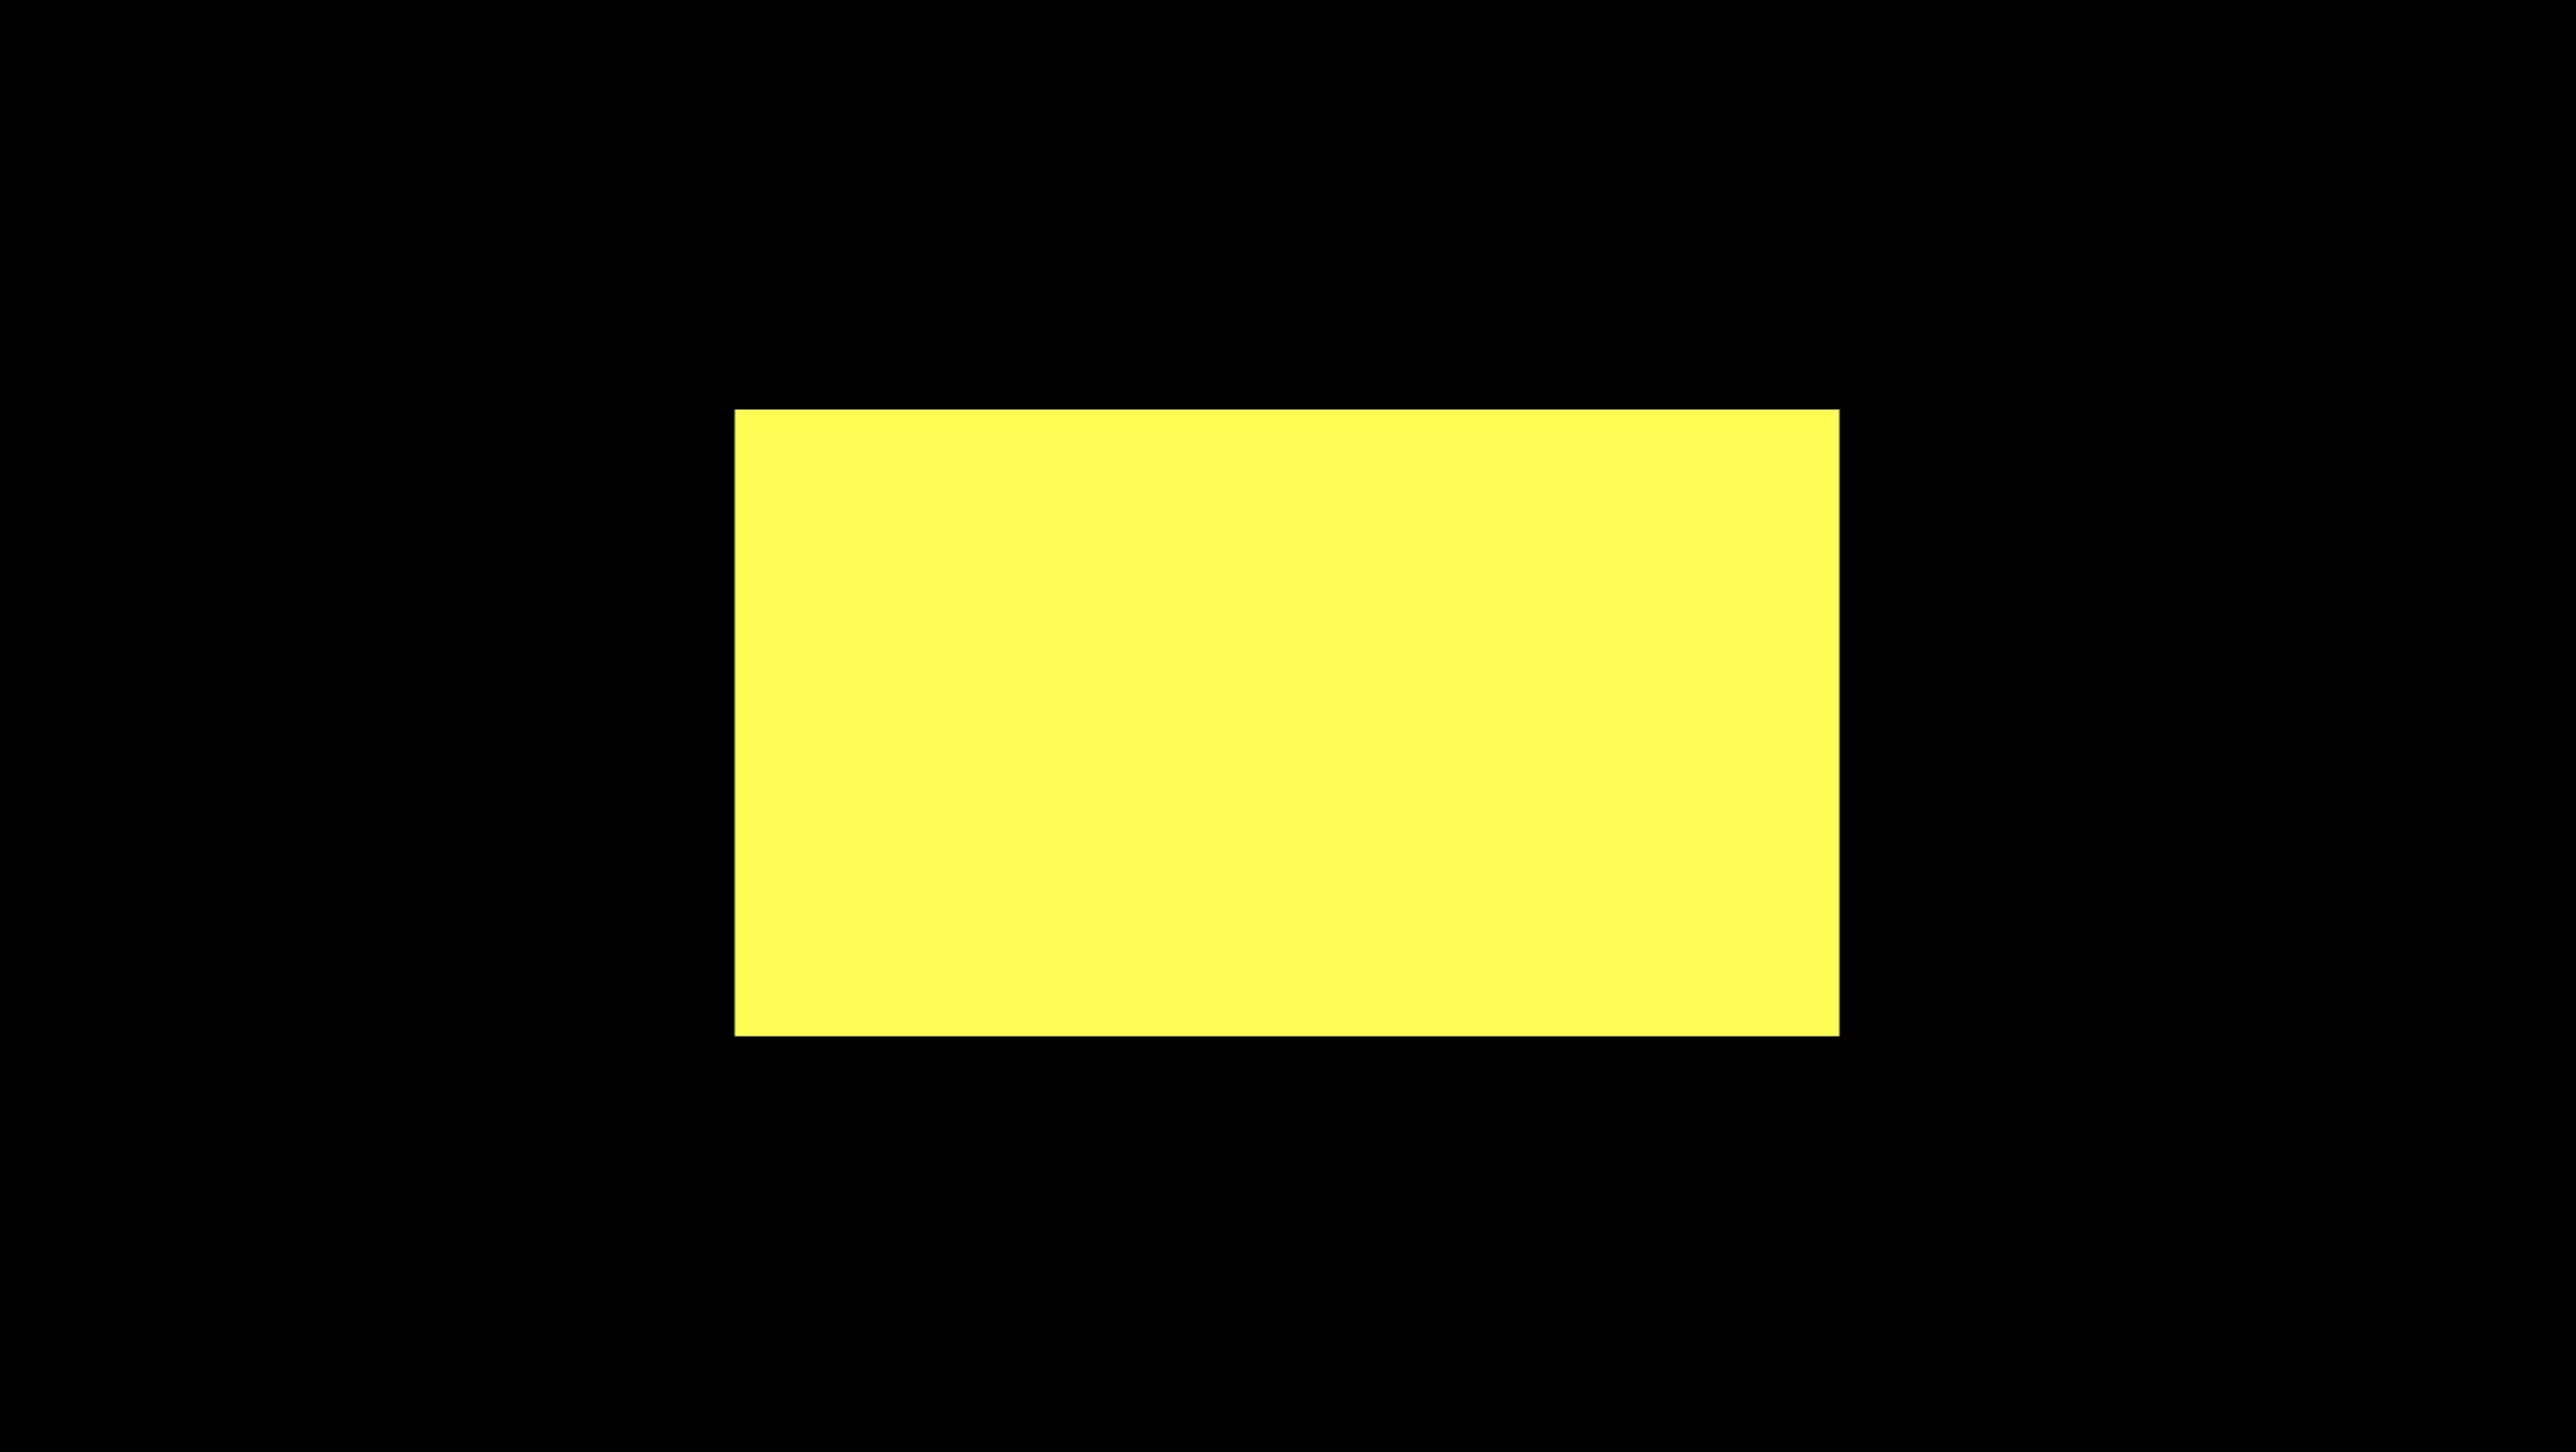
Follow the tutorial below to setup a responsive ThreeJS, ReactJS project that displays a plane in a scene which implements a material that uses a shader.
Step Two: Add the Light Source
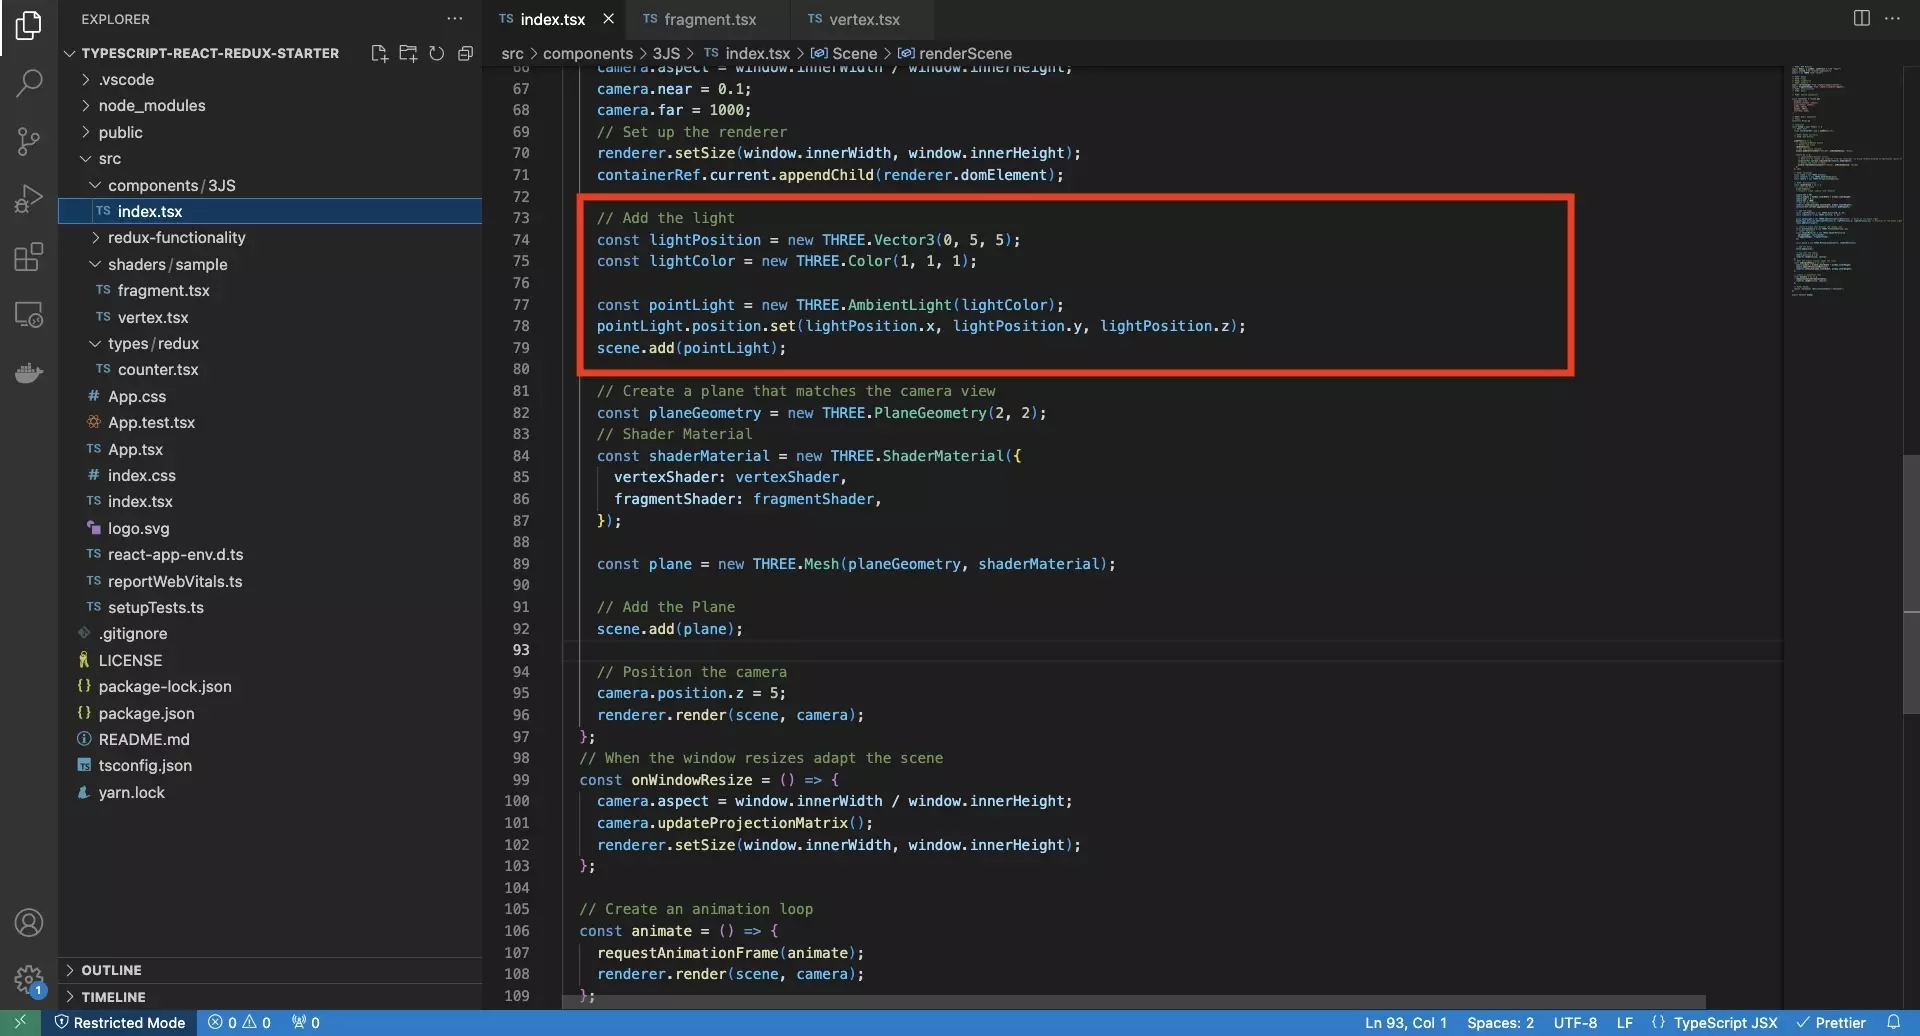
Add a light to the scene using code similar to the one below.
Please note that it is strongly recommended that you use constants to define the color and position so that these variables can be passed onto the shader and be updated without causing errors due to inconsistent values.
Step Three: Set the Uniforms
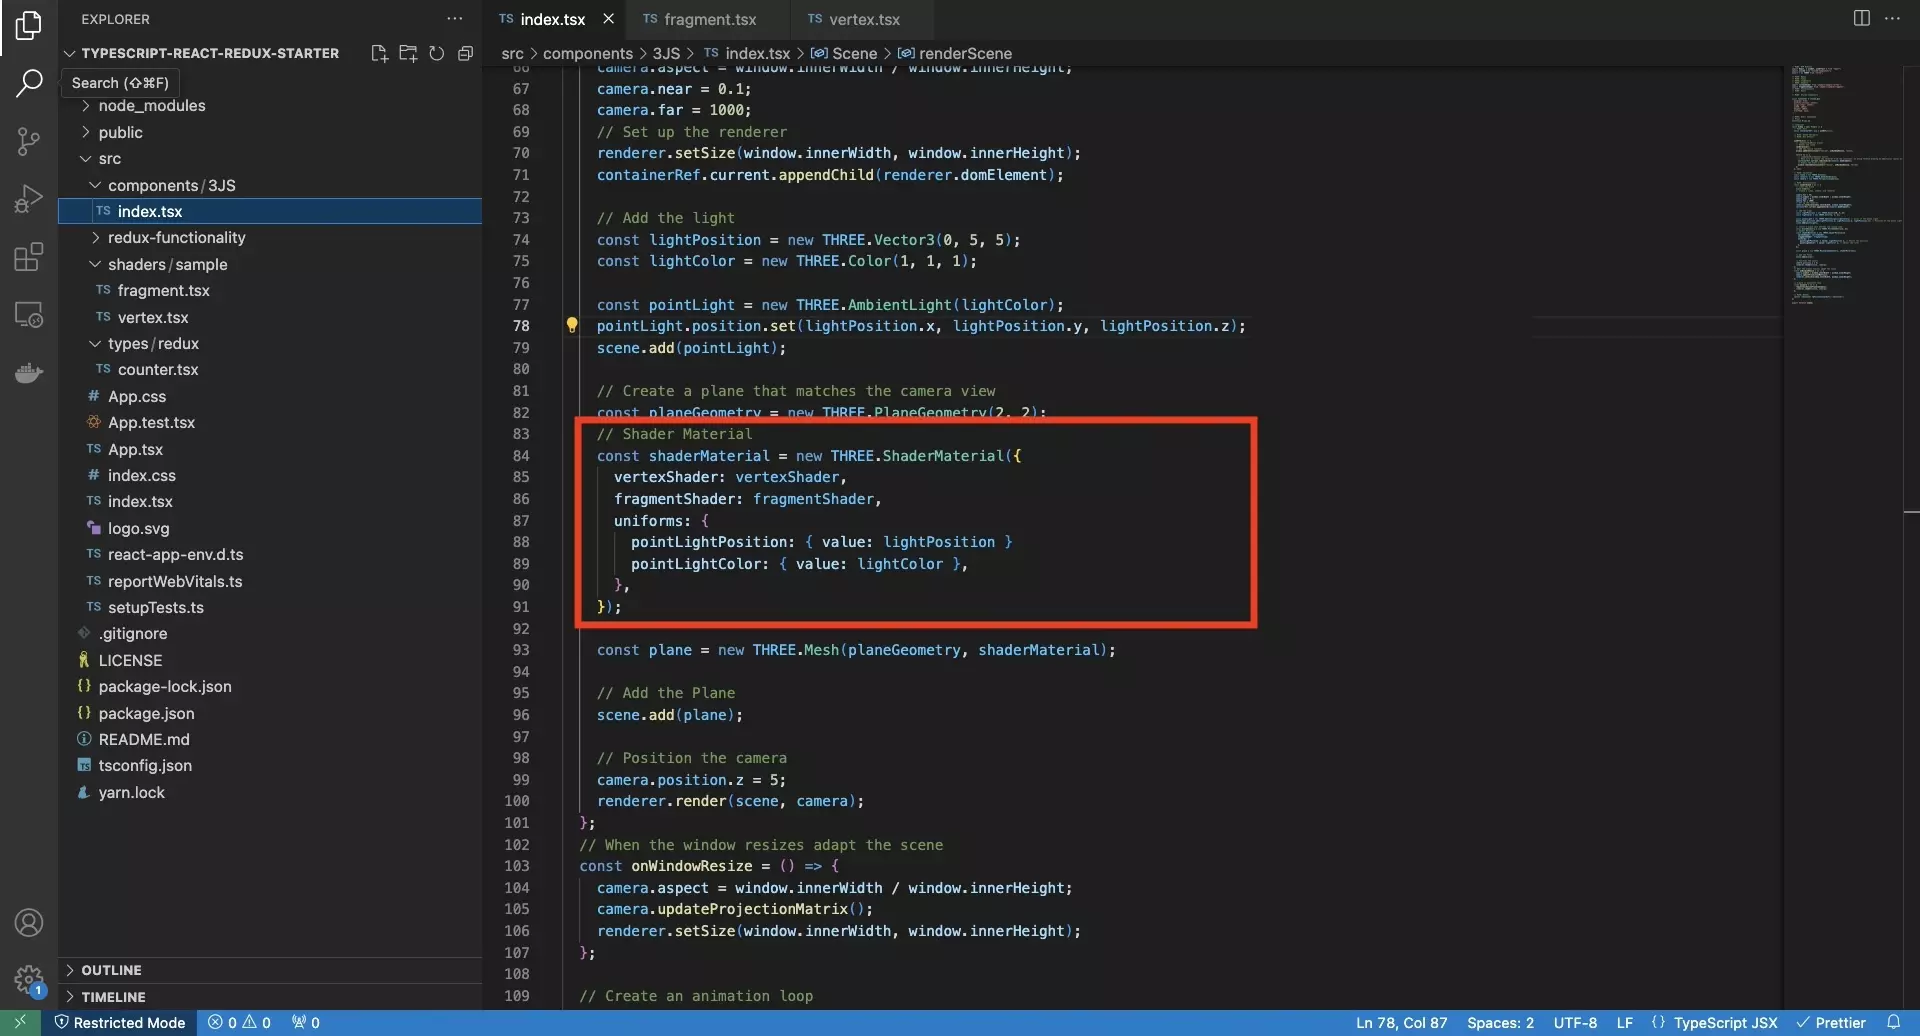
Within the ShaderMaterial, add uniform values for the light color and position.
Step Four: Update the Vertex and Fragment Shader
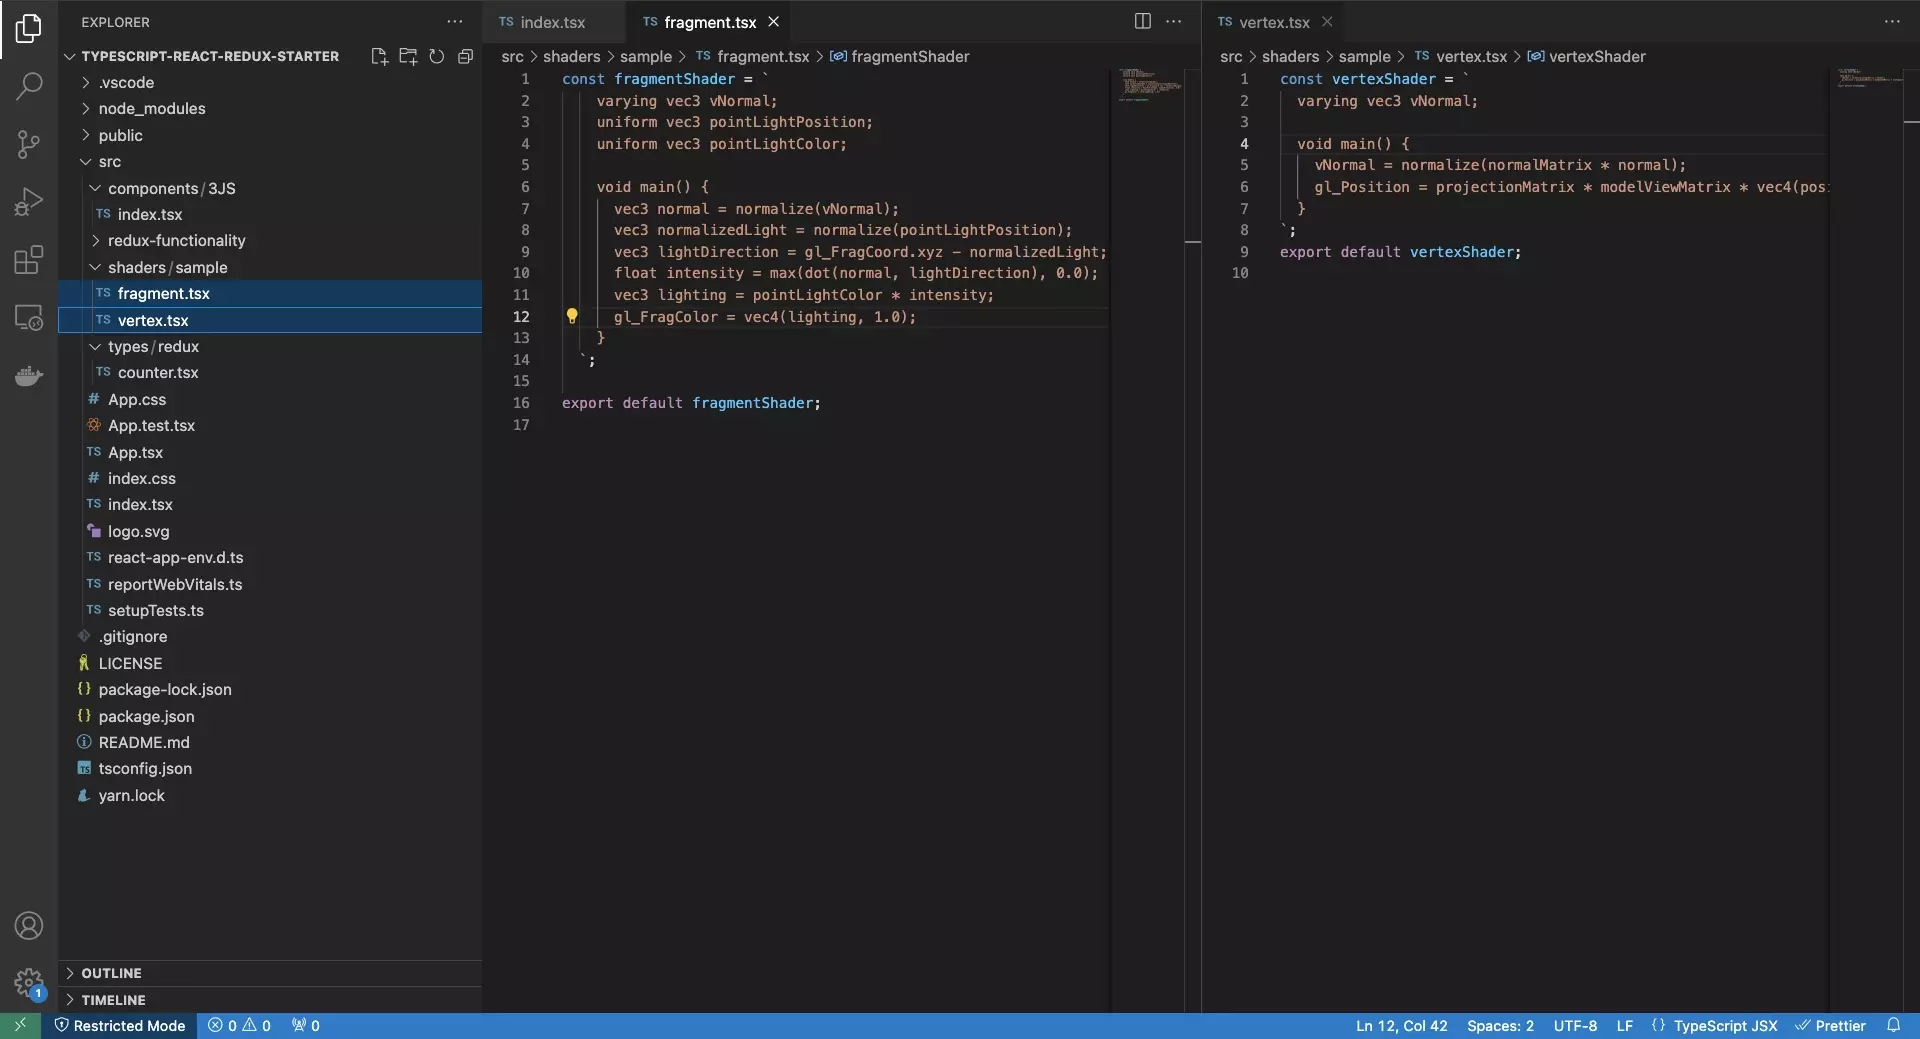
Update the vertex and fragment shader to work with the light source.
Vertex Shader
Fragment Shader
If you are looking for a more advanced solution that implements standard GLSL files, please consult the guide below.
Step Five: Test

Run the code and confirm the light works as expected.
Looking to learn more about ReactJS and ThreeJS ?
Search our blog to find educational content on learning how to use ReactJS and ThreeJS.