How to draw an outlined shape with a line width in Metal
Setting the thickness of a stroke or the line width is not available in Metal, instead you must draw triangles to produce an outline of your shape.

Setting the thickness of a stroke or the line width is not available in Metal, instead you must draw triangles to produce an outline of your shape.
SubscribeCheck out our Apple Metal Resources GuideWe recommend that you clone our Open Source Swift Starter Project, checking out the main branch and carrying out the steps below. The changes can be found on the tutorial/metal/line-thickness branch.
git clone git@github.com:delasign/swift-starter-project.gitStep One: Setup the Project
Follow the tutorial below to setup a MTKView within a UIView that draws multiple shapes, with multiple shaders.
Step Two: Create the OutlinedPolygonUniforms struct
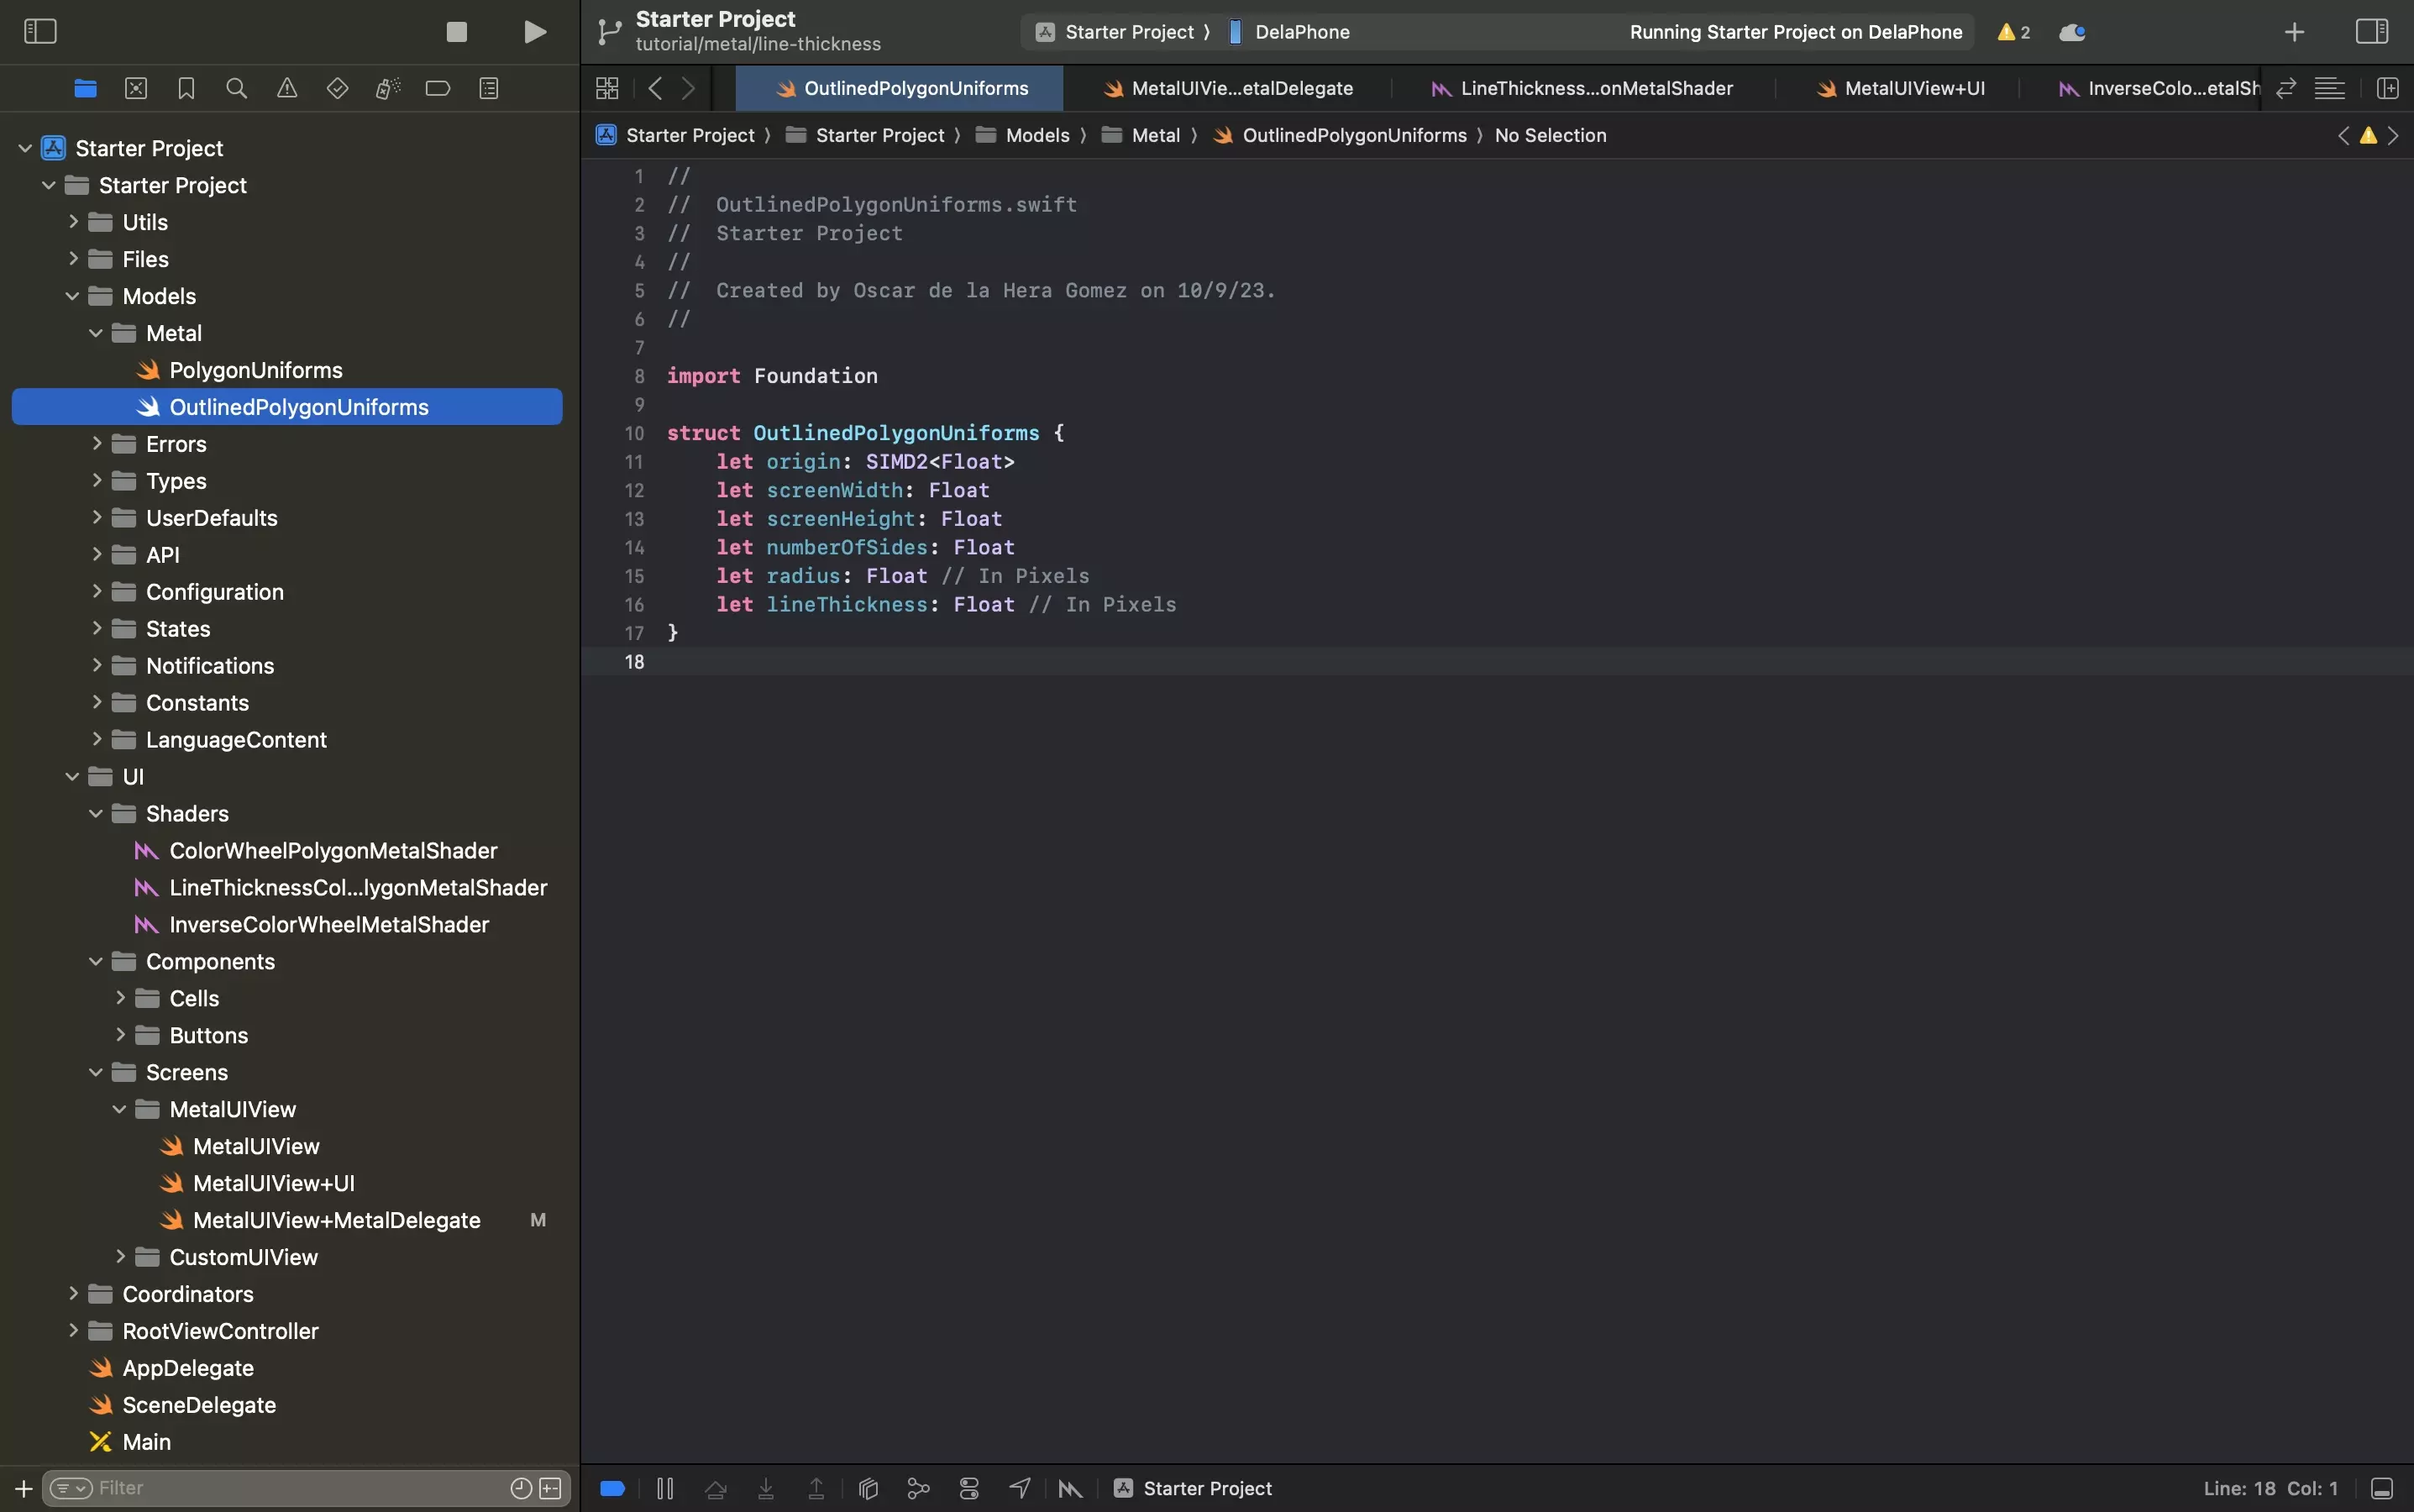
Create a new file called OutlinedPolygonUniforms.swift and paste in the code below.
This file is responsible for defining the struct for the data that is passed in from Swift to the Metal shader.
Step Three: Create the Shader
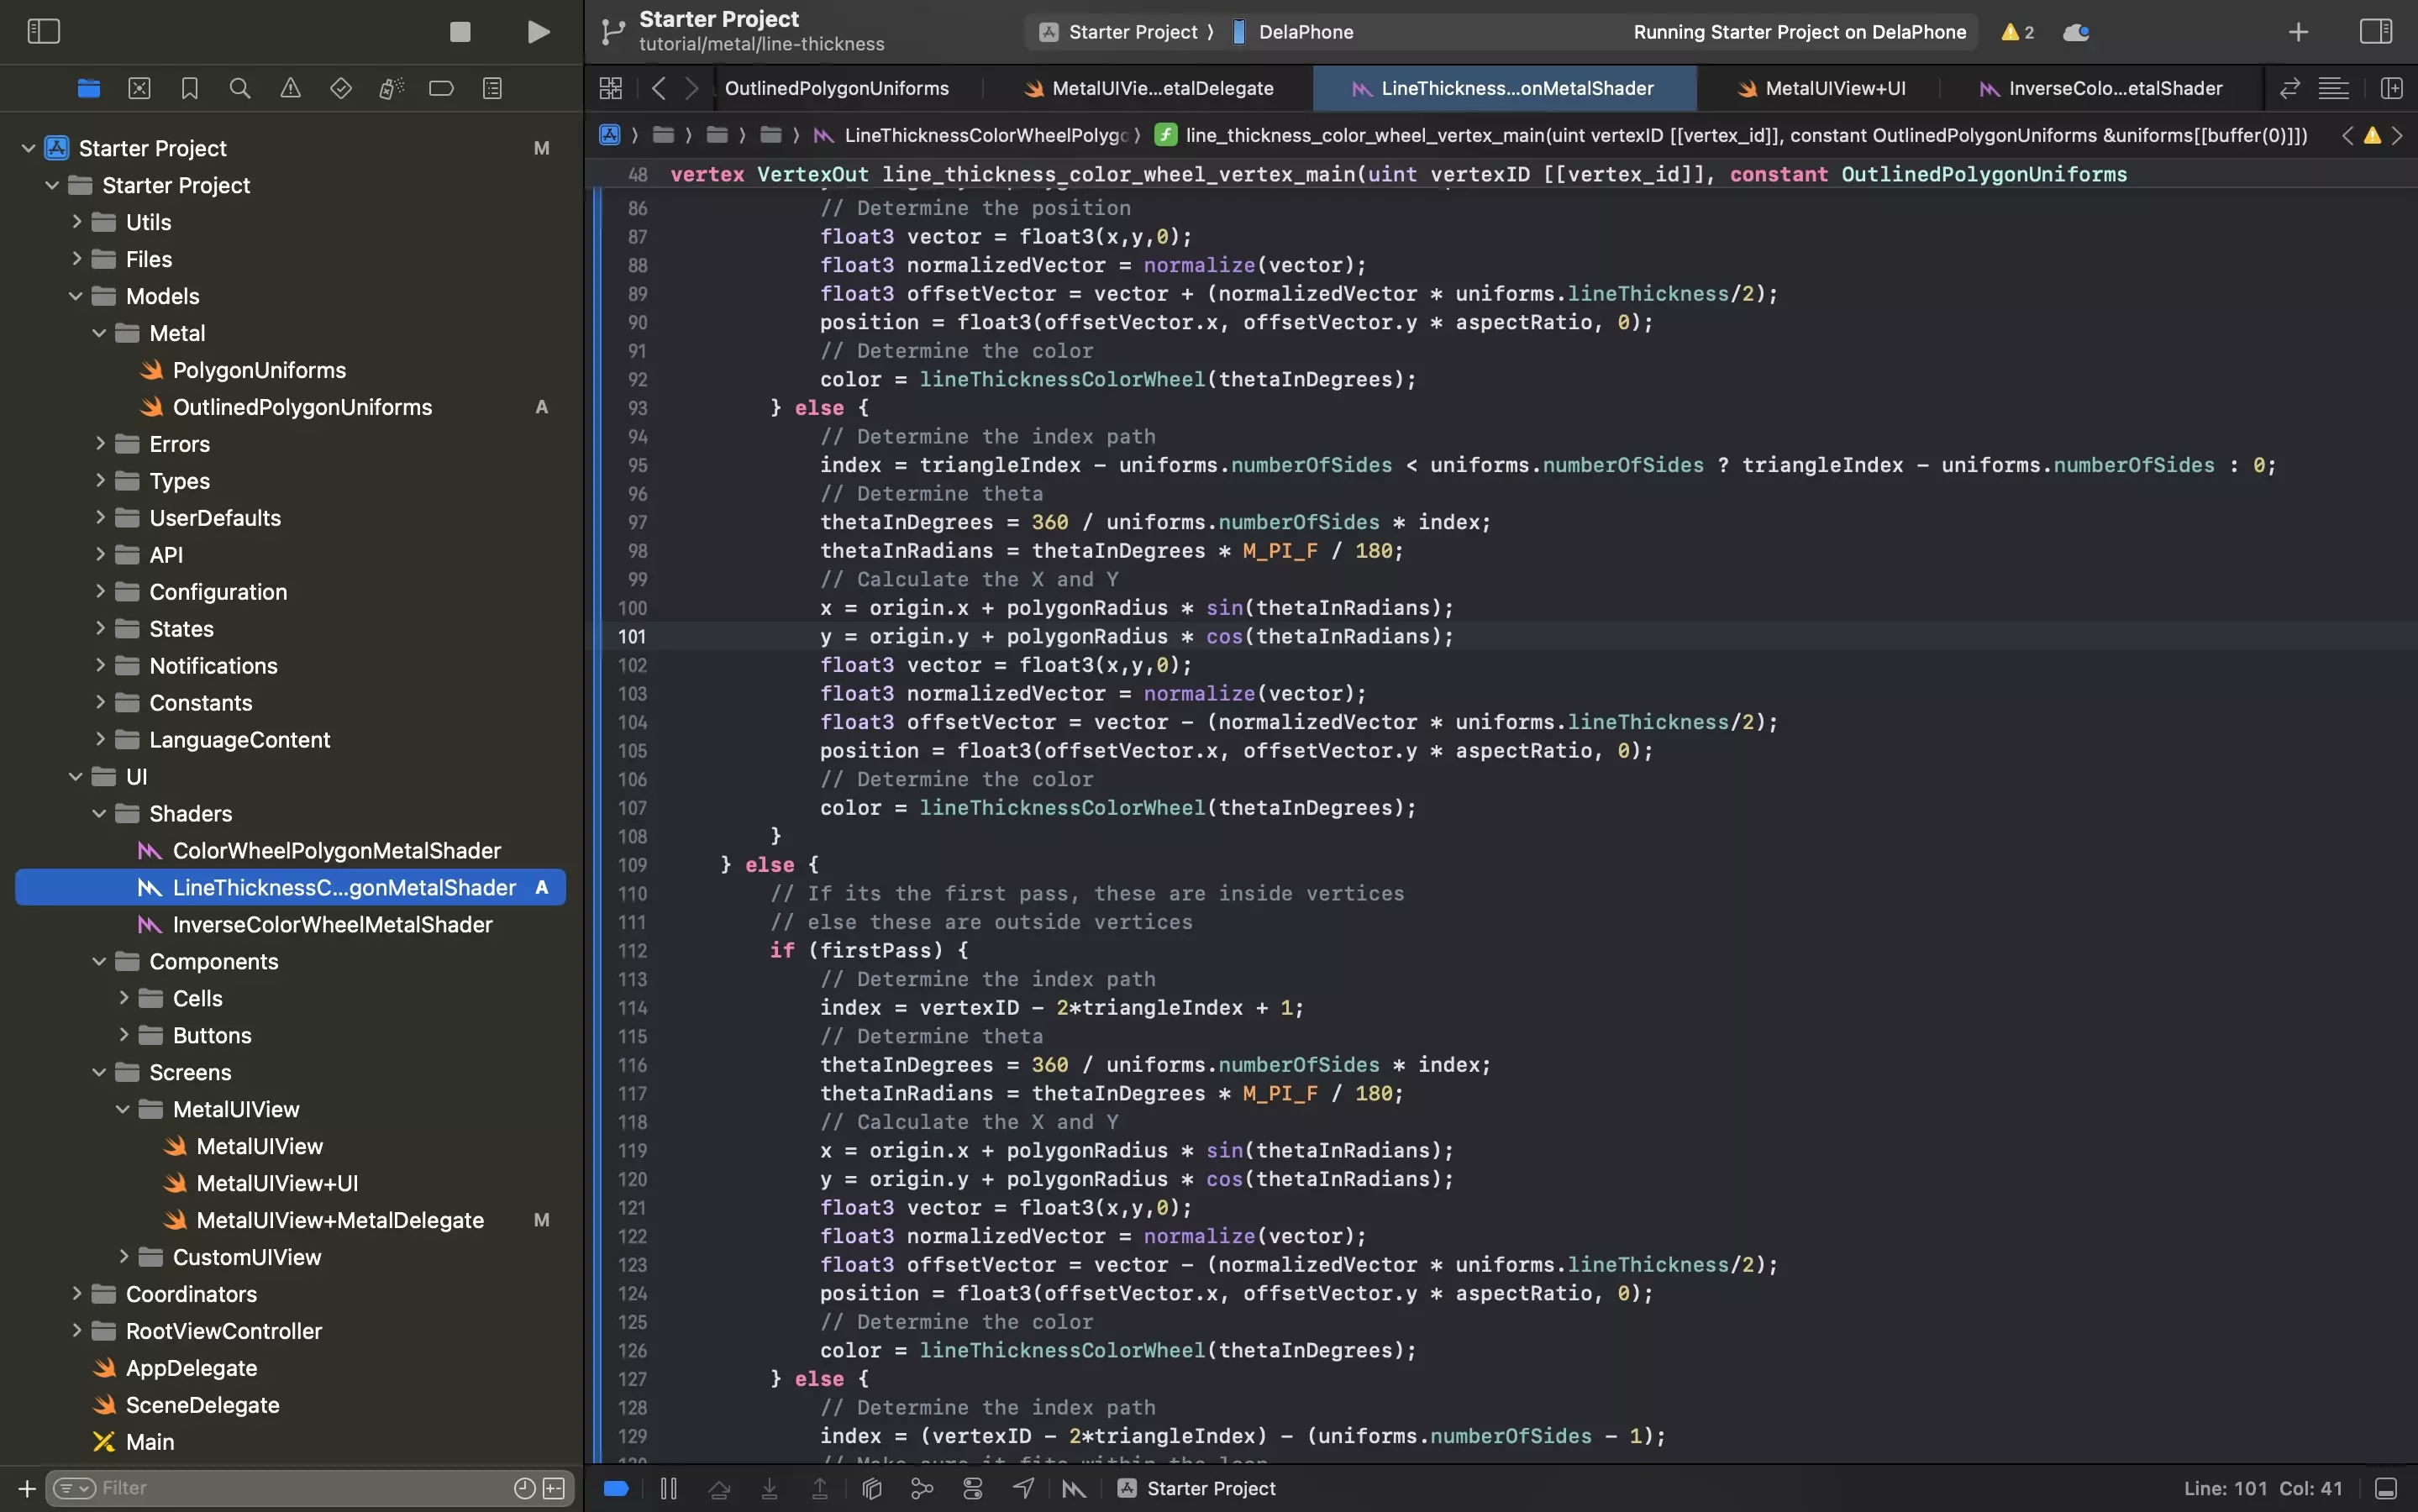
Create a new Metal file called LineThicknessColorWheelPolygonMetalShader.metal and paste in the code below.
This shader is responsible for drawing the shape with a variable line width.
The line width is calculated from the center.
Please note that this shader makes use of data from the Swift file and passes data from vertex shader to the fragment function. To learn more about this, consult the articles below.
Step Four: Update the Delegate
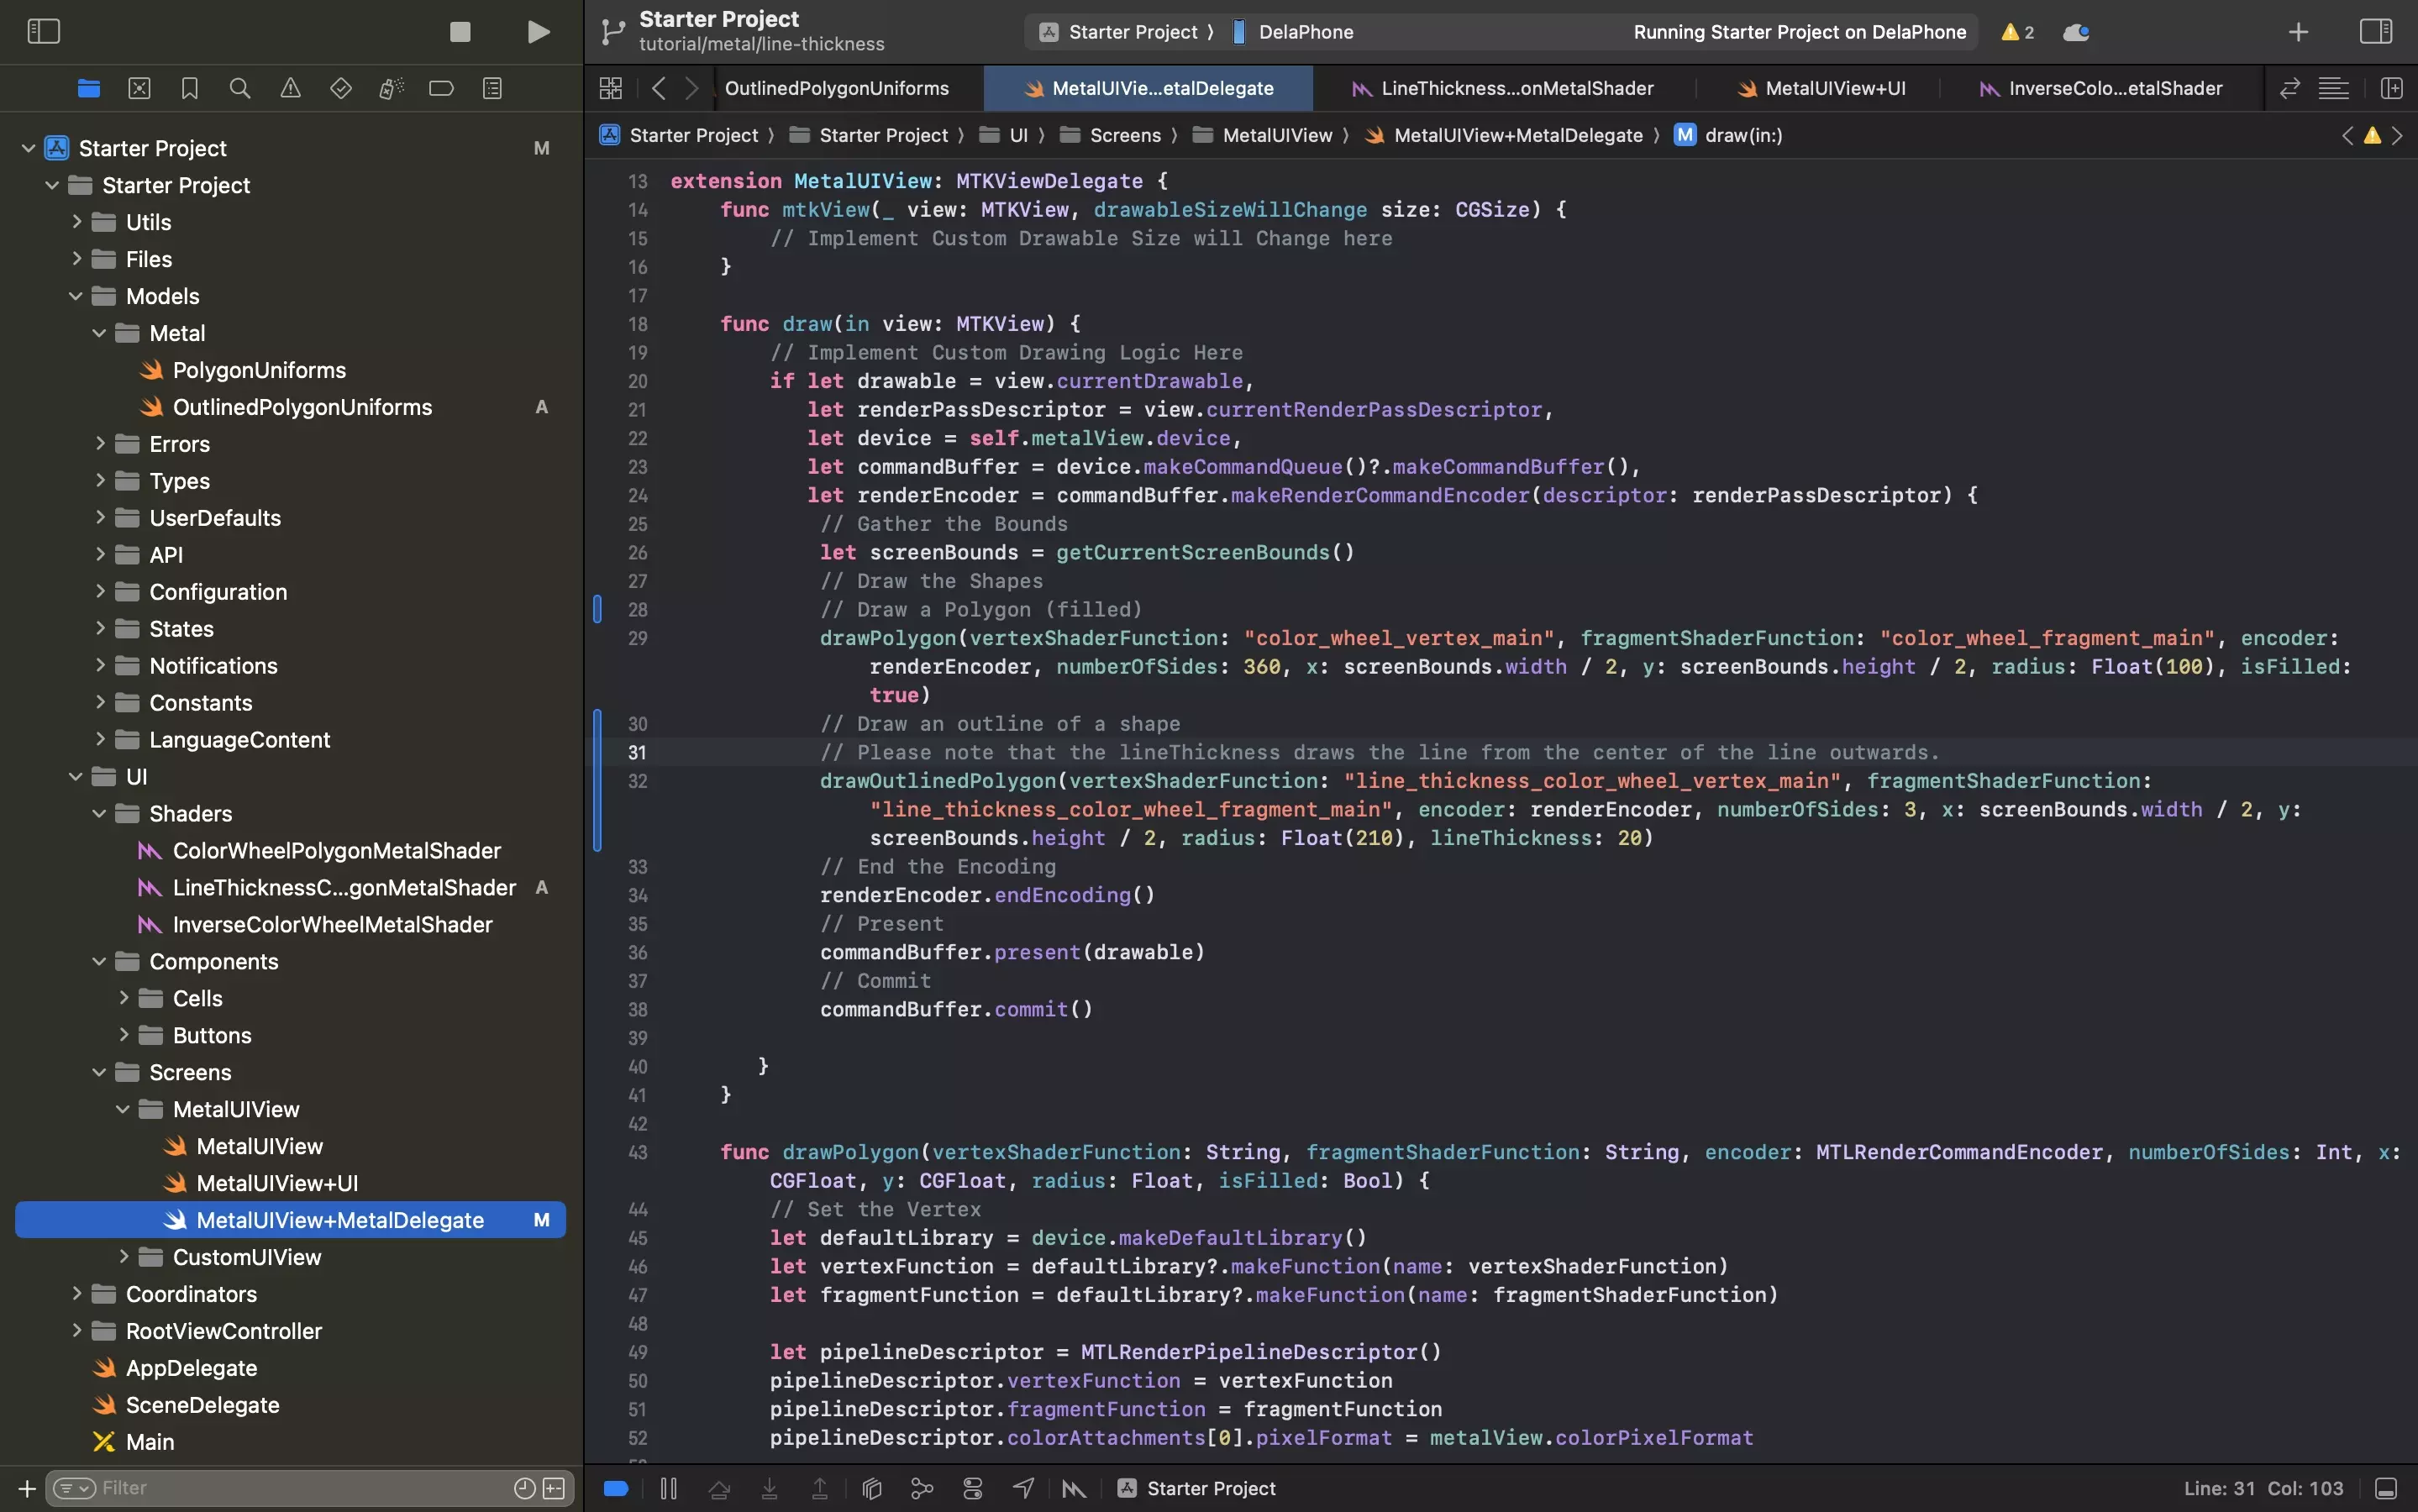
Update the MetalUIView+MetalDelegate.swift to the code below.
Key changes include:
- The addition of the drawOutlinedPolygon function.
- Calling the drawOutlinedPolygon function from the draw function.
Please note that this functionality draws multiple shapes, each of which uses a different vertex and fragment shader function. To learn more consult the article below.
This function also passes data from this file to the metal shader, to learn how to do this consult the article below.
Step Five: Test
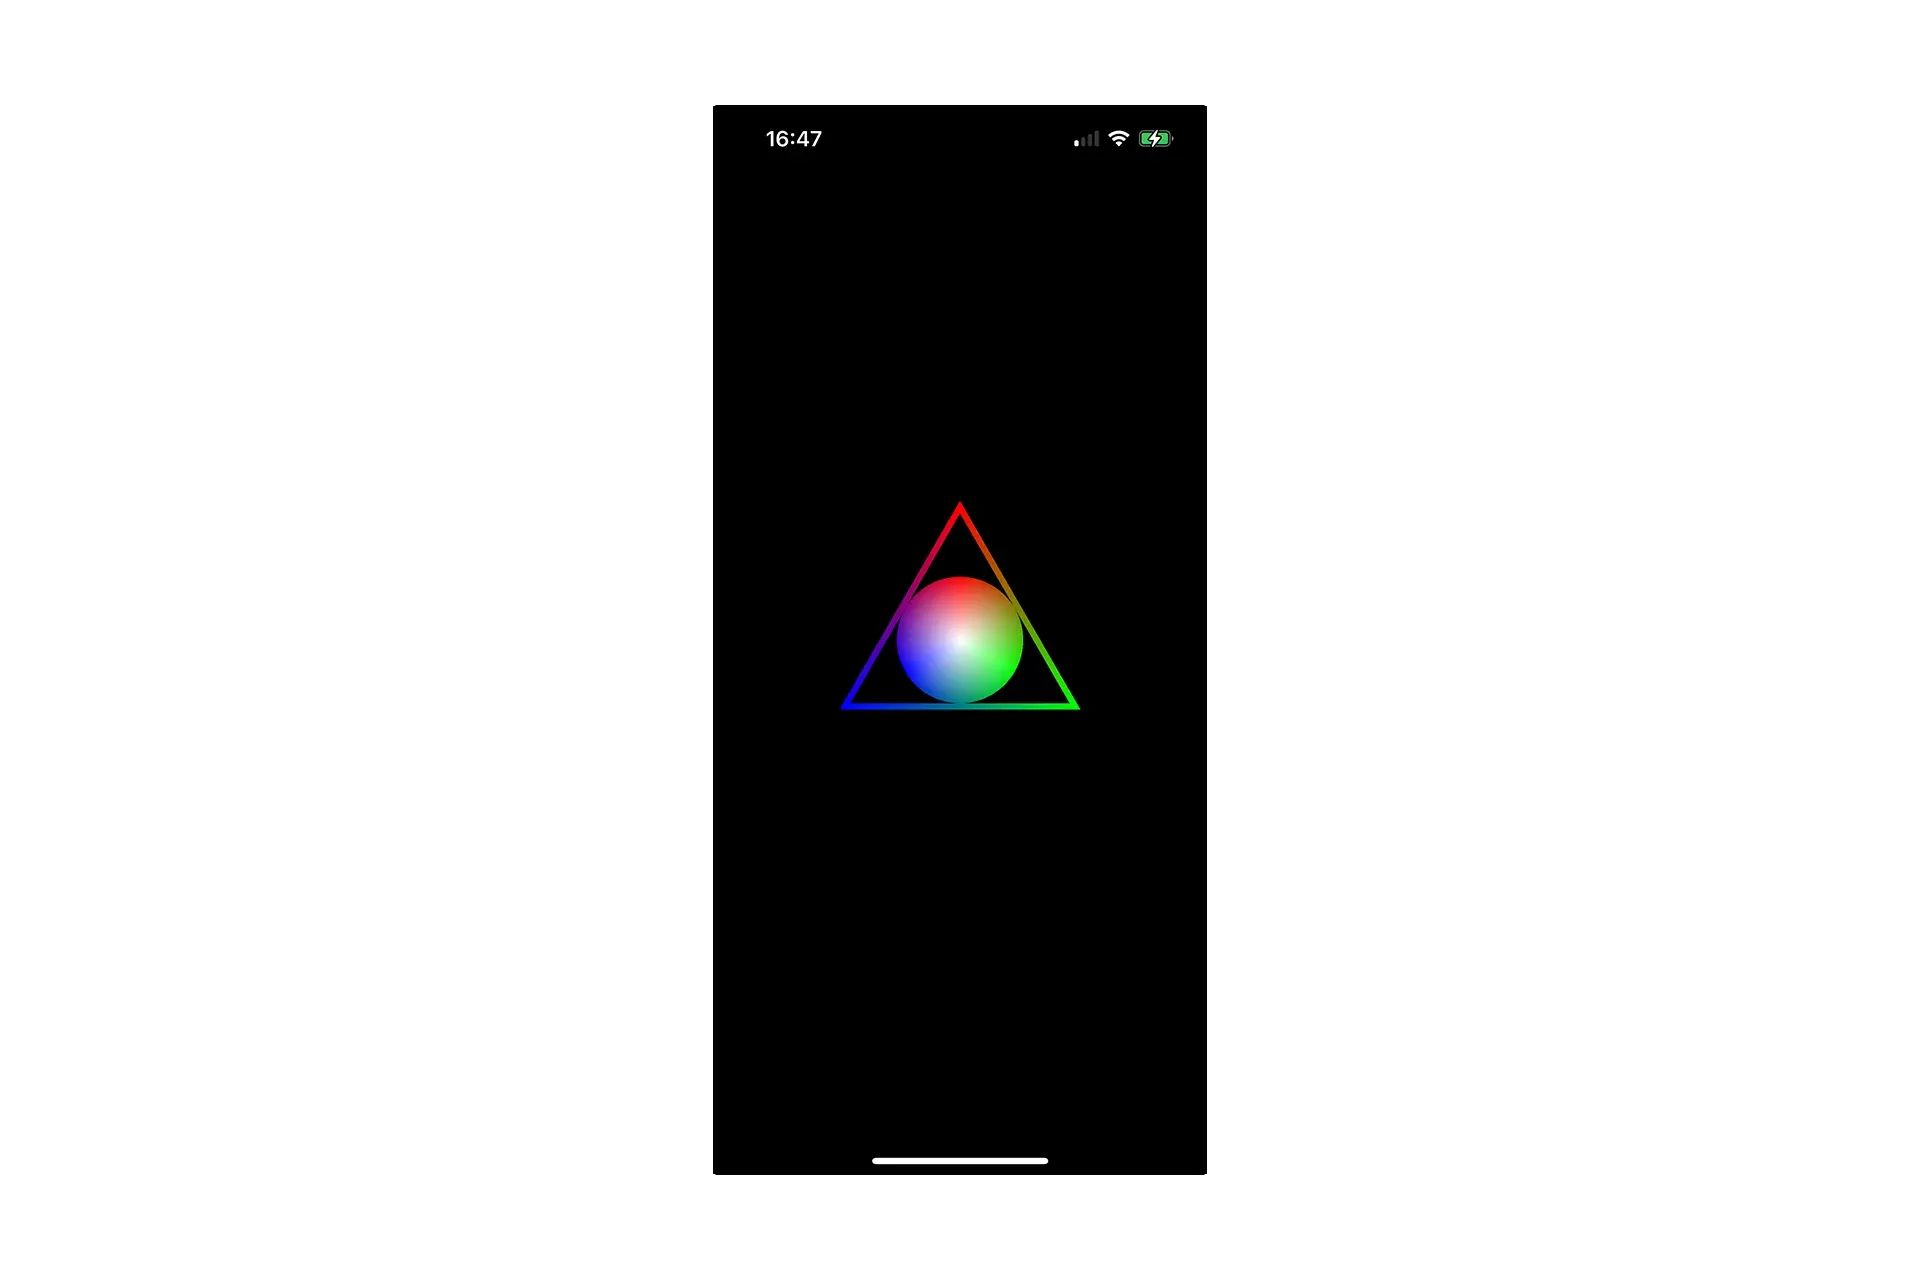
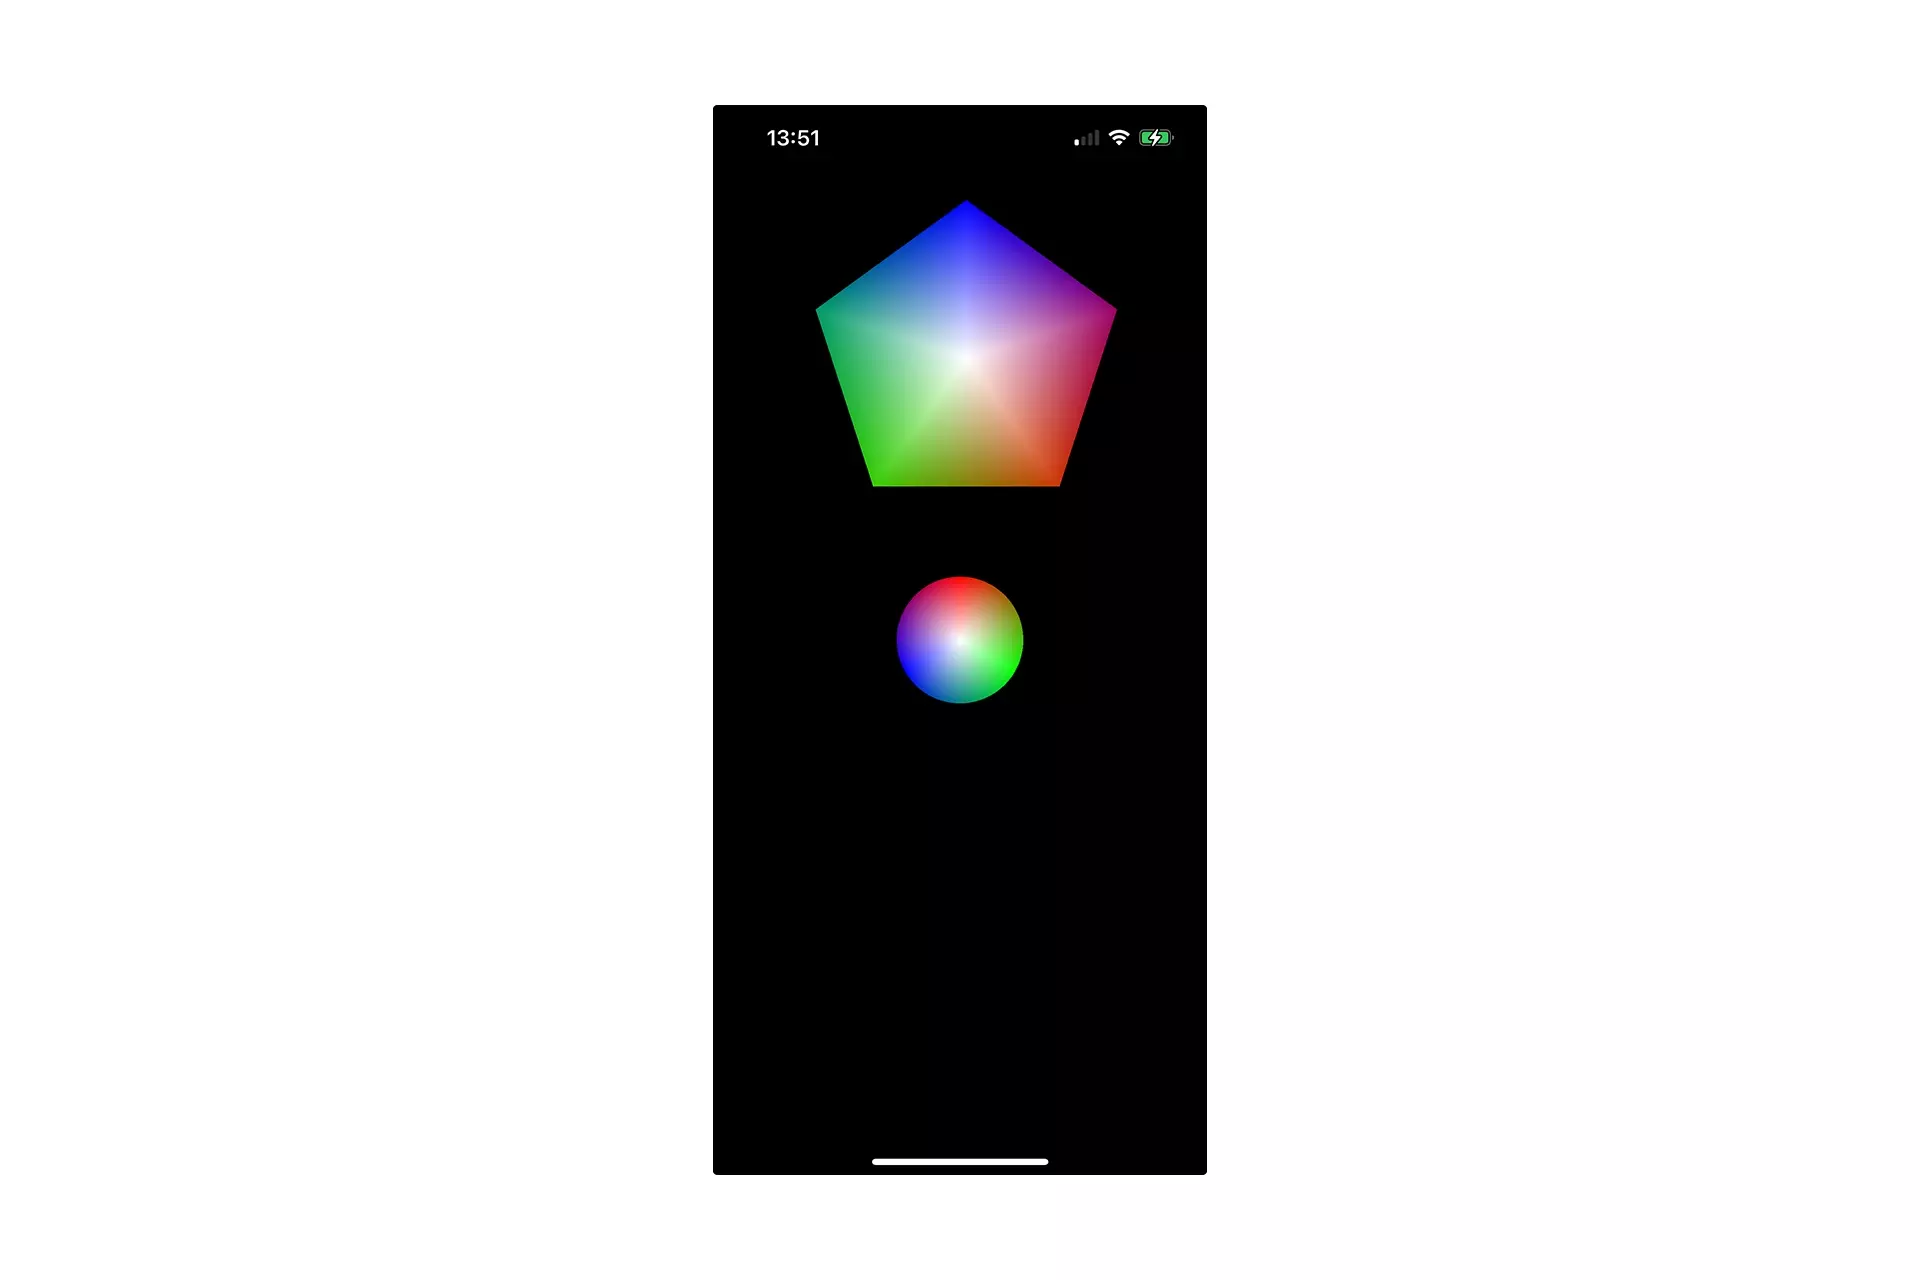
Run the code on a device and confirm that multiple shapes appear.
One must be outlined and the other, filled.
Looking to learn more about things you can do with Swift, Metal and XCode ?
Search our blog to find educational content on learning how to use Swift, Metal and XCode.