How to perform animations in Metal using a CADisplayLink
A step by step tutorial on animating the origin of a shape in Metal using a CADisplayLink.
A step by step tutorial on animating the origin of a shape in Metal using a CADisplayLink.
SubscribeCheck out our Apple Metal Resources GuideWe recommend that you clone our Open Source Swift Starter Project, checking out the main branch and carrying out the steps below. The changes can be found on the tutorial/metal/cadisplaylink-animation branch.
git clone git@github.com:delasign/swift-starter-project.gitThis tutorial first walks you through how to the project to draw multiple shapes from multiple shaders, with shared functionality (Step One) and then demonstrates how to animate the origin of a shape using a CADisplayLink.
What is a CADisplayLink ?
A CADisplayLink is a timer object that allows your app to synchronize its drawing to the refresh rate of the display.
Although you can change uniforms/arguments at any moment and wait till the next Metal render loop, a CADisplayLink is the recommended approach for updating metal shader uniforms/arguments to match how the device render loop.
Tutorial
Step One: Setup the Project
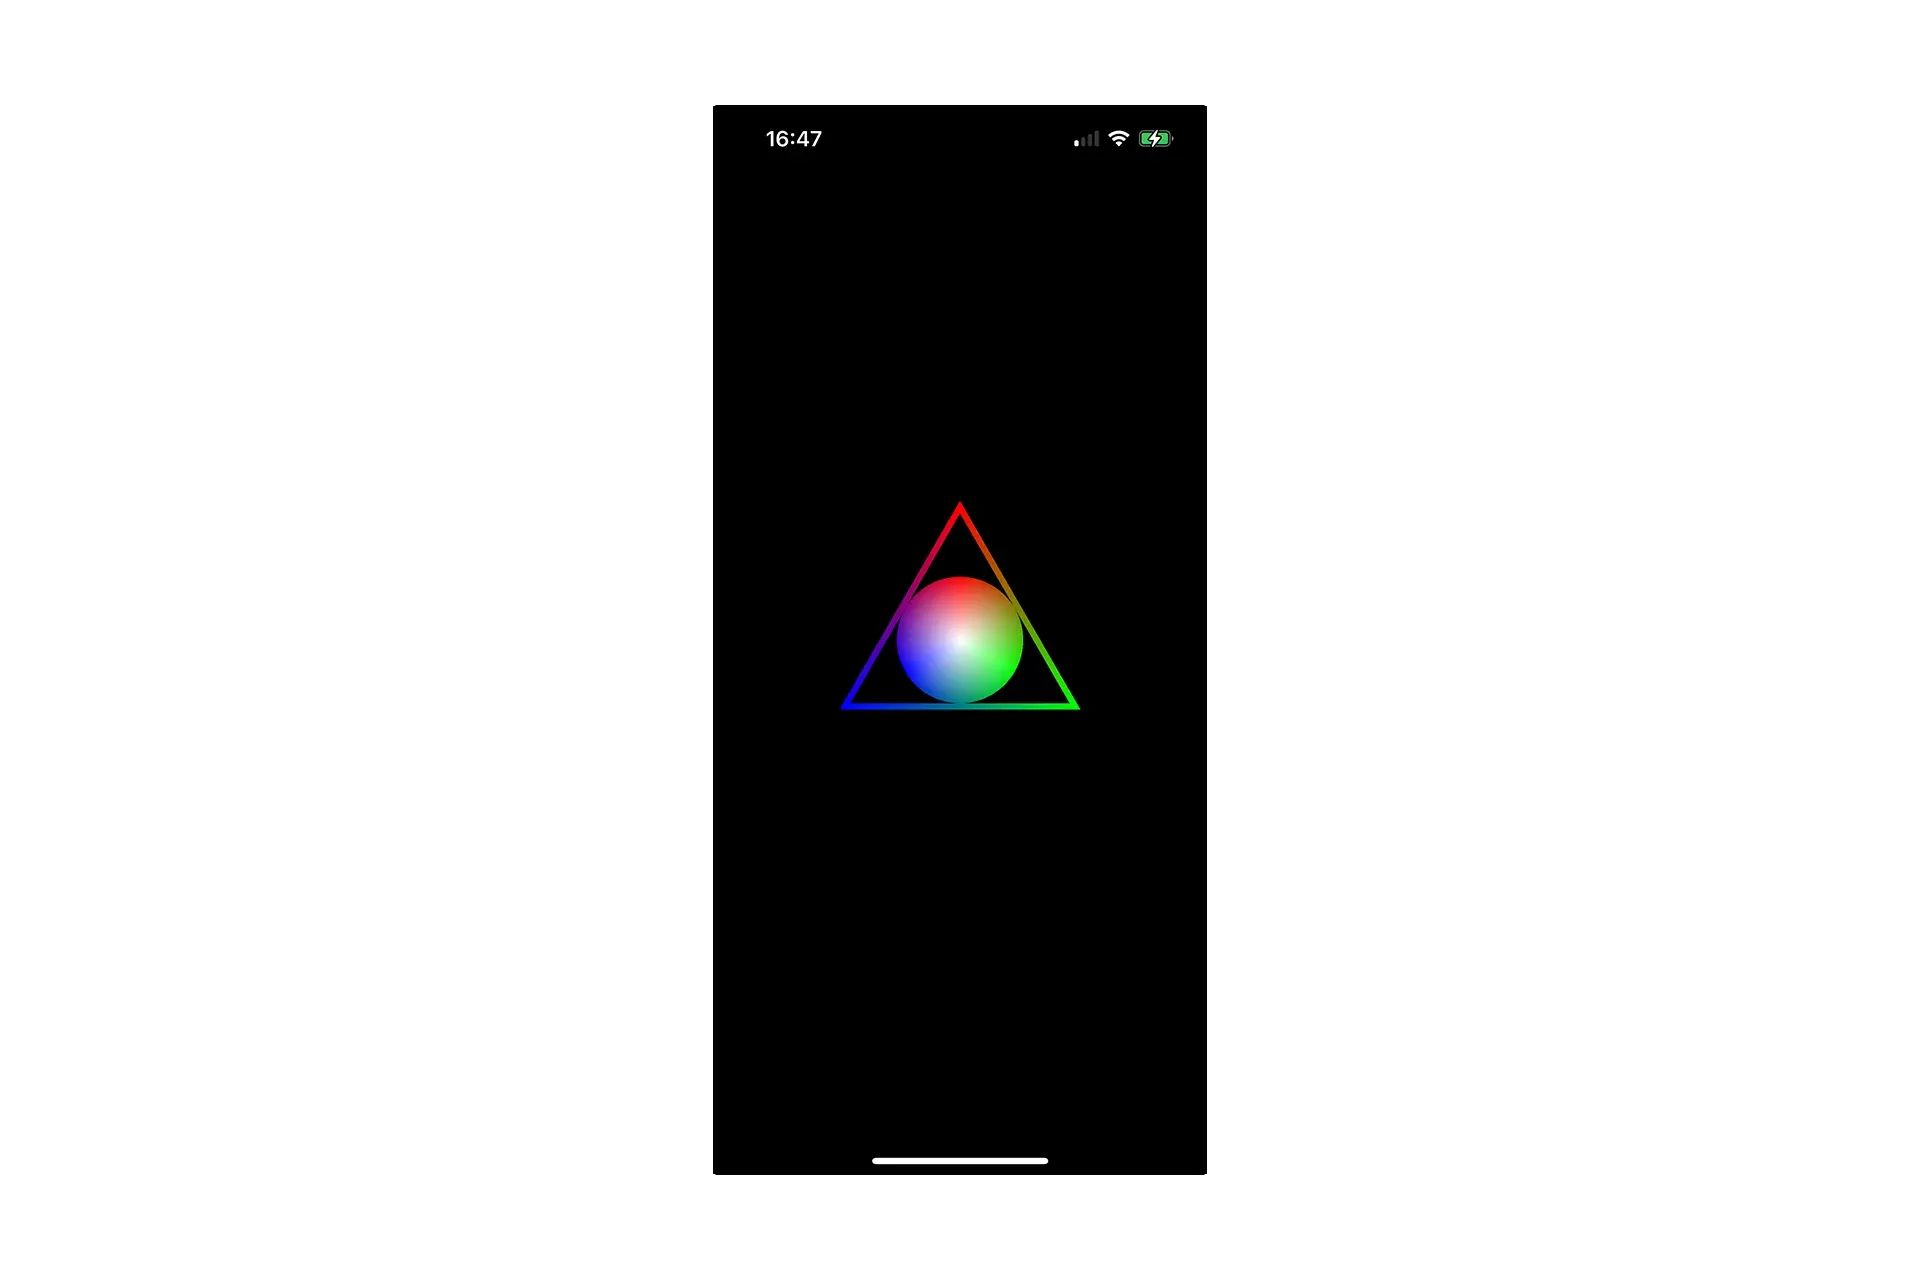
Follow the tutorials below to learn how to create a polygons, with a color fill or with a variable line width through shared functionality.
Step Two: Declare the Variables & Setup the DisplayLink
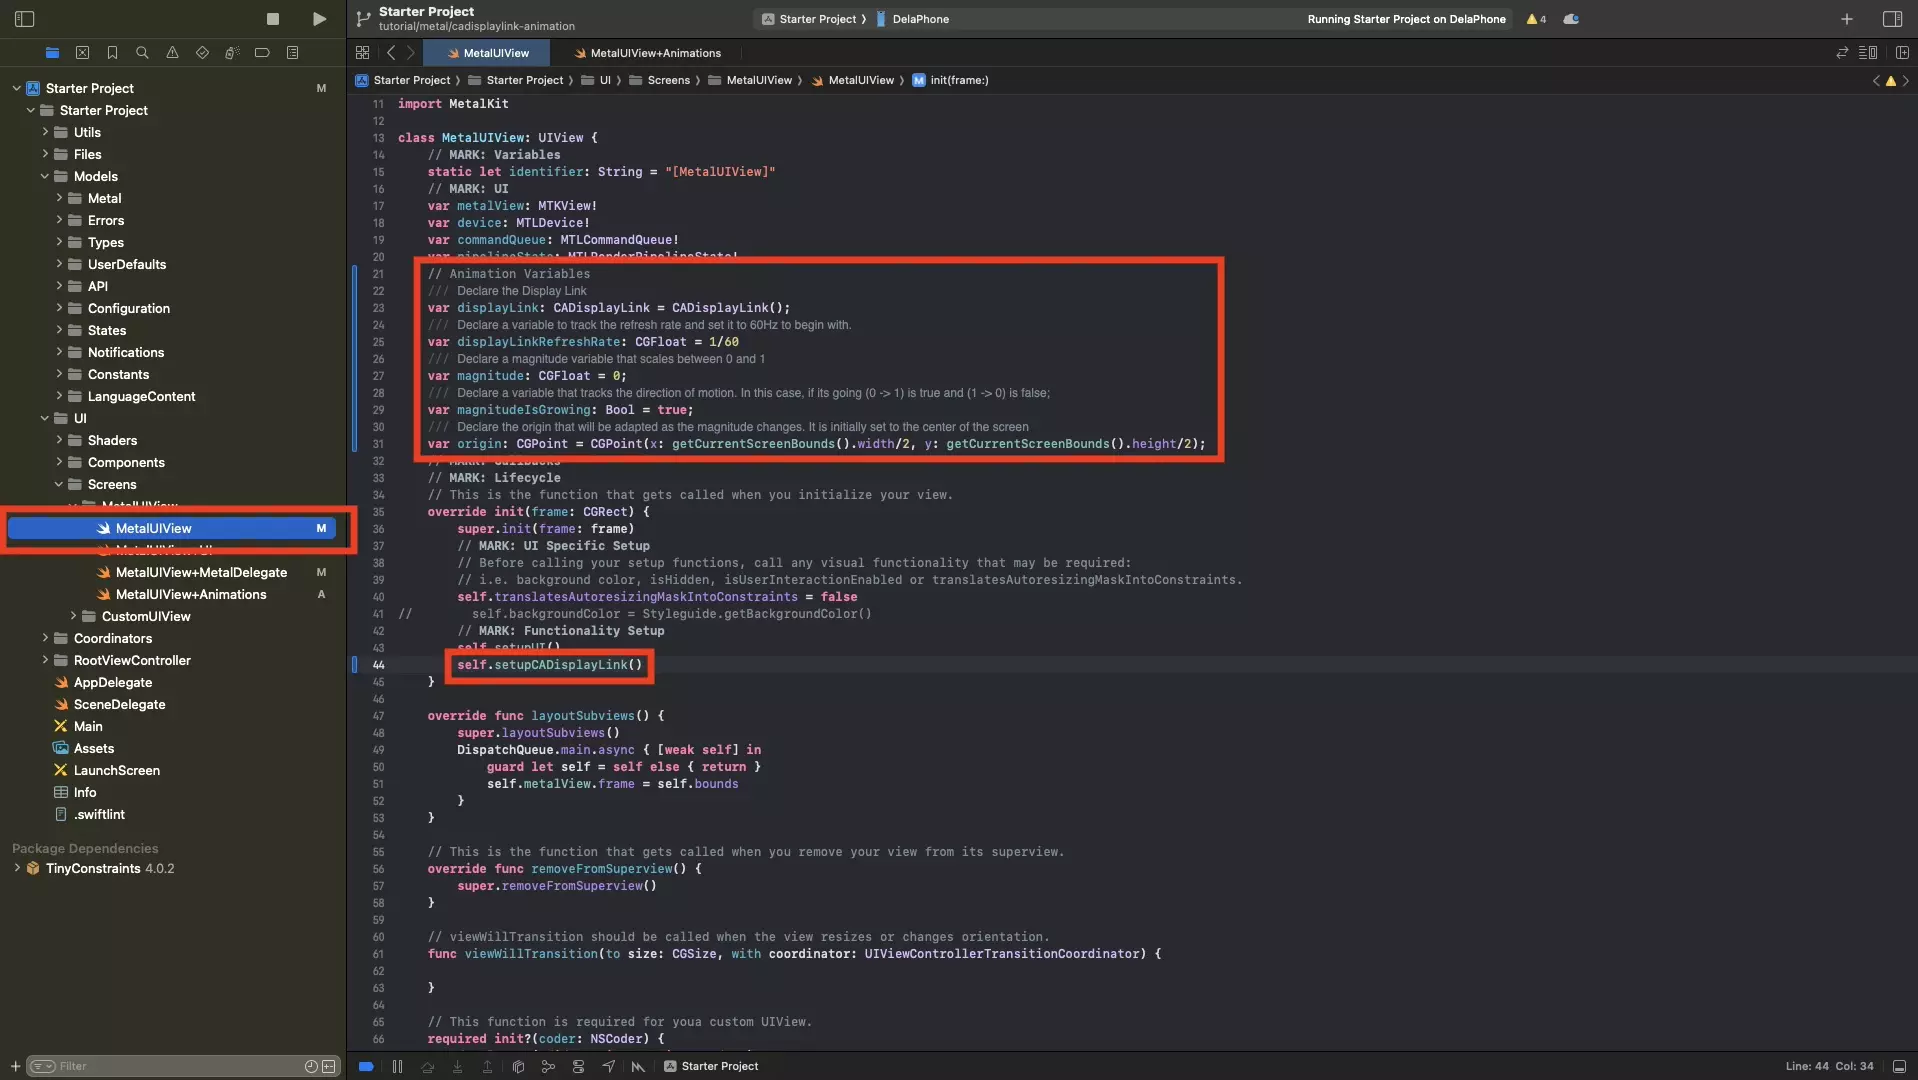
In the MetalUIView.swift file declare the relevant variables and call the setupCADisplayLink() function which will be created in Step Four.
Step Three: Update the Metal Delegate
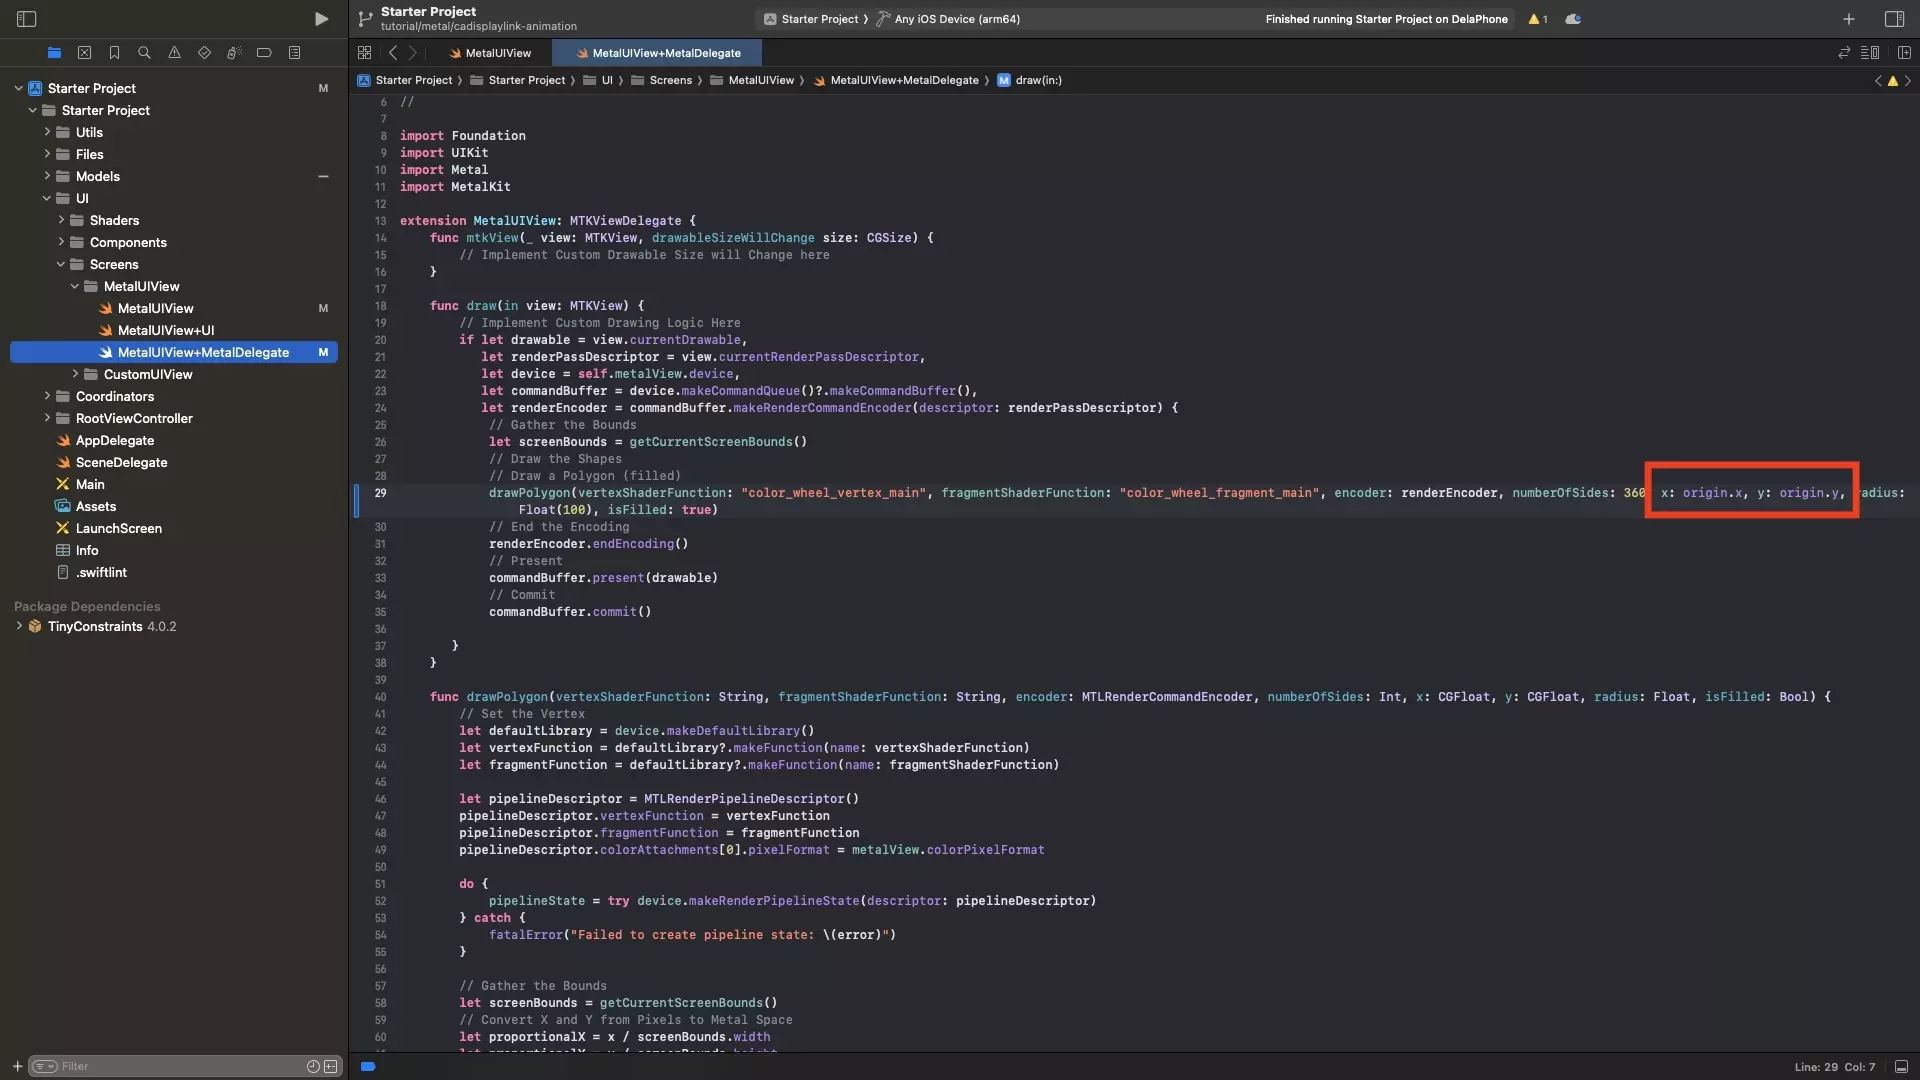
In the MetalUIView+MetalDelegate.swift file, update the drawing function to make use of the animated variables that you created in Step Two.
Step Four: Create the Animation Functionality
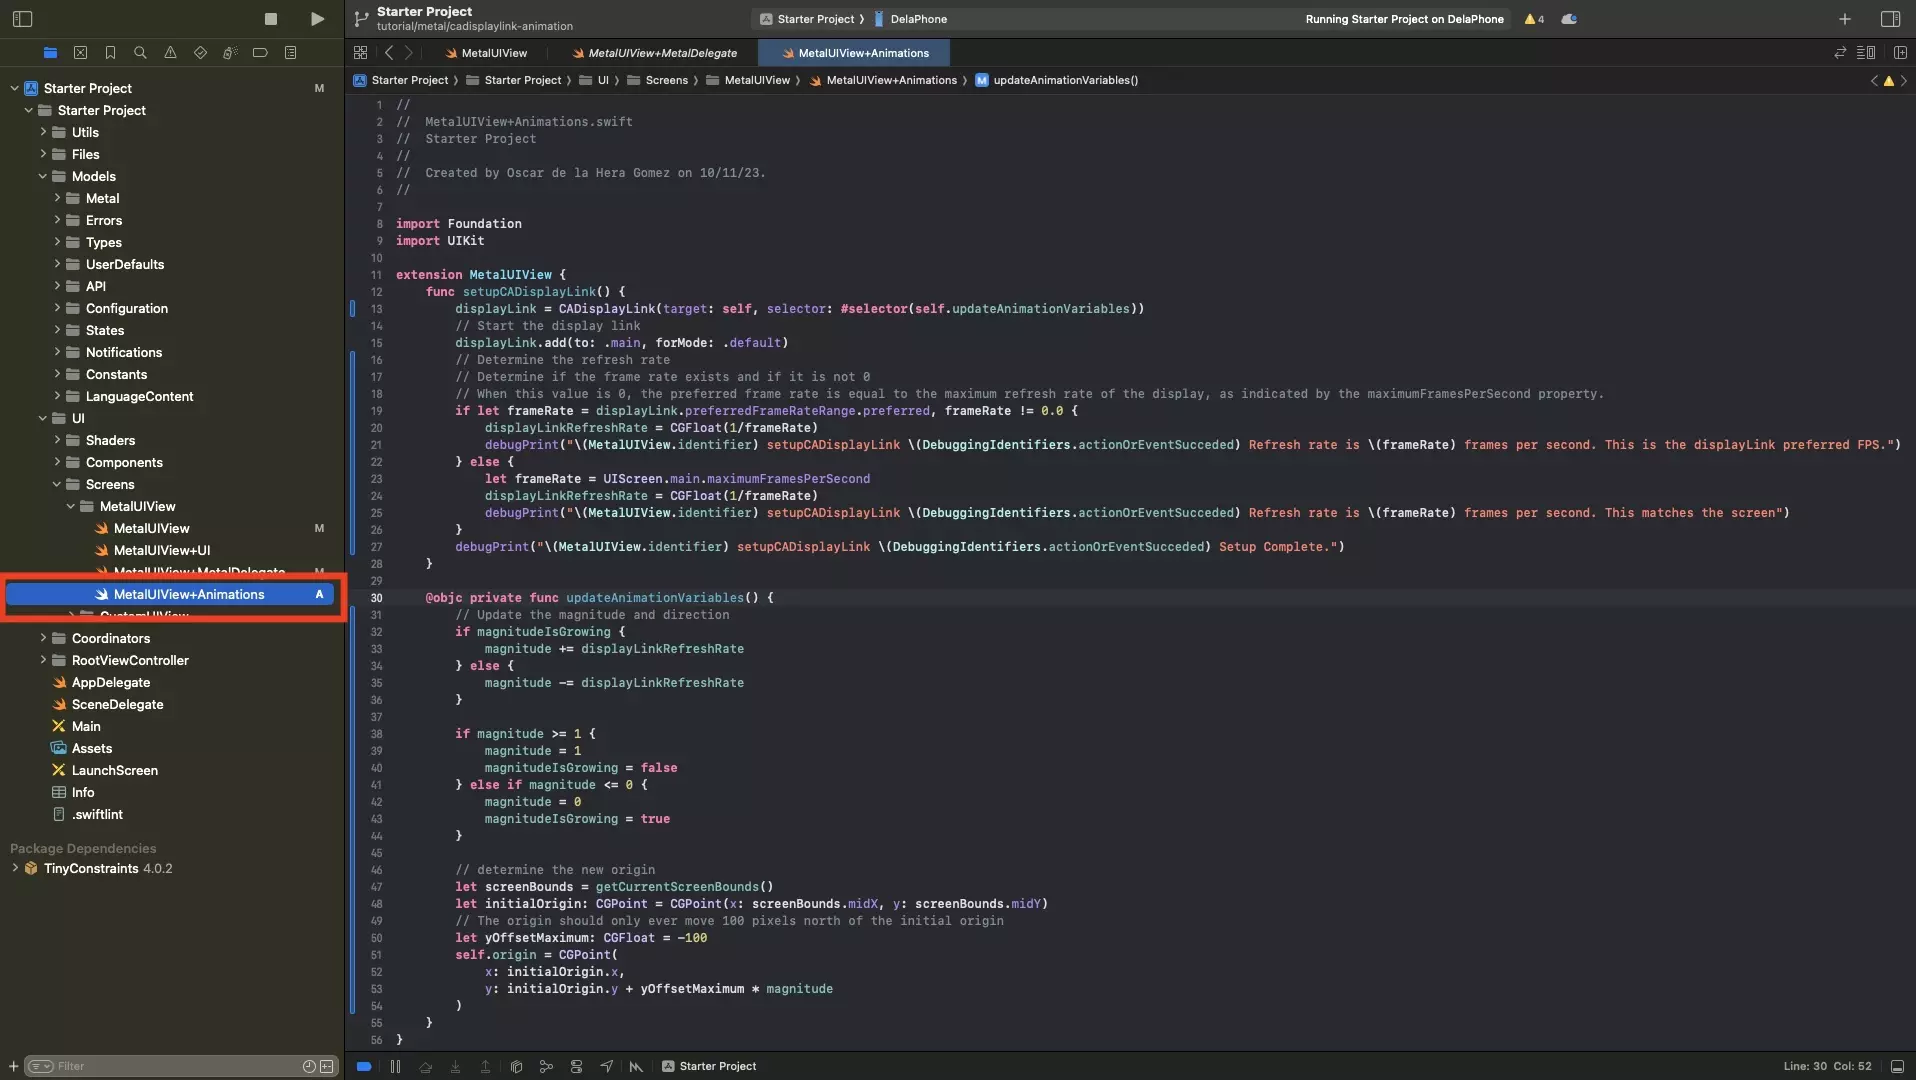
Create a MetalUIView+Animation.swift file and paste in the code below.
- The setupCADisplayLink() function sets up the CADisplayLink target, selector and determines the screens refresh rate.
- The updateAnimationVariables() function gets called by the CADisplayLink every time the system updates the screen and allows you to synchronize animation with the screens refresh rate.
Please note that the refresh rate of the CADisplayLink may be 0, in which case it matches that of the screen. To learn more about this read the CADisplayLink documentation provided by Apple.
Step Five: Test
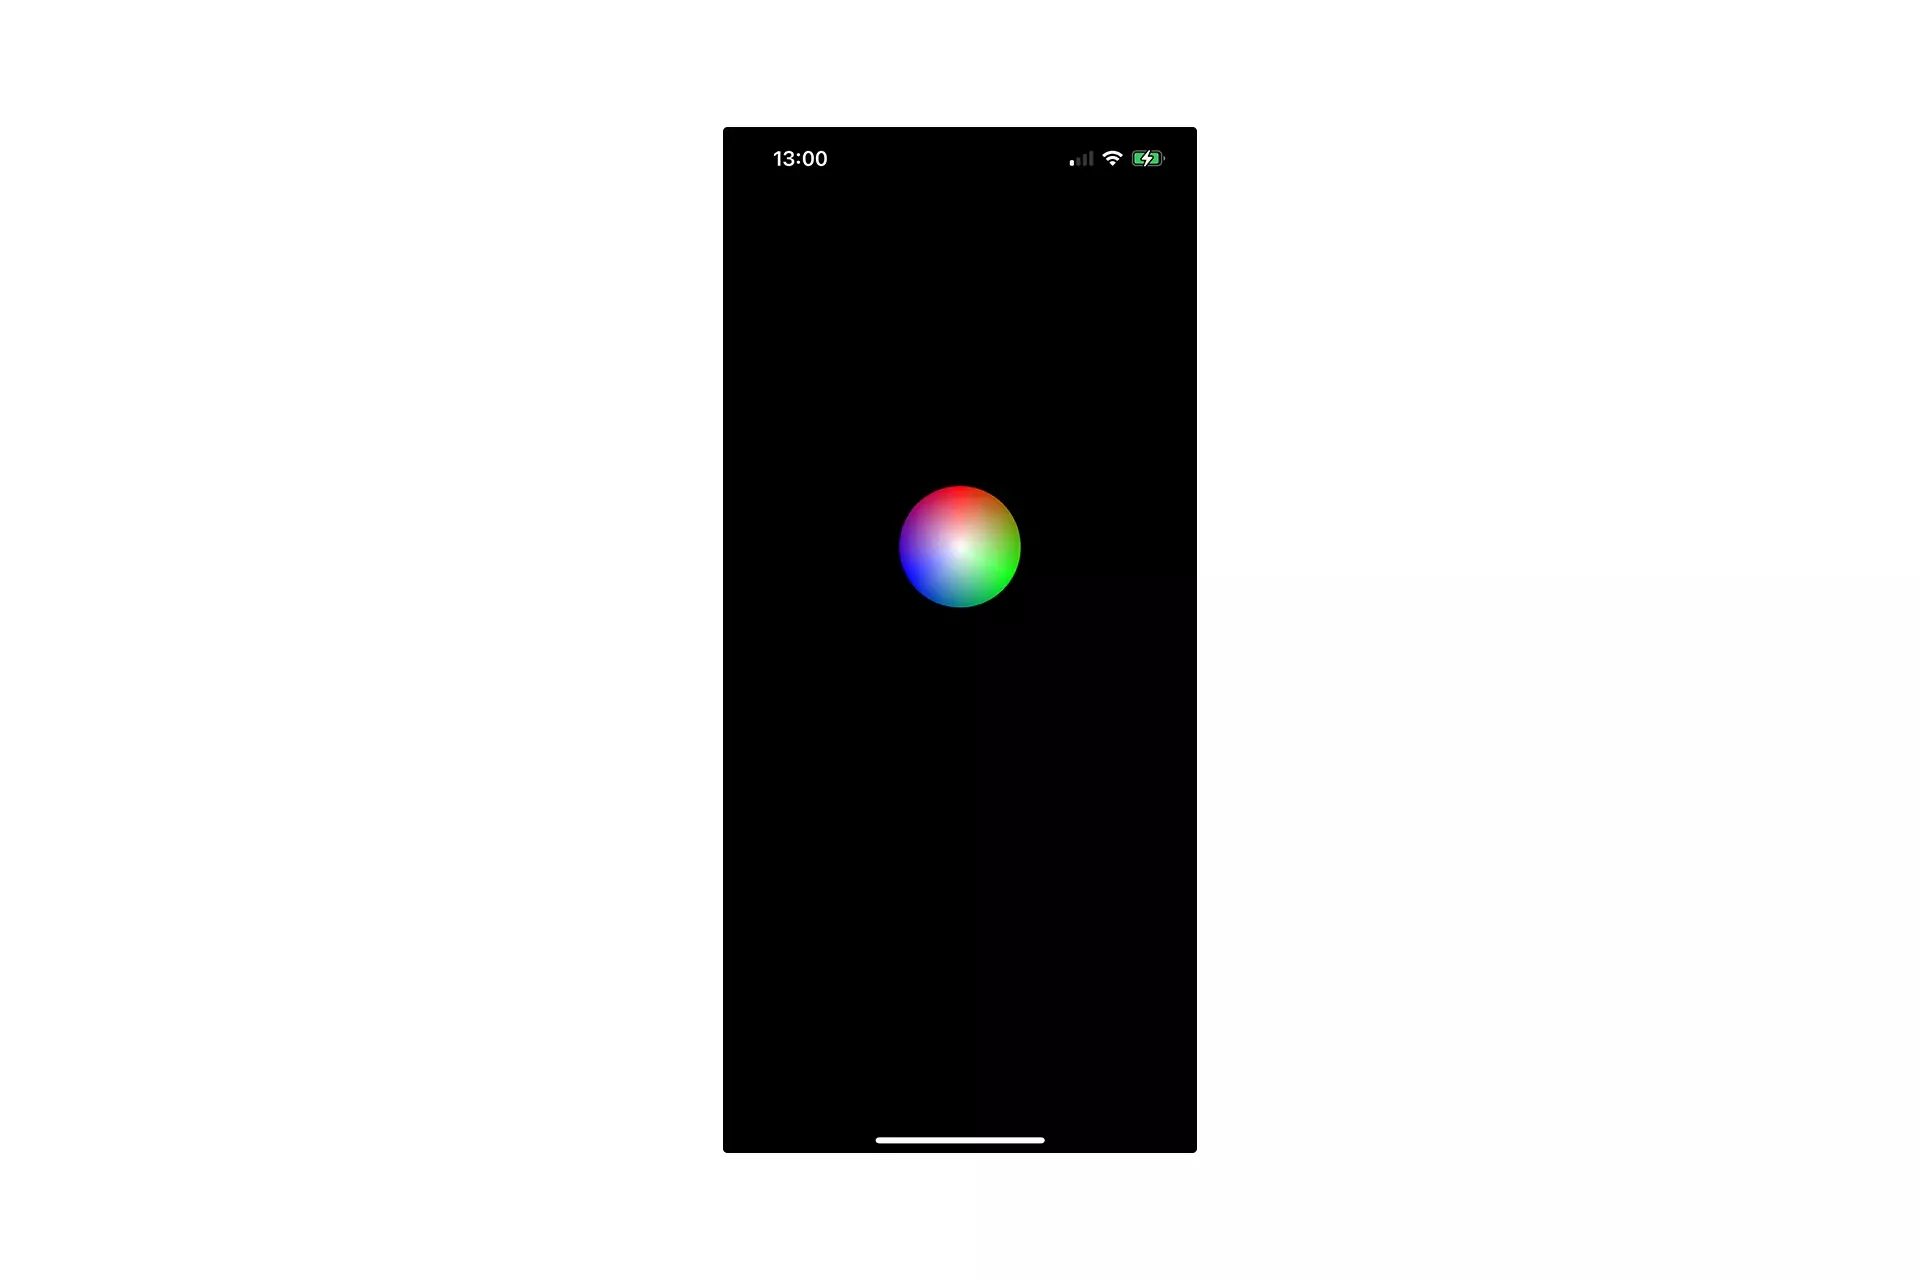
Run the code on a device and confirm that the animations work as expected.
Looking to learn more about things you can do with Swift, Metal and XCode ?
Search our blog to find educational content on learning how to use Swift, Metal and XCode.