How to create a Meta pixel for a website
A step by step walkthrough on creating a Meta (Facebook) pixel for a website.

A step by step walkthrough on creating a Meta (Facebook) pixel for a website.
Before proceeding, please be aware that this tutorial requires you to have a:
- Facebook account
- Facebook page that you wish to create a pixel for
Optional
- Facebook business account (If the Meta pixel is for a business)
What is a Meta Pixel ?
"The Meta Pixel is a piece of code on your website that can help you better understand the effectiveness of your advertising and the actions people take on your site, like visiting a page or adding an item to their cart. You’ll also be able to see when customers took an action after seeing your ad on Facebook and Instagram, which can help you with retargeting. And when you use the Conversions API alongside the Pixel, it creates a more reliable connection that helps the delivery system decrease your costs."
Step One: Access the event manager
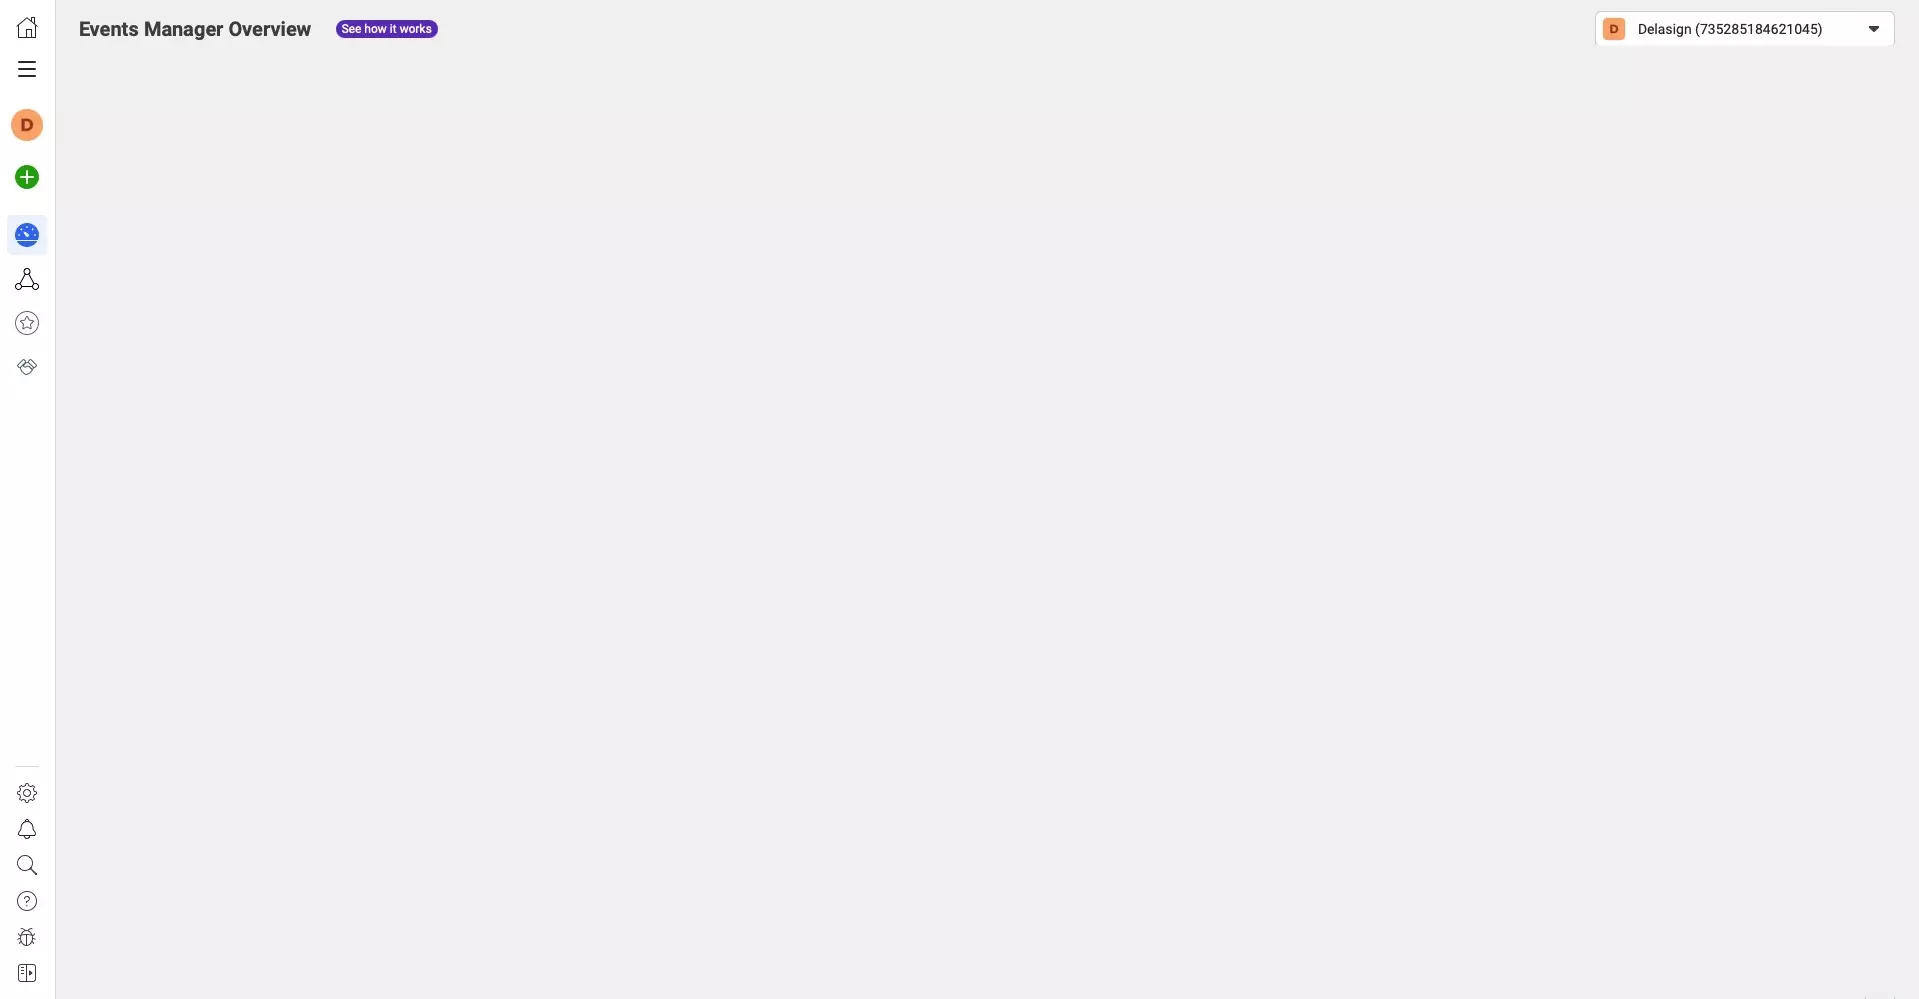
If you are using a Business account, use the link below, this will require you logging in.
If you are using a standard Facebook use the link below, this will require you logging in.
Step Two: Select Connect Data Sources
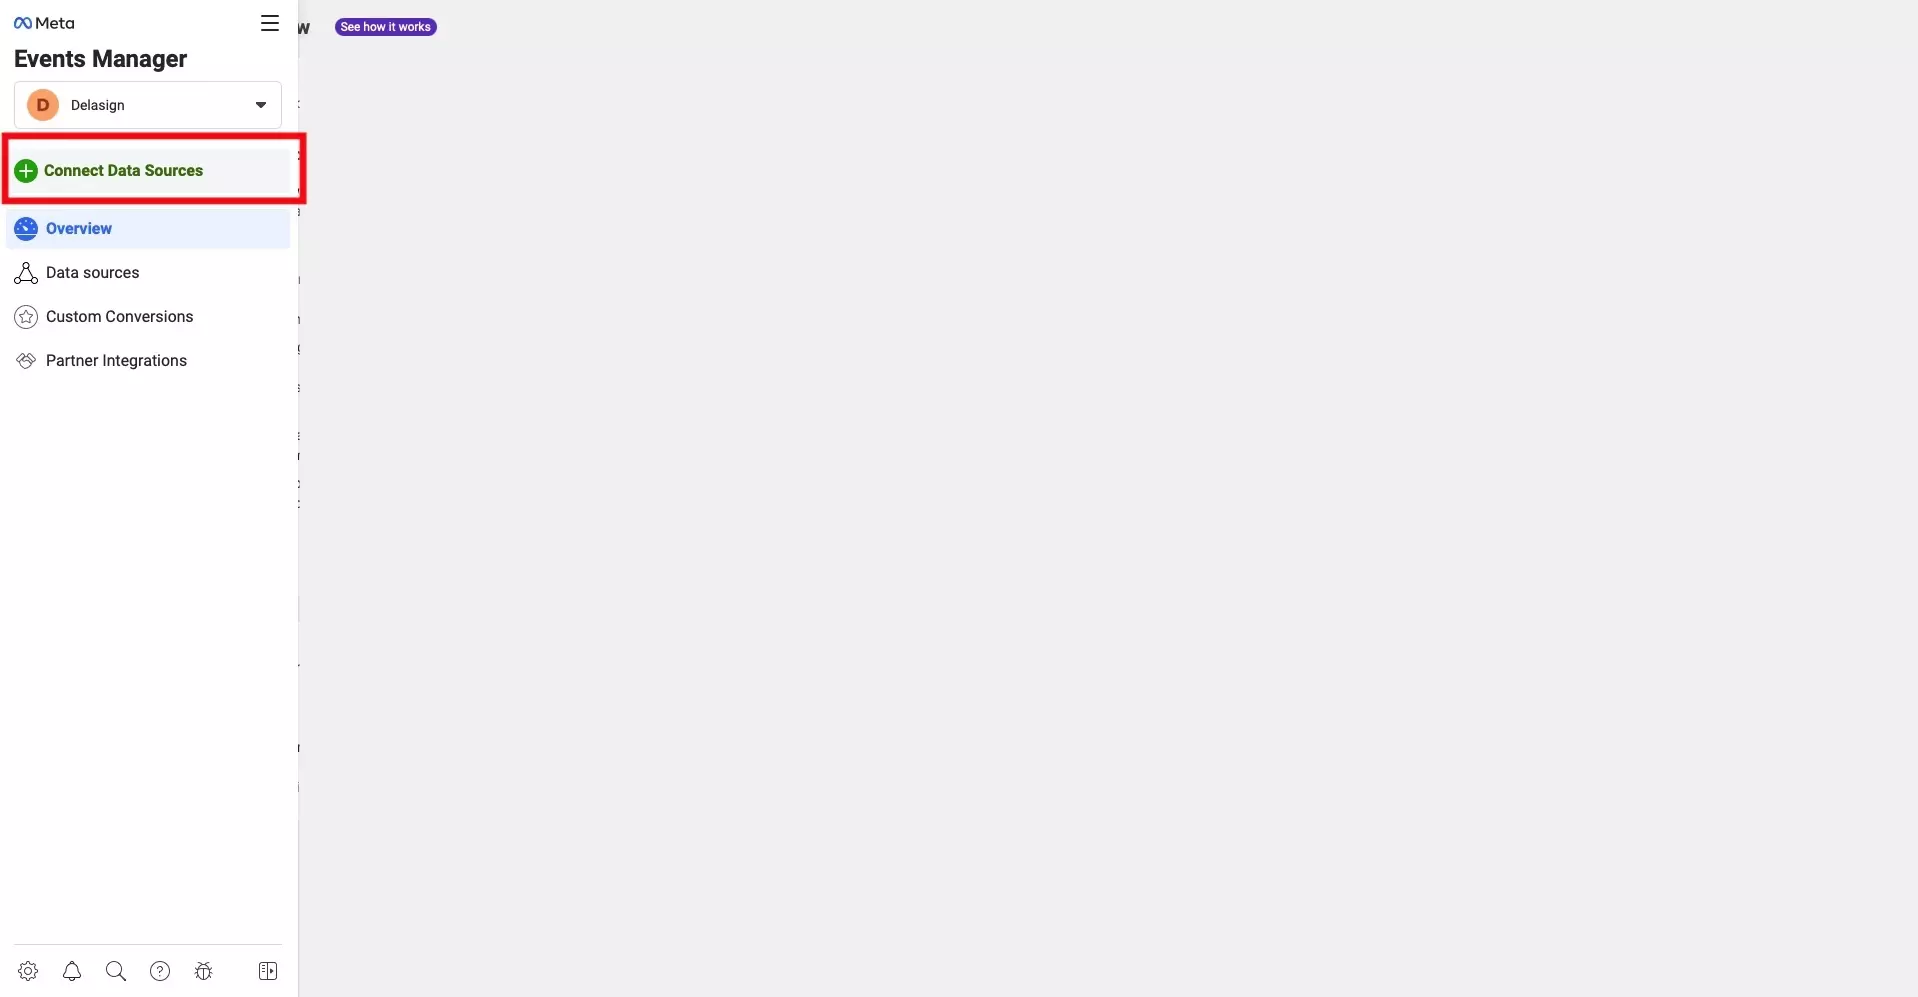
On the left menu side bar, select Connect Data Sources.
Step Three: Select Web & Connect
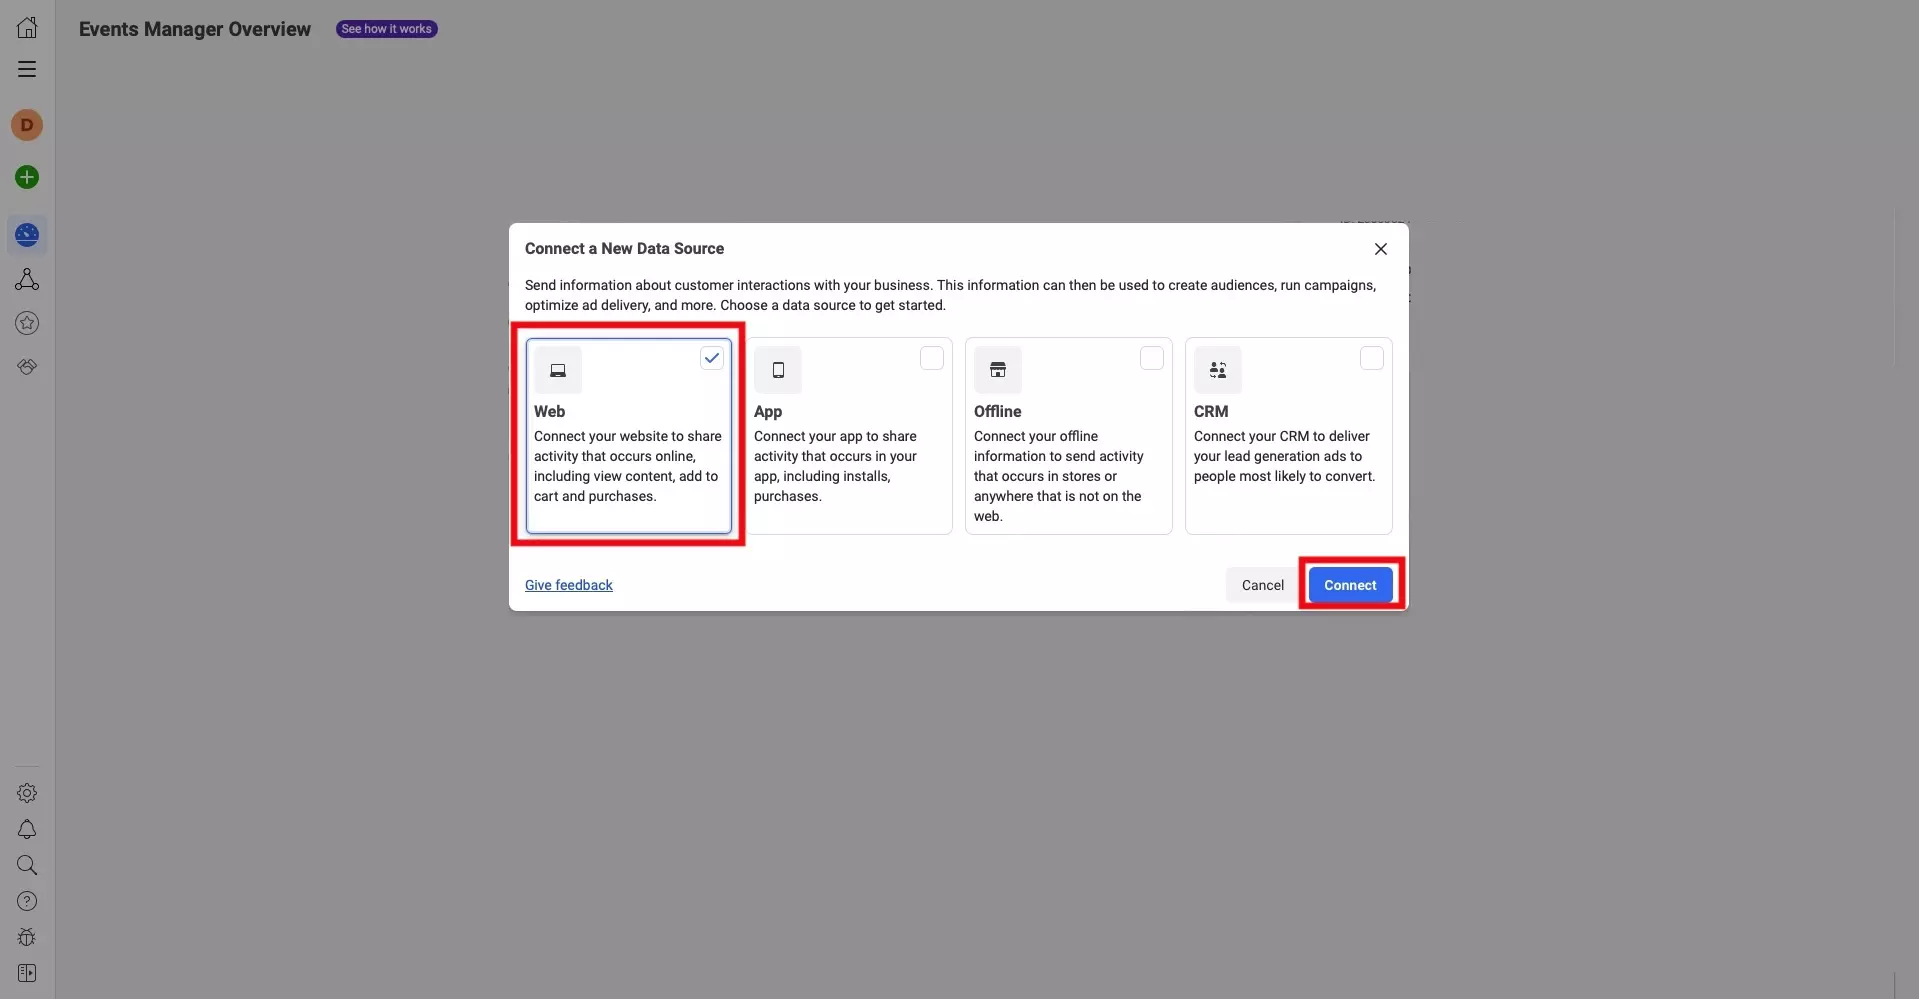
In the modal that appears, prompting you to Connect a New Data Source, select Web and press the Connect button on the bottom right.
Step Four: Create the Pixel
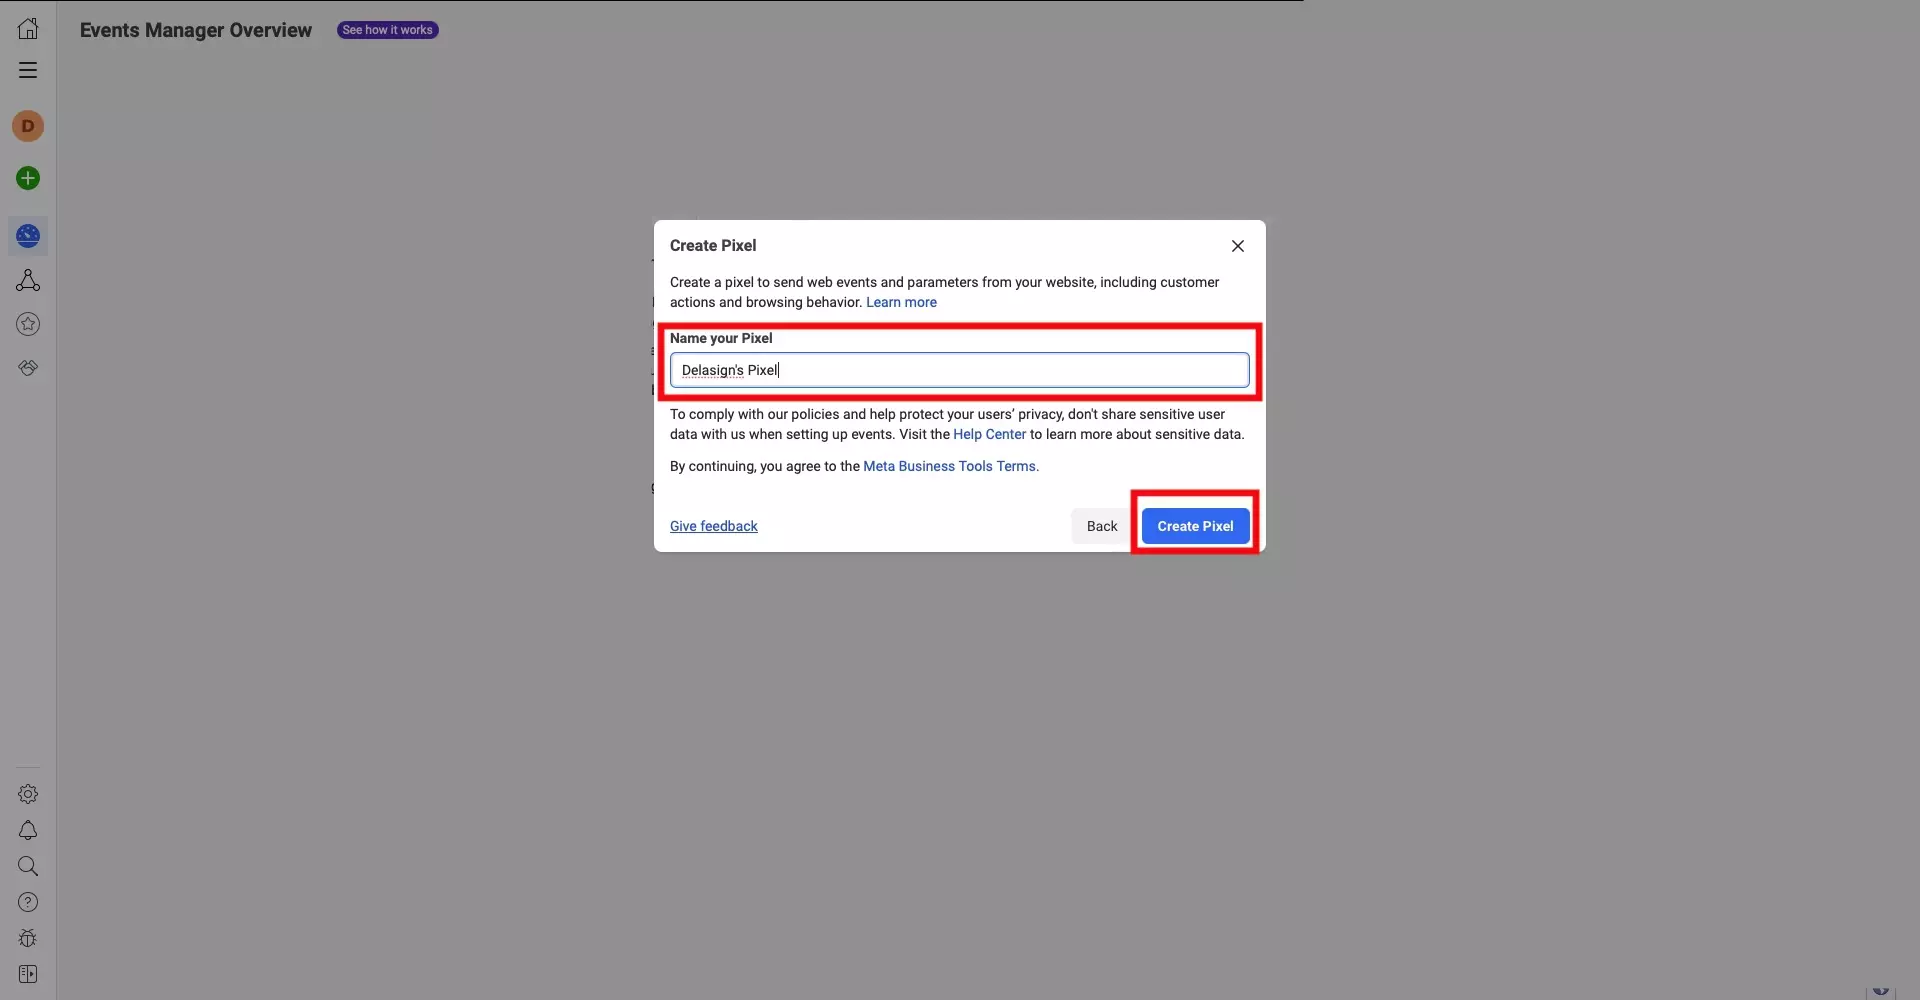
Name your pixel and press the Create Pixel button on the bottom right of the modal, to complete creating your Meta Pixel for your website.
Looking to add it to a React or Gatsby Website ?
Follow the tutorial linked below to add your newly created Meta Pixel to your React or Gatsby website.