How to link issues to each other in JIRA
A guide to linking issues (i.e. tickets) such as user stories, tasks, subtasks or bugs to eachother in JIRA.

A guide to linking issues (i.e. tickets) such as user stories, tasks, subtasks or bugs to eachother in JIRA.
SubscribePlease note you can link all issues to each other (i.e. a User Story, Task Bug, Subtask or Agile User Story) in Jira.
Step One: Open a JIRA Project
Either create a new JIRA project or open an existing one.
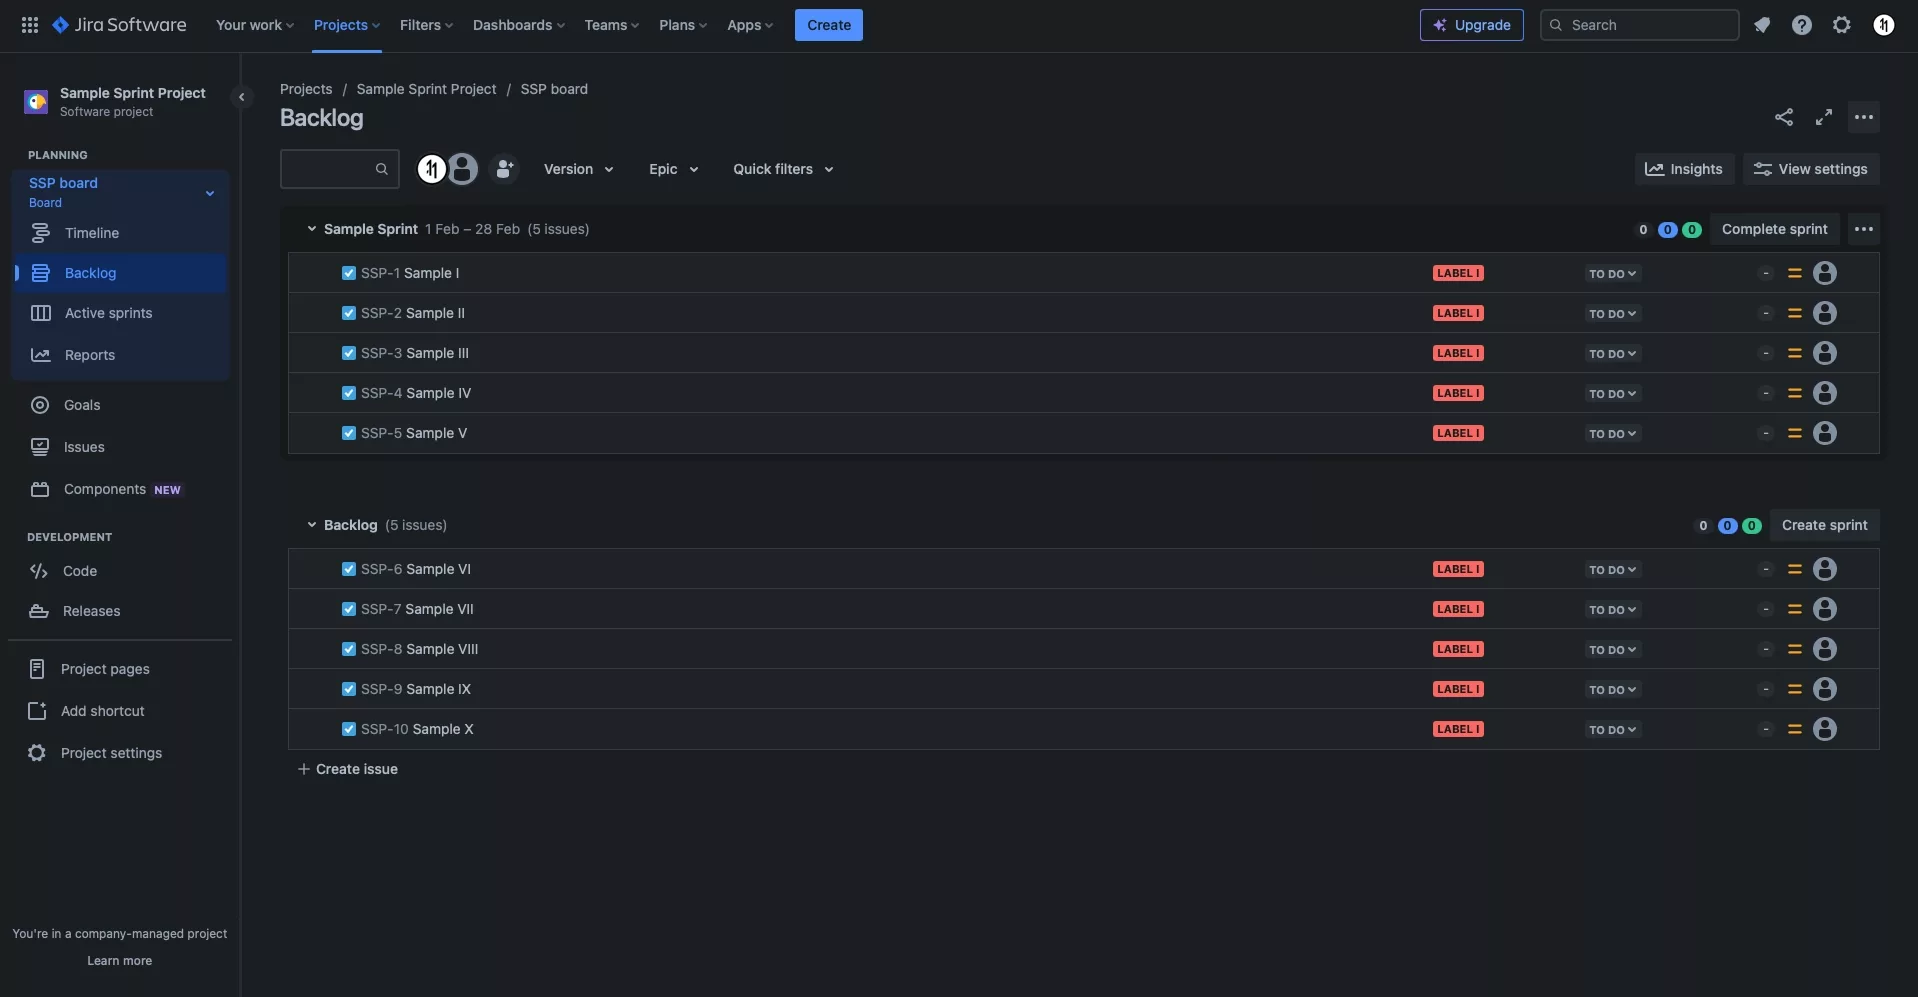
Step Two: Select the Issue
Click an existing ticket to open up a view that allows you to edit its details.
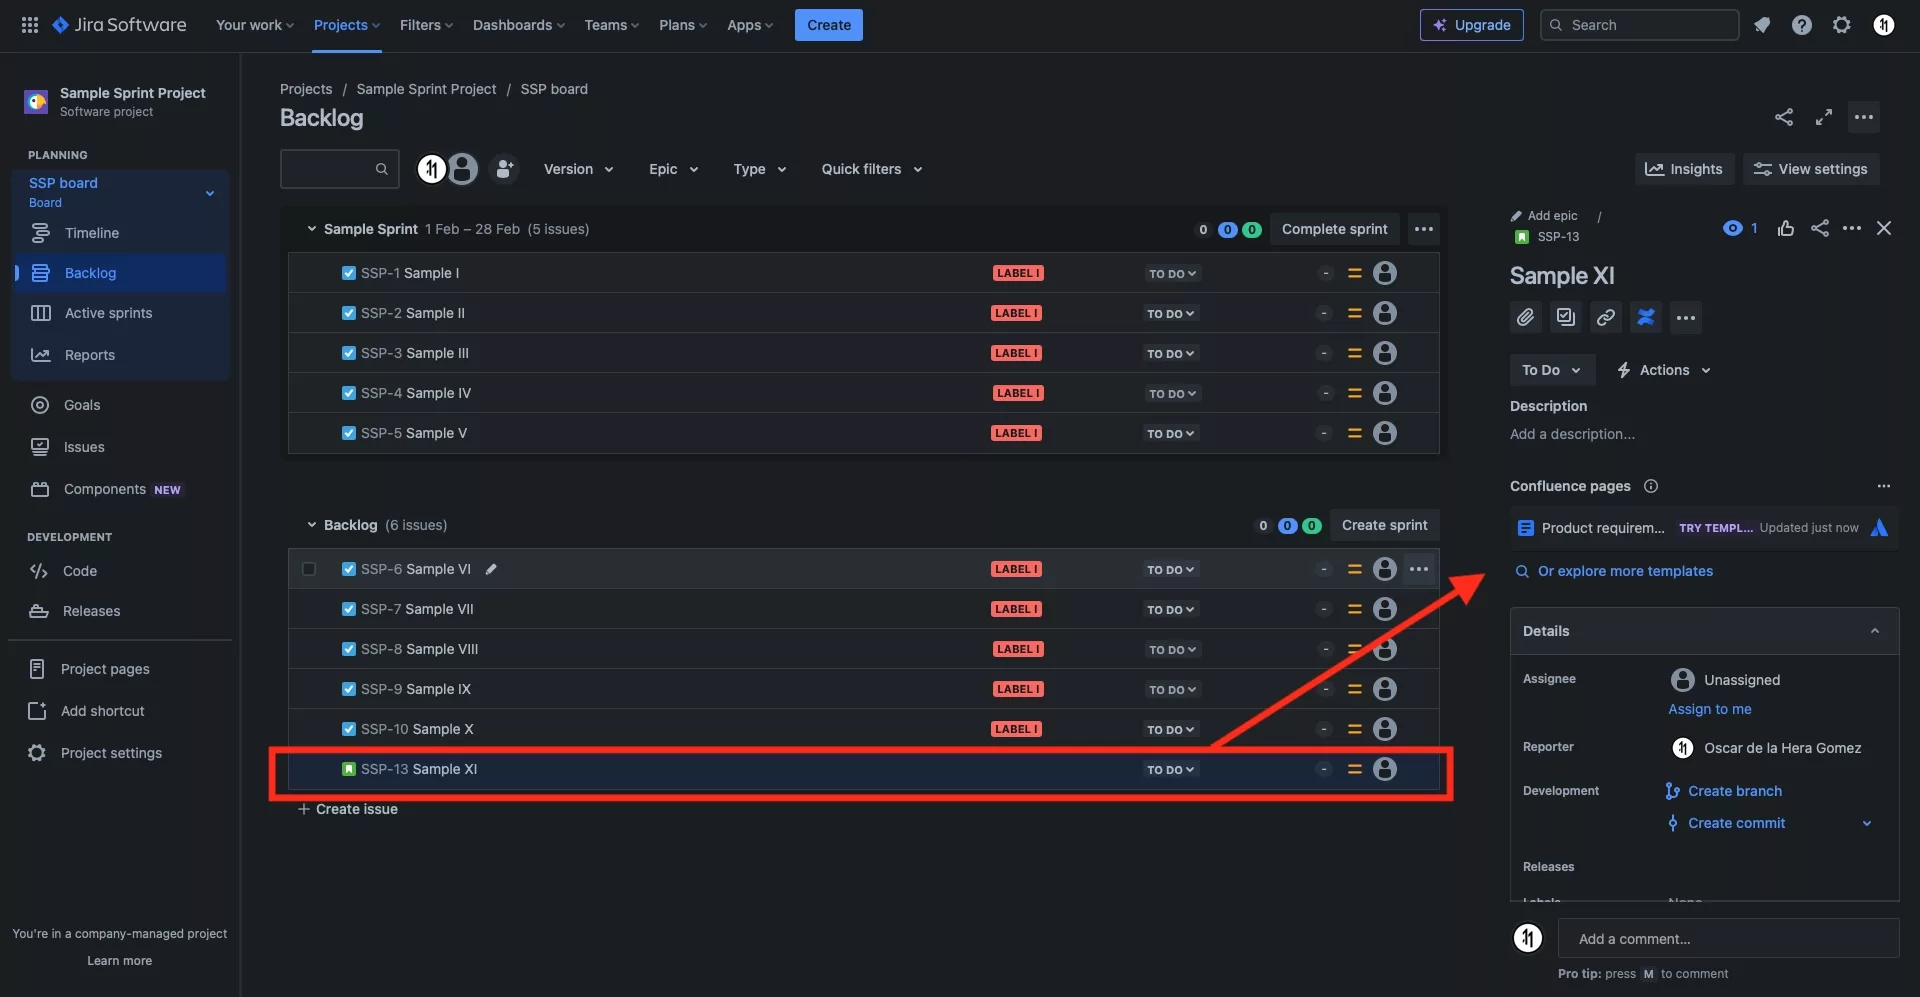
Step Three: Click Link Issue
Click the Link issues, web pages and more... button and in the pop-up that appears, click Link Issue.
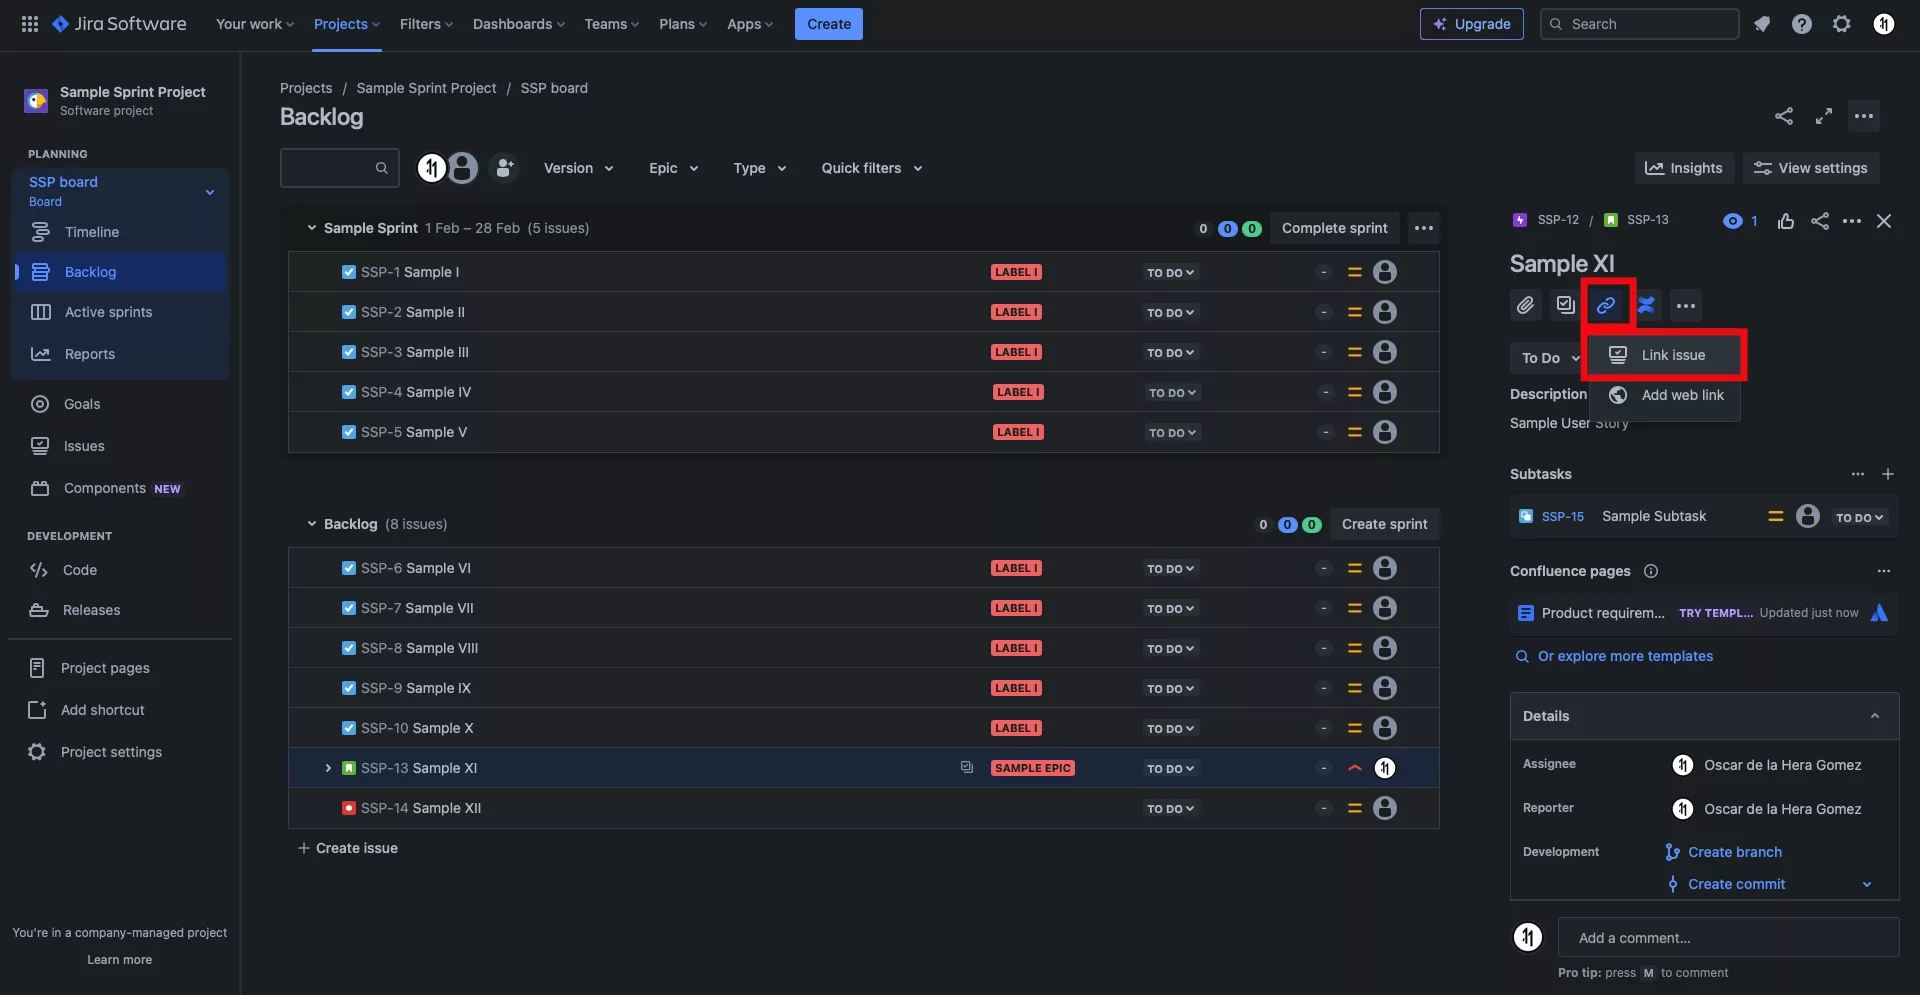
Step Four: Select Link Type
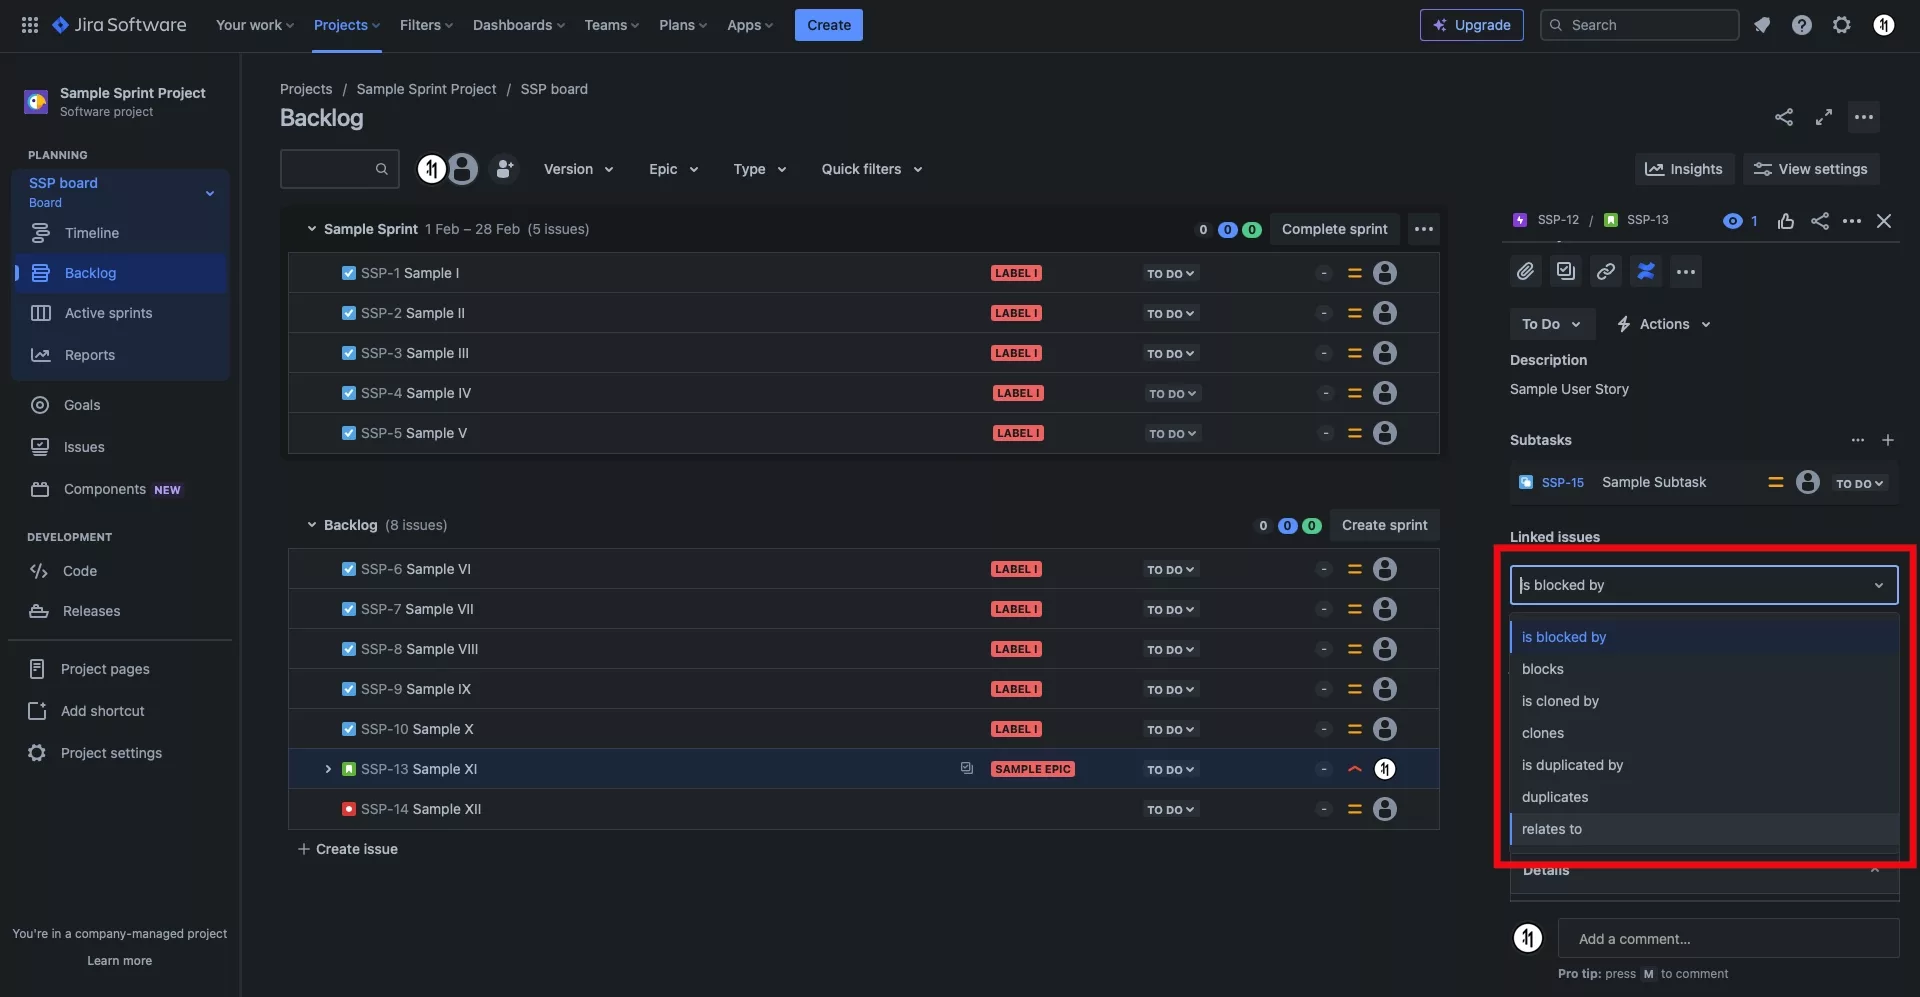
In the form that appears, select the link type that you would like to use.
Options include: is blocked by, blocks, is cloned by, clones, is duplicated by, duplicates and relates to.
Step Five: Select the Issue
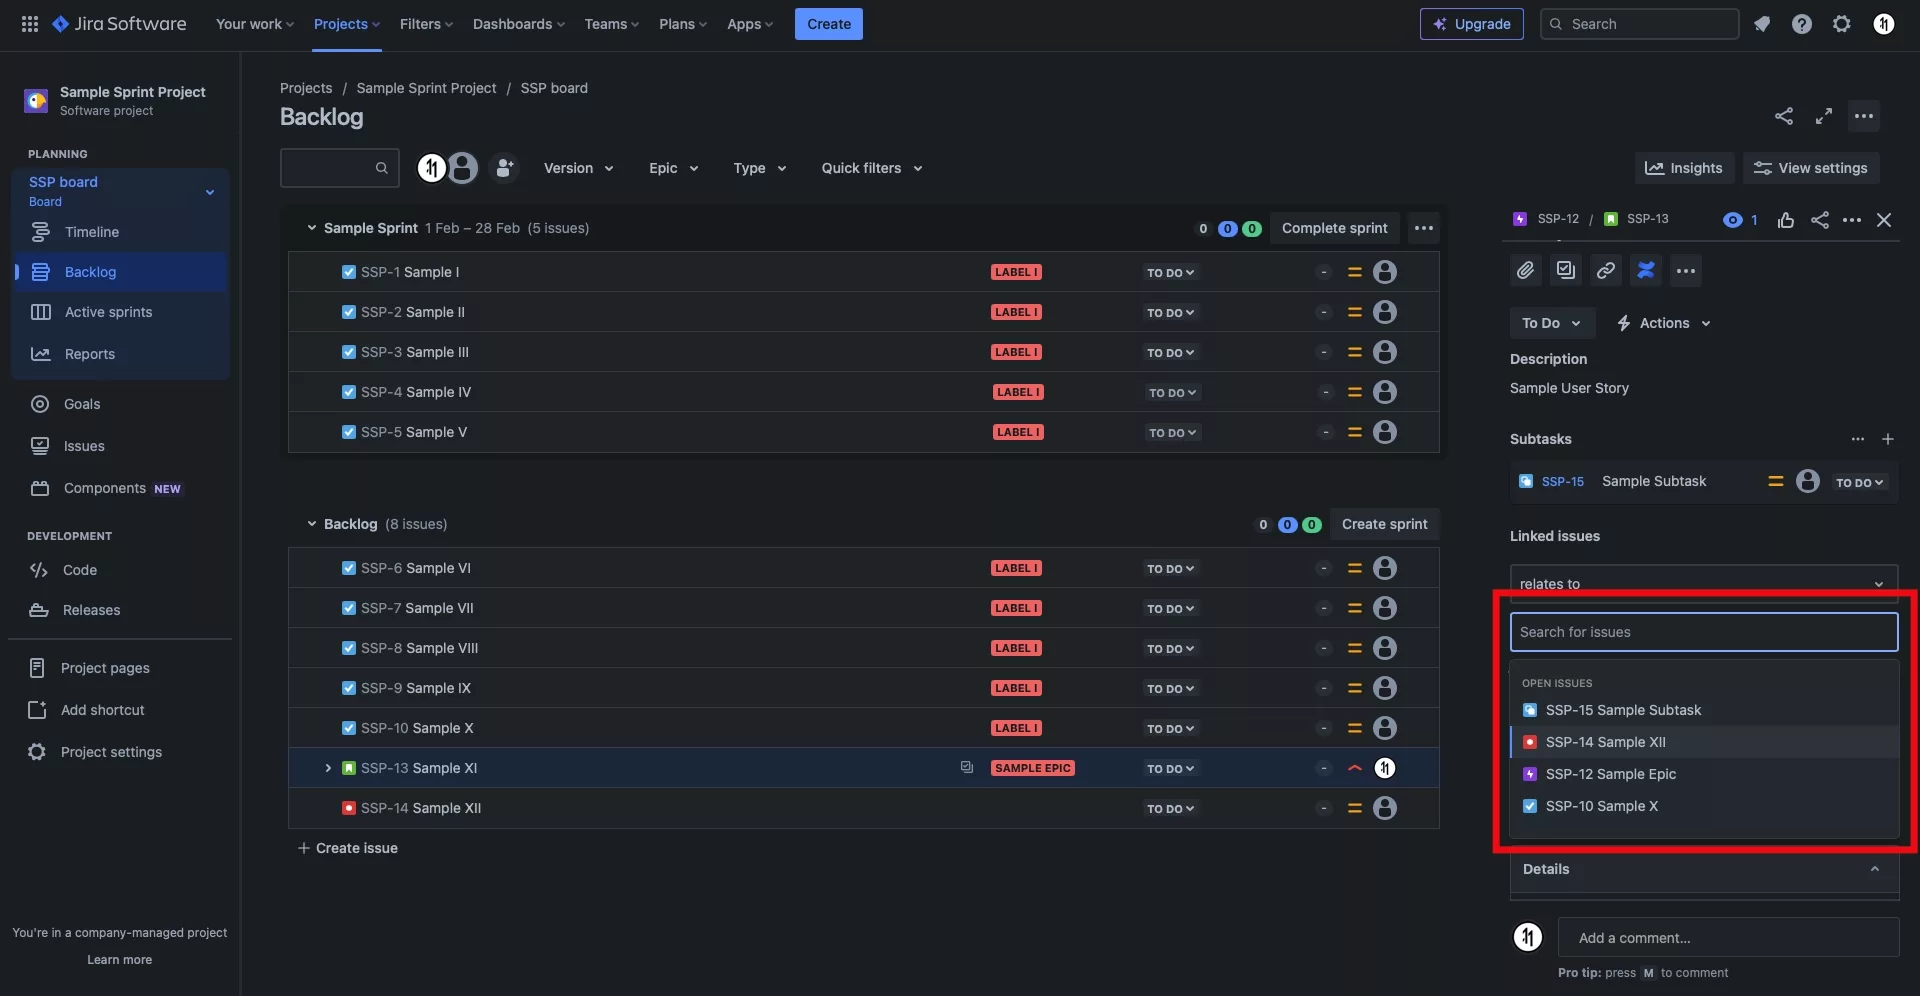
Select the issue that you would like to link.
Please note that you can filter for issues by typing in parts of the issues name or the full issues name.
Step Six: Link, Change or Cancel

If everything looks good, click the Link button.
If you wish to change the issue, click the X icon.
If you wish to cancel the operation, click the Cancel button.
Looking to learn more about Project Management, Technology and Strategy?
Search our blog to find educational content on project management, design, development and strategy.