How to edit the details of an issue in JIRA
A guide to modifying the details of an issue (i.e. ticket) in a JIRA project.

A guide to modifying the details of an issue (i.e. ticket) in a JIRA project.
SubscribeStep One: Open a JIRA Project
Either create a new JIRA project or open an existing one.
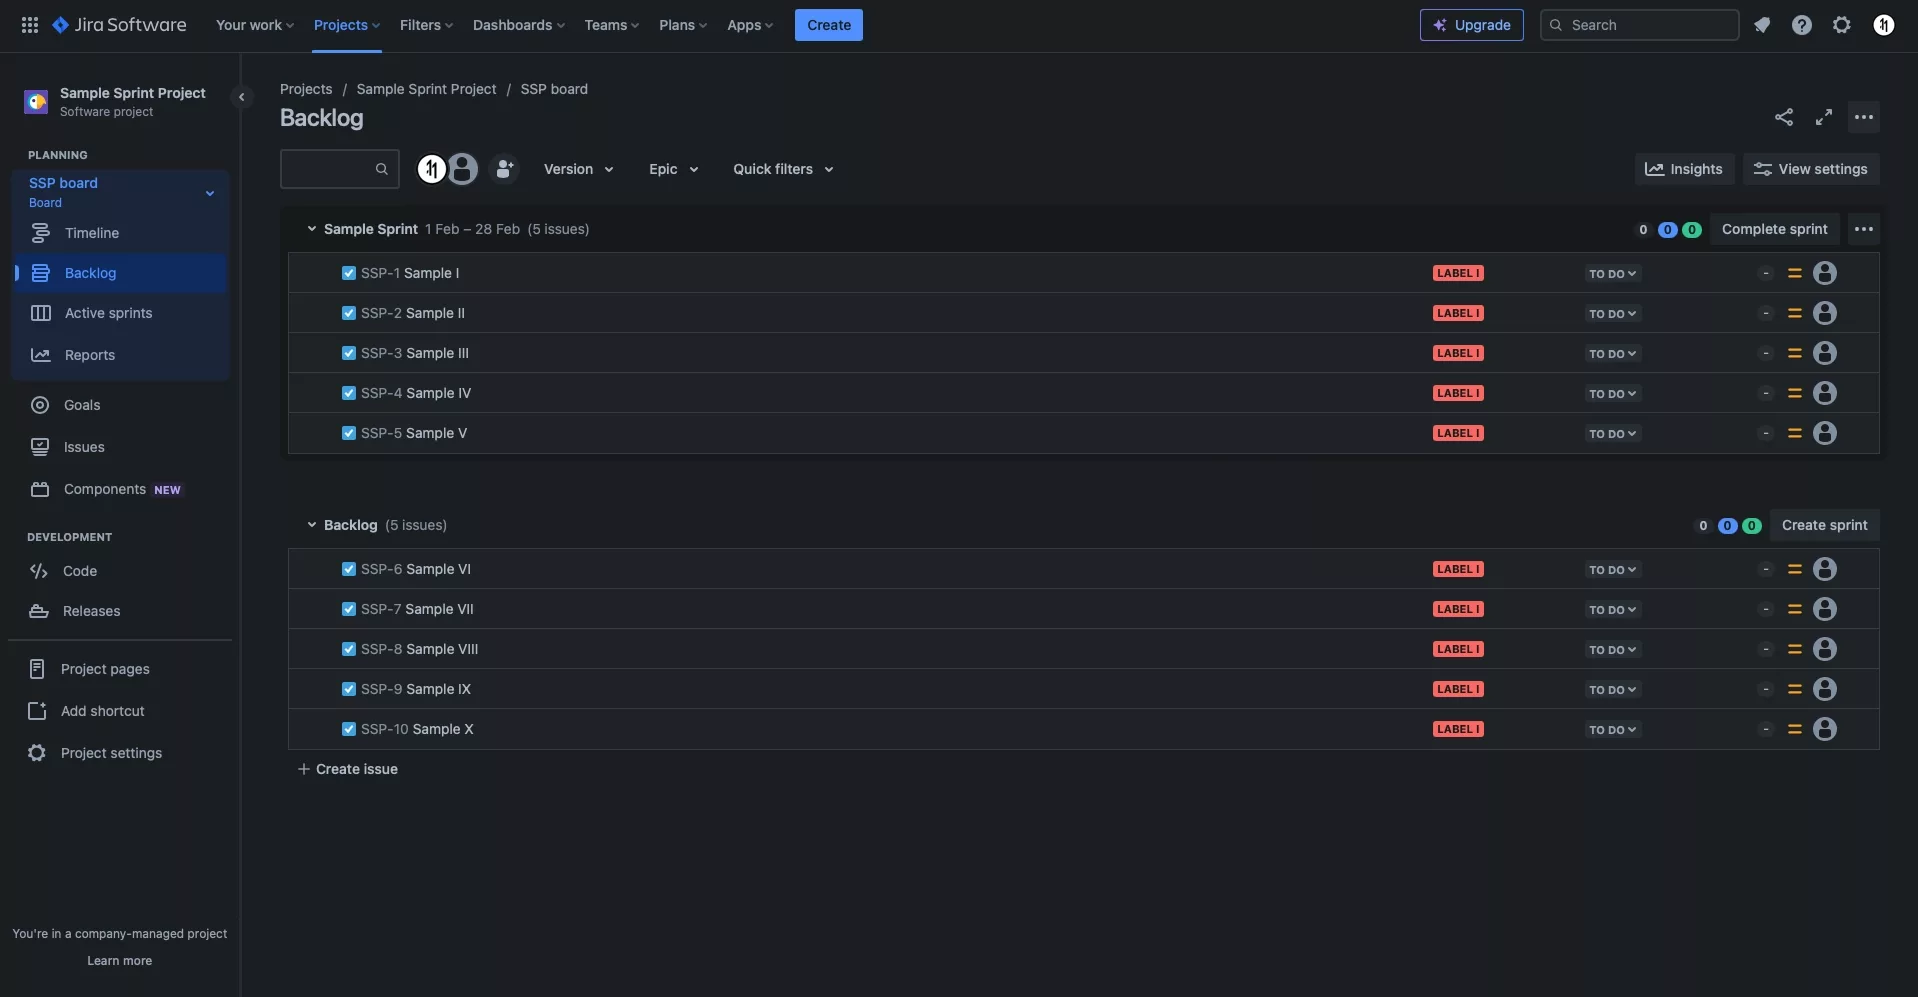
Step Two: Select the Issue
Click an existing ticket to open up a view that allows you to edit its details.
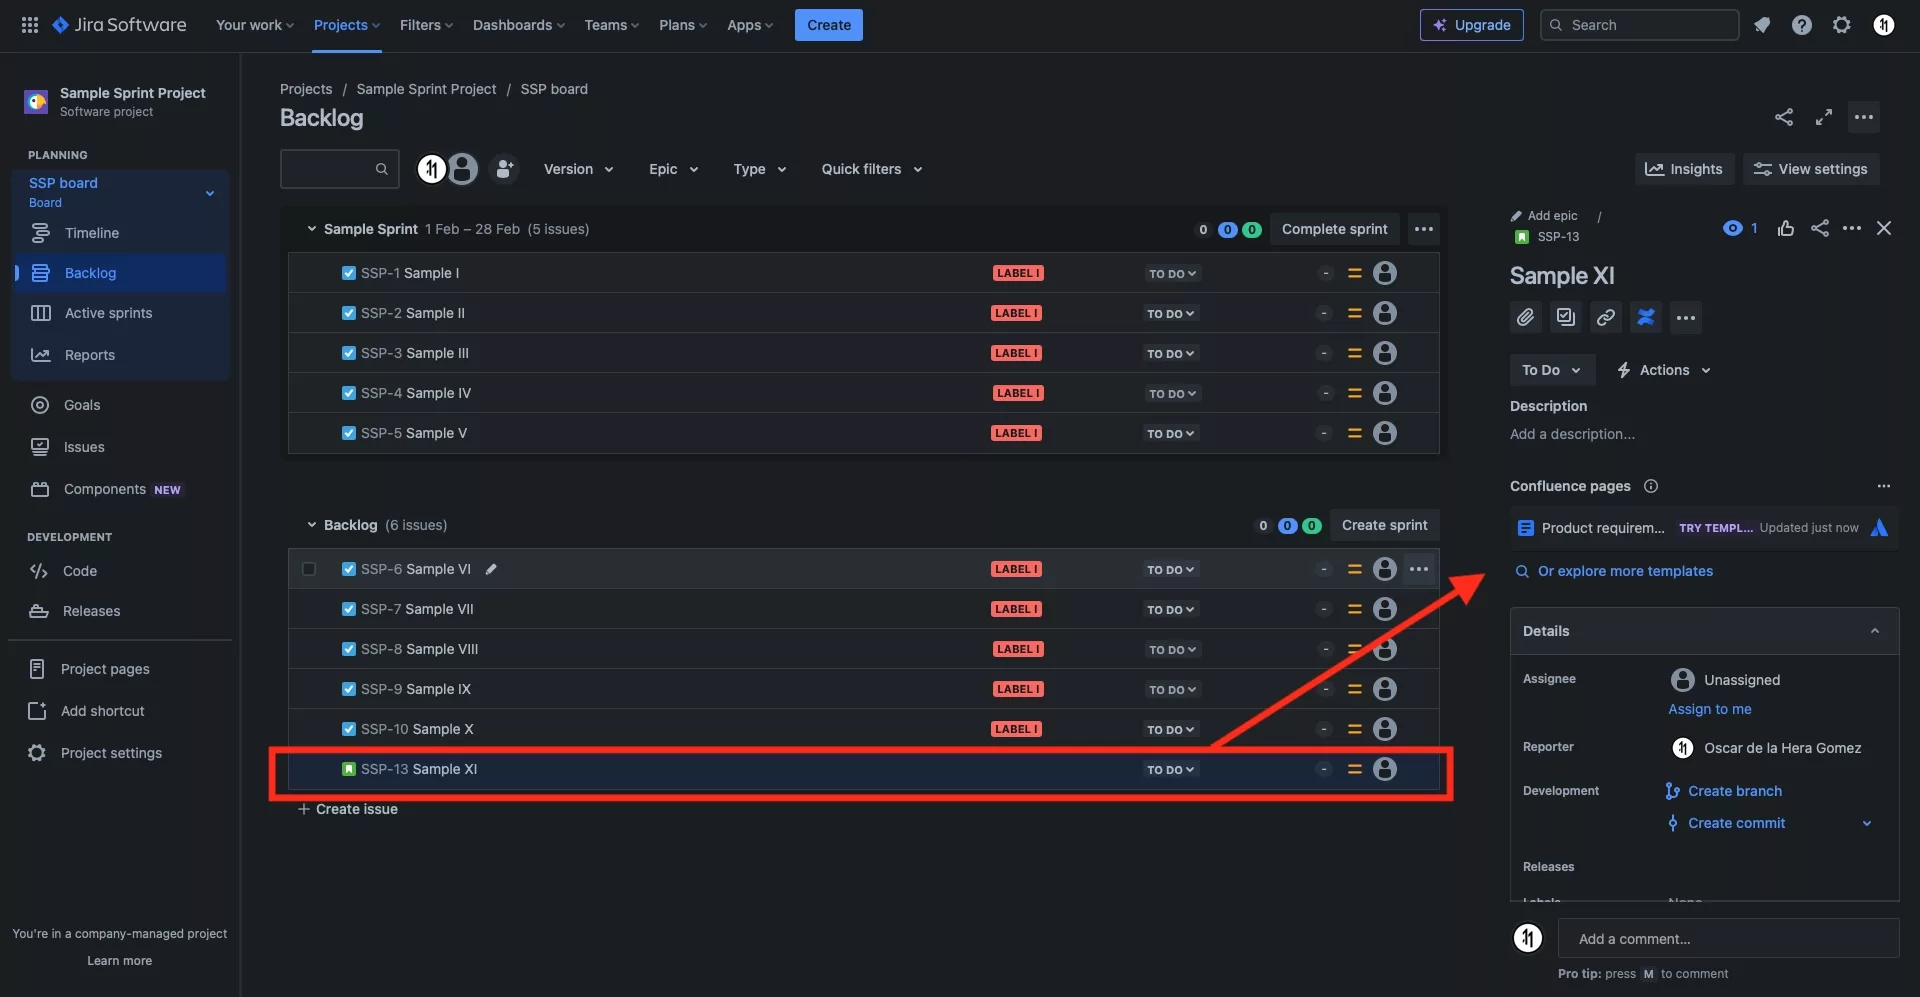
Step Three: Add an Epic
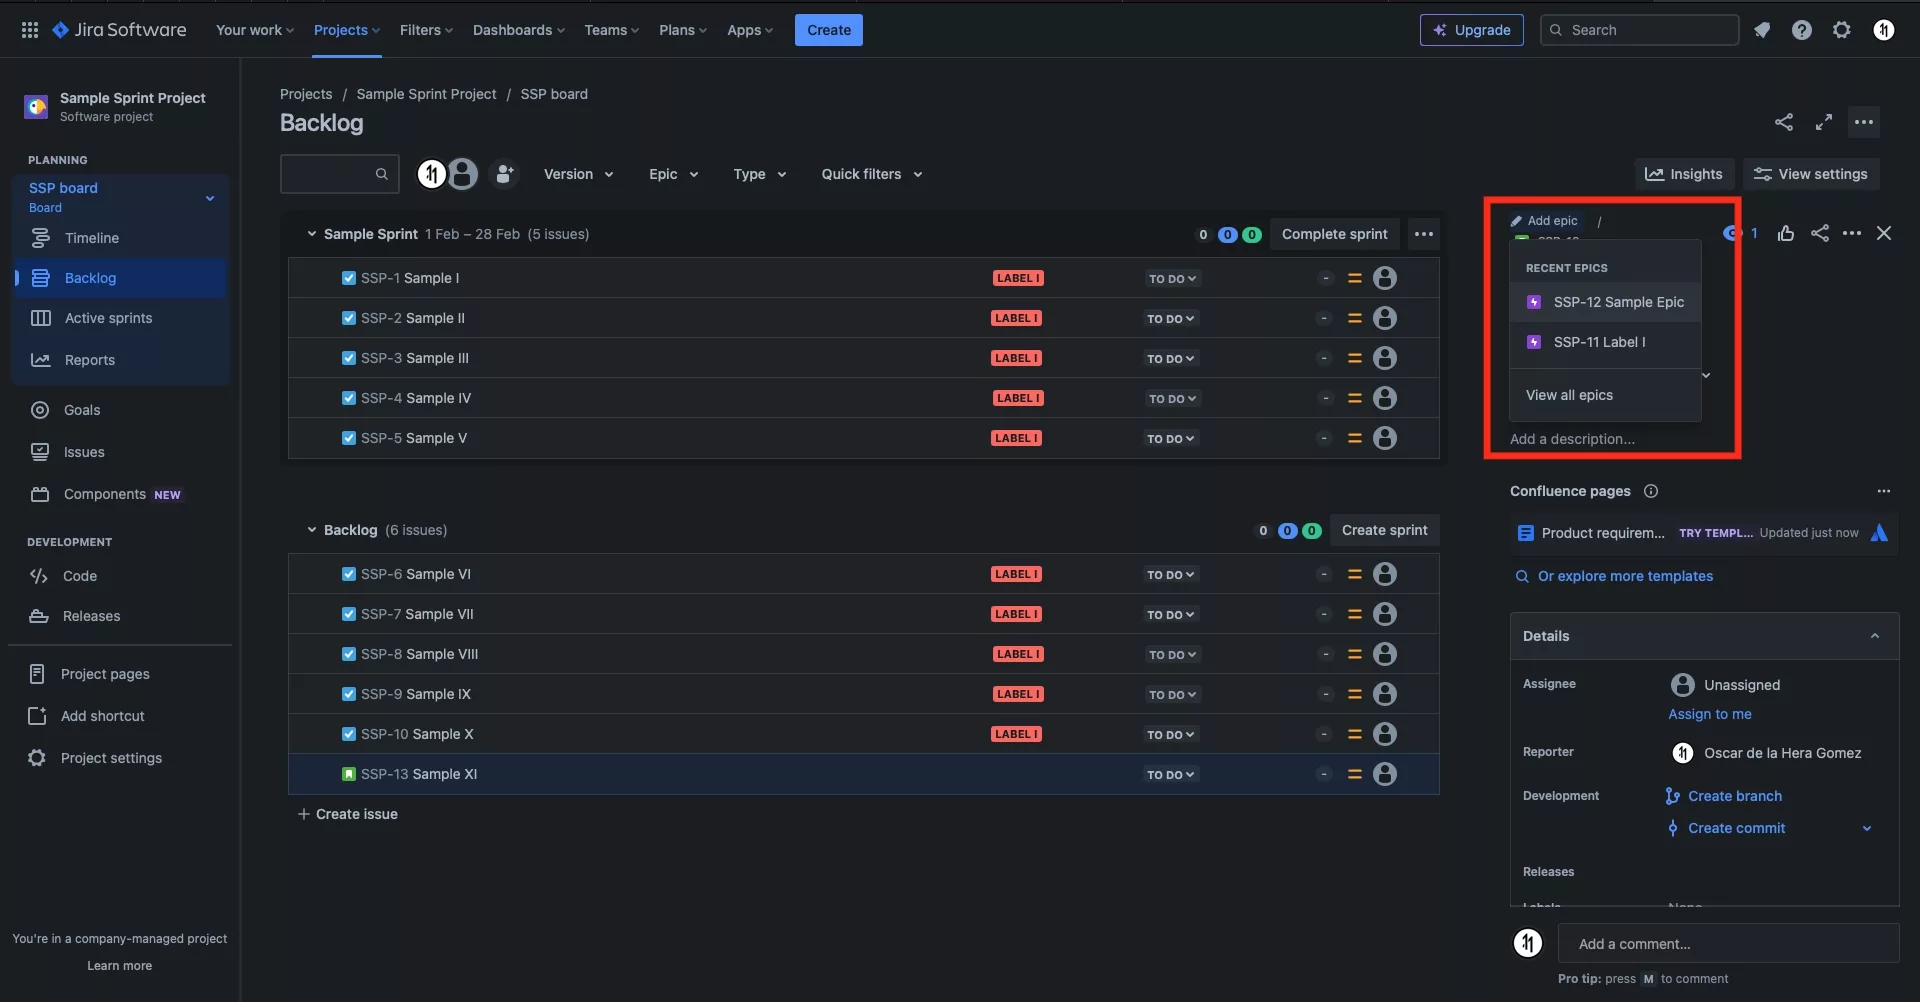
Click Add Epic and select an epic from the dropdown.
Step Four: Add a Description
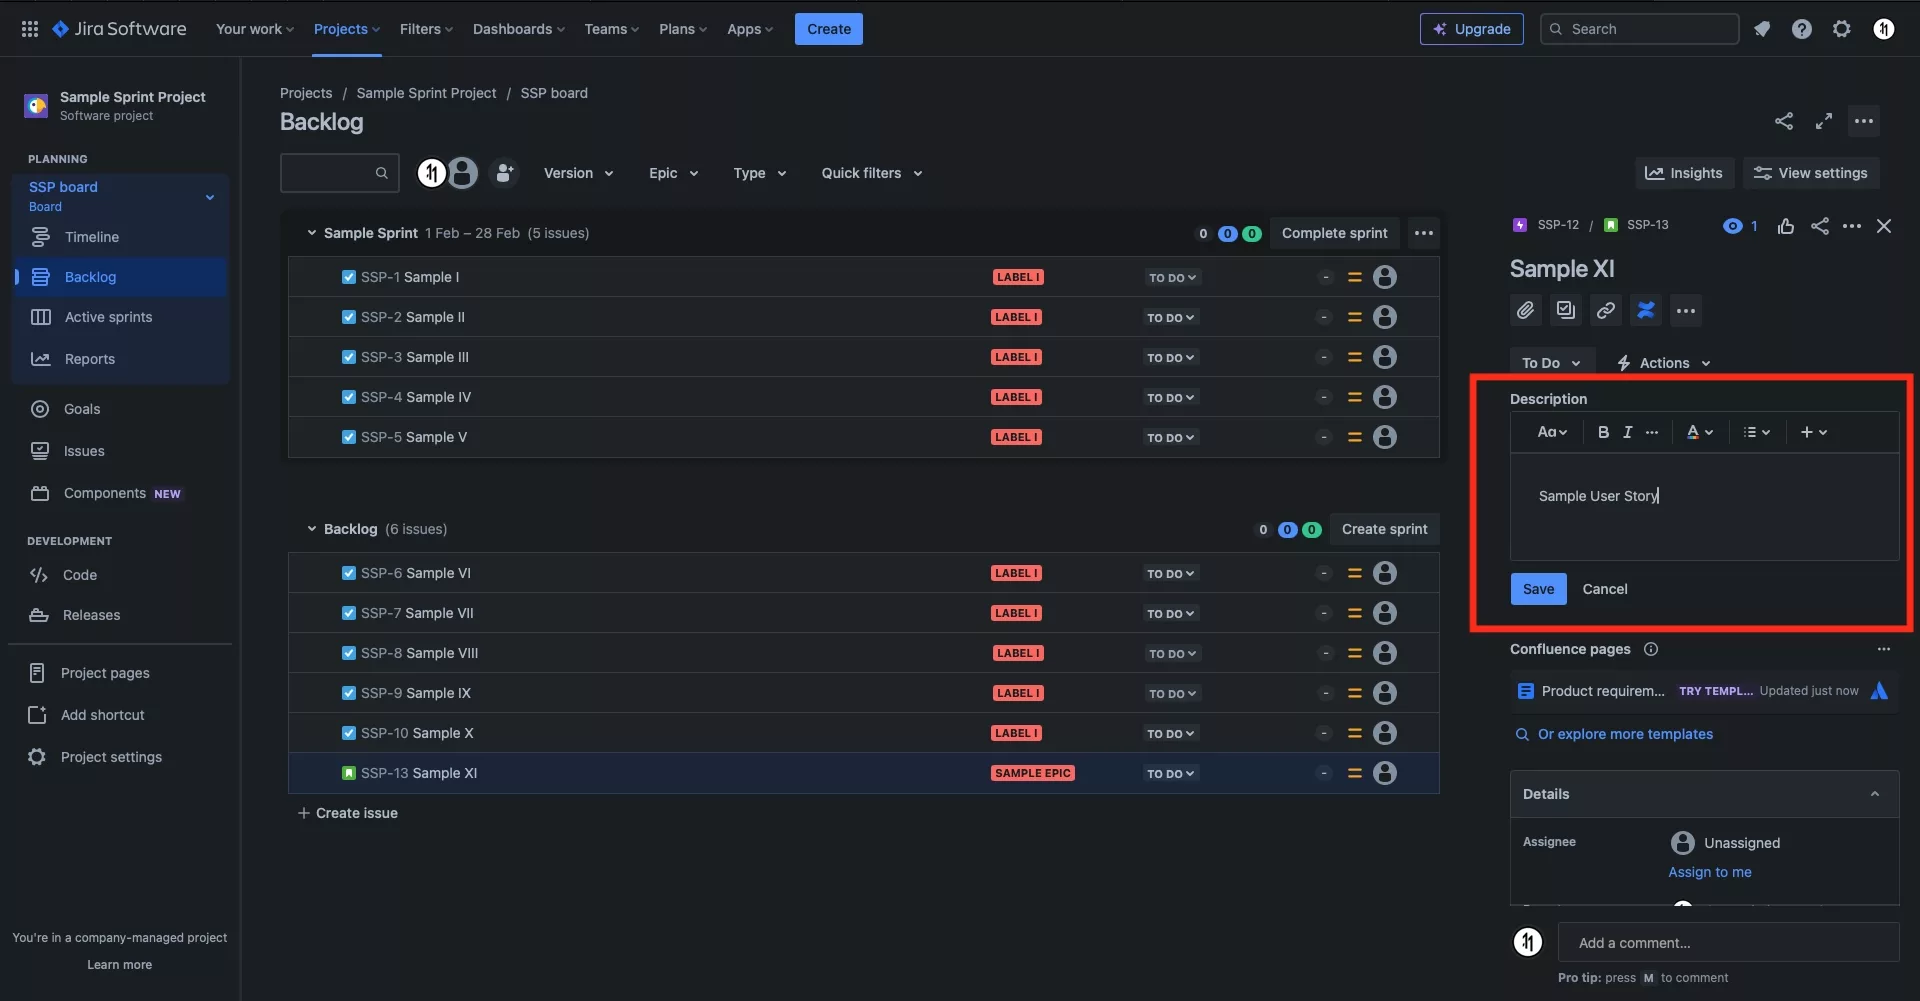
Select Add a description... and enter the details of the issue.
Press the Save button once you're done.
Step Five: Edit the Assignee
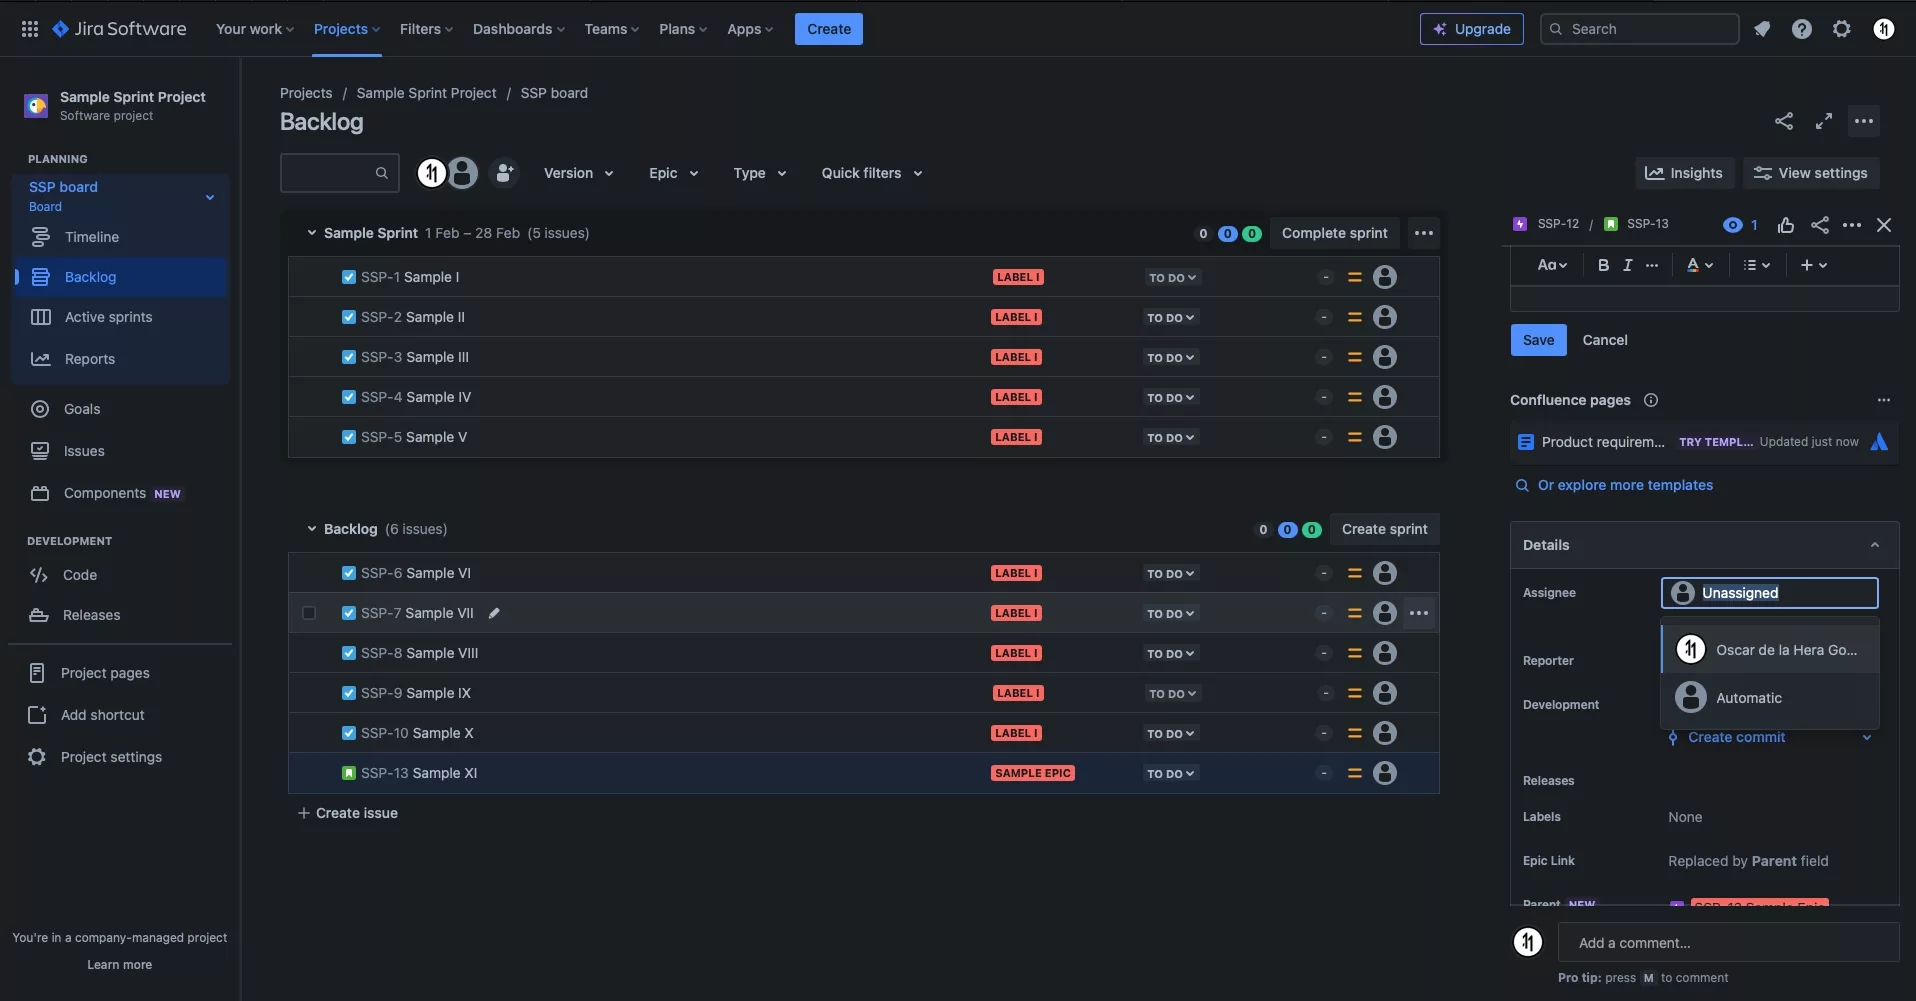
Scroll to the Details section and select the Assignee field.
Select the person that will execute the issue.
Step Five: Select the Priority

Under Details select the priority of the issue.
Step Six: Add Story Points or Time Estimates

To add story points or time estimates, scroll to the More Fields section.
Looking to learn more about Project Management, Technology and Strategy?
Search our blog to find educational content on project management, design, development and strategy.