How to create an Agile User Story in JIRA
A guide to creating a subtask, known as an agile user story, issue (i.e. ticket) in a JIRA project.

A guide to creating a subtask, known as an agile user story, issue (i.e. ticket) in a JIRA project.
SubscribePlease note that a subtask, or Agile User Story, can be created on a User Story, Task or Bug in Jira.
Step One: Open a JIRA Project
Either create a new JIRA project or open an existing one.
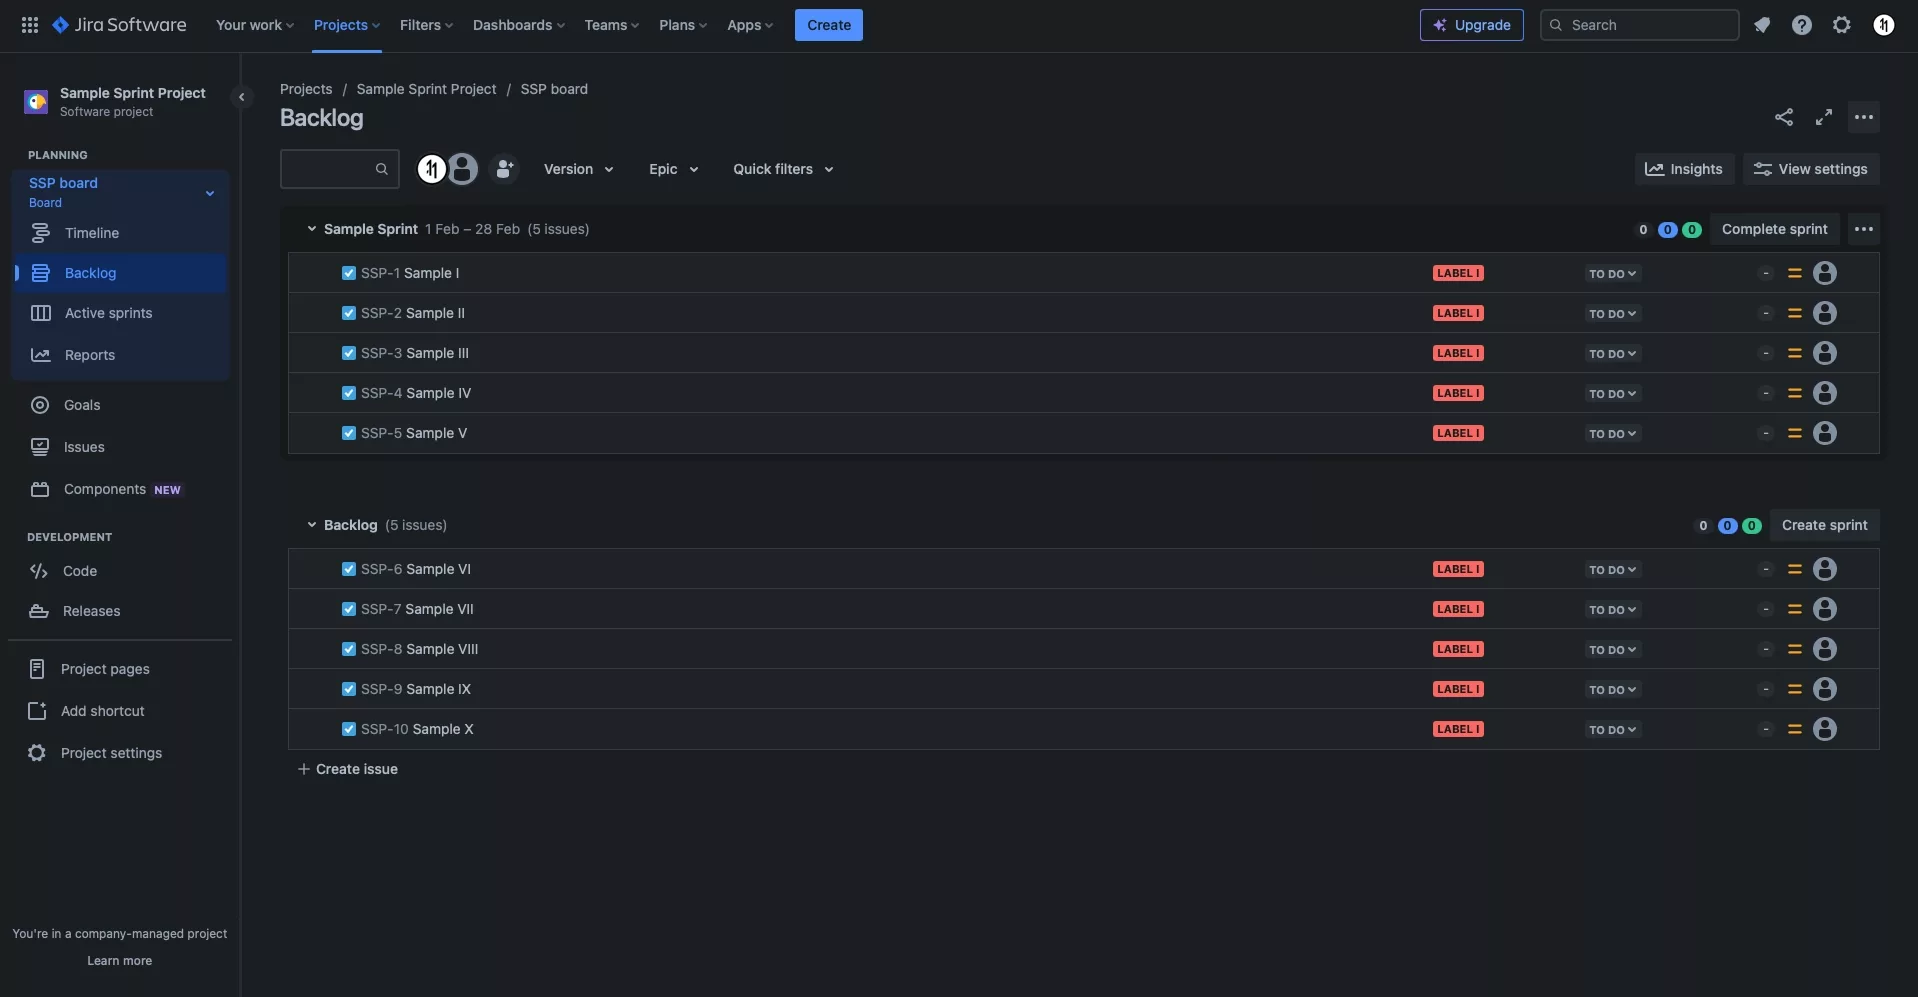
Step Two: Select the Issue
Click an existing ticket to open up a view that allows you to edit its details.
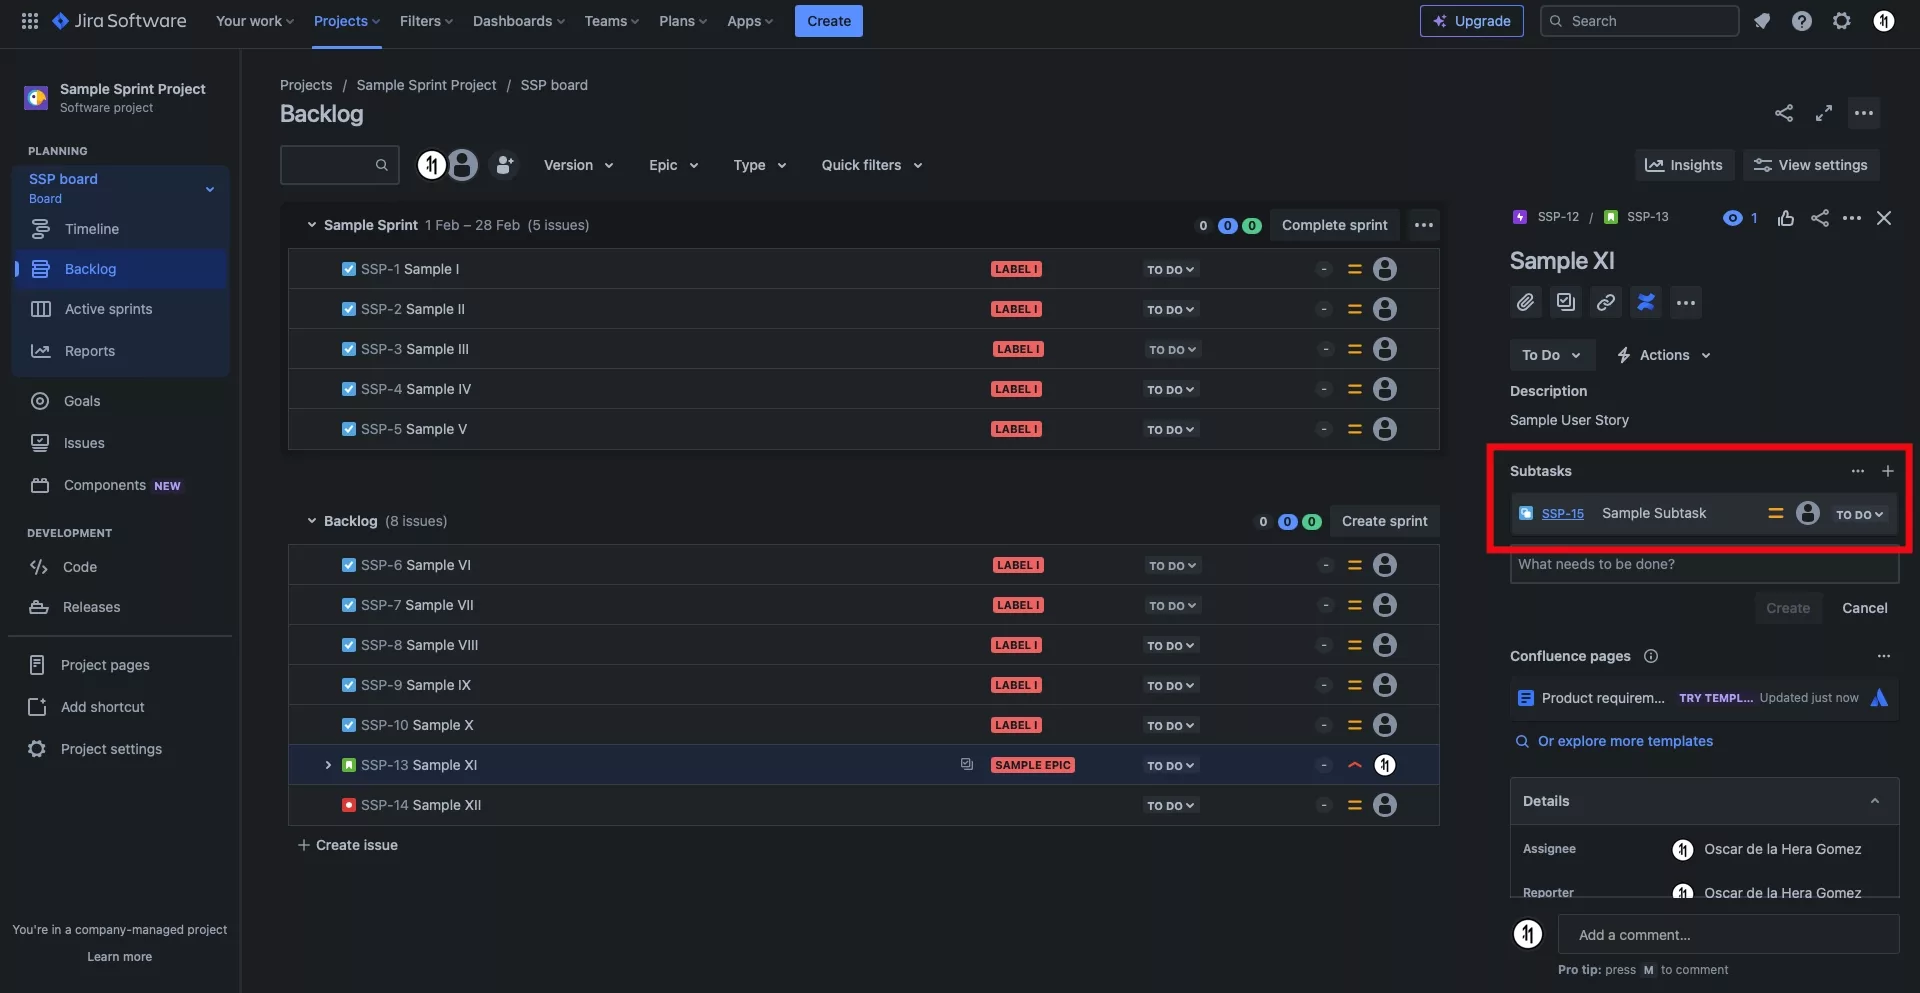
Step Three: Create Subtask
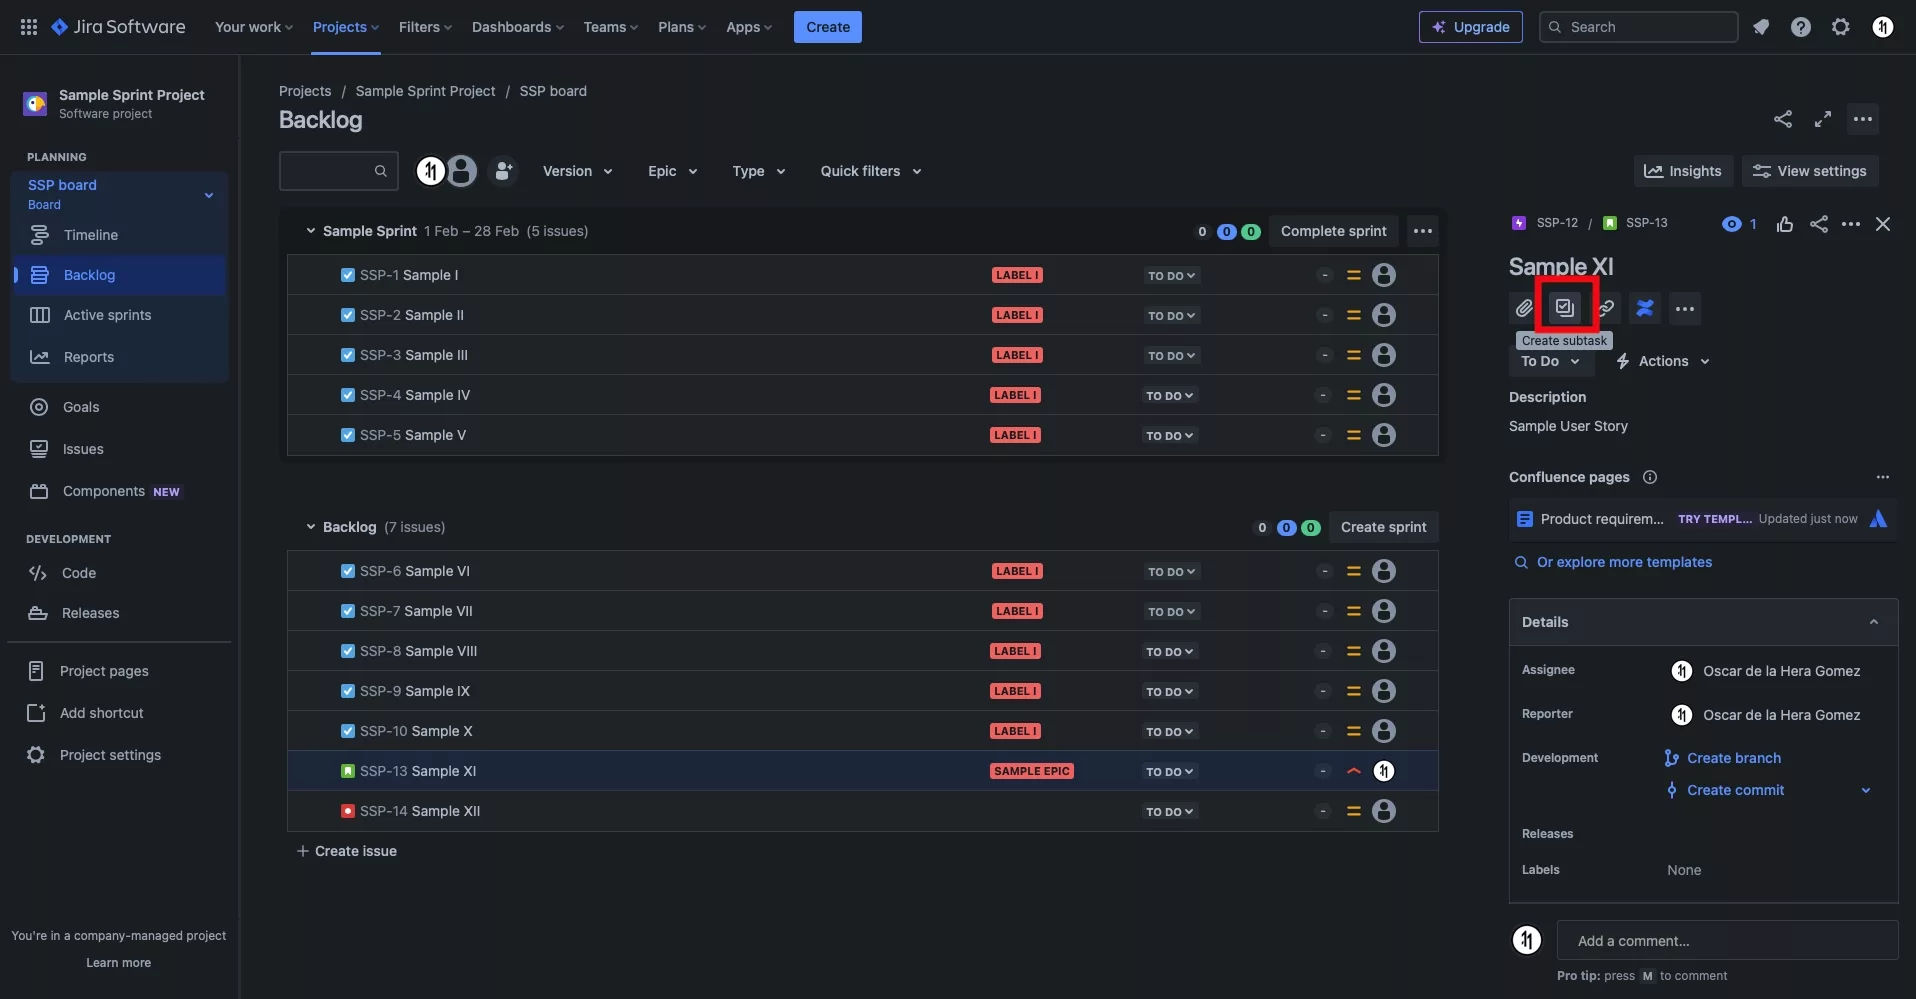
Click the Create Subtask button on the issue.
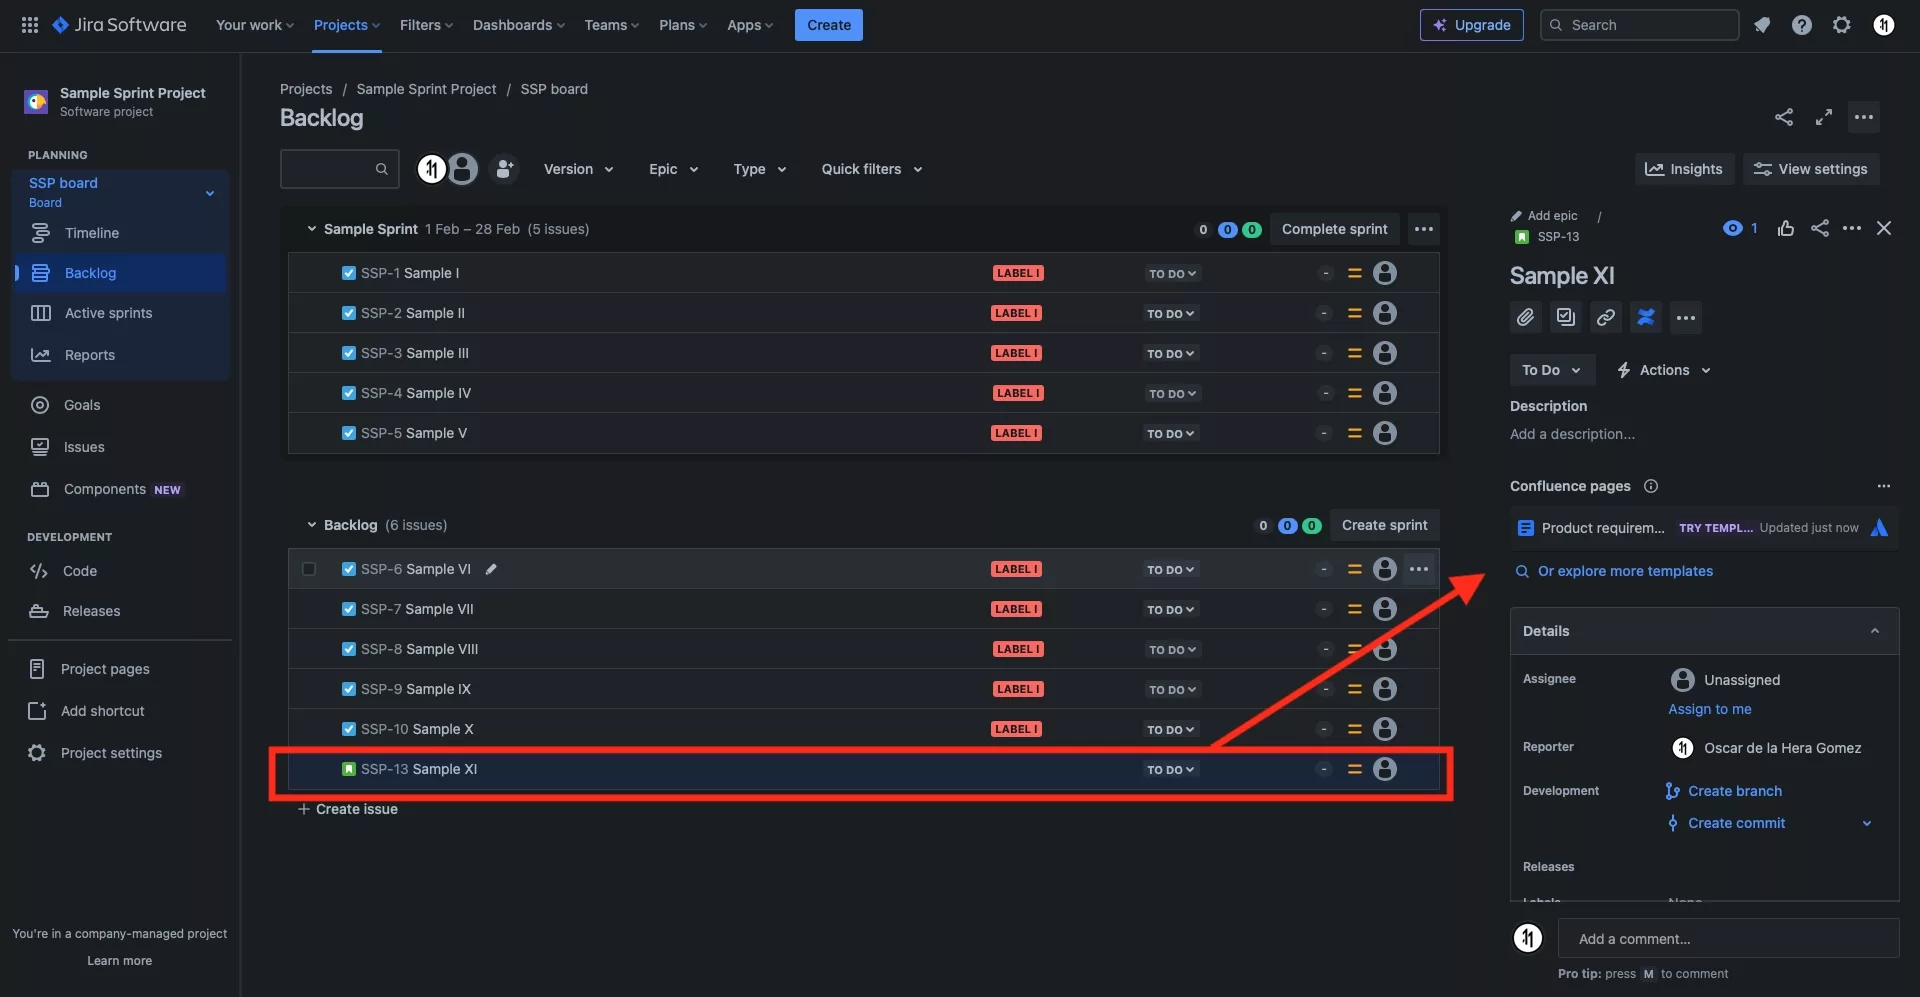
Step Four: Name and Create

Name the subtask and click Create.
Step Five: Select the Subtask
Click the newly selected subtask.
Step Six: Edit the Details
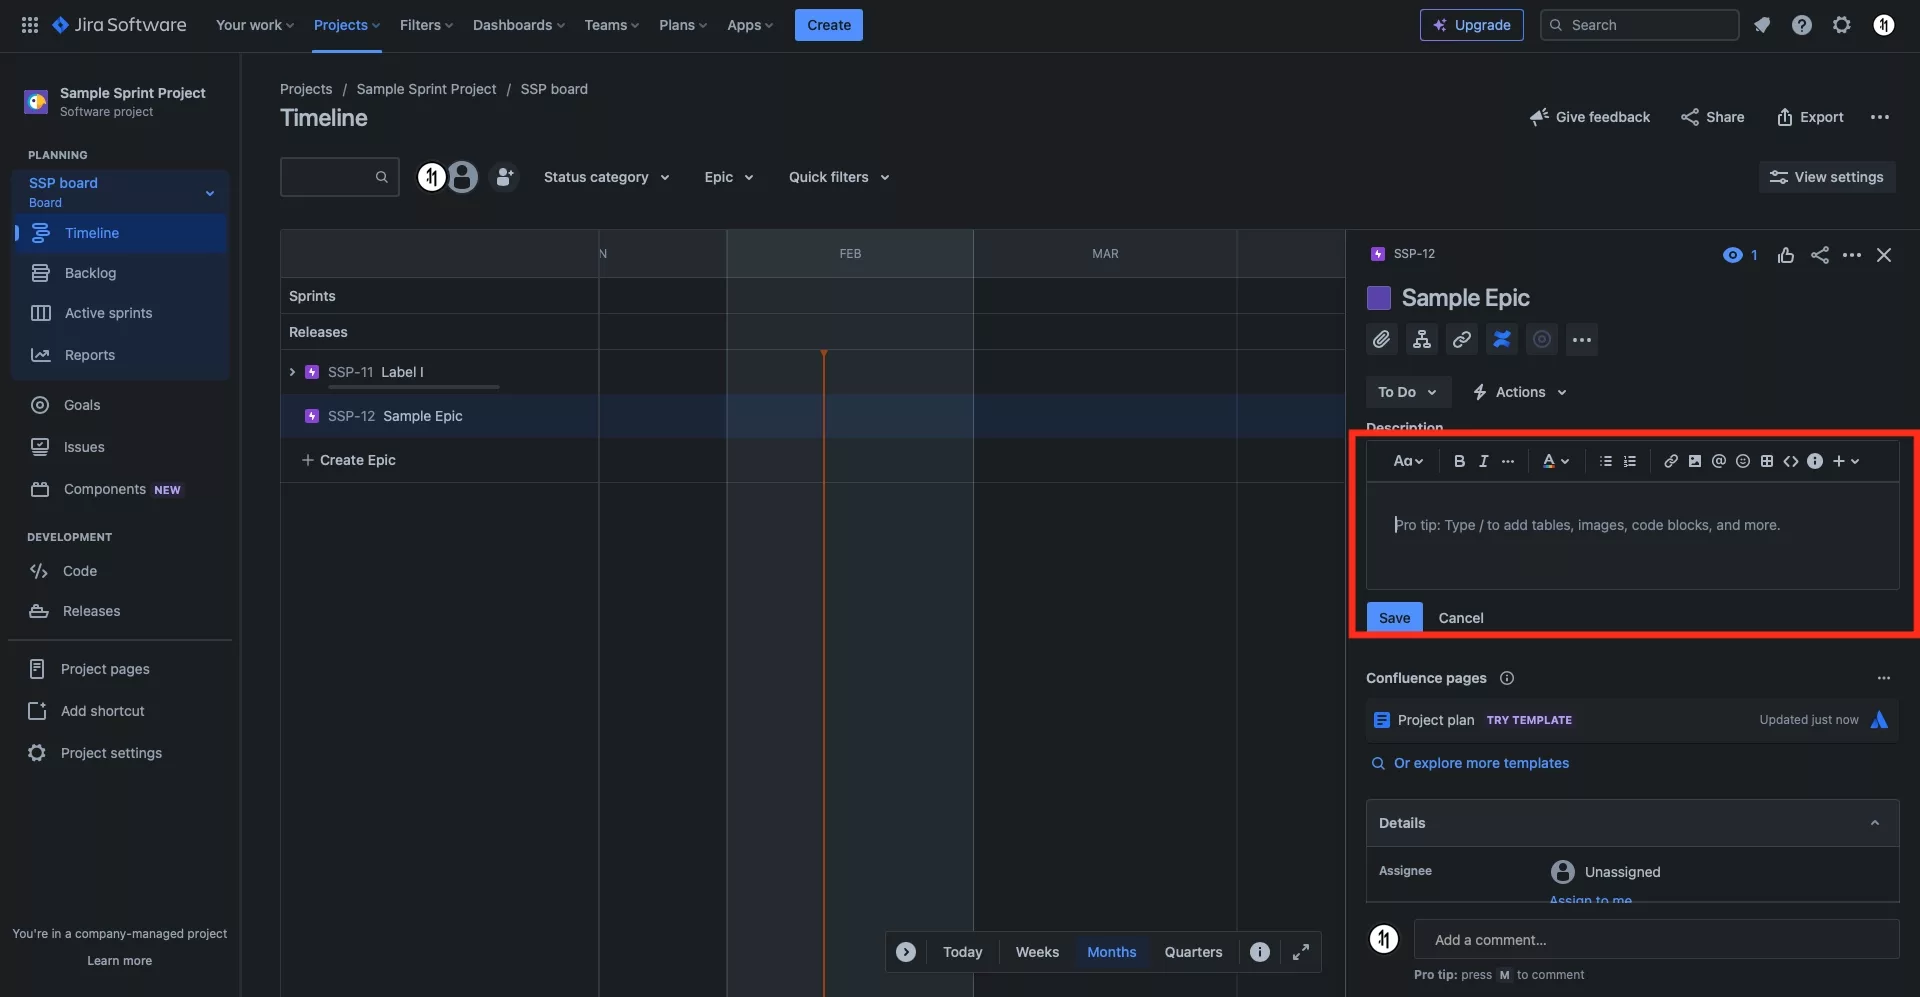
Editing a subtask is similar to editing other JIRA issues.
Follow the tutorial below to learn how to edit a subtask.
Looking to learn more about Project Management, Technology and Strategy?
Search our blog to find educational content on project management, design, development and strategy.