How to create a presentation overlay in Figma
A step by step guide for creating a presentation overlay that shows page numbers.

A step by step guide for creating a presentation overlay that shows page numbers.
SubscribeFigma ResourcesThe following tutorial assumes that you have created a Figma design file and recommends you integrate a design system as an external library.
Step One: Create a Frame
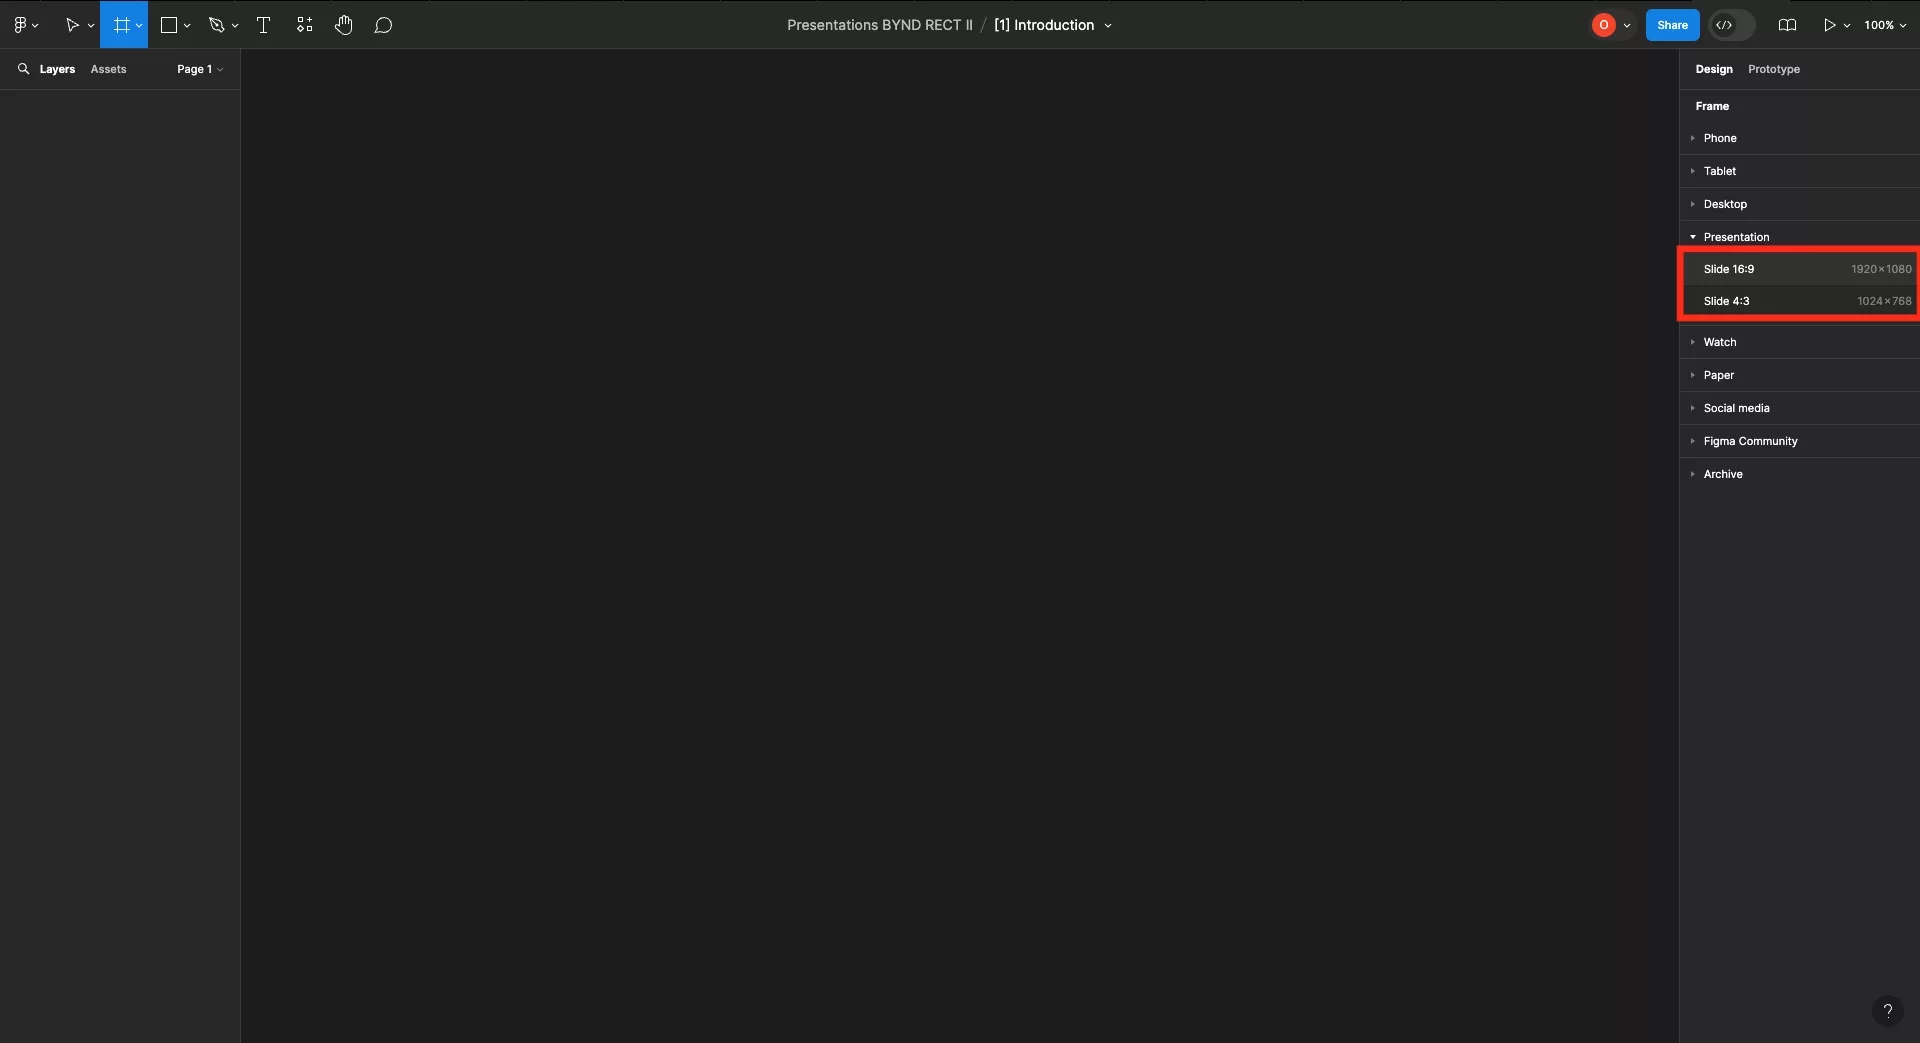
Click F and select a Presentation preset from the menu on the right side.
Step Two: Create the Overlay
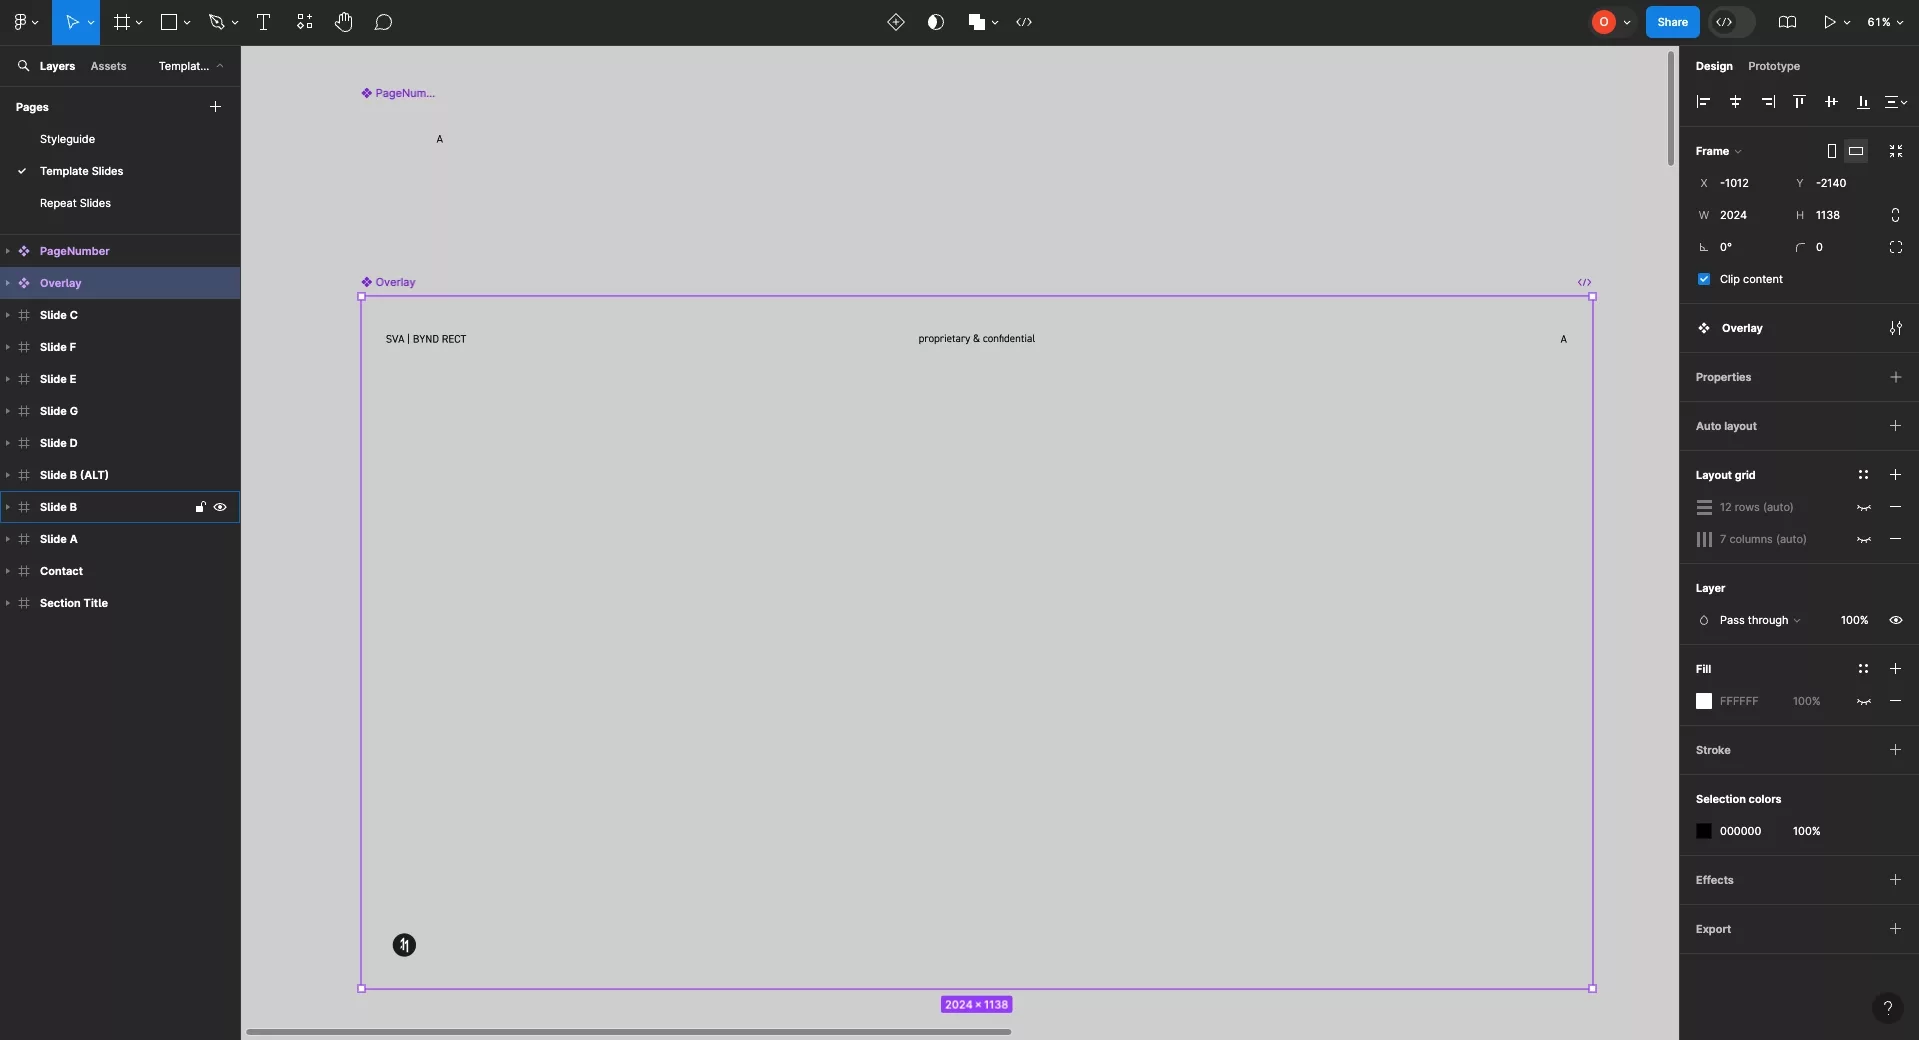
Add the relevant elements to the presentation frame.
Once you are done, convert the presentation frame into a component (i.e. Overlay or PresentationOverlay).
Please note that will also need to create a separate frame and component for the PageNumber, which will need to sit within the Overlay.
Looking to learn more about things you can do with Figma ?
Search our blog to find educational content on learning how to use Figma.