How to make a GraphQL page query with variables in Gatsby
A step by step tutorial on making a GraphQL page query with variables in GatsbyJS. Github repository included.


A step by step tutorial on making a GraphQL page query with variables in GatsbyJS. Github repository included.
The following tutorial builds off our Open Source starter project and walks you through how to make page queries with variables in Gatsby for pages created programmatically based on entires in a Craft CMS headless CMS gathered through the GraphQL.
We recommend downloading our Open Source project, checking out the tutorial/create-pages-graphql-backend-only branch and carrying out the steps outlined below. All relevant changes can be found on the tutorial/page-queries-with-variables branch.
git clone git@github.com:delasign/typescript-serverless-starter.gitStep One: Import graphql into the template
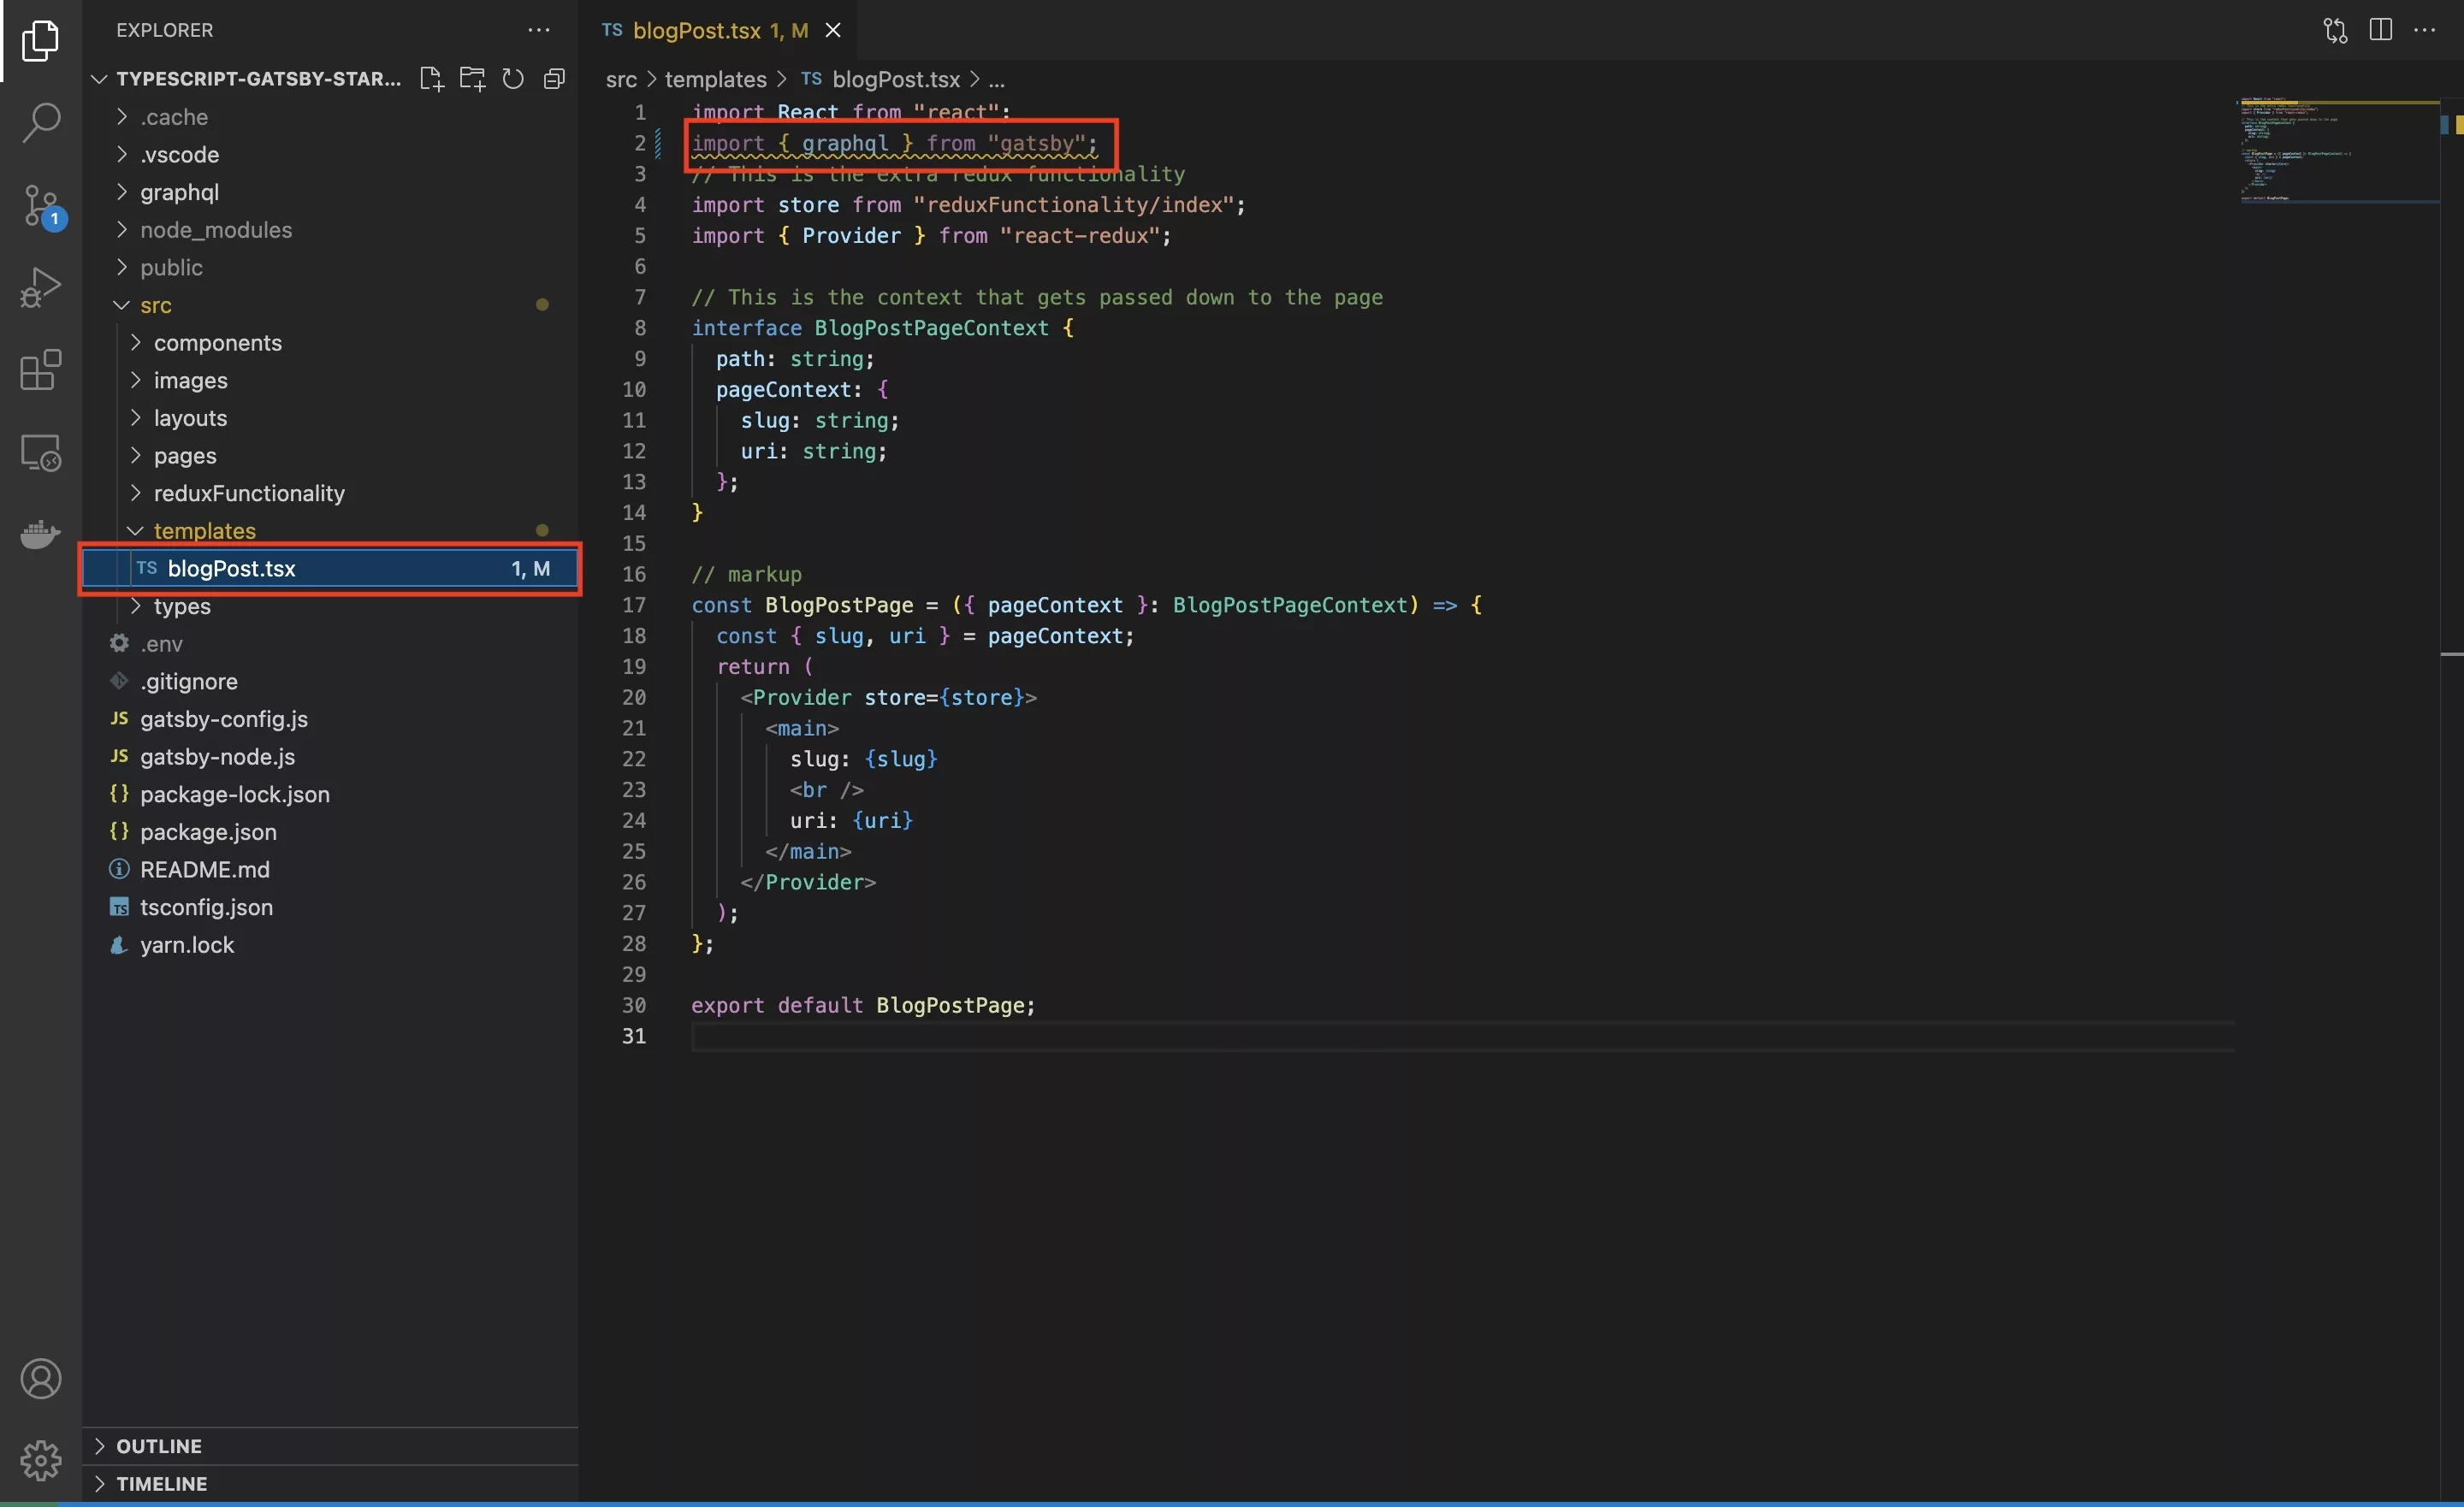
At the top of the blogPost.tsx template found in src/templates/blogpost.tsx add the following import.
import { graphql } from 'gatsby'Step Two: Add the variable page query
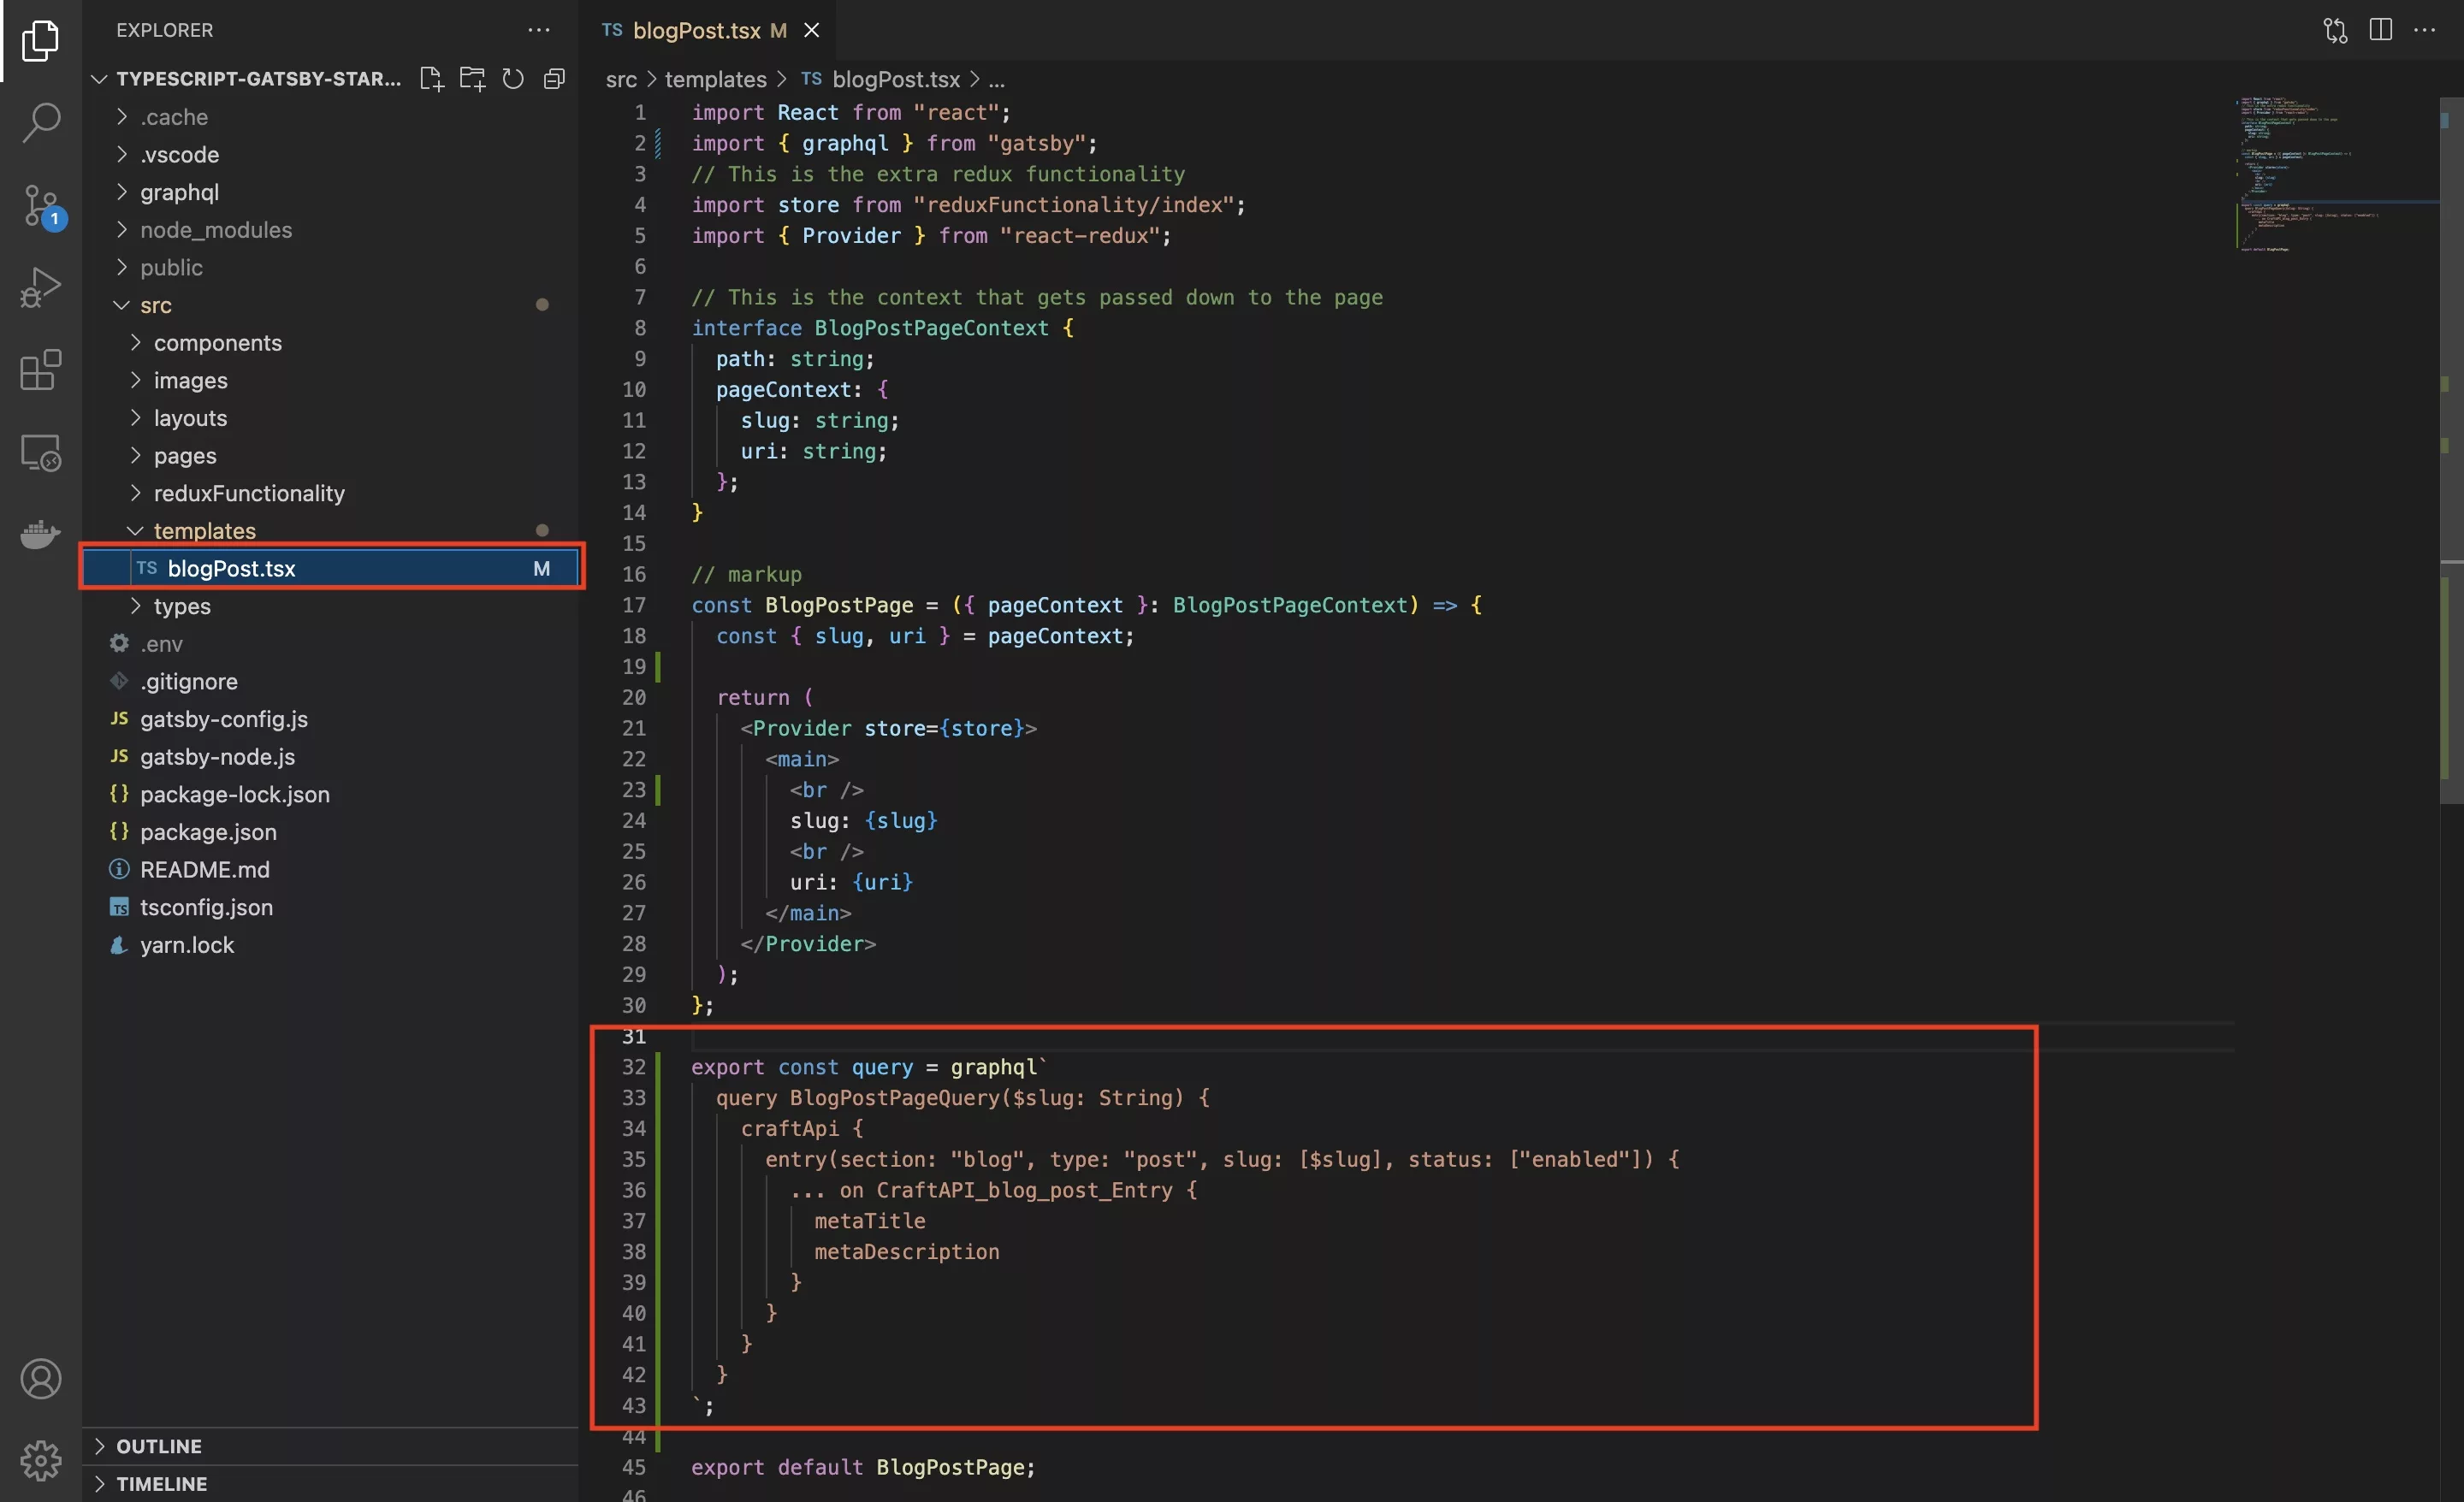
Above the export default add the query. A sample one has been provided below:
As shown on line two, the variables are added to the query. These must be passed down through the pageContext from the createPages.
They can then be consumed using a $ as shown on line 4, with $slug being the relevant example.
Step Three: Update the template props type
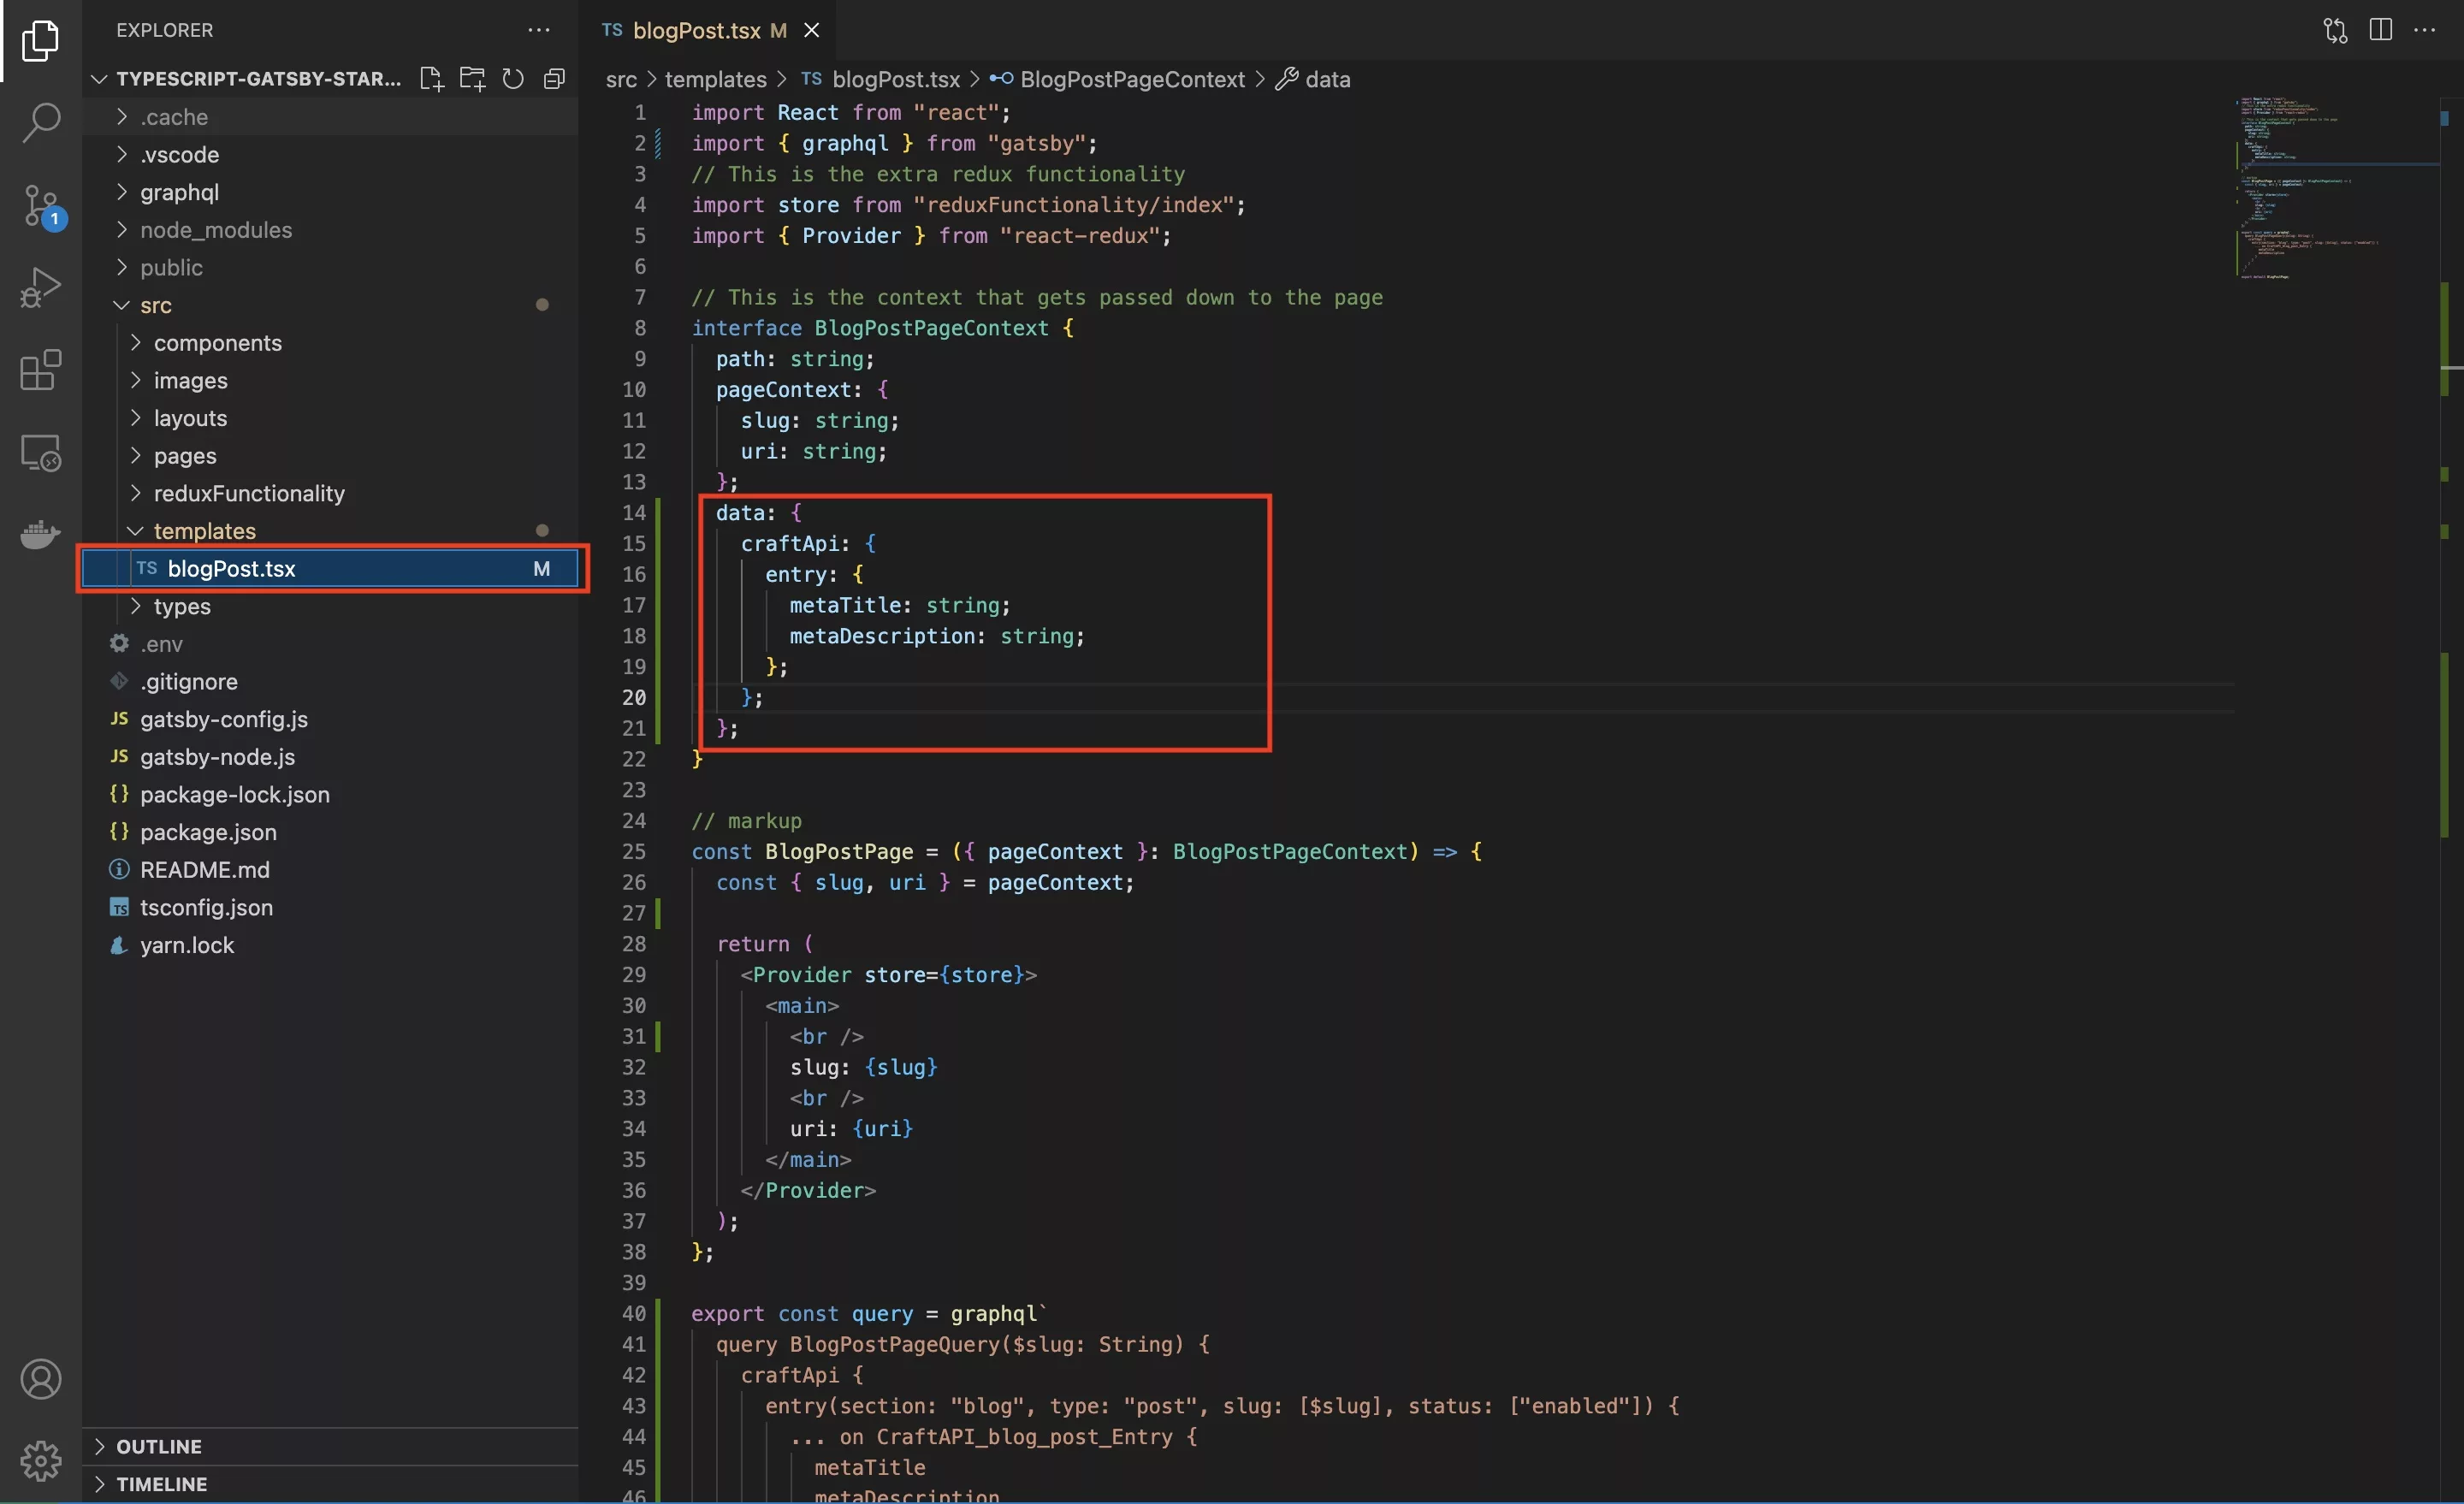
Gatsby page queries are offered to the page via data available through the props. Update your props type (BlogPostPageContext) to include the data model.
Step Four: Prepare for consumption
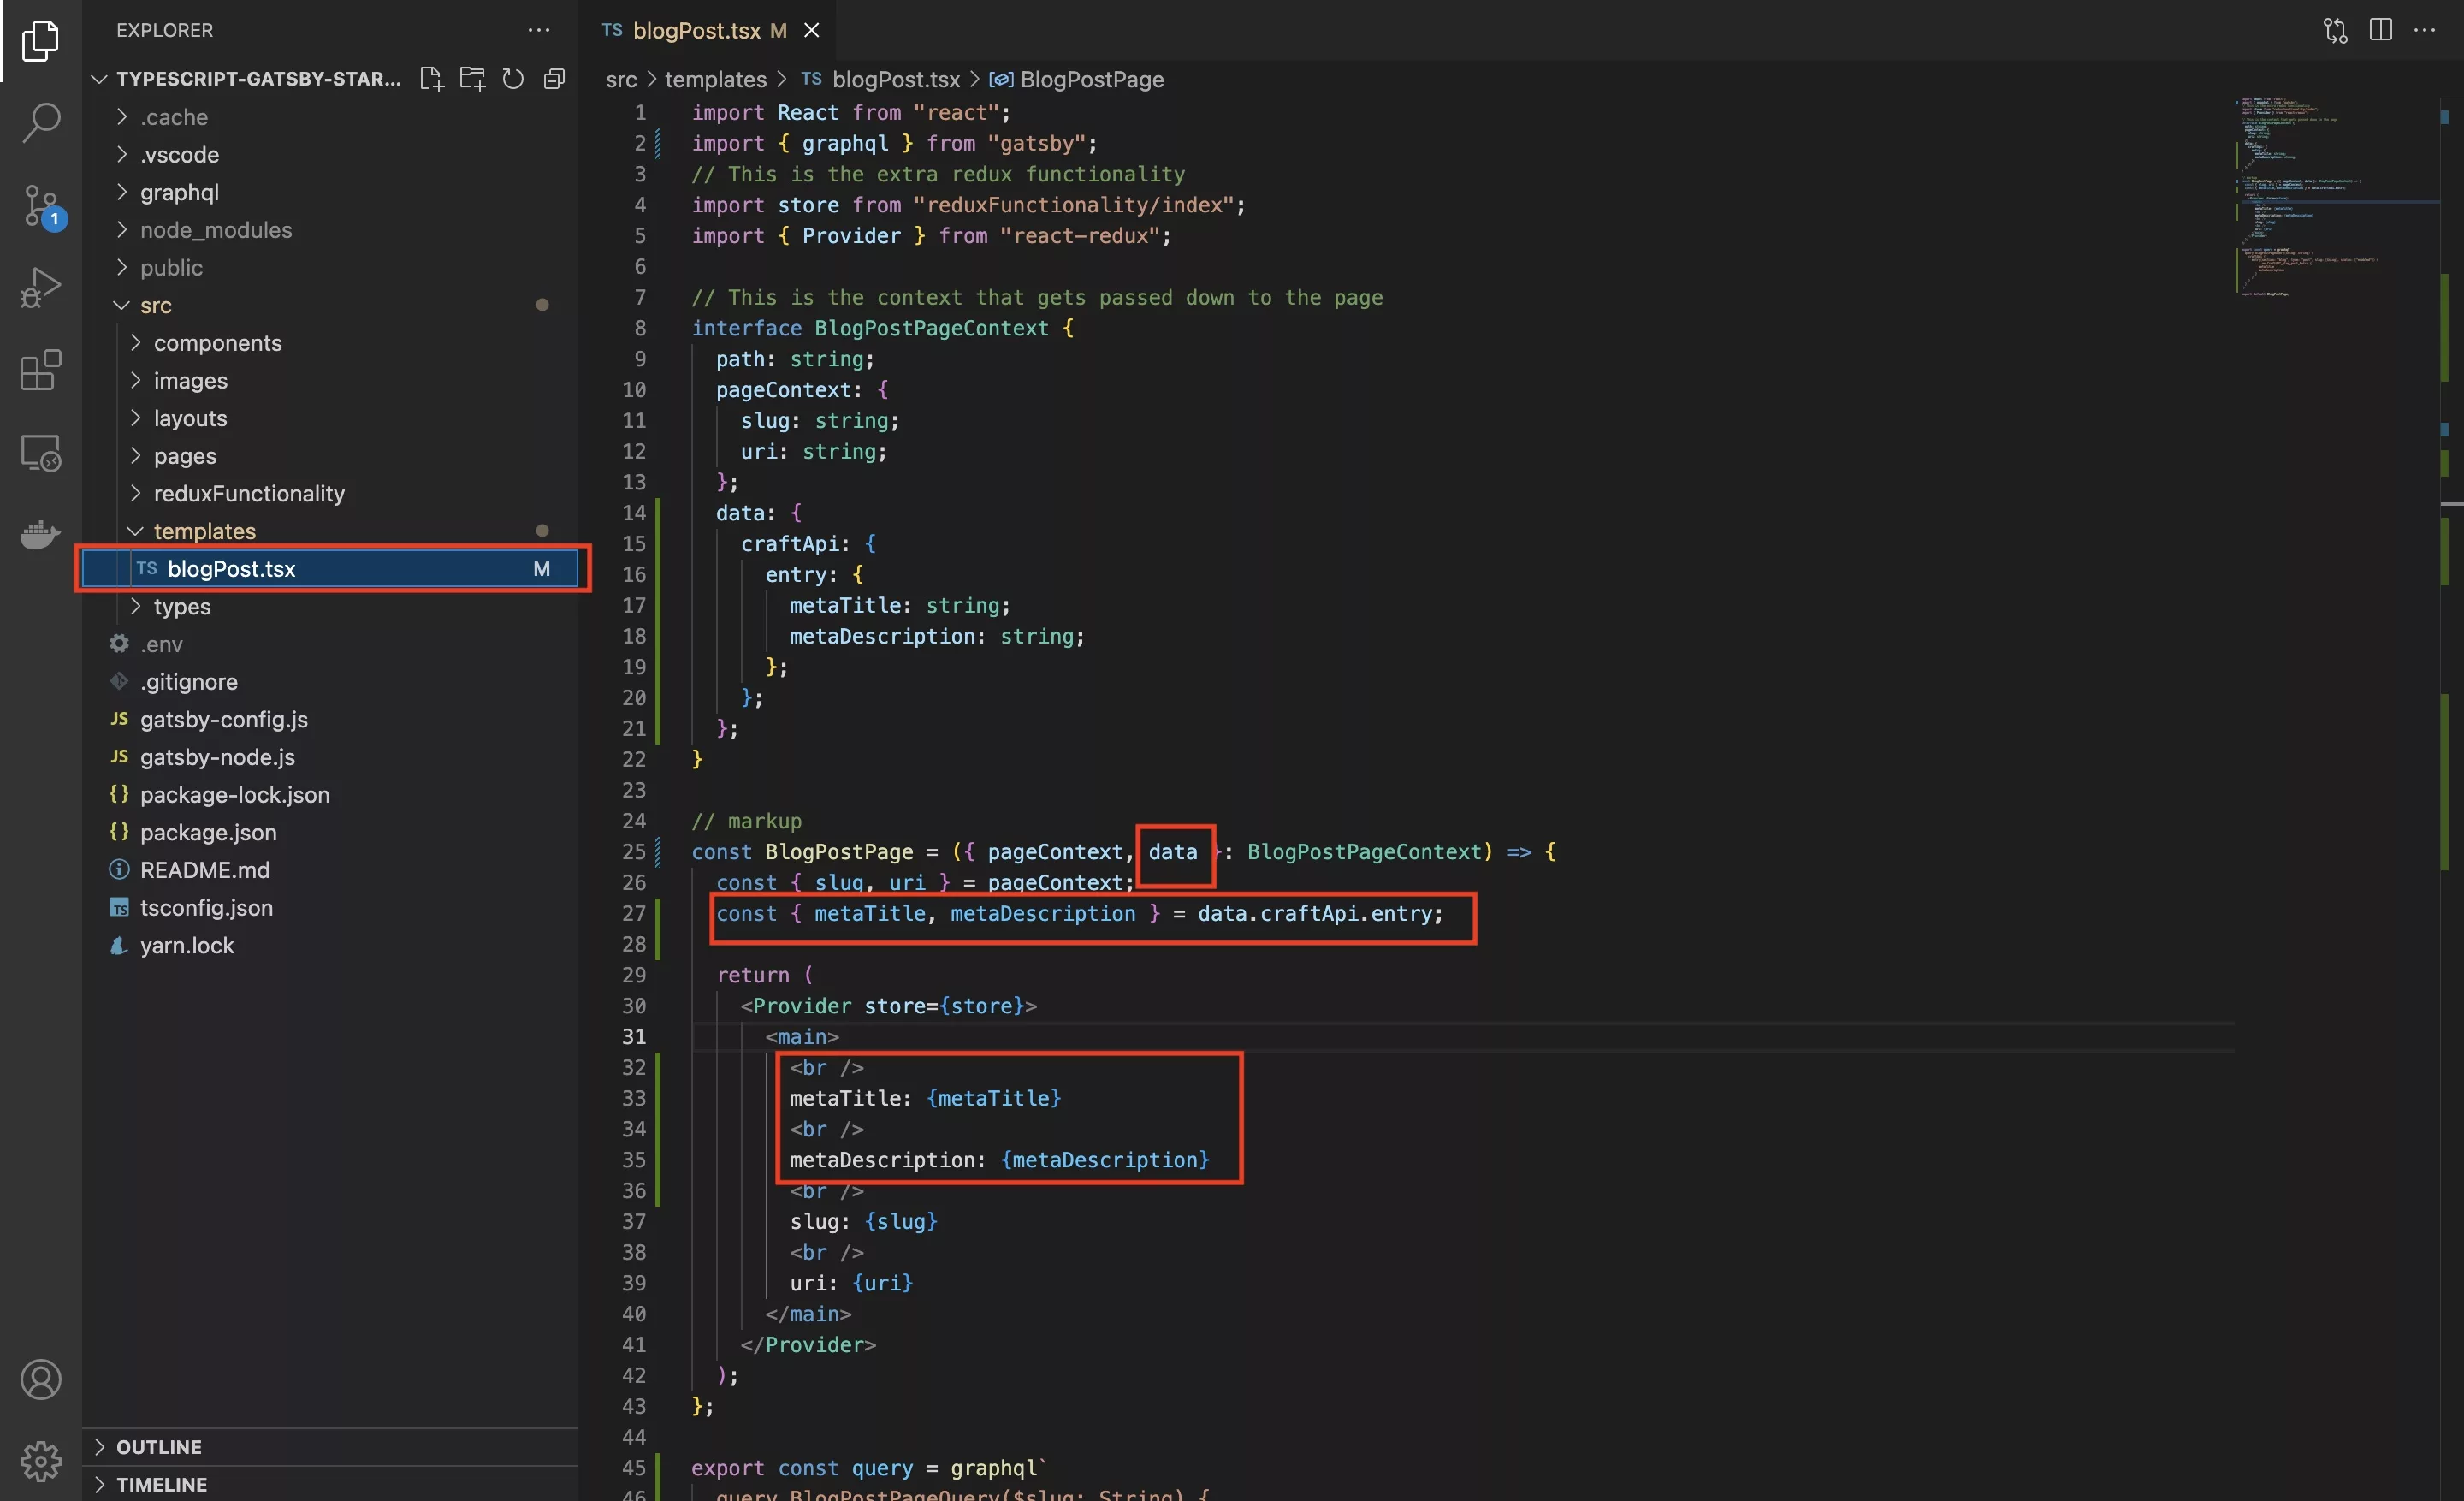
Add data to the props that can be consumed.
We also unpacked them and printed them on the page to verify that it worked.
Step Five: Verify
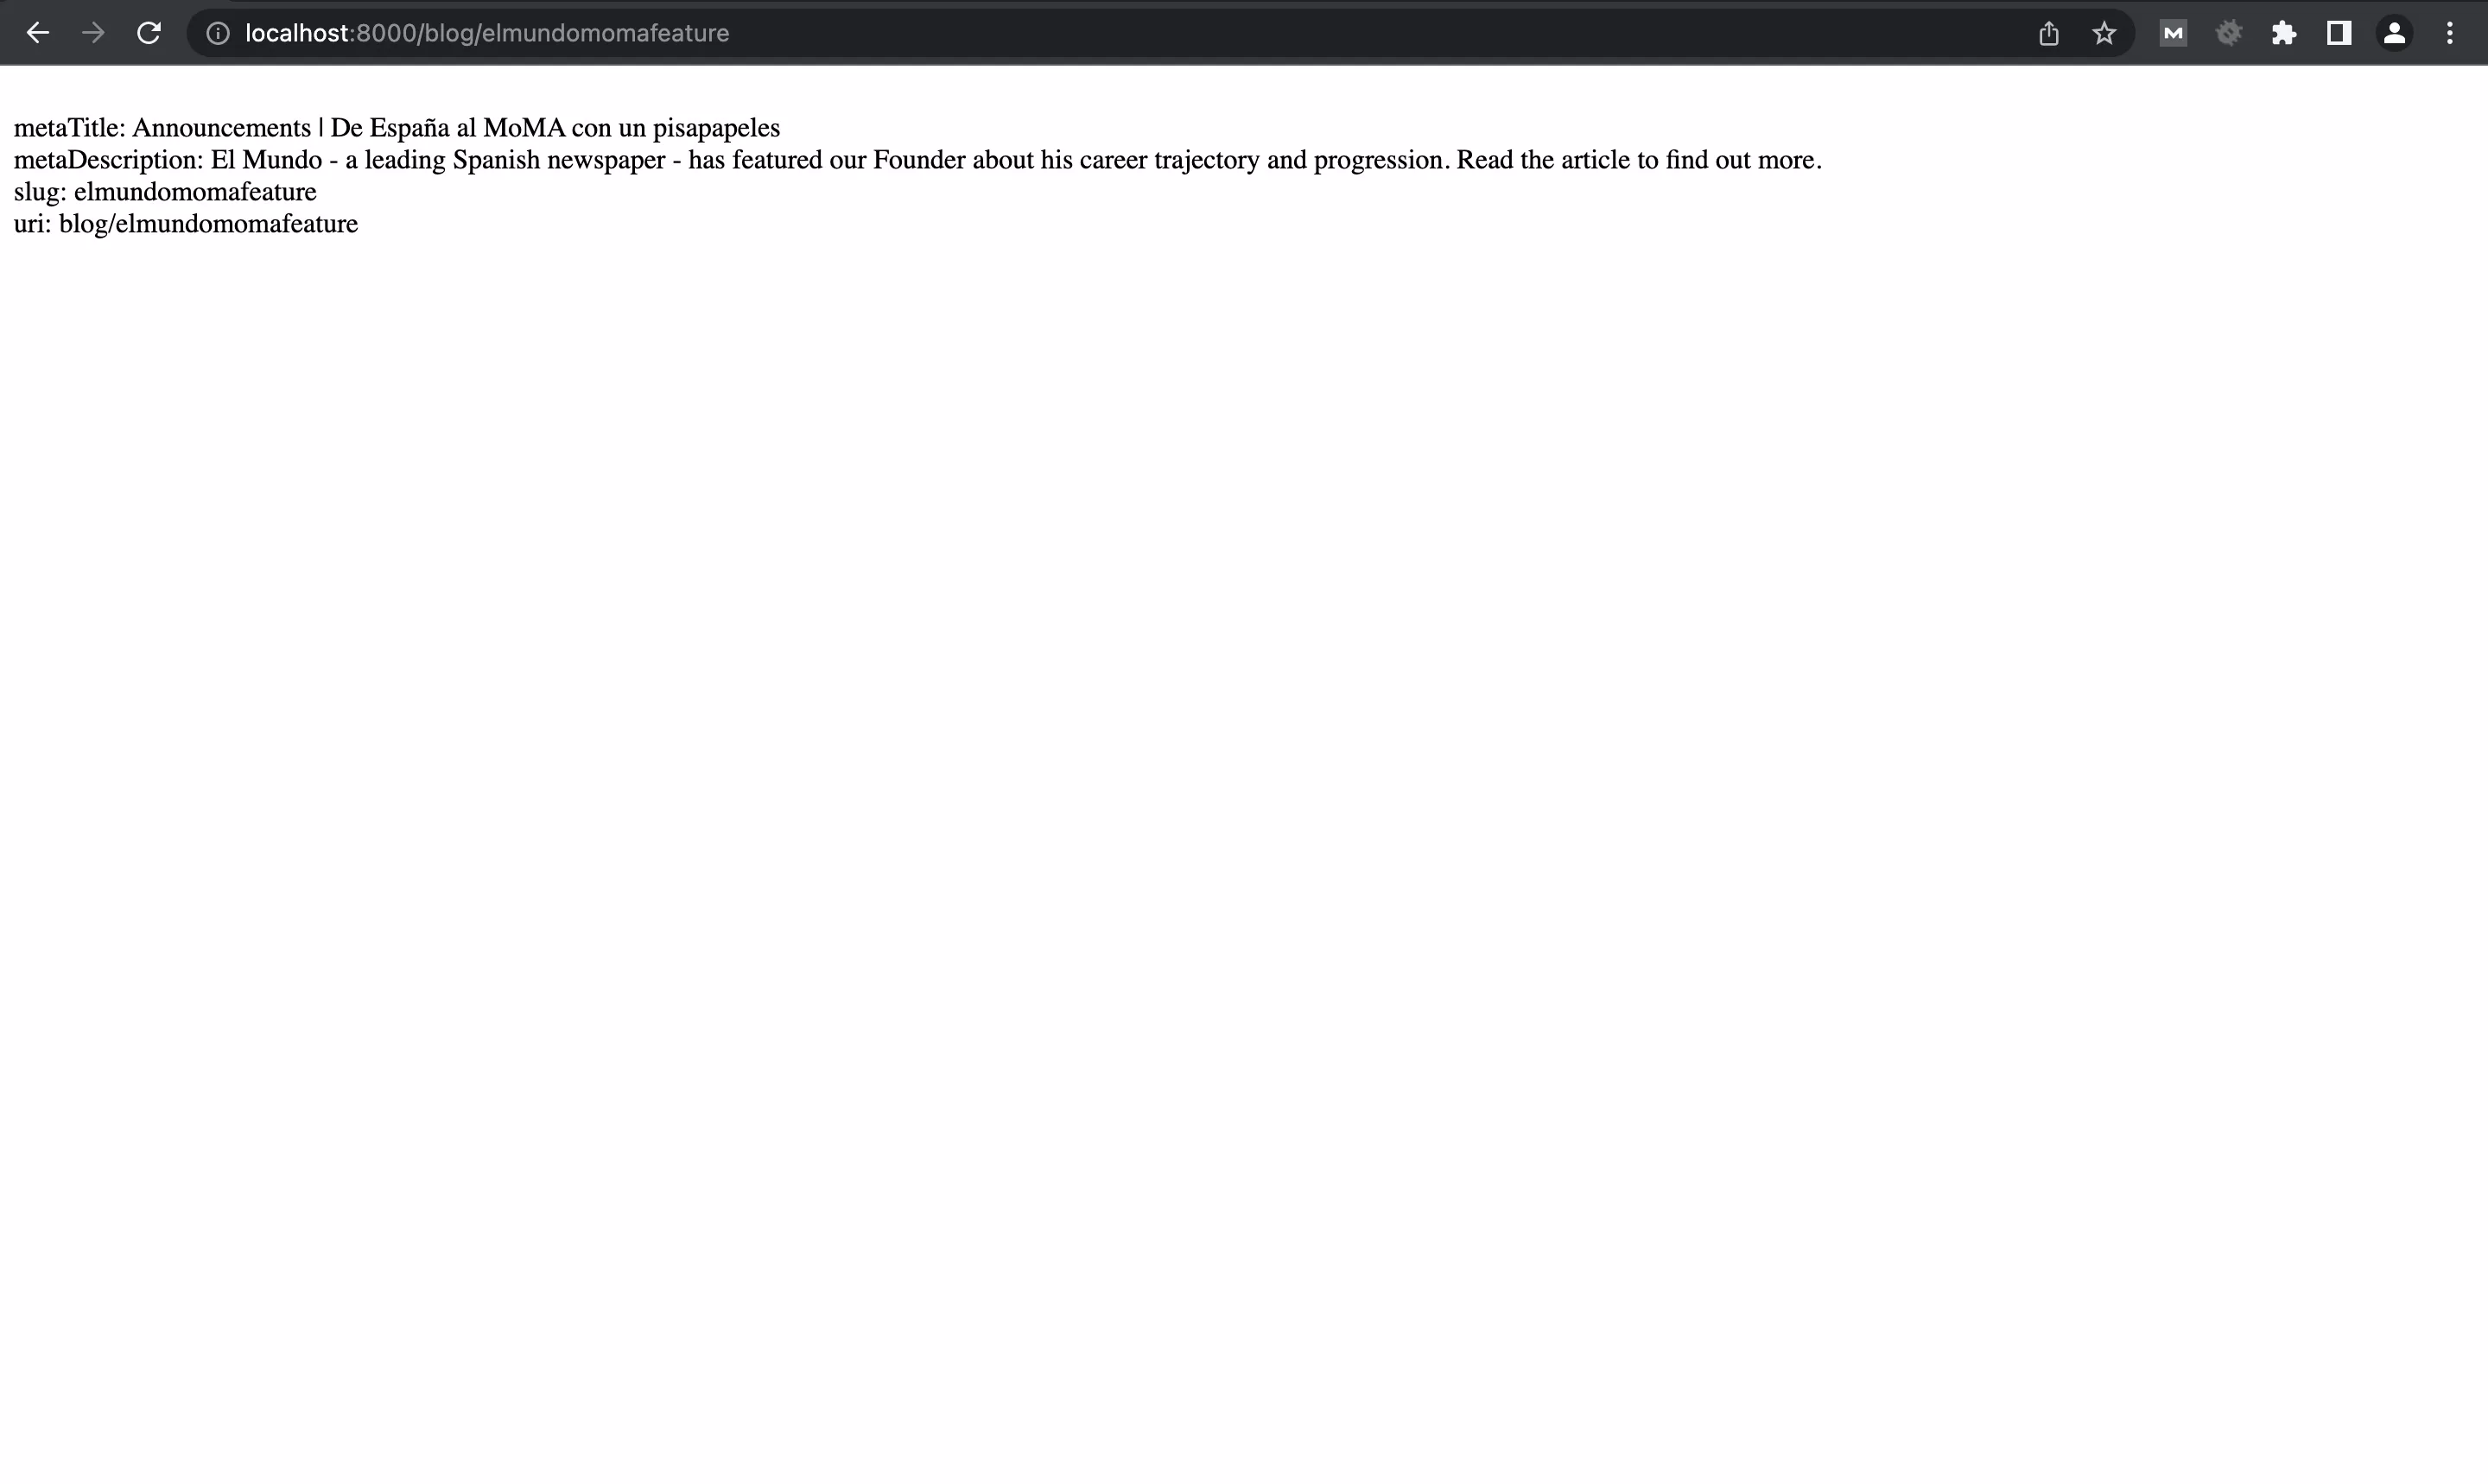
In Terminal, run yarn start at your project directory to execute the changes and navigate to a page that was programmatically created to witness the meta data.
Any Questions?
We are actively looking for feedback on how to improve this resource. Please send us a note to inquiries@delasign.com with any thoughts or feedback you may have.