How to programmatically create pages using the GraphQL & Gatsby
A step by step tutorial on programmatically creating pages in Gatsby through data gathered via GraphQL queries.
A step by step tutorial on programmatically creating pages in Gatsby through data gathered via GraphQL queries.
The following tutorial builds off our Open Source starter project and walks you through how to programmatically create pages using Gatsby and the GraphQL based on entires in a Craft CMS headless CMS.
We recommend downloading our Open Source project, checking out the tutorial/craft-cms-api branch and carrying out the steps outlined below. All relevant changes can be found on the tutorial/create-pages-graphql-backend-only branch.
git clone https://github.com/delasign/gatsbyjs-typescript-starter.gitStep One: Compose the query
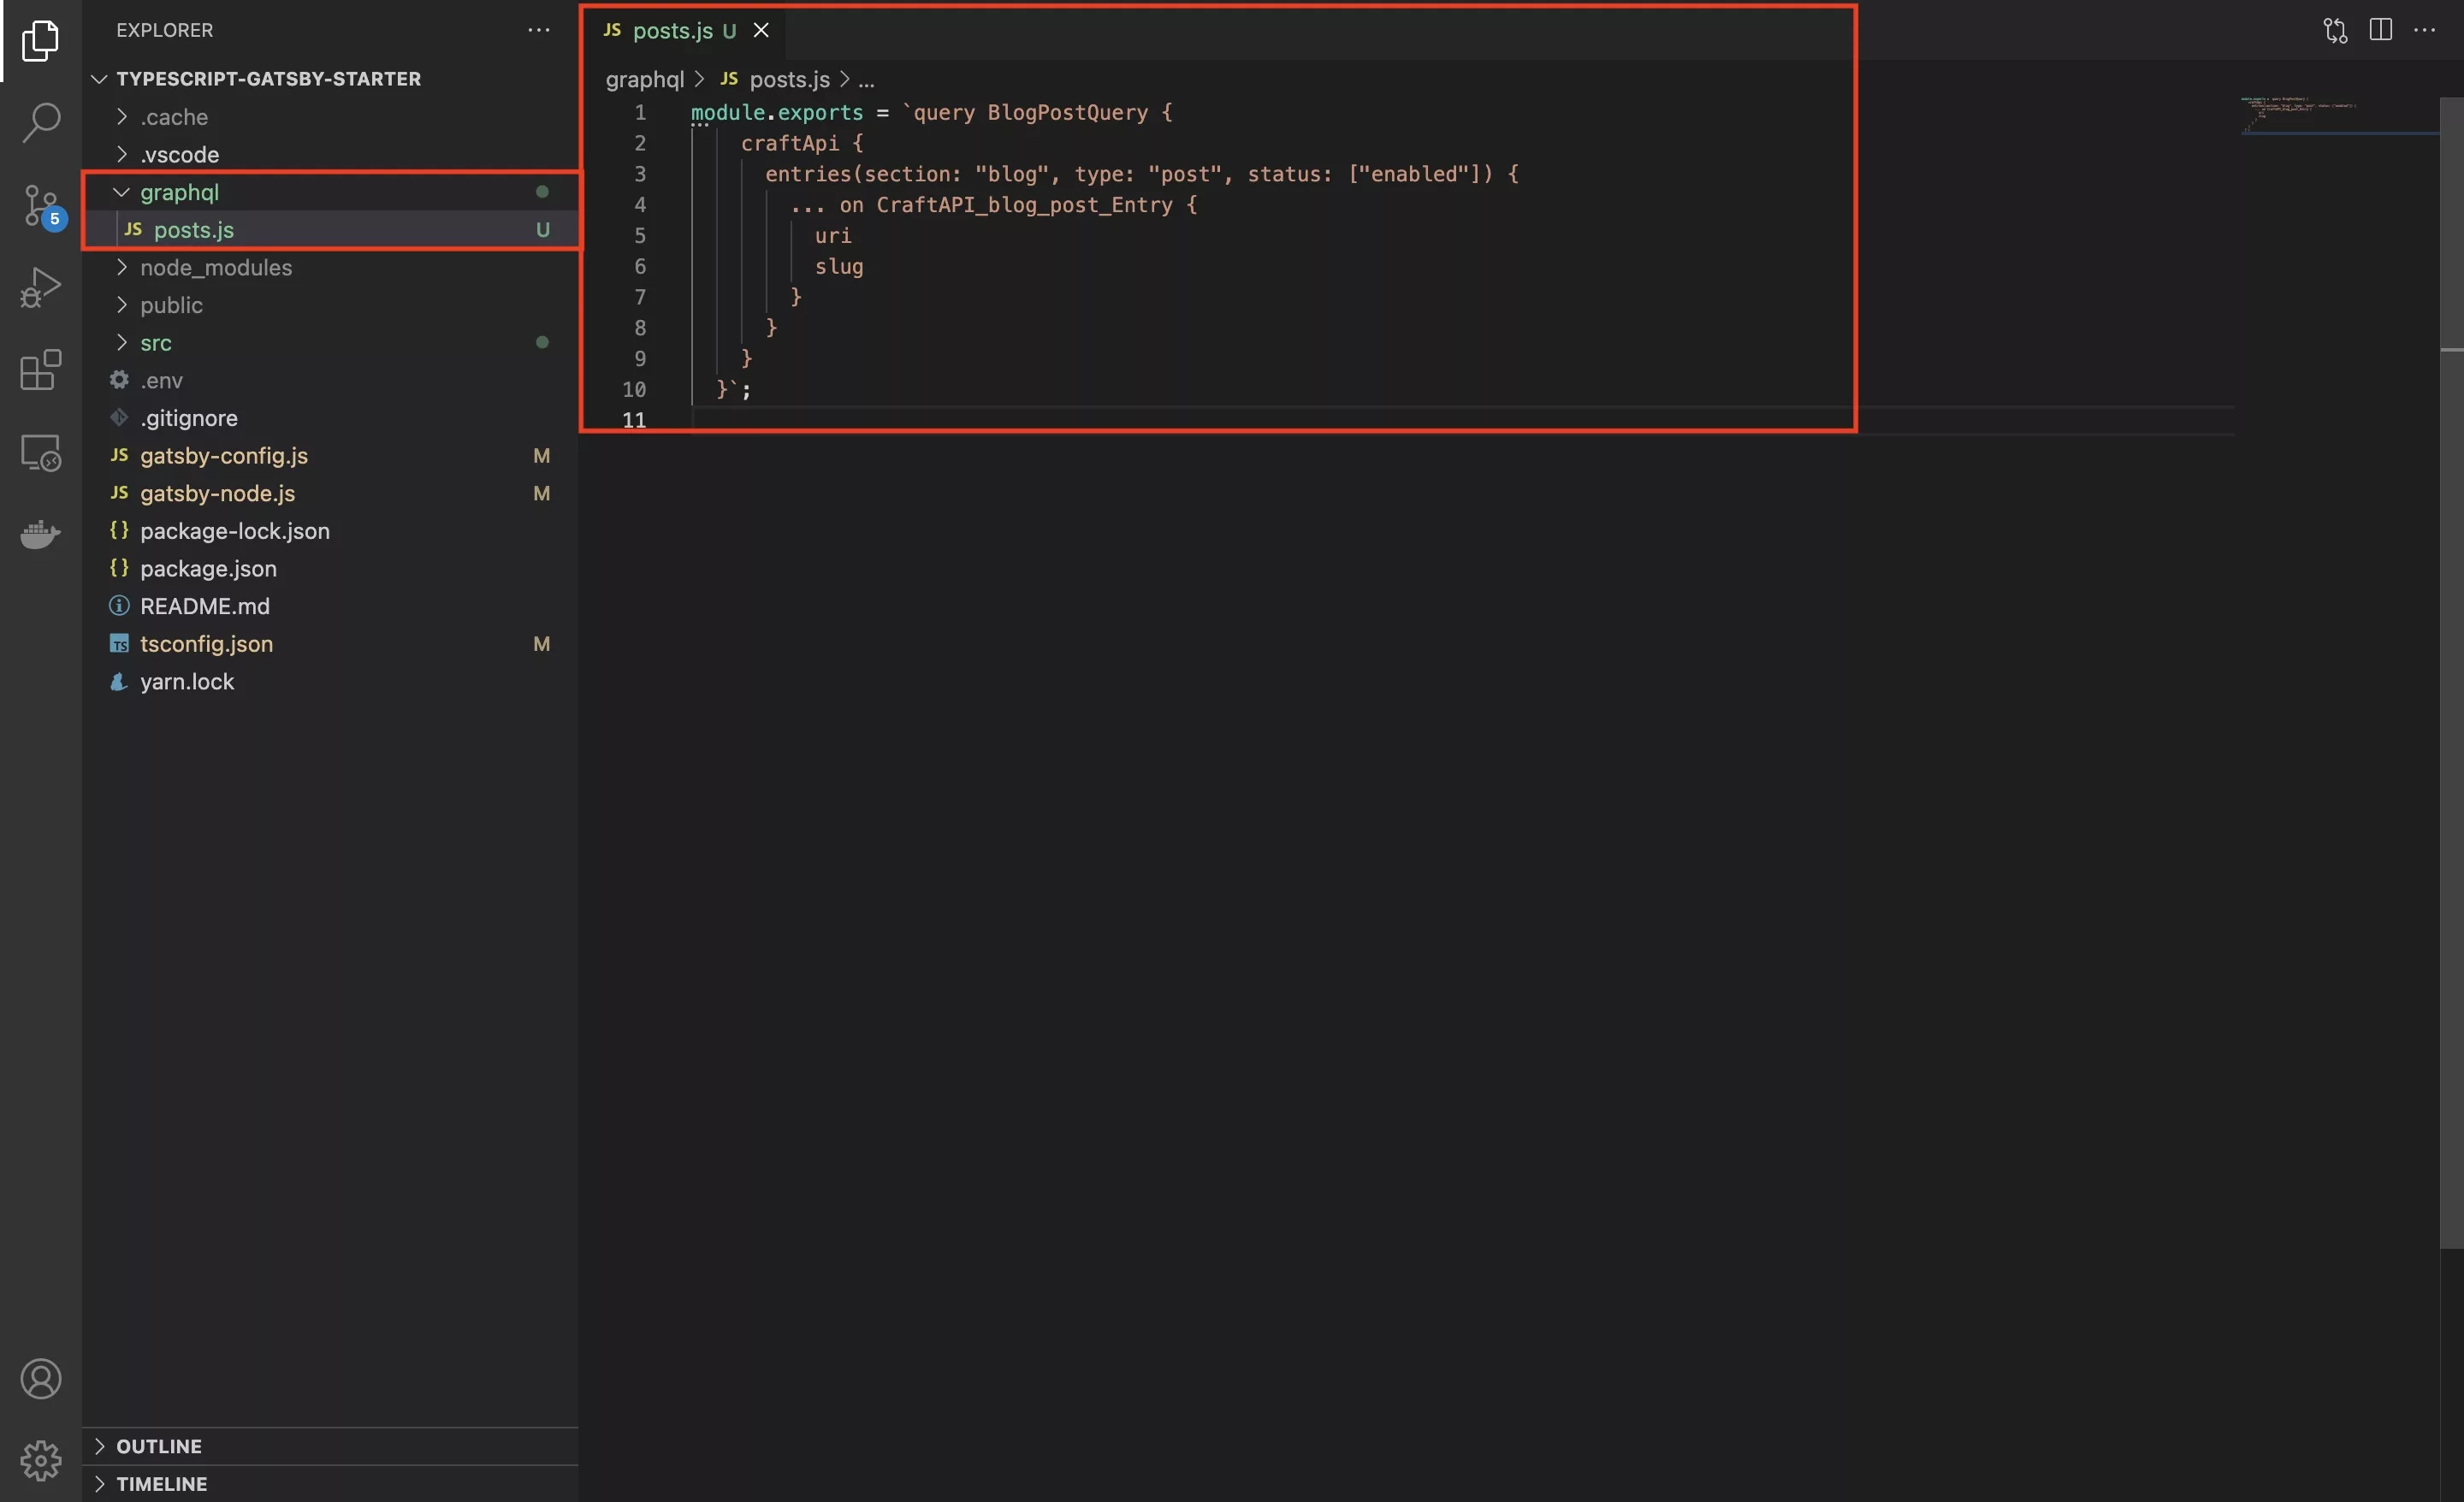
In order to be able to programmatically create pages, we must be compose a query that allows us to gather data from the GraphQL source (a Craft CMS in our case).
Create a new folder called graphql to hold all your queries.
Within it create your query, in our case posts.js.
Please note that we recommend that for larger projects that you breakdown queries by section type. Posts in this case belongs to our blog and would fall under graphql/blog/posts.js in a production project.
In the case of our query, we have included the bare minimum required to create pages: a URI and a slug.
Step Two: Create the template
When you programmatically create pages in Gatsby you add to the pages folder - which dictates the pages that are available on the website. This implies that any page within the pages folder, will be an active page on your website.
However, sometimes, all you want is a 404 in the pages folder, or maybe nothing at all - so how do you create pages without them sitting in that folder ? Through a location that holds templates.
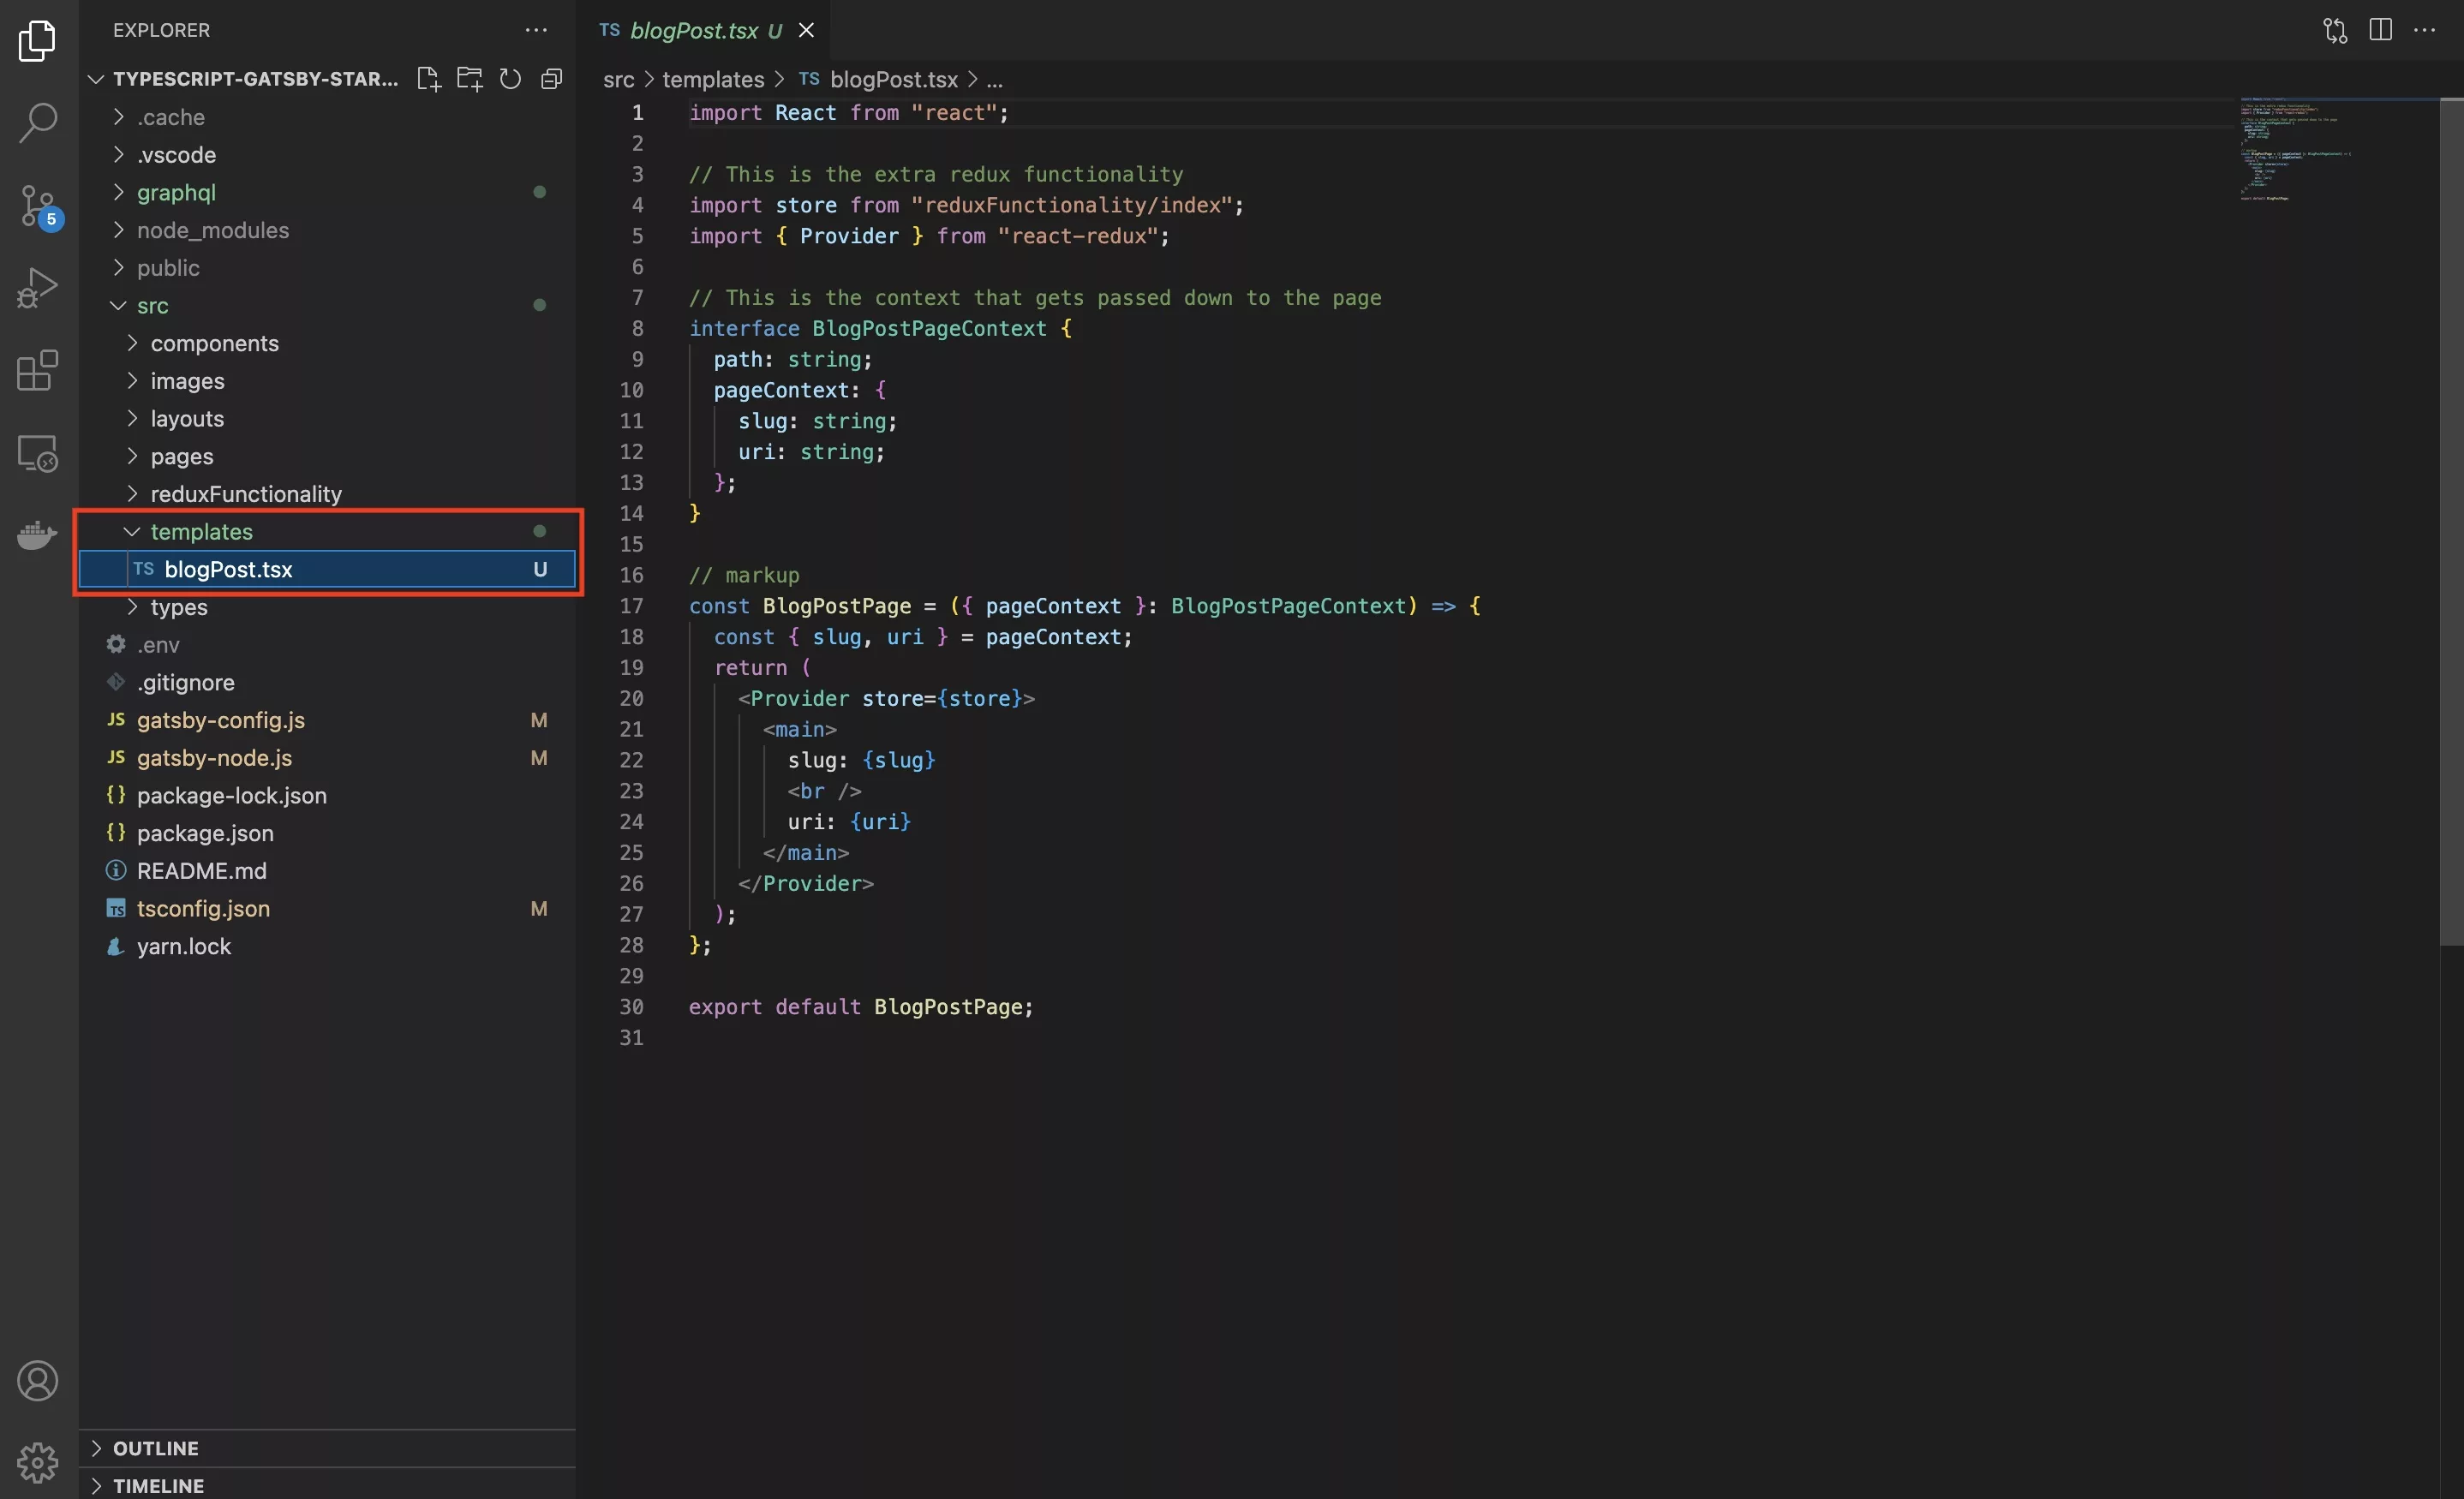
Within the src directory, create a new folder called templates and within it create a file called blogPost.tsx and paste in the code below.
As you can see on line 7, when you programmatically create pages, you can pass down a context to the page that is created, which is made available in the pageContext (line 10) - which in this tutorial's case will include the slug and uri.
Step Three: Create Pages
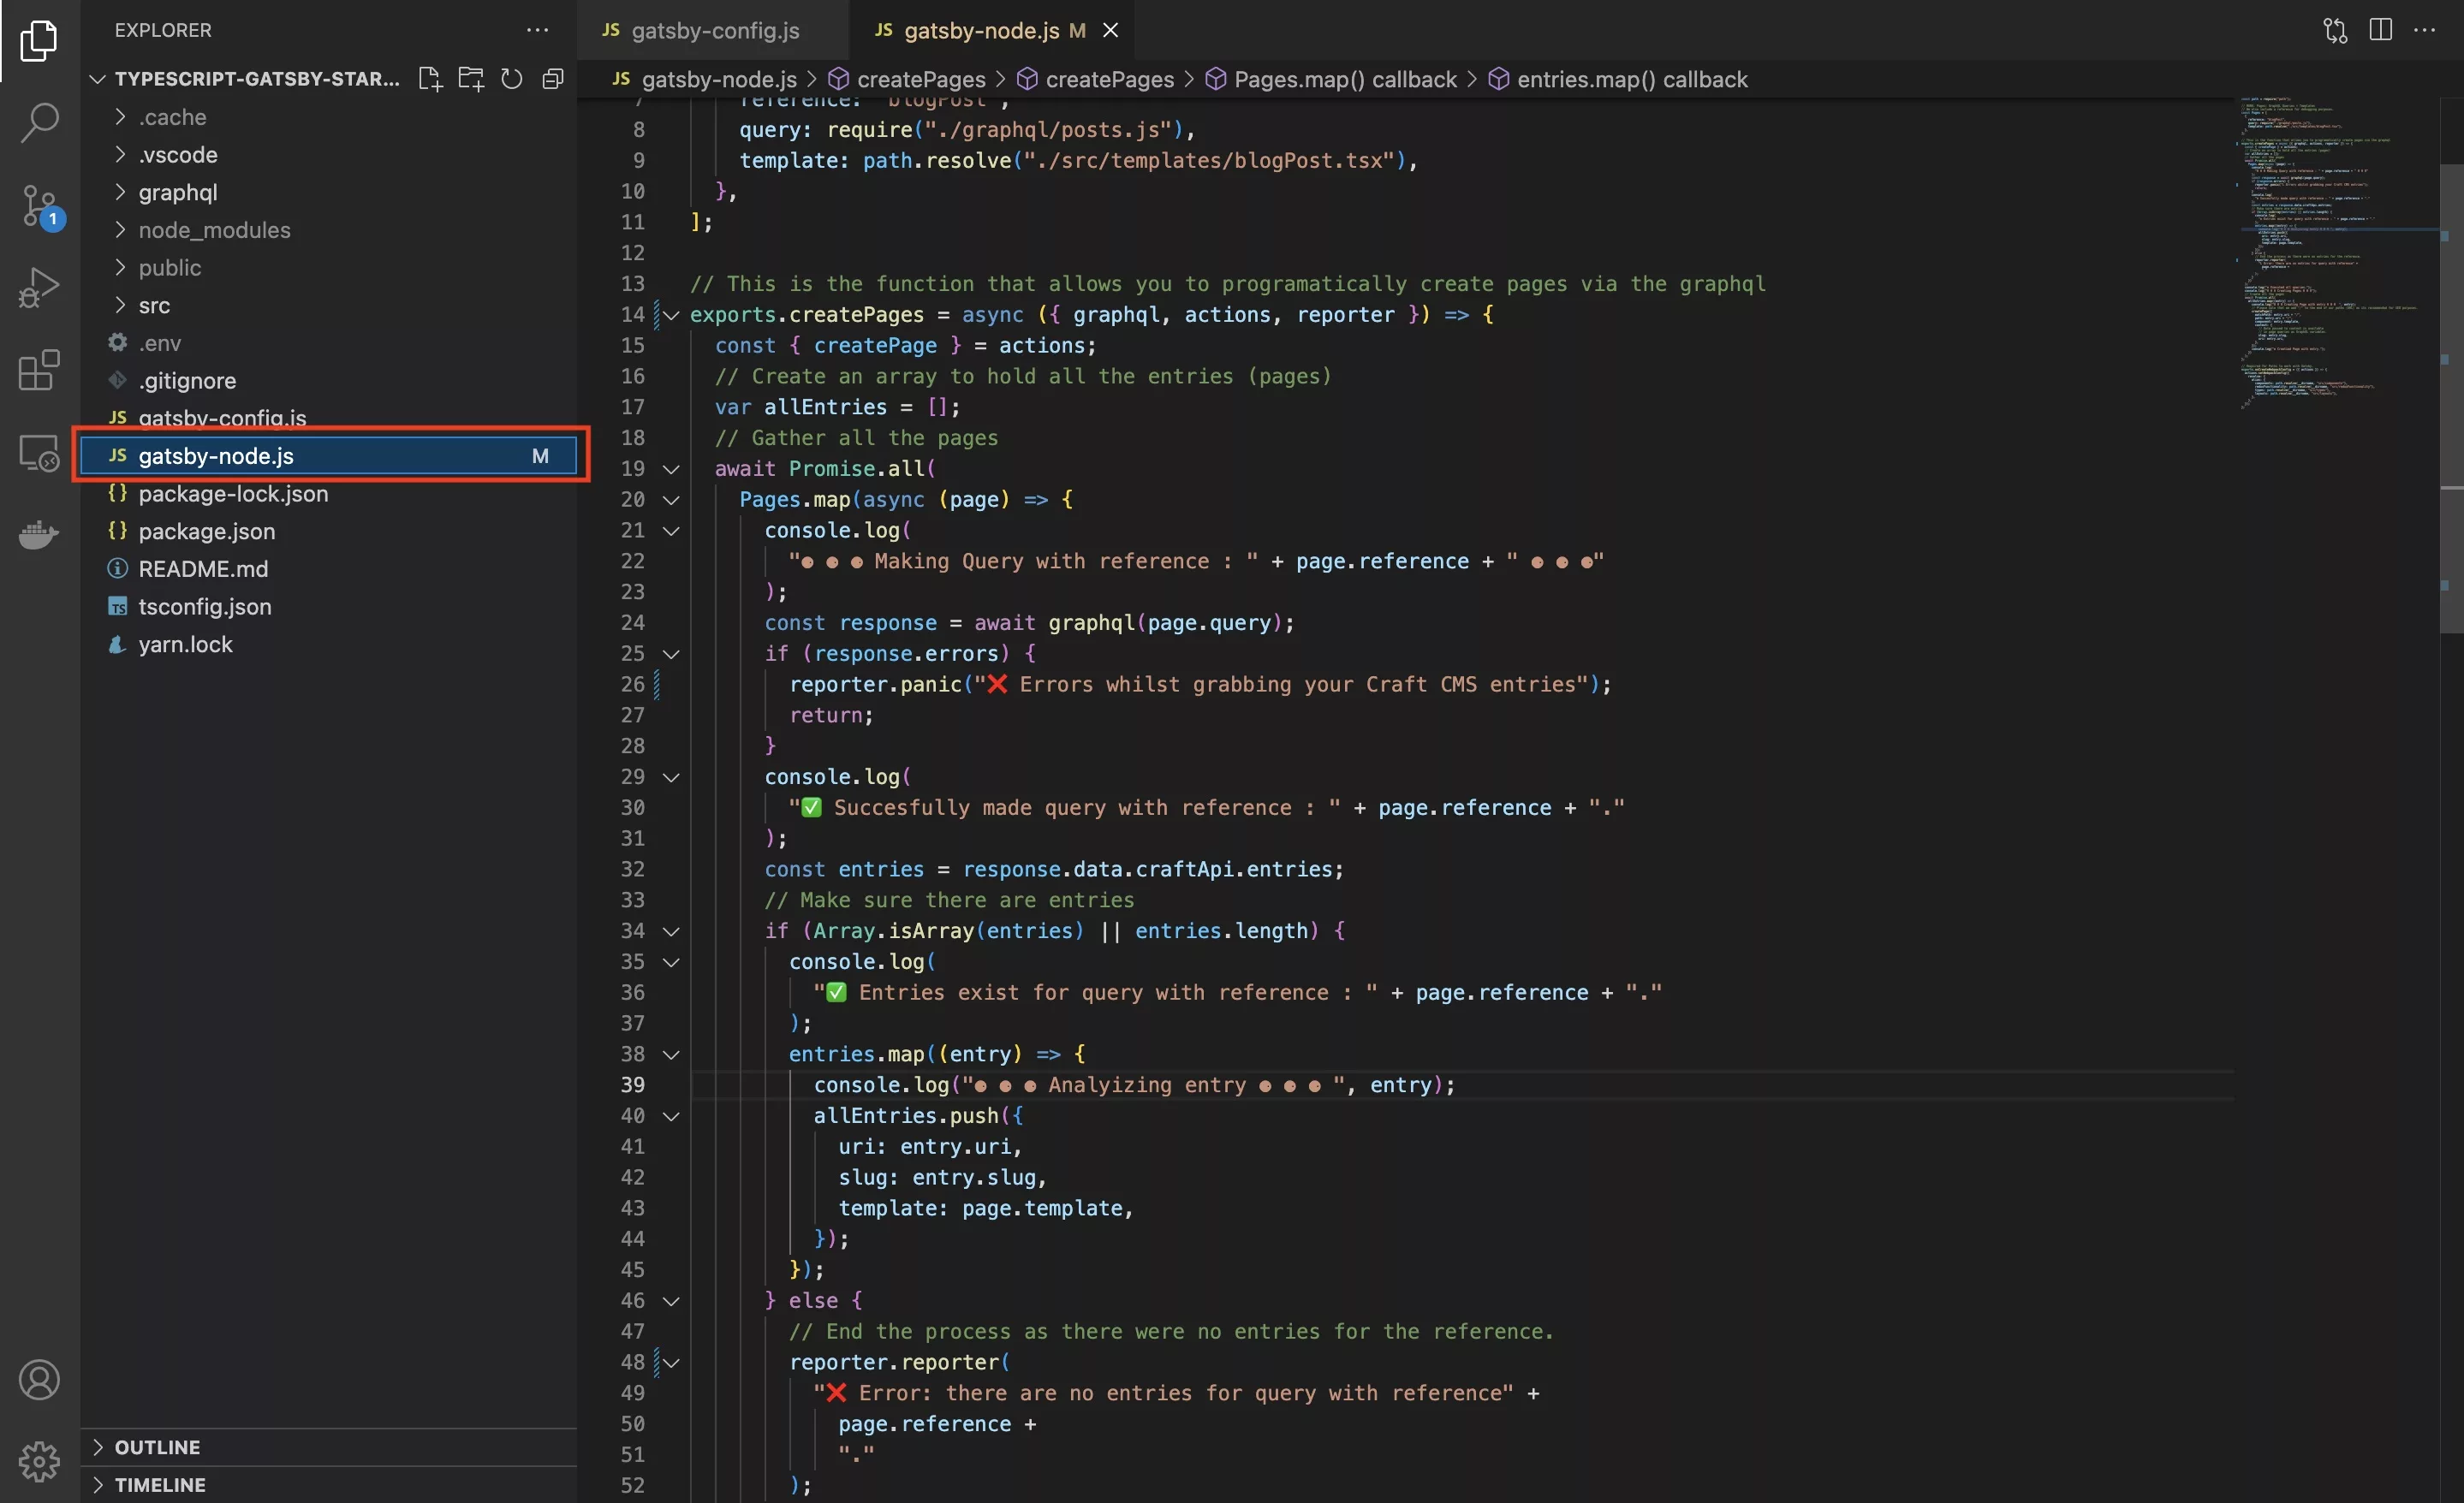
Update your gatsby-node to the code provided below.
Please note that we renamed gatsby-node.js to gatsby-node.ts as part of this step.
We created an array on line 5 that matches queries to templates and carry out a process on line 14 that executes the generation of those pages.
Step Four: Verify
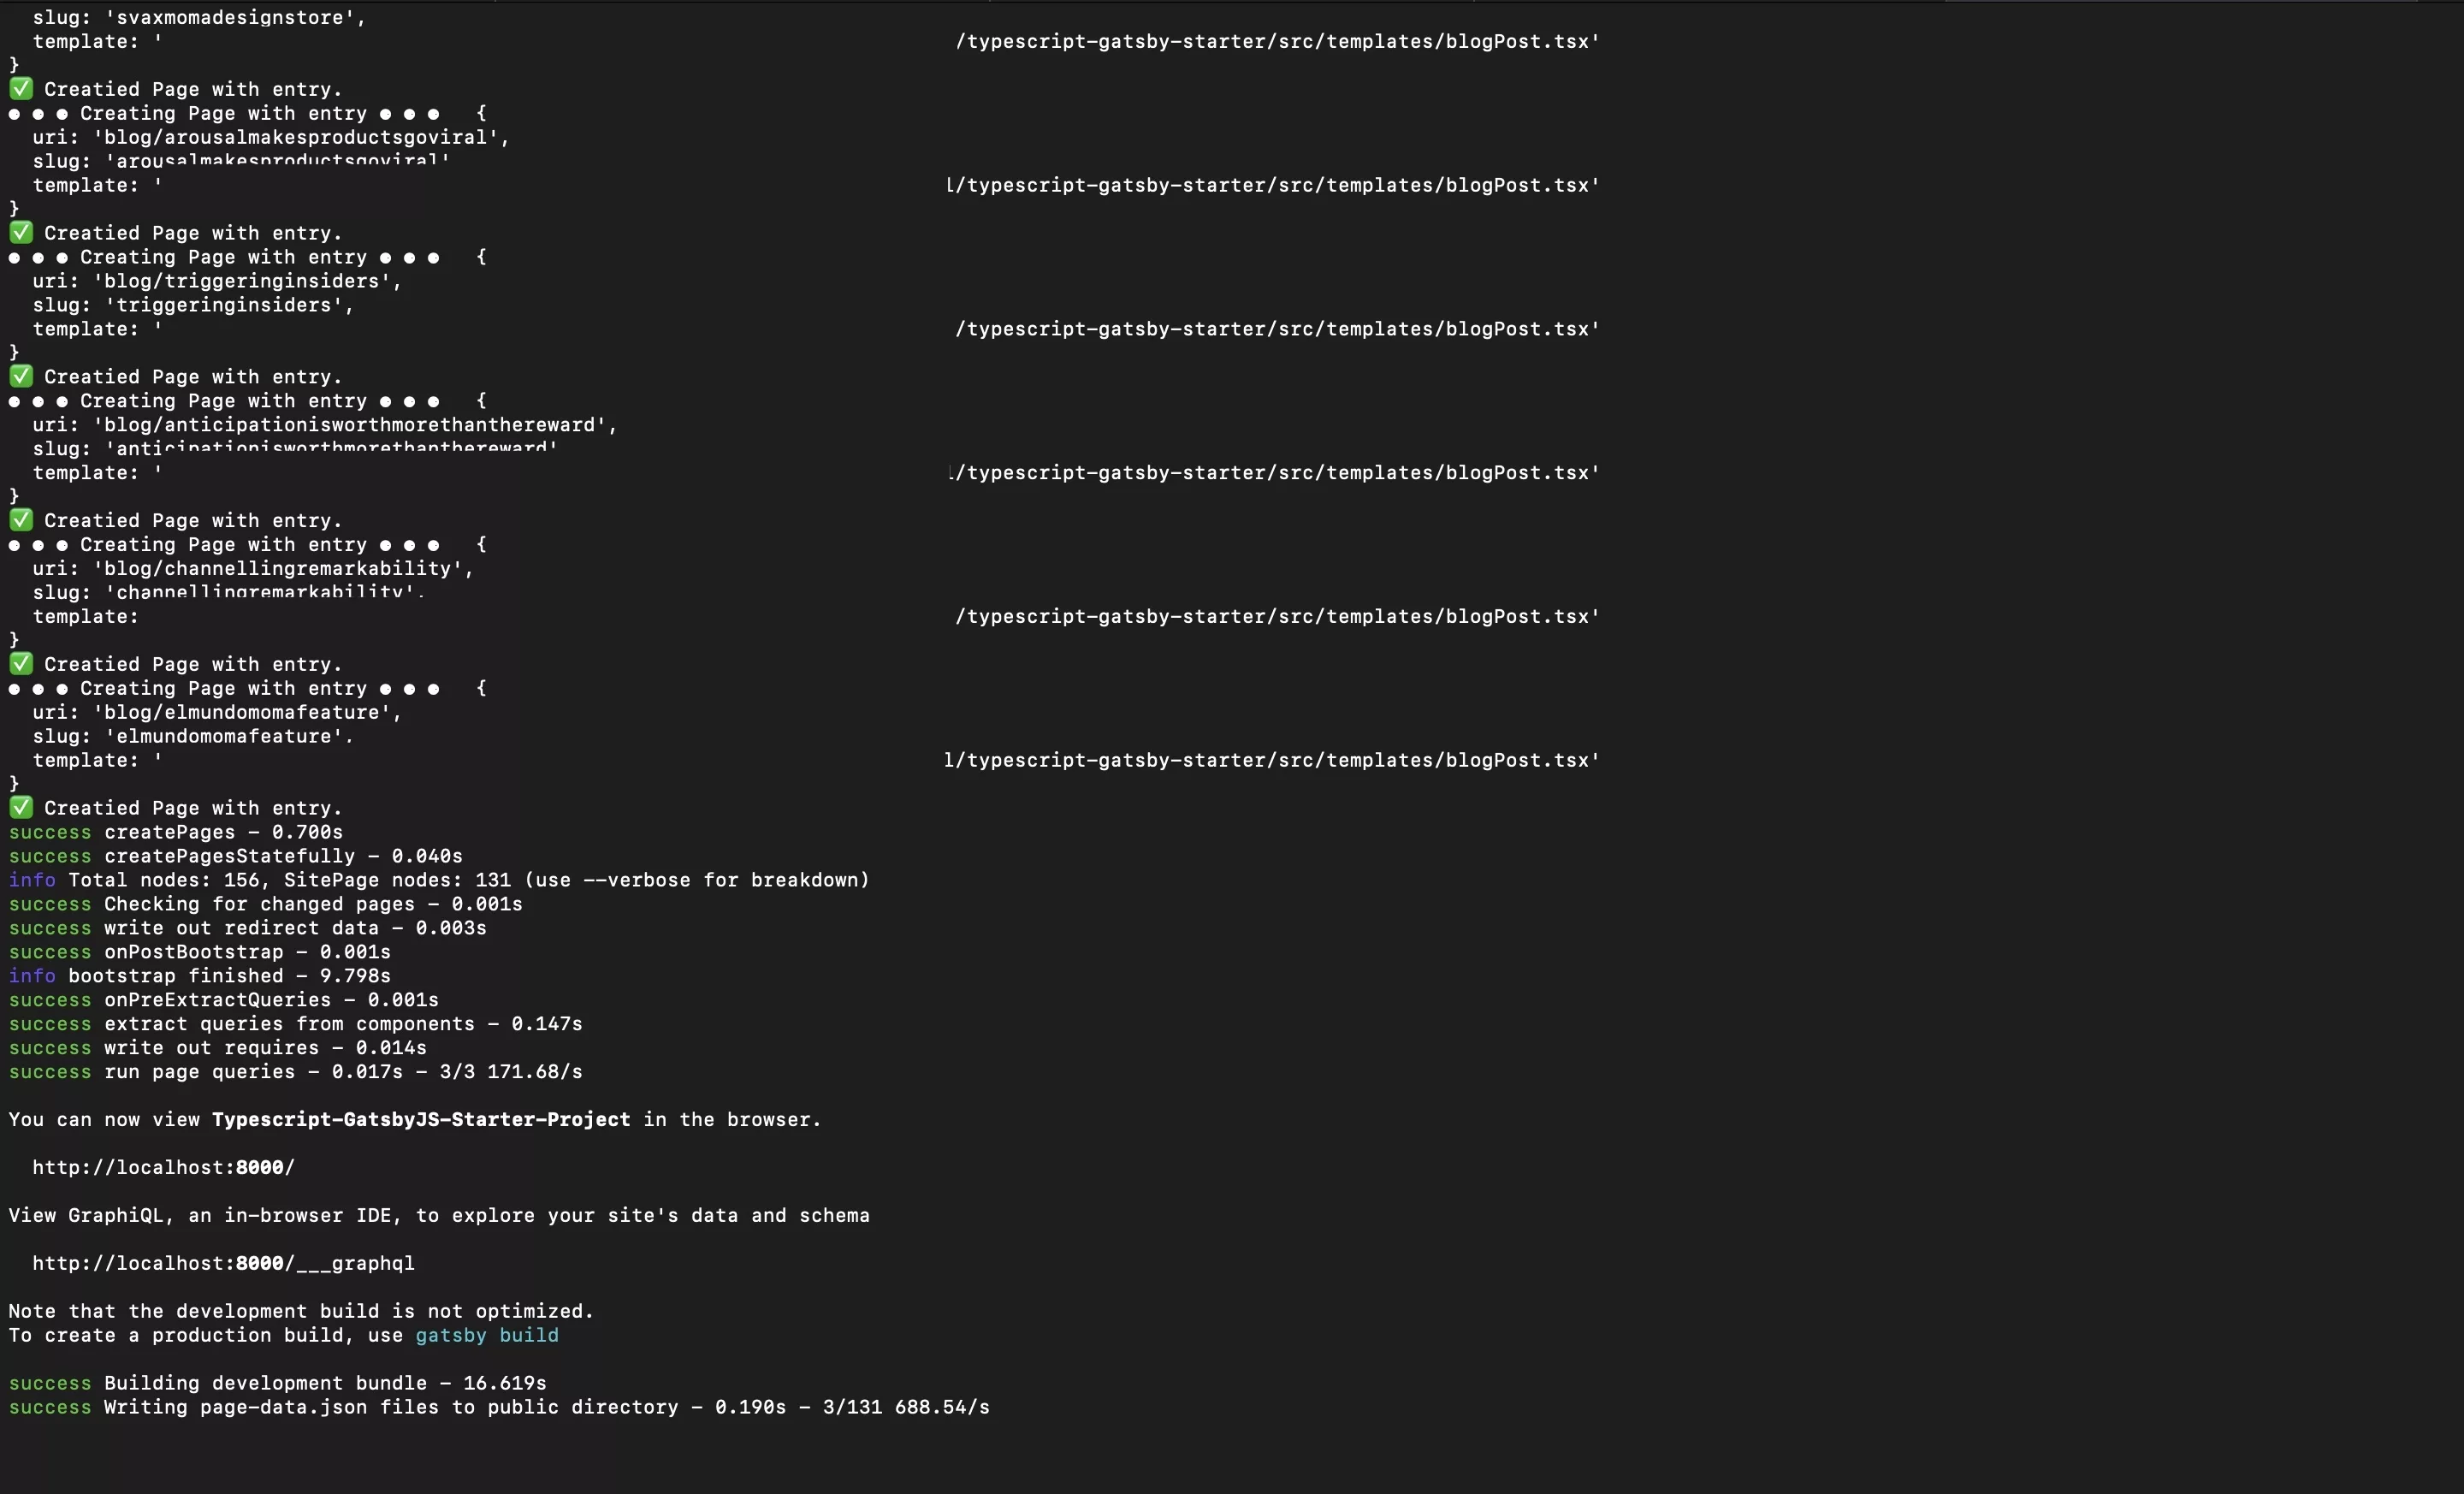
Run yarn start to confirm that the page generation algorithm succeeds.
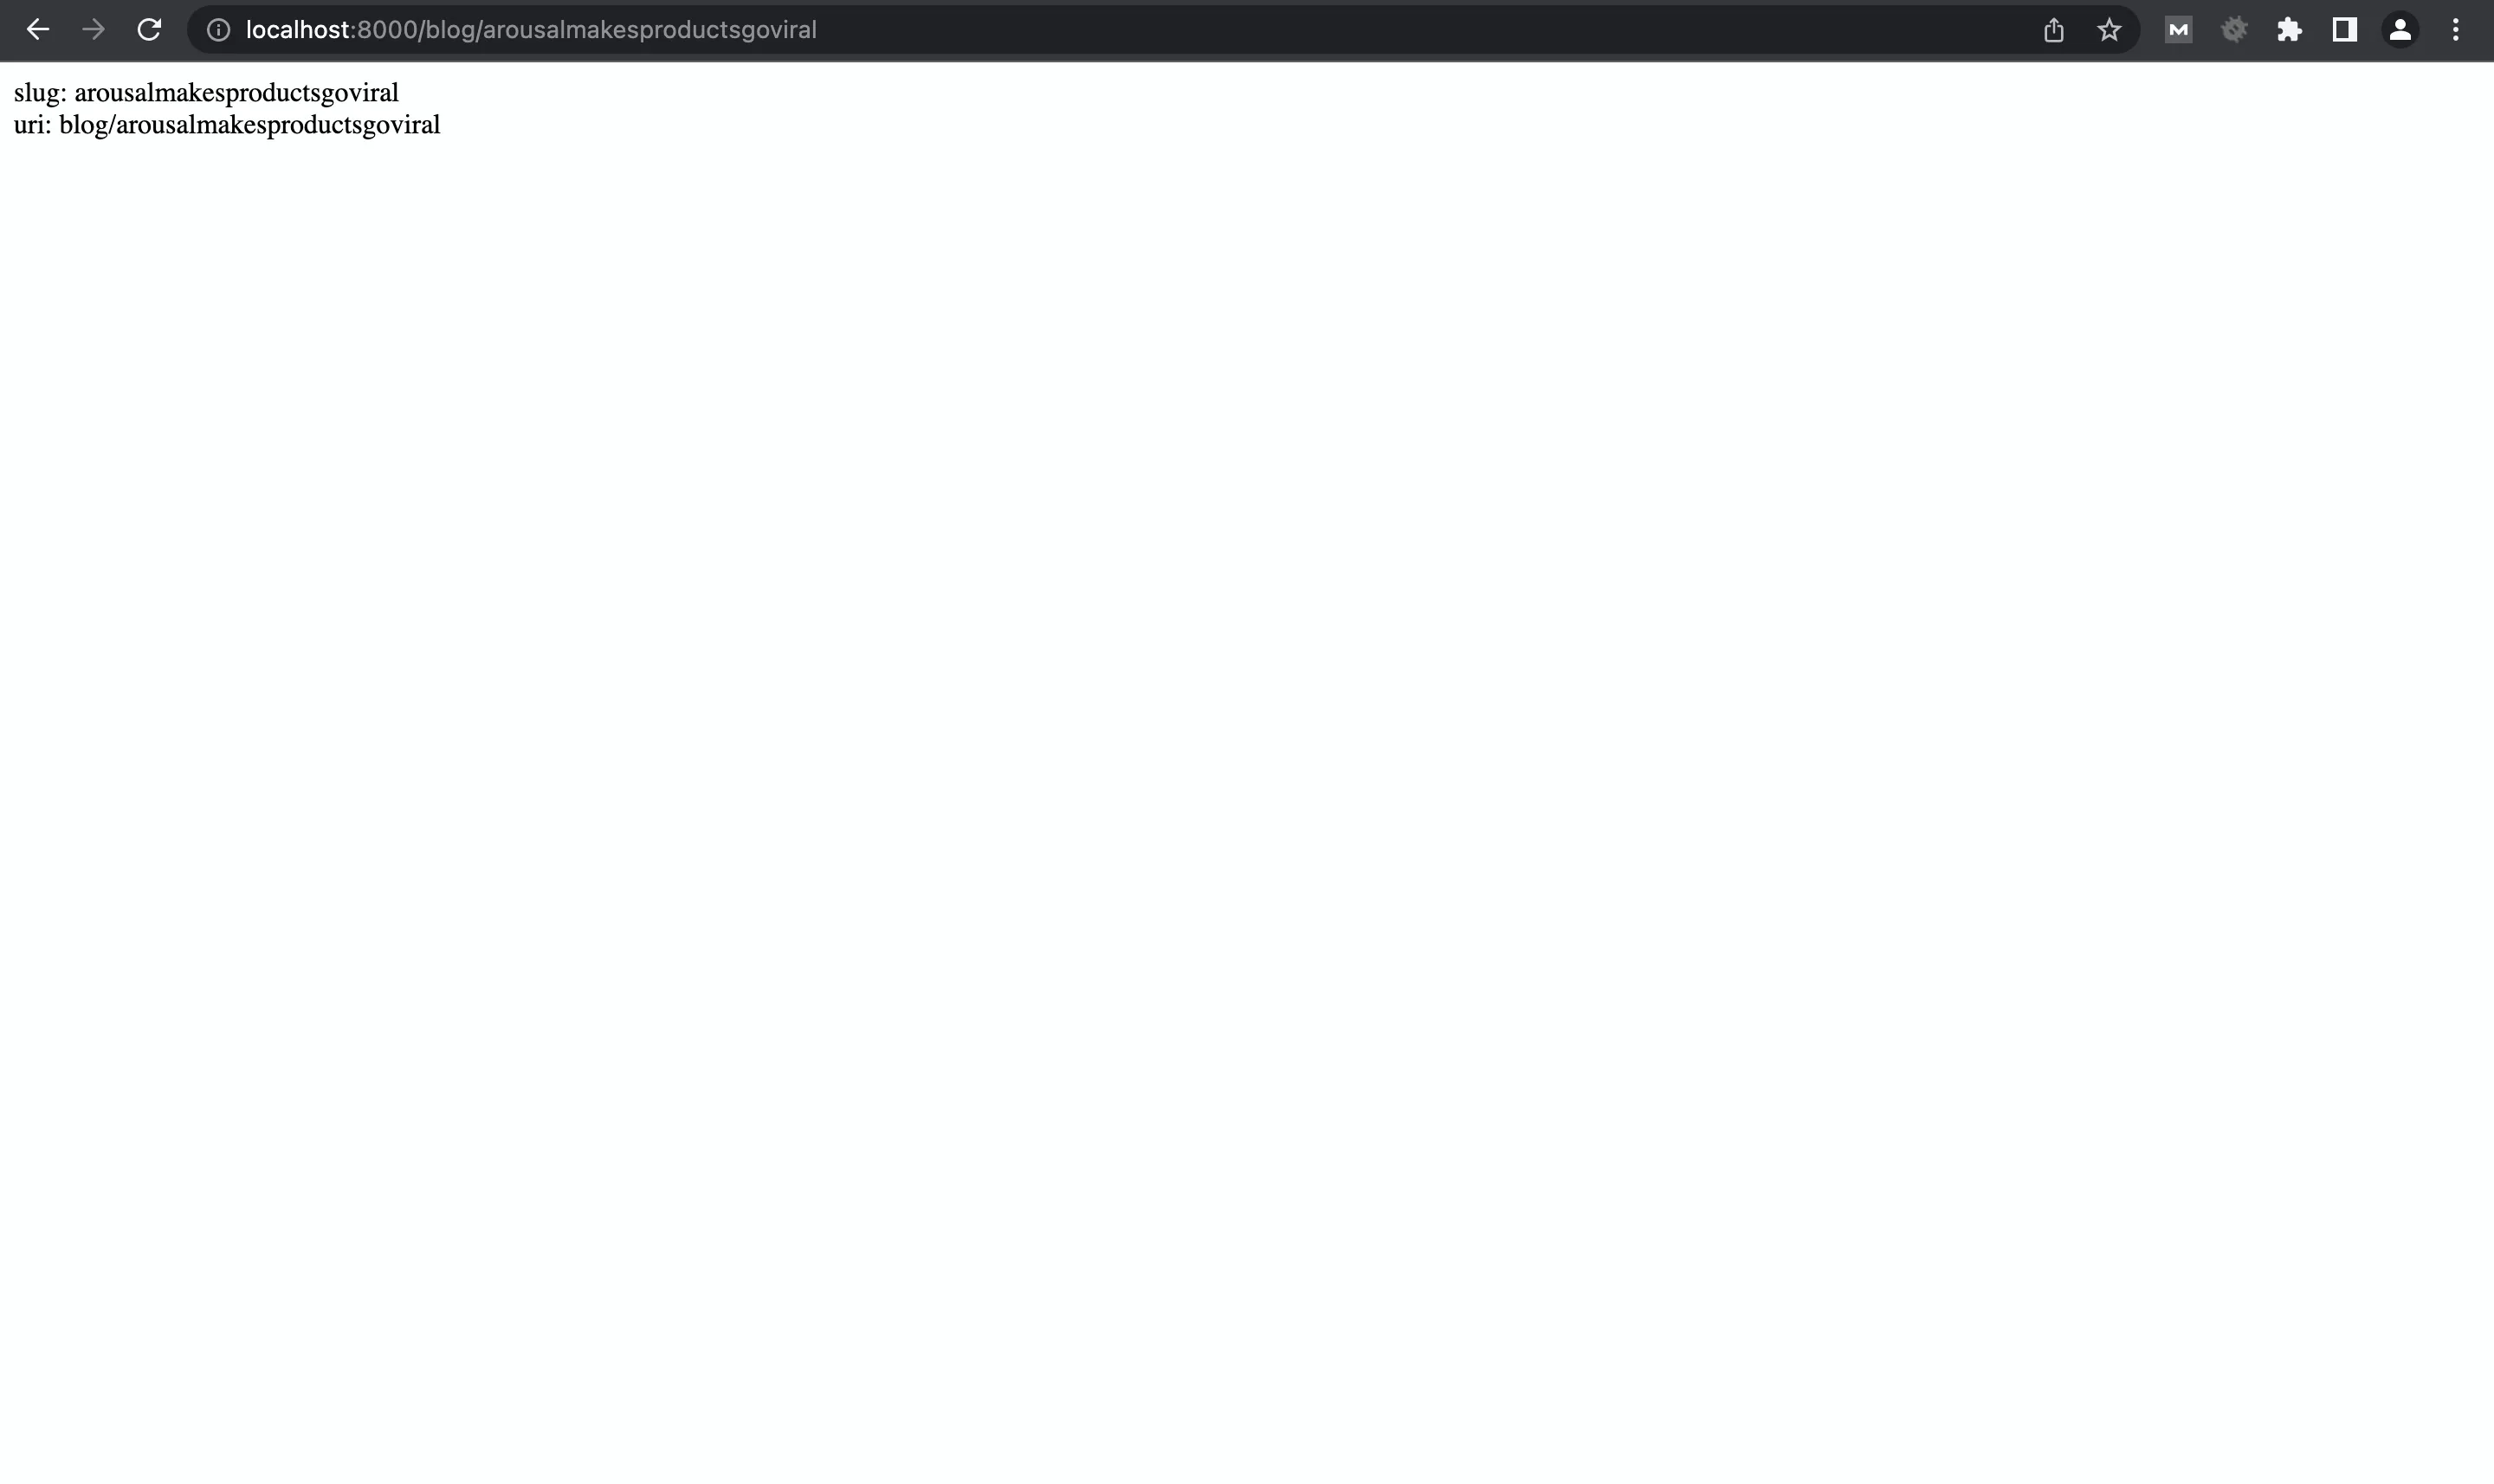
Once complete, navigate to a webpage generated by Gatsby to see your results.
Any Questions?
We are actively looking for feedback on how to improve this resource. Please send us a note to inquiries@delasign.com with any thoughts or feedback you may have.