How to add Adobe Fonts to Gatsby
To add Adobe Fonts (formerly Typekit) to GatsbyJS, add the gatsby-plugin-web-font-loader dependency to your project and implement it in the gatsby-config.js.

To add Adobe Fonts (formerly Typekit) to GatsbyJS, add the gatsby-plugin-web-font-loader dependency to your project and implement it in the gatsby-config.js.
The following tutorial builds of our Open Source starter project and walks you through how to add Adobe Fonts to Gatsby.
We recommend downloading our Open Source project, checking out the tutorial/redirects branch and carrying out the changes described below. All relevant changes can be found in the tutorial/adobe-fonts branch.
git clone git@github.com:delasign/typescript-serverless-starter.gitStep One: Add the dependency

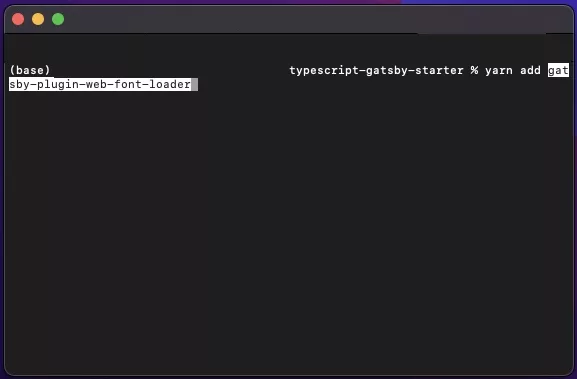
In Terminal, in the current directory of the GatsbyJS project, run the following line:
yarn add gatsby-plugin-web-font-loaderStep Two: Add the Environment Variable

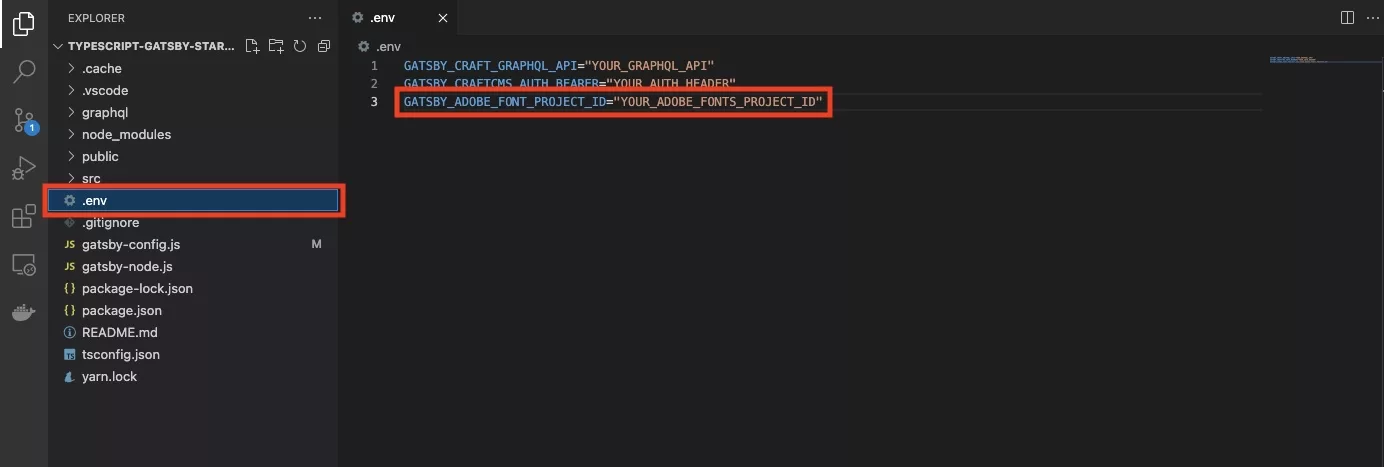
In .env, add a new environment variable and set it to the Project ID of your Adobe Fonts Web Project. We recommend using GATSBY_ADOBE_FONT_PROJECT_ID.
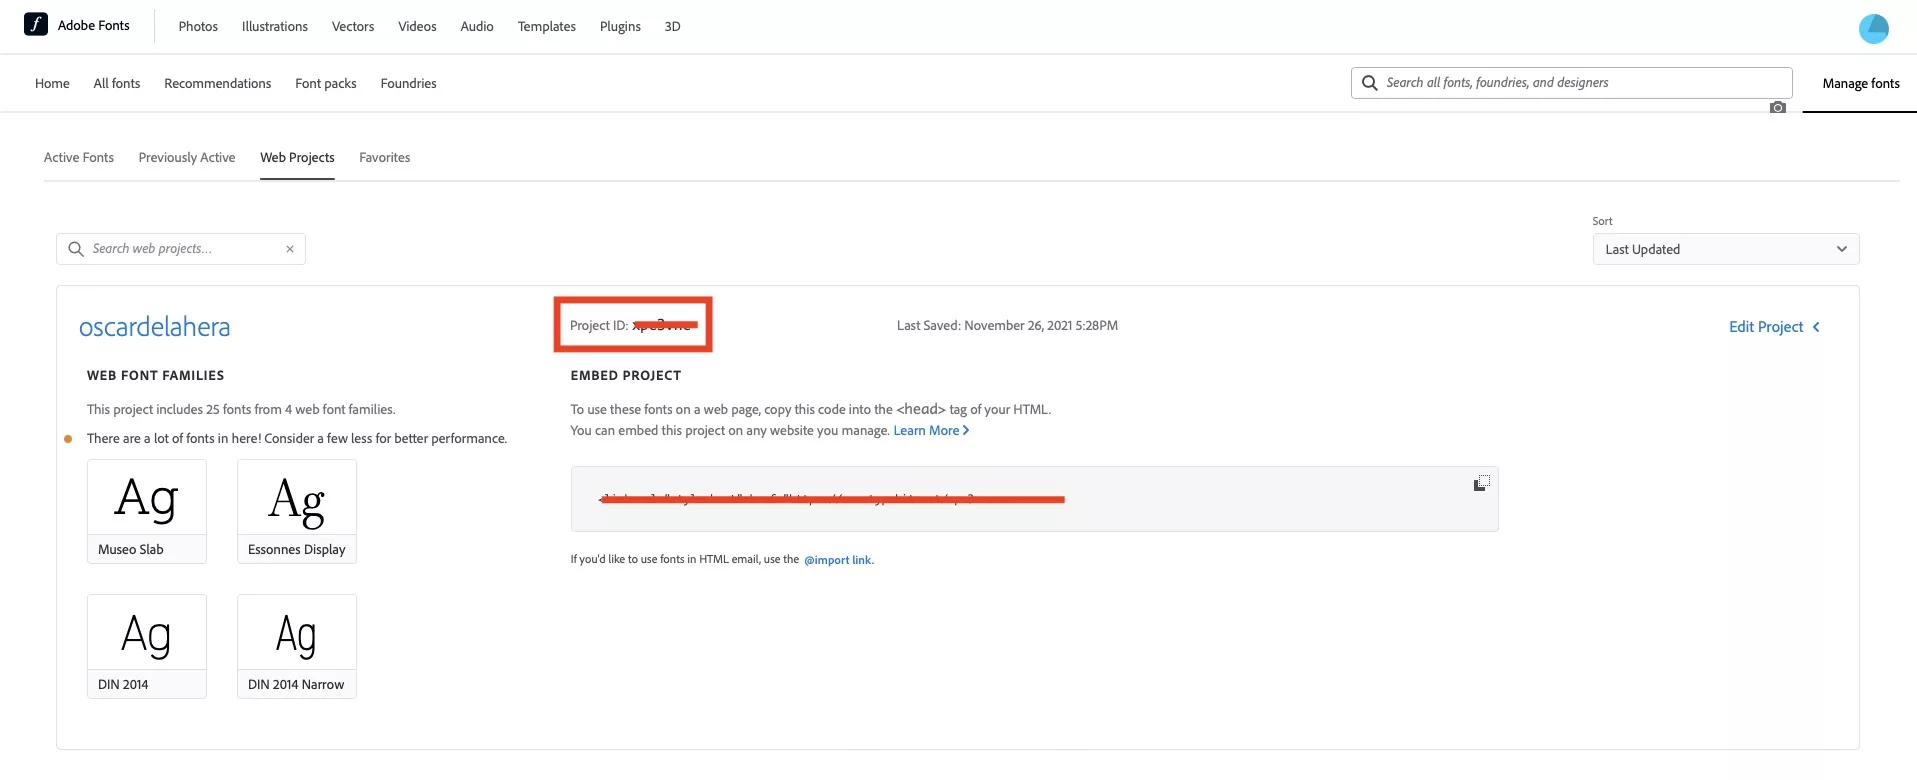
The below screenshot of Adobe Fonts shows you where you can find the Project Id. To find it, press Manage Fonts on the top right followed by Web Projects. In this page that appears, you should be able to find all your web projects and their associated Project ID.

Step Three: Update the Gatsby Config

Update the gatsby-config.js file to include a resolution for the gatsby-plugin-web-font-loader dependency.
Sample code provided below.
Any Questions ?
We are actively looking for feedback on how to improve this resource. Please send us a note to inquiries@delasign.com with any thoughts or feedback you may have.