How to set the constraints of a UI element in Figma
A step by step guide for setting constraints of a UI element, such as text, an image, a shape or a component, within a Frame (artboard) in Figma.

A step by step guide for setting constraints of a UI element, such as text, an image, a shape or a component, within a Frame (artboard) in Figma.
SubscribeWhat are Digital Interface Constraints?Step One: Select a UI element
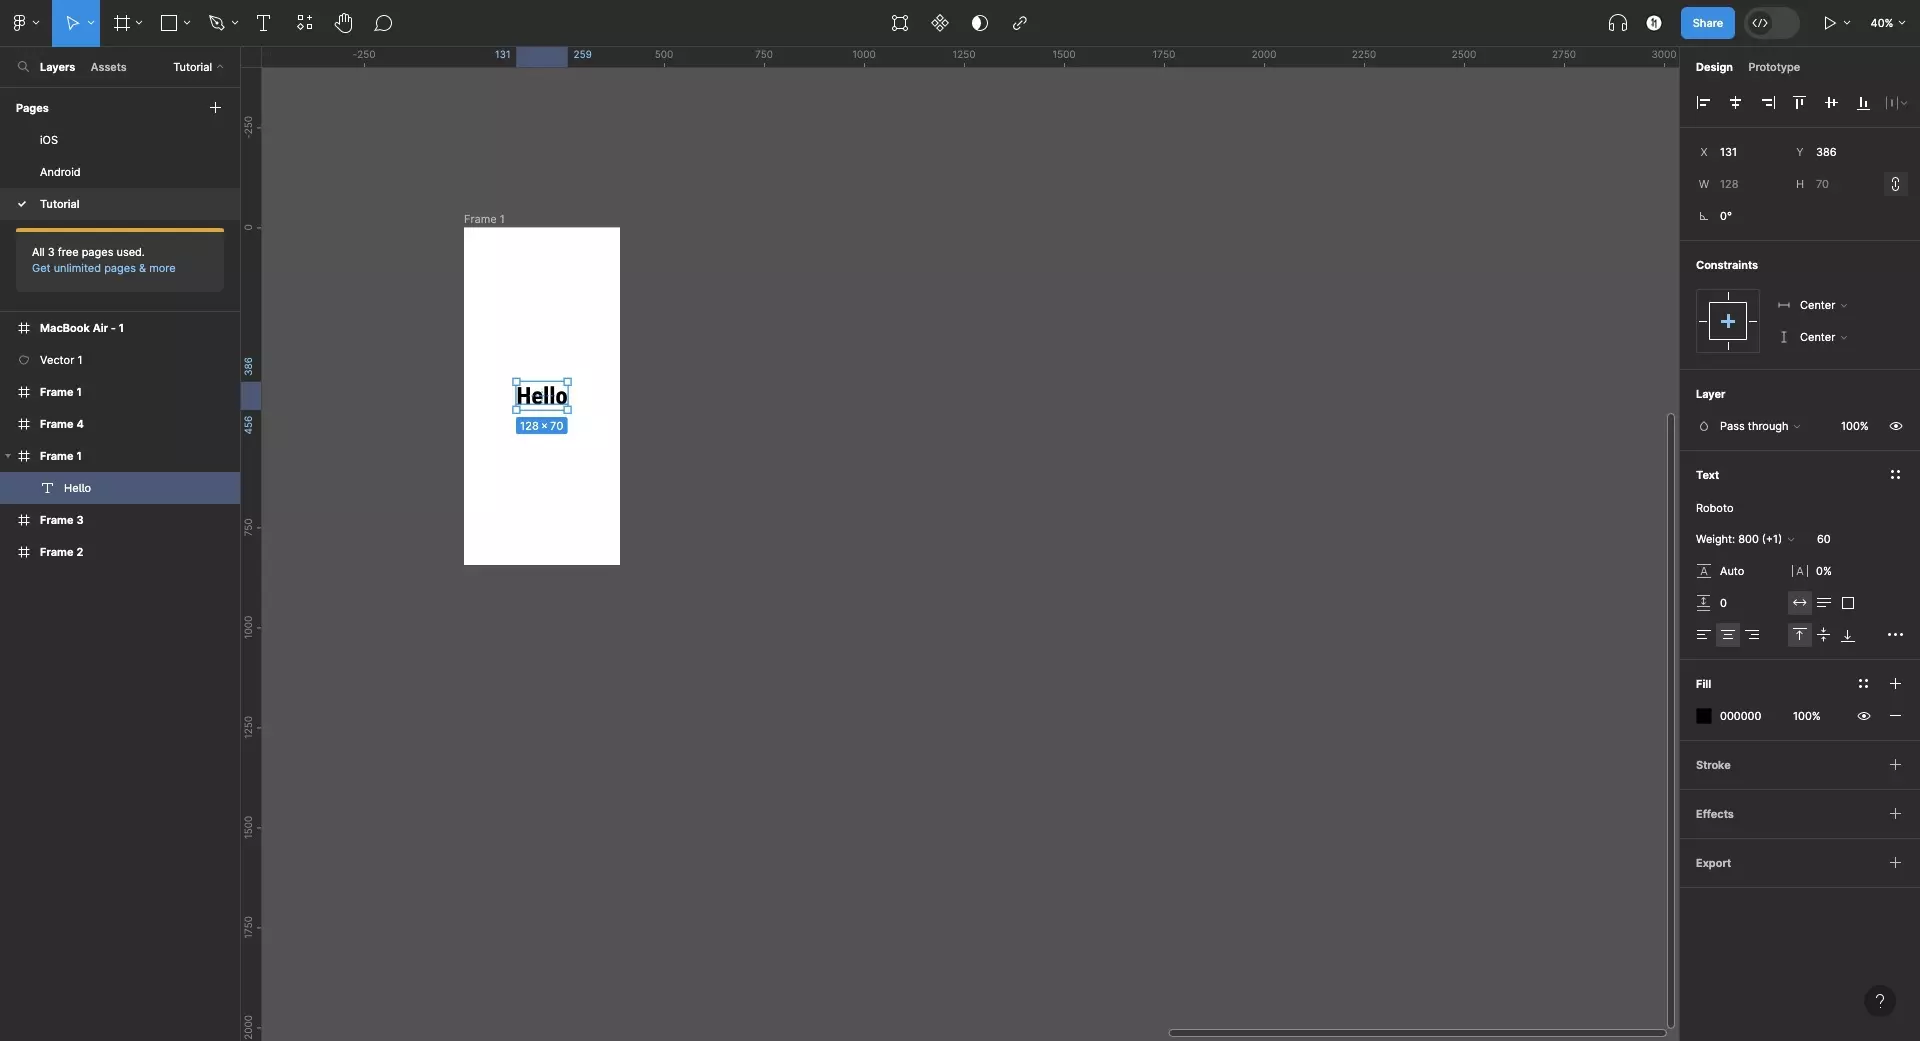
In the Figma project, select a UI element.
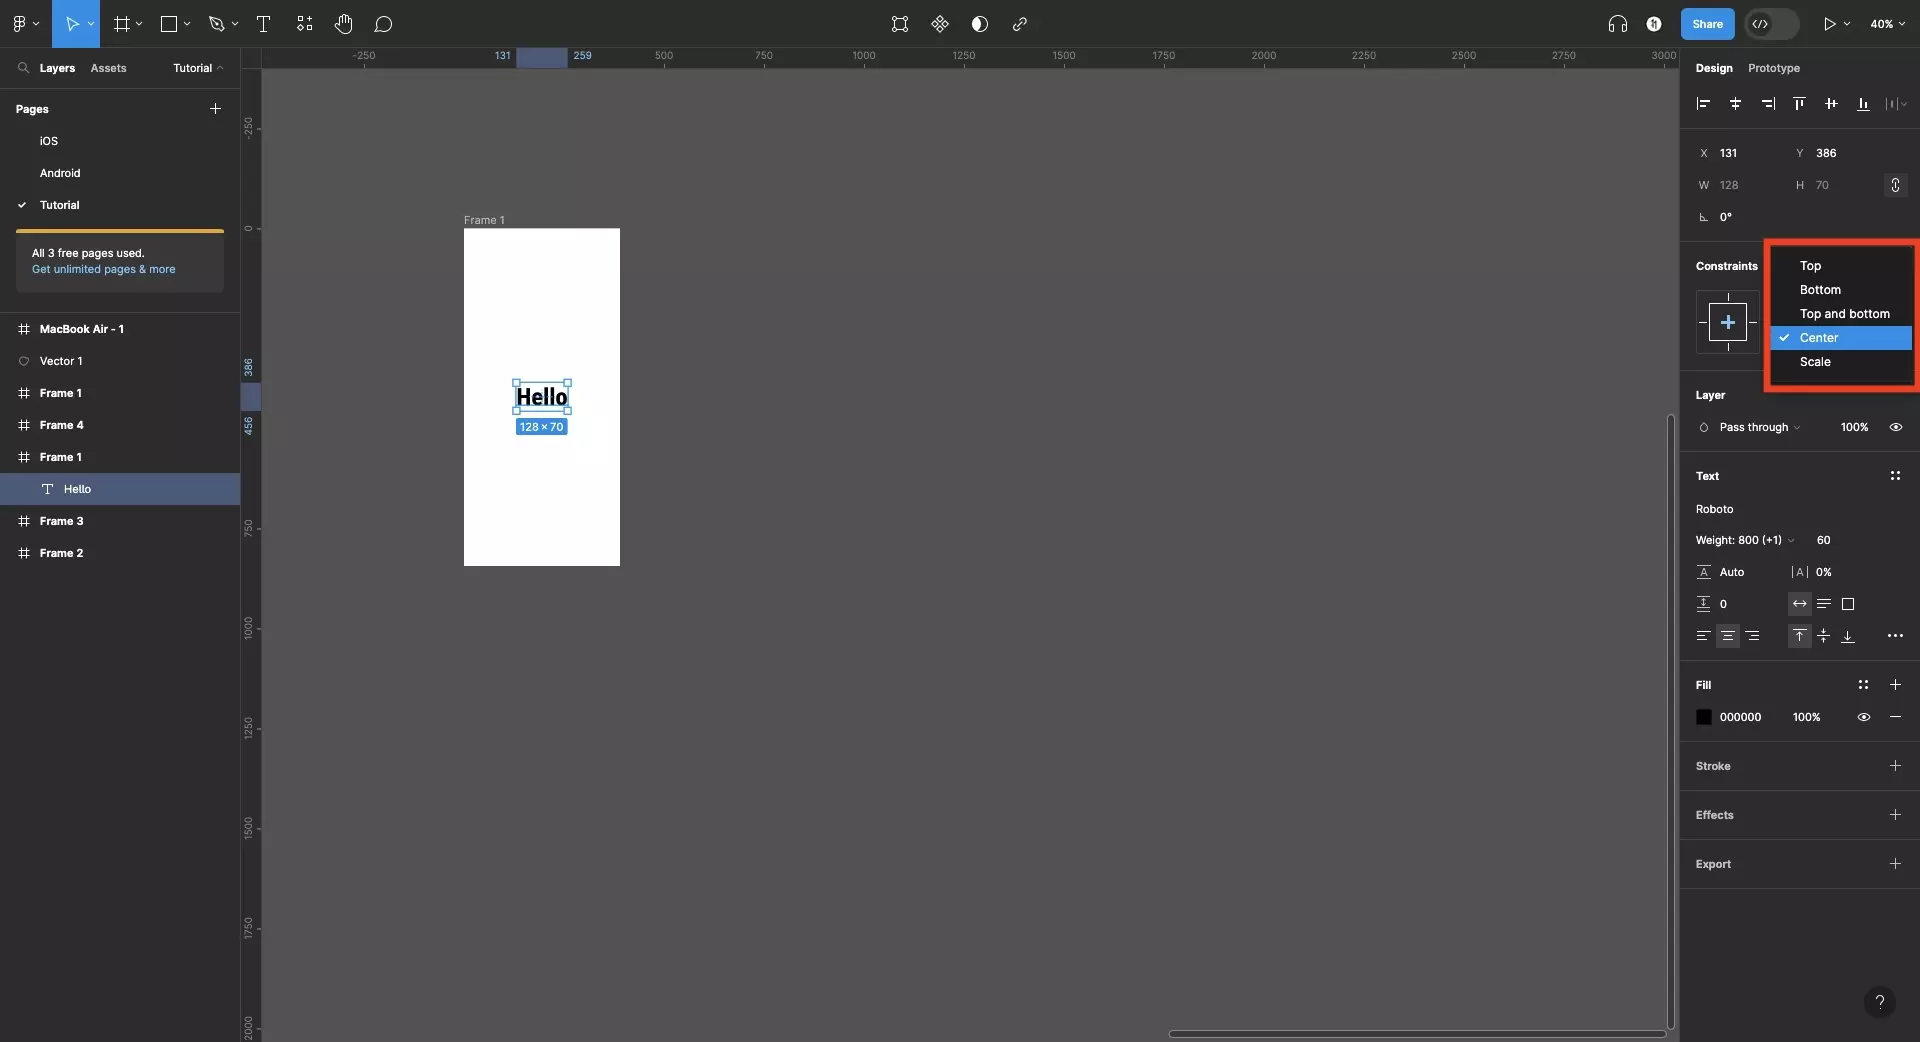
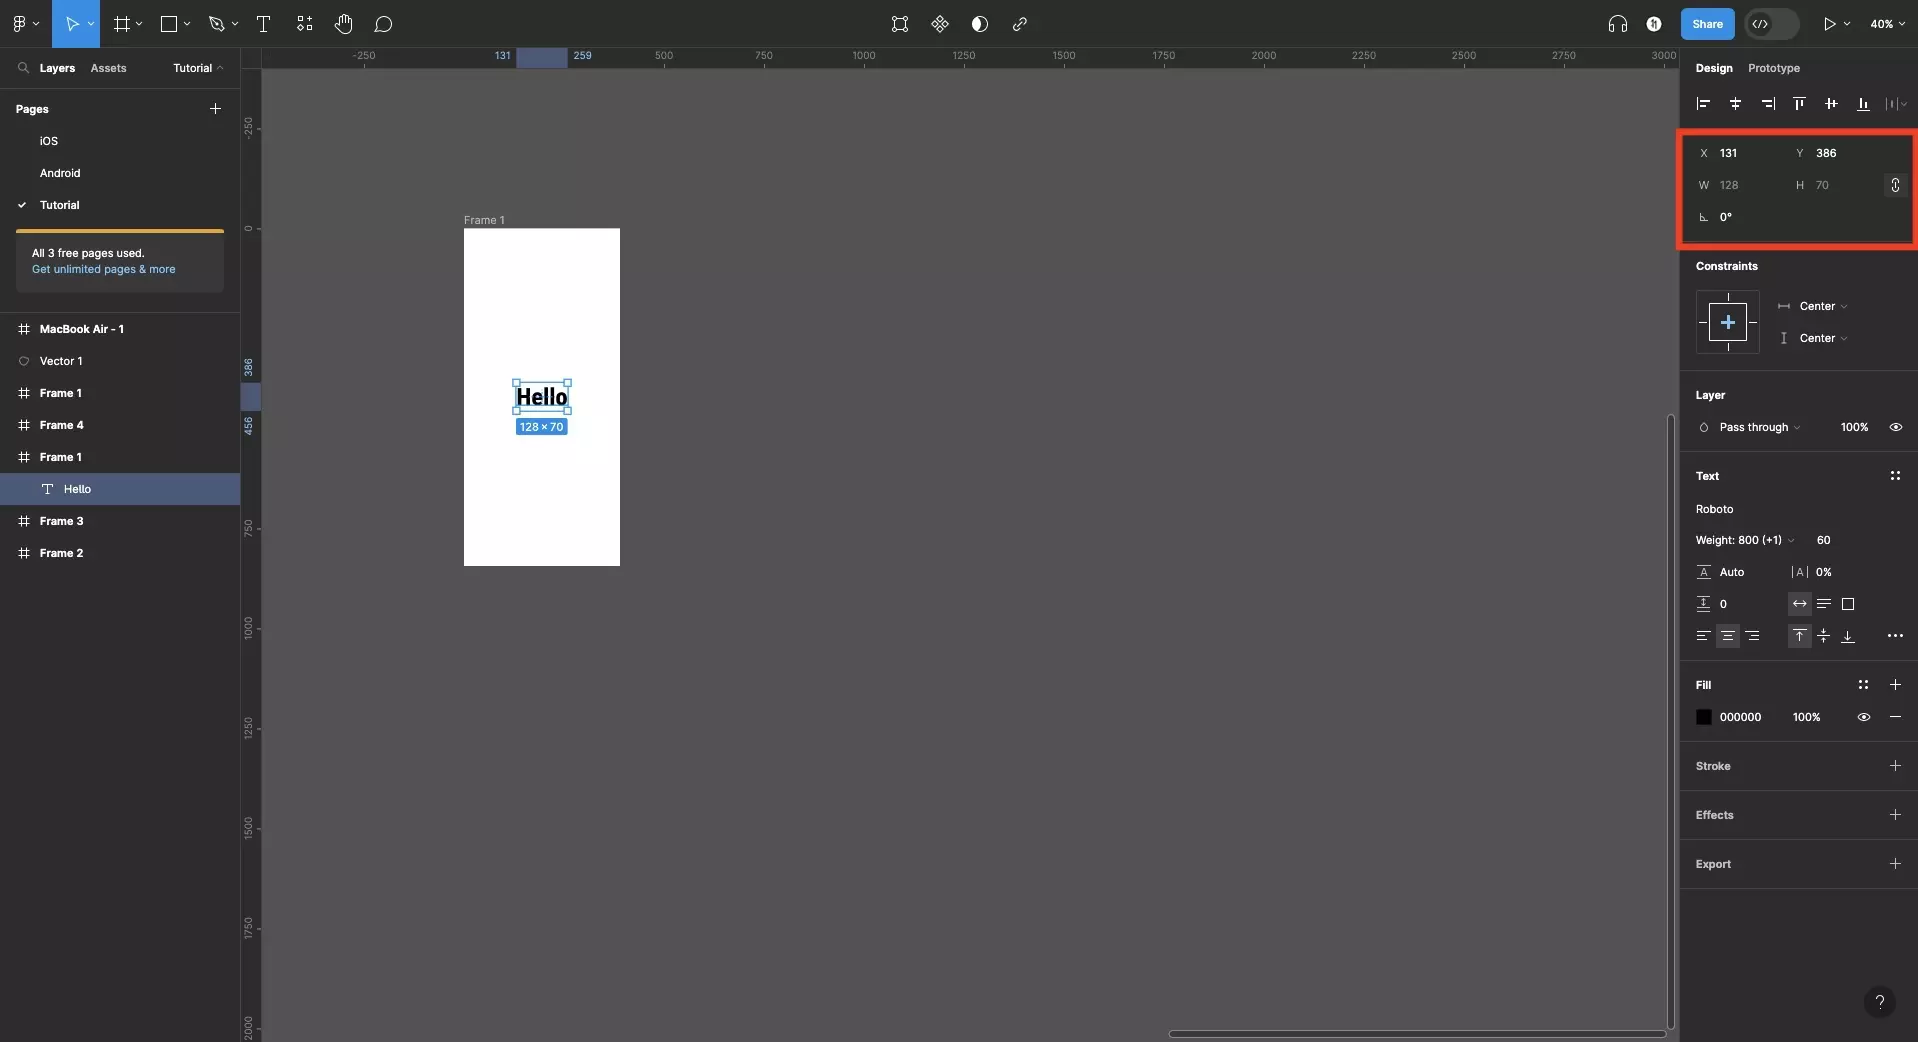
Step Two: Change the Constraints
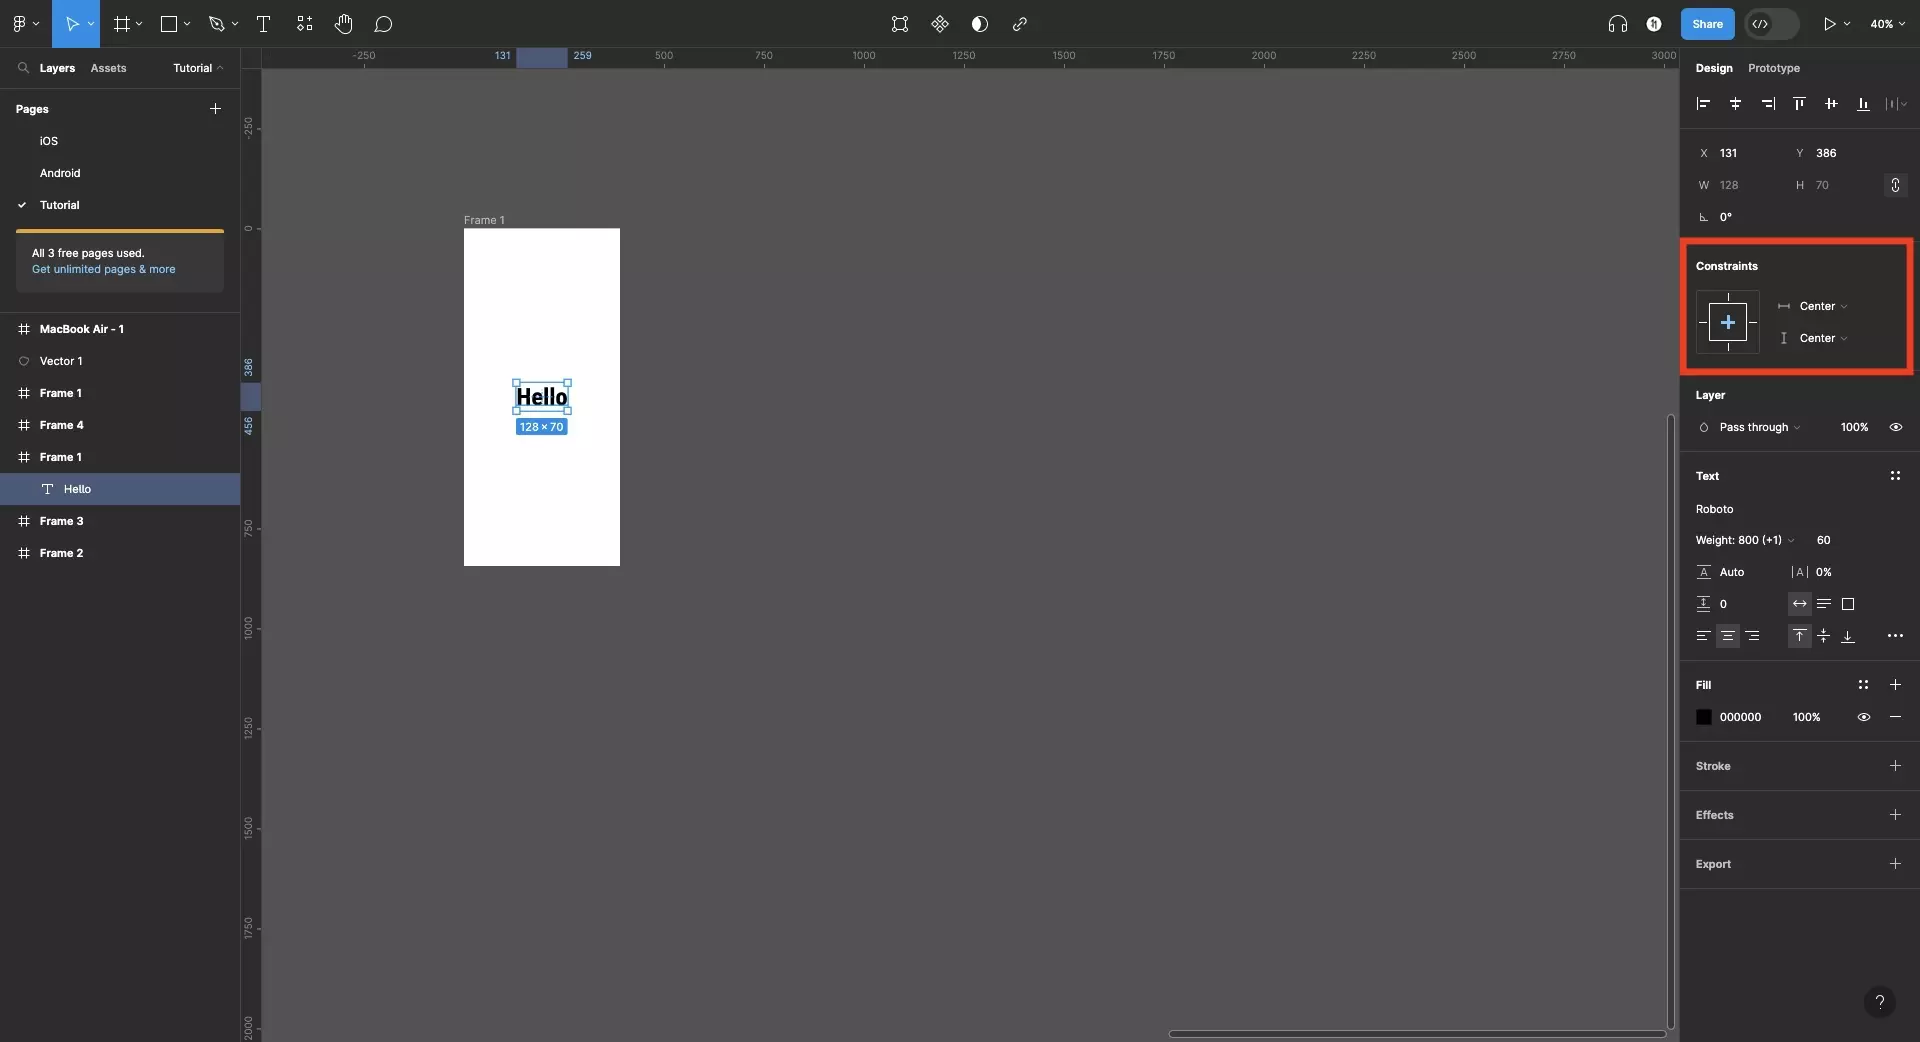
On the right menu side bar, under Constraints change the vertical and horizontal constraints. This will dictate the position relative to the screen that the object should be placed.
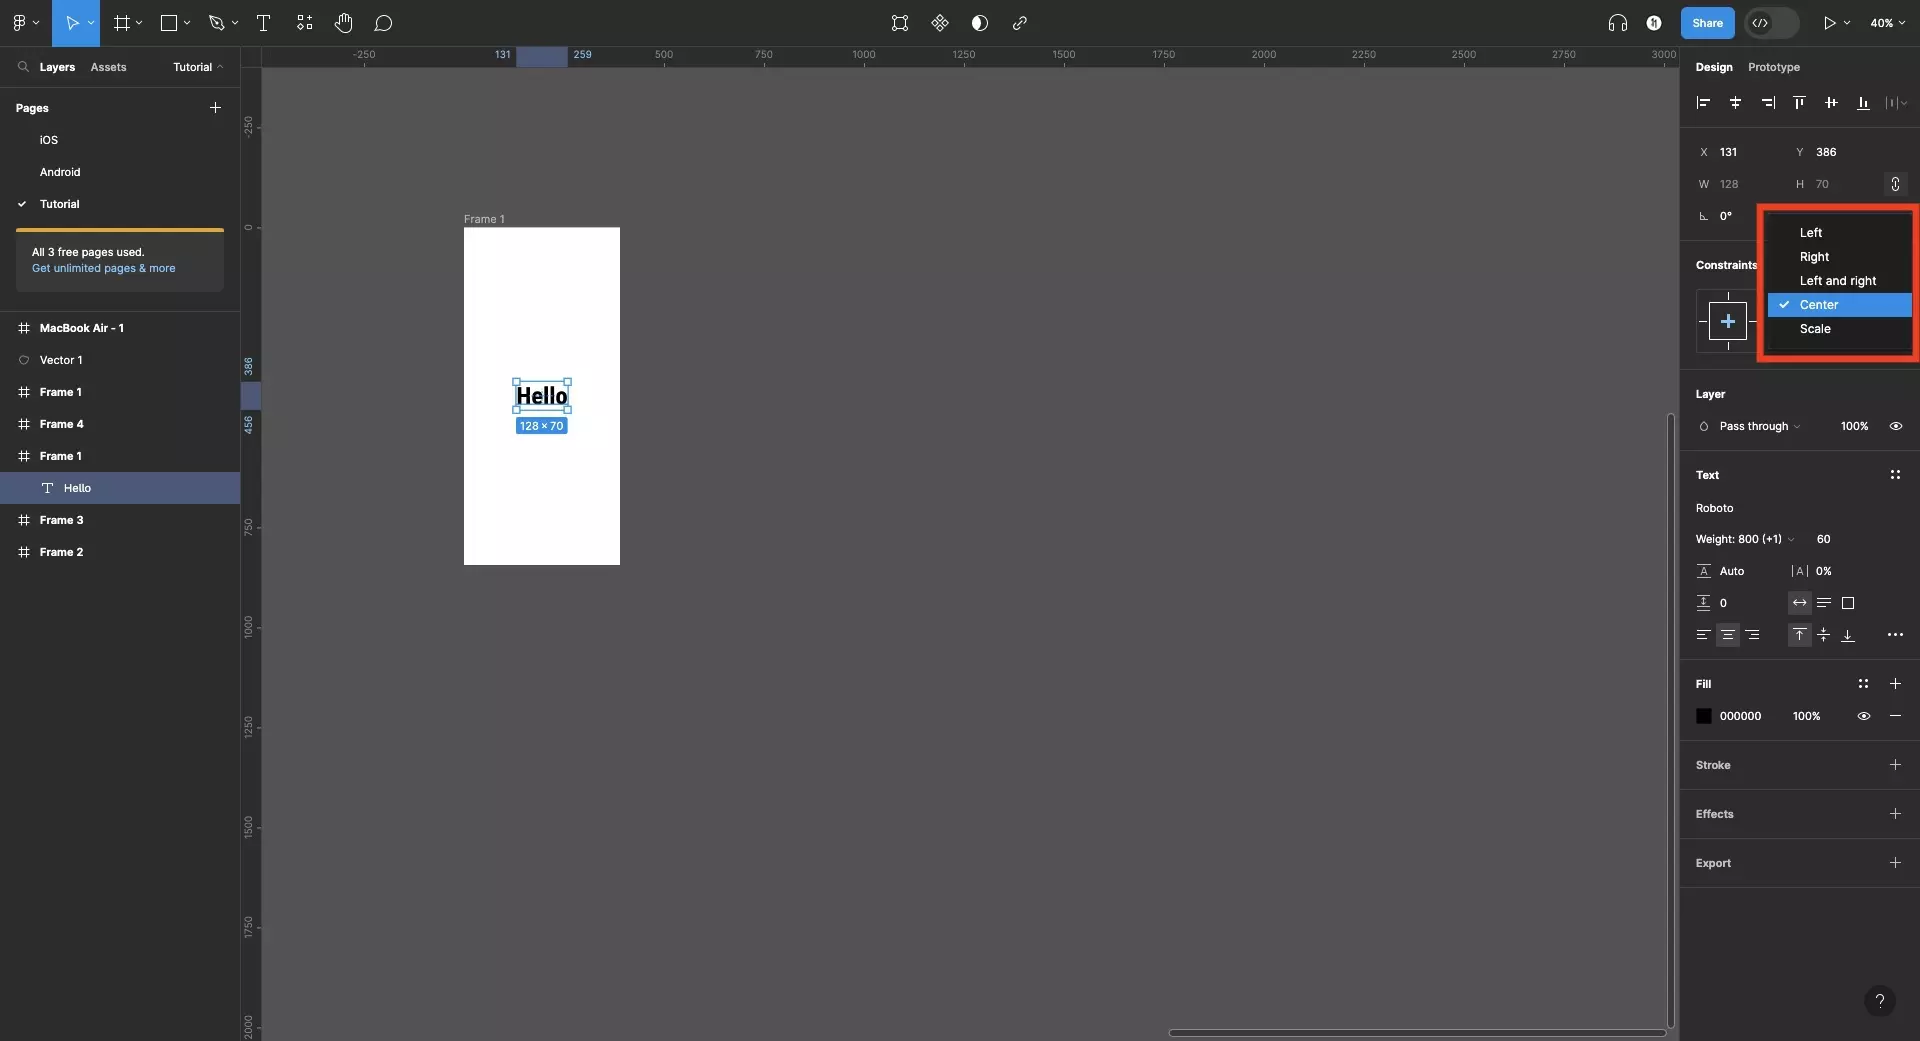
The options for the horizontal constraints (top option) include:
- Left
- Right
- Left and Right
- Center
- Scale
The options for the horizontal constraints (top option) include:
- Top
- Bottom
- Top and Bottom
- Center
- Scale
Step Three: Place the UI element
If you need to, change the location and size of the UI element.
Step Four: Test
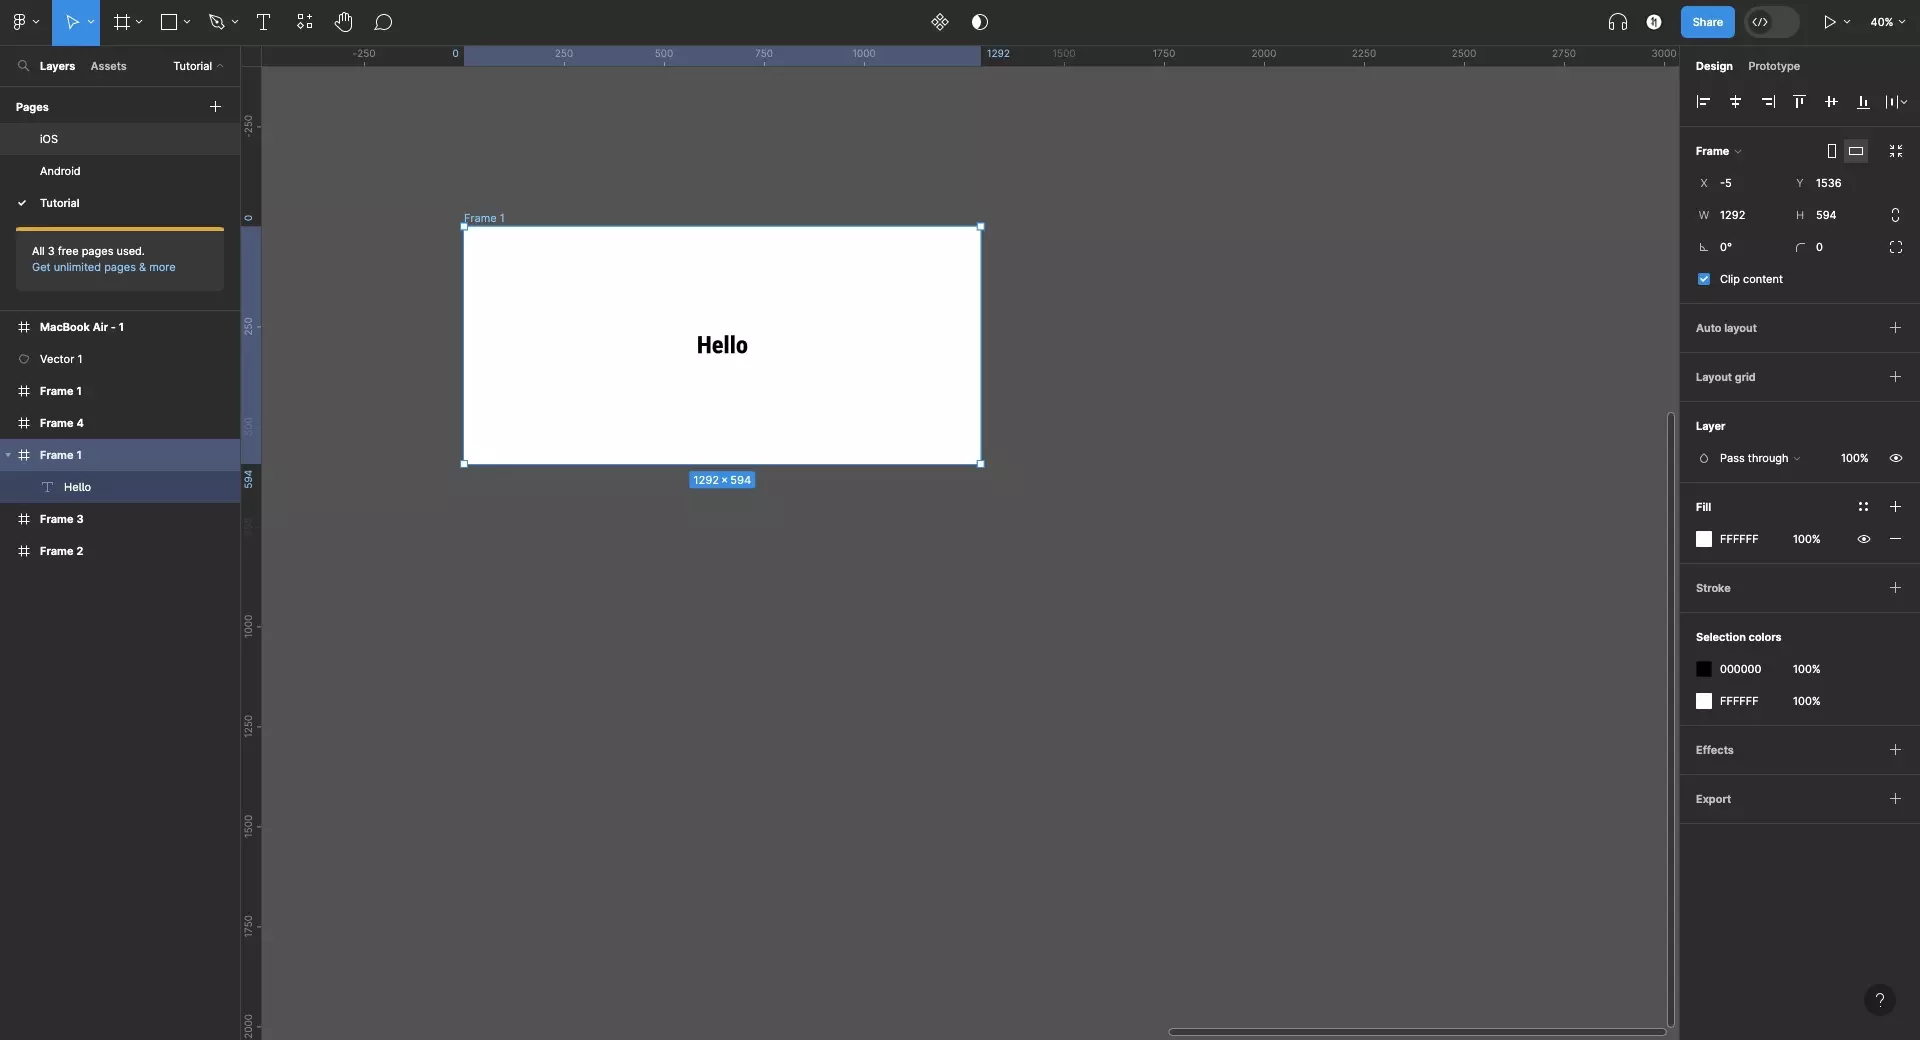
Resize the frame and confirm that everything works as expected.
Looking to learn more about things you can do with Figma ?
Search our blog to find educational content on learning how to use Figma.