How to use a mask in Figma

Draw the mask you wish to apply and position it. Send it to back. Highlight the mask and the object or shape you wish to mask, right click and select Use as mask.

Oscar de la Hera Gomez
Written by Oscar de la Hera Gomez
First published on 12/12/2022 at 07:48
Last Updated on 07/14/2023 at 17:06
A flower that represents Figma with the text "Mask" beneath it.

Draw the mask you wish to apply and position it. Send it to back. Highlight the mask and the object or shape you wish to mask, right click and select Use as mask.

The following tutorial walks you through how to apply a mask to a shape or object in Figma. If you are interested in other Figma tutorials, please consult our links below.

SubscribeHow to crop an image in FigmaHow to create and use image styles in Figma for image design systemsHow to use Auto Layout in FigmaSearch blog for all Figma tutorials

Step One: Draw the mask

A screenshot of Figma with a highlight over a Star being drawn on top of the delasign logo.

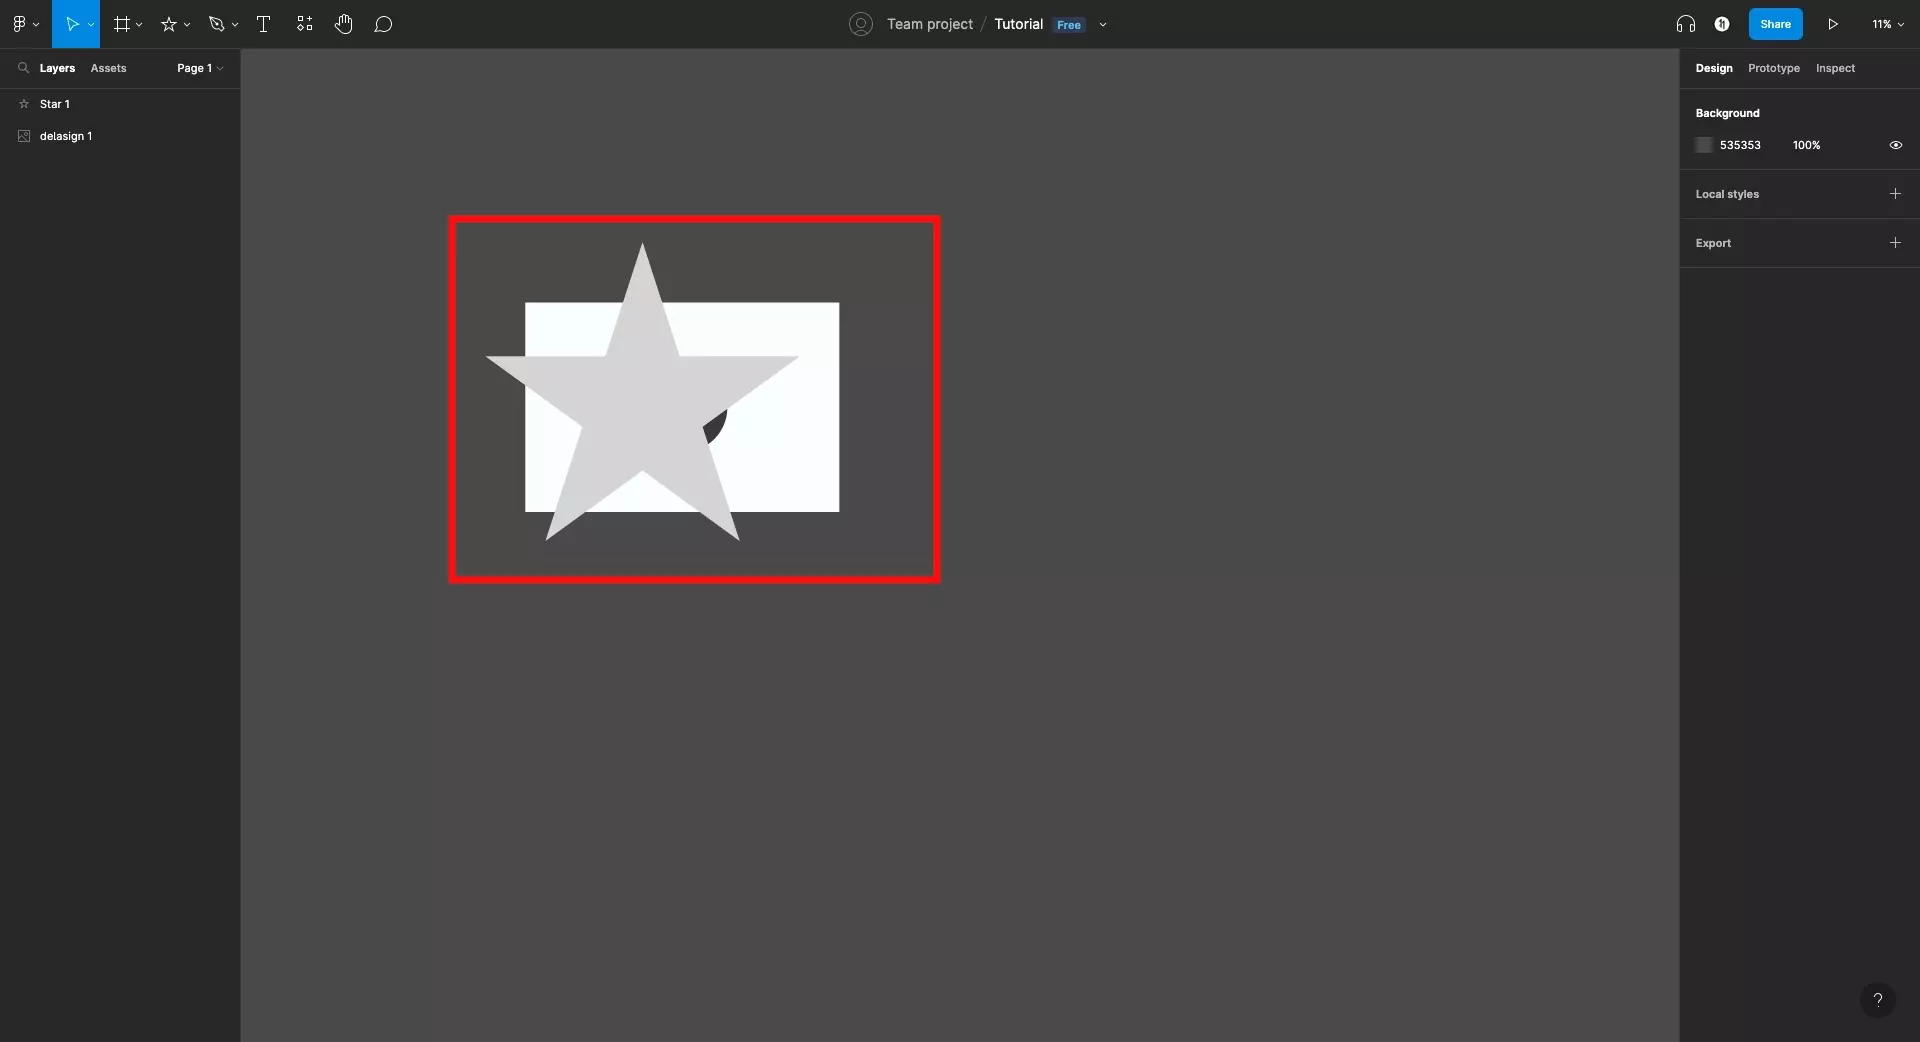
Draw the mask that you wish to apply to your shape or object.

In our case, we are drawing a star over an image but please note that this tutorial applies to any shape or object.

Step 2: Send to back

A screenshot of Figma with the Star selected and a highlight being drawn on "Send to Back" on the pop up menu that appears when you right click the star.

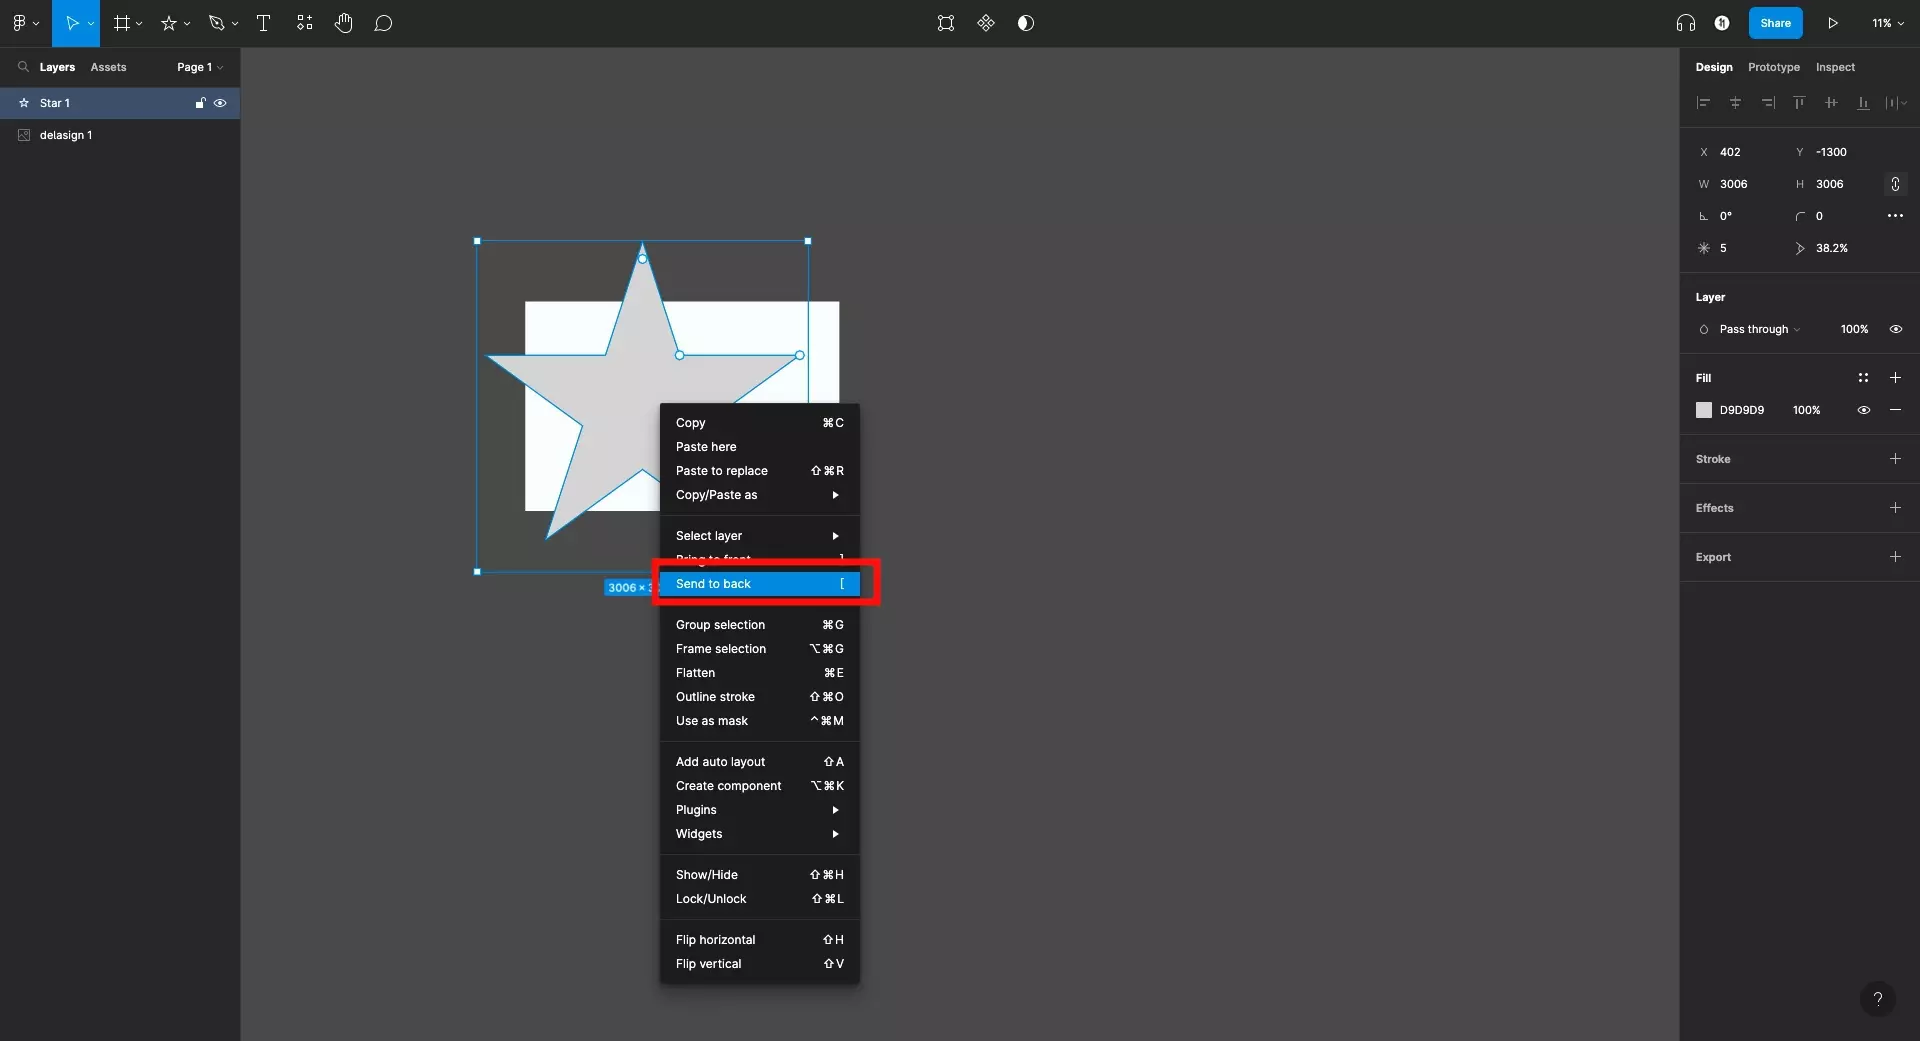
Right click the shape that you wish to apply as a mask and in the menu that pops up select Send to back.

Alternatively, you can press the [ key.

Step Three: Apply Mask

A screenshot of Figma with both the delasign logo and a star selected, with the menu that appears when you right click after selecting both. On this pop up menu that appears after right clicking, we have highlighted "Use as mask" which must be selected to apply the mask.

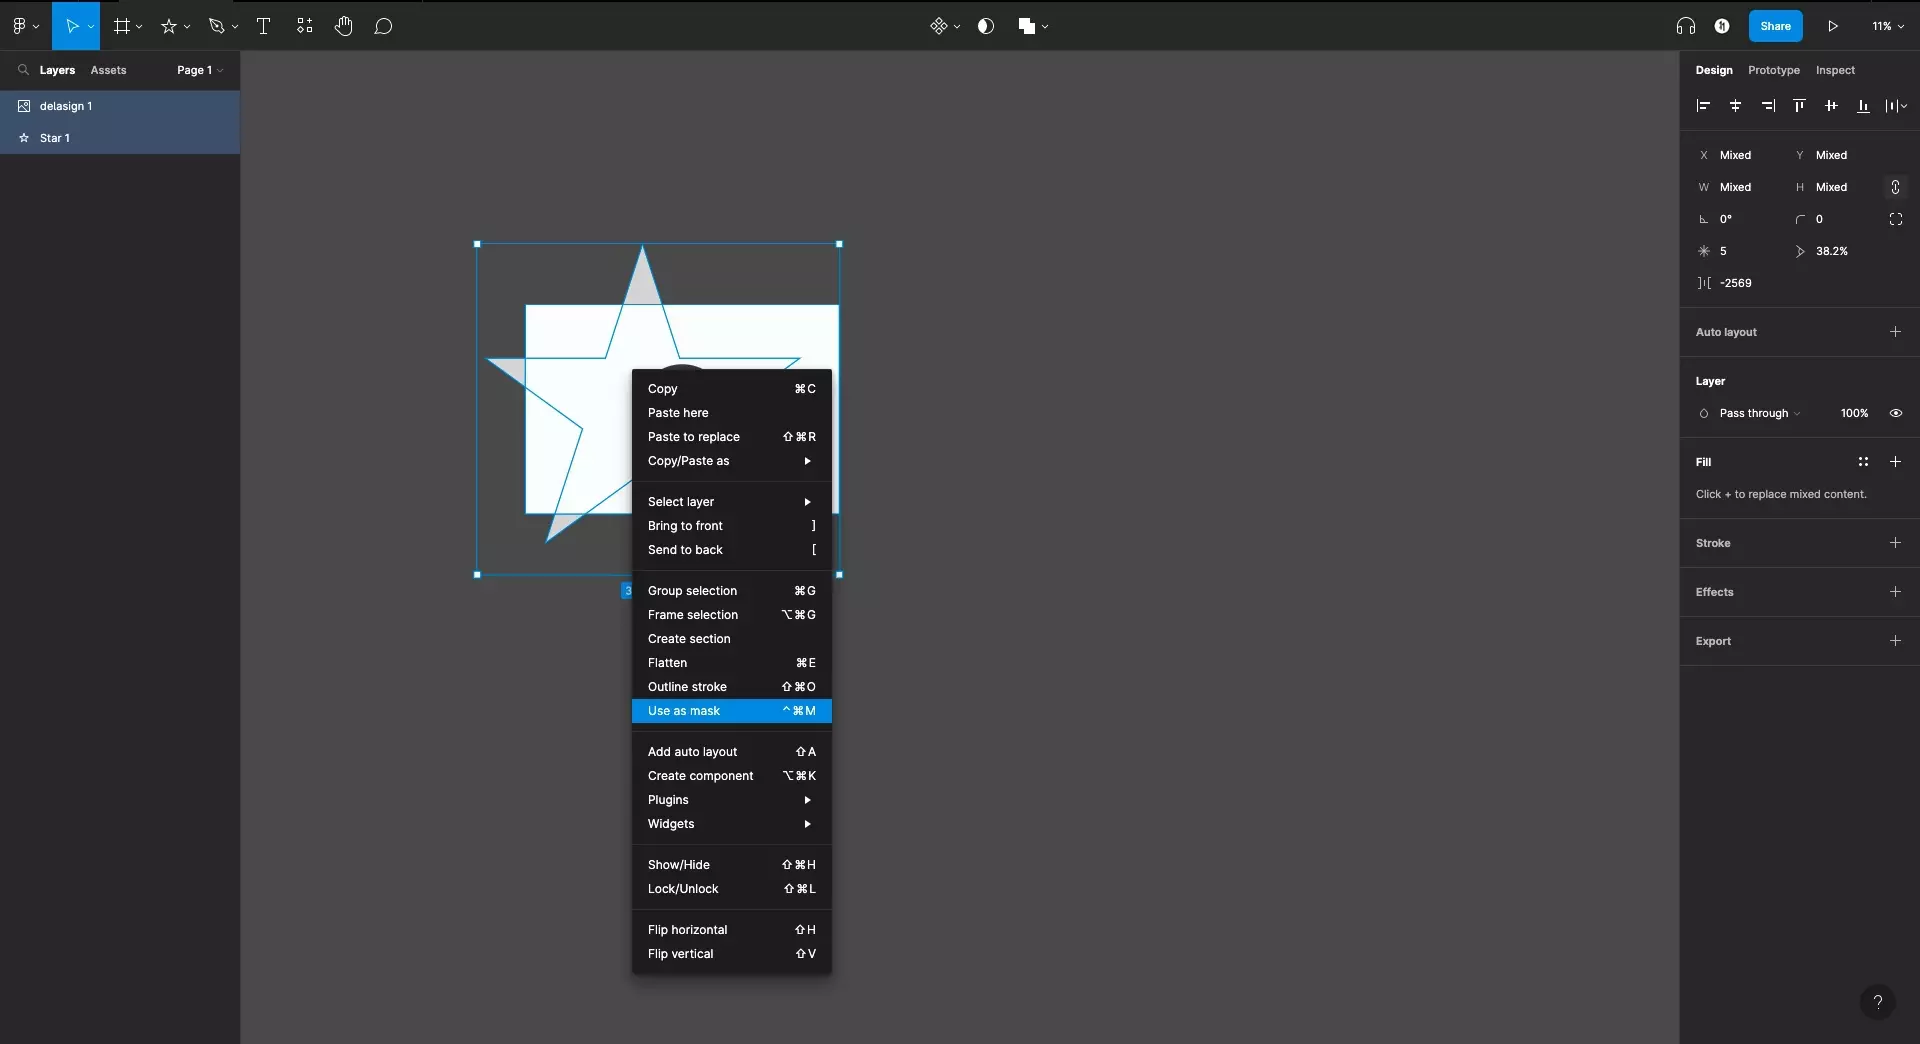
Select the object or shape that you wish to mask along with the mask that you wish to apply.

With both items selected, right click and select Use as Mask.

Alternatively:

  • On a Mac press Control + Command + M
  • On Windows press Control + Alt + M

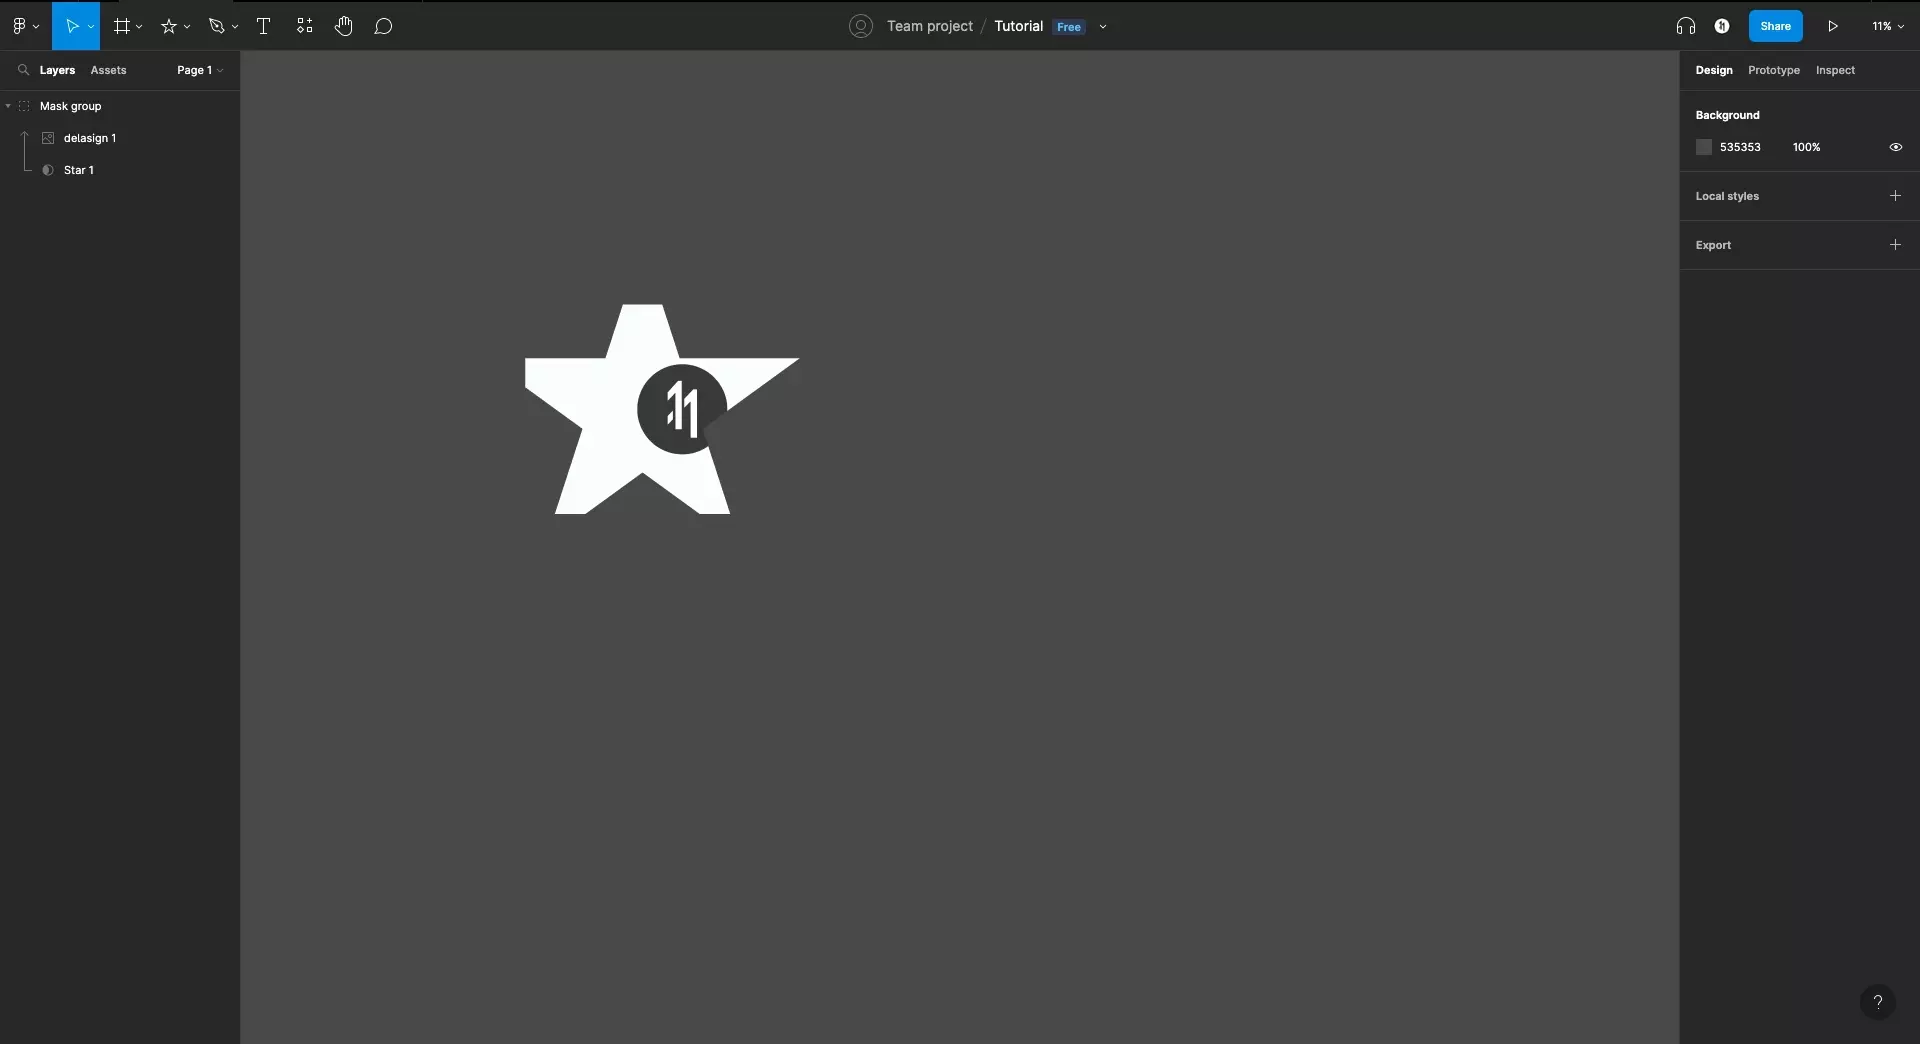
The masked image that resulted from the operation is demonstrated below.

A screenshot of the final result in Figma.

Looking to learn more about the basics behind text, shapes and media in Figma ?

Consult the list below to learn more about the basics behind text, shapes and media in Figma.

How to add text to a Frame in FigmaHow to resize a Text Frame in FigmaHow to add shapes to a Frame in FigmaHow to use Boolean Groups in FigmaHow to use the Pen tool in FigmaHow to add images to a Frame in FigmaHow to crop an image in FigmaSearch blog for all Figma tutorials

Any Questions?

We are actively looking for feedback on how to improve this resource. Please send us a note to inquiries@delasign.com with any thoughts or feedback you may have.
SubscribeContact UsVisit our BlogView our ServicesView our Work

Partner with us

We would love to get to know you and see how we can help your organization with its goals and needs.
Let's Talk

Stay Informed

Get occasional updates about our company, research, and product launches.
Subscribe