How to crop an image in Figma
Double click on the image. Select crop from the menu in the pop up and crop the image.

Double click on the image. Select crop from the menu in the pop up and crop the image.
The following tutorial walks you through how to crop an image in Figma. If you are interested in other Figma tutorials, please consult our links below.
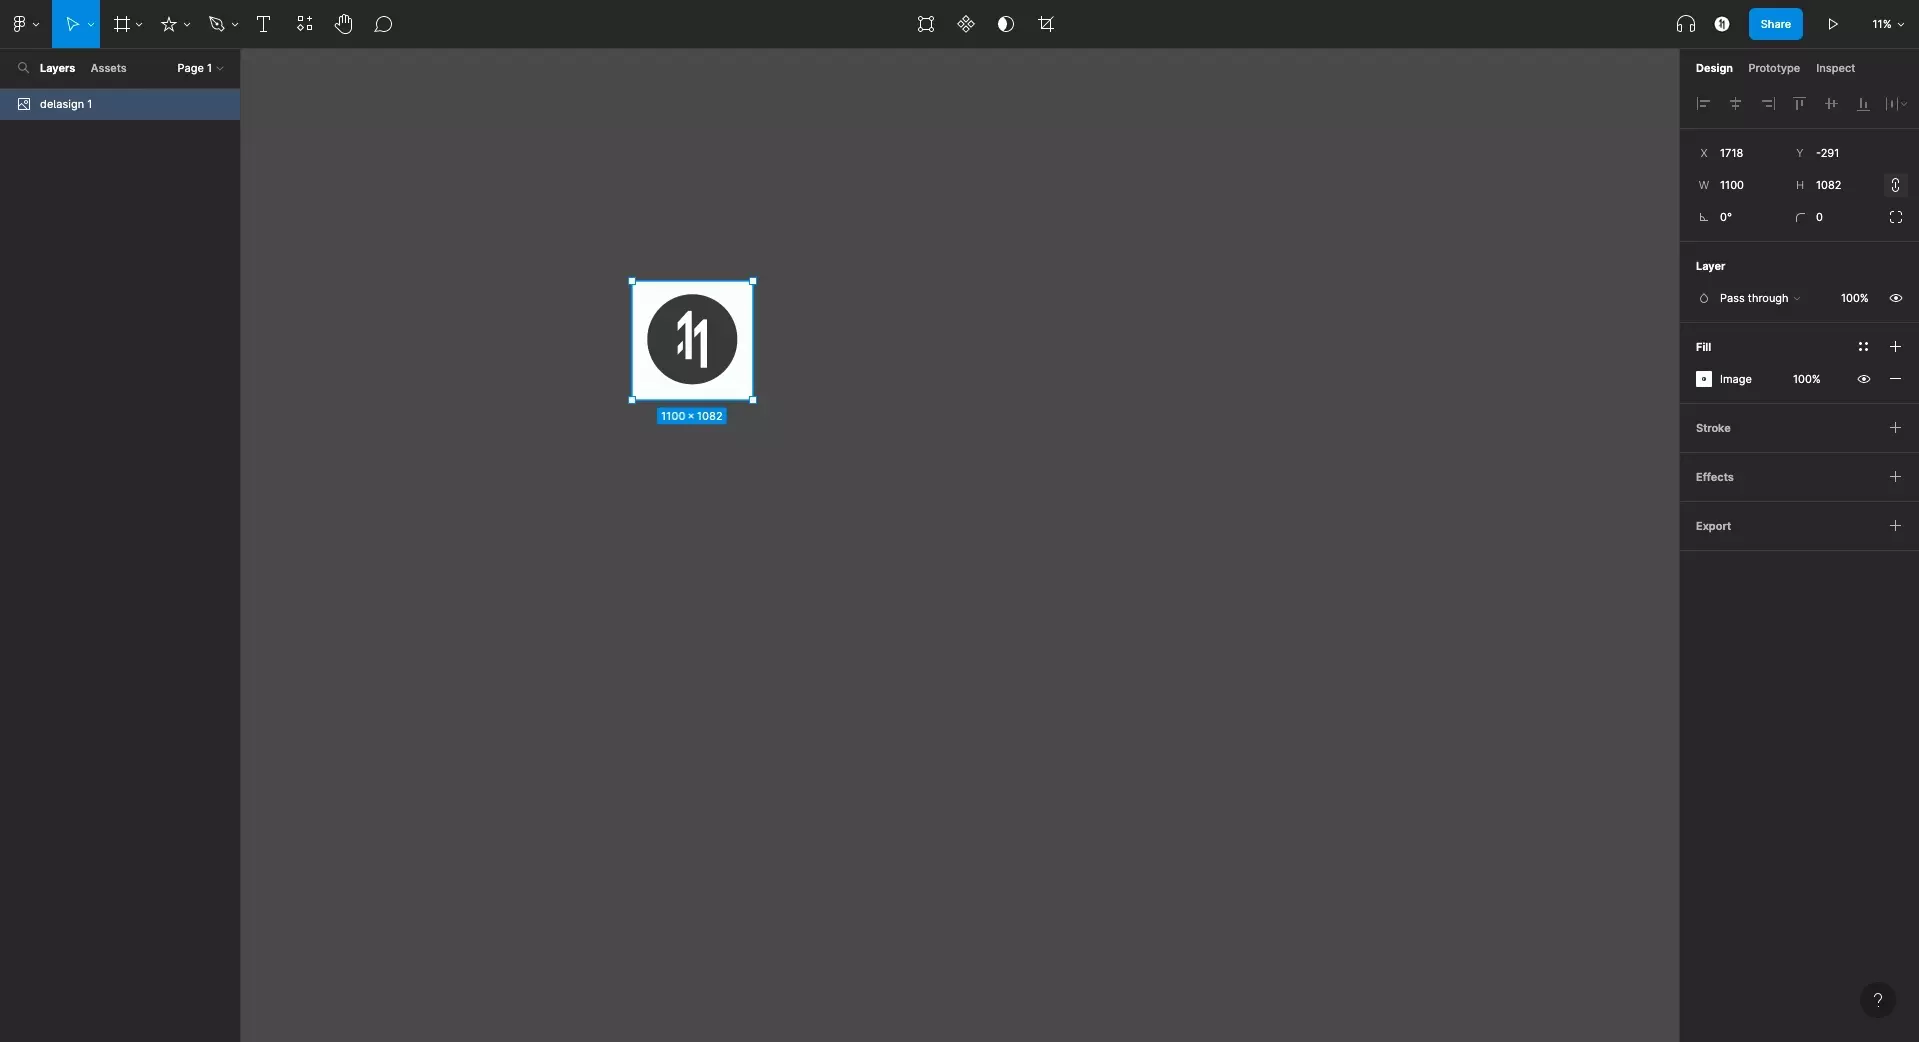
Step One: Double click the Image
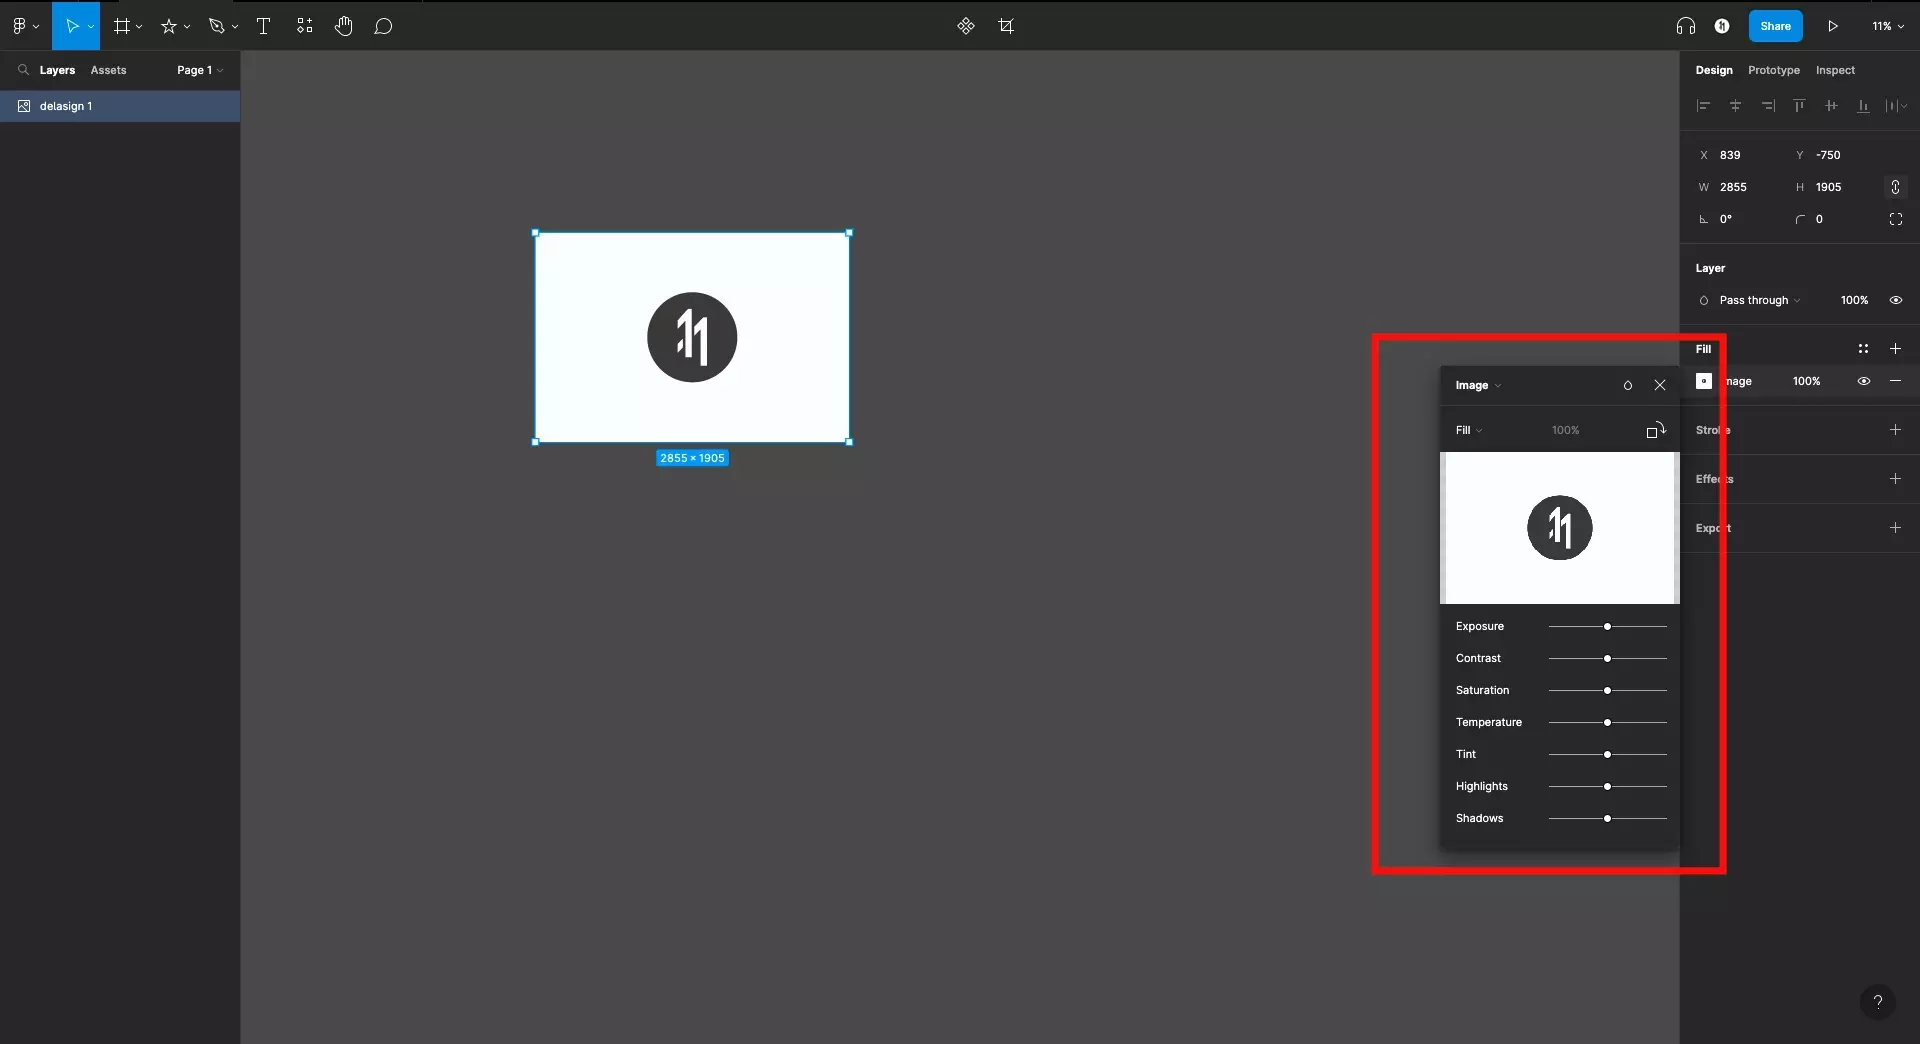
Select the image you wish to crop and double click it. This will open up the image menu in a pop up.
Alternatively, after selecting it select image under fill in the design inspector on the right side.
Step Two: Select Crop
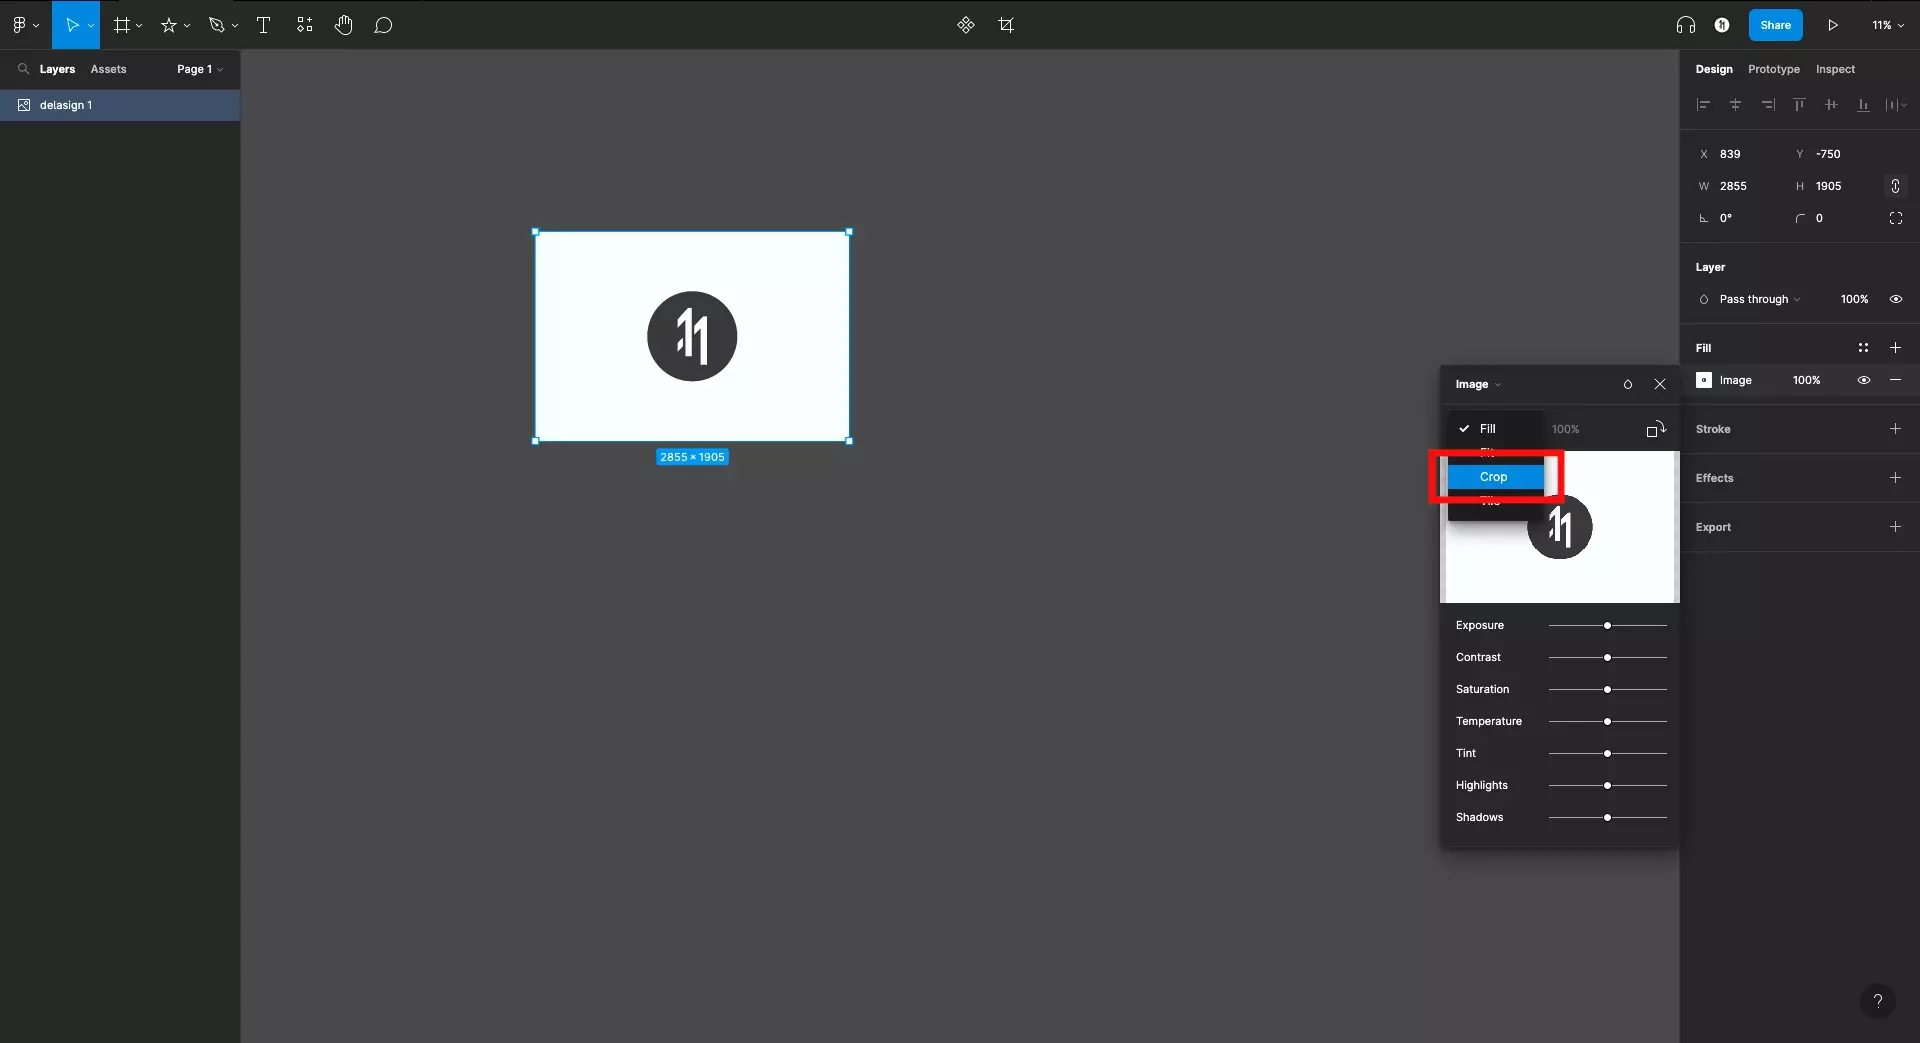
In the image pop up menu, click on the drop down menu which is set to Fill and select Crop.
Step Three: Set the crop area
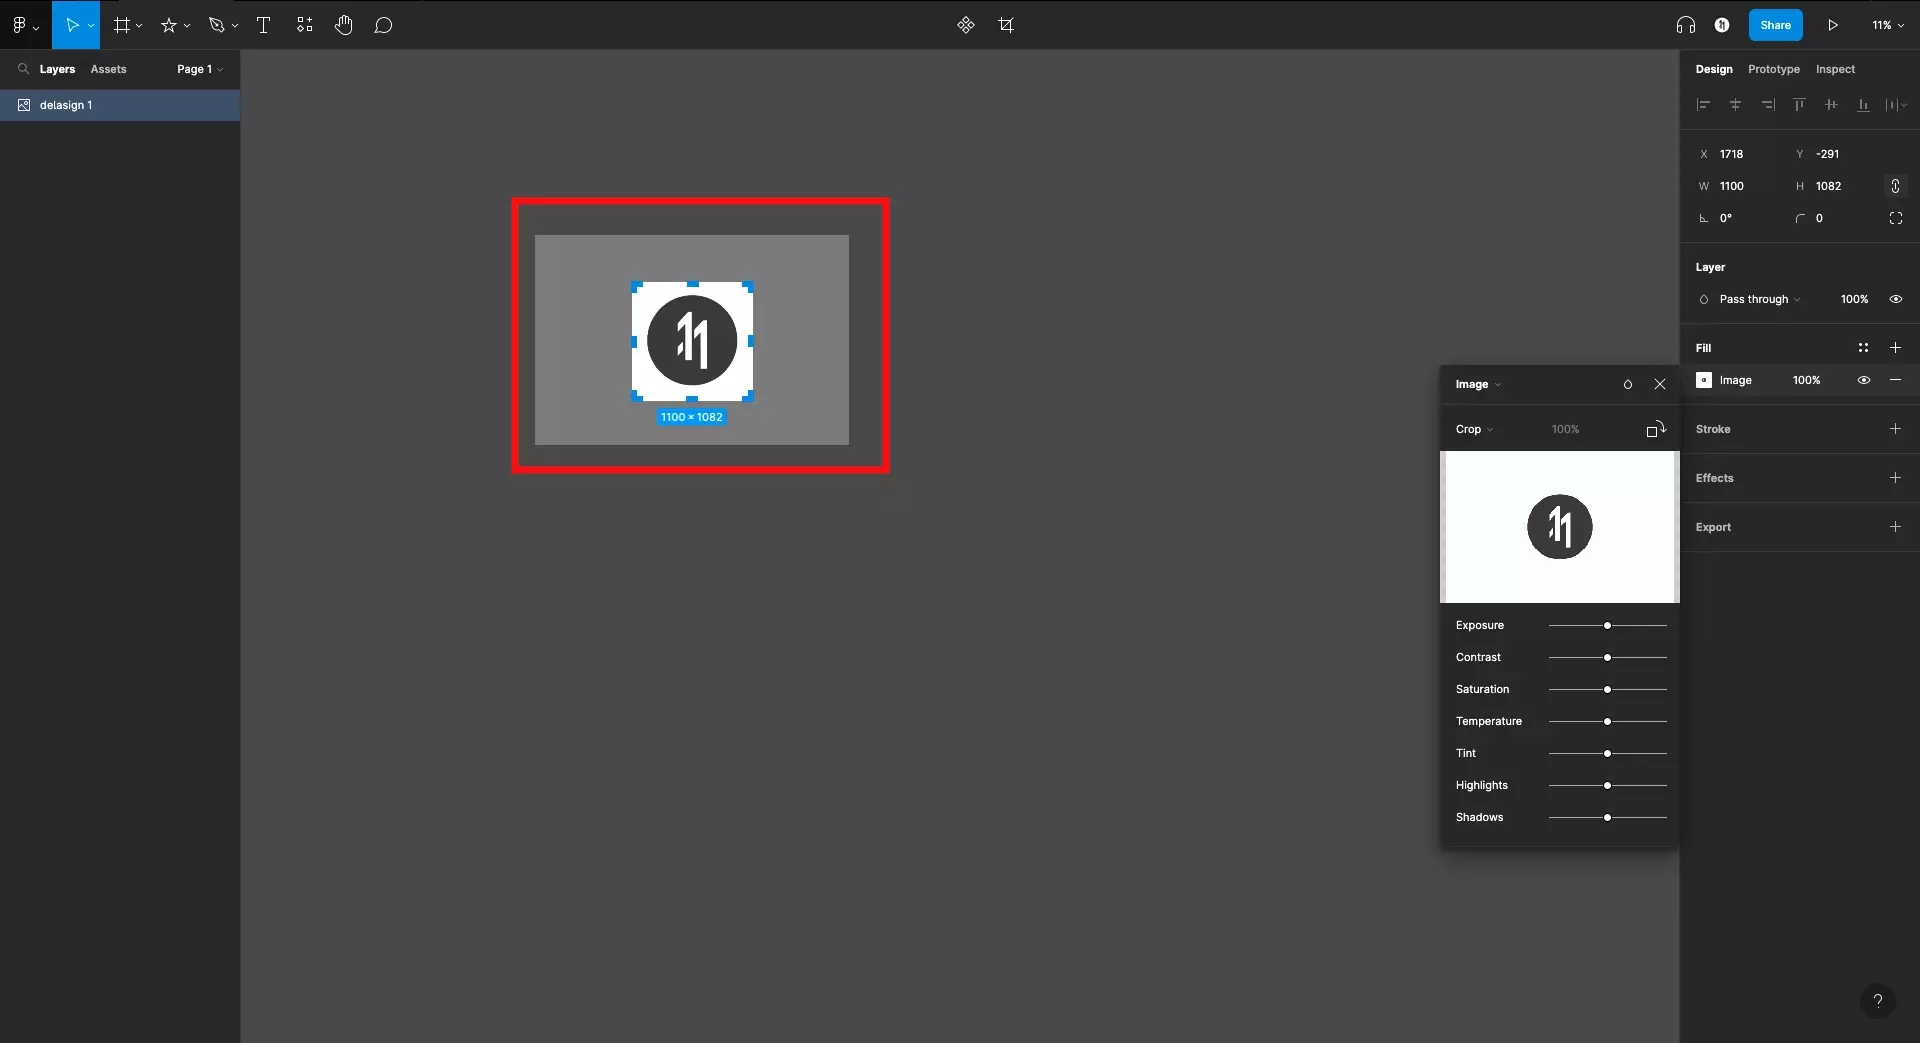
Set the crop area using the handles provided by Figma. It will provide a preview of your final crop.
Step Four: Finish
Once you have set the crop area, press Enter to crop the image.
Looking to learn more about the basics behind text, shapes and media in Figma ?
Consult the list below to learn more about the basics behind text, shapes and media in Figma.