How to create and use grid styles in Figma

Oscar de la Hera Gomez
A flower that represents Figma with the text "Grid Styles" beneath it.

A step by step tutorial on setting up grid styles in Figma.

Step One: Create a New Style

A screenshot of Figma that shows that if the canvas is selected (i.e. nothing is selected) that you can create a new style of any type by pressing the + button next to "Local Variables" on the right menu side bar. This opens up a menu that allows you to create a text, color, effect or grid style. Click grid style to continue.

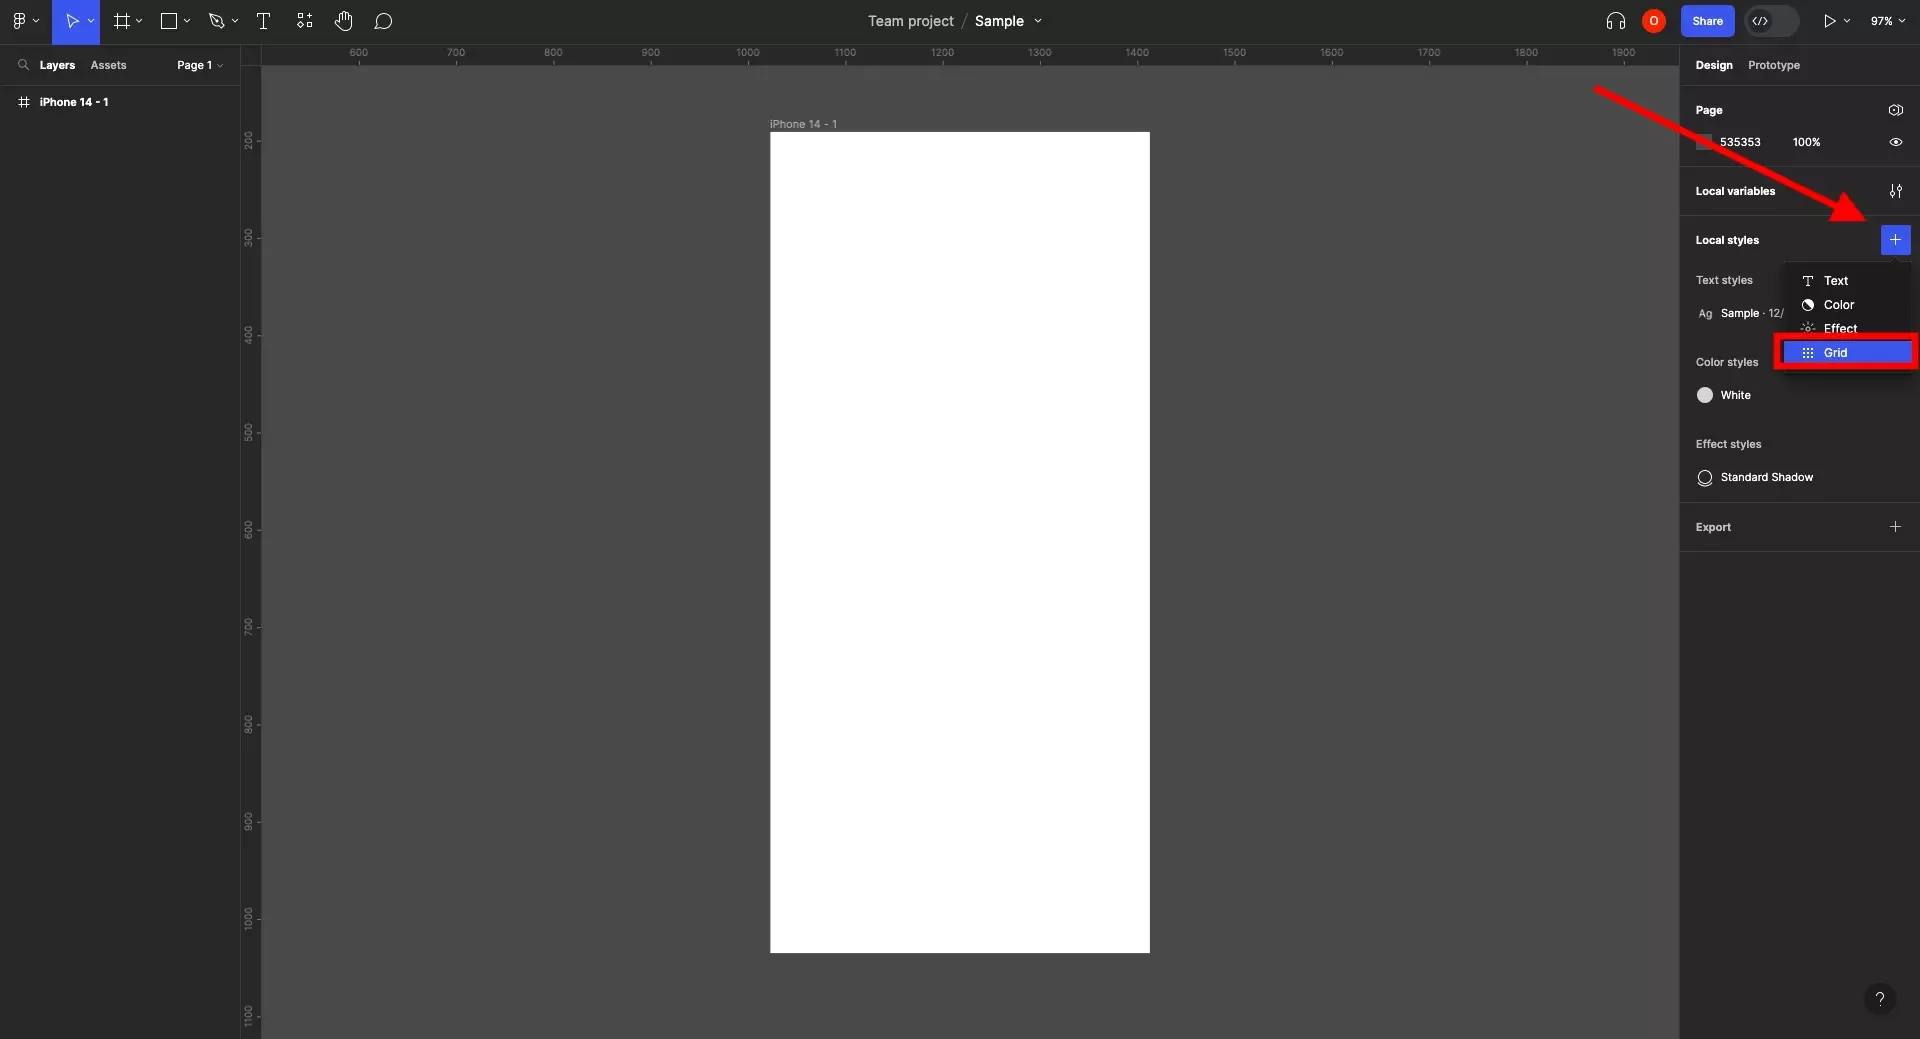
Click on the Figma canvas and on the right menu side bar, click the + next to Local variables. In the menu that appears, select Grid.

Step Two: Configure and Save

A screenshot of Figma showing the window that appears when you create a new Grid Style. We have highlighted that you must name the grid style. If you press the grid icon, you can customize your grid to include rows and columns instead of a standard square grid. Finally, when you are done customizing, we have highlighted the create style button. Press it to create the style.

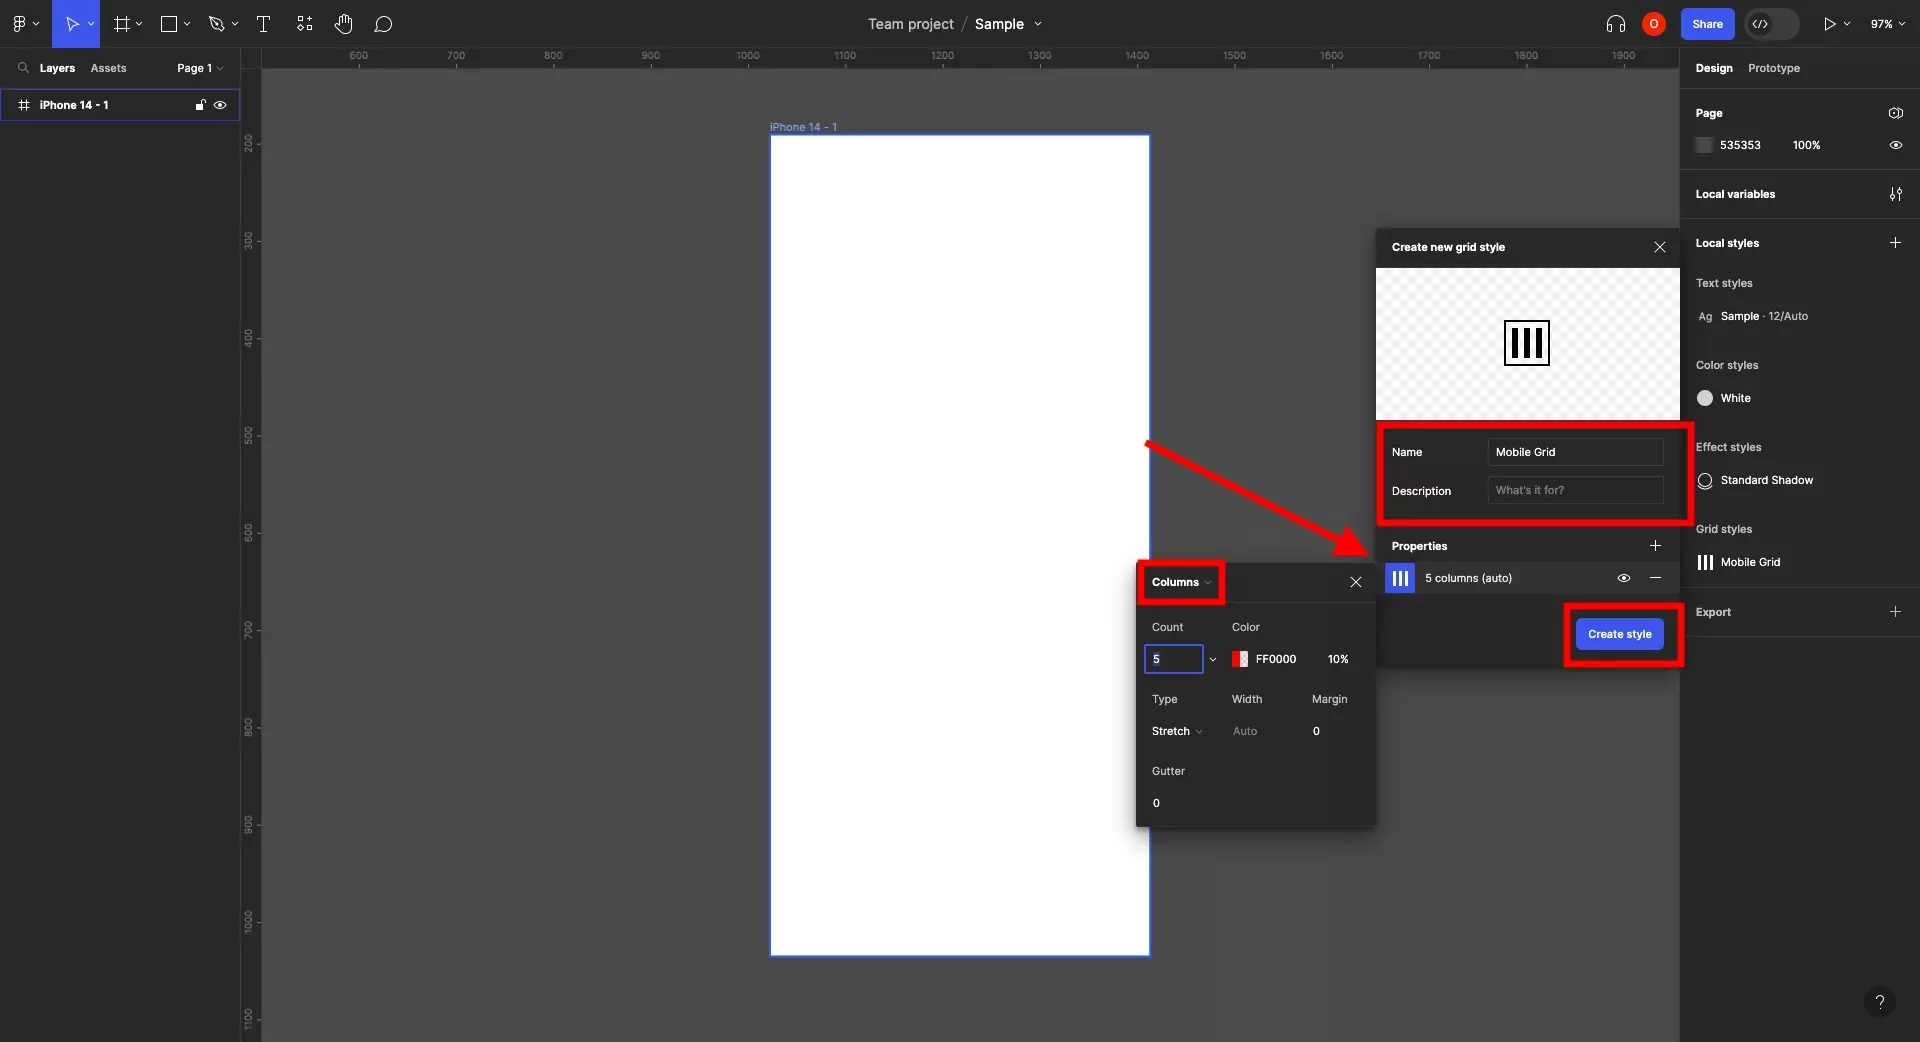
Give your name a style and configure it.

You can create a grid that uses columns and rows by selecting the grid icon on the bottom left. This will open a separate menu that allows you to configure this using the dropdown options on the top left of this menu.

A screenshot Figma with the Grid Style configuration window open. We have highlighted the plus on the bottom right which allows you to add another grid element to your grid style. The screenshot shows that we clicked the plus and a second grid appeared. We have also highlighted the grid icon next to the second item, and how if you click it it opens up a configuration menu for that item.

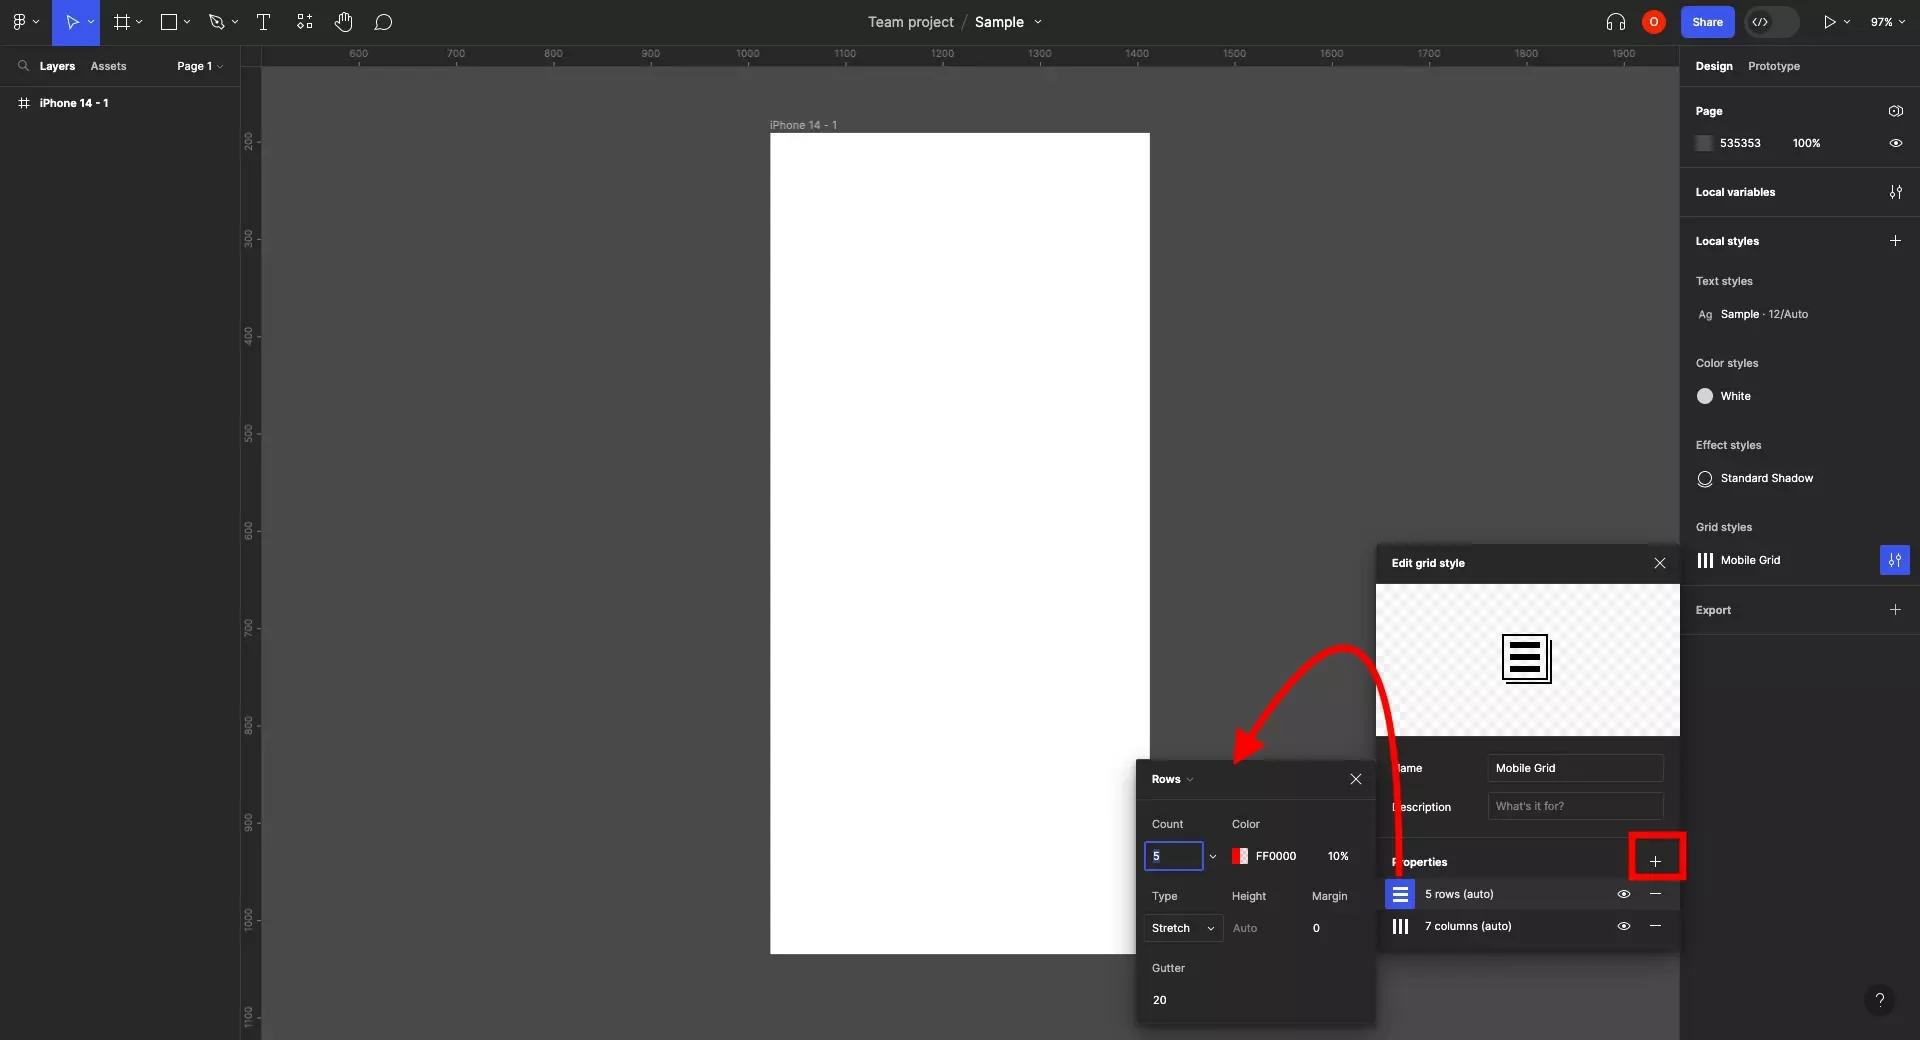
If you wish to add another set of rows / columns, press the plus on the bottom right of the window, and configure that element (i.e. column or row) within the style in by clicking the grid icon in its row.

Finally, when you are done, click the Create style button.

Step Three: Use the Style

A screenshot of Figma showing that if you select a frame and hover over the Layout grid on the right menu side bar, an icon made up of four squares appears that will allow you to open up the Grid Styles menu.

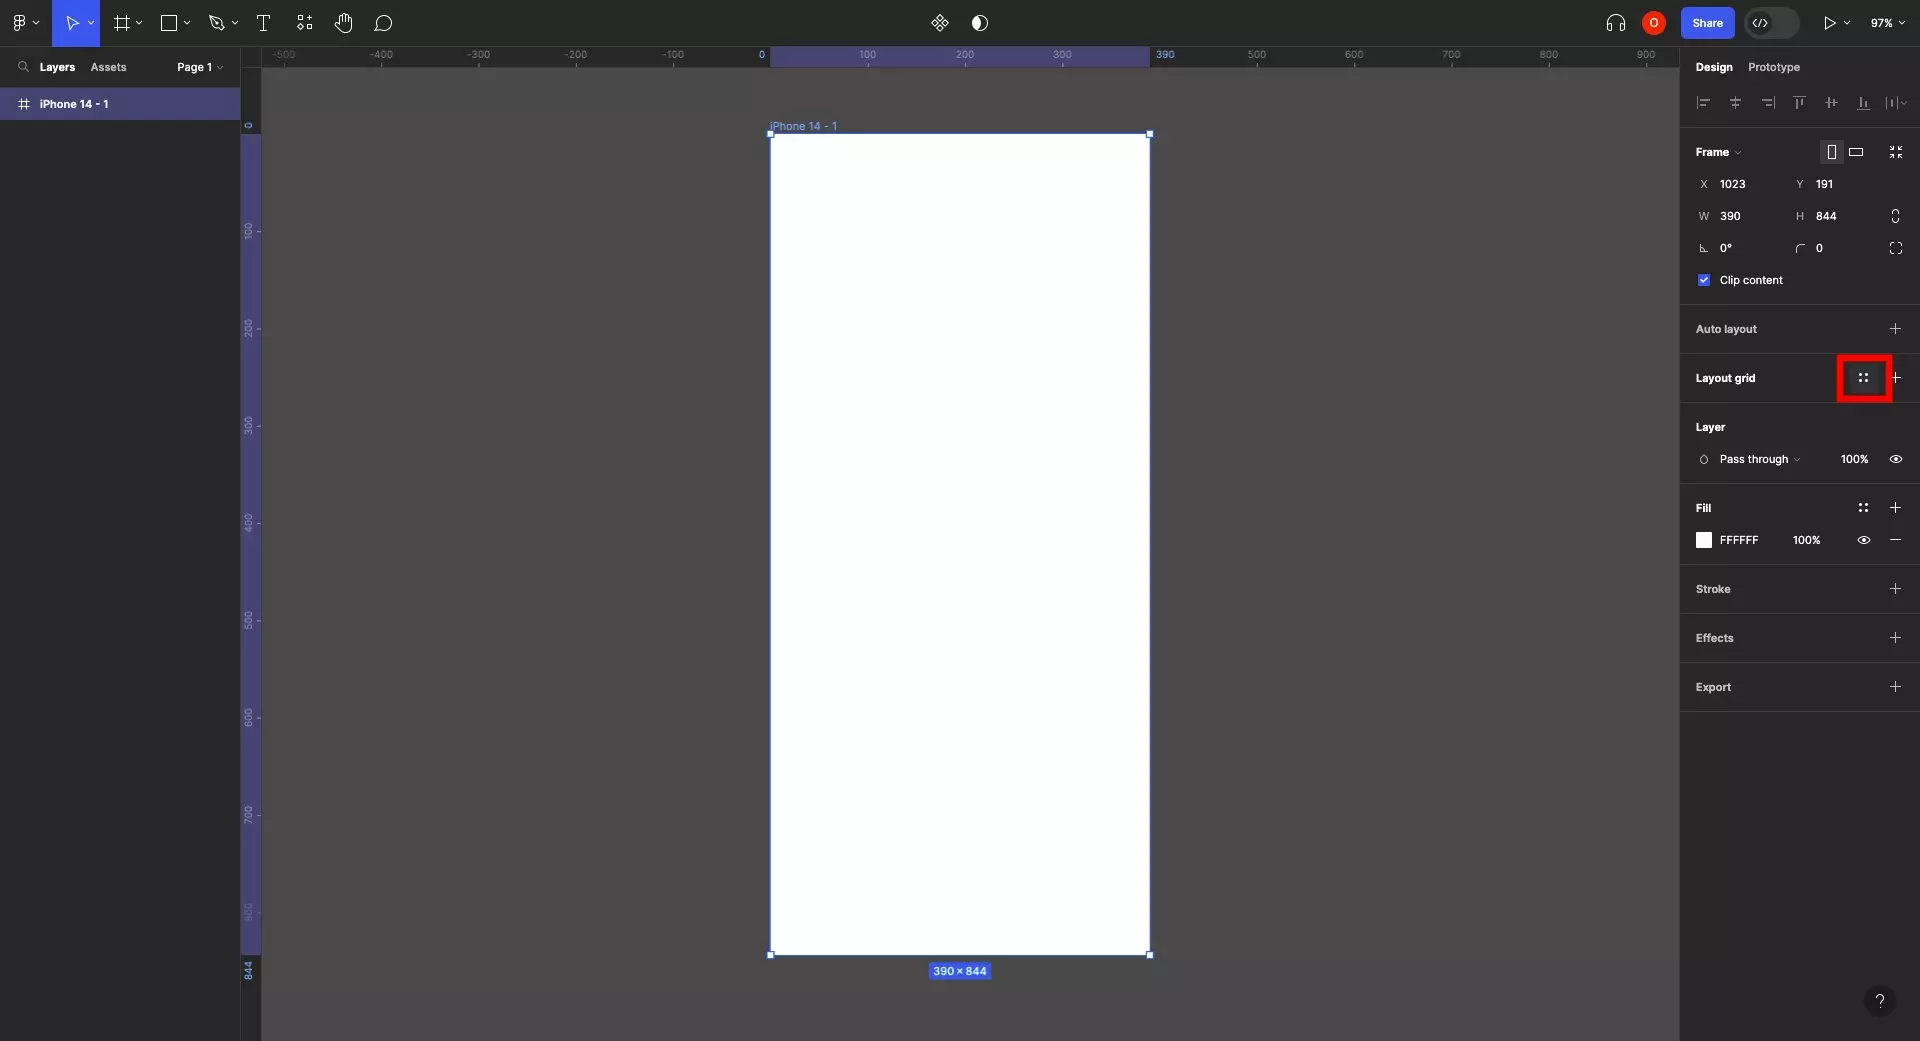
Create or select a frame and hover over the Layout Grid on the right menu side bar.

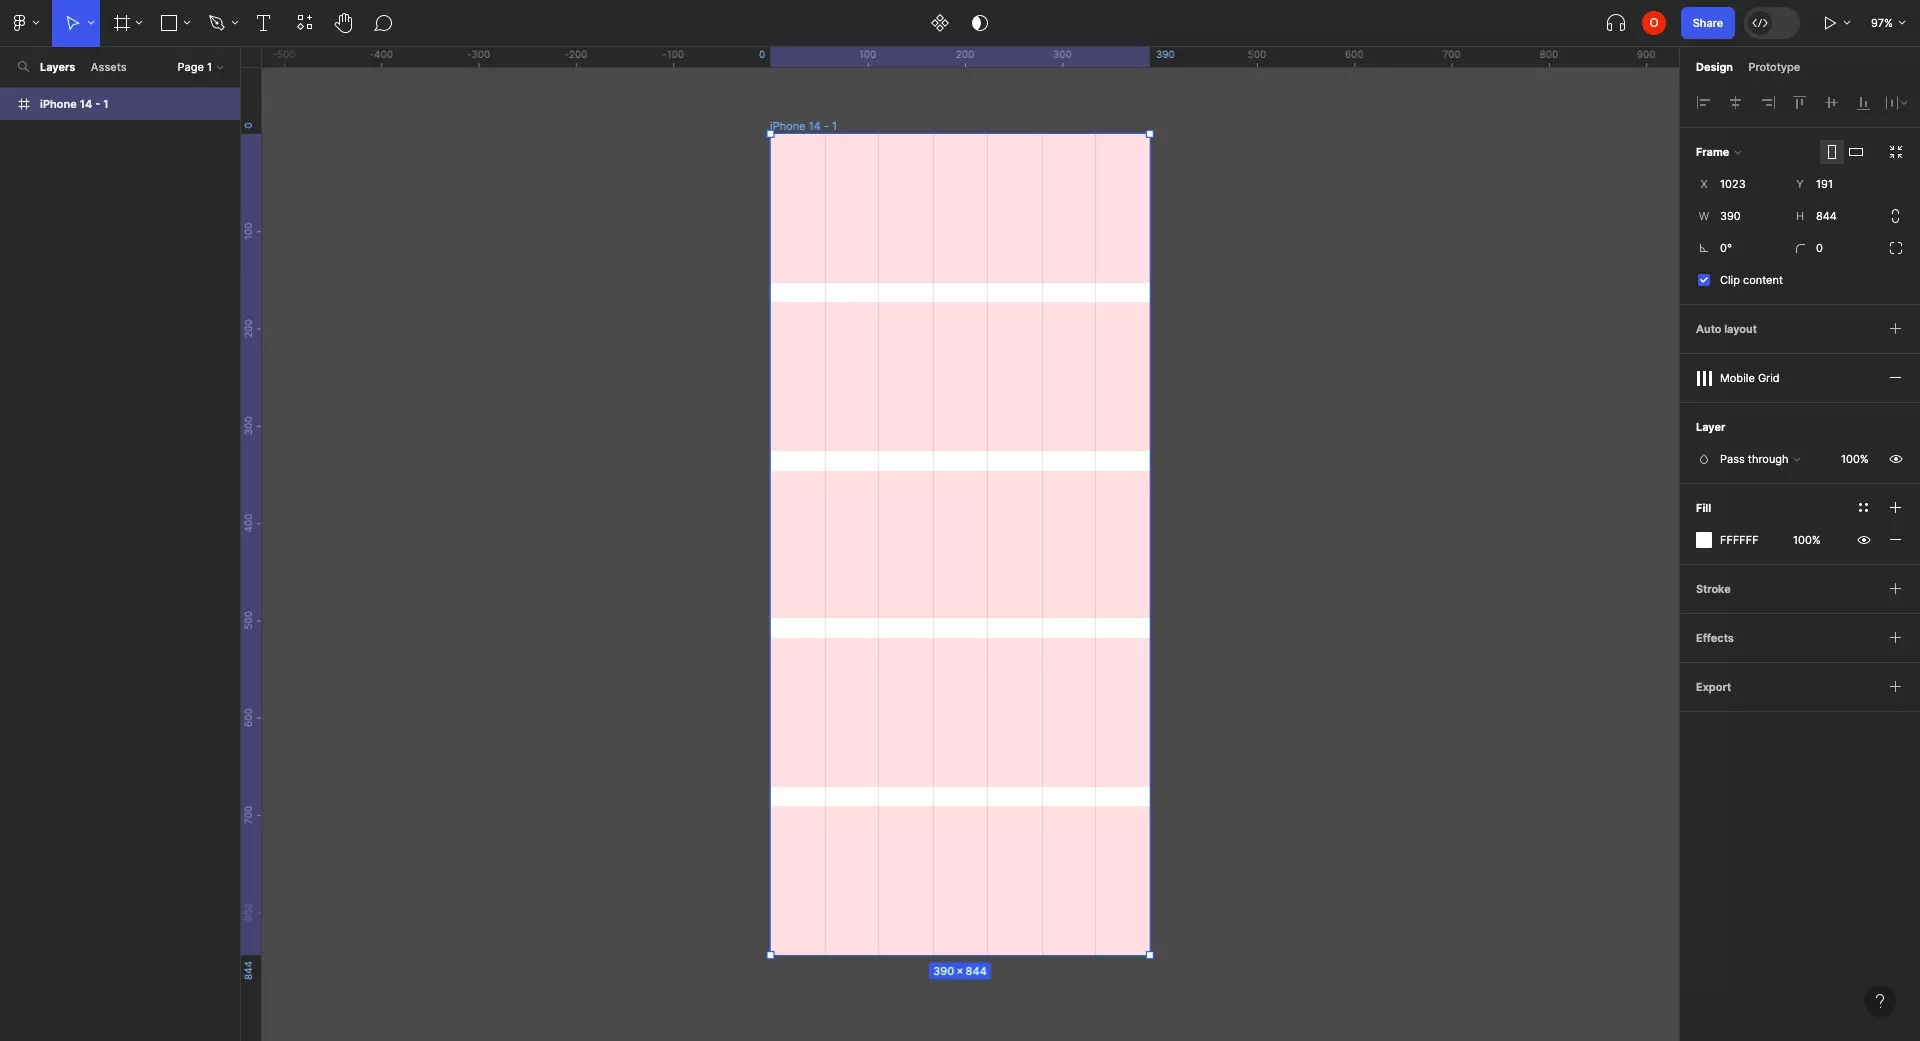
Click the four squares that appear to open the styles menu and select the style that you created.

A screenshot of Figma with a frame selected. We have opened the Grid Styles menu and have highlighted that the style that we created appears. This menu will show the style that you created. Select it to apply the style to the frame.

This will apply the style to the frame.

A screenshot of Figma showing that the grid style has been applied to the frame.

If at any moment you want to edit the style, remove, delete or detach it, follow one of the tutorials linked below.

Looking to learn more about things you can do with Figma ?

Search our blog to find educational content on learning how to use Figma.

Any Questions?

We are actively looking for feedback on how to improve this resource. Please send us a note to inquiries@delasign.com with any thoughts or feedback you may have.
delasign logo

Book a Free Consultation.

An icon of an email.

Click here to email us.

Fill in the details below to book a free consultation or to let us know about something else. Whatever it is, we are here to help.

How can we help you ?

Contact Details