How to add and style a Stroke on a Frame, Path, Shape or Text

A step by step guide on adding a border (stroke) to a frame, path, shape or text in Figma along with all the options for styling the stoke.

Oscar de la Hera Gomez
Written by Oscar de la Hera Gomez
First published on 07/17/2023 at 14:04
Last Updated on 07/18/2023 at 14:30
<p>A flower that represents Figma with the text “Stroke” beneath it.</p>

A step by step guide on adding a border (stroke) to a frame, path, shape or text in Figma along with all the options for styling the stoke.

SubscribeCheck out our free mobile e-commerce Figma design file

Step One: Select the Frame, Path, Shape or Text

<p>A screenshot of Figma with a Frame selected.</p>

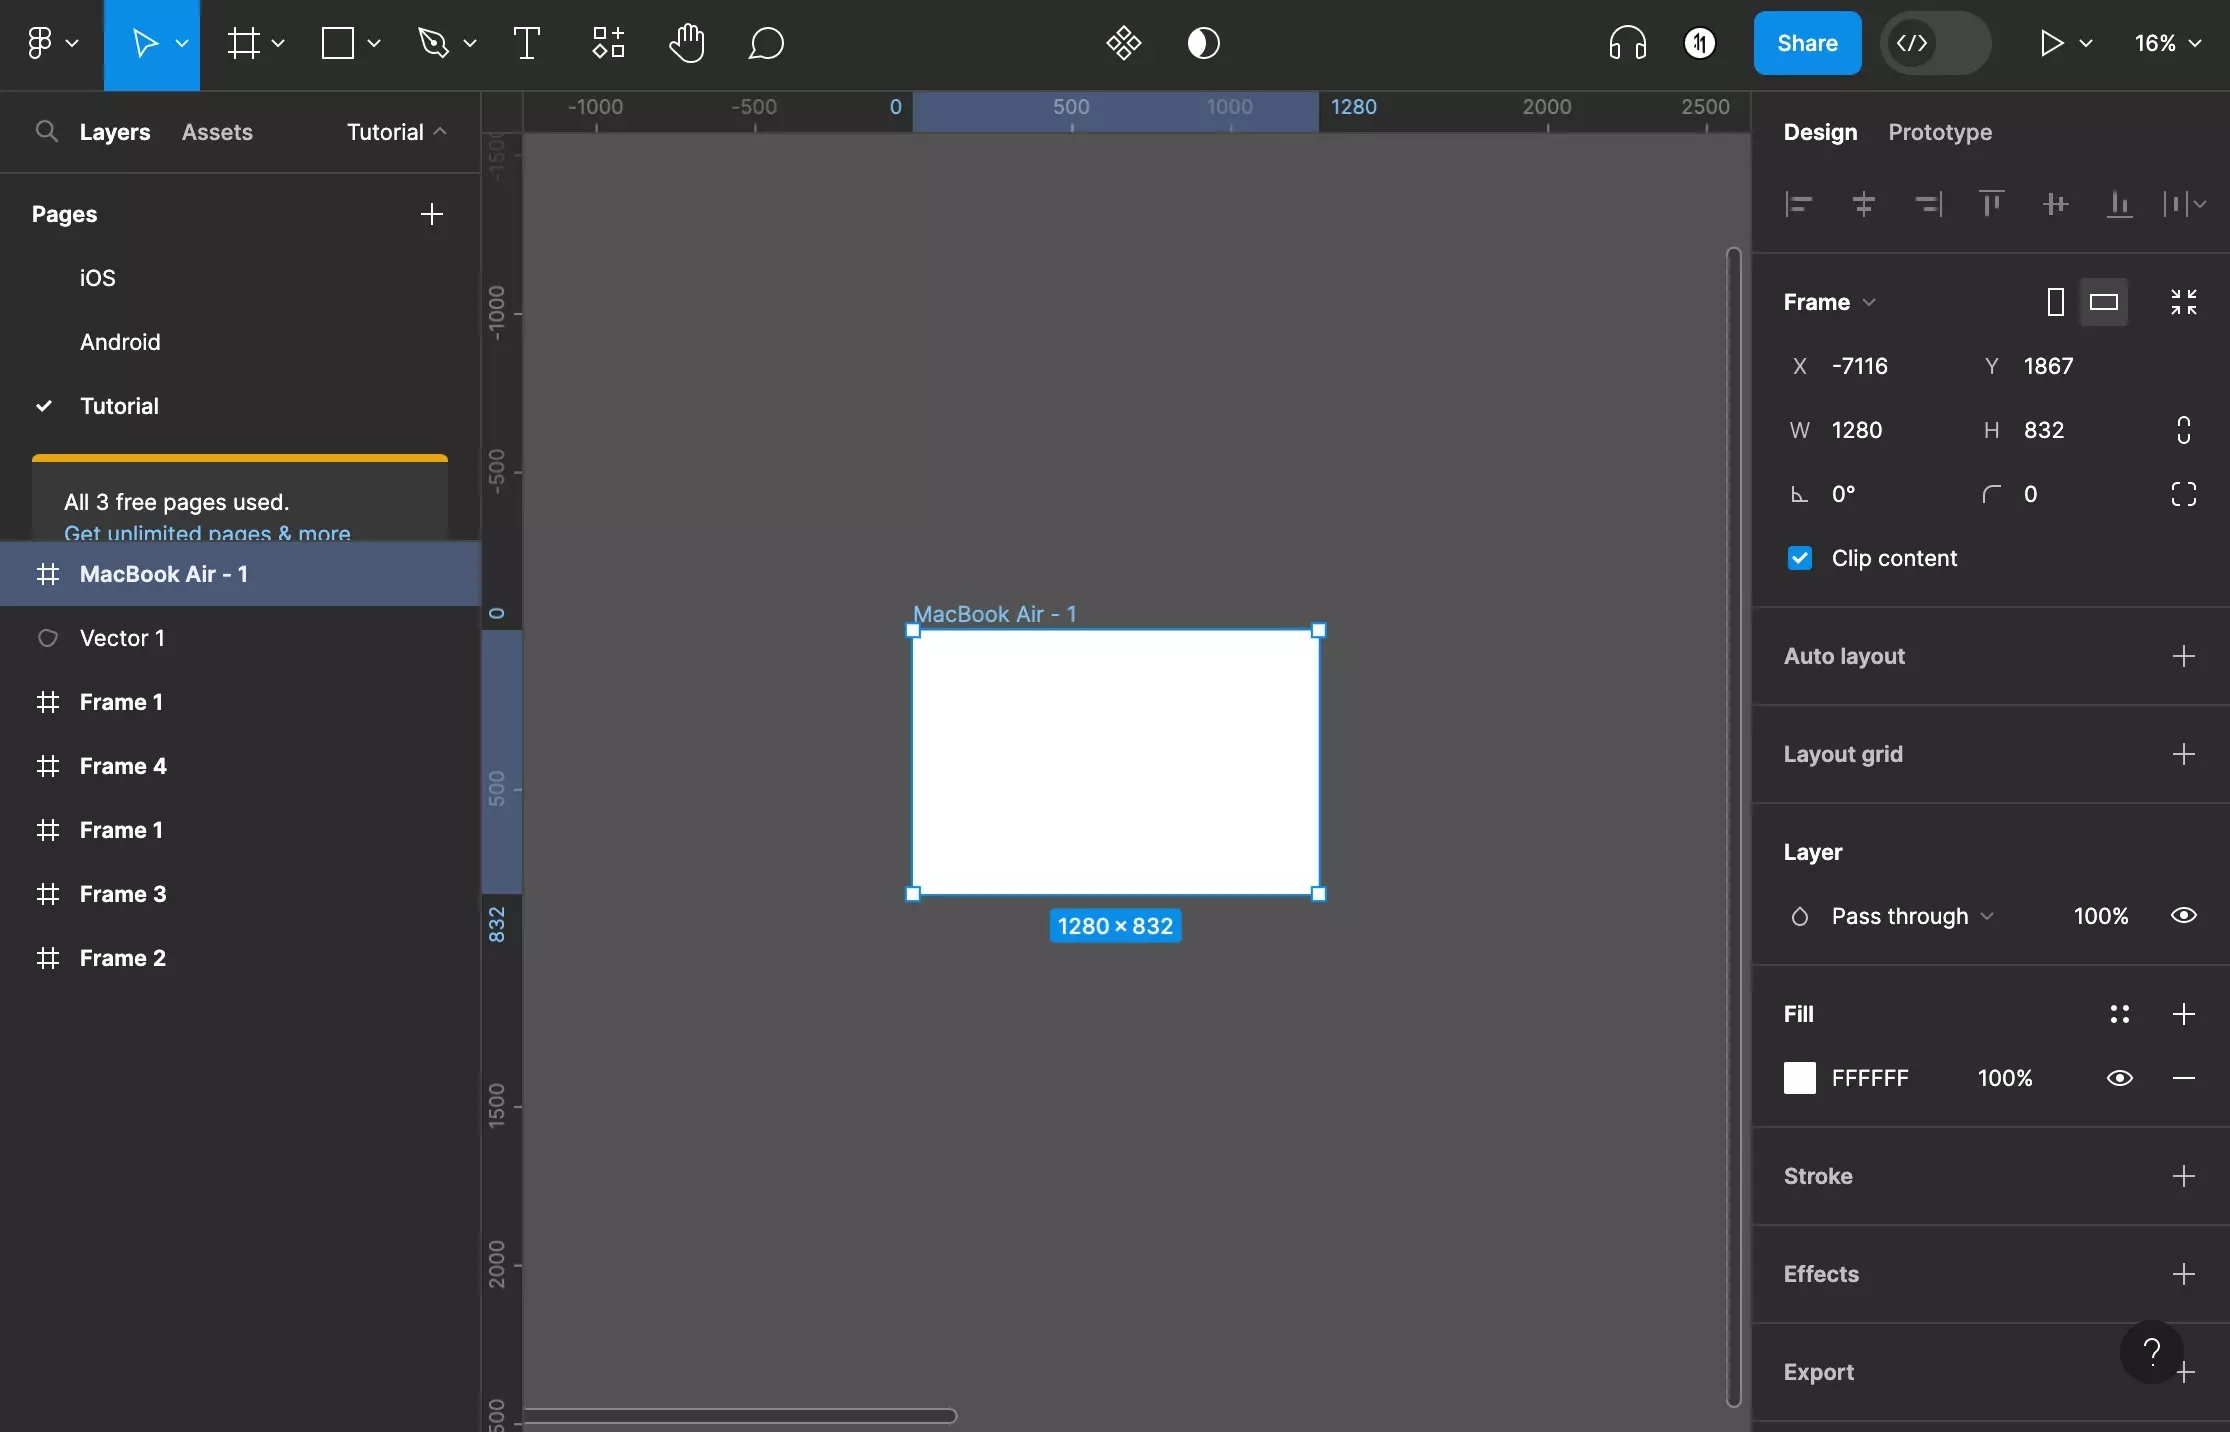
In Figma, select the frame, path shape or text.

How to create a Frame in FigmaHow to add shapes to a Frame in Figma

Step Two: Add a Stroke

<p>A screenshot of Figma that shows you a frame that has been selected. We have highlighted the + button next to Stroke on the right side menu bar. Click this to add a new stroke to a frame, shape or text.</p>

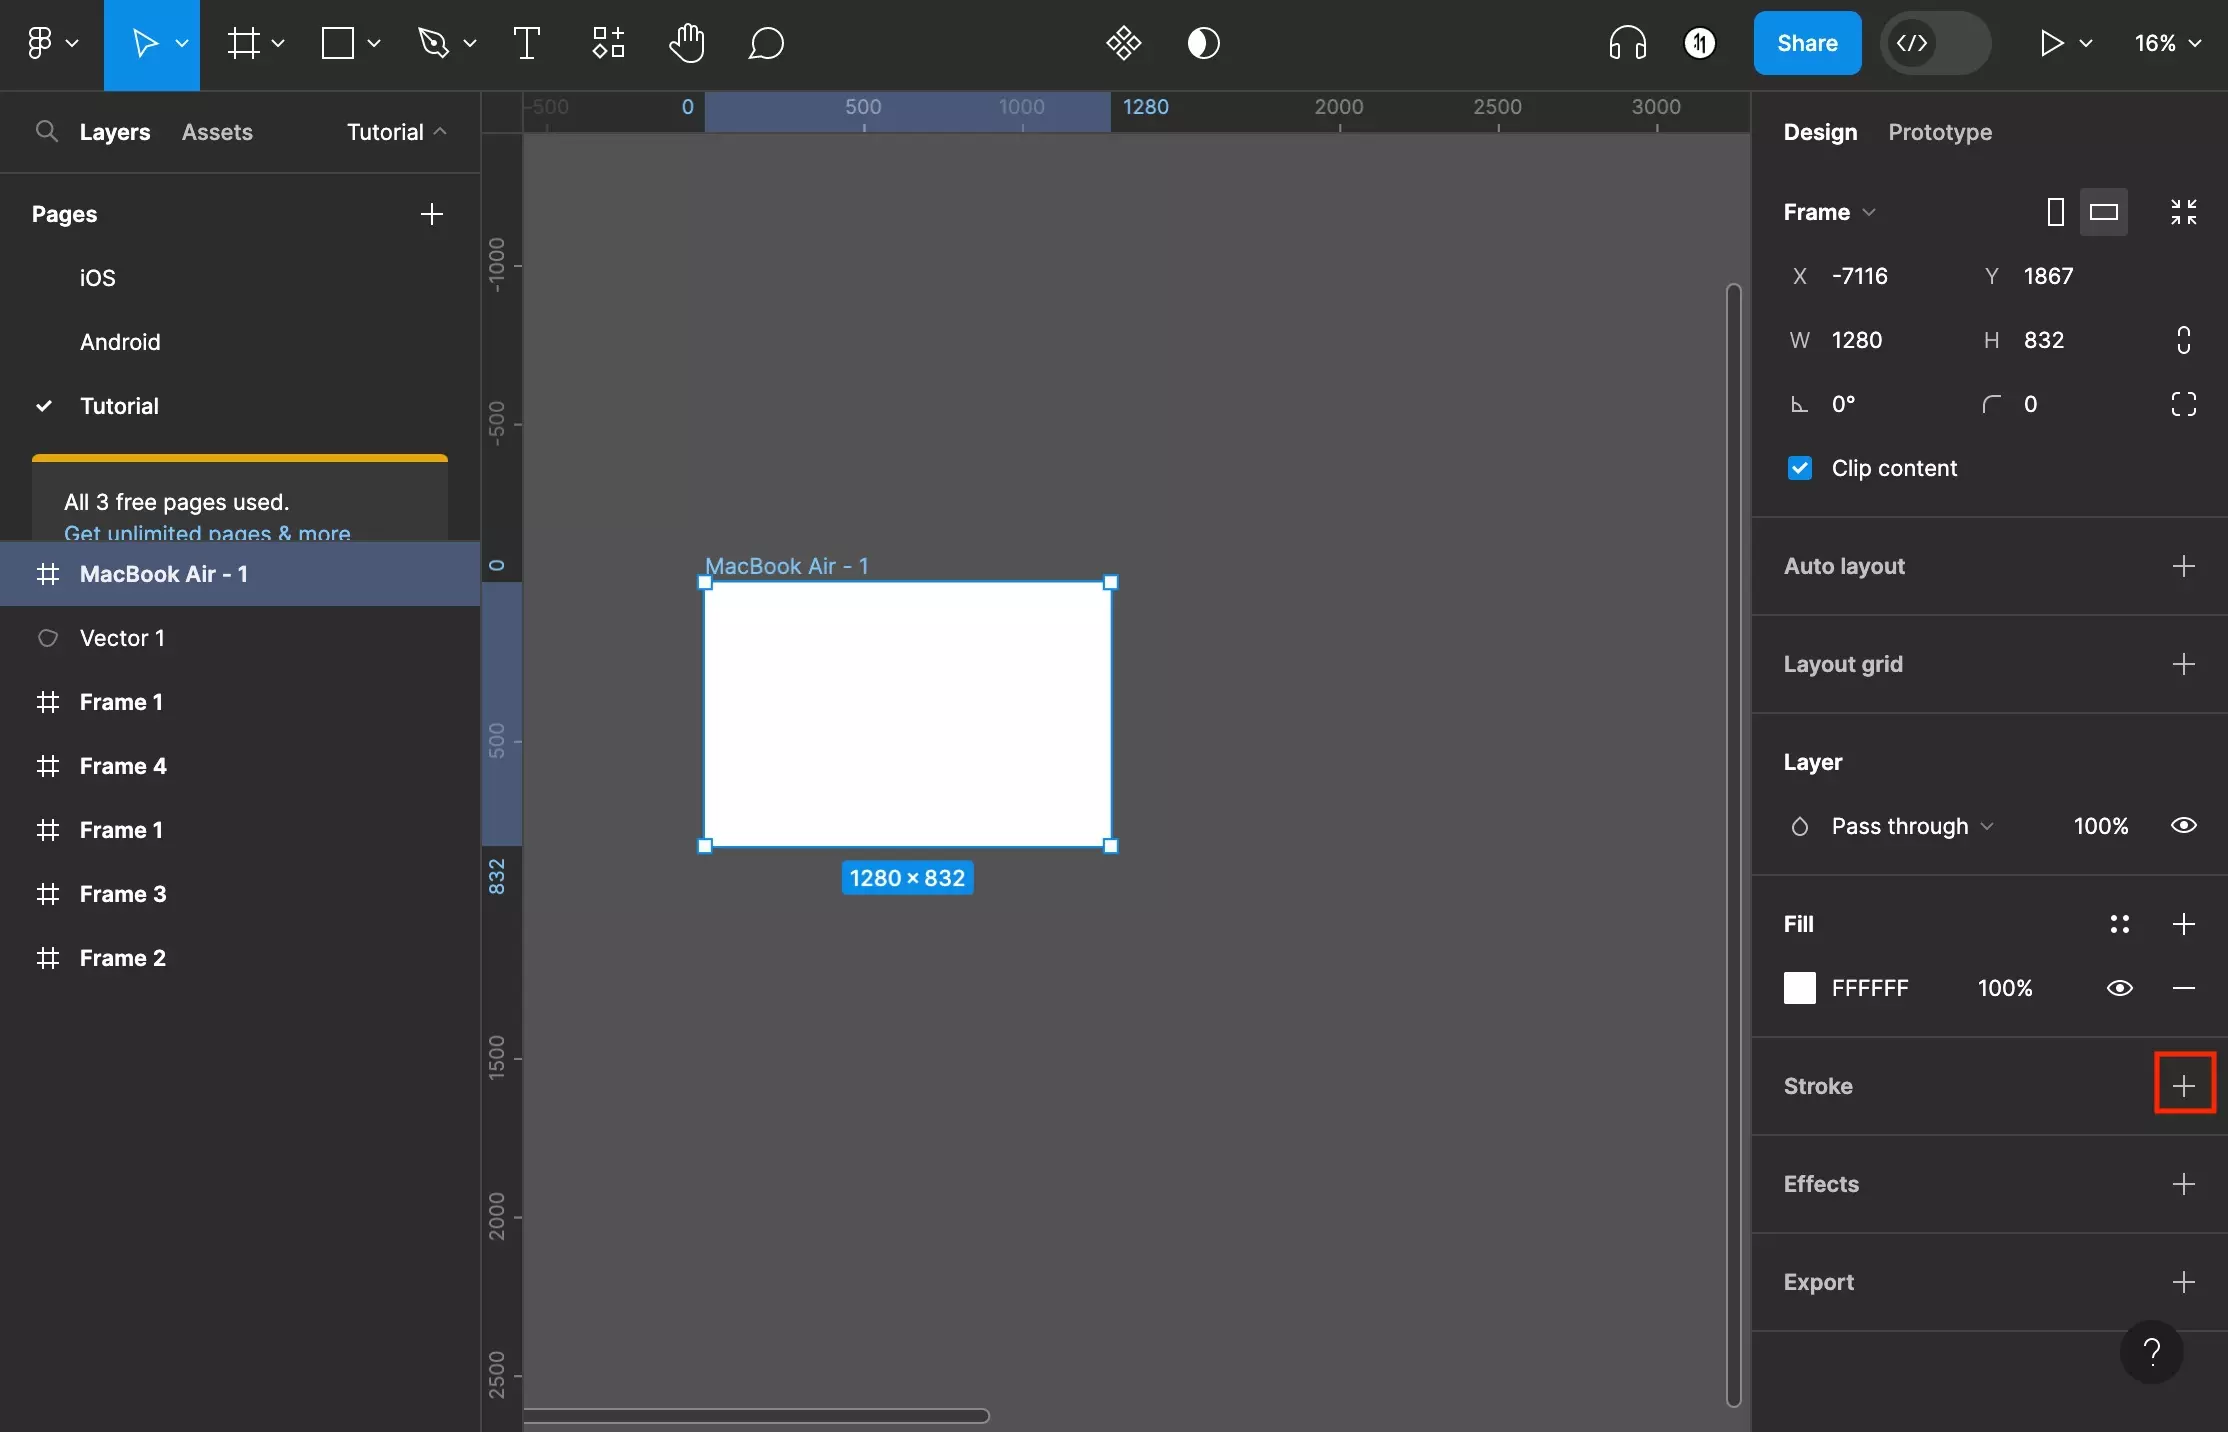
On the right menu side bar, press the + next to Stroke to add a new stroke.

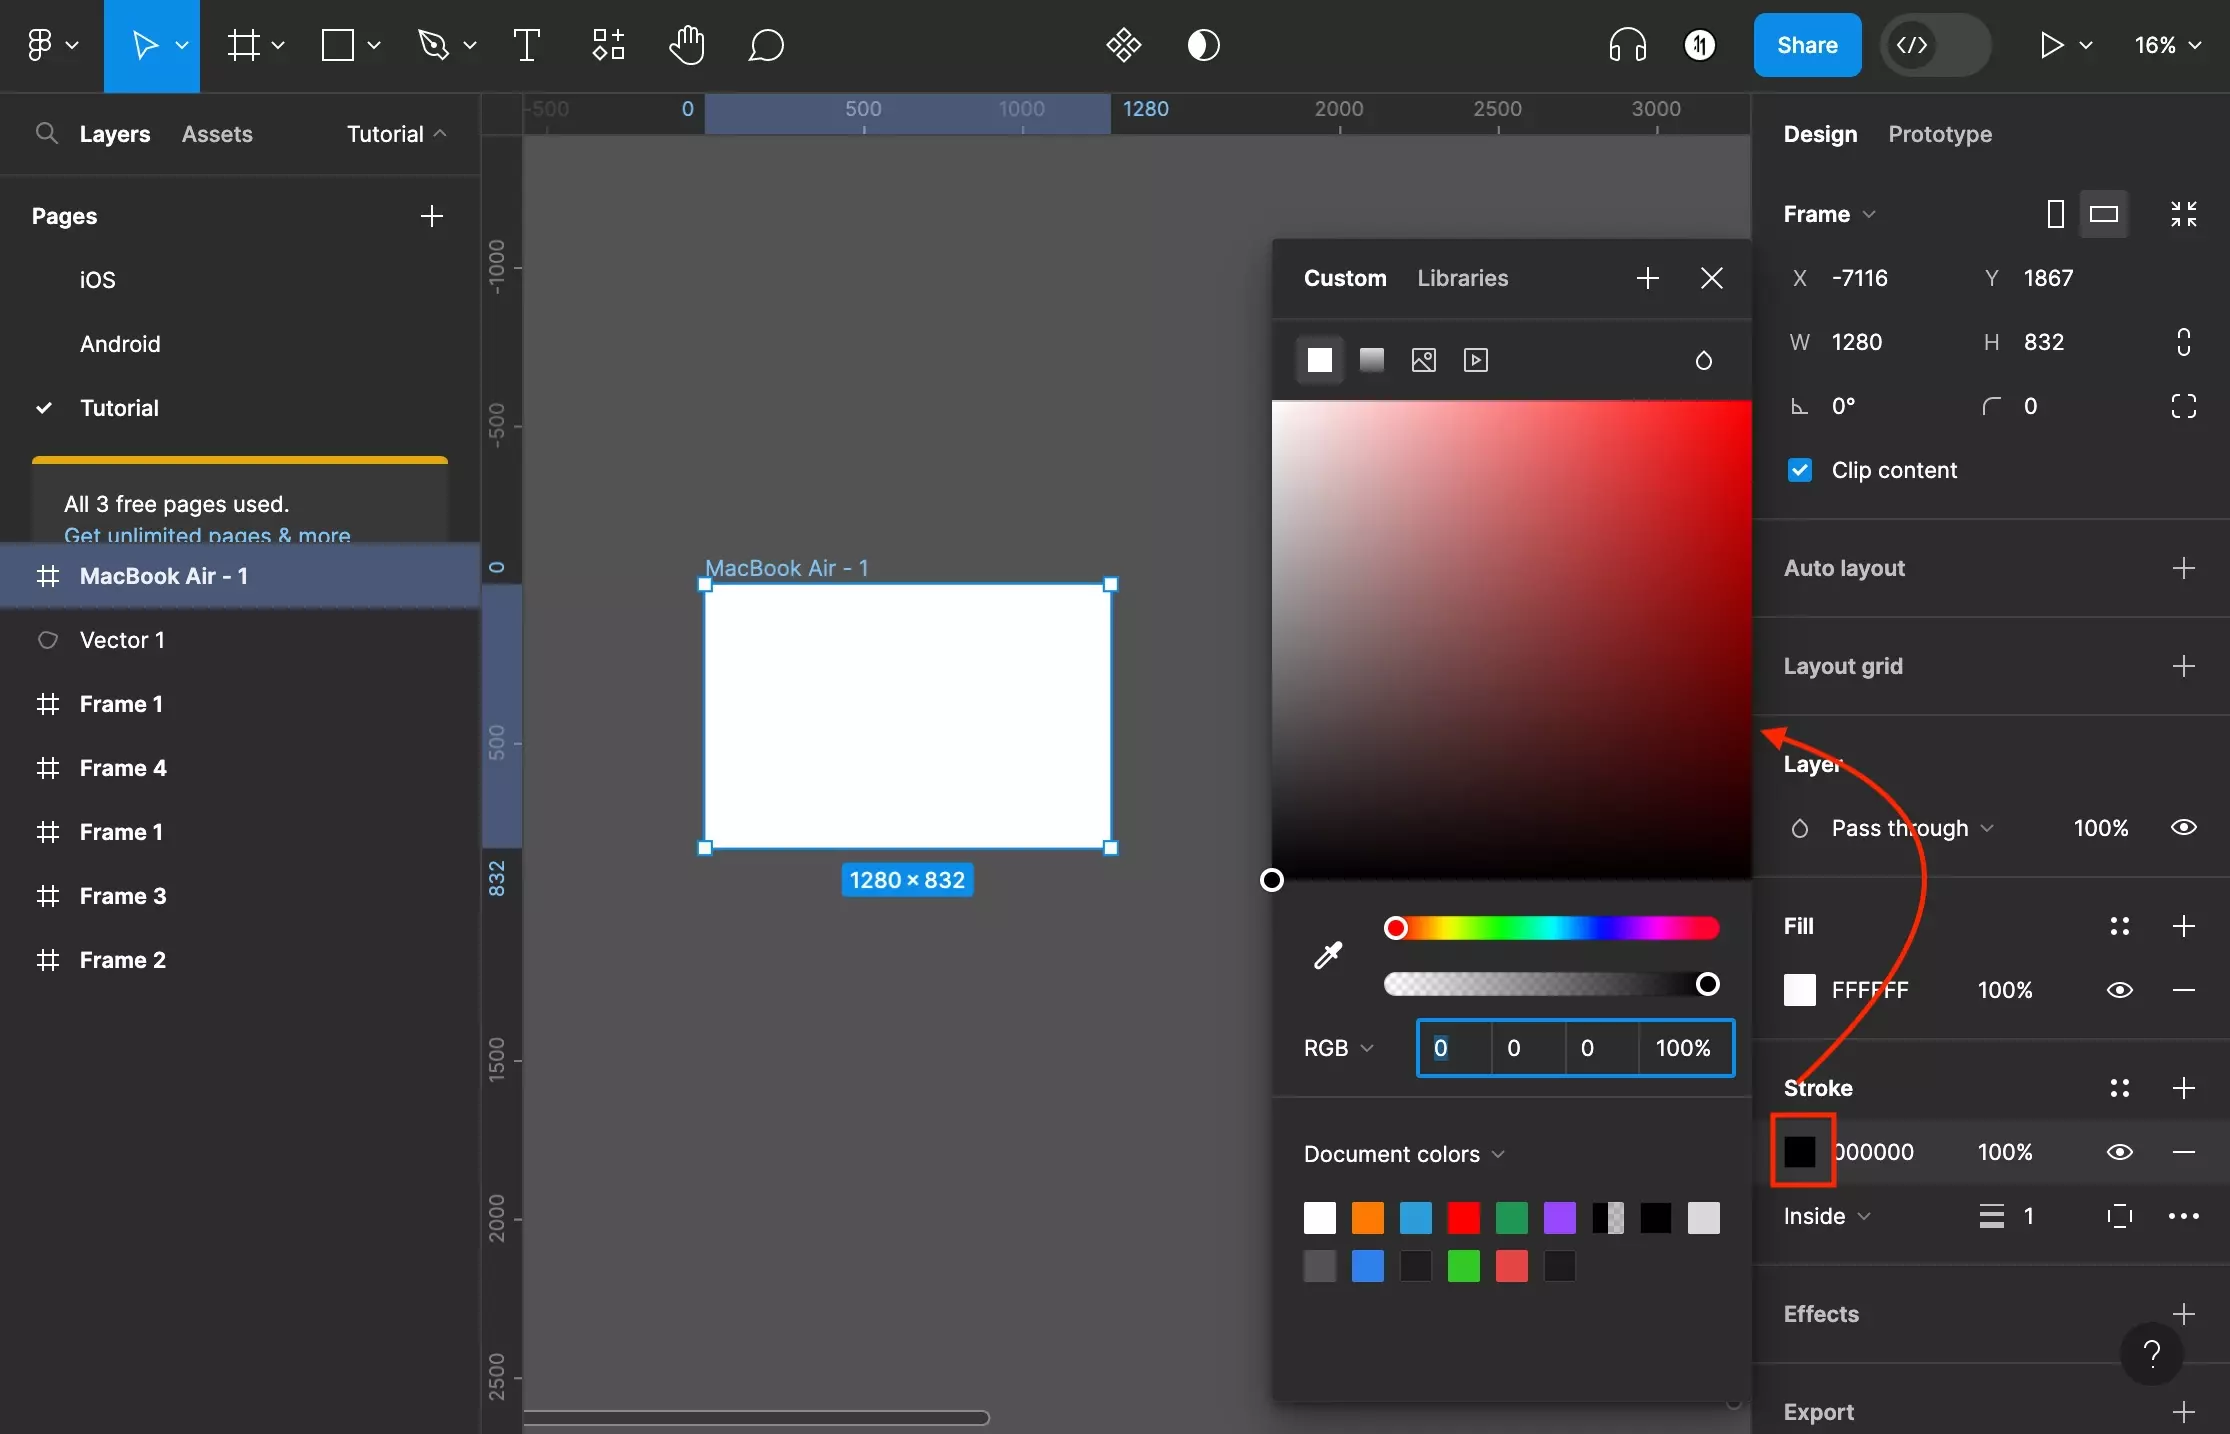
Step Three: Change the Stroke Color

<p>A screenshot of Figma that shows you a frame that has been selected. We have added a stroke and have highlighted the hex input that falls below the “stroke” title on the right menu side bar. Enter a hex value into the input.</p>

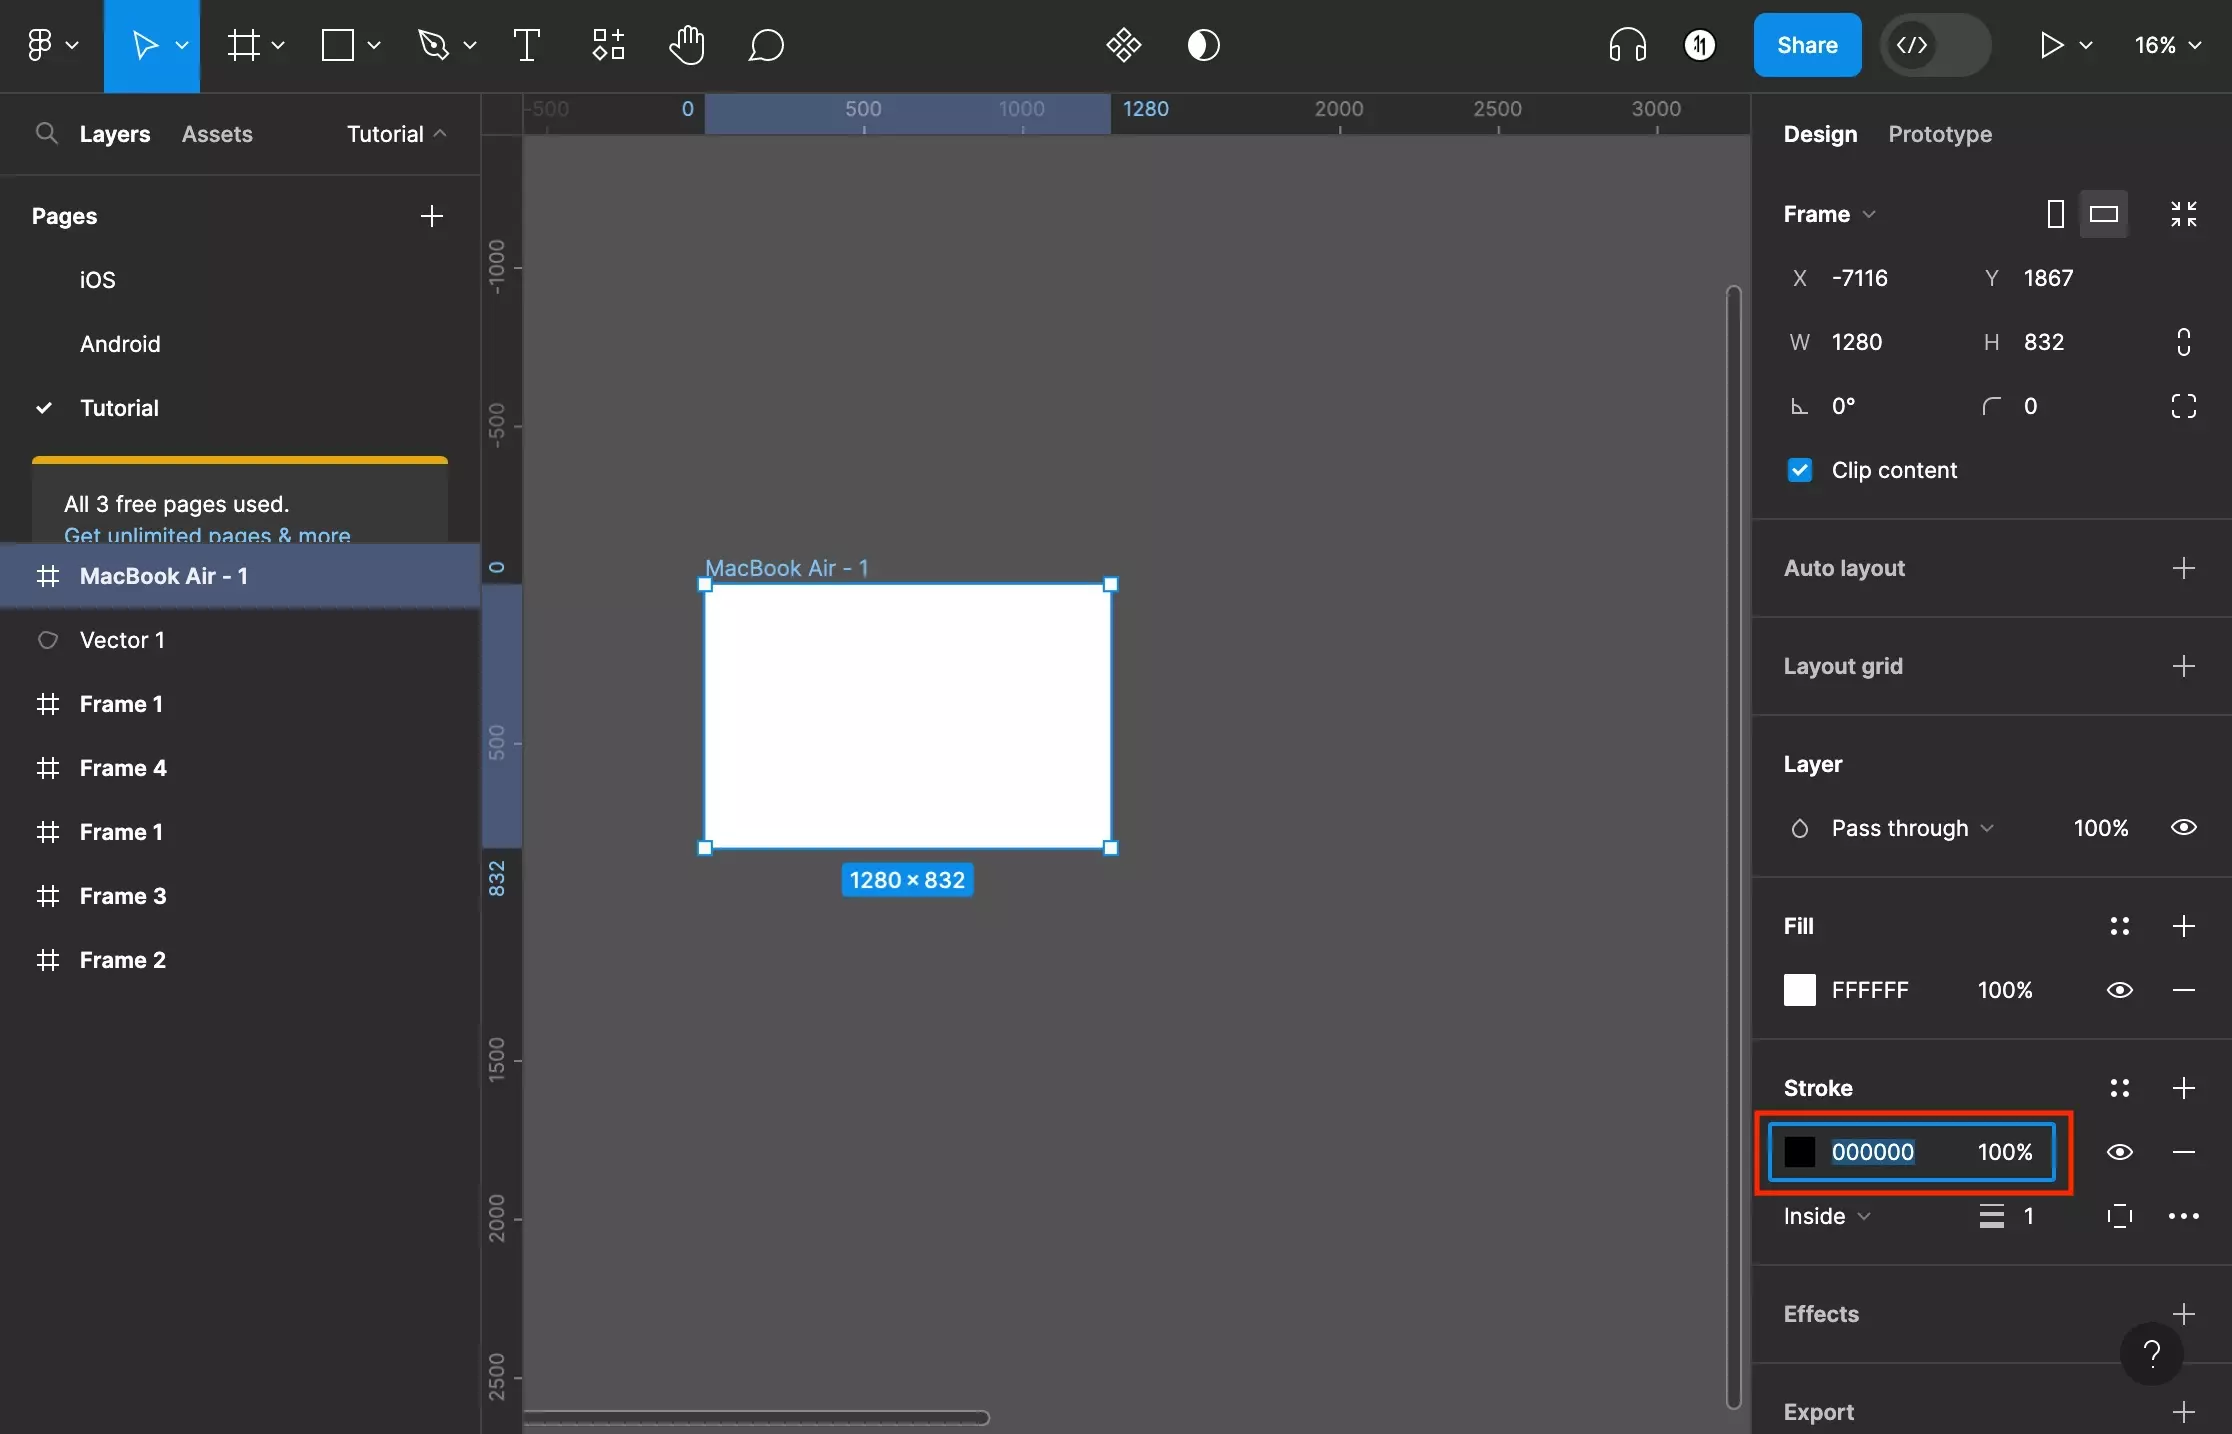
Enter the hex value of the color that you wish to apply to the stroke using the color input under Stroke.

If you wish to apply more complex color options, gradients or images press the color square next to the color input to open the color menu and follow one of the tutorials below to learn the basics behind the color menu tool.

<p>A screenshot of Figma that shows you a frame that has been selected. We have added a stroke and have highlighted how if you press the colored box under stroke it opens up the color menu.</p>
How to change the Background Color of a Frame or a Shape in FigmaHow to add a Background Gradient Color to a Frame or Shape in FigmaHow to add a Background Image to a Frame or Shape in Figma

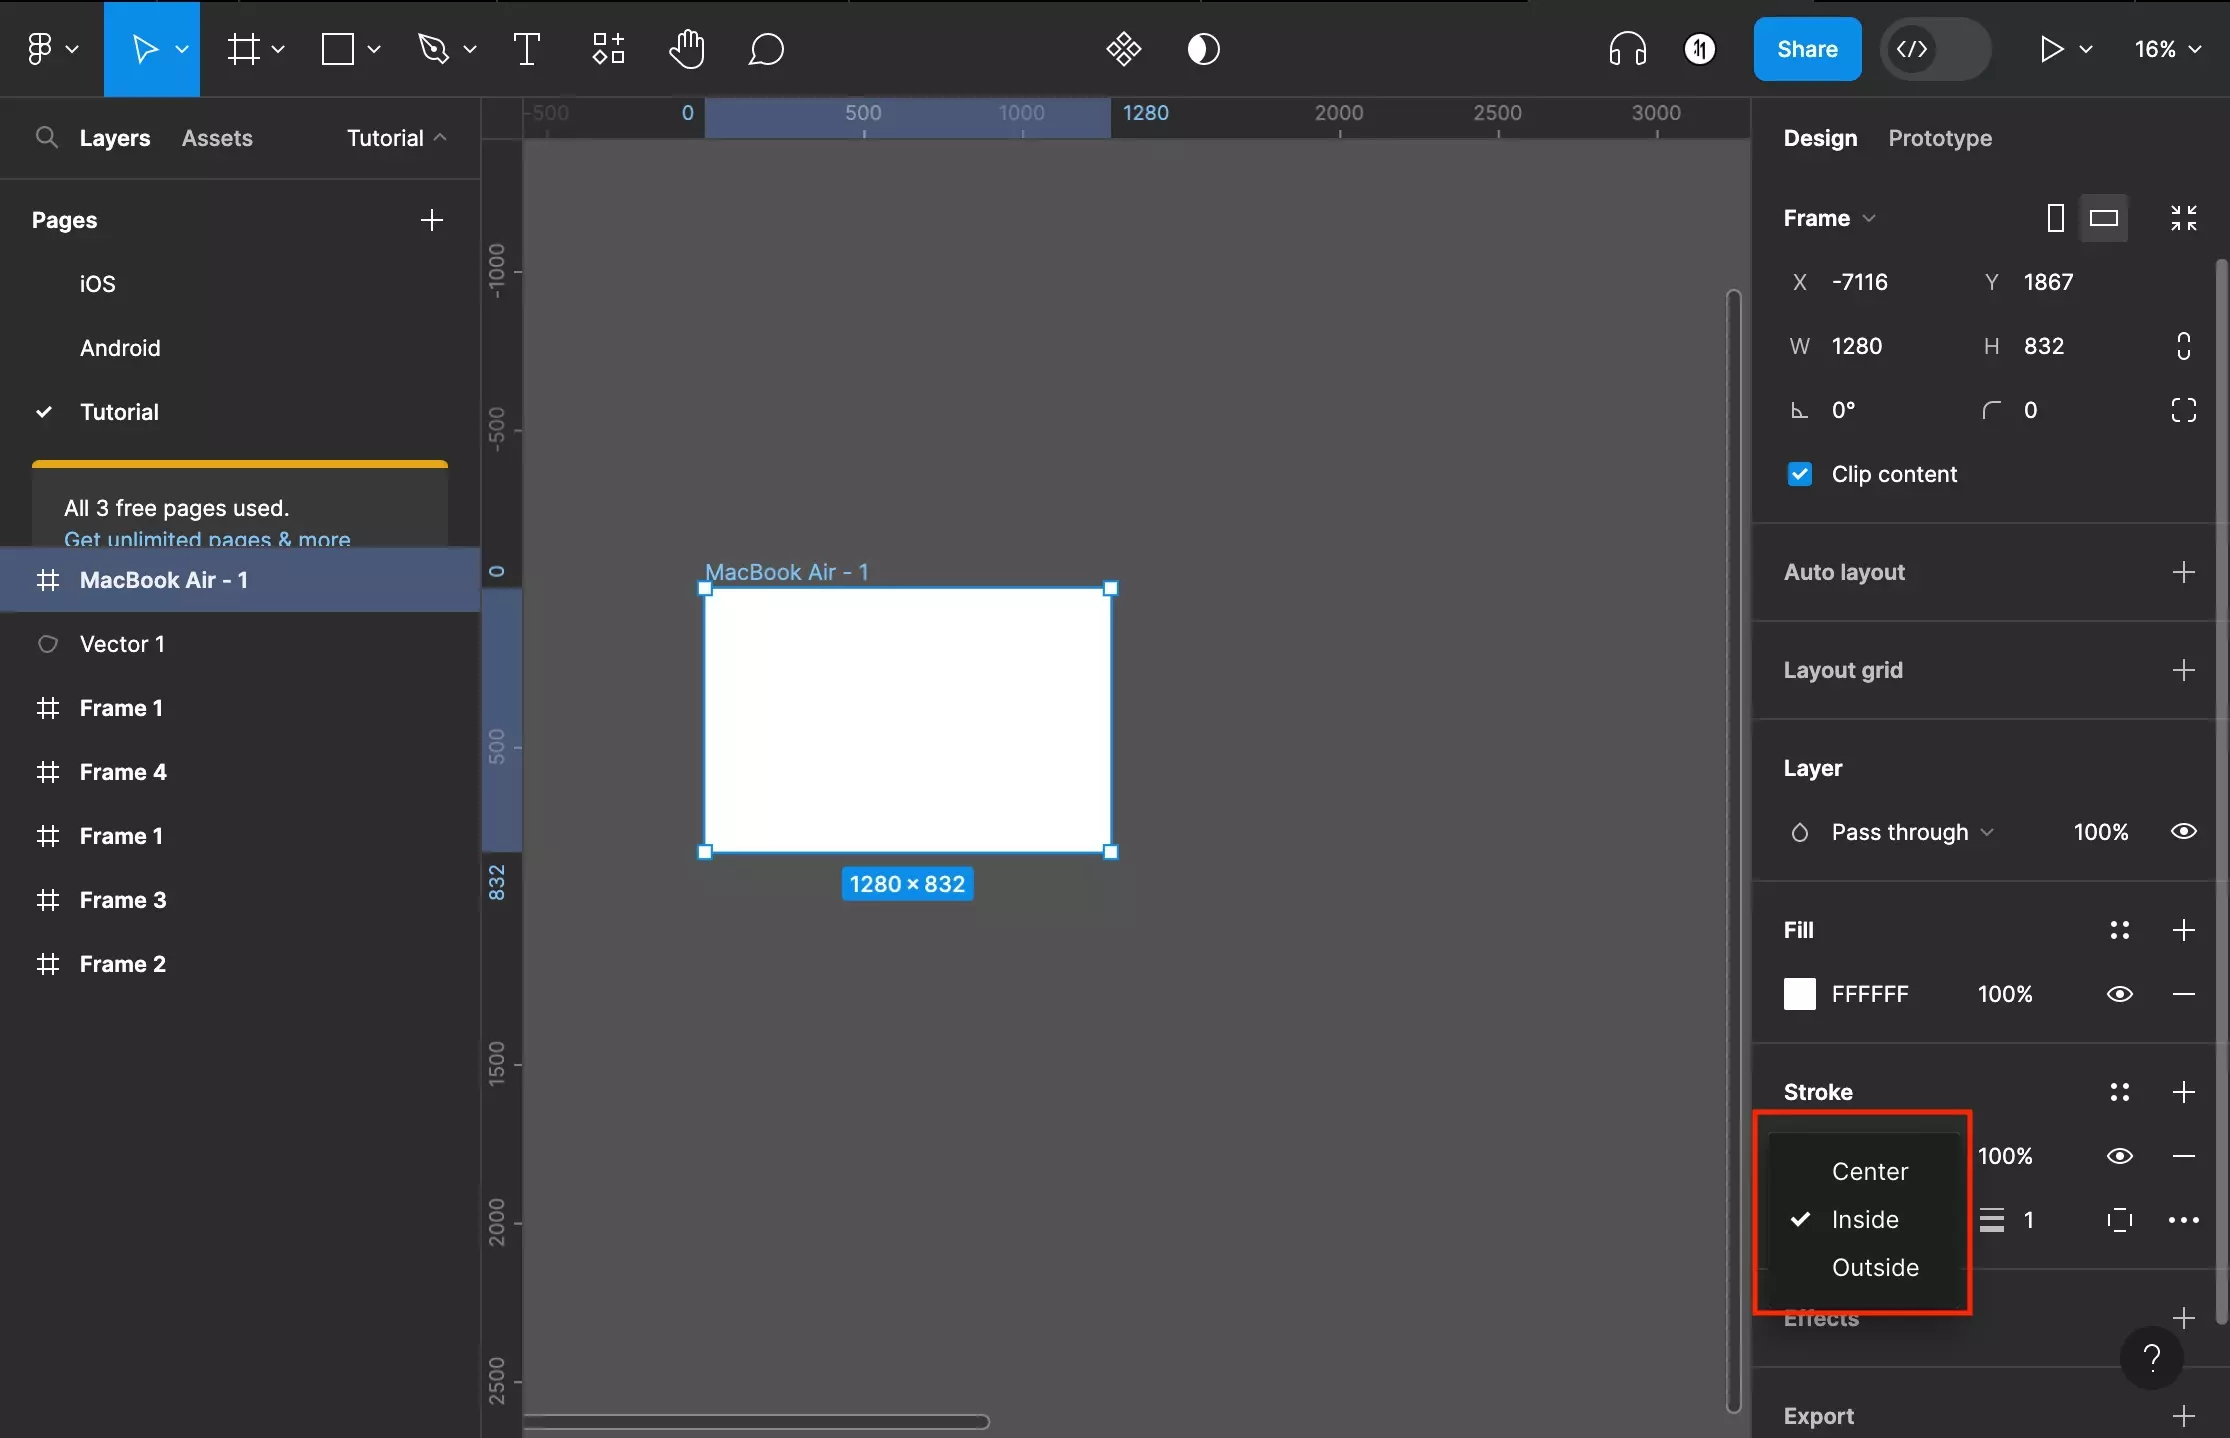
Step Four: Change the Stroke Type

<p>A screenshot of Figma that shows you a frame that has been selected. We have added a stroke and have highlighted the caret next to “Inside” that allows you to open up a dropdown with the different stroke types.</p>

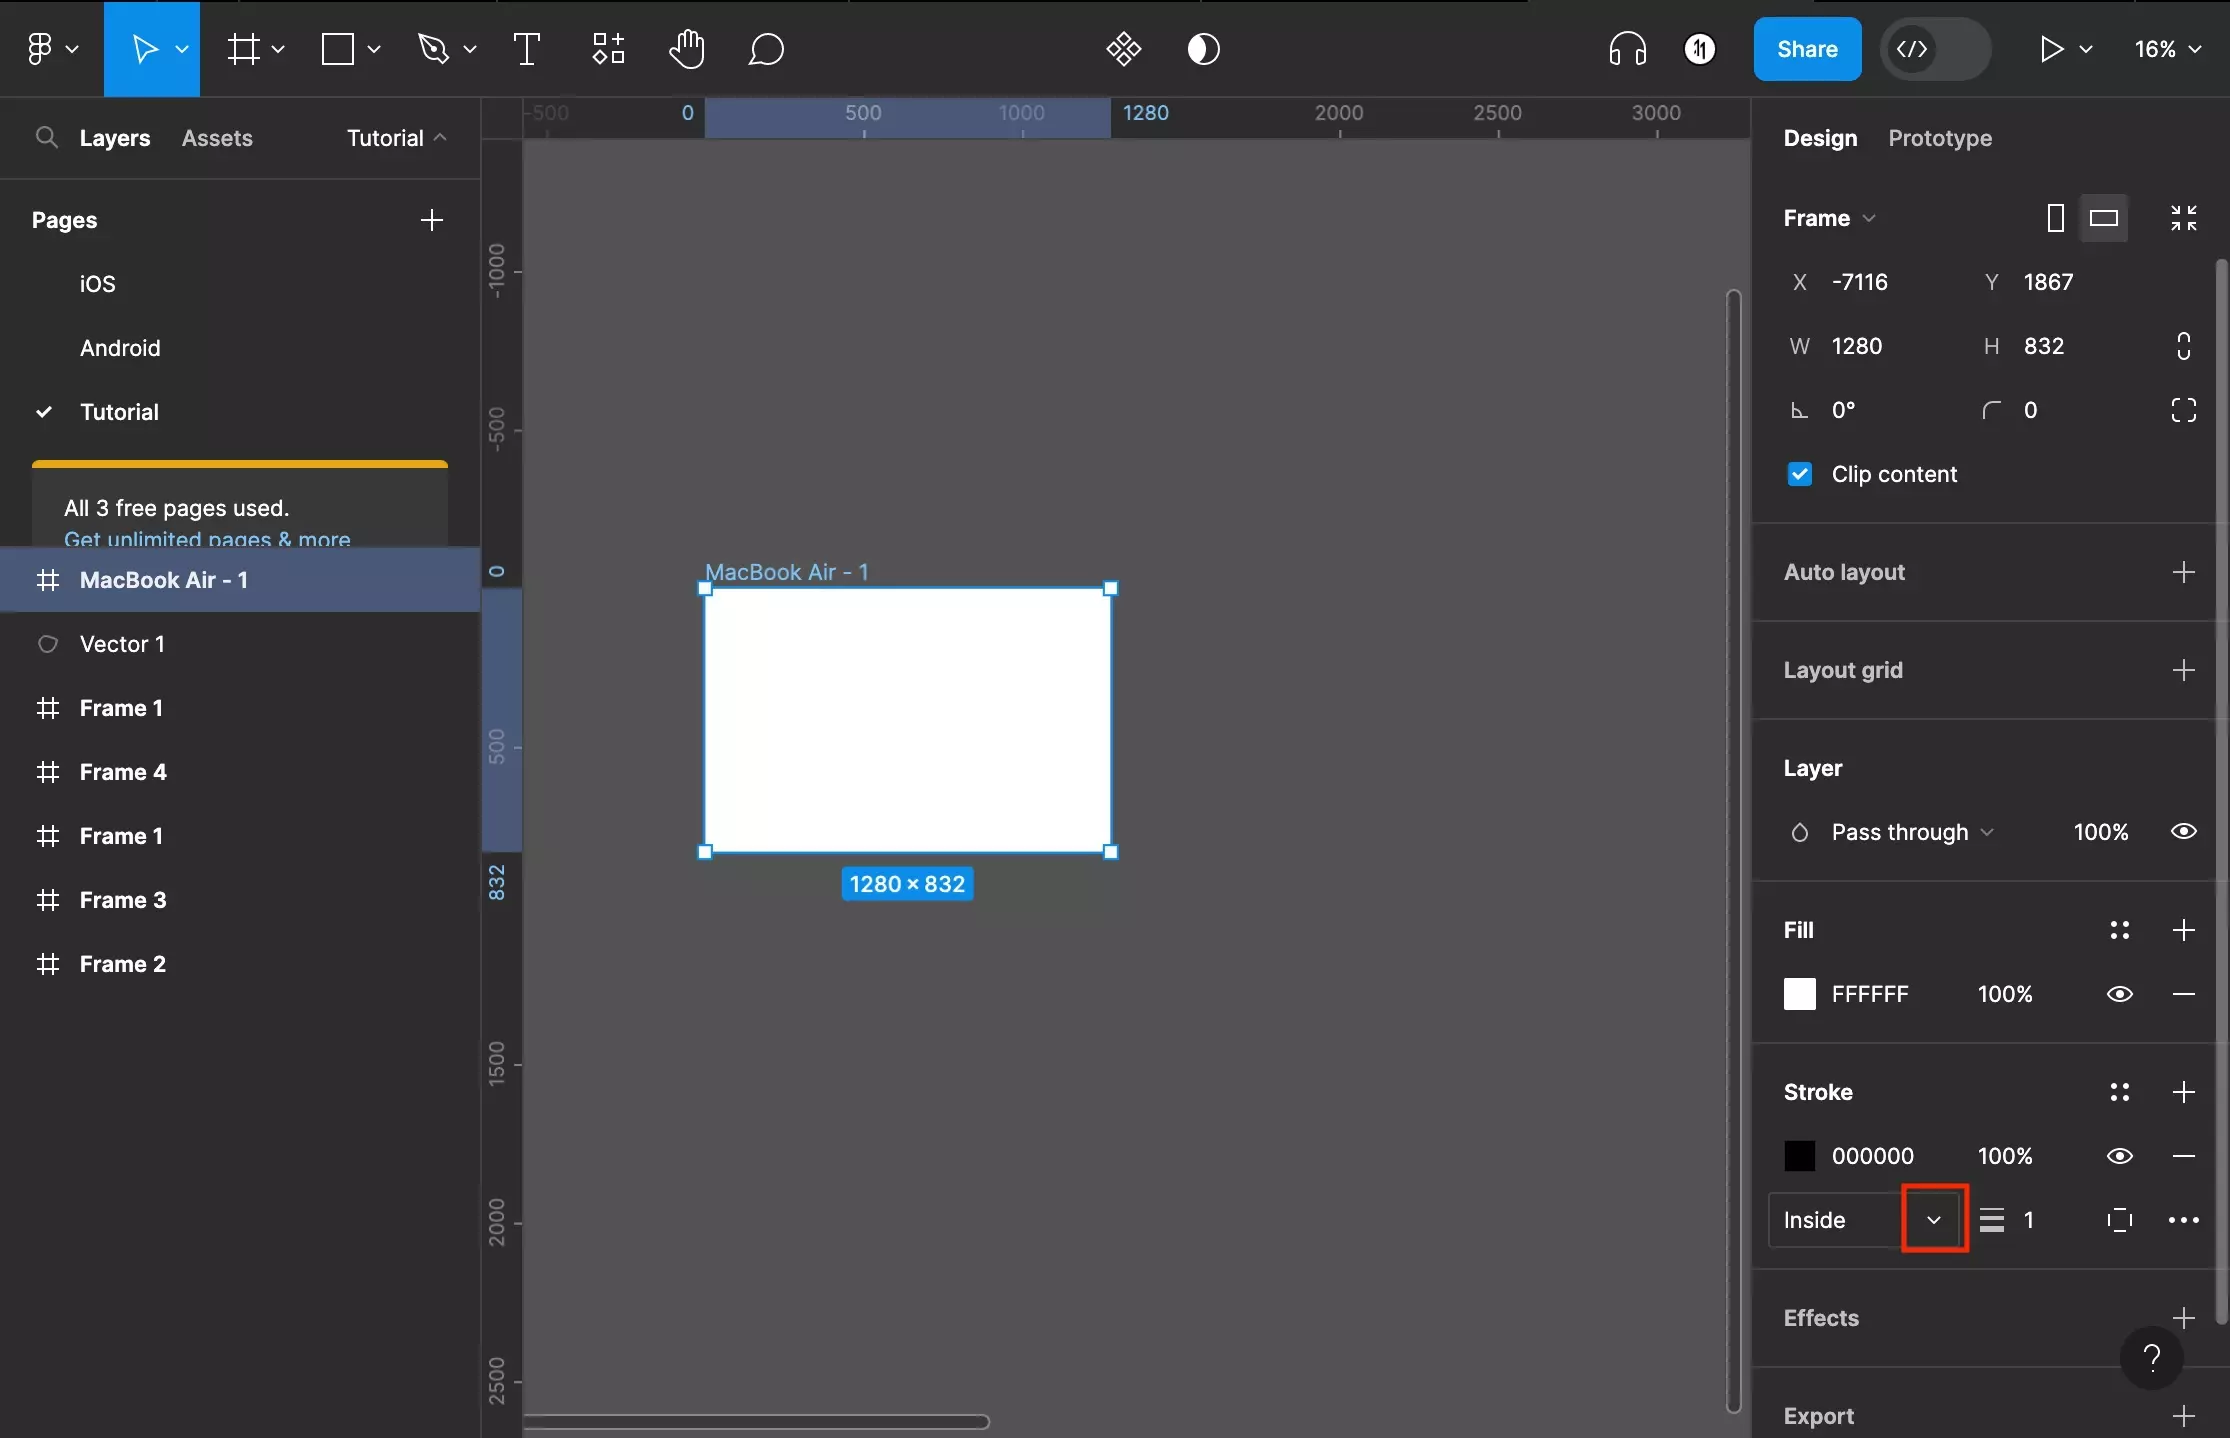
Under the color, press the caret next to Inside to open the Stroke Type dropdown. The options available are:

  • Center
  • Inside (default)
  • Outside
<p>A screenshot of Figma that shows you a frame that has been selected. We have added a stroke and have highlighted the menu that appears when you press the dropdown next to “Inside.” The stroke types that you can pick from are center, inside or outside.</p>

Step Five: Change the Stroke Width

<p>A screenshot of Figma that shows you a frame that has been selected. We have added a stroke and have highlighted the box that allows you to change the stroke width. It is found to the right of the stroke type option box.</p>

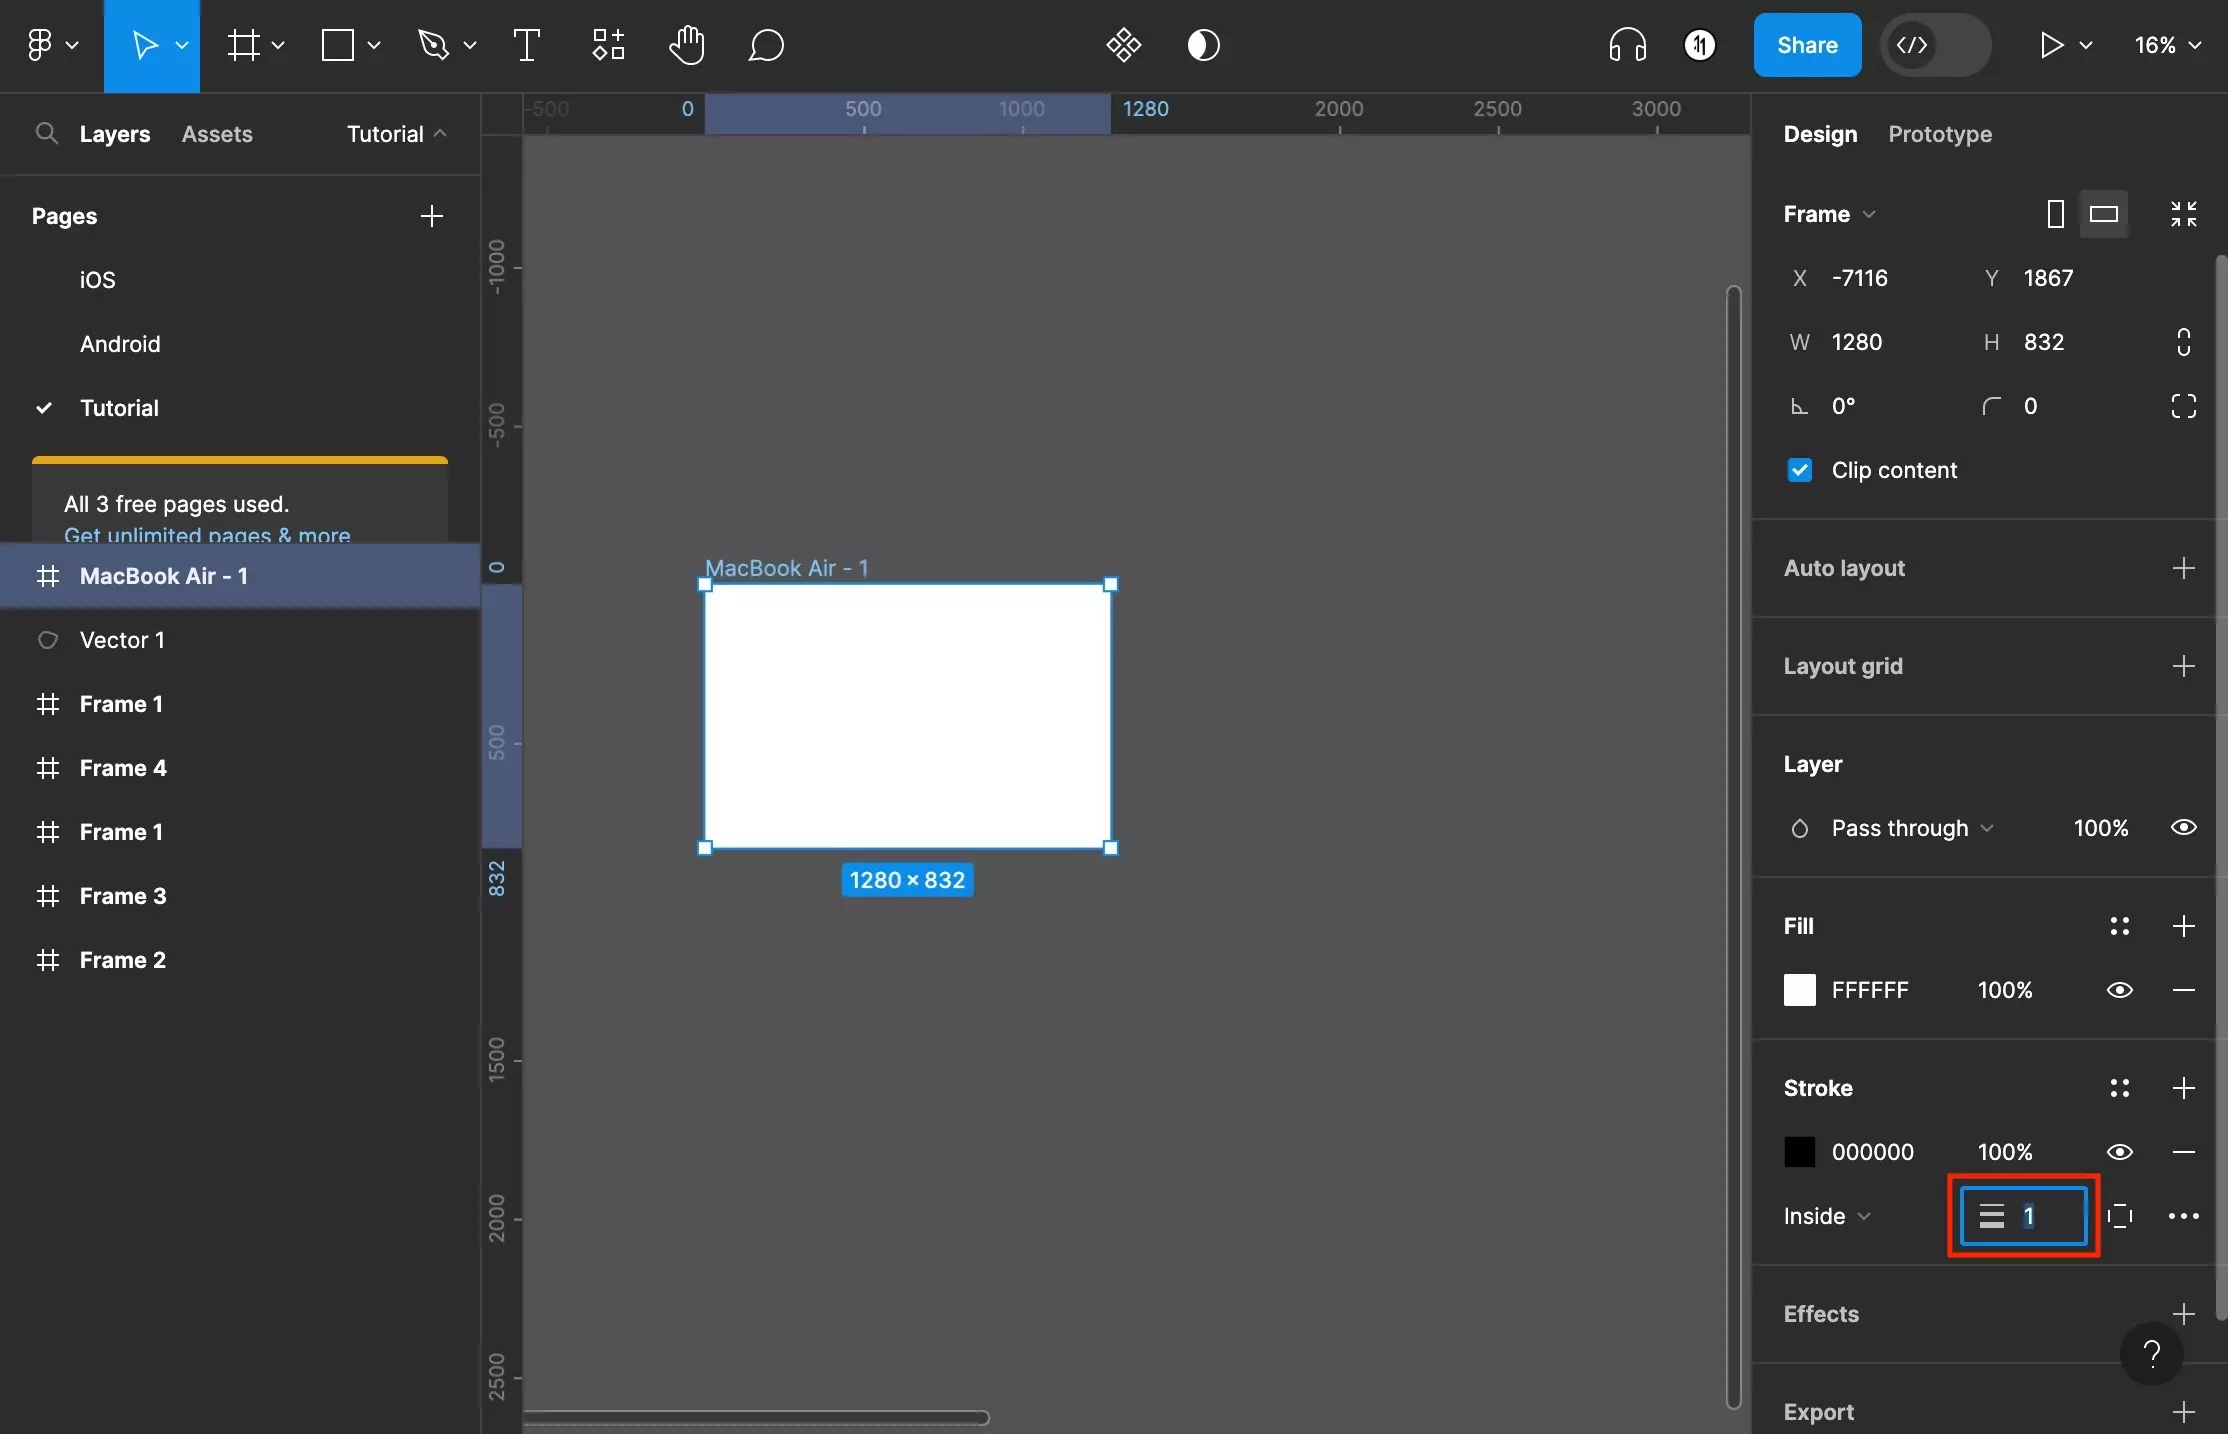
To change the stroke width, change the input value of the box to the right of the Stroke Type selection.

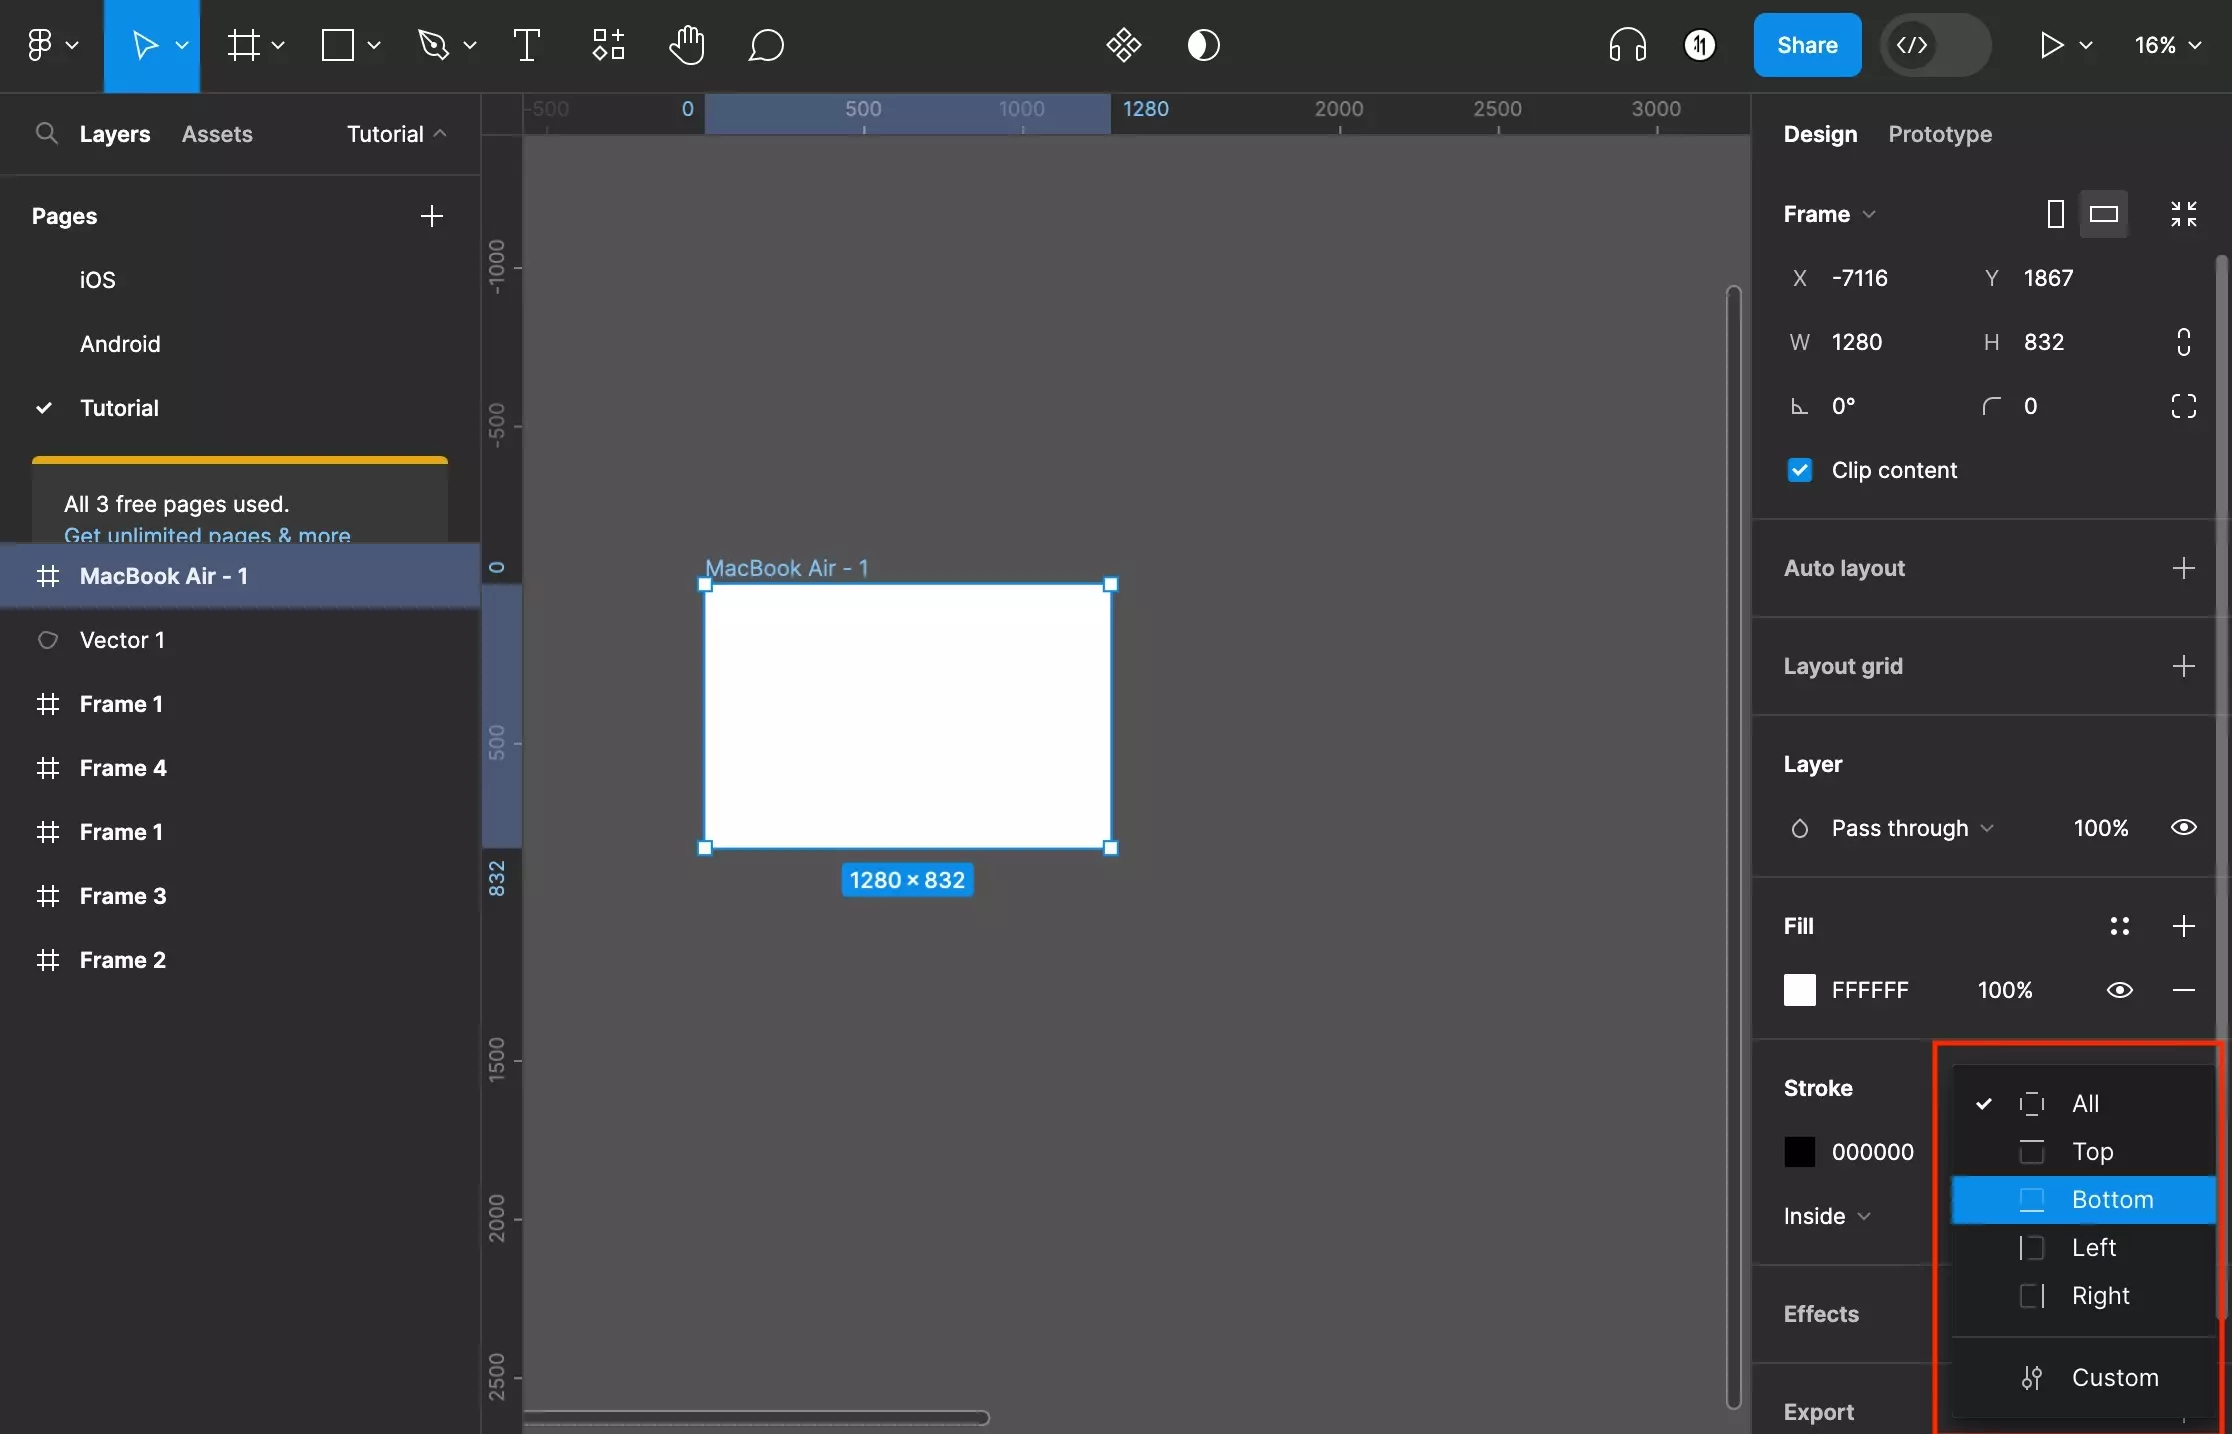
Step Six: Change Border Side

<p>A screenshot of Figma that shows you a frame that has been selected. We have added a stroke and have highlighted the box that allows you to open the menu for deciding what edges to apply the stroke to.</p>

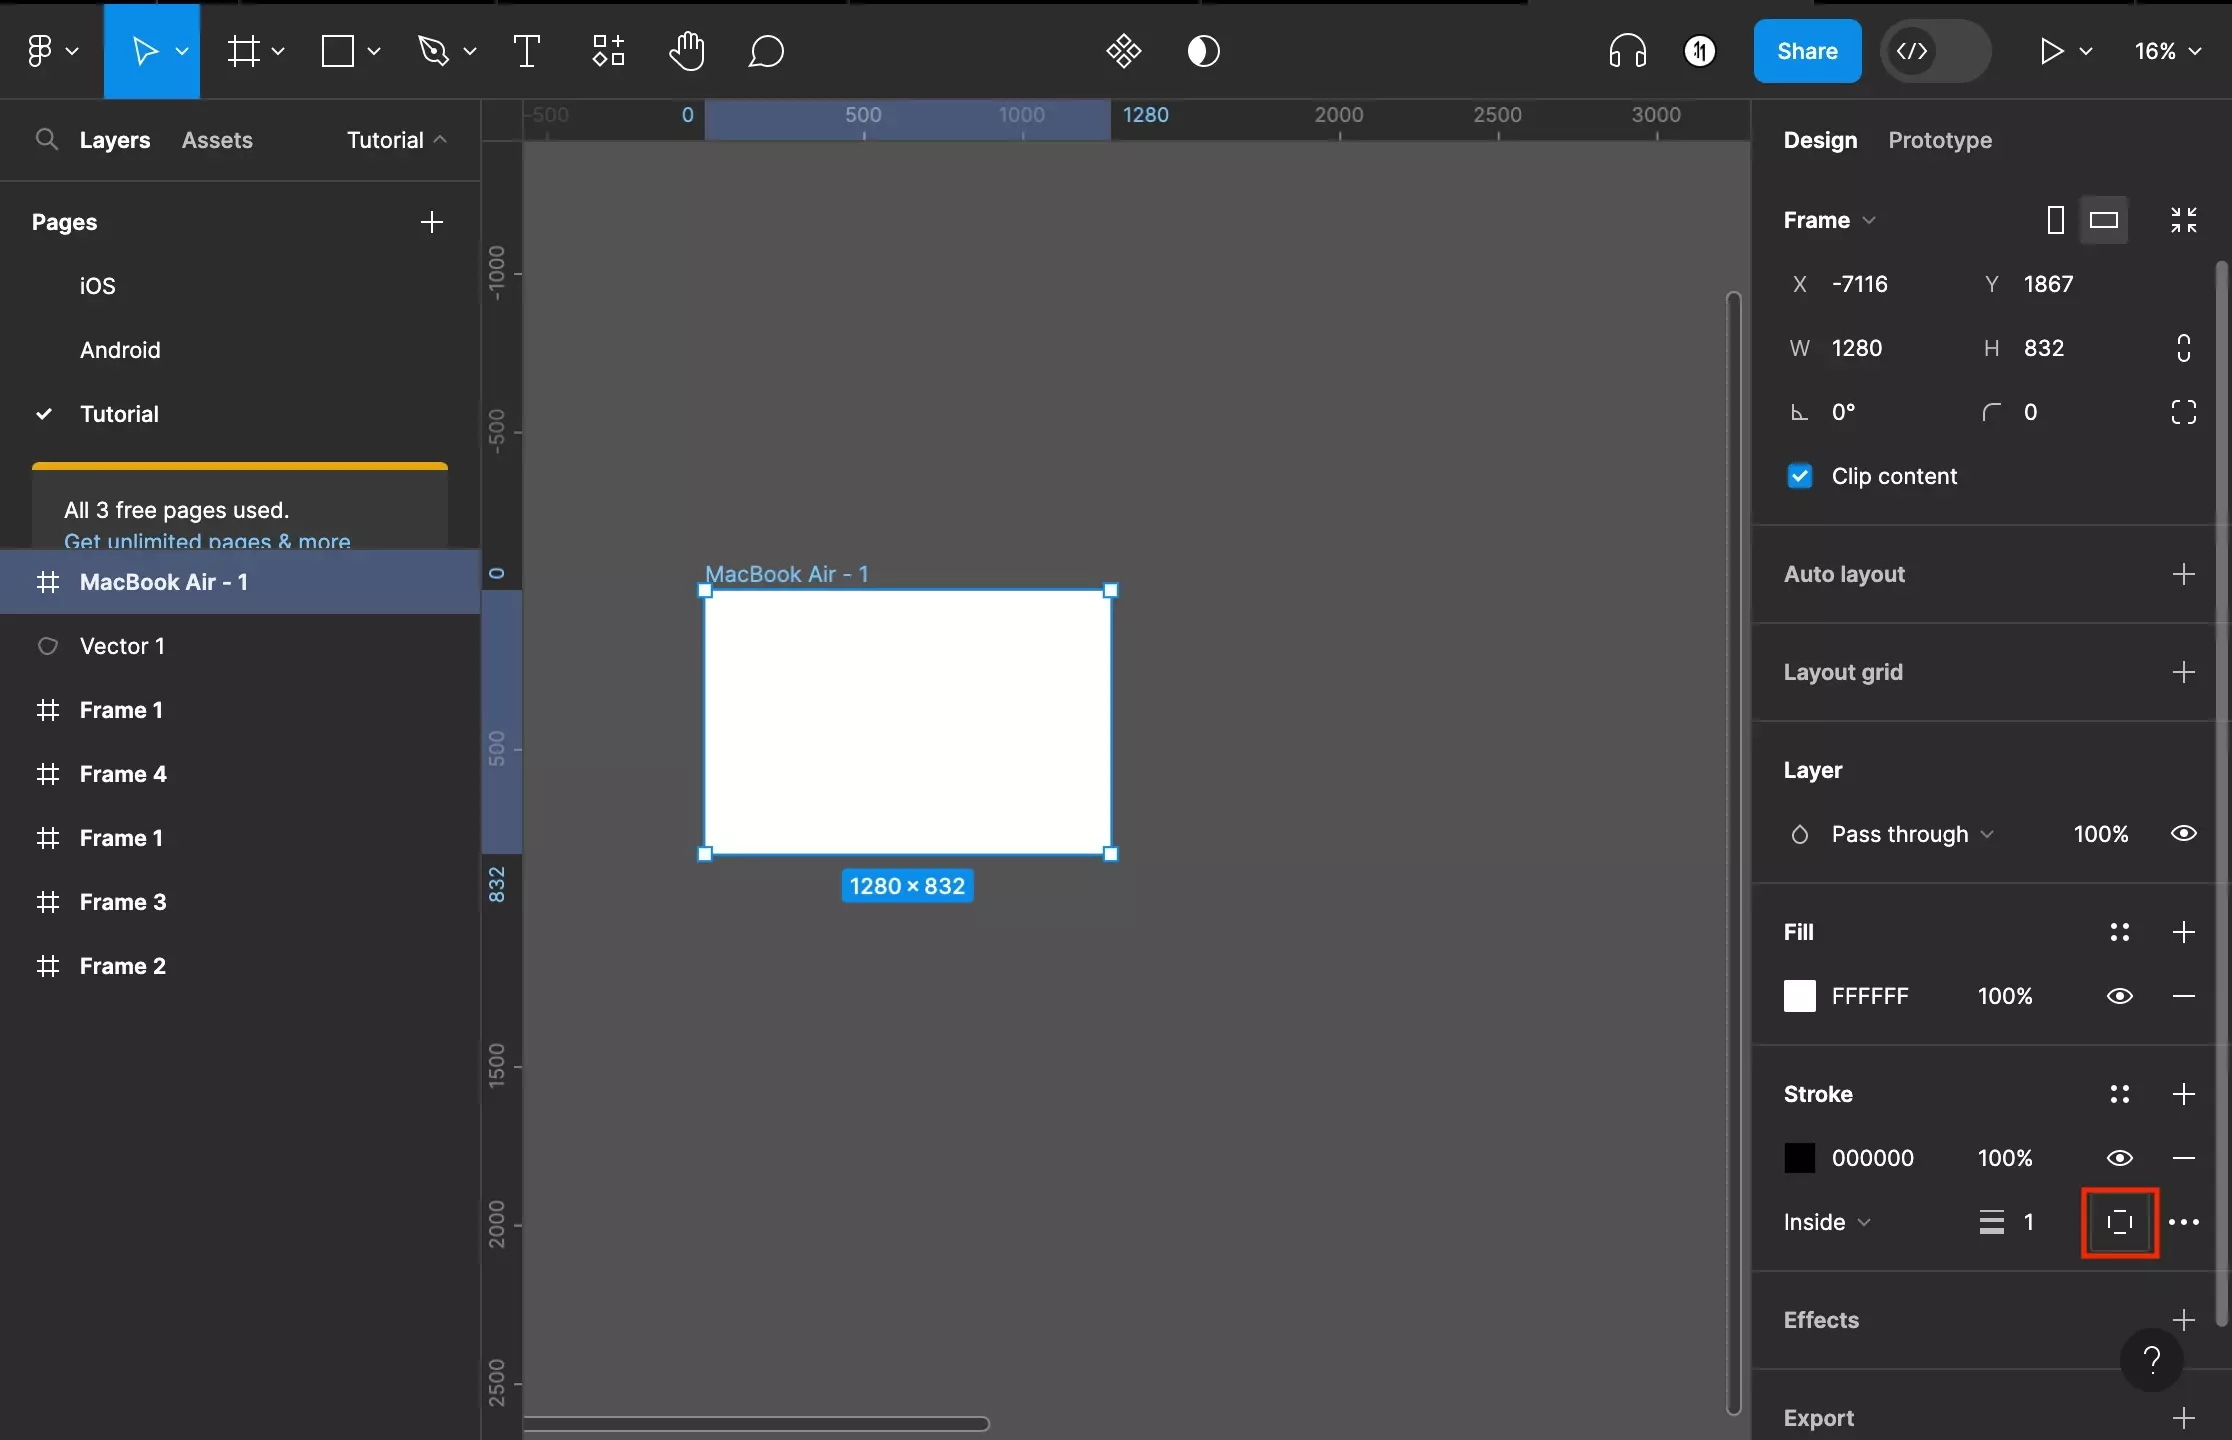
To change whether the box appears on all edges, just the top, right, bottom or left edge; or a custom selection of edges select the Strokes per side icon which appears to the right of the stroke width input. In the window that appears, select:

  • All - for all edges.
  • Top - for the top edge.
  • Bottom - for the bottom edge.
  • Left - for the left edge.
  • Right - for the right edge.
  • Custom - to choose multiple, but not all of the above.
<p>A screenshot of Figma that shows you a frame that has been selected. We have added a stroke and have highlighted the menu that appears when you click the strokes per side icon. The options are all, top, bottom, left, right or custom.</p>

Step Seven: Advanced Stroke Menu

<p>A screenshot of Figma that shows you a frame that has been selected. We have added a stroke and have highlighted how to open the advanced stroke menu - it can be done by clicking the three dots on the bottom left of the stroke. The menu that appears has also been highlighted and shows you how you can change the stroke style using a dropdown, the endpoints (on a path only), the join or the mitre angle.</p>

Select the three dots at the bottom left of the stroke to open the advanced stroke menu. Here you can change the:

  • Stroke Style (Solid, Dashed or Custom)
  • Endpoints (Path Only)
  • Join
  • Miter Angle

Step Eight: Add Another Color

<p>A screenshot of Figma that shows you a frame that has been selected. We have added a stroke and have highlighted how to add another stroke color. This can be done by pressing the + button on the right menu side bar, in the stroke section.</p>

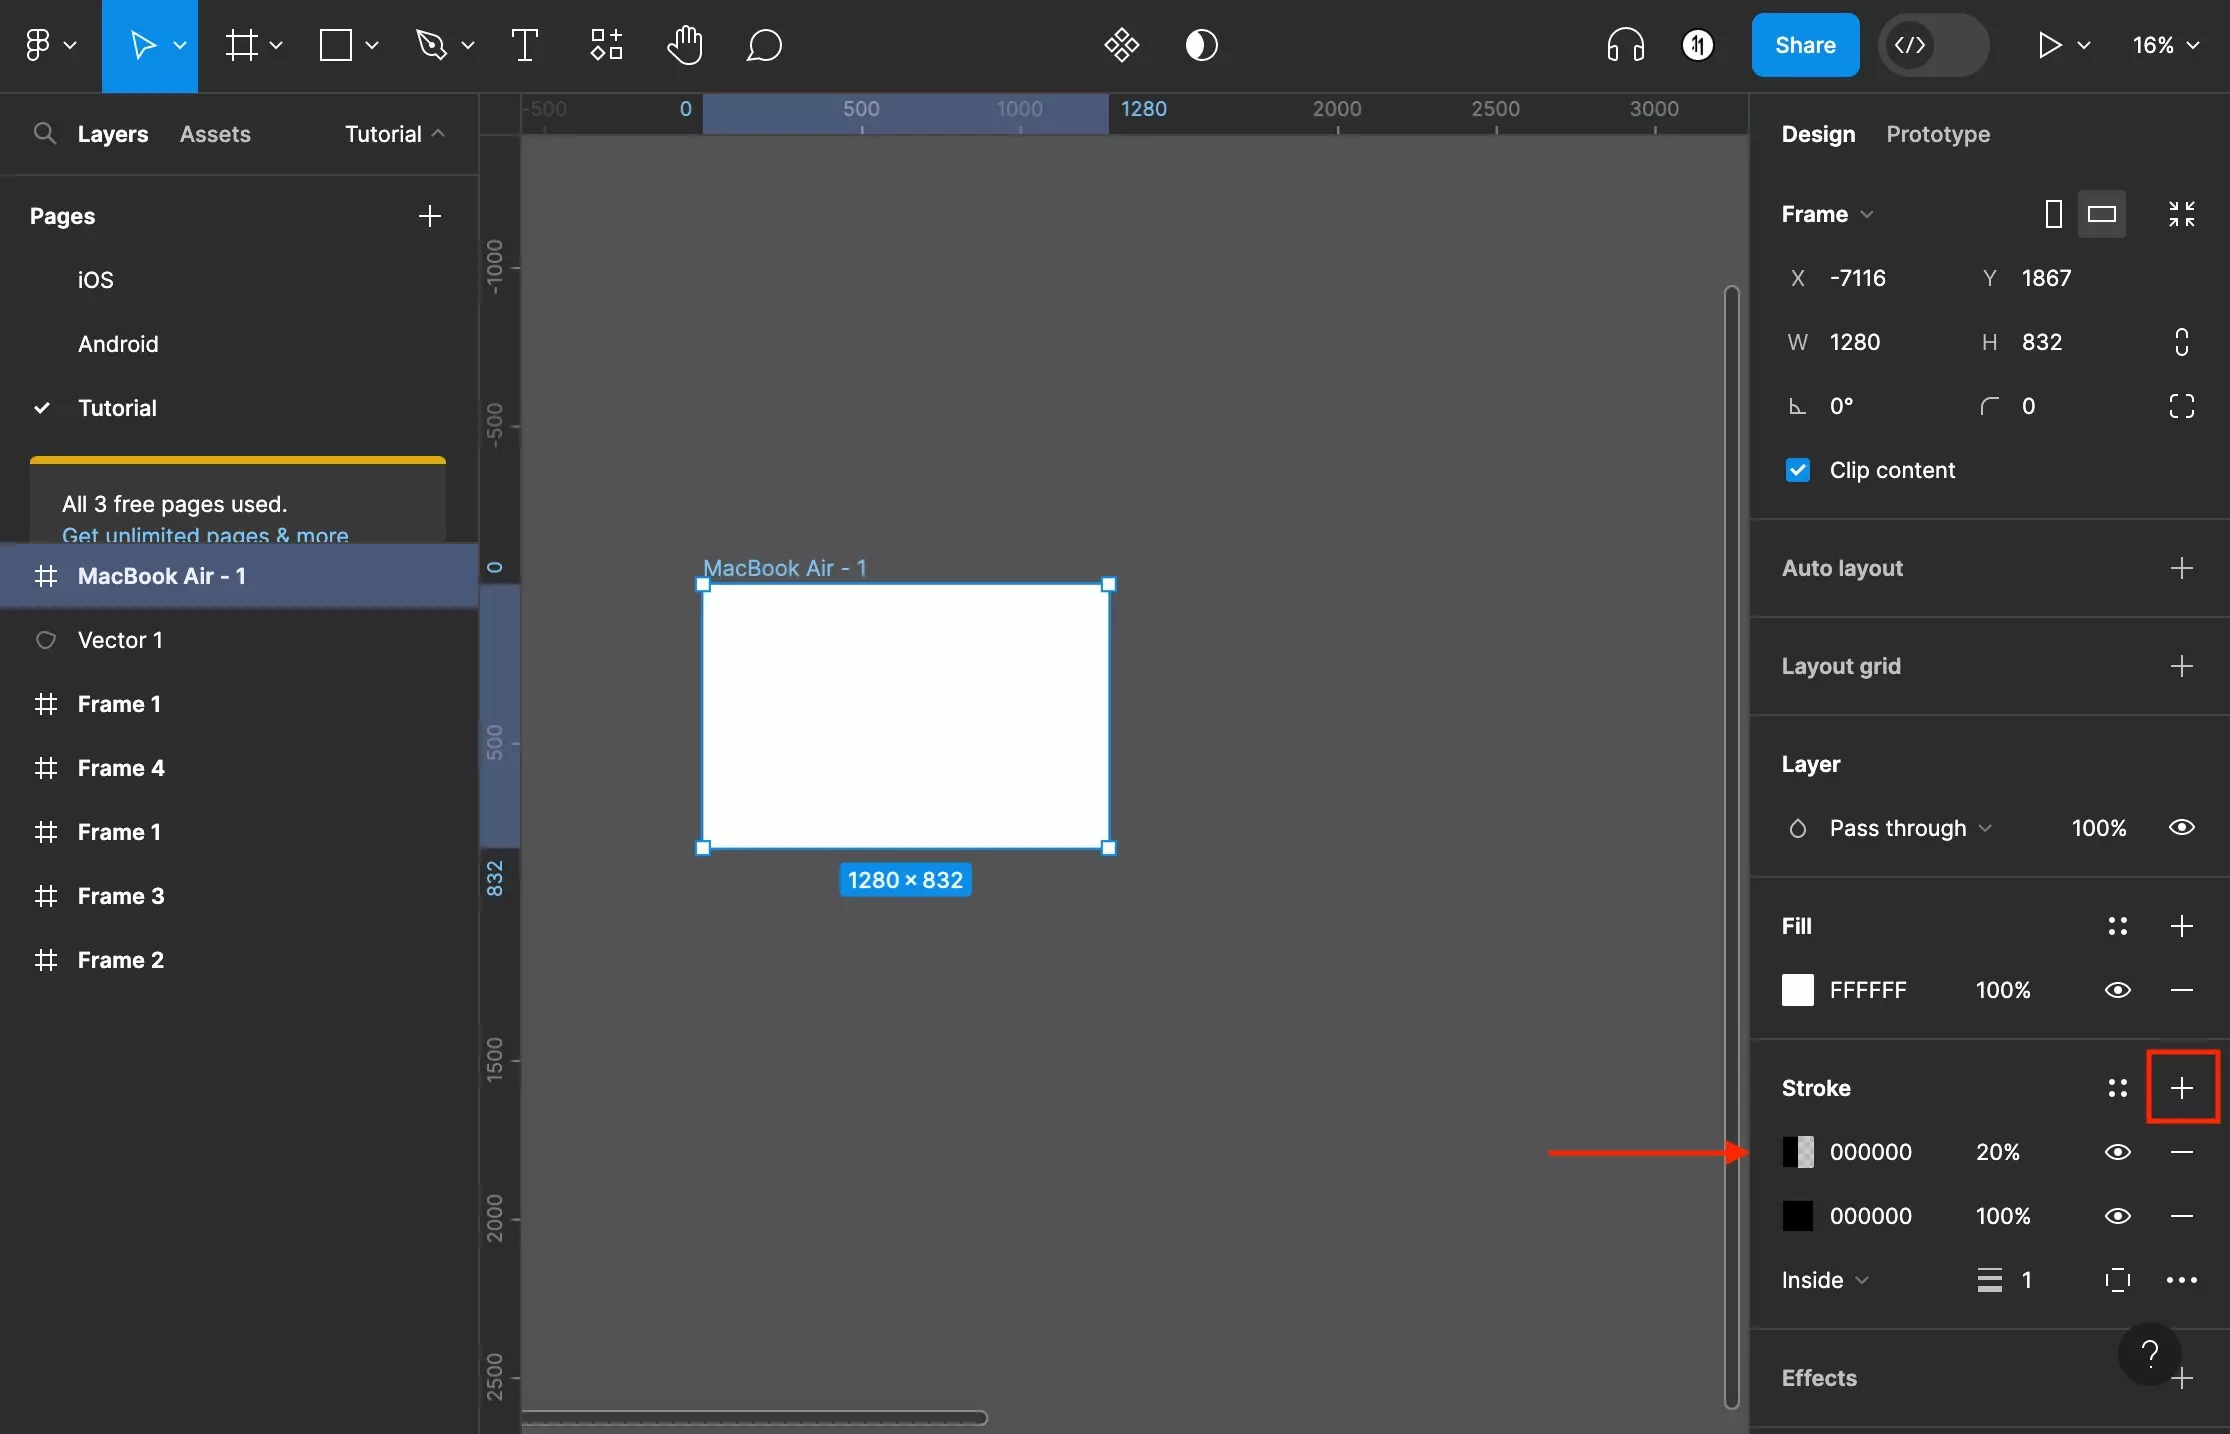
To add another color, press the + icon next to Stroke on the right menu side bar. You can customize the color by following Step Three.

Step Nine: Reorder, Hide or Remove

<p>A screenshot of Figma with a Frame selected. Highlighted on the right menu bar under the stroke section is a color. If you highlight the color, it will present handles on the left side of the bar - this allows you to change its position within the hierarchy. The lower down it is, the further down it is in the background. To the right of it there is an eye, this allows you to show or hide the color. Finally, to the right of it, there is a - icon. If pressed this removes the color.</p>

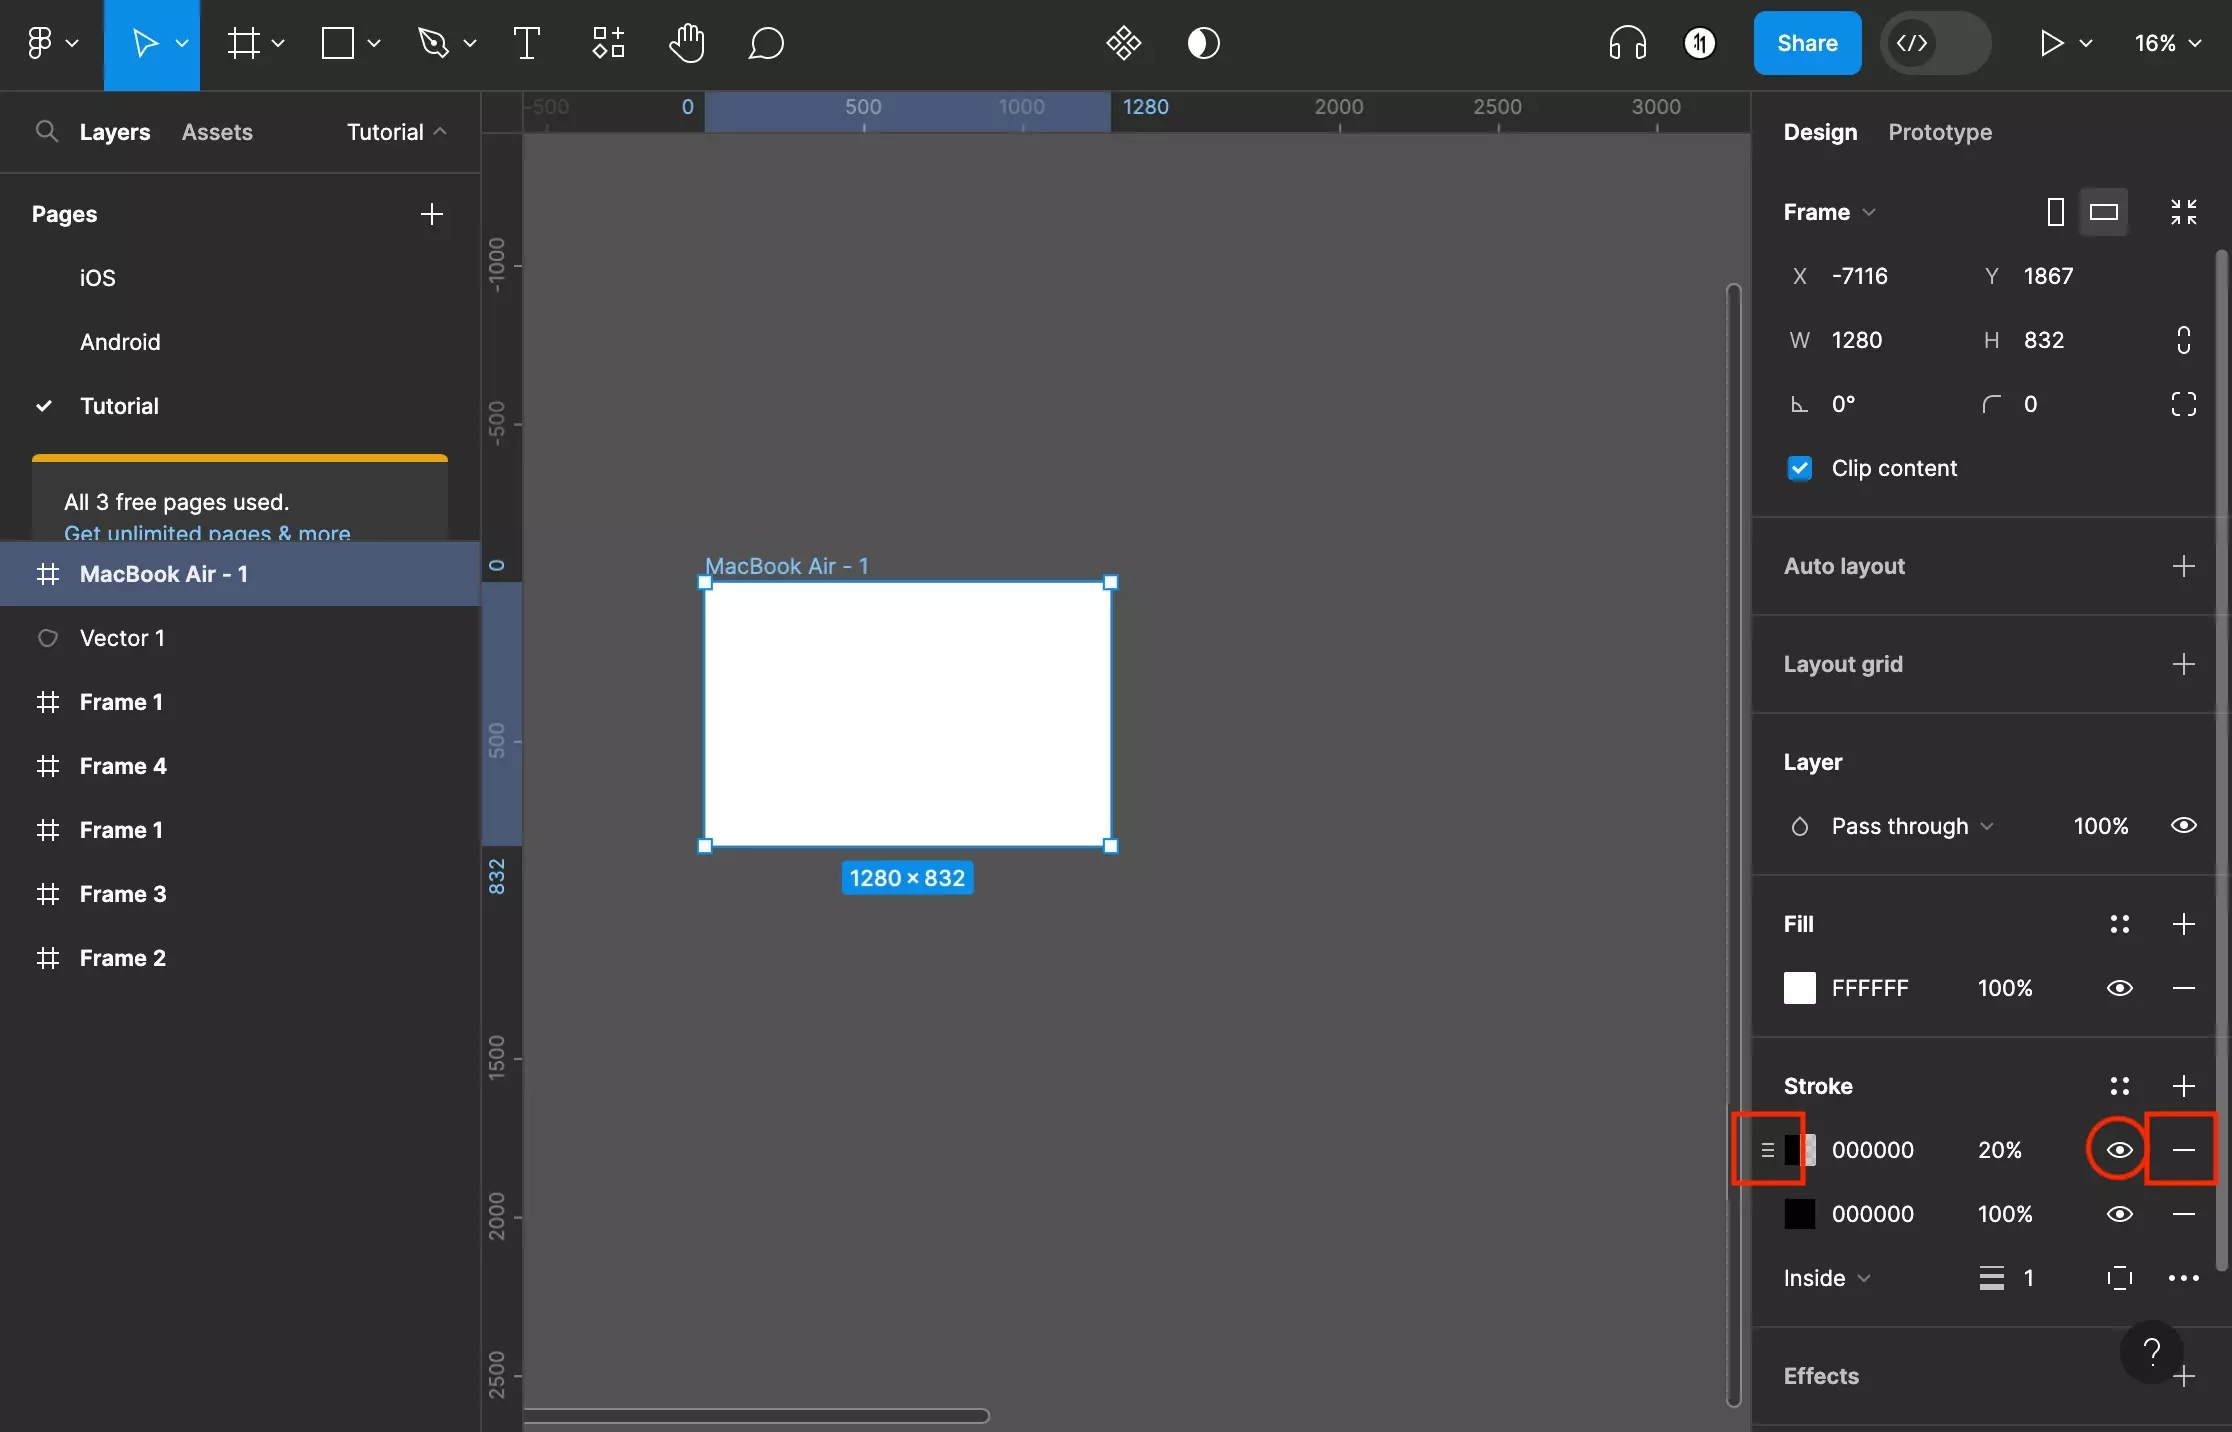
To change the order of the stroke color, highlight a color input. This will present a handle icon which will allow you to reorder the color by clicking and dragging the color handle. The lower down a color is, the further down it is in the background (i.e. higher up colors are overlays whilst the lowest one is the "true background").

If you wish to hide/show the color, toggle the eye icon to the right of the color.

Finally, to remove an color, press the minus icon to the far right of the color.

Looking to learn more about the basics behind styling frames, paths, shapes and text in Figma ?

Consult the list below to learn more about the basics behind styling text, shapes, paths and frames in Figma.

How to change the Corner Radius of a Frame or Shape in FigmaHow to change the Background Color of a Frame or a Shape in FigmaHow to add a Background Gradient Color to a Frame or Shape in FigmaHow to add a Background Image to a Frame or Shape in FigmaHow to add Effects to a Frame, Path, Shape or Text in FigmaHow to Style Text in FigmaHow to use Variable Fonts in FigmaSearch blog for all Figma tutorials

Any Questions?

We are actively looking for feedback on how to improve this resource. Please send us a note to inquiries@delasign.com with any thoughts or feedback you may have.
SubscribeContact UsVisit our BlogView our ServicesView our Work

Partner with us

We would love to get to know you and see how we can help your organization with its goals and needs.
Let's Talk

Stay Informed

Get occasional updates about our company, research, and product launches.
Subscribe