How to create a new Design File in Figma
A step by step guide on creating a new design file in Figma.

Written by Oscar de la Hera Gomez
First published on 08/03/2023 at 14:47
Last Updated on 08/03/2023 at 16:12
A step by step guide on creating a new design file in Figma.
SubscribePlease note that this tutorial requires you to have setup a team in Figma.
Step One: Select a Project
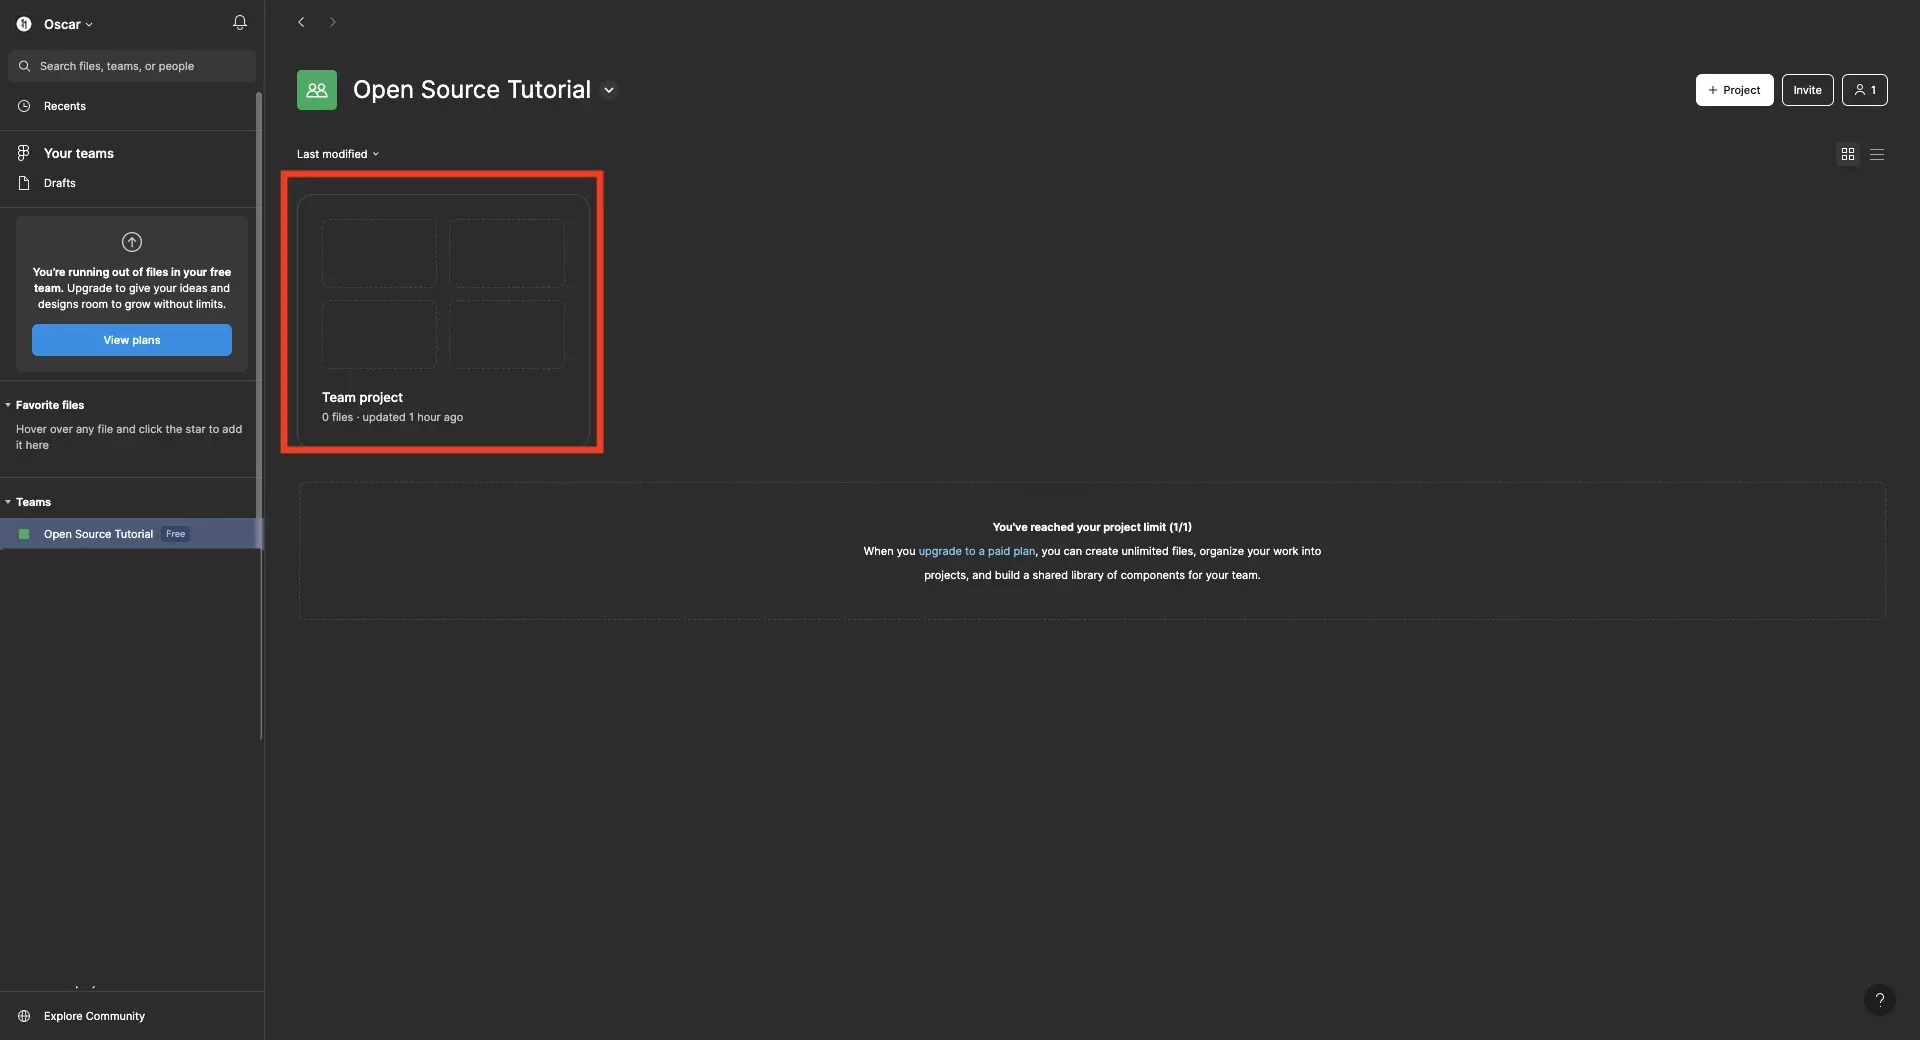
Within a team, select the project in which you wish to create a new design file.
Step Two: Create a new Design File
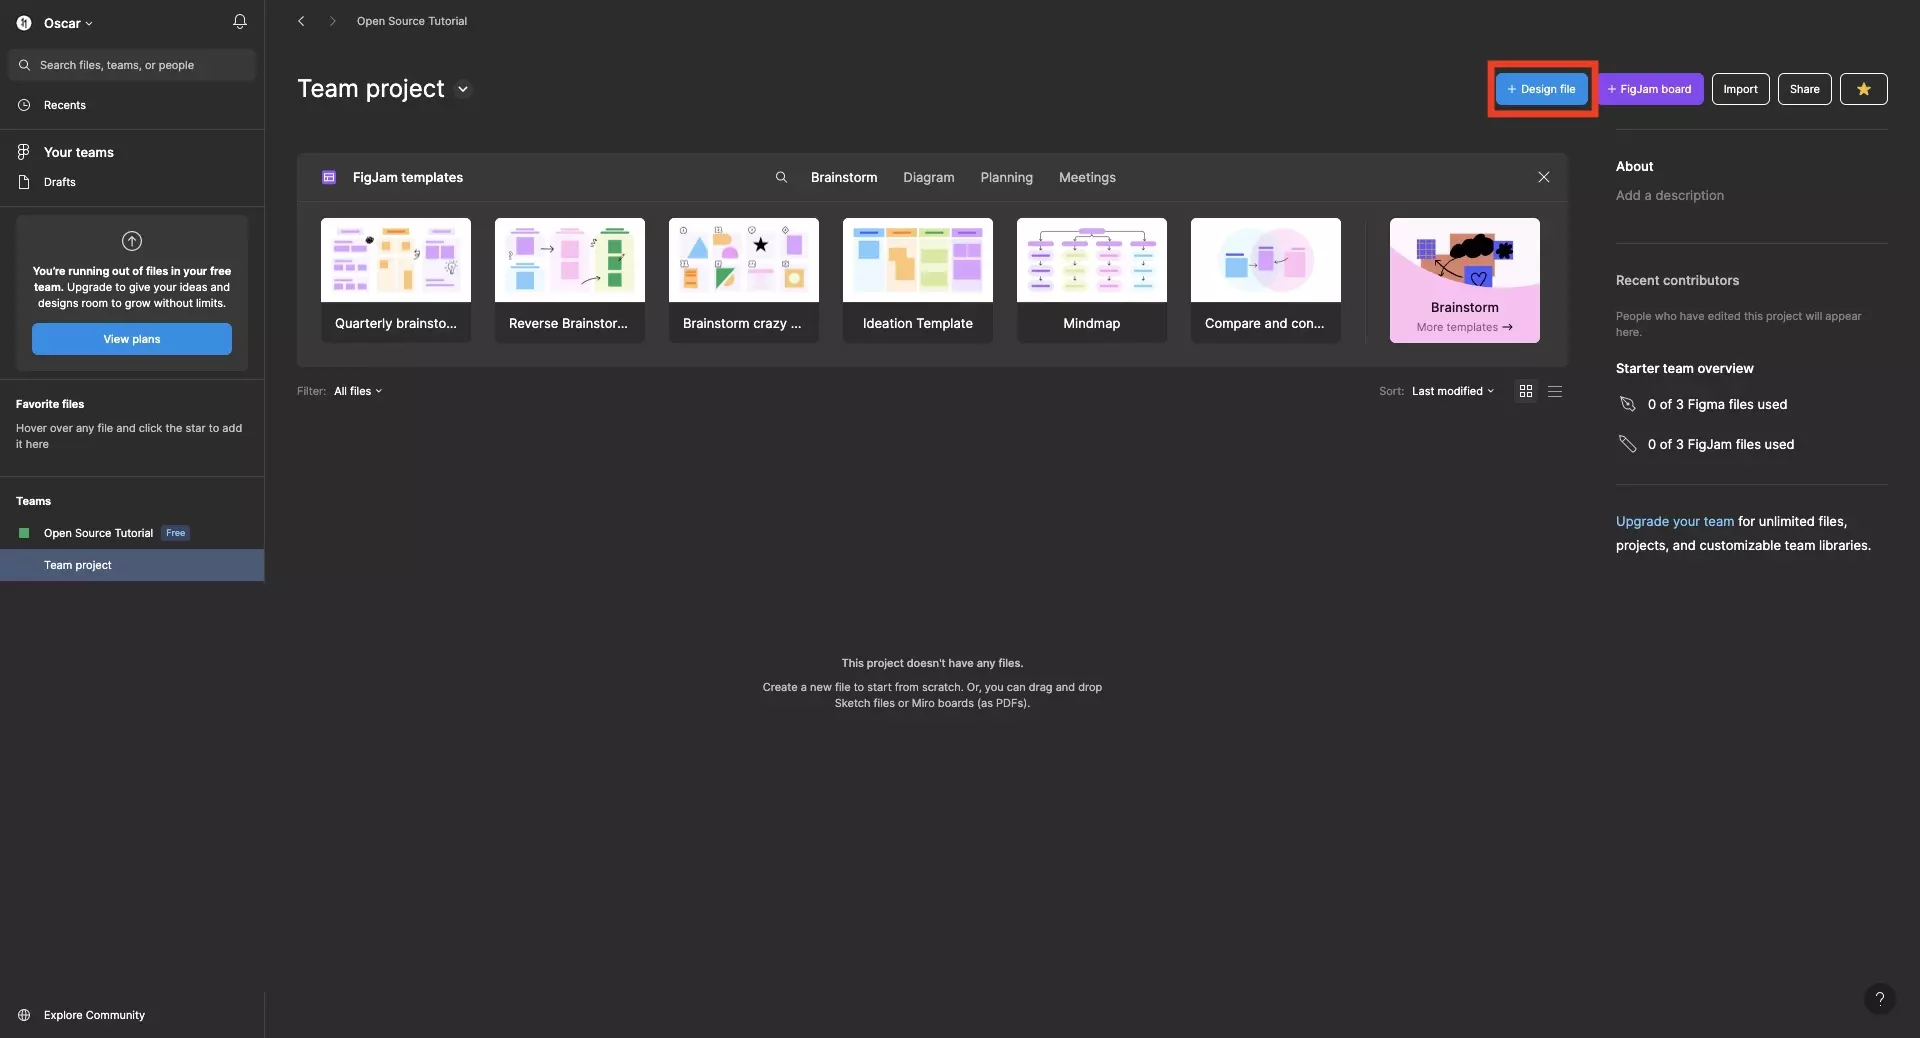
Click + Design File on the top left of the screen.
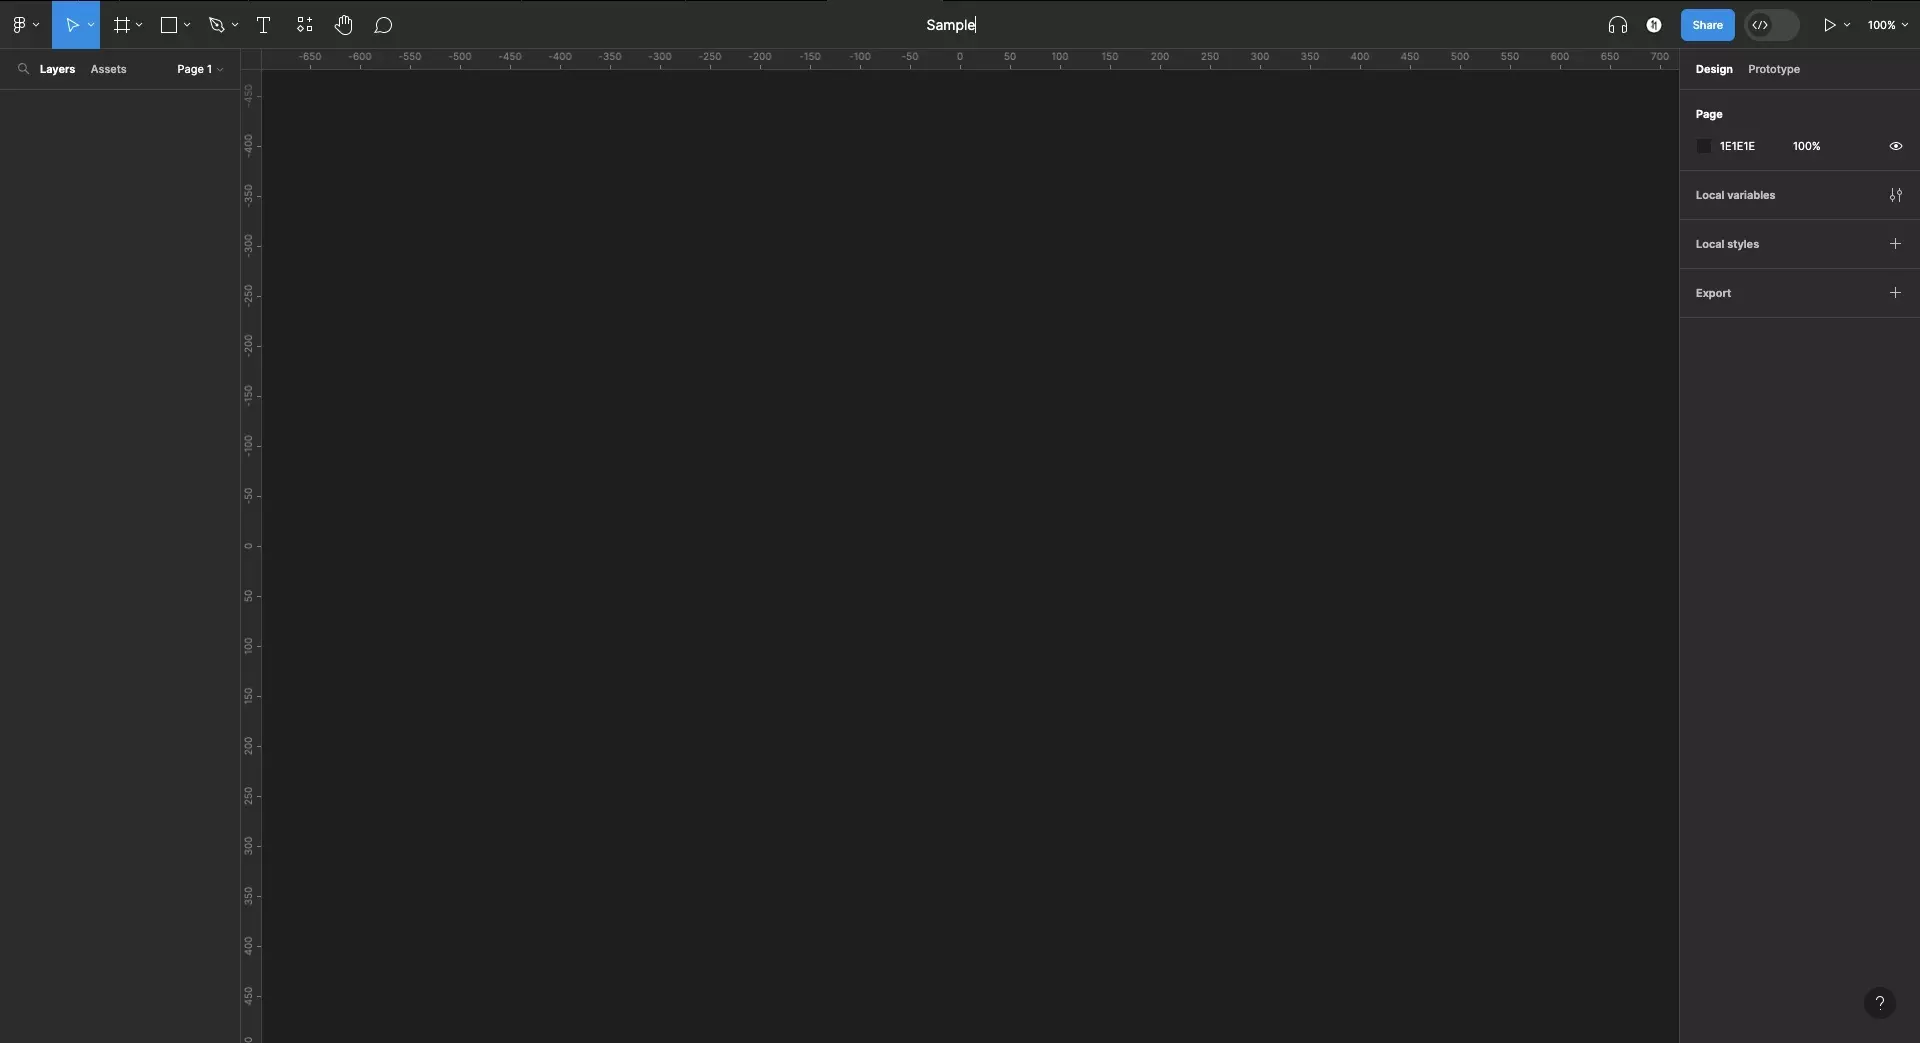
Step Three: Rename the Design File
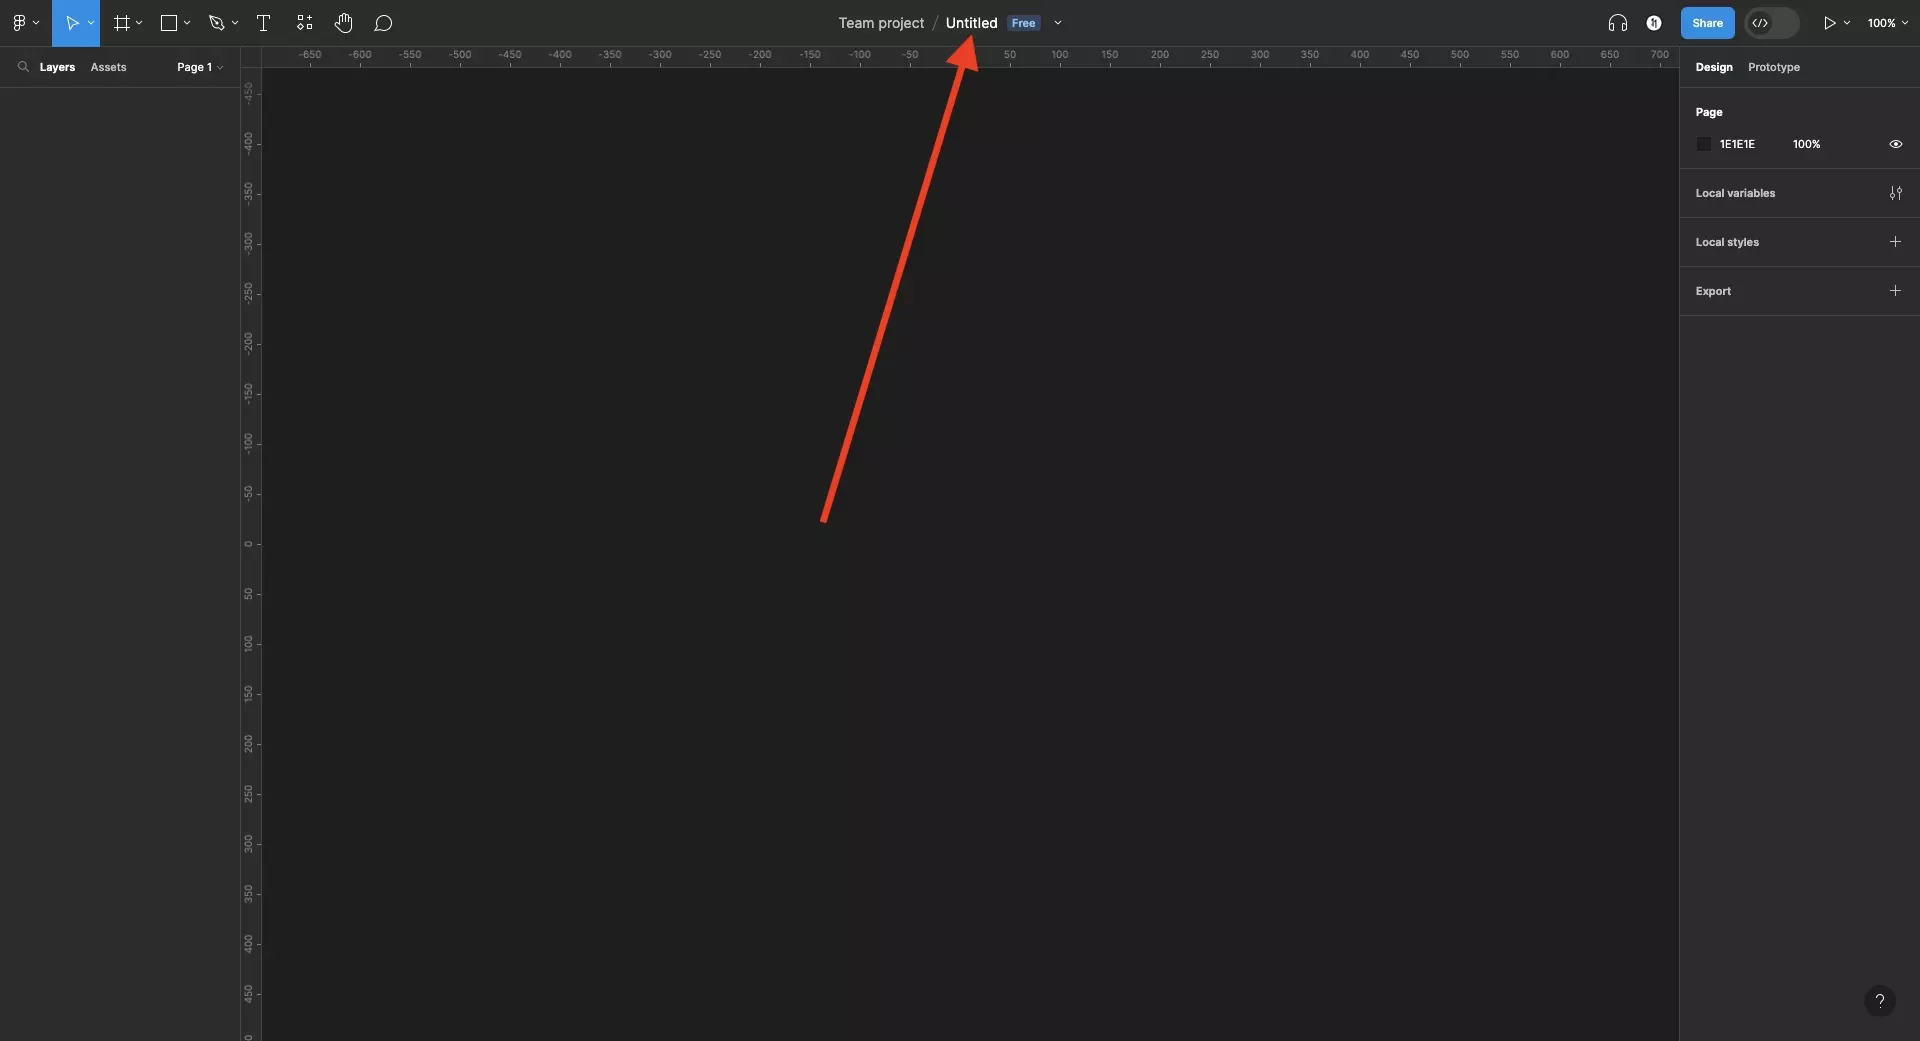
On the top, click Untitled to rename your design file.
As shown below, this will allow you to alter the name of the design file using your keyboard.
Looking to learn more about things you can do with Figma ?
Follow our get started guide or search our blog to find educational content on learning how to use Figma.
Any Questions?
We are actively looking for feedback on how to improve this resource. Please send us a note to inquiries@delasign.com with any thoughts or feedback you may have.
SubscribeContact UsVisit our BlogView our ServicesView our Work