How to create a custom user interface in a Craft CMS plugin
A step by step guide on creating UI within a Craft CMS Control Panel section that visualizes subscriber entries.

A step by step guide on creating UI within a Craft CMS Control Panel section that visualizes subscriber entries.
The following tutorial walks you through create custom UI for a Craft CMS control panel section within a plugin that visualizes subscribers, an entry channel within our Craft CMS with the intention of allowing you to send them an email through a button. It builds on top of our Open Source Craft CMS starter project which can be found at the repository below.
We recommend that you download or clone our Open Source starter project, check out the tutorial/cp-section branch and complete the steps below. The changes can be found on the tutorial/cp-section-ui.
git clone git@github.com:delasign/craft-cms-starter.gitPlease note that this tutorial walks you through the example of a control panel section within a plugin, though the example can be used for any page within a Craft CMS. If you are curious how to setup the control panel section, please consult the tutorial below.
Step One: Create your asset bundle
To be able to style UI within your Craft CMS, you must create an Asset Bundle. Asset Bundles are useful as:
- They publish an inaccessible directory into a directory below the web root, making it available for front-end pages to consume via HTTP requests.
- They can register specific CSS and JS files within the directory as
<link>and<script>tags in the currently-rendered page.
A | Setup the folder structure
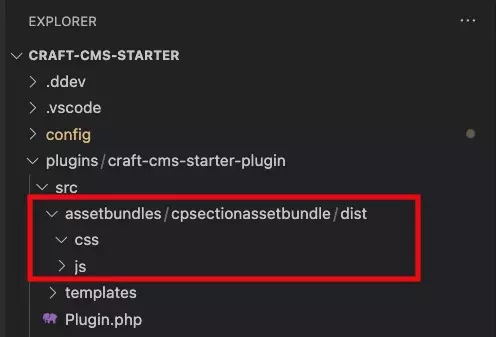
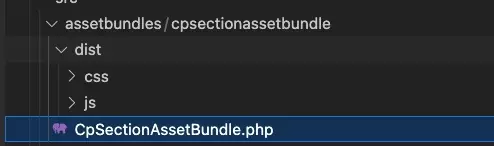
In the src directory of your plugin, create new folder called assetbundles.
Within the assetbundles folder create another folder that holds the asset bundle, in our open source project have called it cpsectionassetbundle.
Within this folder create a dist folder.
Within the dist folder, create a css folder to hold your css files and a js folder for your js files.
B | Setup the asset php file
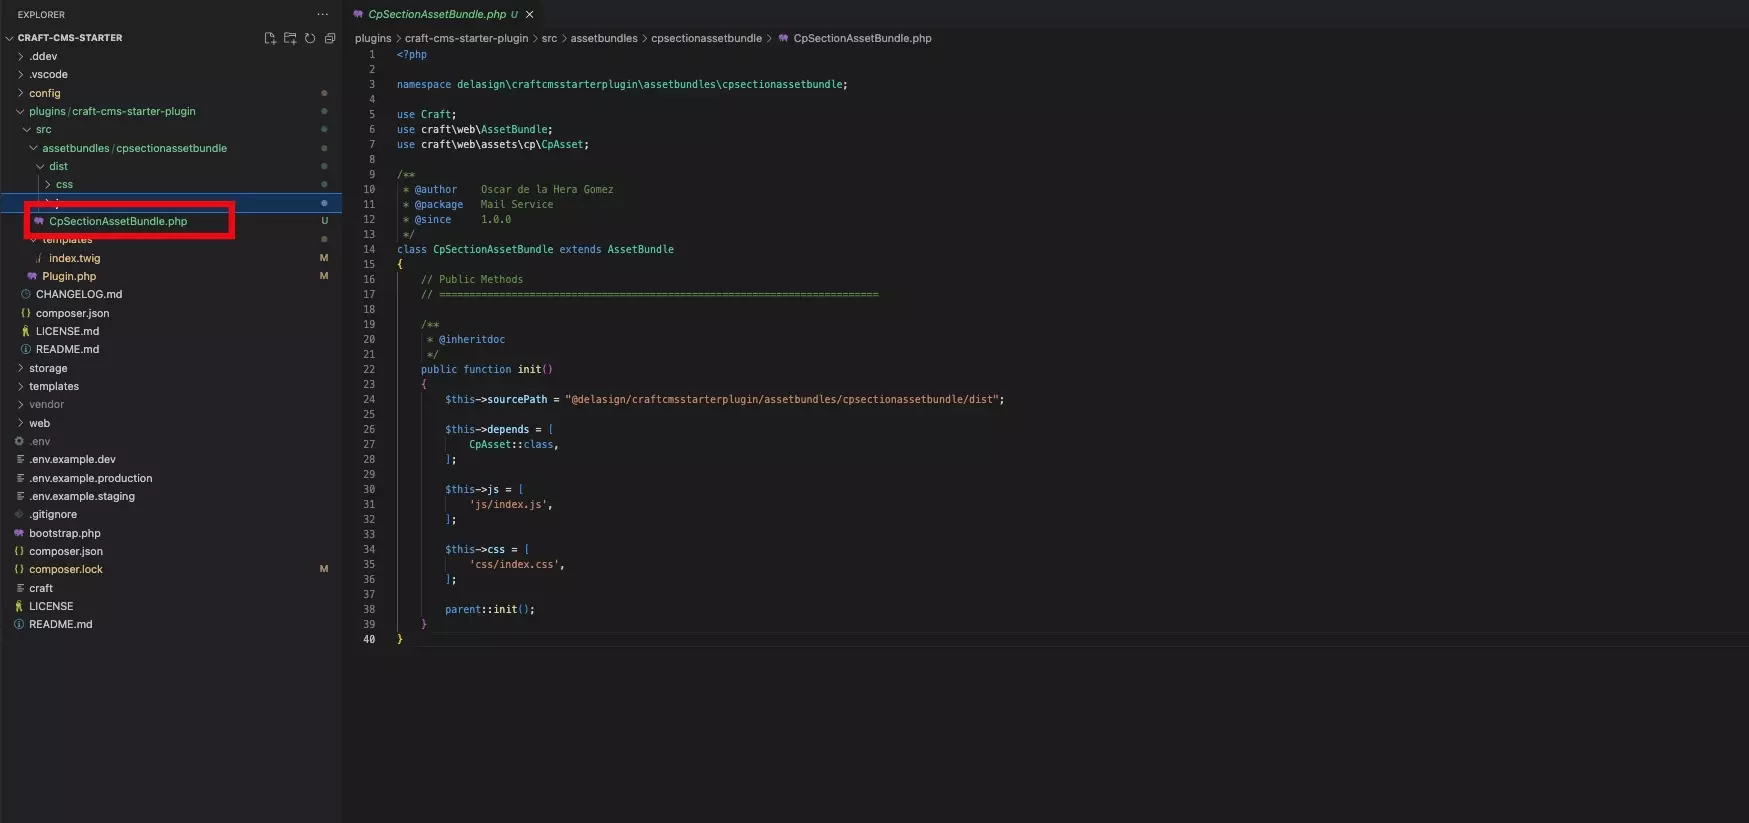
In the cpsectionassetbundle folder or equivalent, create a new php file - we have called it CpSectionAssetBundle.php - and copy in the code below.
Please replace the name space on line 3 and the source path on line 24 with the correct identifiers.
C | Setup css file
Within the dist/css folder create a new css file called index.css. Leave it blank for now.
D | Setup js file
Within the dist/js folder create a new css file called index.js. Leave it blank for now.
Step Two: Register the Asset bundle to the html or twig file

Open your html or twig file and at the top of the file add the following line:
{% do view.registerAssetBundle("delasign\\craftcmsstarterplugin\\assetbundles\\cpsectionassetbundle\\CpSectionAssetBundle") %}Please replace delasign\\craftcmsstarterplugin with the relevant path.
Step Three: Add the HTML
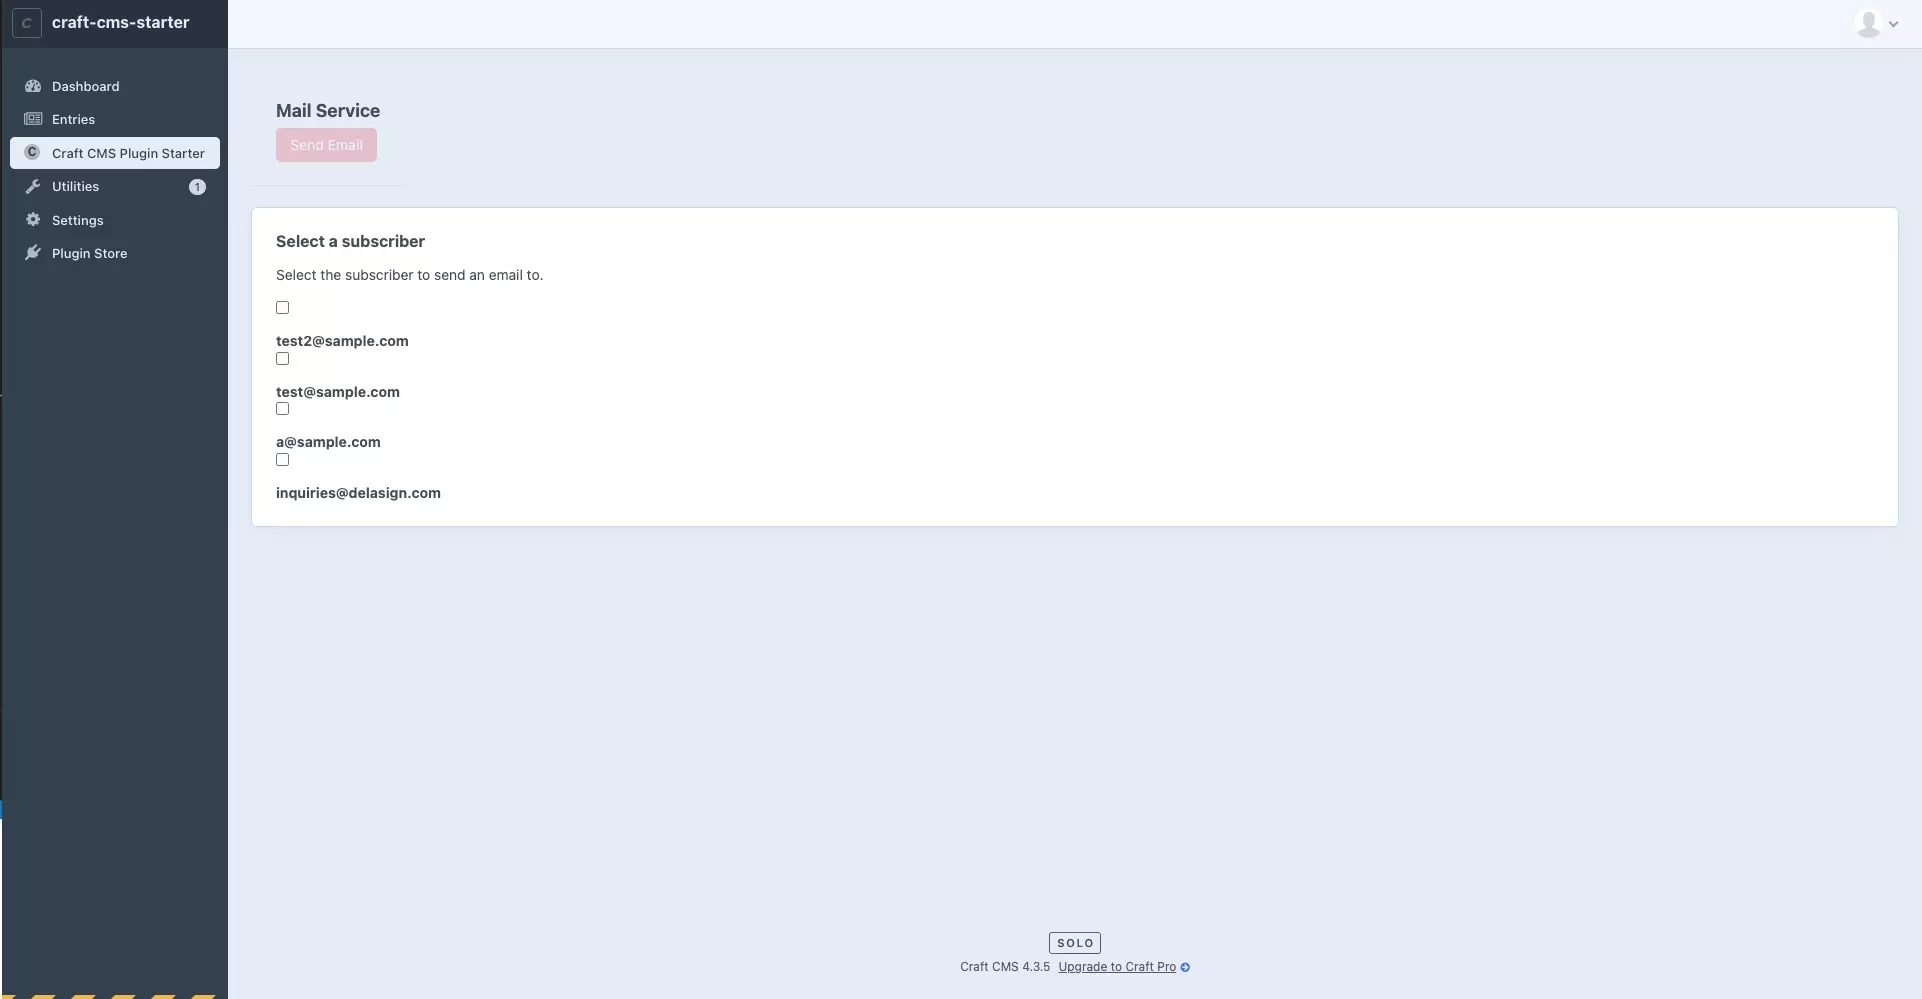
The code below demonstrates how to add html to a file that will show checkmarks and emails of subscribers, with the intention of allowing you to send them an email through a button.
Step Four: Add the CSS

Add the relevant css to the index.css file that you created earlier. We have provided a sample of the index.css that we used for our mail service.
Step Five: Add the JS
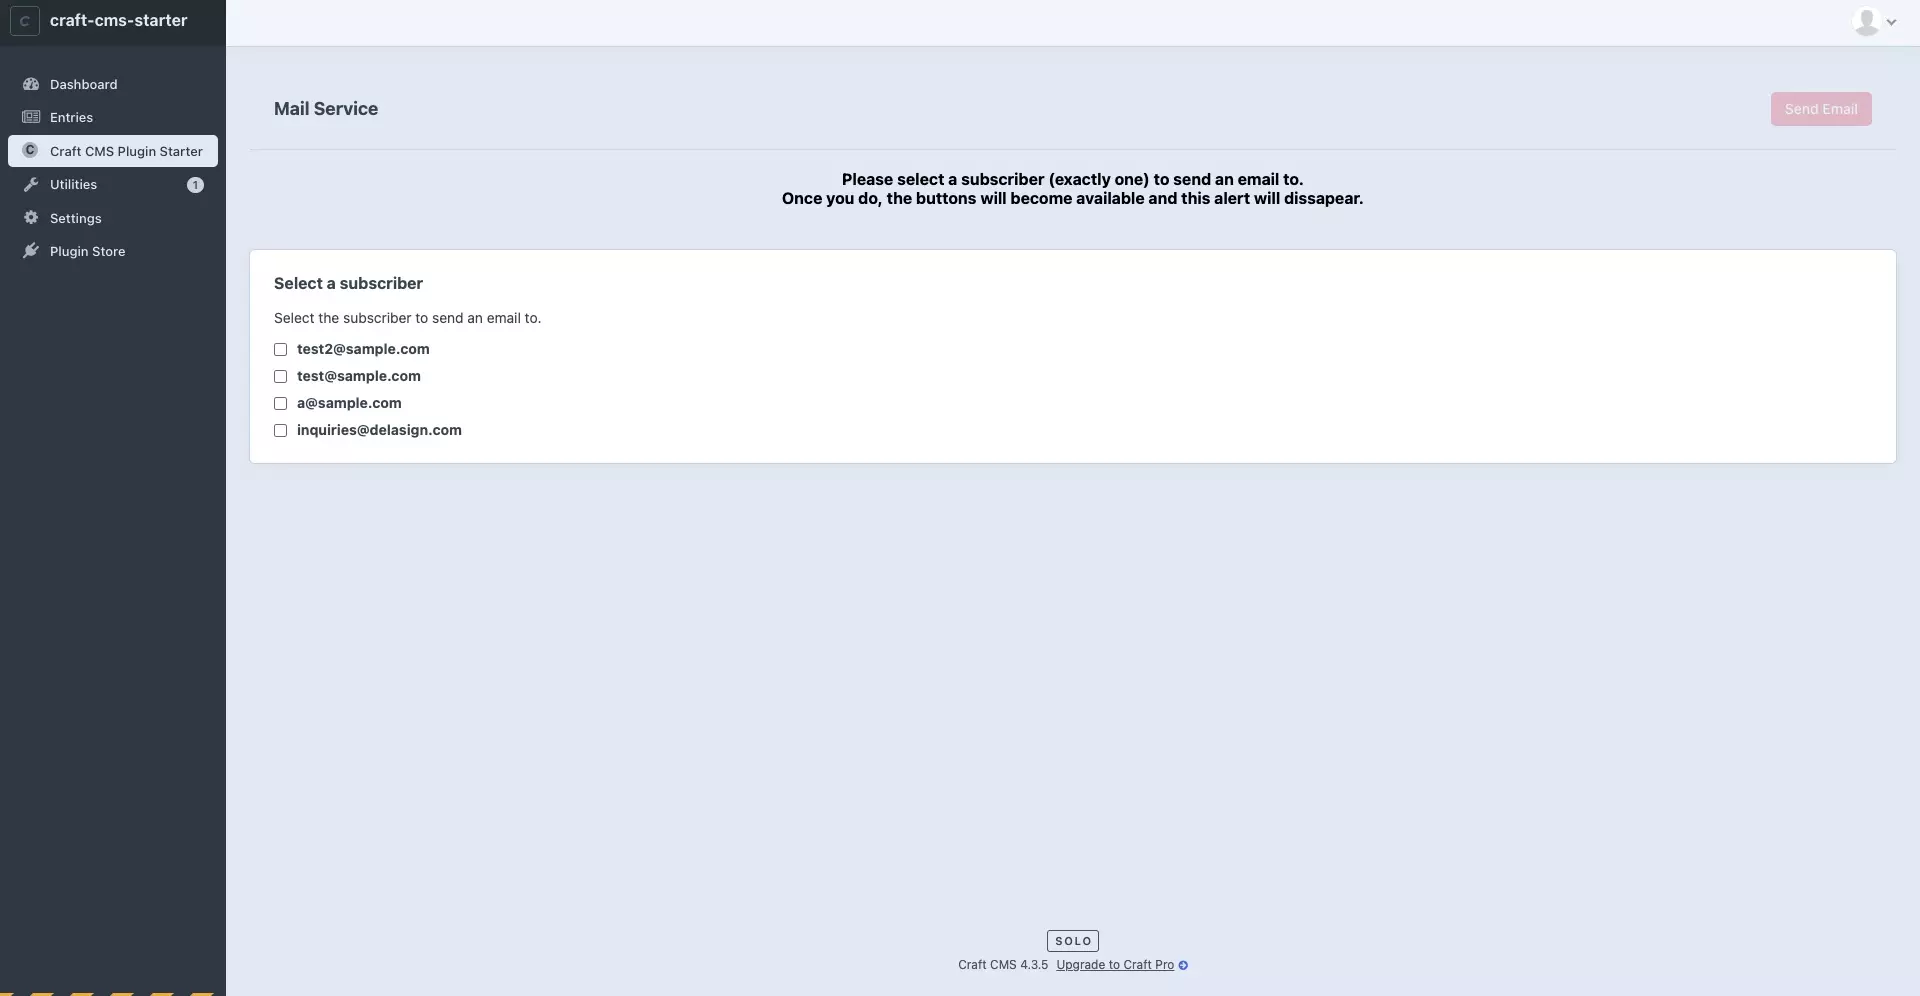
Add the following jQuery code to your index.js file
Then call the JS function (i.e. MailService as defined on line 15 in index.js) in your twig file using code similar to the one below:
Any Questions?
We are actively looking for feedback on how to improve this resource. Please send us a note to inquiries@delasign.com with any thoughts or feedback you may have.