How to create a custom control panel section in Craft CMS
A step by step guide for creating a custom control panel section in Craft CMS as part of a Module or Plugin.
A step by step guide for creating a custom control panel section in Craft CMS as part of a Module or Plugin.
The following tutorial walks you through how to create a Craft CMS control panel section within a plugin or module, through the example of a plugin. It builds on top of our Open Source Craft CMS starter project which can be found at the repository below.
We recommend that you download or clone our Open Source starter project, check out the tutorial/plugin branch and complete the steps below. The changes can be found on the tutorial/cp-section.
git clone git@github.com:delasign/craft-cms-starter.gitStep One: Setup the Control Panel Section
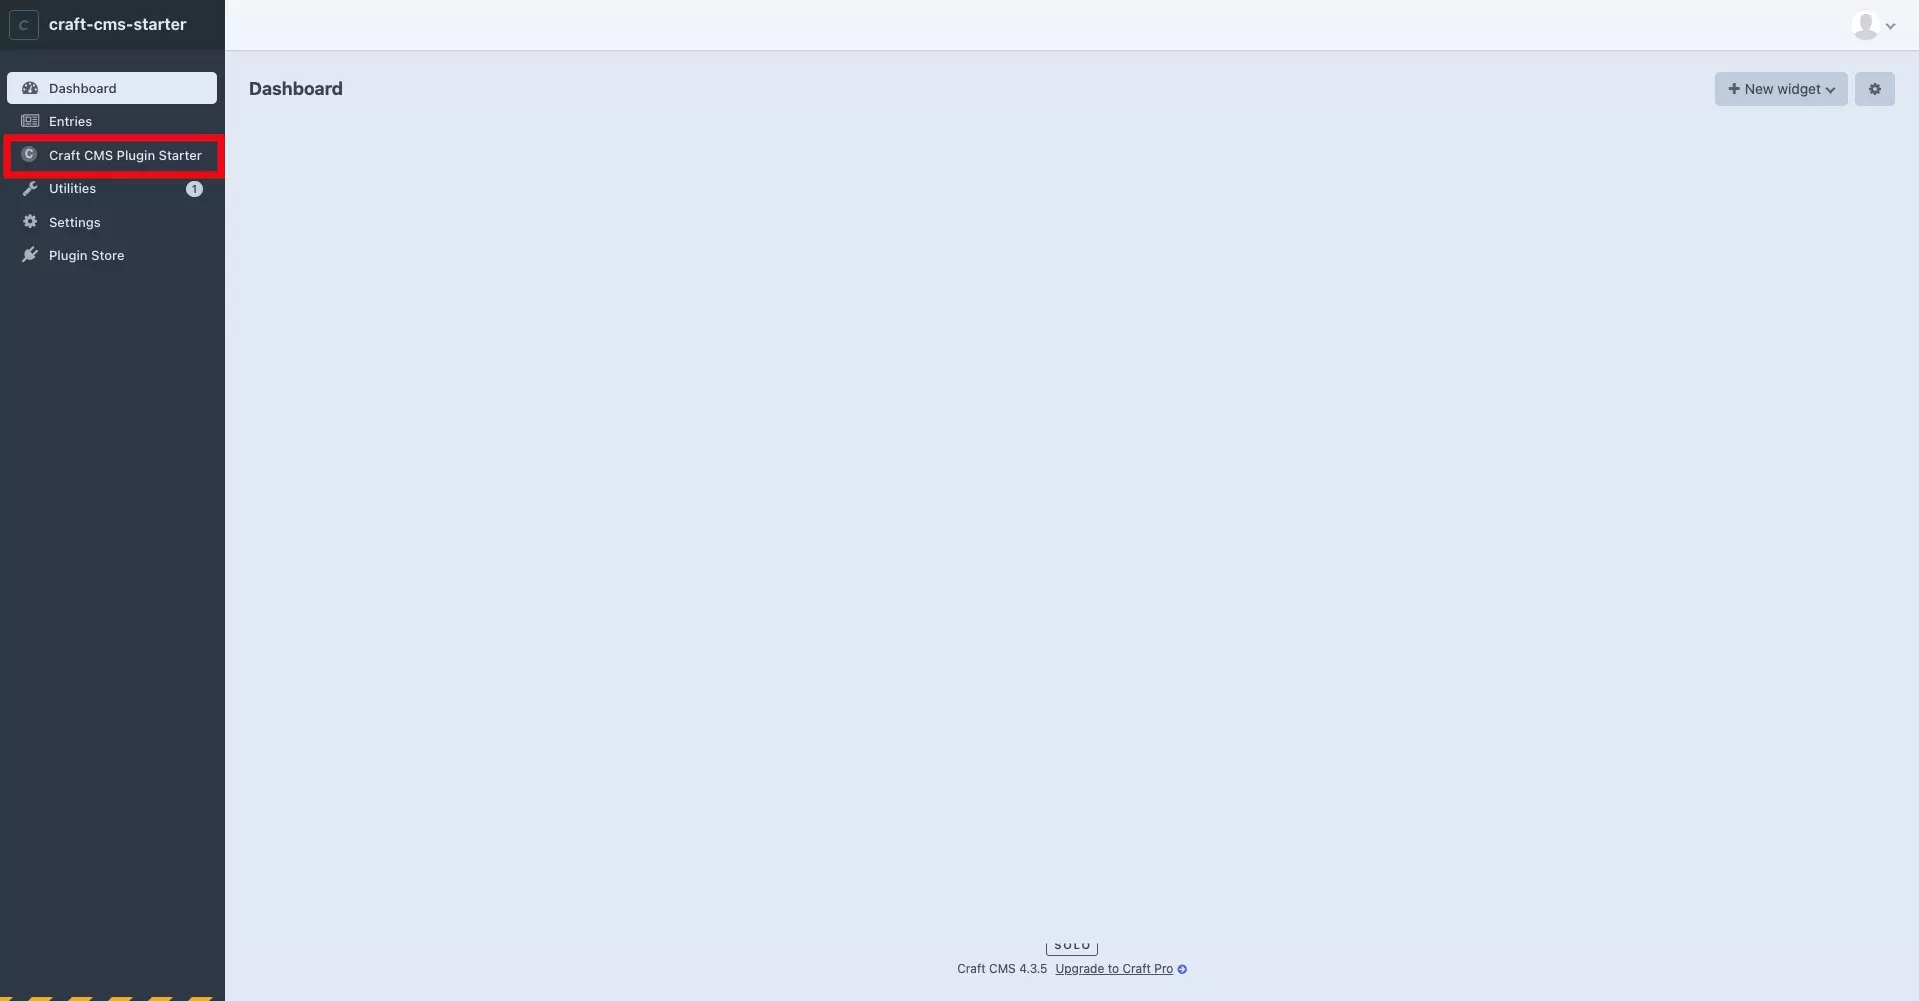
There are two ways to setup a control panel section:
- Set the hasCpSection boolean in your plugin to true.
- Register a Control Panel Navigation item programatically.
Both are detailed below.
A | Set the hasCpSection boolean to true
In your Plugin.php, set the hasCpSection boolean to true using the following line.
public bool $hasCpSection = true;This will tell Craft CMS that your plugin behaves as a control panel section and will route your requests to the handle (i.e. yourcmsurl.com/admin/handle) within your extra of your plugin's composer.json.
i.e. craftcmsstarterplugin in plugins/craft-cms-starter-plugin/src/composer.json line 30, will take you to craft-cms-starter.ddev.site/admin/craftcmsstarterplugin.
If you wish to change this url with flexibility, we recommend you set $hasCpSection to false and register a CP navigation item using the method detailed below.
B | Register a new CP Navigation Item
This method can be used to add any number of navigation items to your Craft CMS through a plugin or module.
To begin add the Event, RegisterCpNavItemsEvent and Cp Variable functionality to the top of your plugin or module, through the following lines:
use yii\base\Event;use craft\events\RegisterCpNavItemsEvent;use craft\web\twig\variables\Cp;Subsquently, in your plugin's init function setup your even using the code similar to the one below.
Please replace the following items:
- section-url with the url that you wish you control panel to have as section-url would lead to admin/section-url.
- Section Label with the title that you wish the item to have
- @mynamespace/path/to/icon.svg with the path to your icon.
Step Two: Setup the page
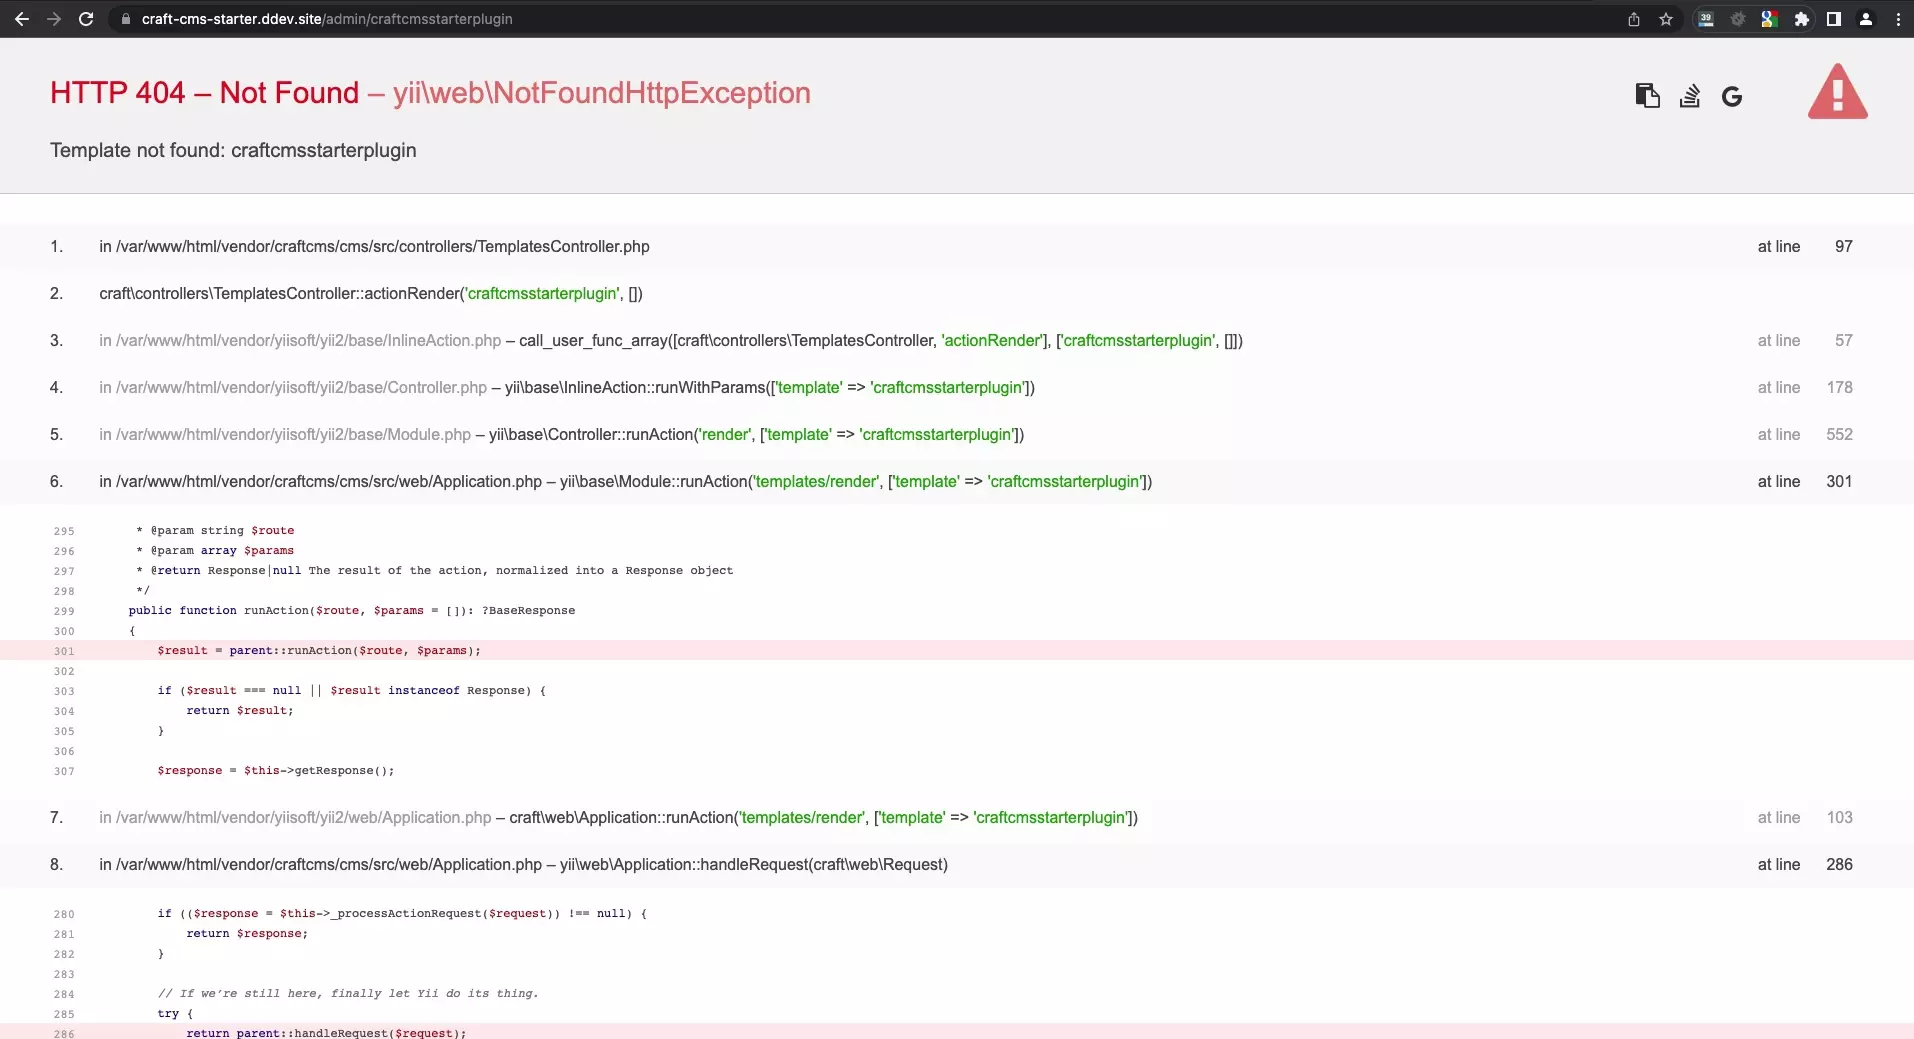
If you press the control panel section that appears you will get an error that looks like this:
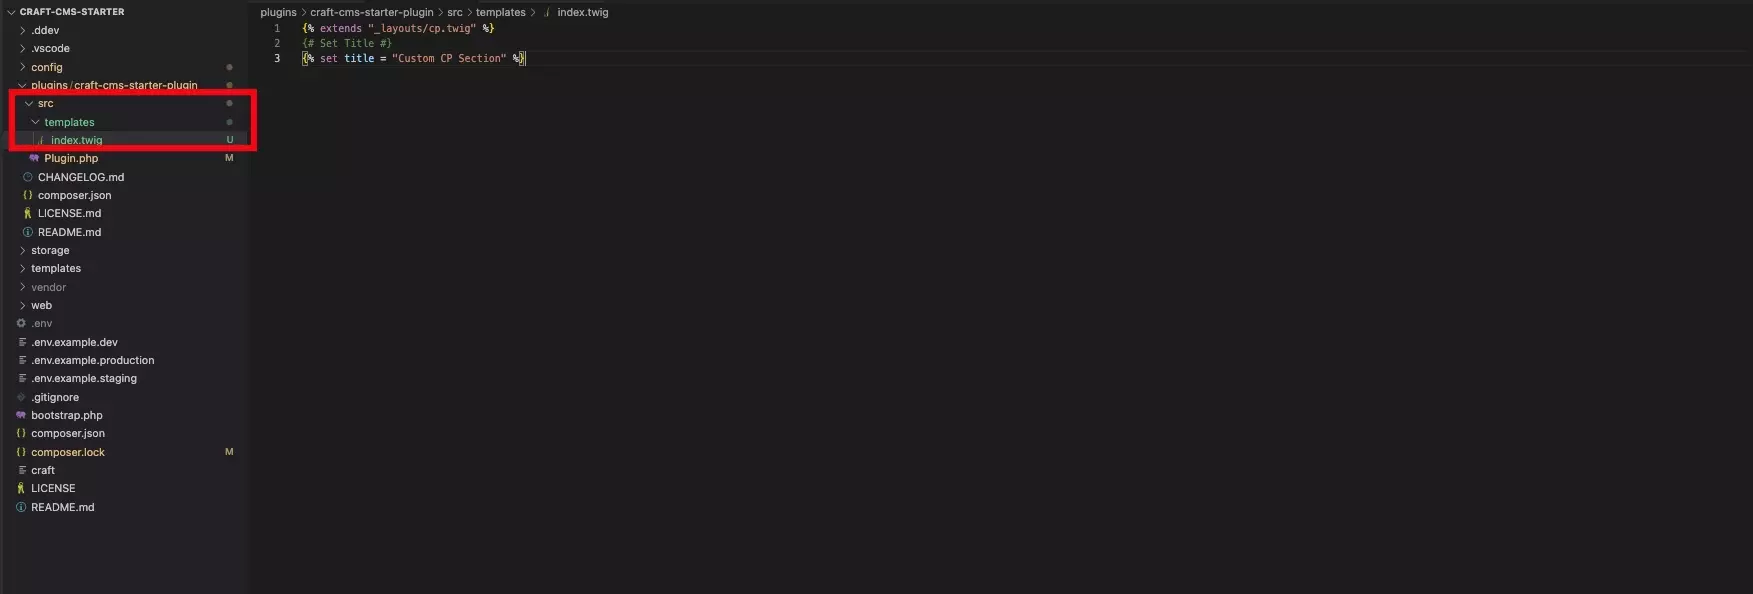
To fix this create an index.twig file within the templates folder of the plugin or module root folder. We recommend copying the code below to make it function as a standard Craft CMS Control Panel Section.
Please note that index.twig will lead to your standard handle (e. craftcmsstarterplugin in plugins/craft-cms-starter-plugin/src/composer.json line 30, will take you to craft-cms-starter.ddev.site/admin/craftcmsstarterplugin).
A different file, let's say file_name.twig, will be a page for a url equal to handle/file_name (i.e. craft-cms-starter.ddev.site/admin/craftcmsstarterplugin/sample).
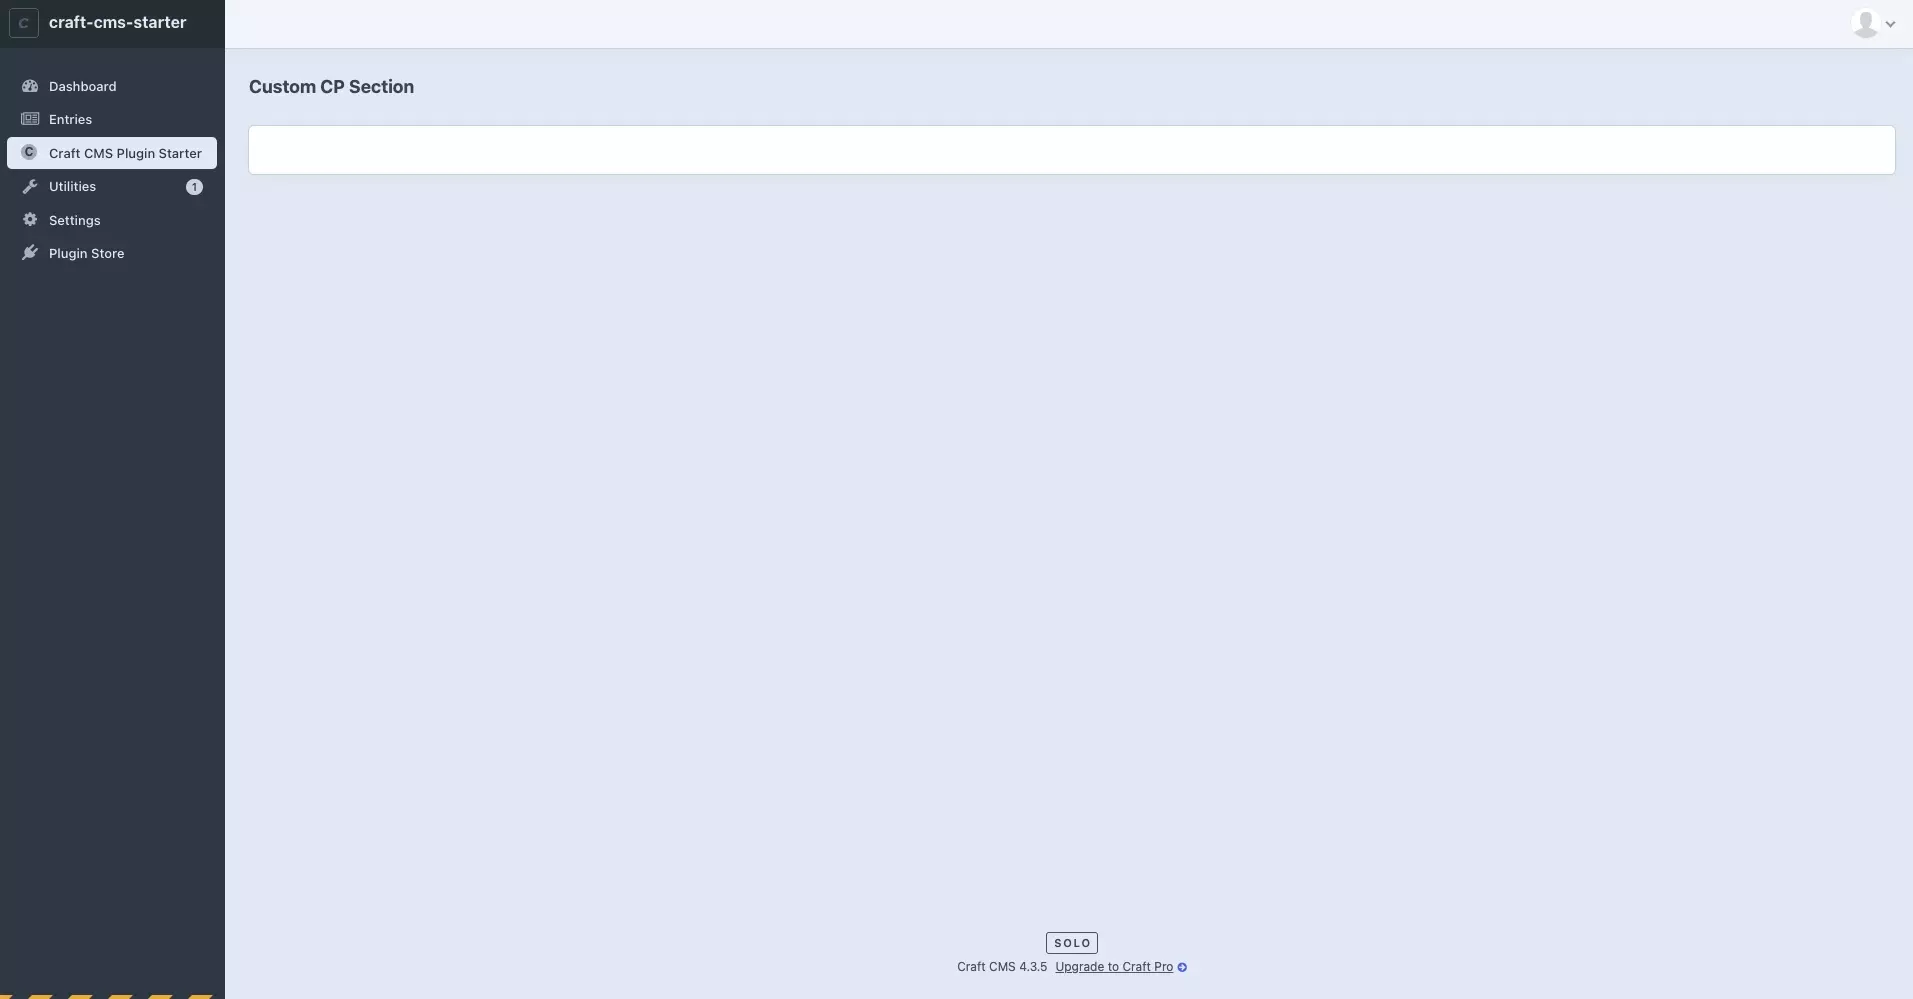
If you select the navigation item now it will look like this:
Looking to add a custom icon or a UI to the control panel section? Follow the tutorial linked below.
Any Questions ?
We are actively looking for feedback on how to improve this resource. Please send us a note to inquiries@delasign.com with any thoughts or feedback you may have.