How to setup Calendly with a Google account
A step by step guide on setting up Calendly to work with Gmail or a Google Workspace account as well as acquiring the meeting link.

A step by step guide on setting up Calendly to work with Gmail or a Google Workspace account as well as acquiring the meeting link.
SubscribeStep One: Go to the website
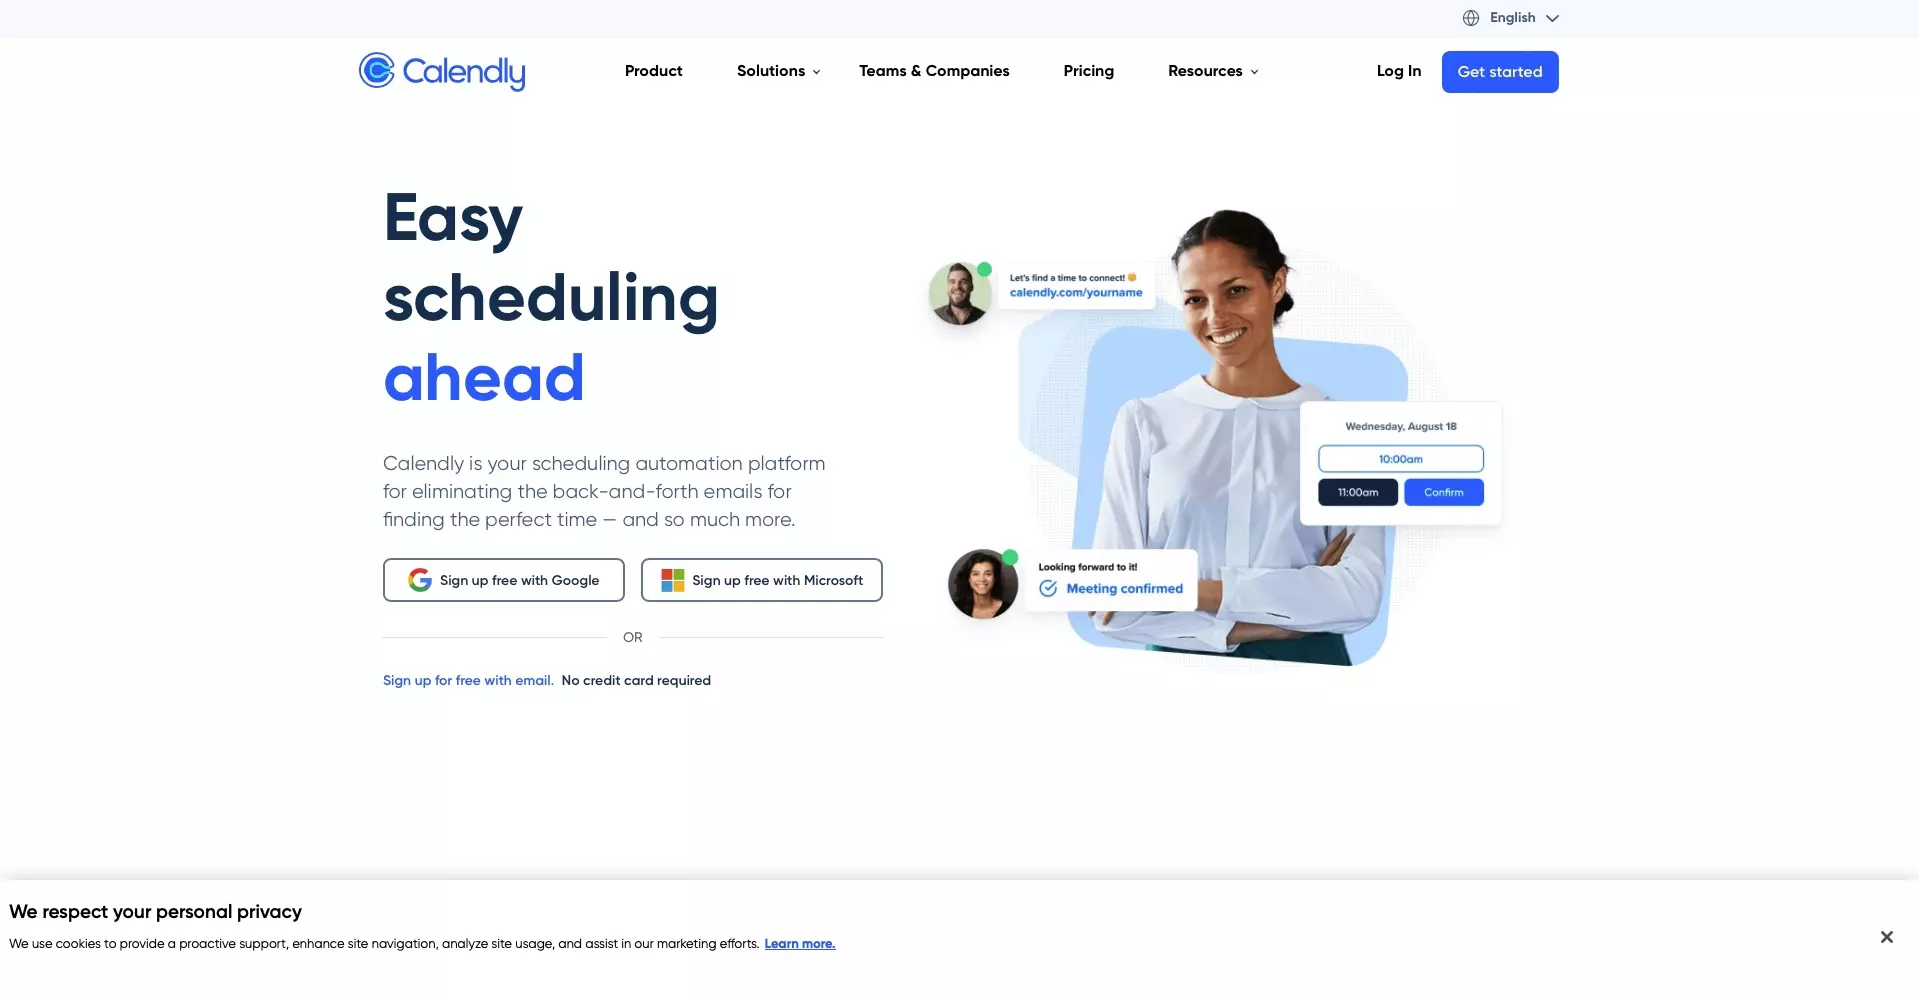
Open a browser and navigate to calendly.com.
Step Two: Sign up for free
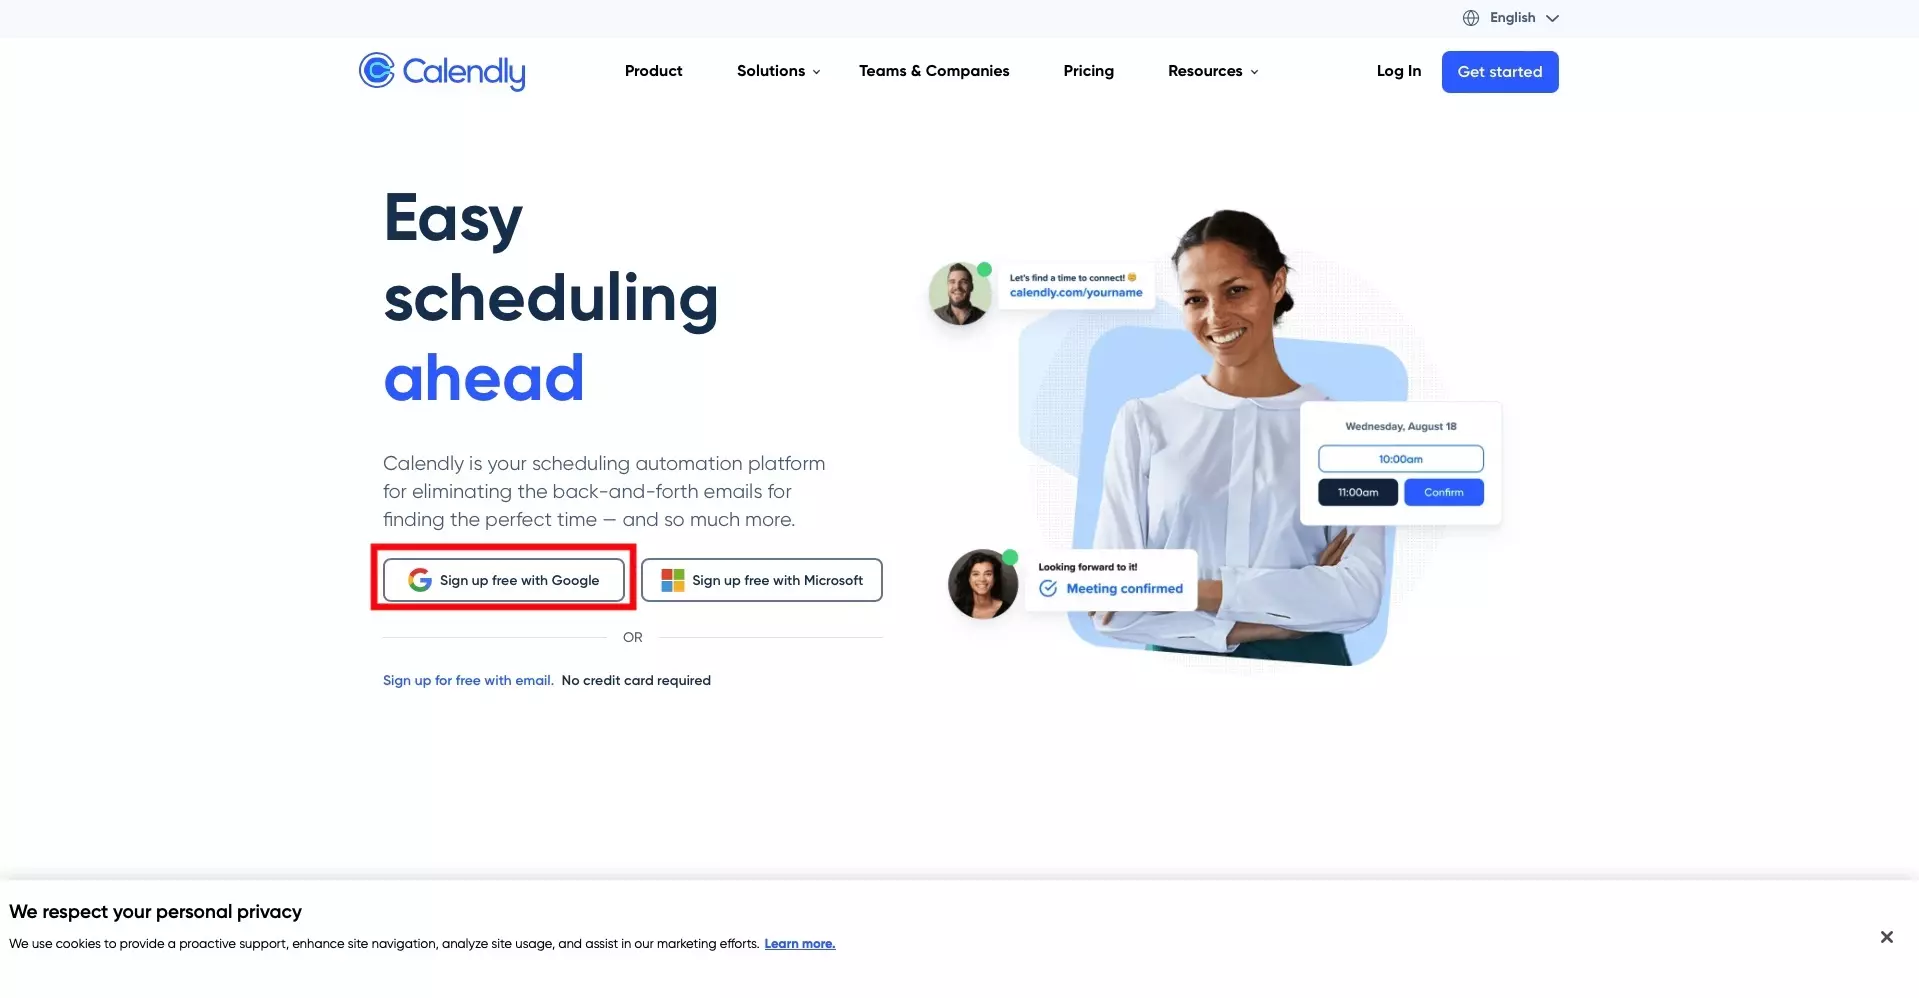
For Gmail or Google workspace, select Sign Up free with Google.
Step Three: Sign-In & Allow Access

Sign into the account that you wish to connect to Calendly, and select Allow when a page appears stating that Calendly wants to access your Google Account.
Step Four: Setup Calendly URL
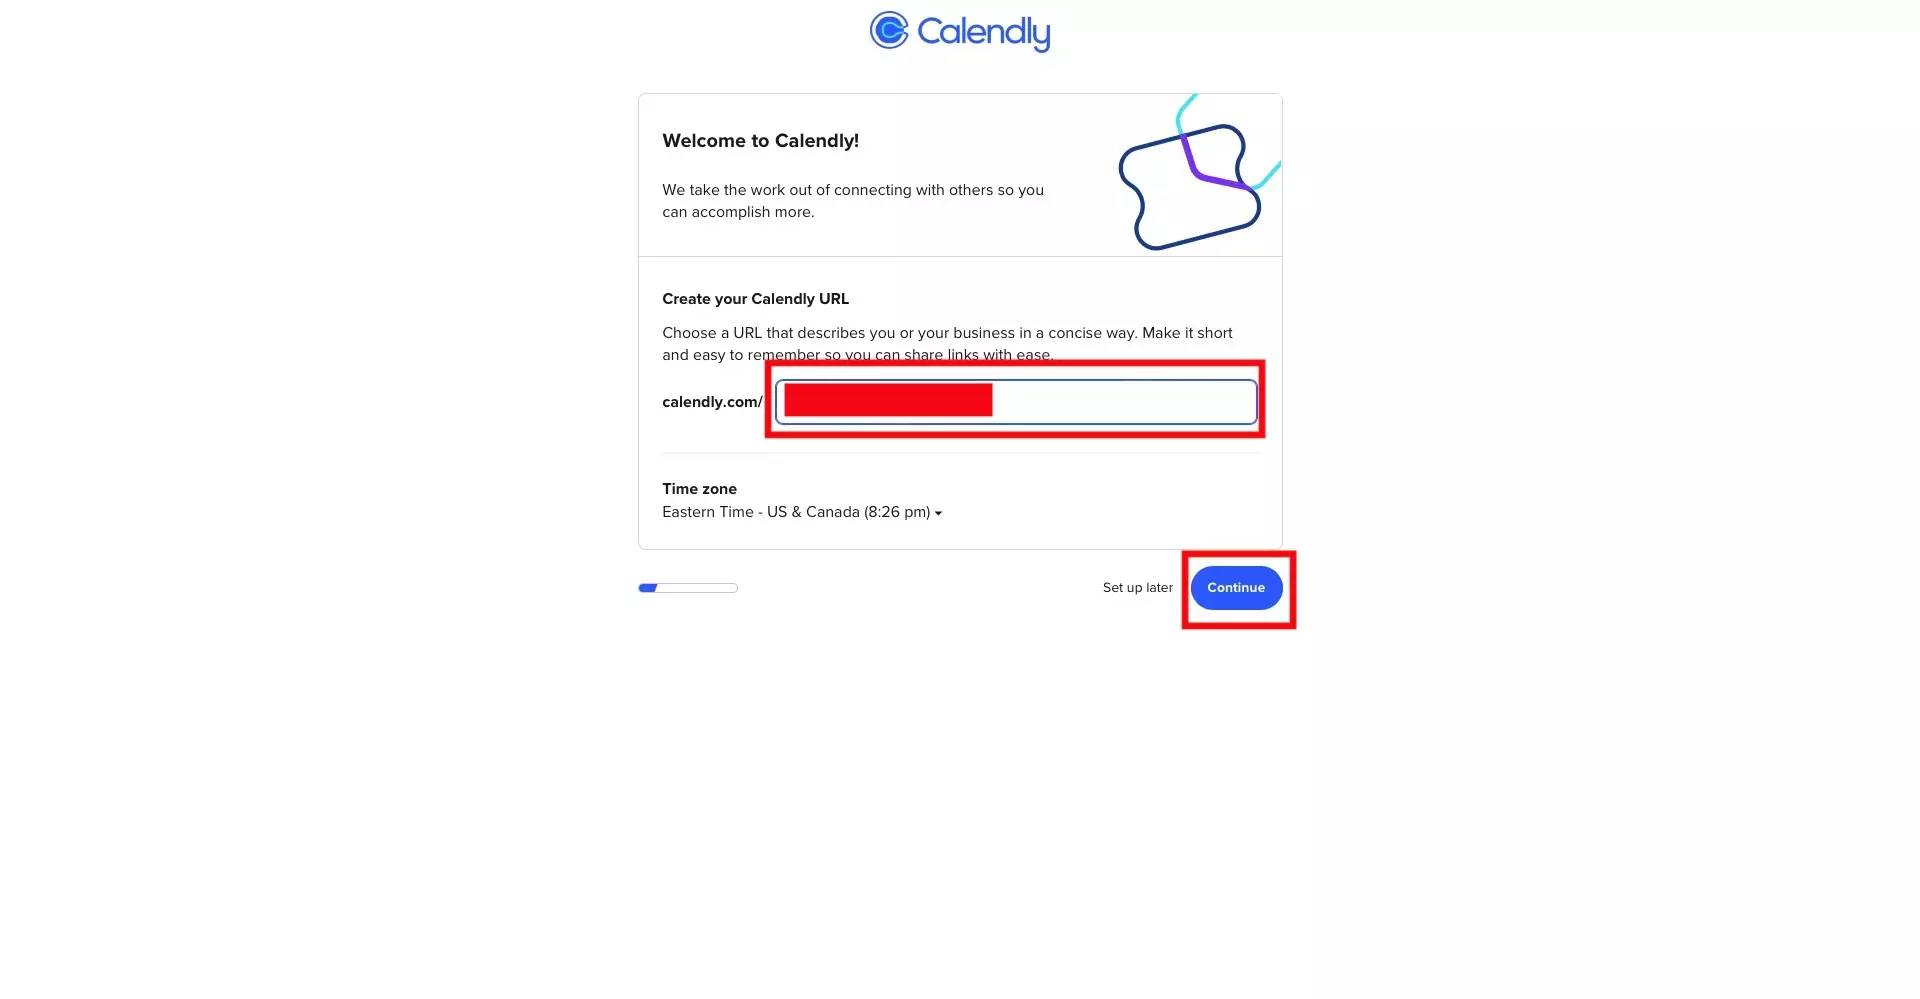
Under Create your Calendly URL type in the vanity that you wish to be linked to your Gmail or Google Workspace account. Once you're ready press Continue.
Step Five: Setup availability
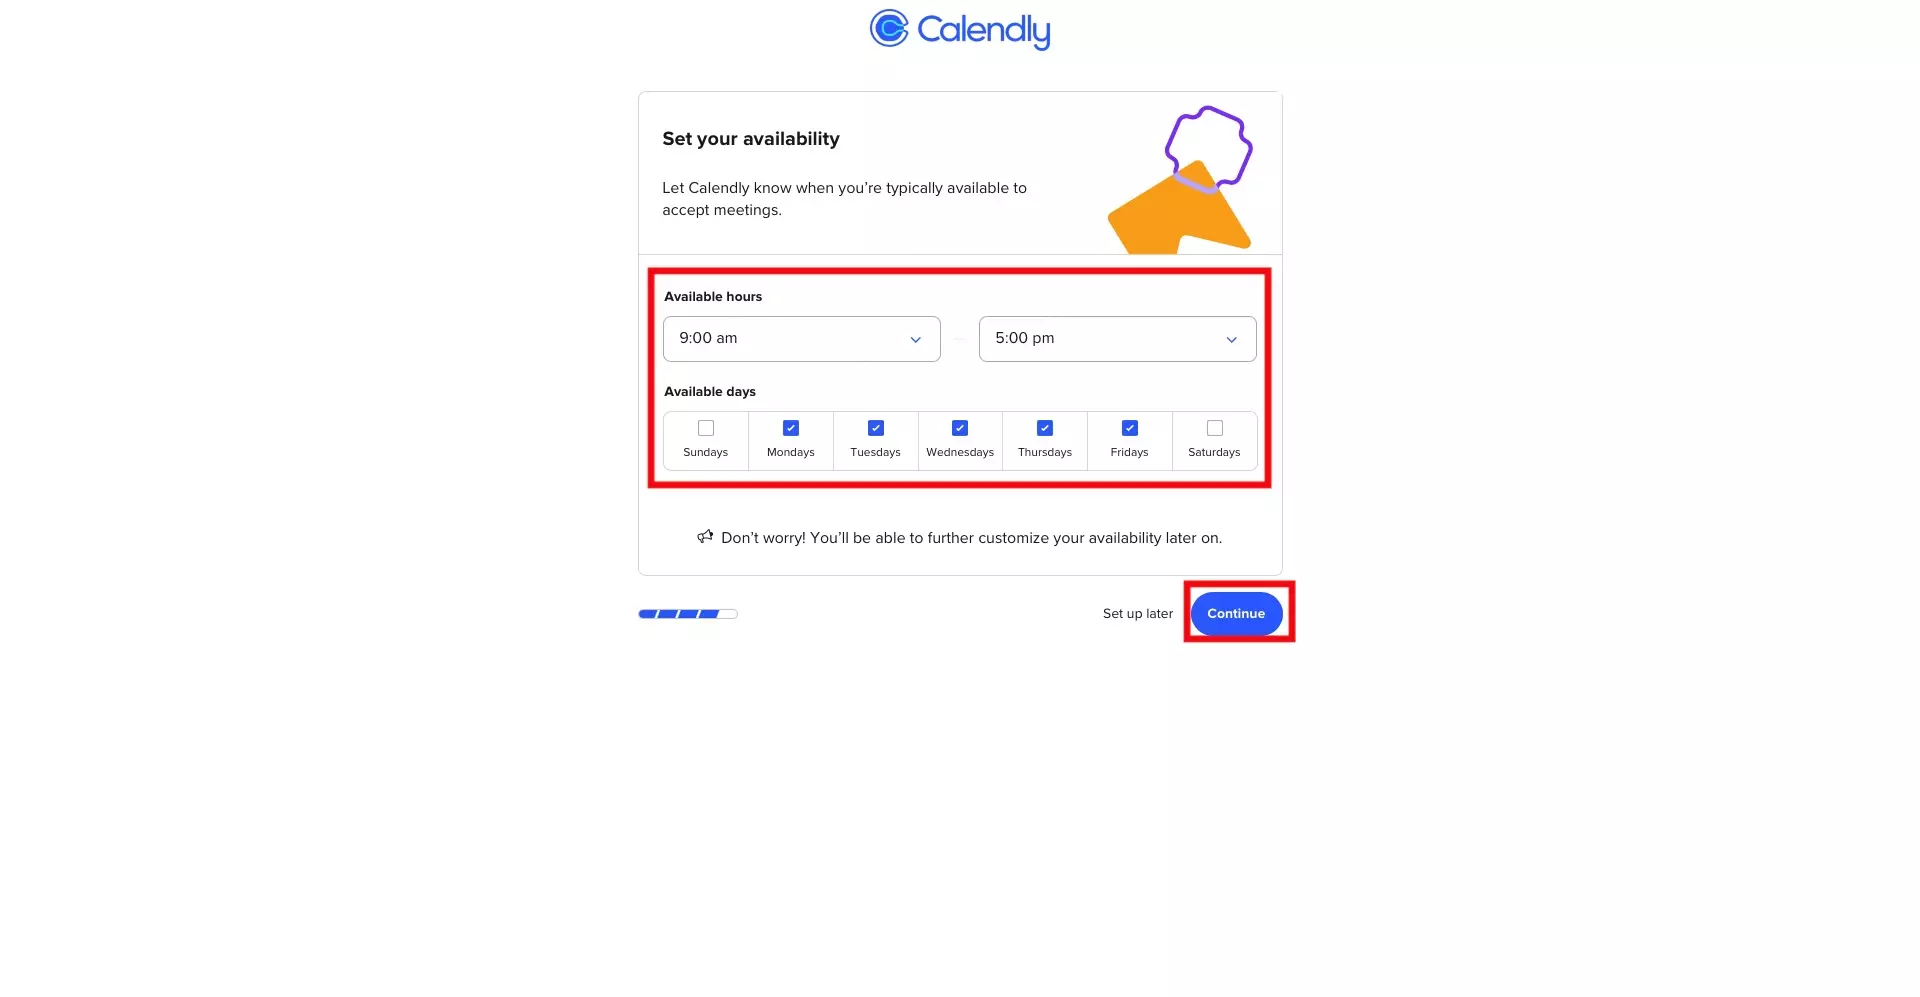
After pressing continue a few times, you will get to a page where you setup your availability. Once you're ready press Continue.
Step Six: Copy Calendly Link

Once you have completed the setup, you will be taken to a page similar to the image above. Press Copy Link to get the link to the 30 minute 1 on 1 event calendly page. We recommend this one instead of the URL that you setup on Step Four, as it avoids a step of selecting the single, free event that's available.
Any Questions ?
We are actively looking for feedback on how to improve this resource. Please send us a note to inquiries@delasign.com with any thoughts or feedback you may have.