How to work with JSON in an Arduino project
A guide for setting up an Arduino project to work with JSON, including a sample use case.

A guide for setting up an Arduino project to work with JSON, including a sample use case.
SubscribeDownload Open Source ProjectWe recommend that you clone our Open Source Arduino Starter Project, checking out the main branch and carrying out the steps below. The changes can be found on the tutorial/json branch.
git clone git@github.com:delasign/arduino-starter-project.gitStep One: Install the JSON Library
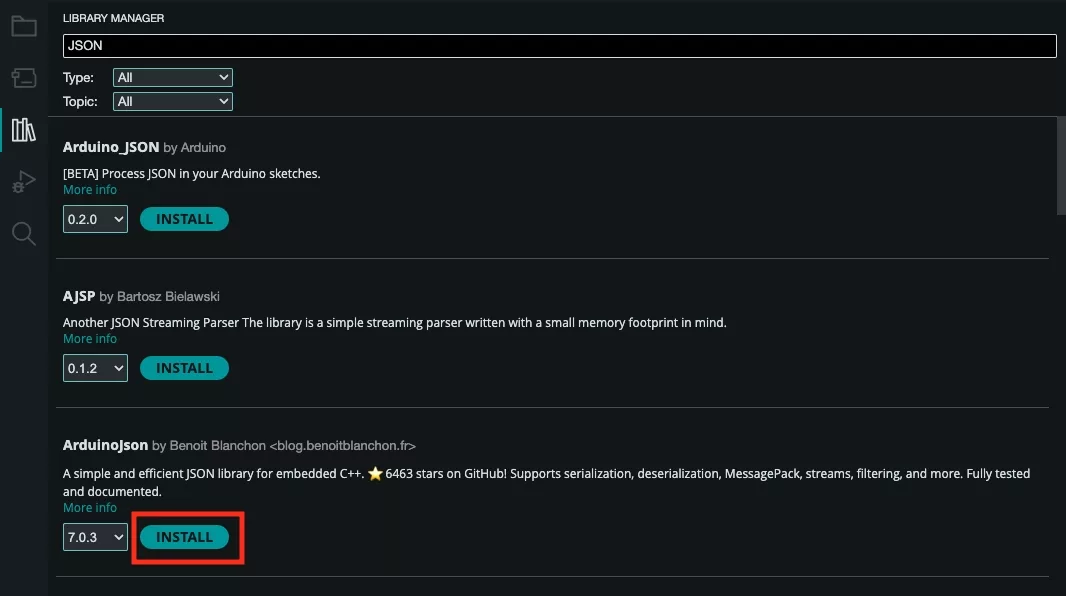
Using the Library Manager, the relevant JSON library.
We recommend that you use ArduinoJson library by Benoit Blanchon.
Step Two: Create the Models
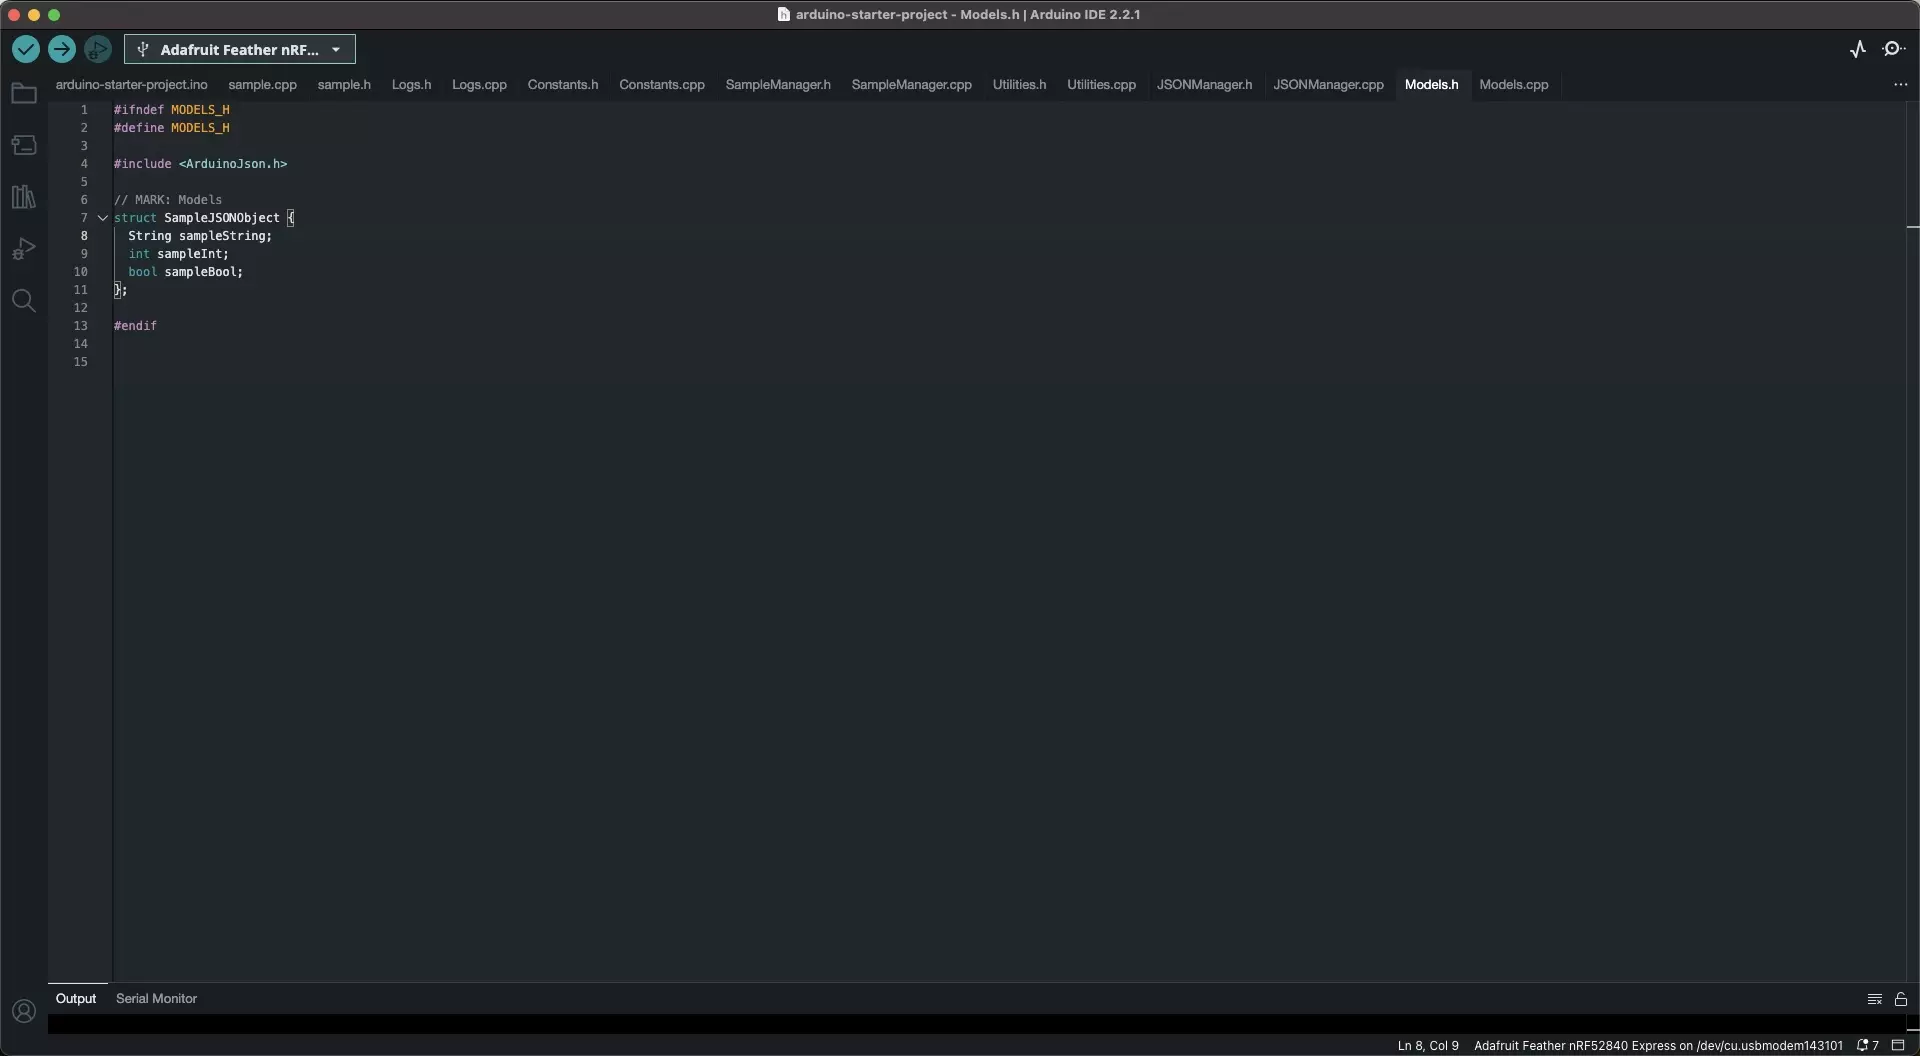
Create a Header and CPP file for the models and integrate the structs within the header file.
Please note that the CPP file needs to solely include the models.h file.
Step Three: Create the JSON Manager
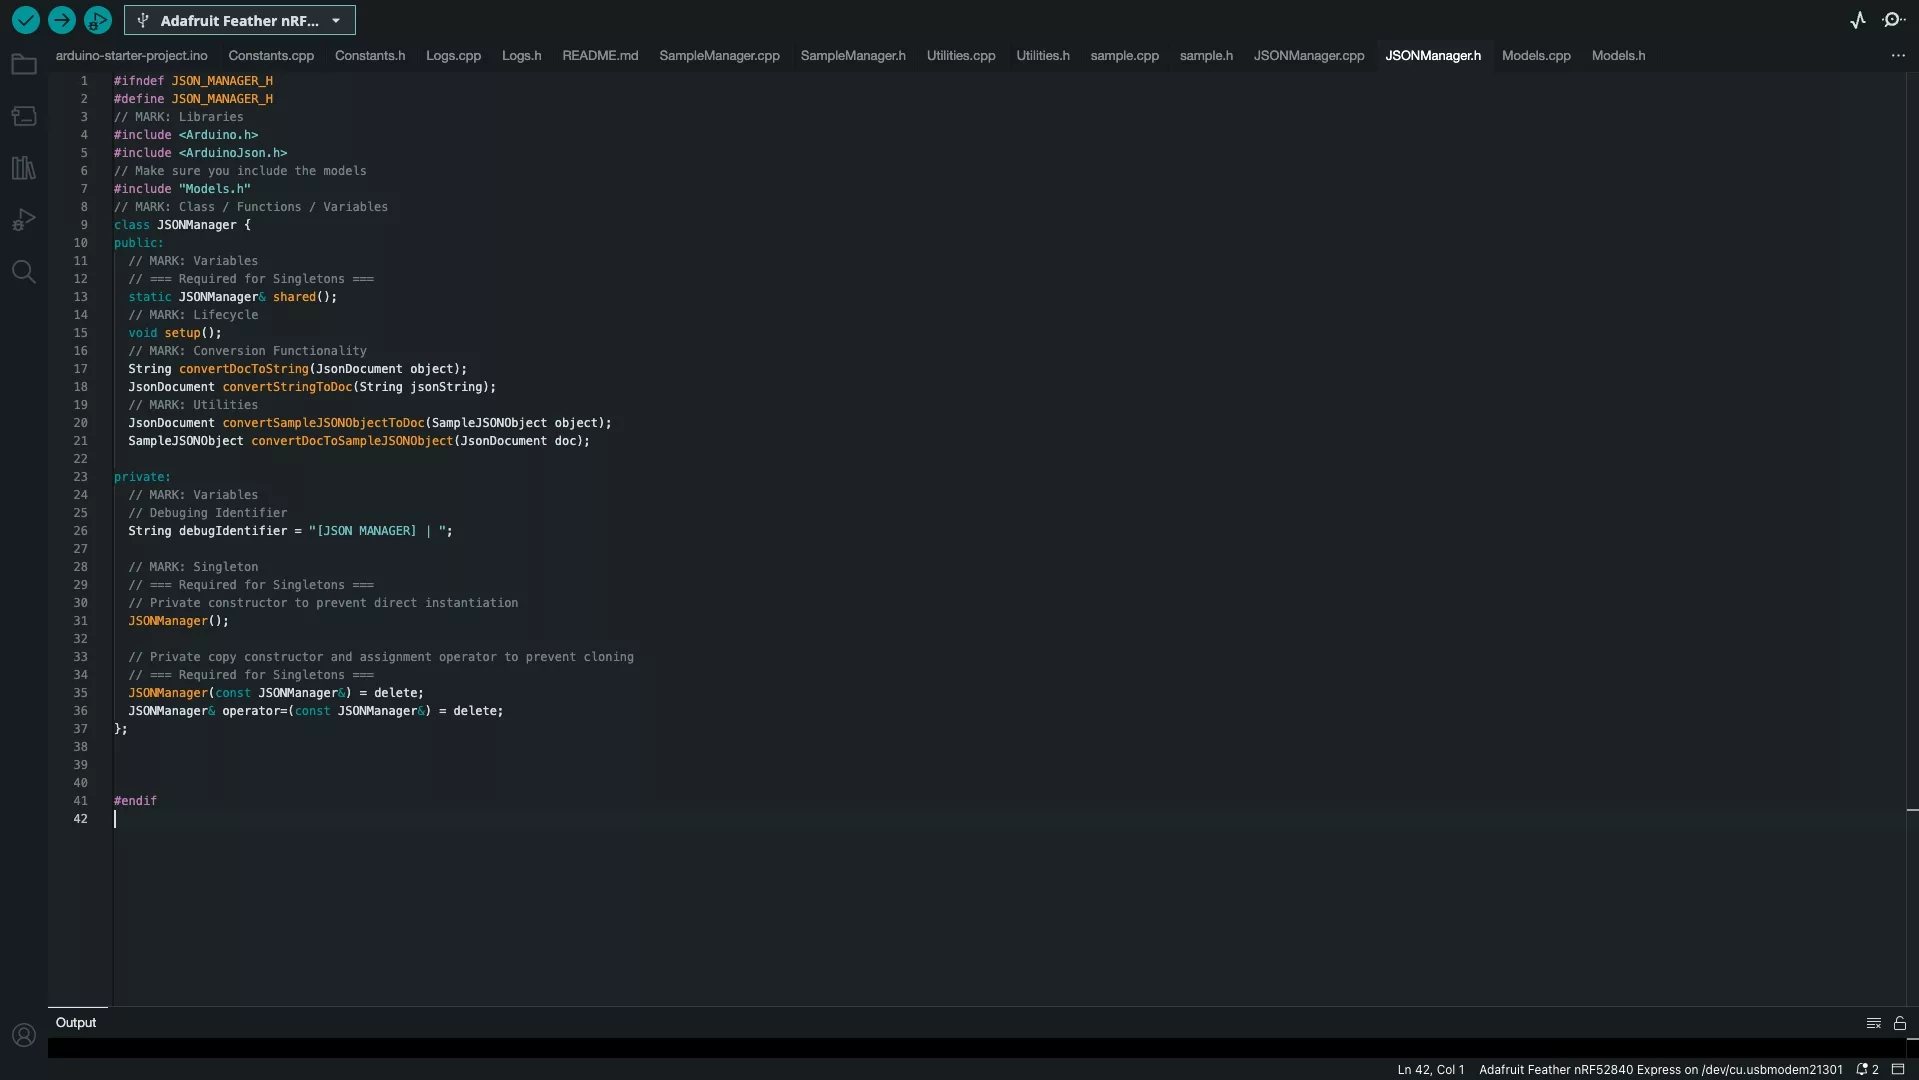
Create a Header and CPP file for the JSON Manager and code it so that it behaves as a singleton.
Add the conversion functionality that's required to convert JSON objects to strings and vice versa.
You should also include utilities that will transform the models in Step Two to JSON and back.
Code for the Header File
Code for the CPP File
Step Four: Implement
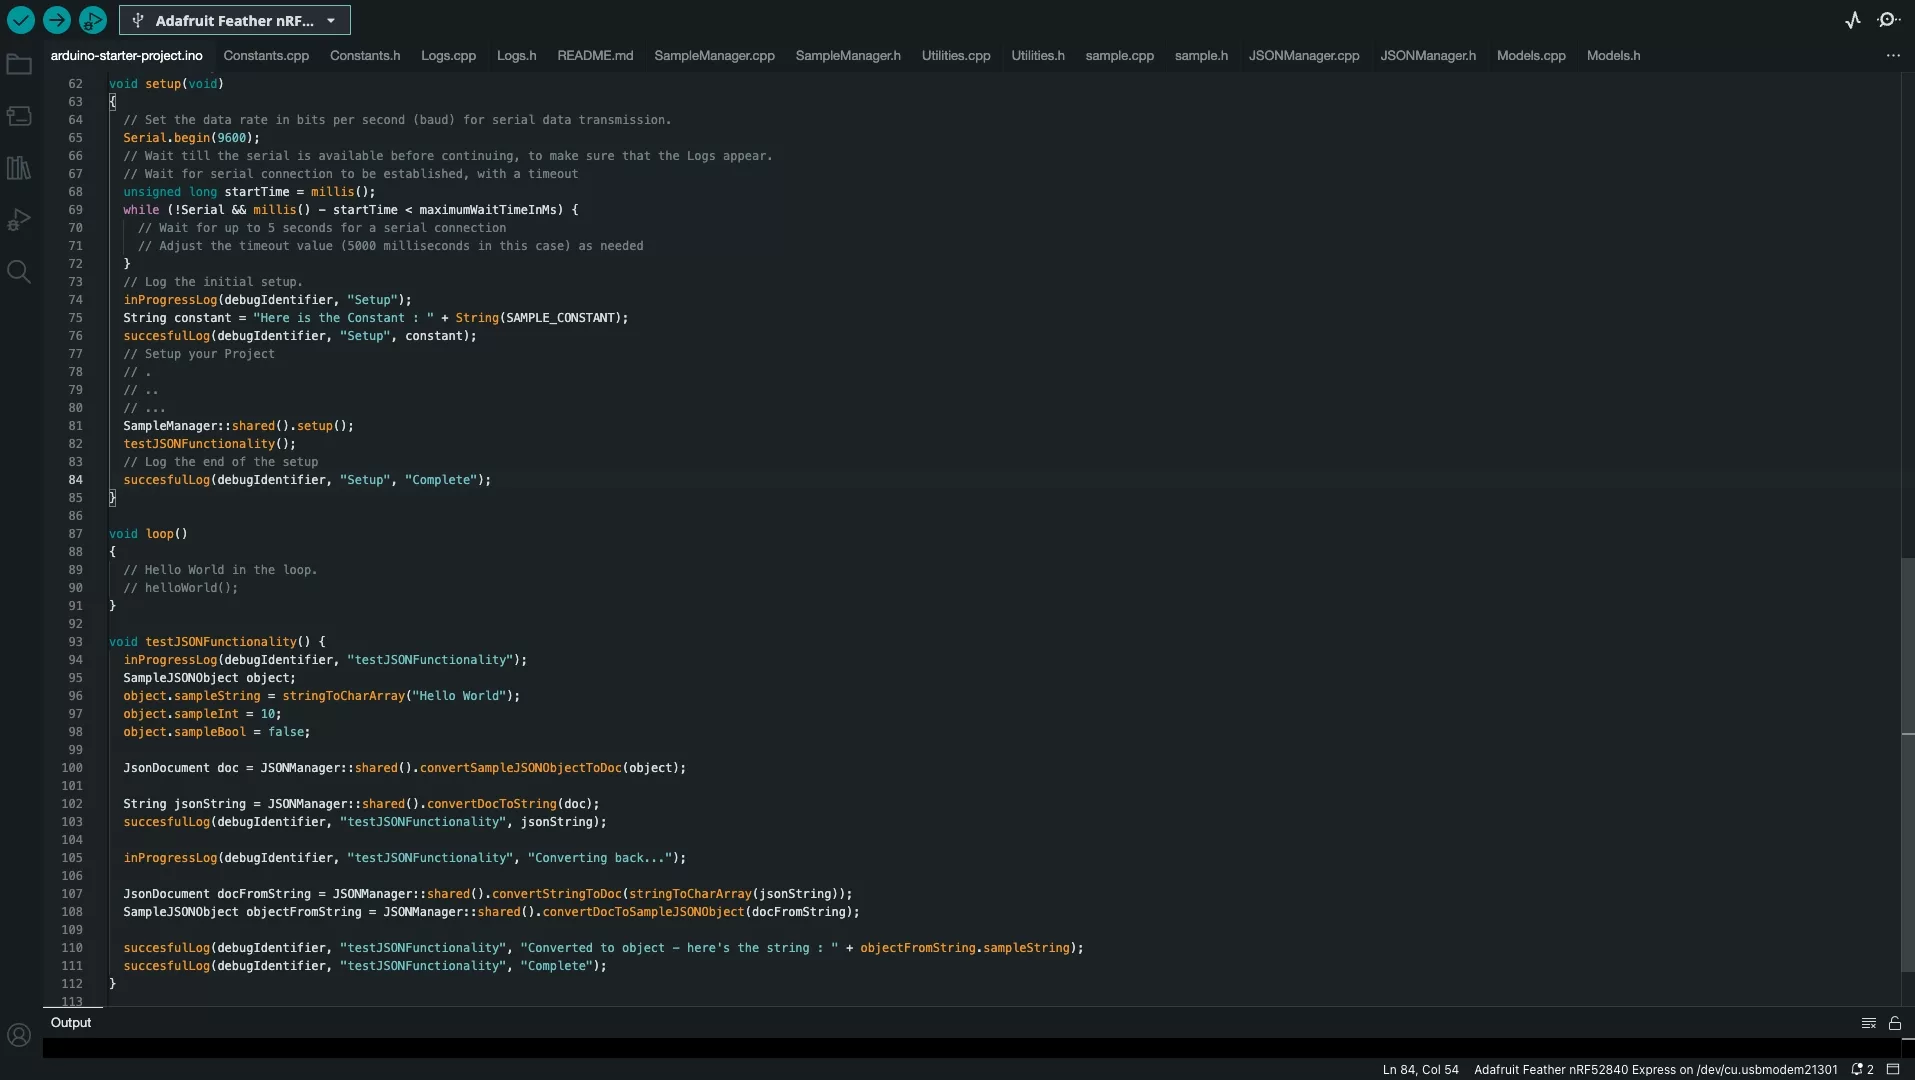
In the Arduino ino file:
- Include the JSON Manager and Models header files.
- Add functionality to test the conversion to JSON and back.
Step Five: Test
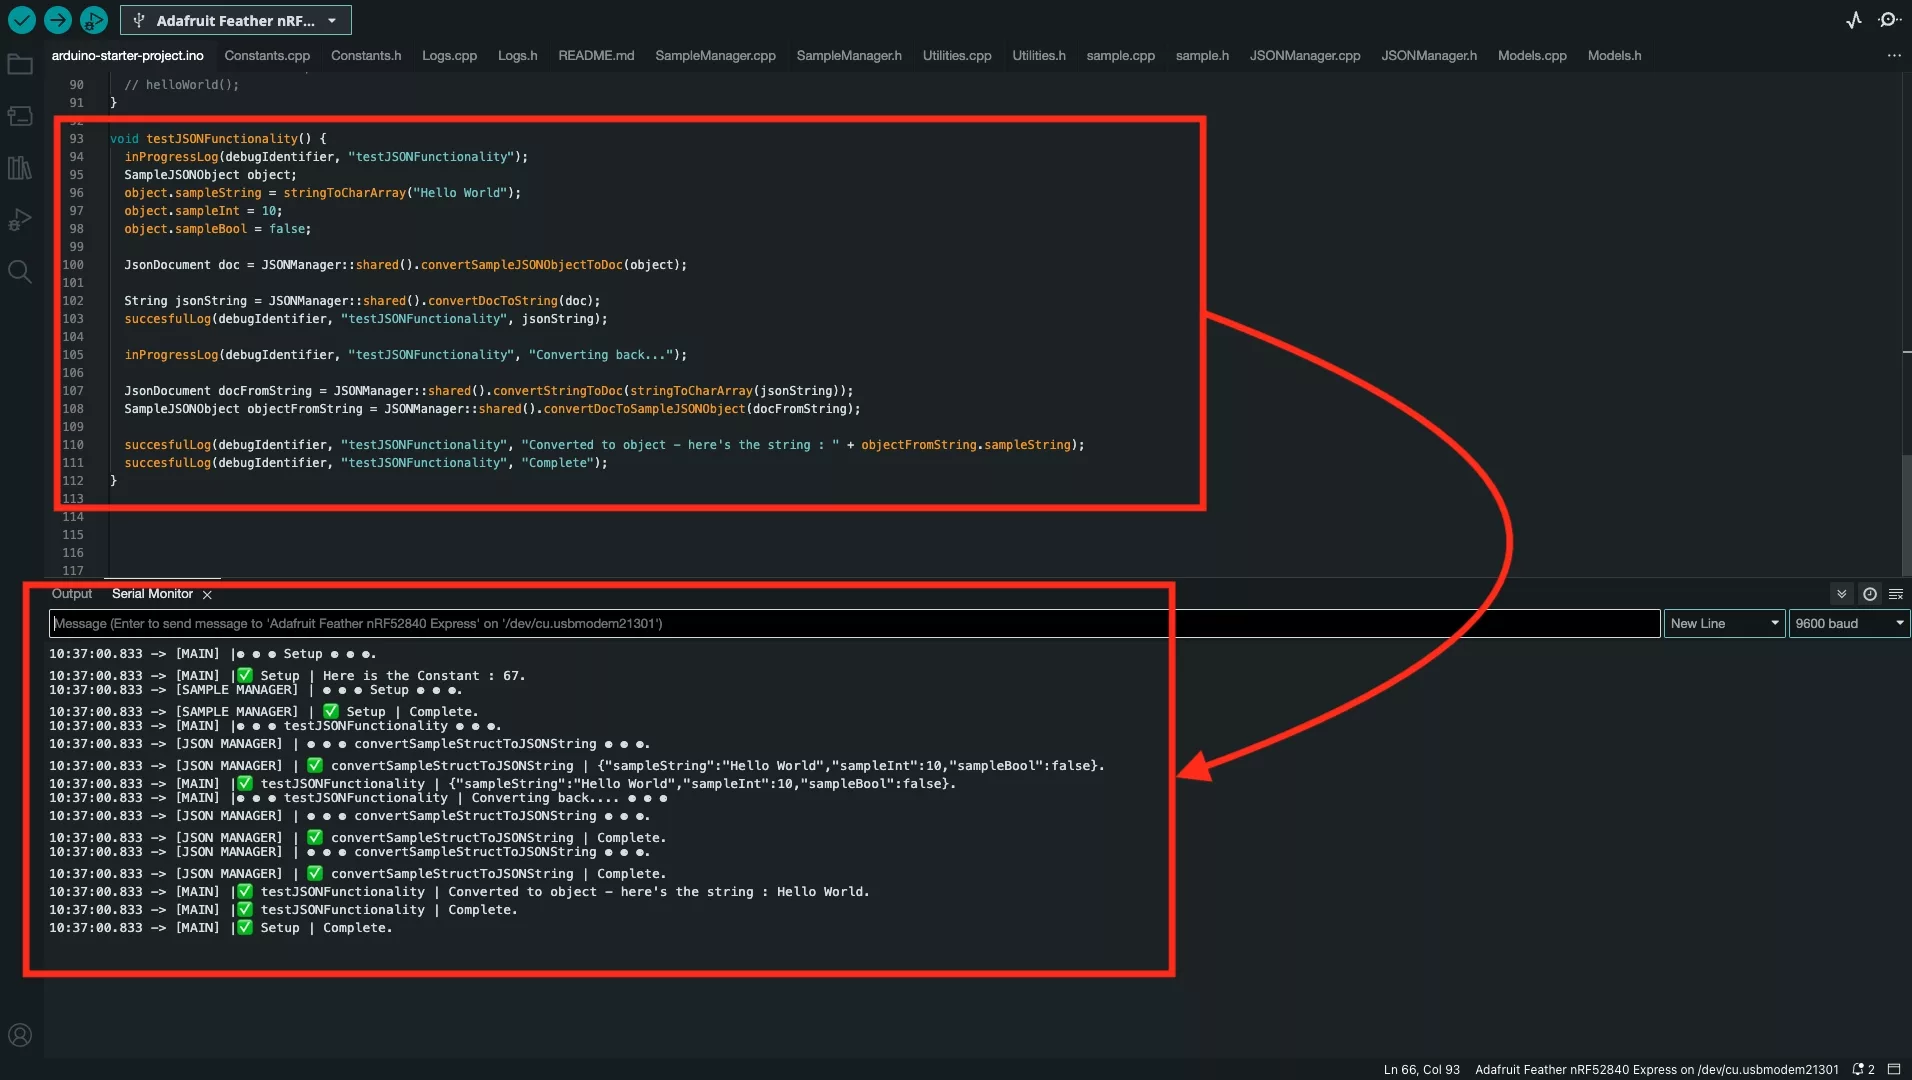
Upload the code onto your board and confirm that the code works as expected.
Looking to learn more about things you can do with Arduino ?
Search our blog to find educational content on Arduino.