How to break up Arduino functionality into separate files
Optimize your work into modular components designed for reusability.


Optimize your work into modular components designed for reusability.
SubscribeThe code for the following tutorial is found on Github through our Open Source Arduino starter project. This can be cloned using the command below:
git clone git@github.com:delasign/arduino-starter-project.gitStep One: Create the Files
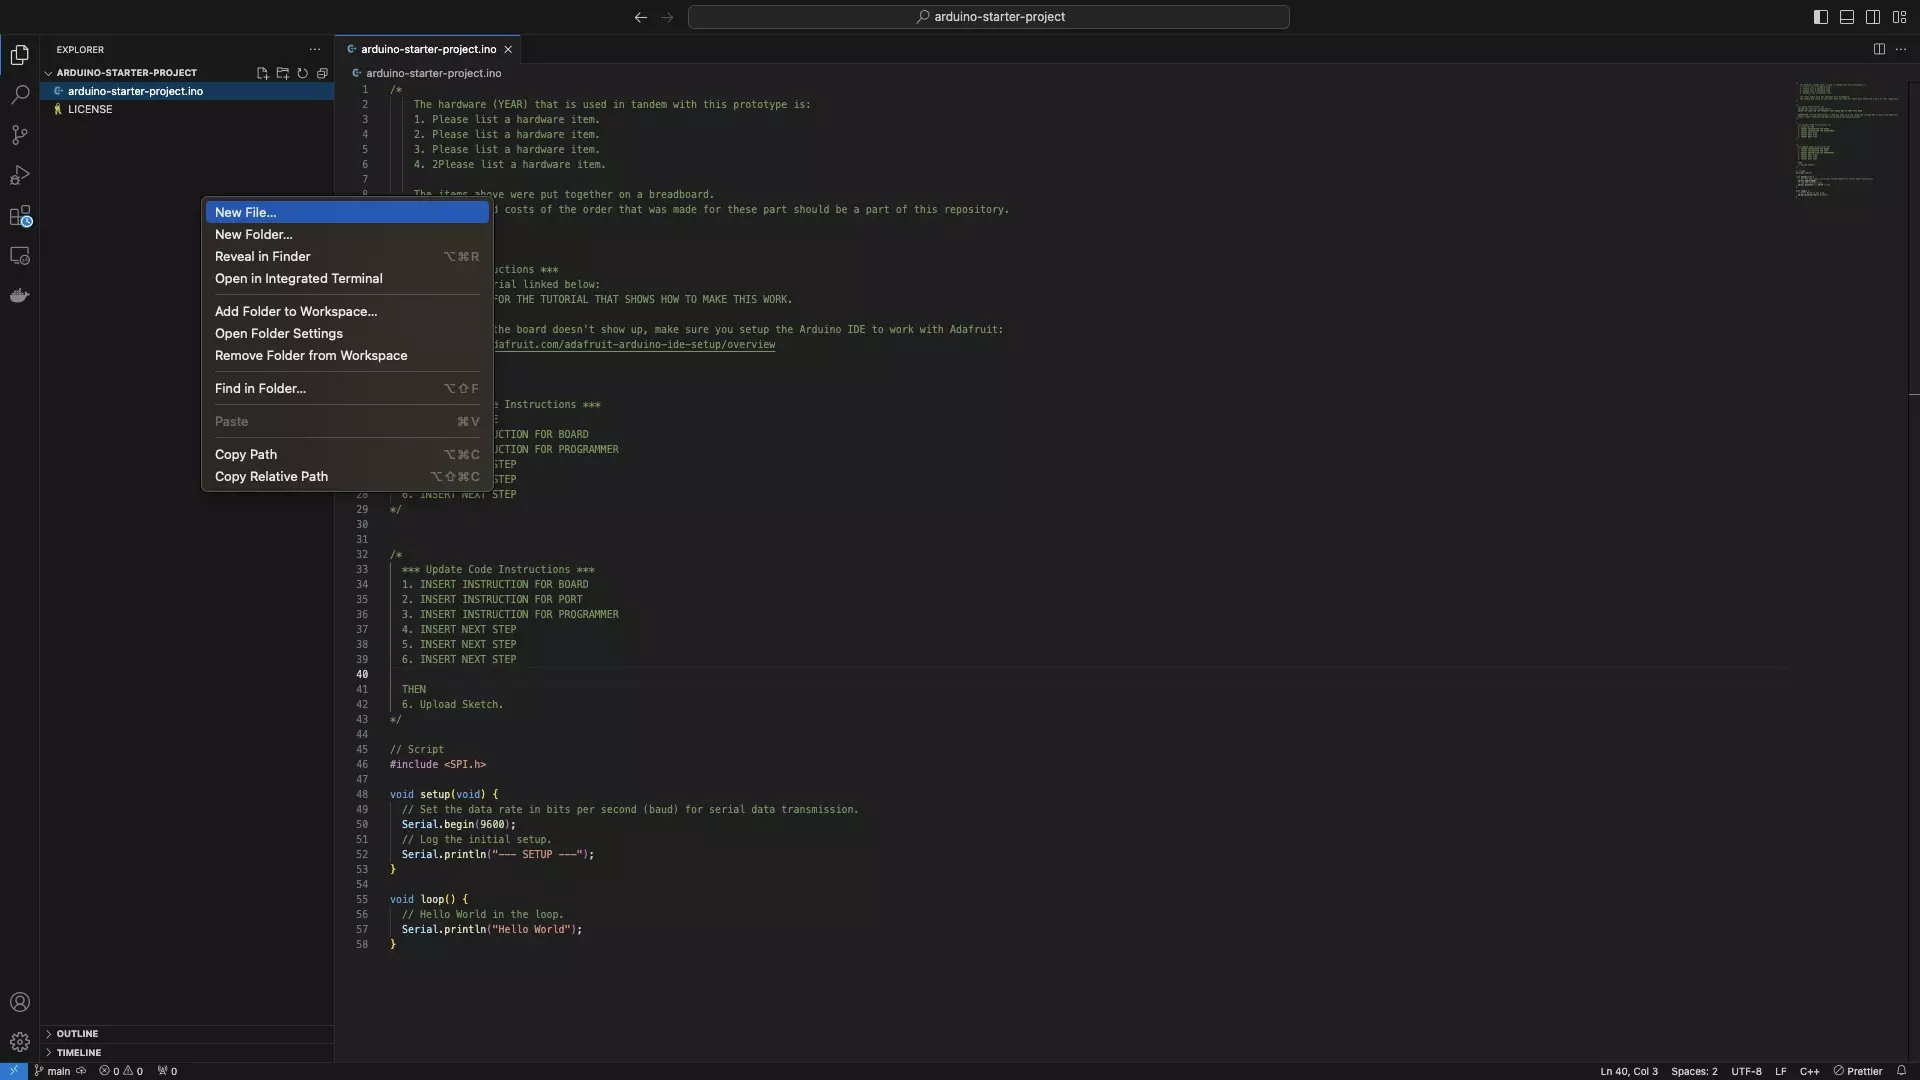
In the root folder of your .ino file, create a .cpp and .h file for the functionality.
Step Two: Write the Code
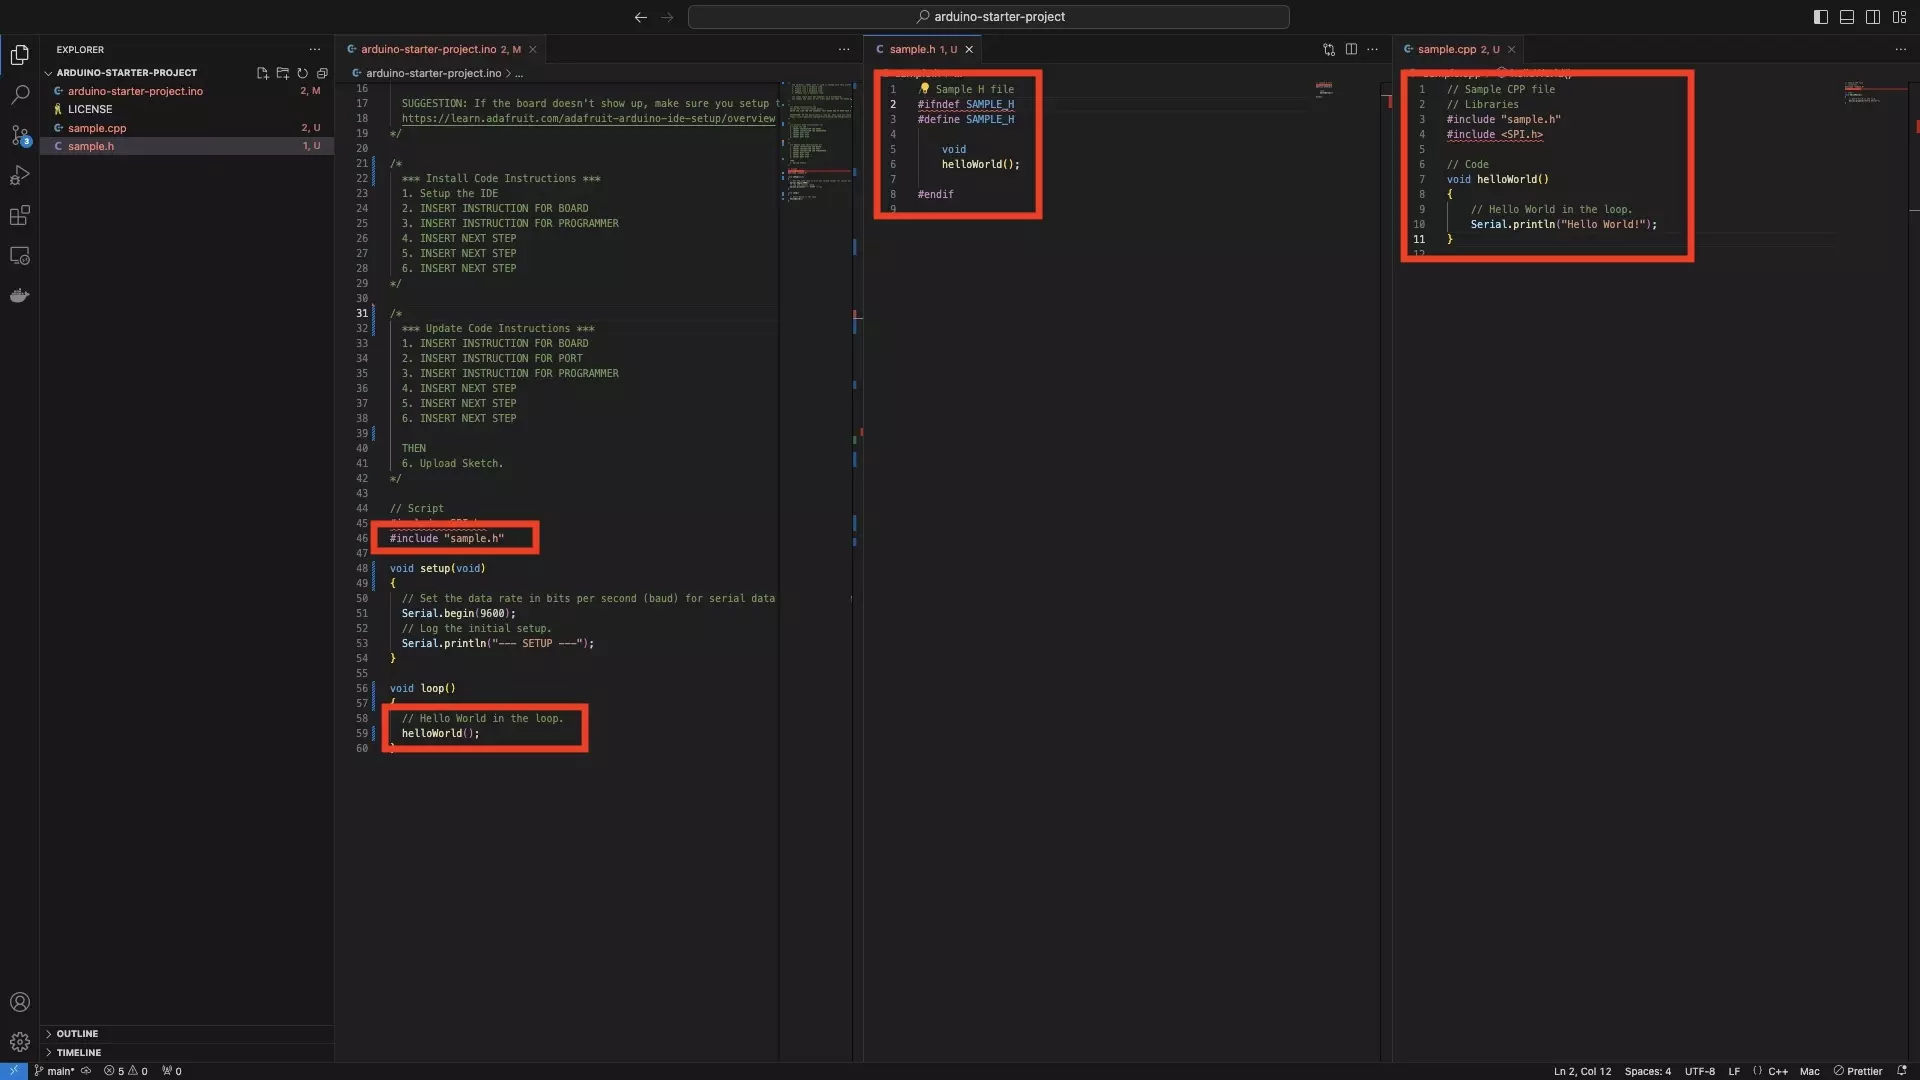
Using the sample code provided below, write the functionality within the .cpp and .h files.
A | Header File
Replace SAMPLE_H with the name of your header file (i.e. BLUETOOTHFUNCTIONALITY_H if your header file is for bluetooth functionality).
Replace void helloWorld() with the functions that you will include in the .cpp file.
If you wish to breakup functionality into public and private parts, you must implement it through a class.
To learn how to do this, consult the tutorial linked below.
B | CPP File
Replace sample.h with the name of your header file (i.e. bluetoothFunctionality.h).
Replace the helloWorld() function with the functions that you expressed in the header file.
Please note that you can import libraries in the sample way that you can in Arduino code.
C | Arduino File
Include the header file in your Arduino script using a line similar to that found below:
Please replace sample.h with the name of your header file (i.e. bluetoothFunctionality.h).
#include "sample.h"
Call the functions that you wrote in Part B to allow you to confirm that the system works.
Step Three: Test
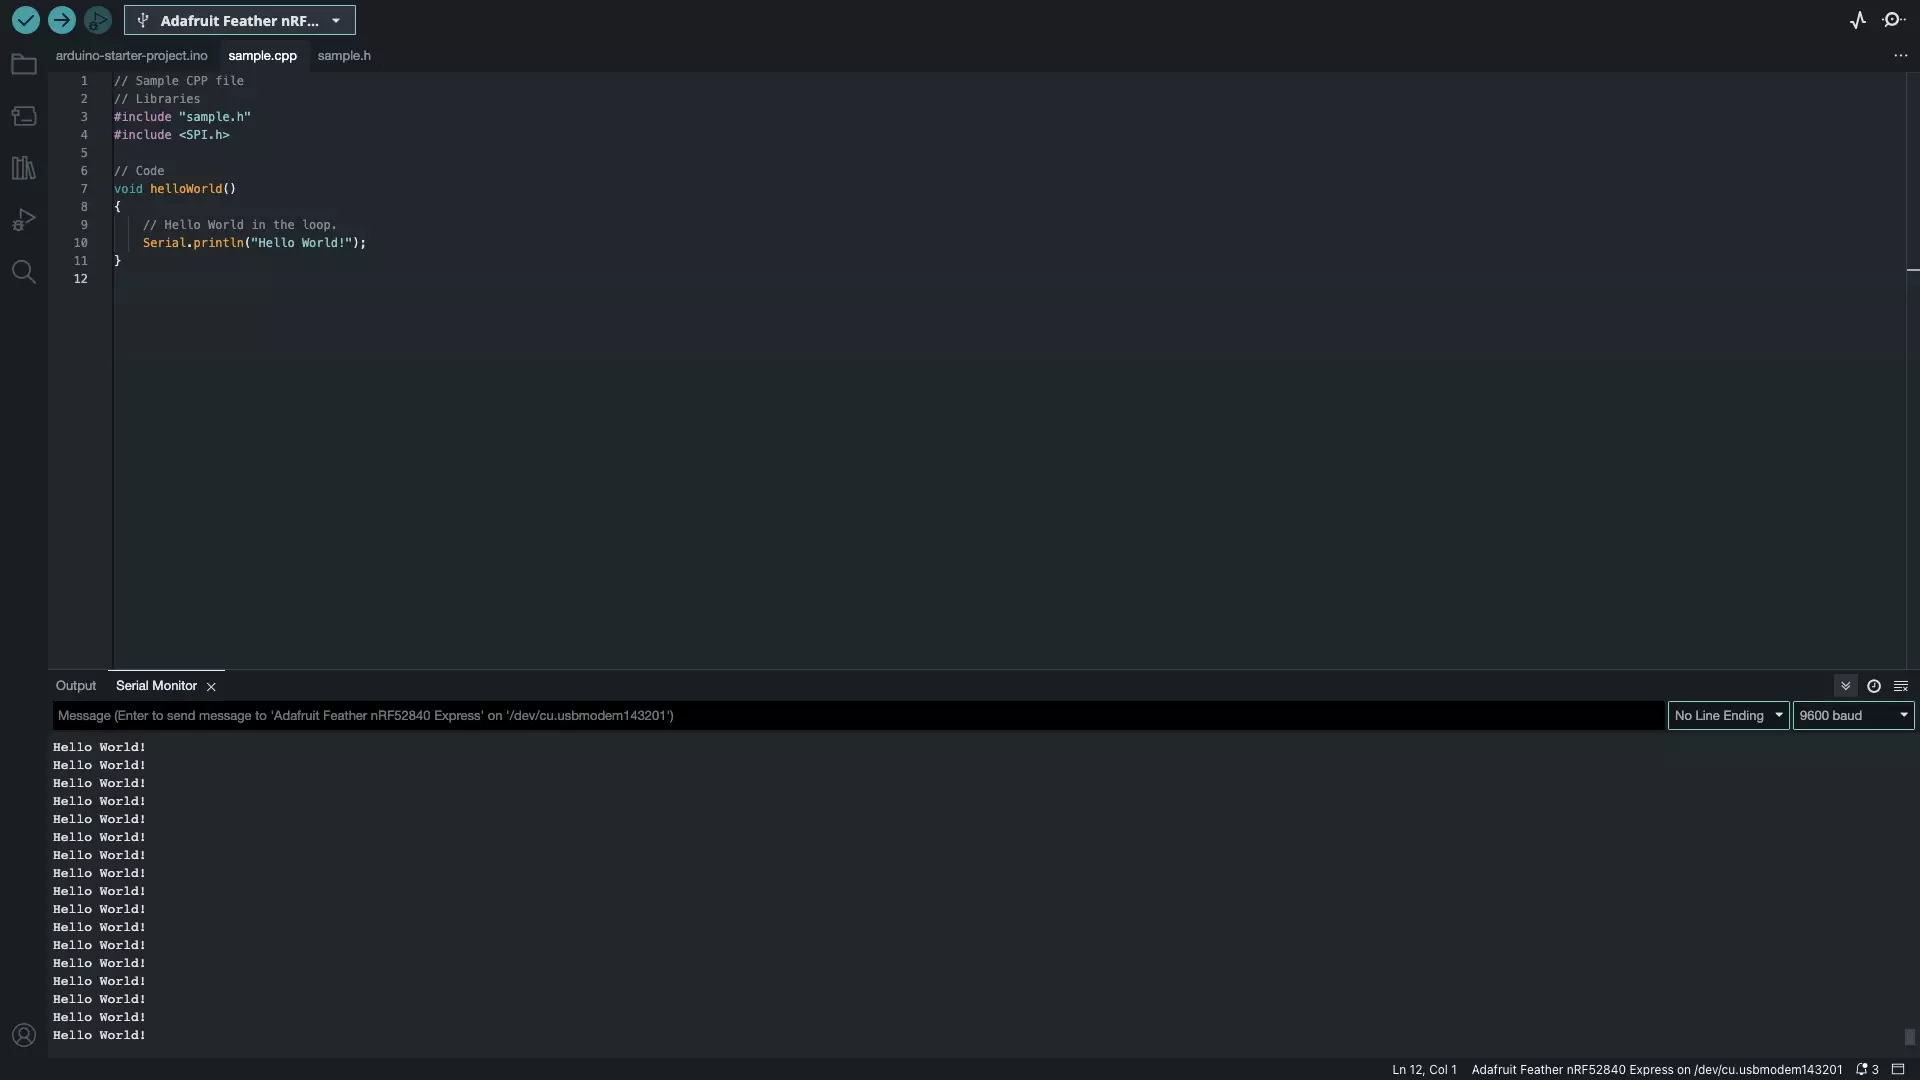
Open the Arduino IDE, upload the code and verify that the functionality functions as expected.
Looking to learn more about things you can do with Arduino ?
Search our blog to find educational content on Arduino.