How to plan an In-App Purchase price change in App Store Connect
A step by step guide on planning a price adjustment for Consumables or Non-Consumables for iOS, iPadOS, MacOS, WatchOS or TVOS using App Store Connect.

A step by step guide on planning a price adjustment for Consumables or Non-Consumables for iOS, iPadOS, MacOS, WatchOS or TVOS using App Store Connect.
SubscribeStep One: Access the In-App Purchase
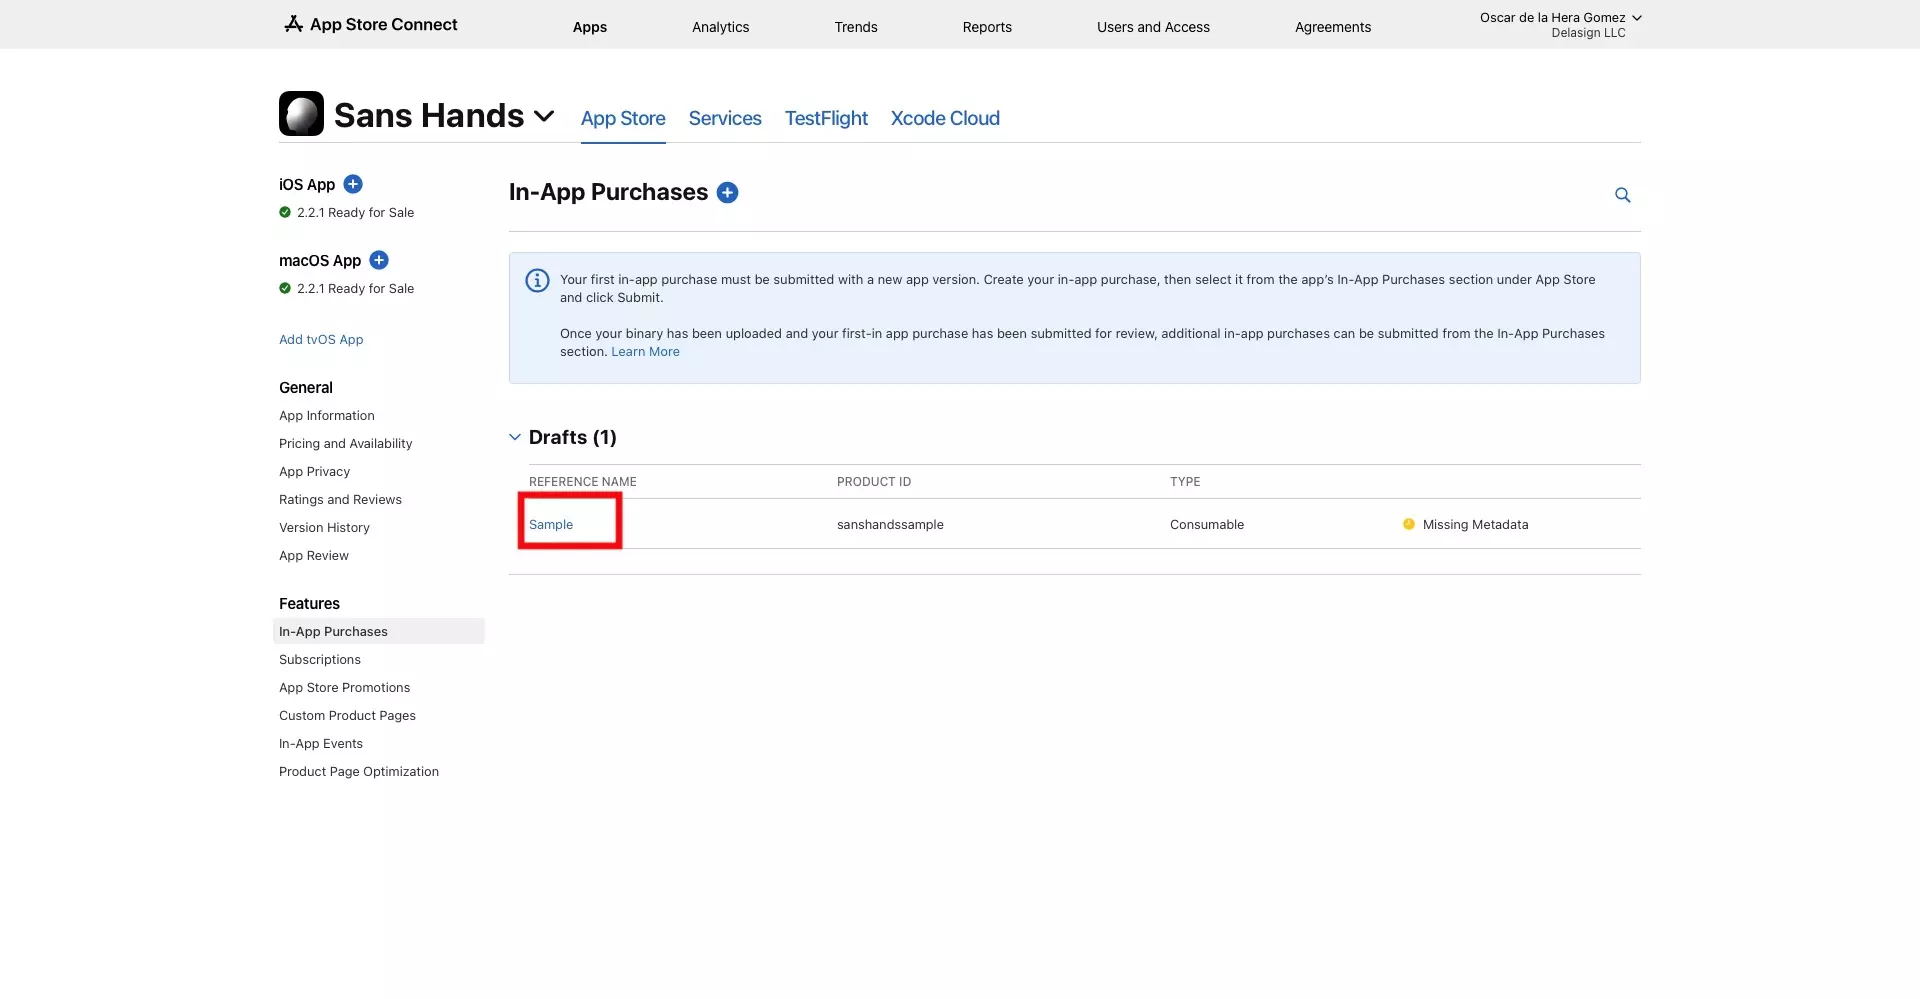
Access the In-App Purchase in App Store Connect.
Step Two: Add Price

Click the + button next to Price Schedule.
Step Three: Fill in the details
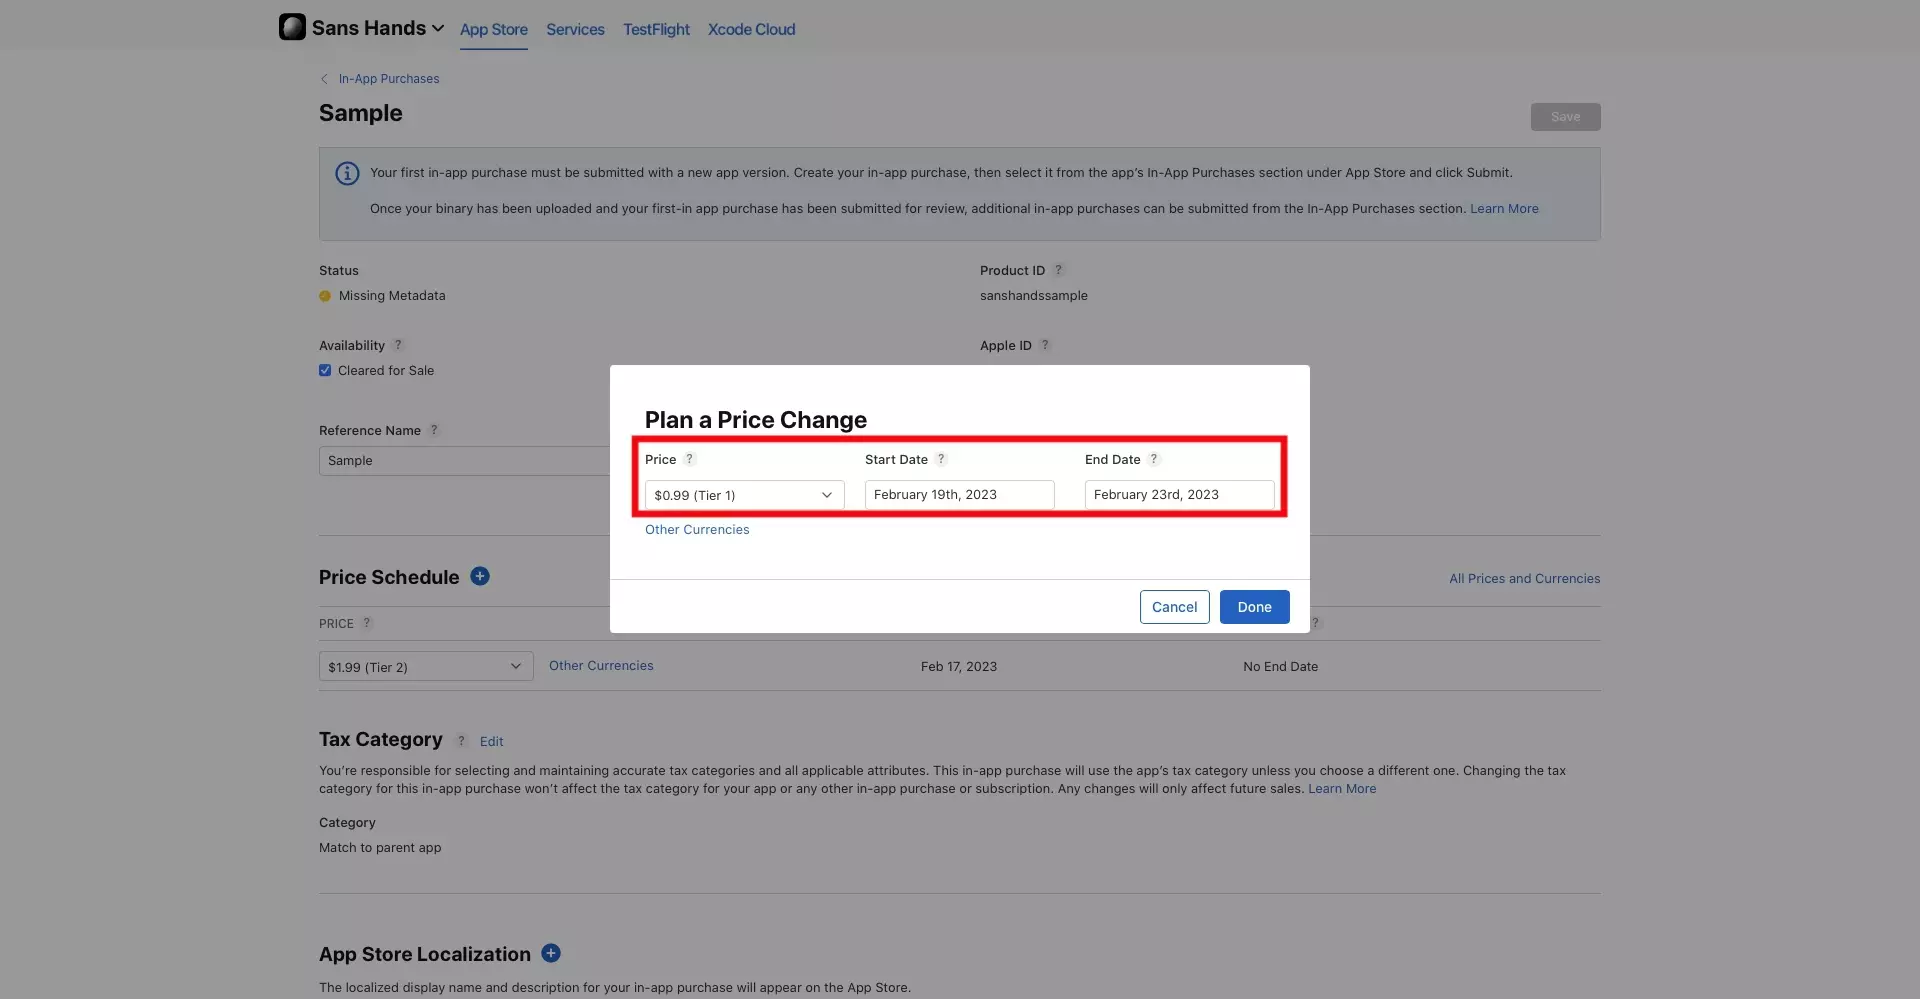
In the modal that appears, select the new price tier that you wish to apply, as well as the start and end date.
If you leave the end date blank, it will assume you want it to stay that way forever.
Step Four: Select Done
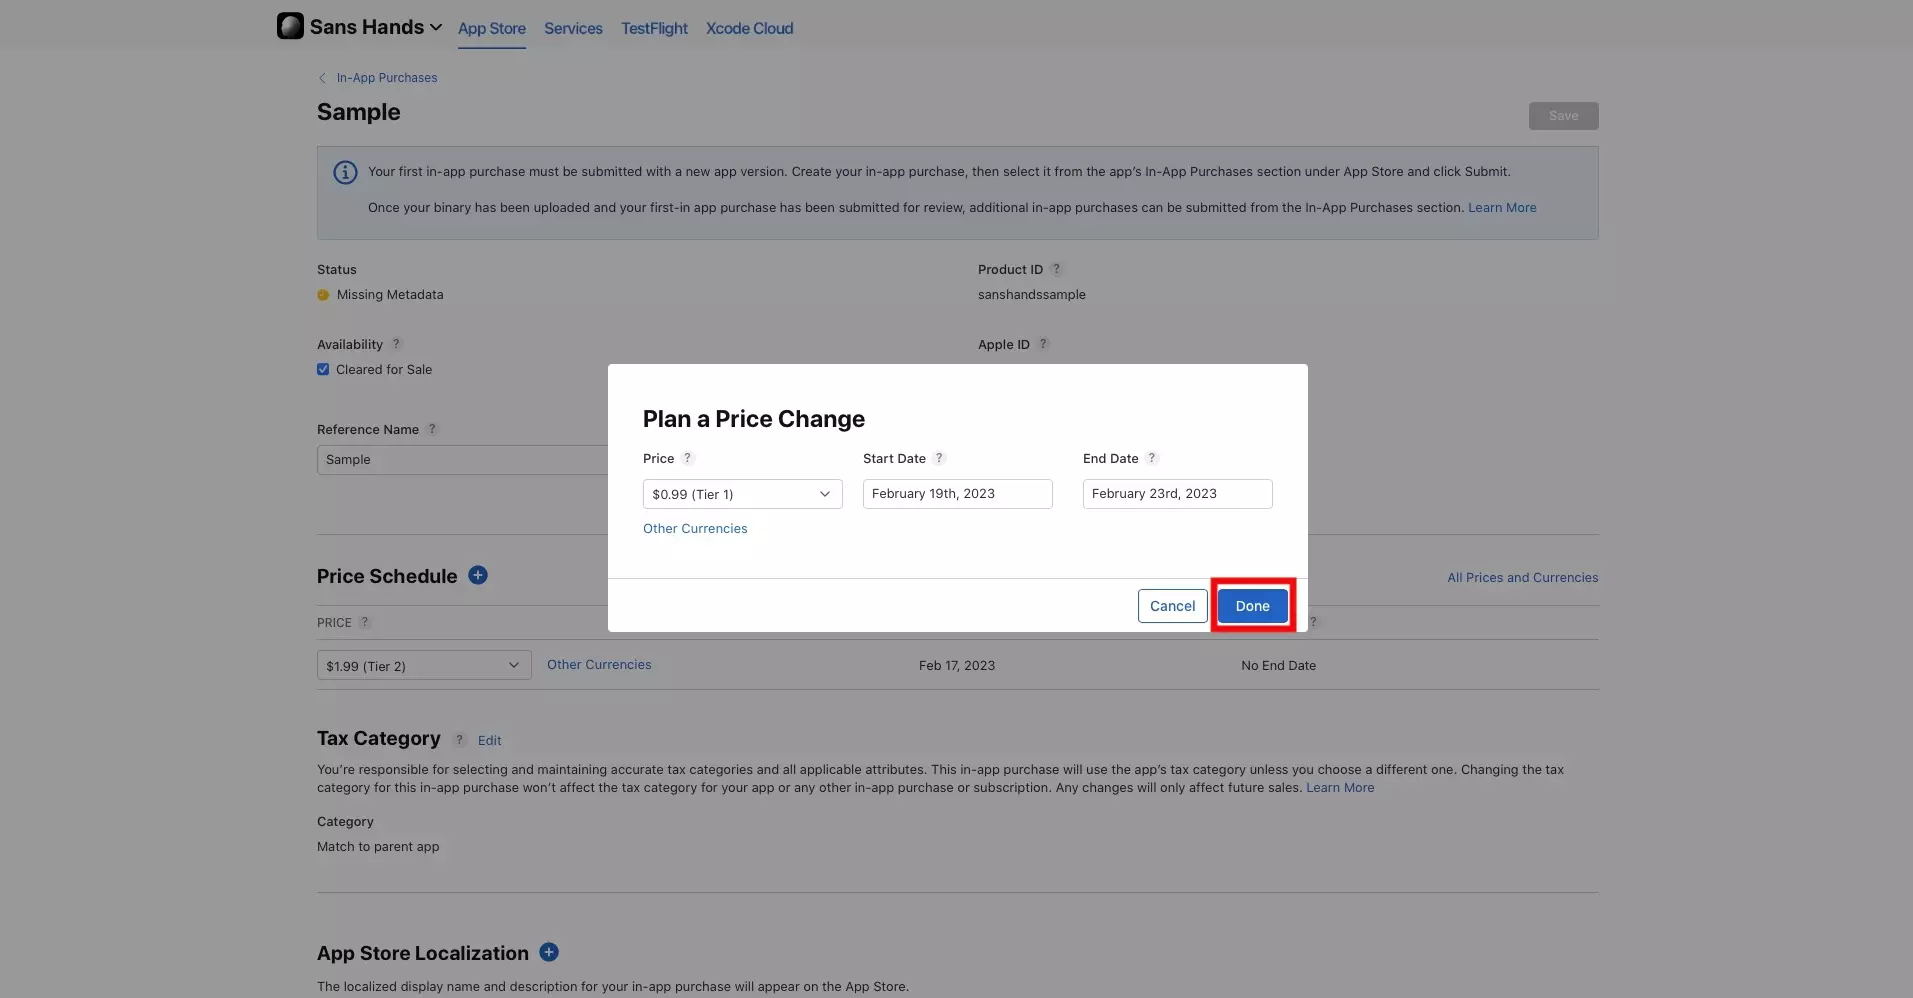
Once everything looks good, click Done.
Step Five: Save

As demonstrated, in the screenshot above, App Store Connect will intelligently manage your price changes, in the event that your price change is for a small period of time - after which it resets to the prior price.
If everything looks good, click Save to complete your price change for your In-App Purchase.