How to broadcast an Intent in Kotlin
A step by step tutorial on sending notifications (intents) with or without extras that can be received by activities or composables within your Android app.

A step by step tutorial on sending notifications (intents) with or without extras that can be received by activities or composables within your Android app.
SubscribeDownload Open Source Kotlin Starter ProjectThis post is a part of a mini series on sending and receiving functional intents in an Android app. The rest of the tutorials are available at the end.
Step One: Setup the Notification Coordinator
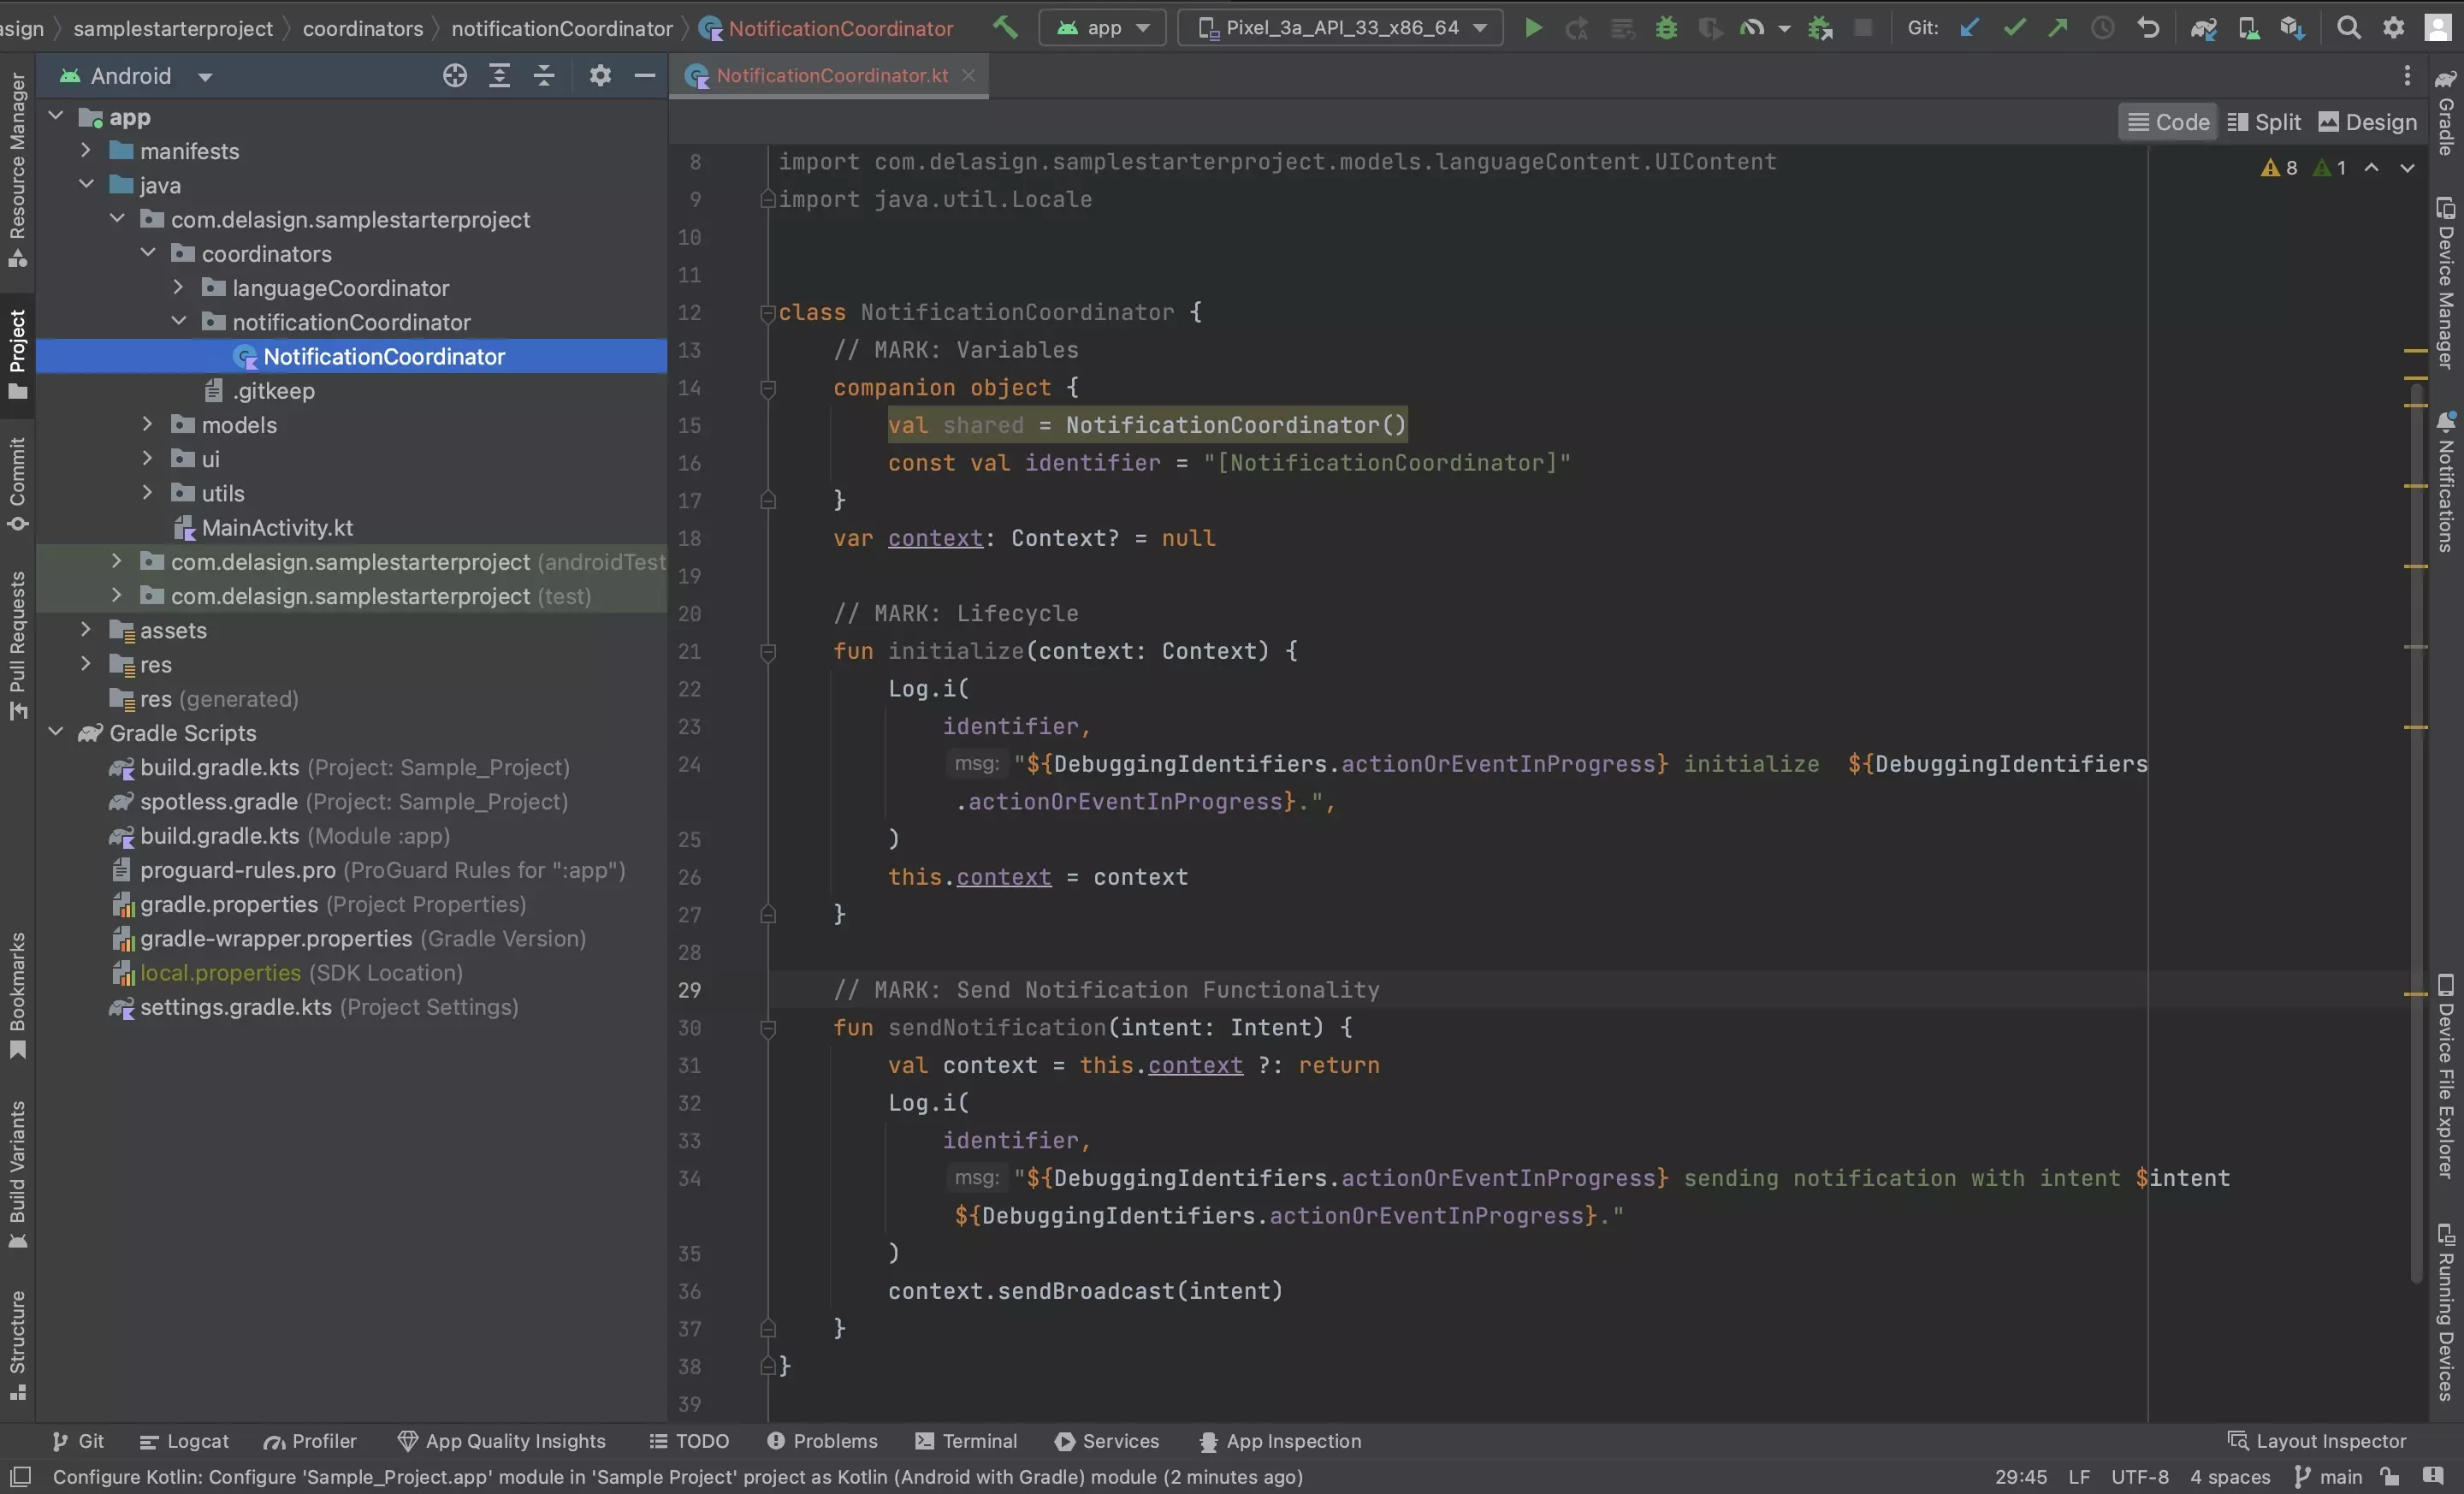
Follow the tutorial below to setup the manager in charge of sending intents.
Step Two: Create the Intents Model
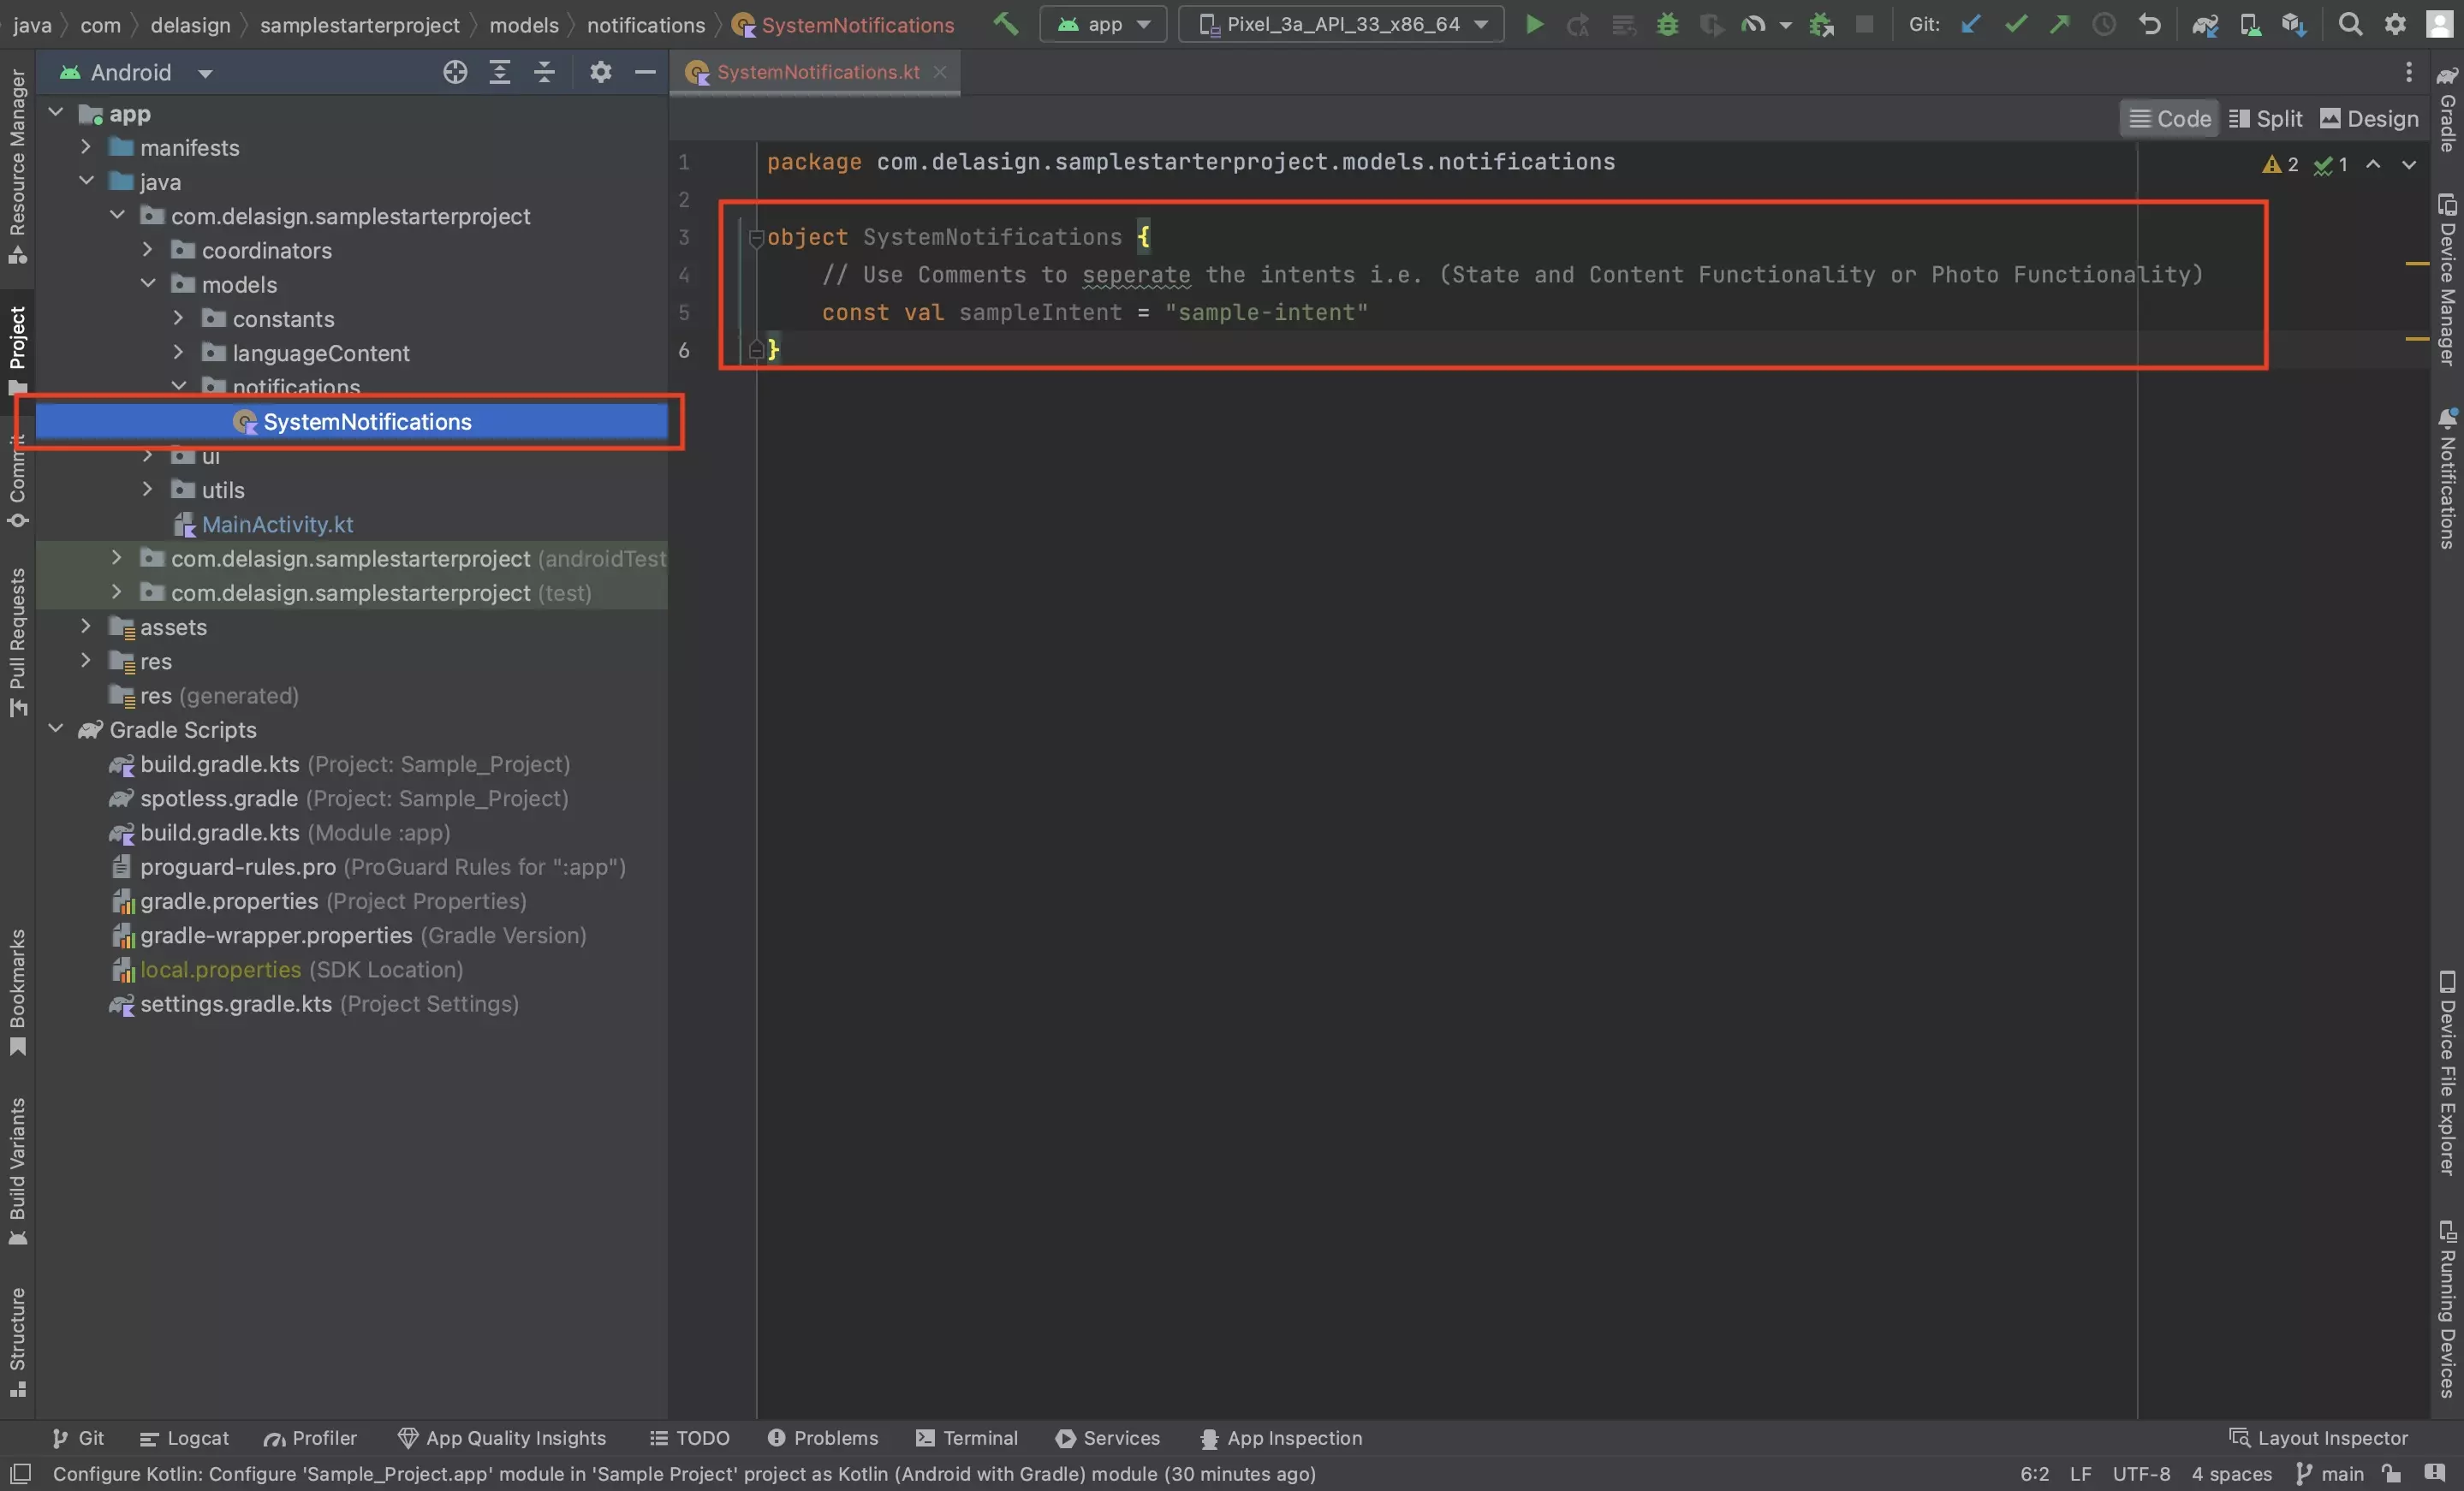
In your project, create a Kotlin file that holds an object to keep track of your apps intents.
We suggest calling it SystemNotifications.kt and placing it within a notifications package within the models package.
Step Three: Create the Extras Model
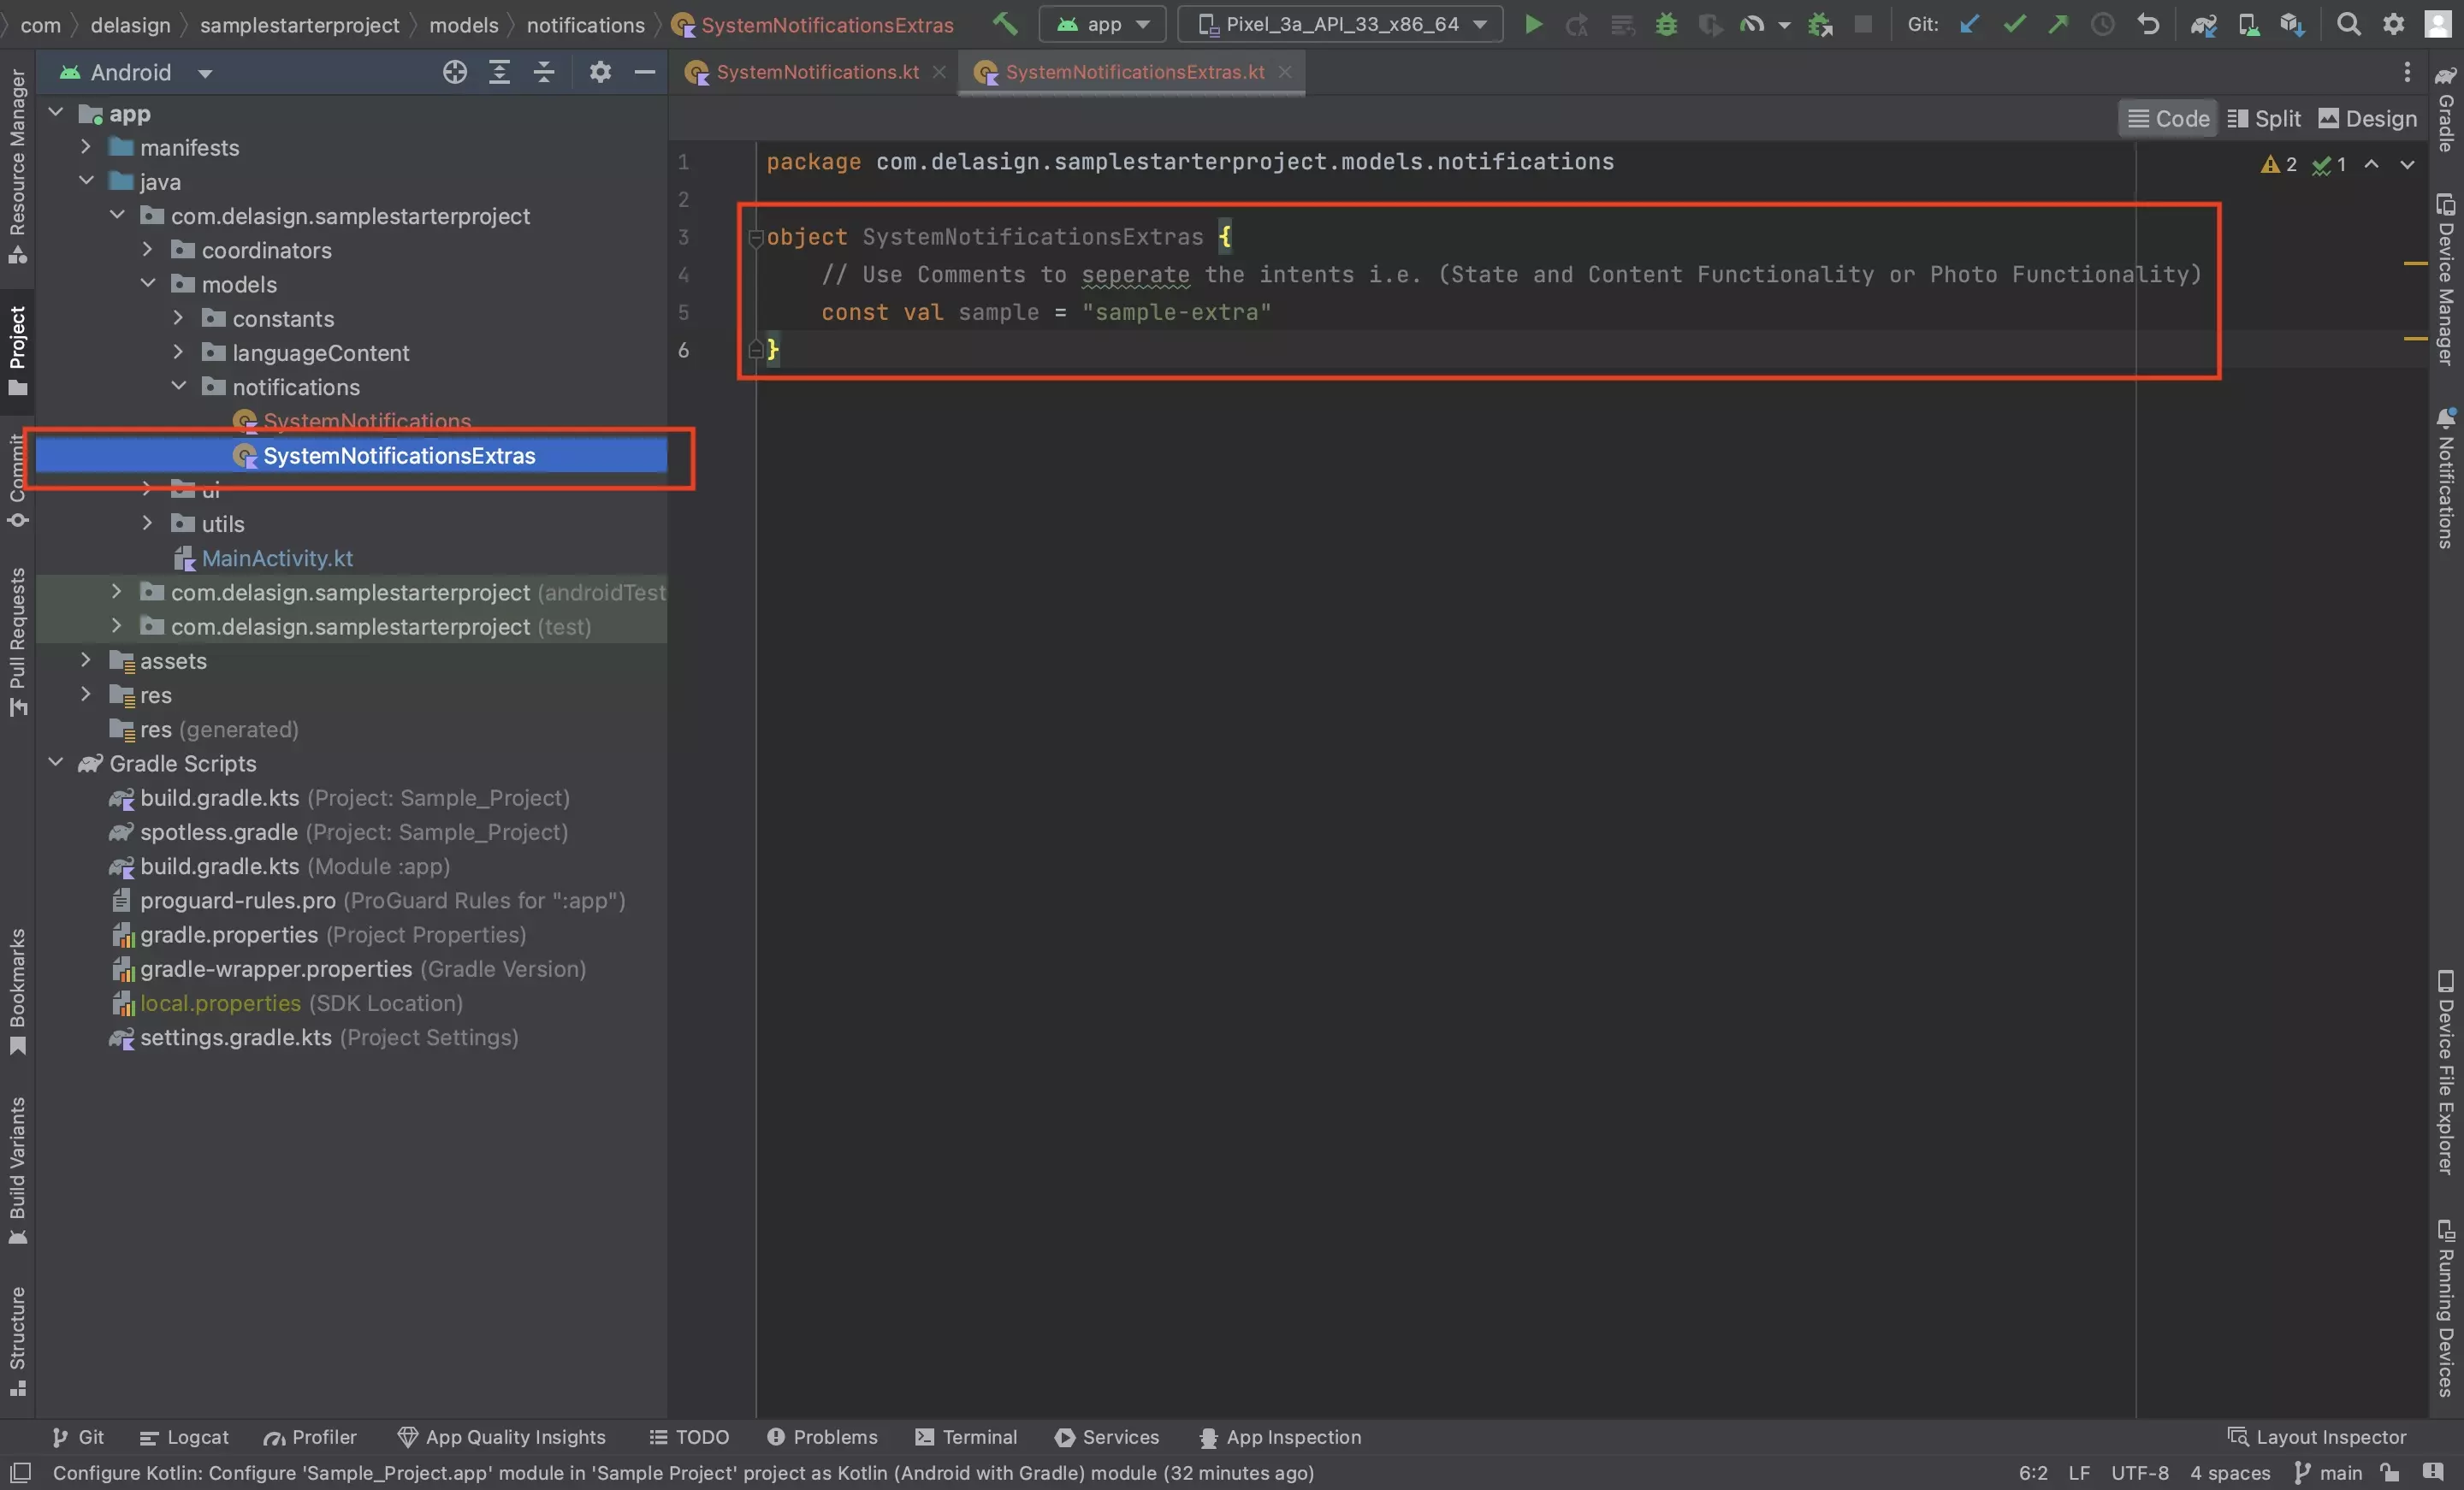
In your project, create a Kotlin file that holds an object to keep track of your apps intents.
We suggest calling it SystemNotificationsExtras.kt and placing it within a notifications package within the models package.
Step Four: Send an internal intent

Internal Intents are explicit intents that are only to be received by your app, the critical aspect here is making sure that the setPackage string is set to match the appId in your projects app level build.gradle.kts.
Please note that we have made the appId a constant called kAppBundleId, which we suggest you add to your project under models > Constants.kt.
To send your first internal intent, in NotificationCoordinator+InternalIntents.kt add your intent using code similar to the one below.
If you wish to use an extra, it will look similar to the one below.
Step Five: Send an External Intent
Step Six: Send
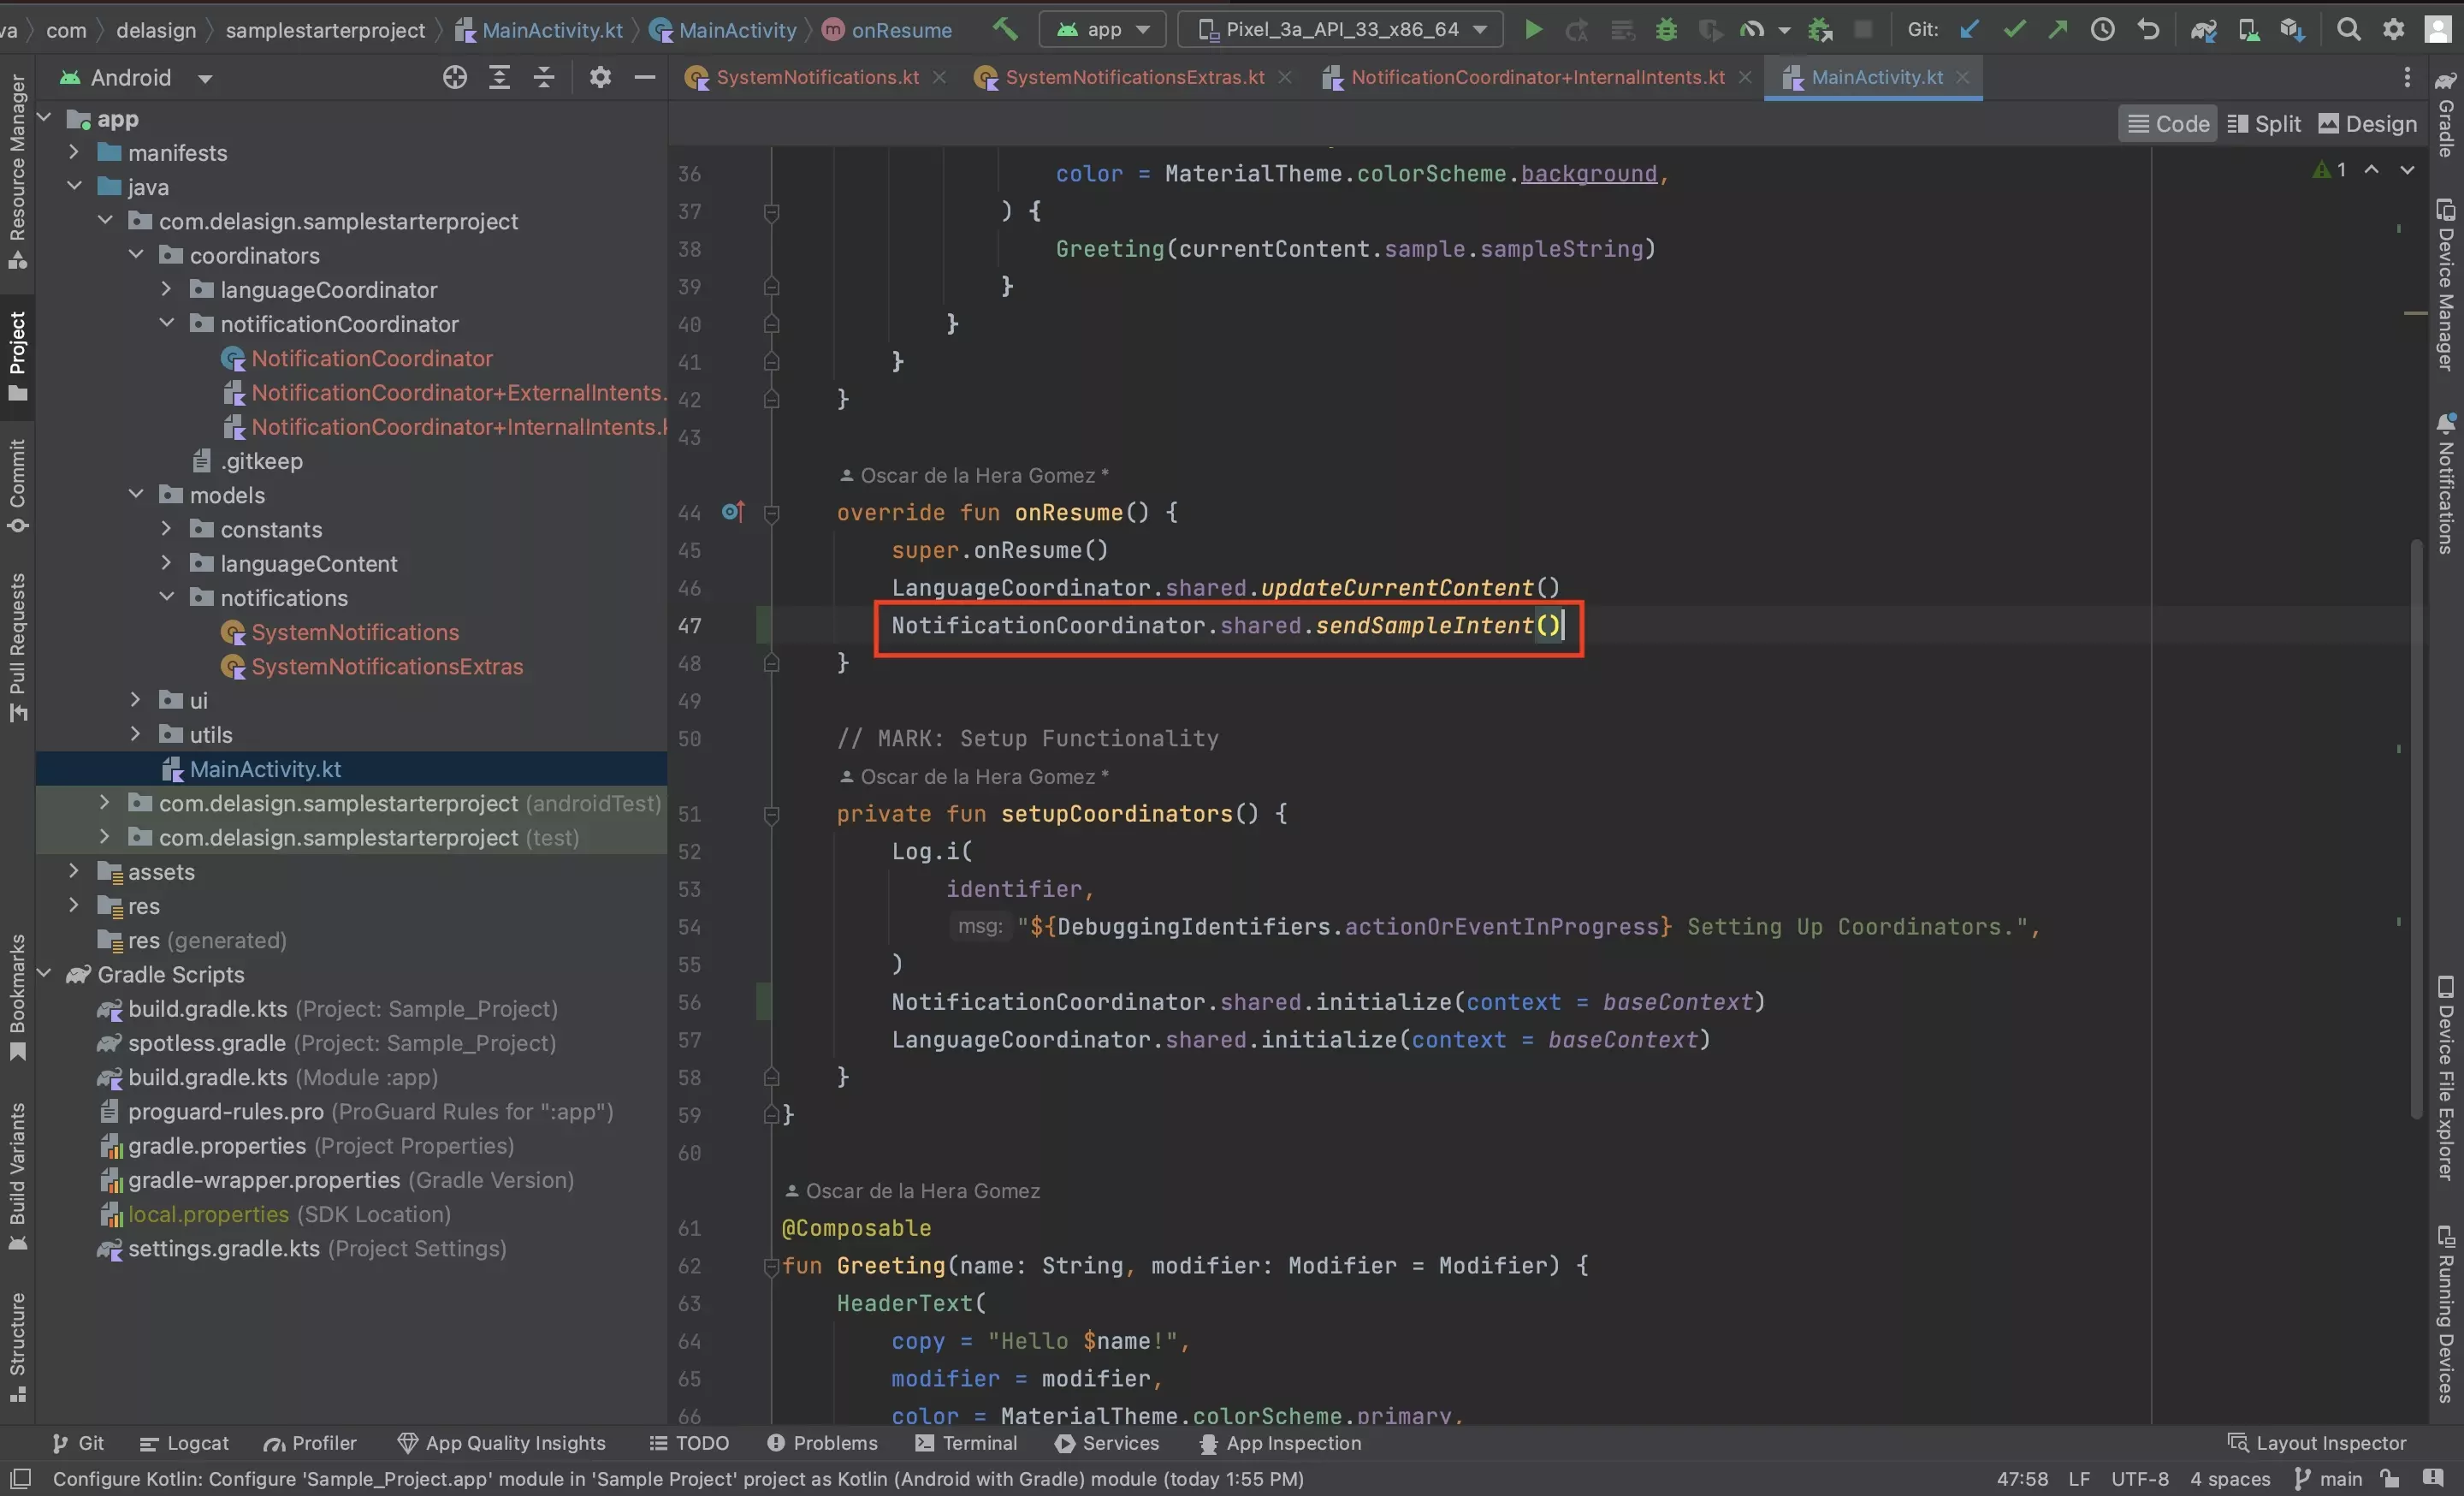
Anywhere in your app, whether an Activity or a Composable, send a notification by calling one of the functions declared in Step Five or Six.
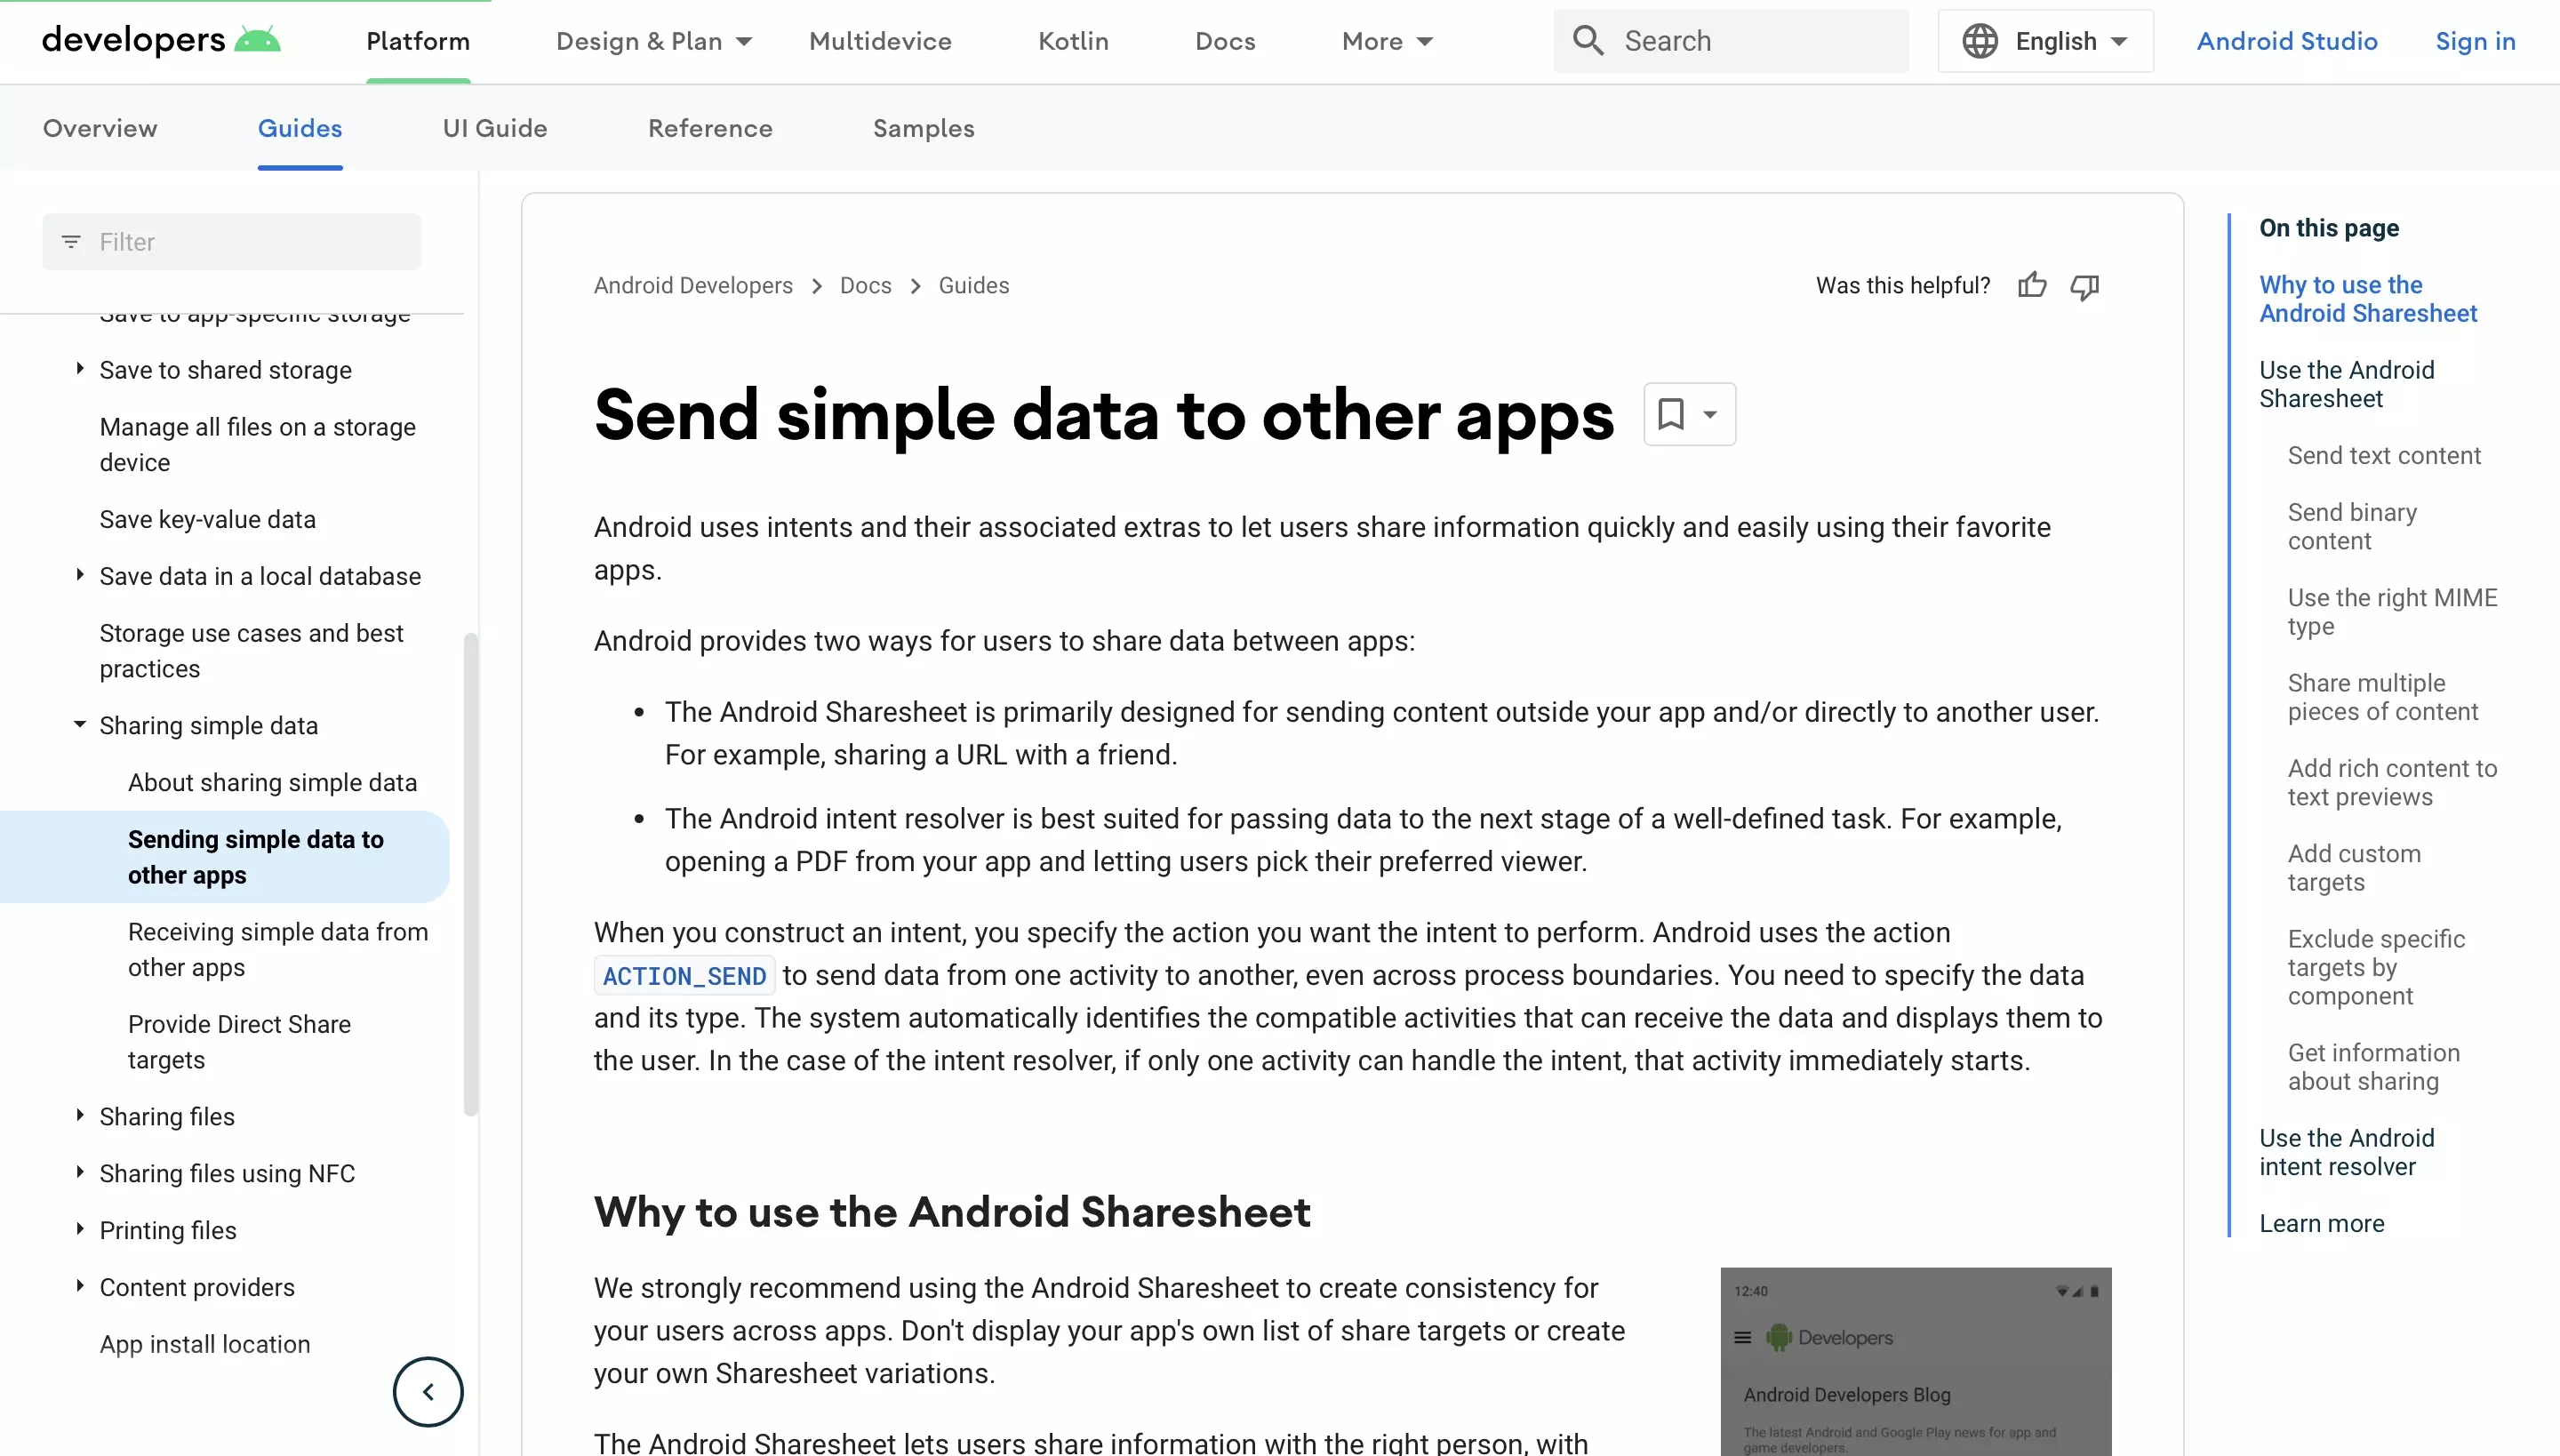
Looking to learn more about Intents in Android ?
Consult the tutorials linked below to learn more about sending and receiving Intents in Android and Kotlin.