How to create and use a Language Coordinator in Kotlin
A step by step guide on creating and using a localization manager that gathers the relevant language content and makes it available to an Android App.
A step by step guide on creating and using a localization manager that gathers the relevant language content and makes it available to an Android App.
SubscribeDownload Open Source Kotlin Starter ProjectPlease note that the steps carried out in this tutorial can be found in our Open Source Kotlin Android Project's main branch, which can be cloned using the following command:
git clone git@github.com:delasign/kotlin-android-starter-project.gitStep One: Add the Gson dependency
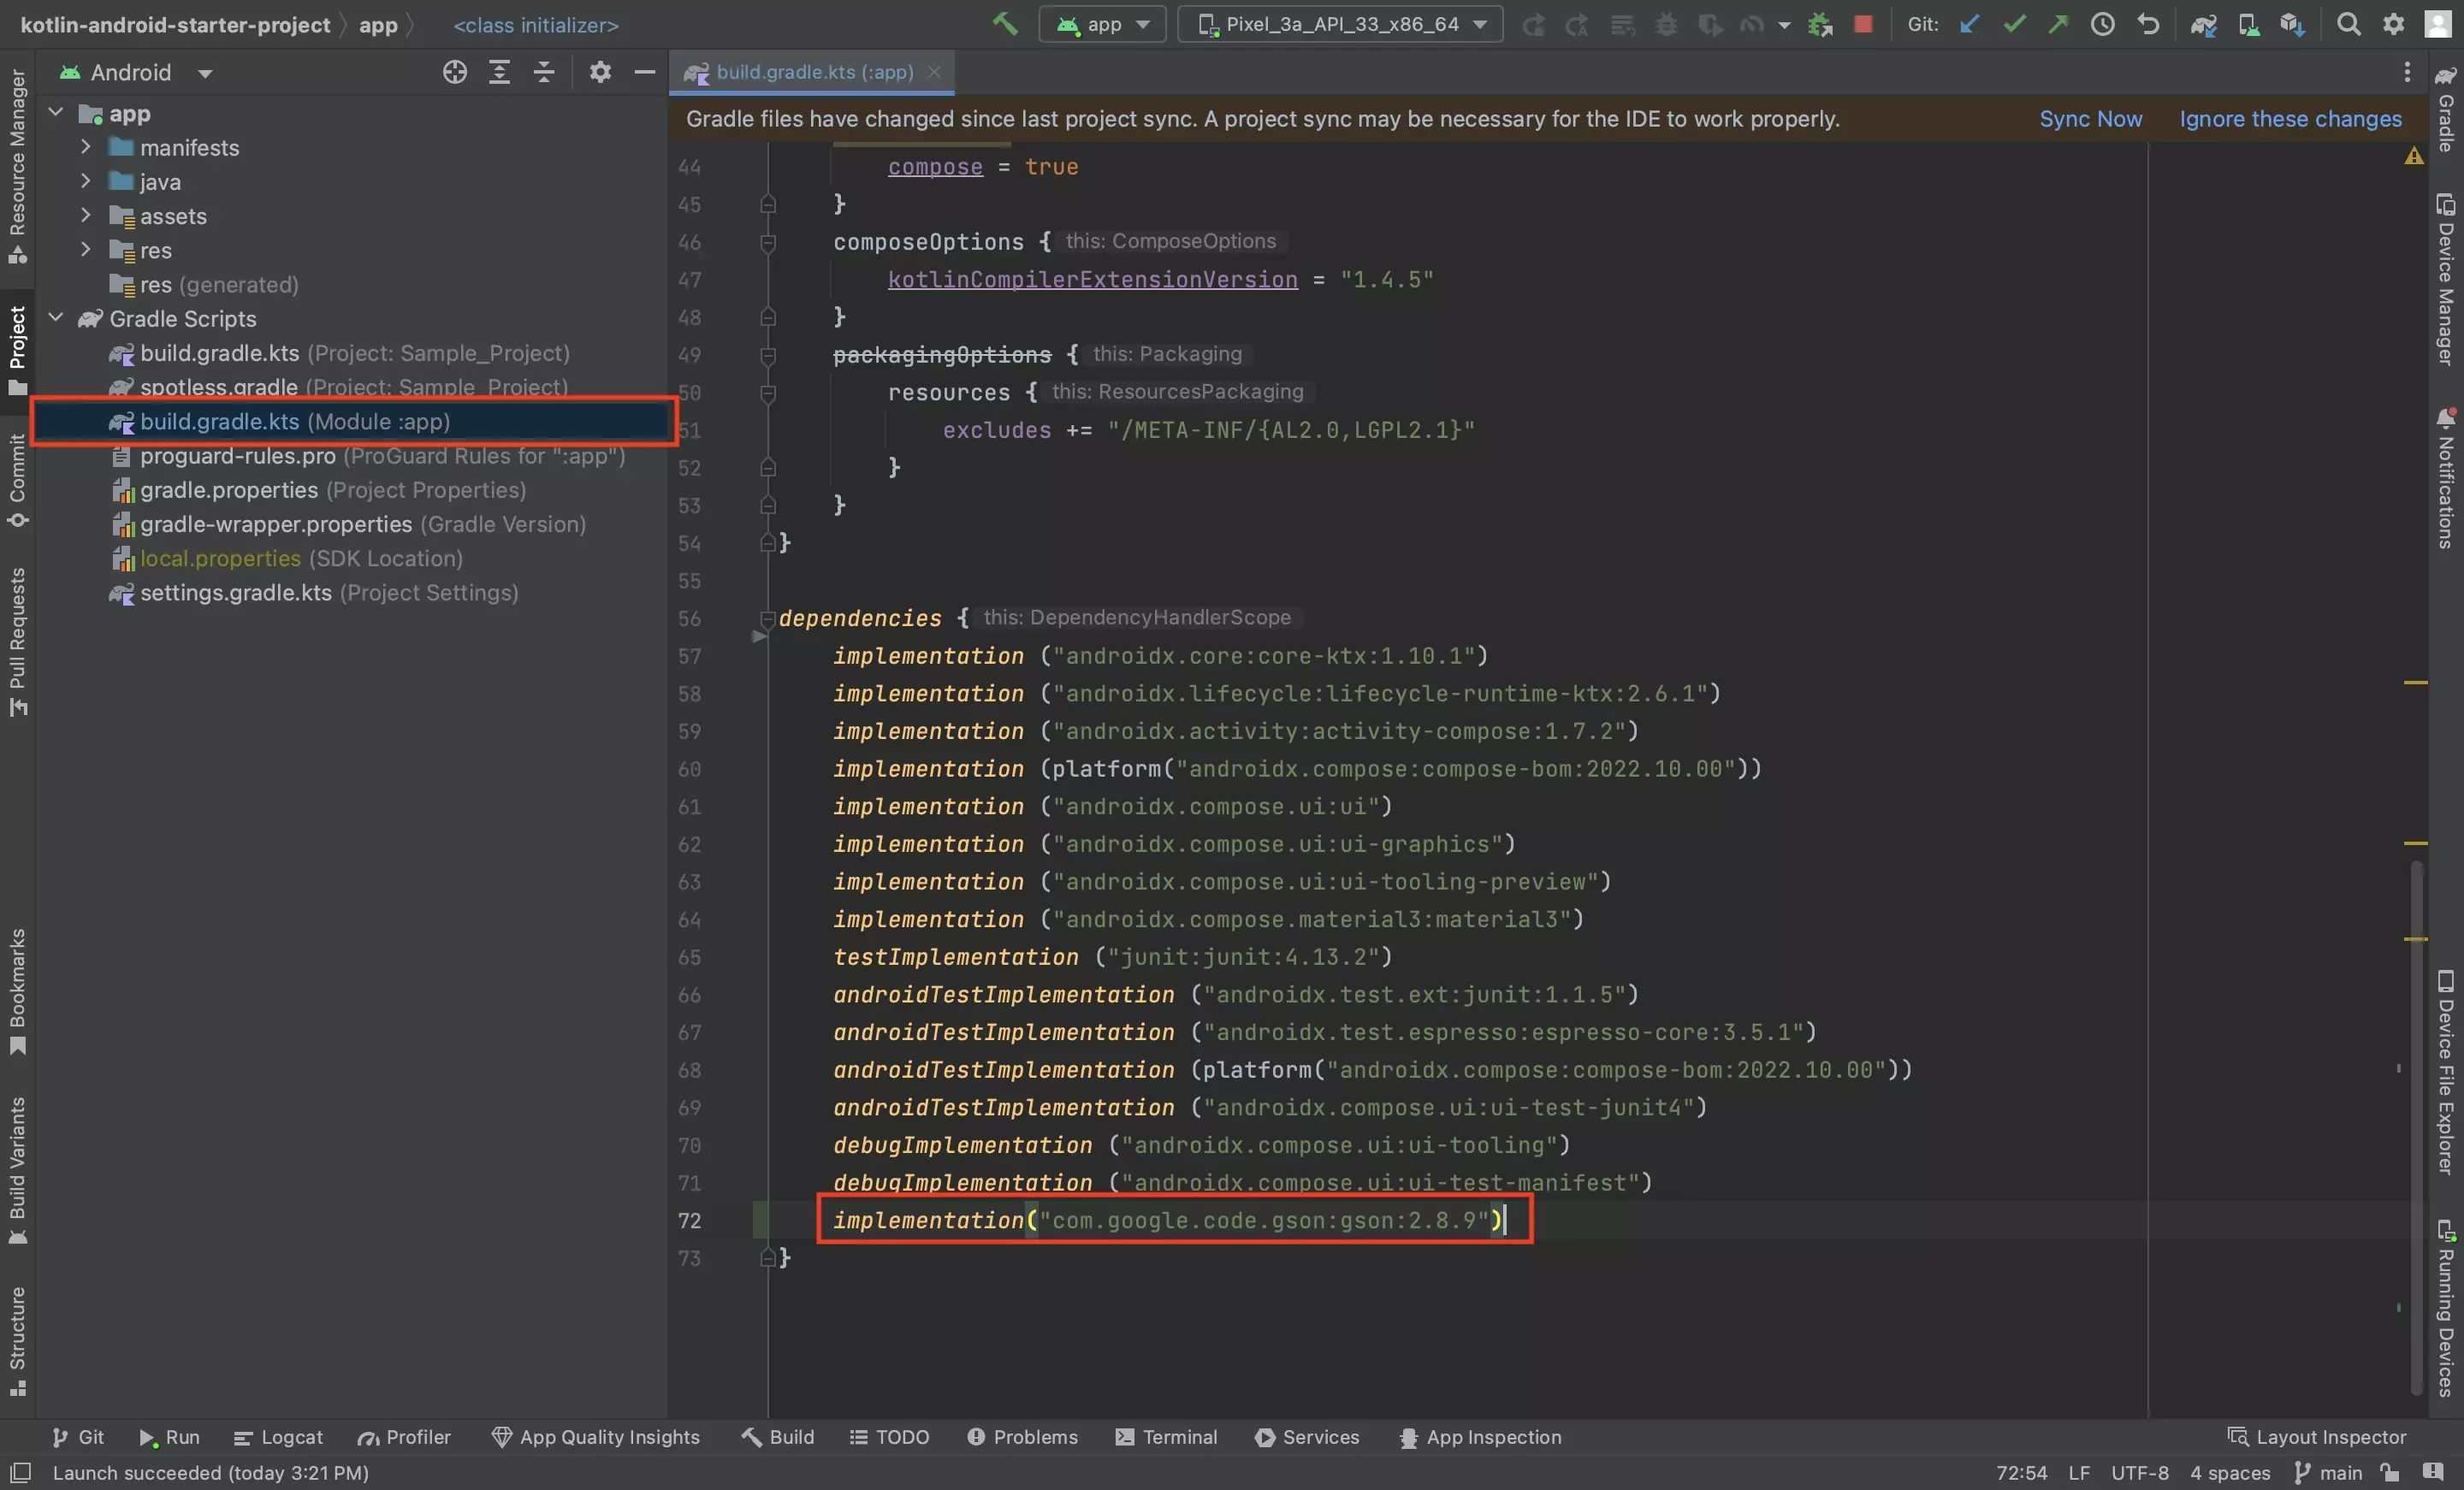
In order to convert the language JSON strings into usable data, we need to use the Gson library.
Navigate to your app level build gradle (i.e. build.gradle.kt (Module :app)) and add the following line to the dependencies:
implementation(com.google.code.gson:gson:2.8.9)Please note that version 2.8.9 was the latest version available when we wrote this tutorial but may not be the latest version available when you implement this. Please update this string to use the latest version available.
Step Two: Create the Language JSONs
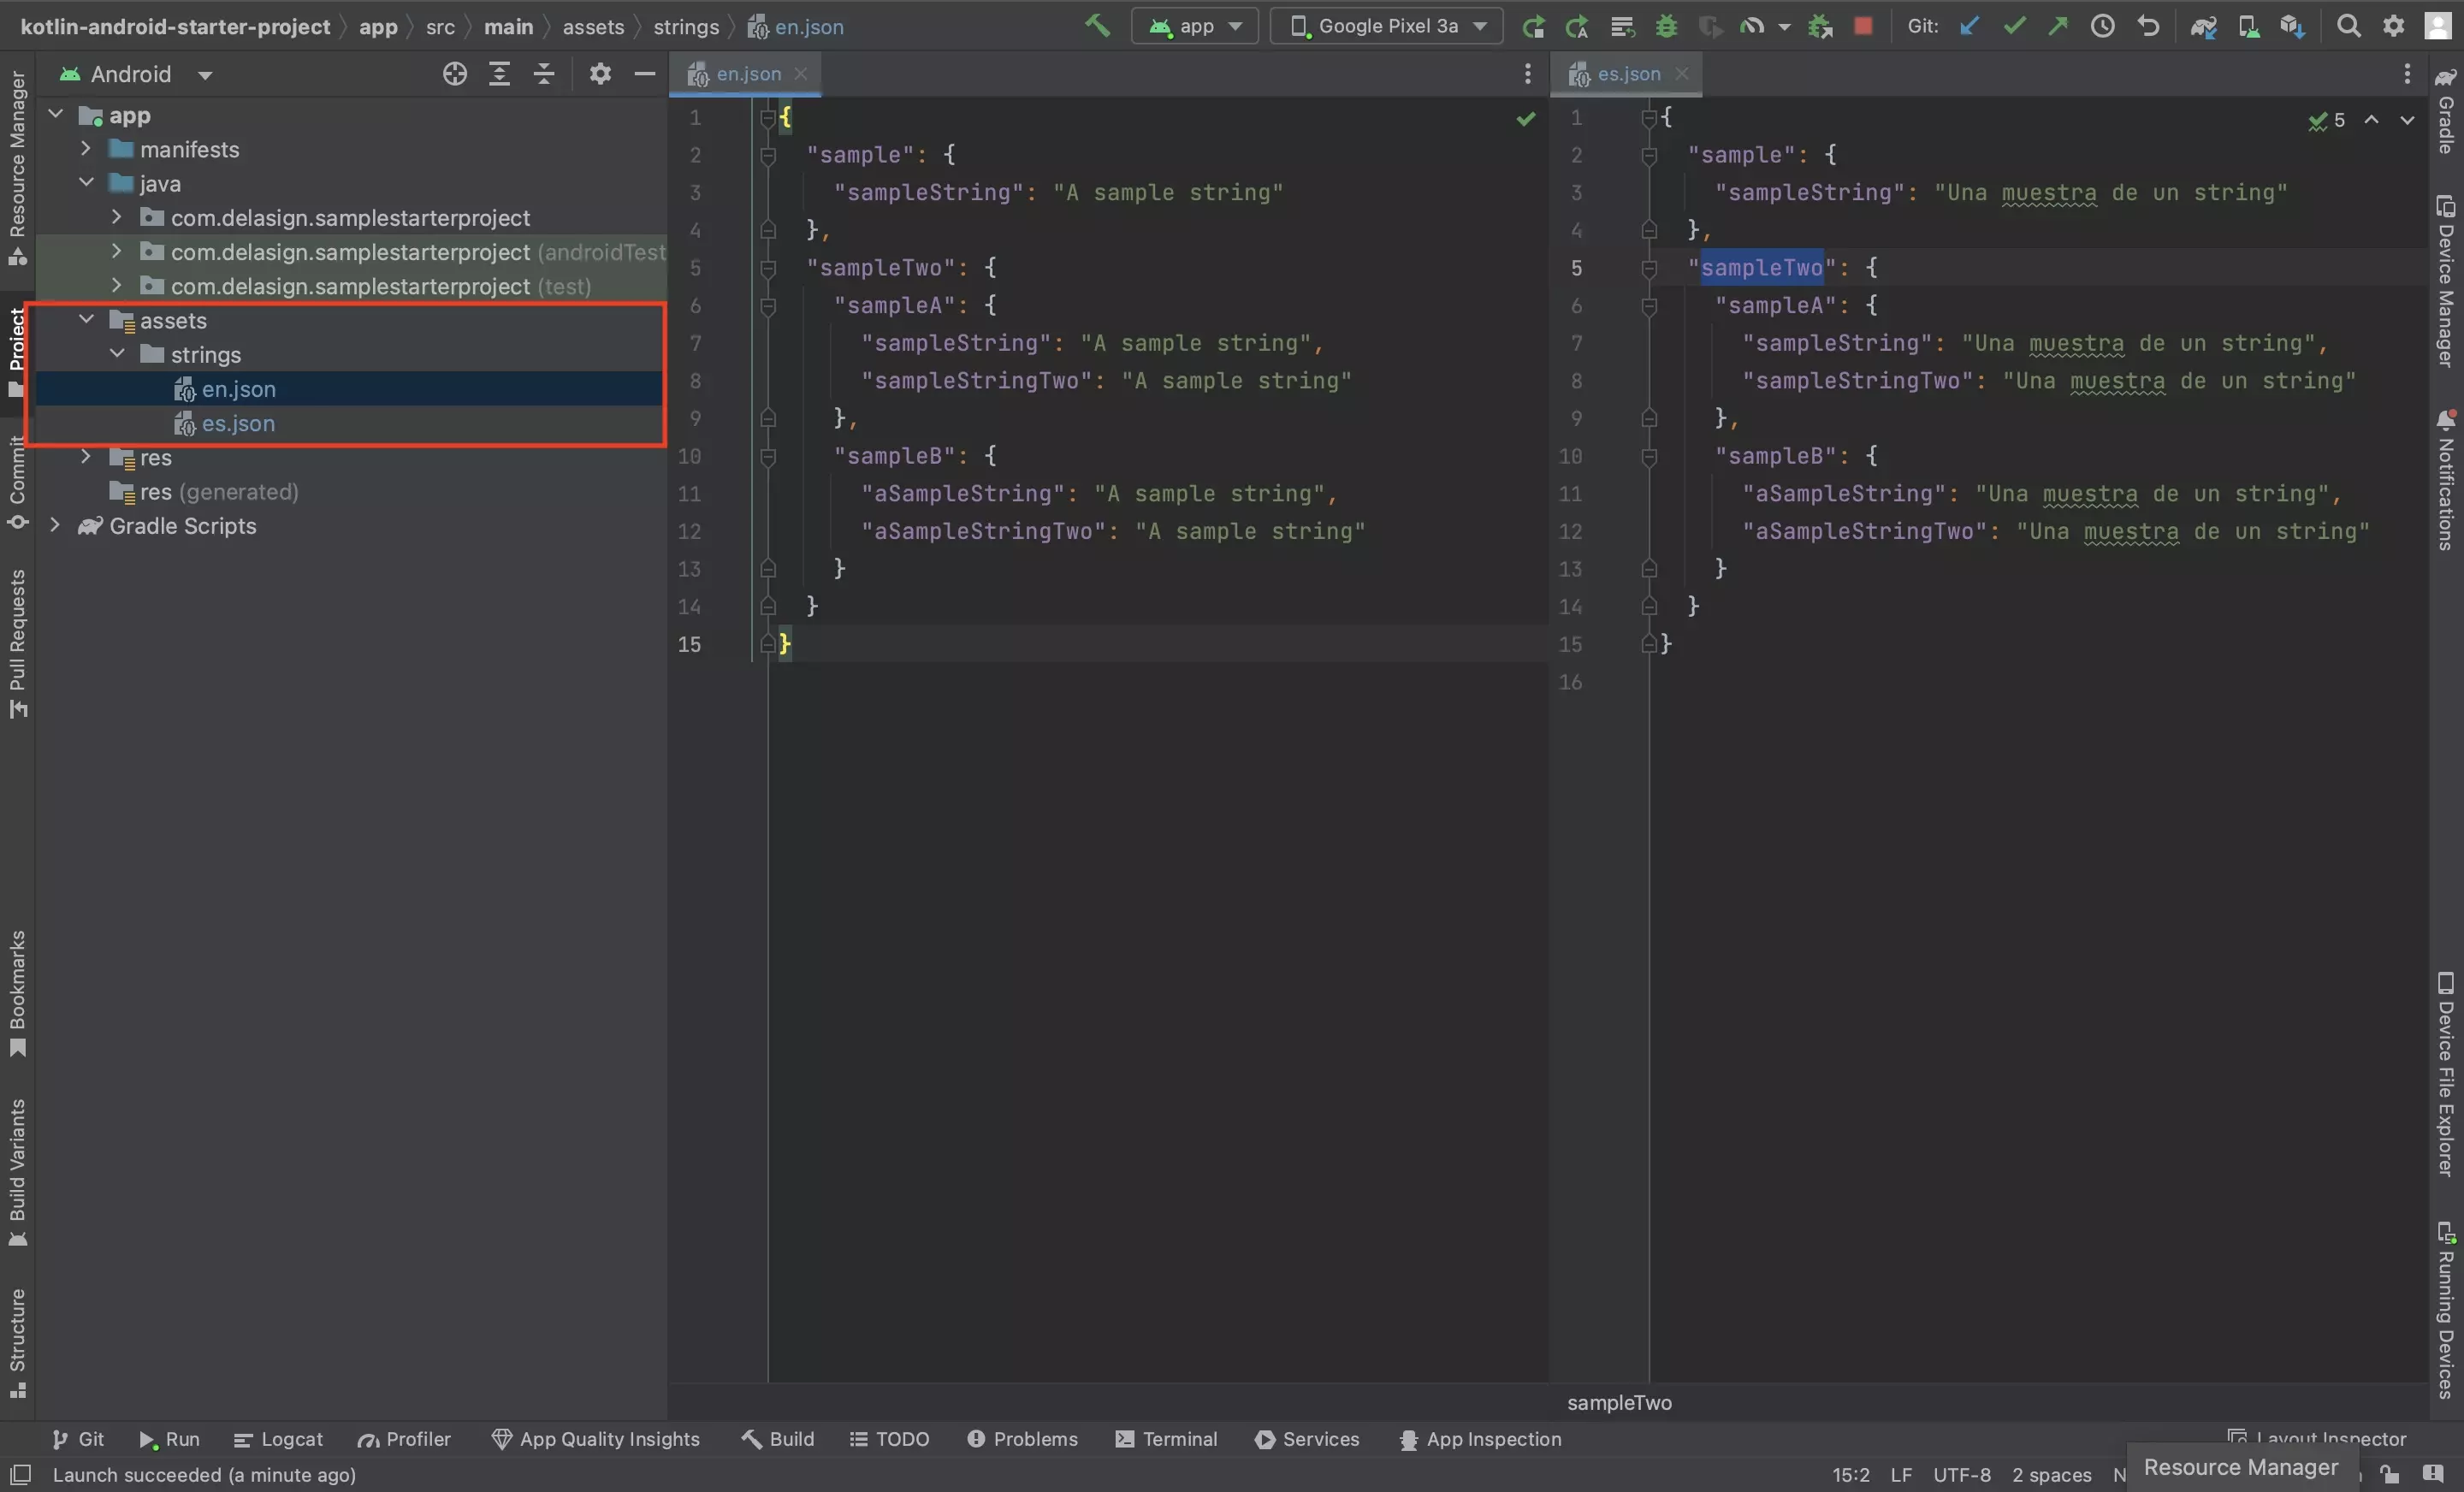
Follow the guide below to learn how to create JSON files that are readable by the app.
Add your language strings to the files in a format similar to that found below.
Step Three: Create the UIContent
Create a new file called UIContent.kt and add a data class that matches your JSON.
We recommend that you place it under models > languageContent.
Step Four: Create the Language Enums
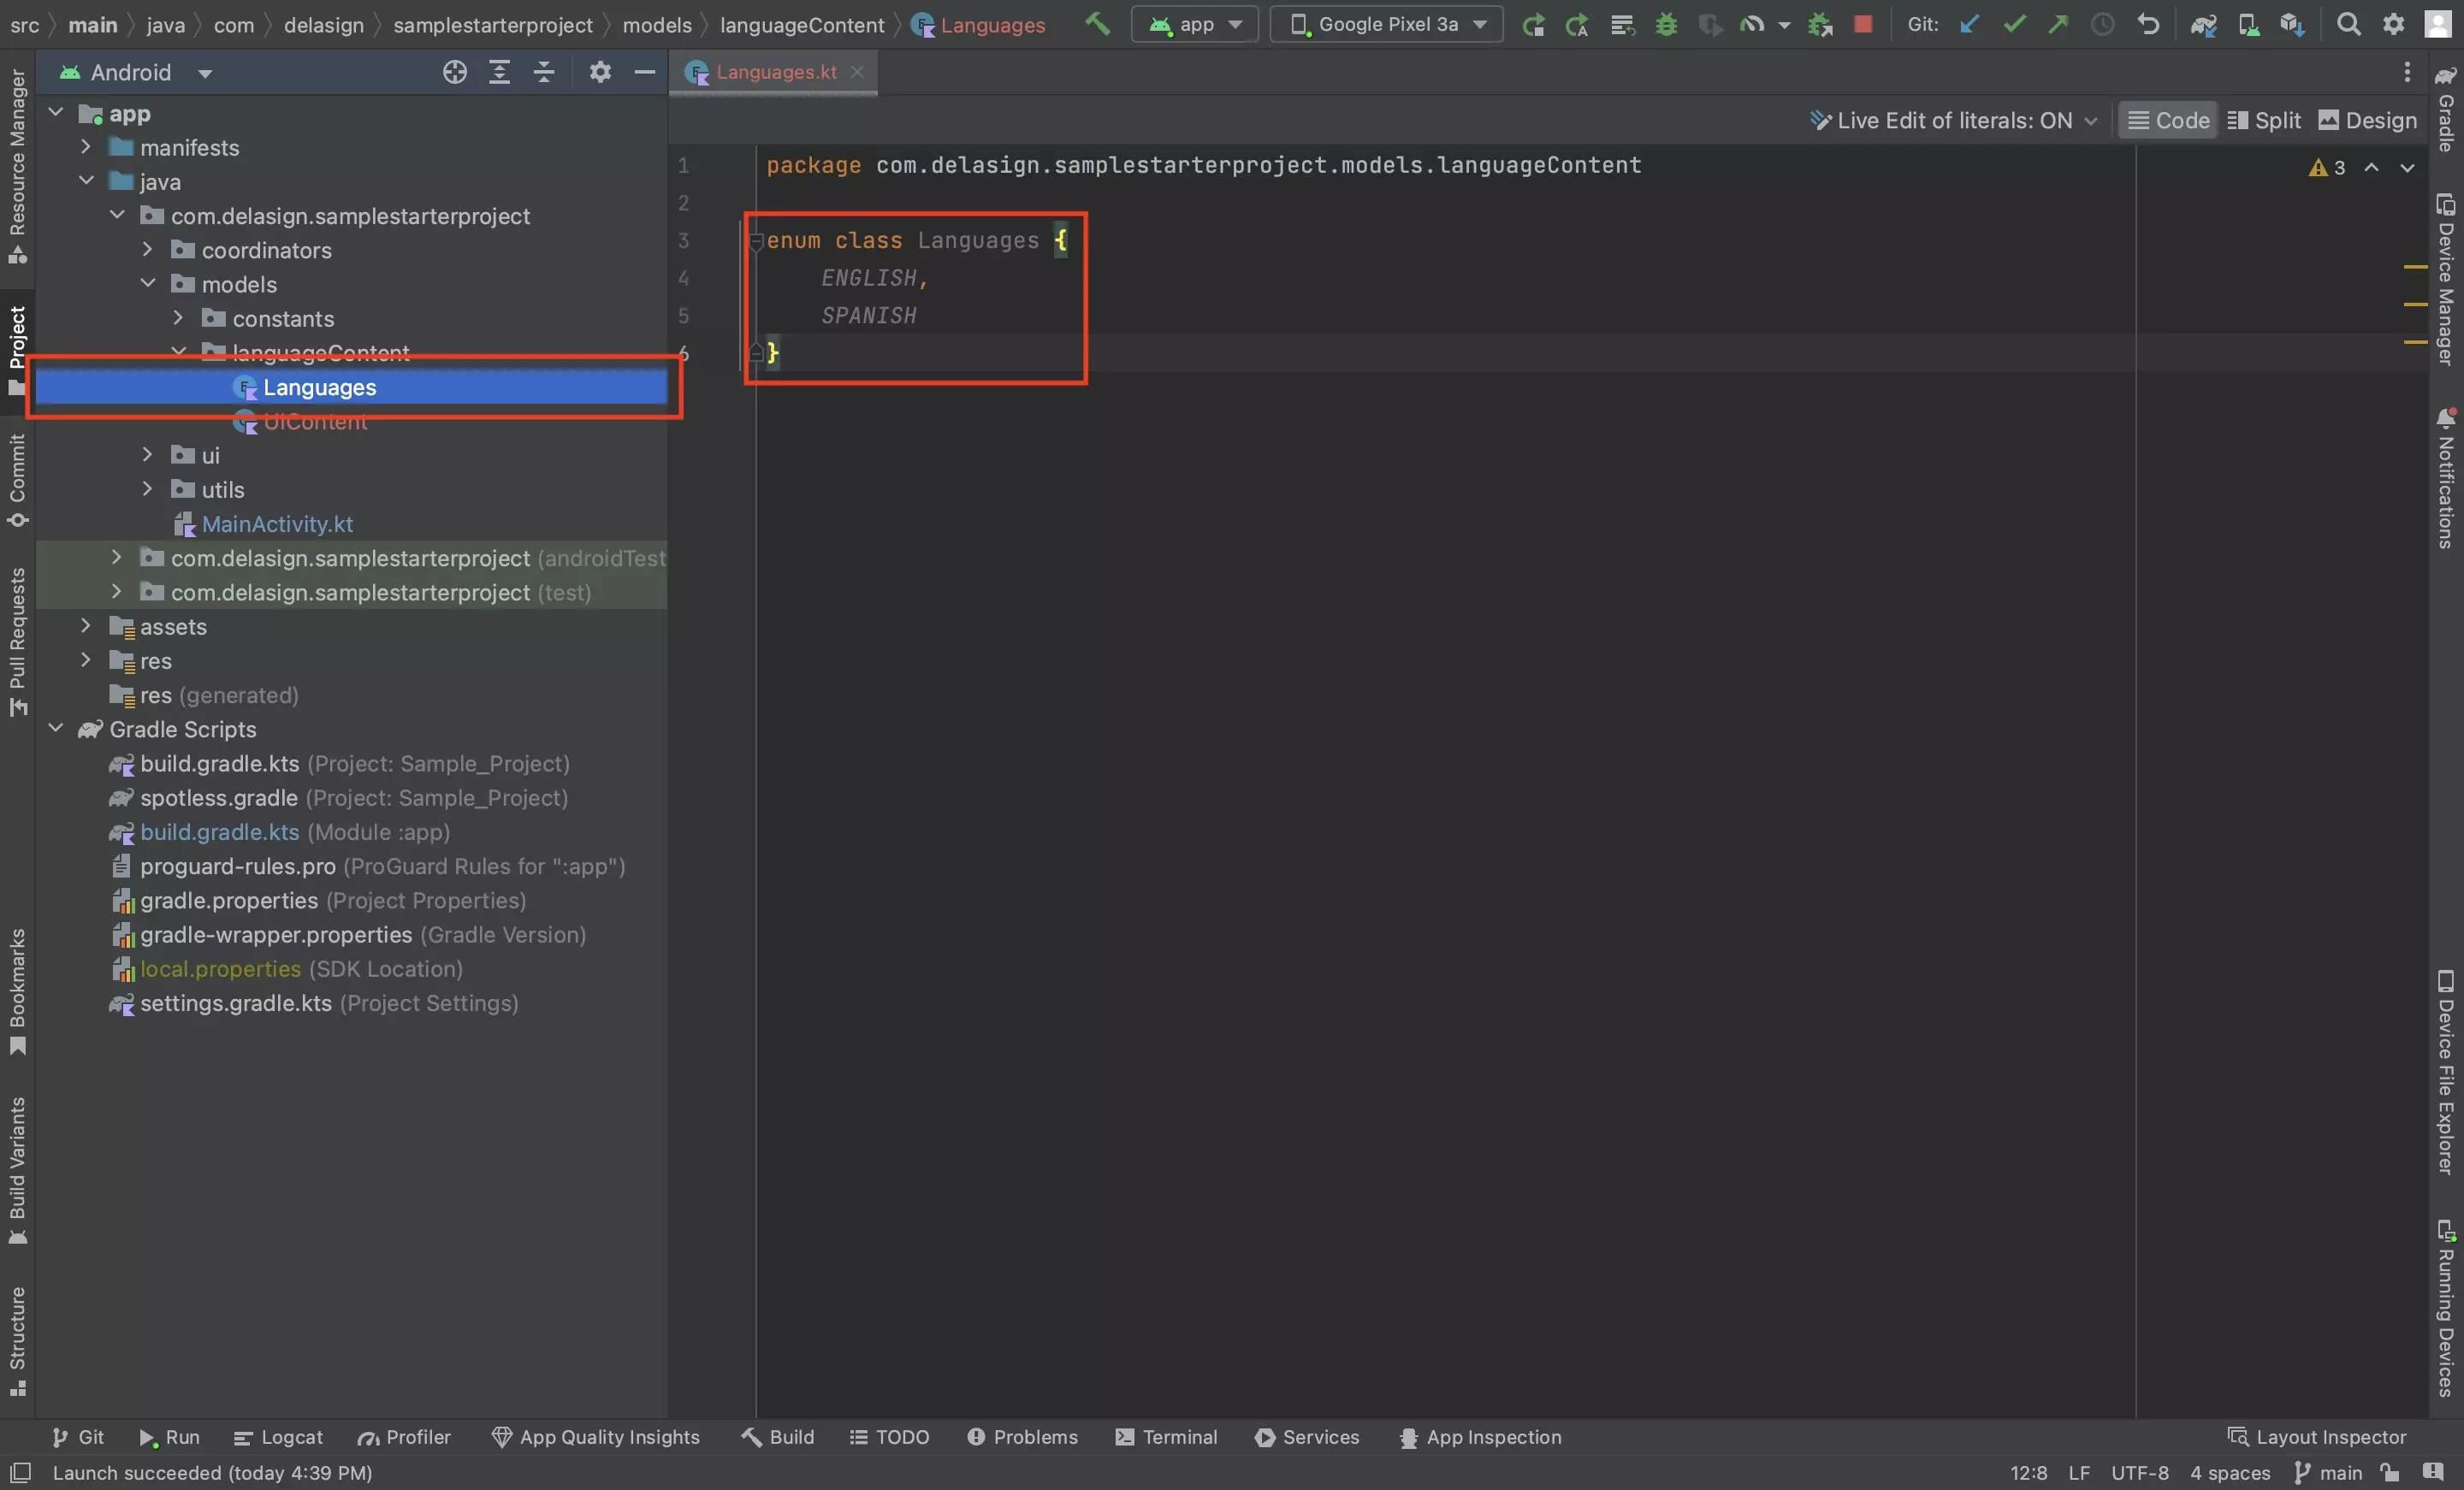
Create a file called Languages.kt and add the languages you wish to implement as enums.
We recommend that you place it under models > languageContent.
Step Five: Create the Language Coordinator Folder
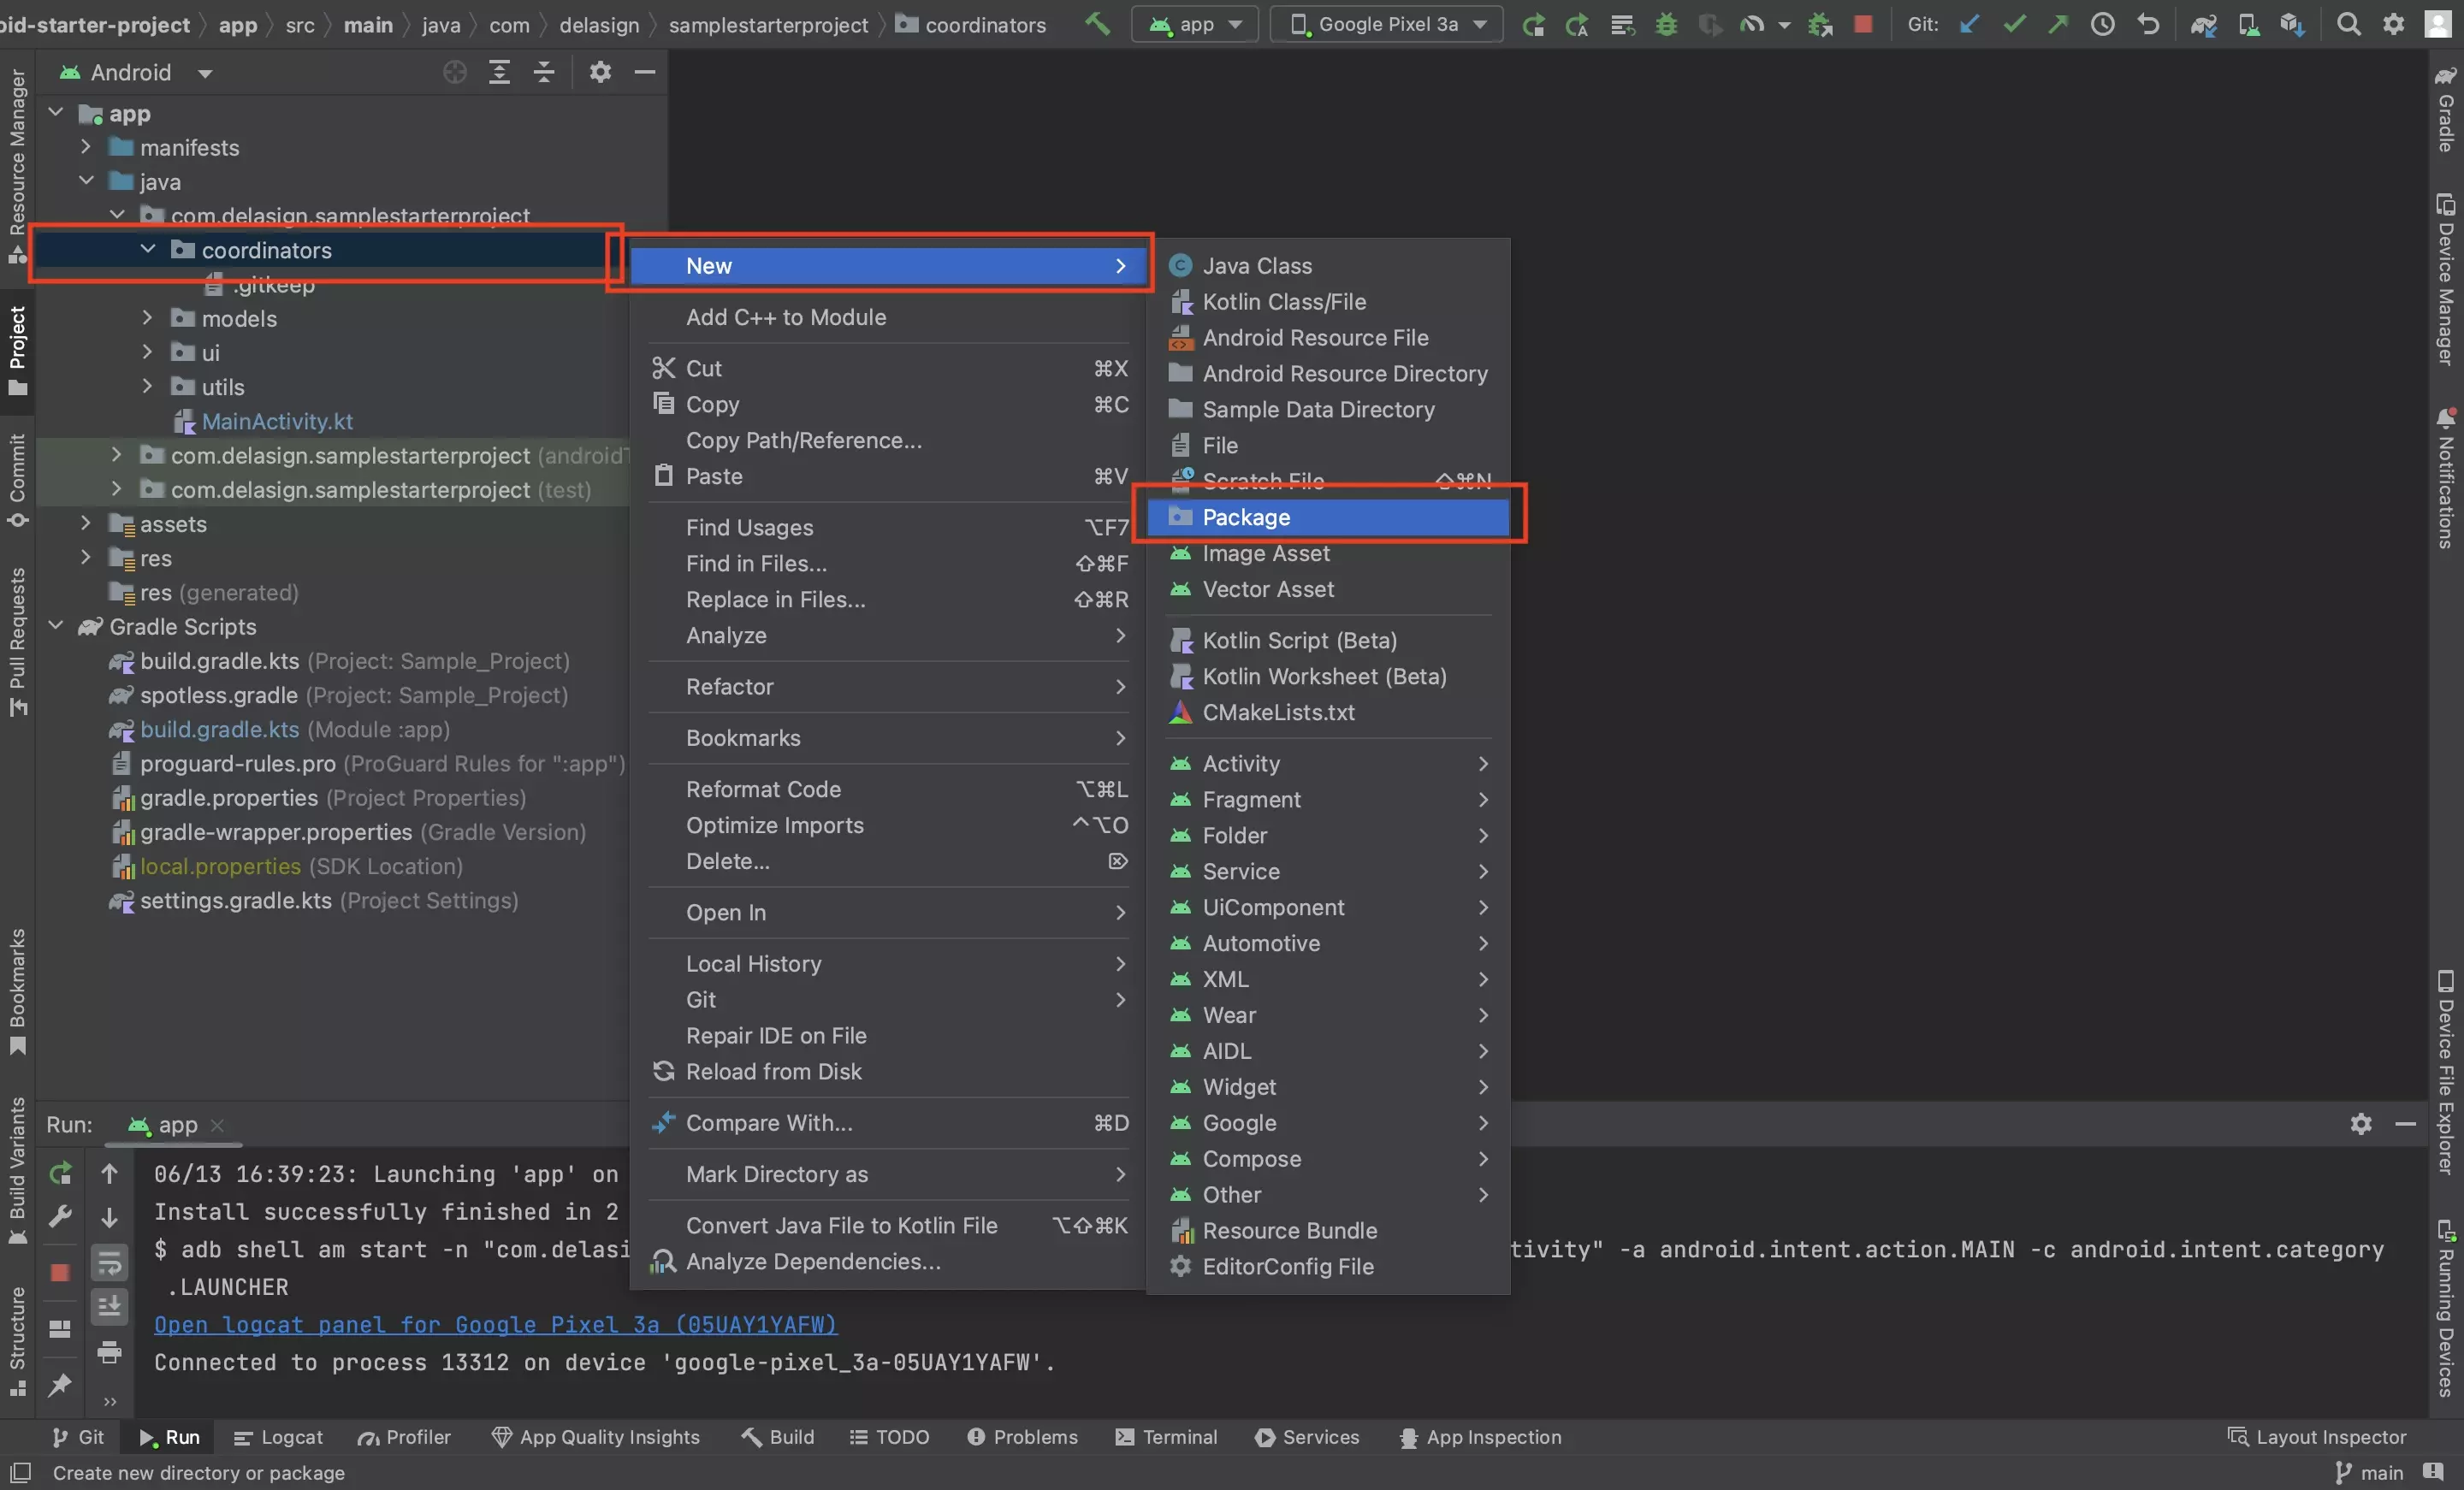
Create a package folder called for the LanguageCoordinator.
We suggest you call it languageCoordinator and place it under coordinators.
Step Six: Create the Language Coordinator Declaration File
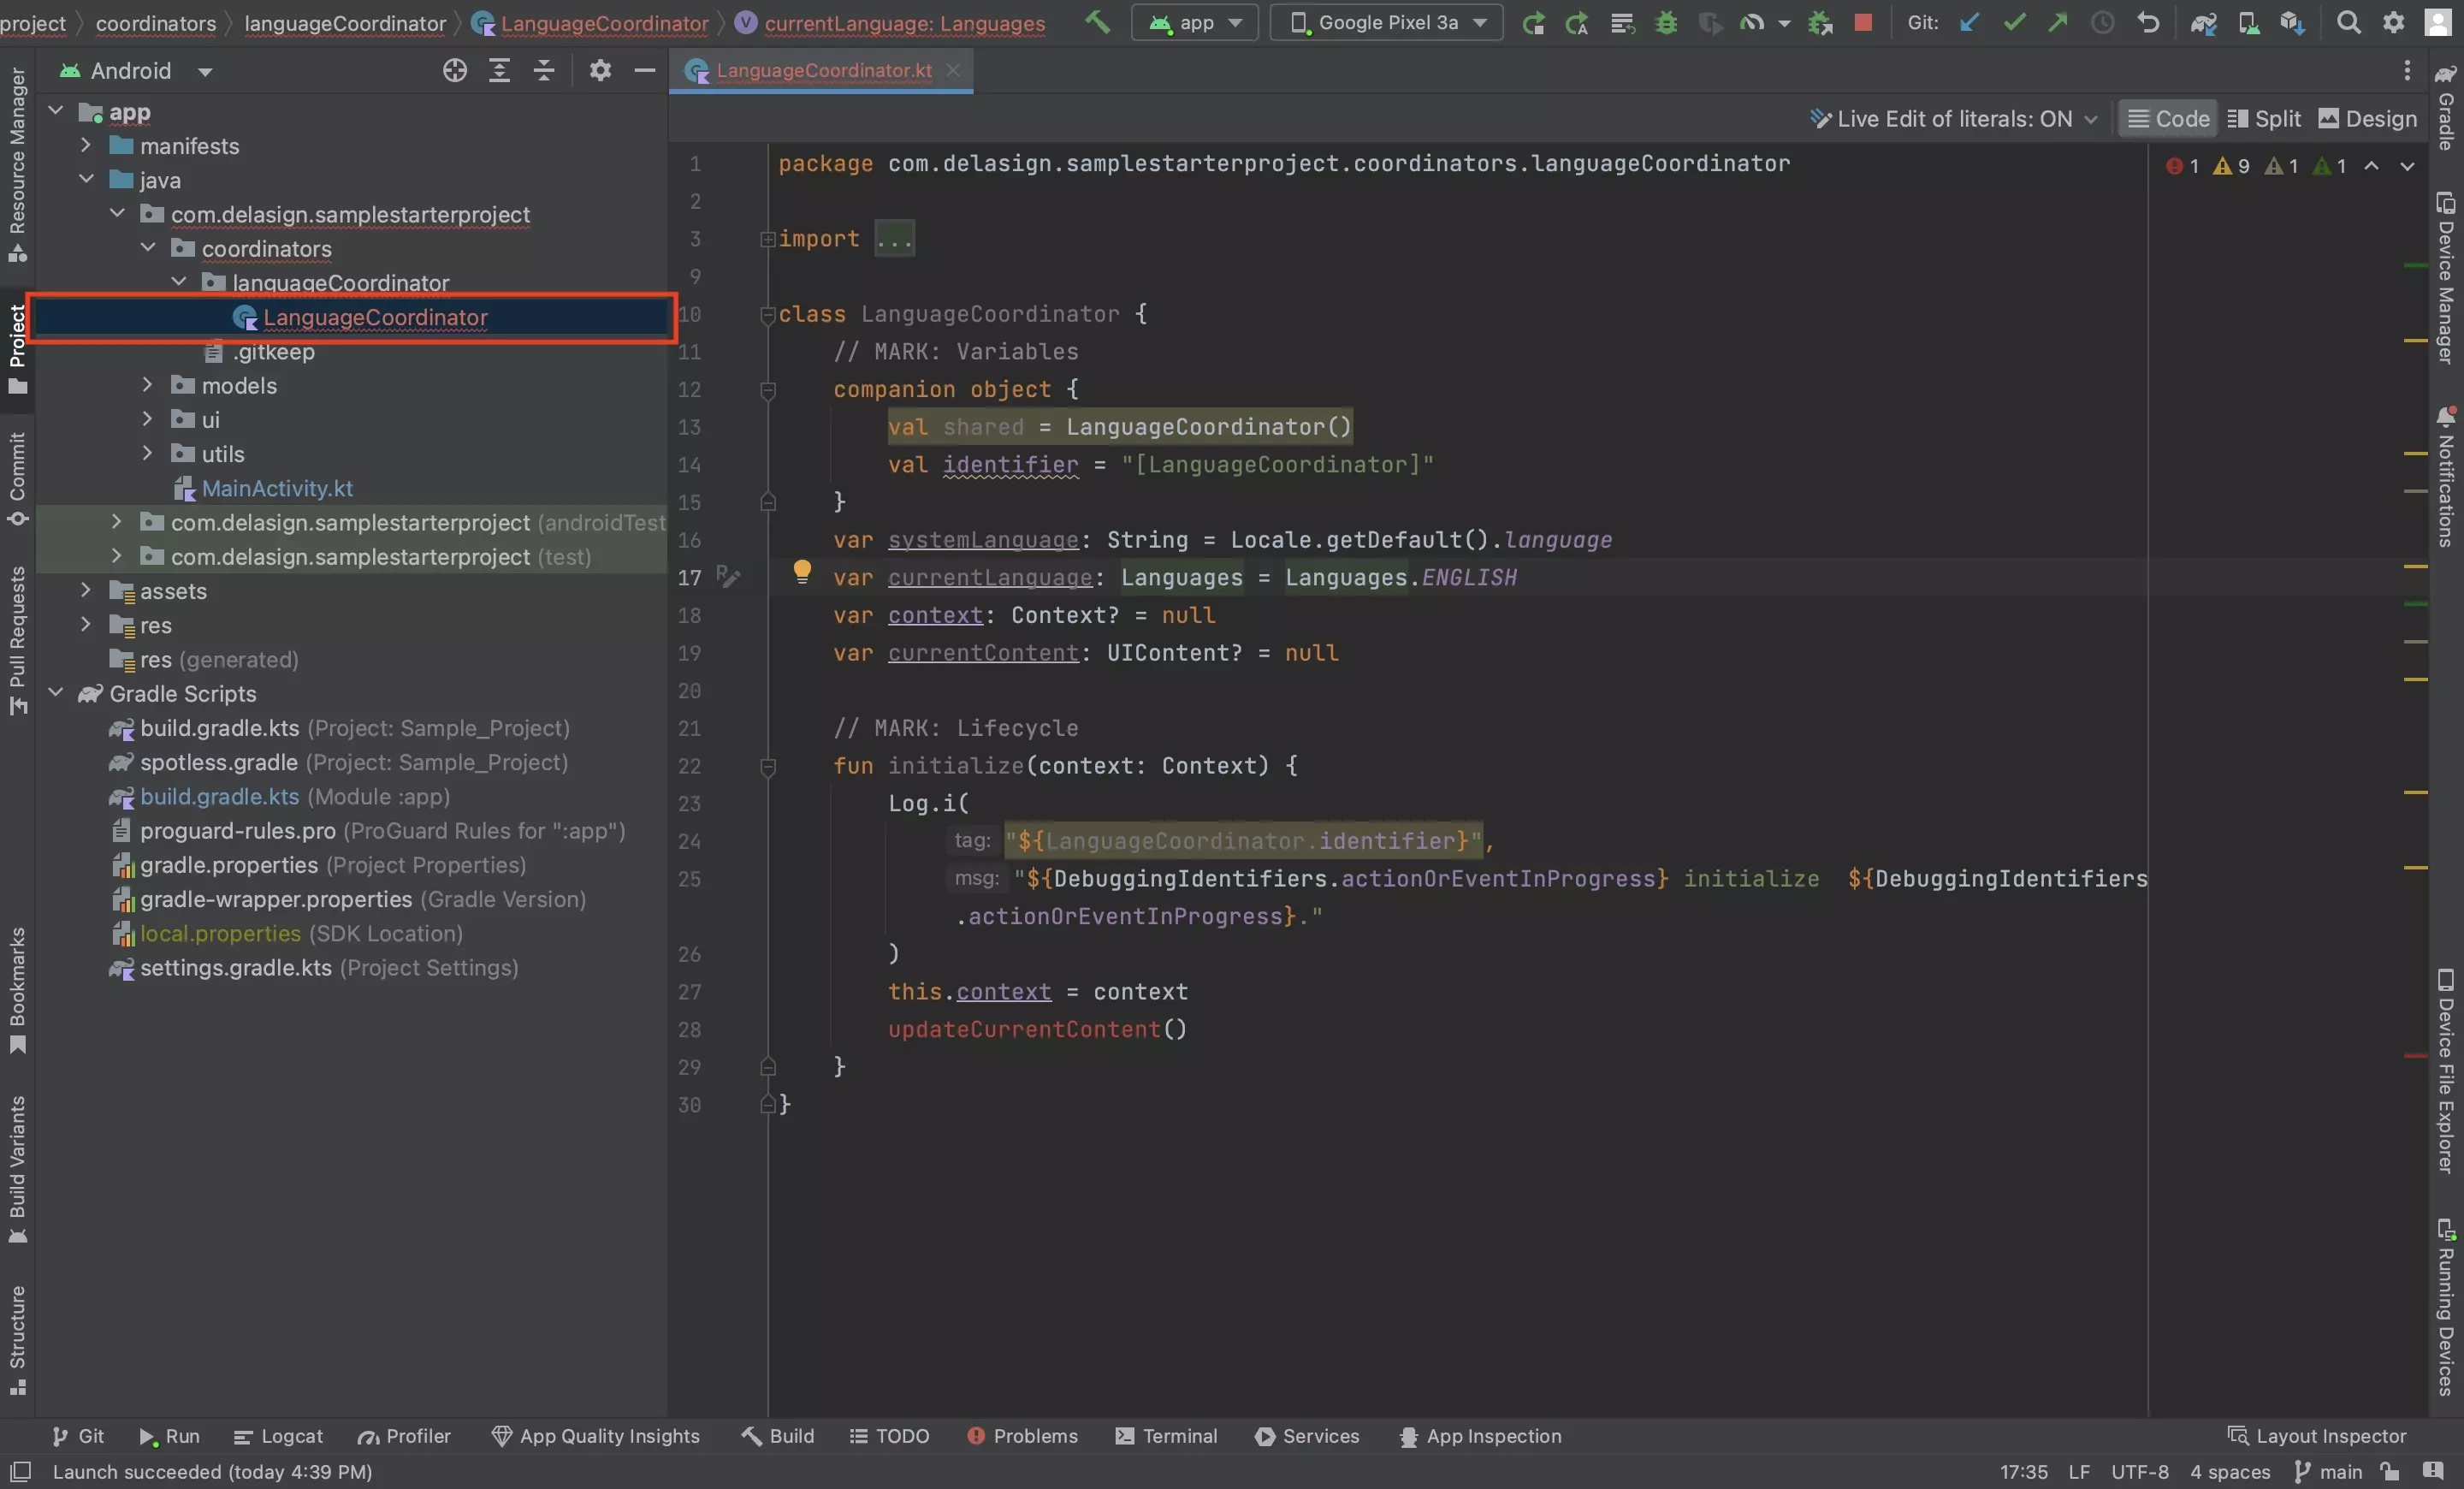
In the languageCoordinator folder, create a file called LanguageCoordinator.kt and paste in the code below.
Please note that the updateCurrentContent is created in the next steps.
Step Seven: Create the Language Coordinator Get Extension
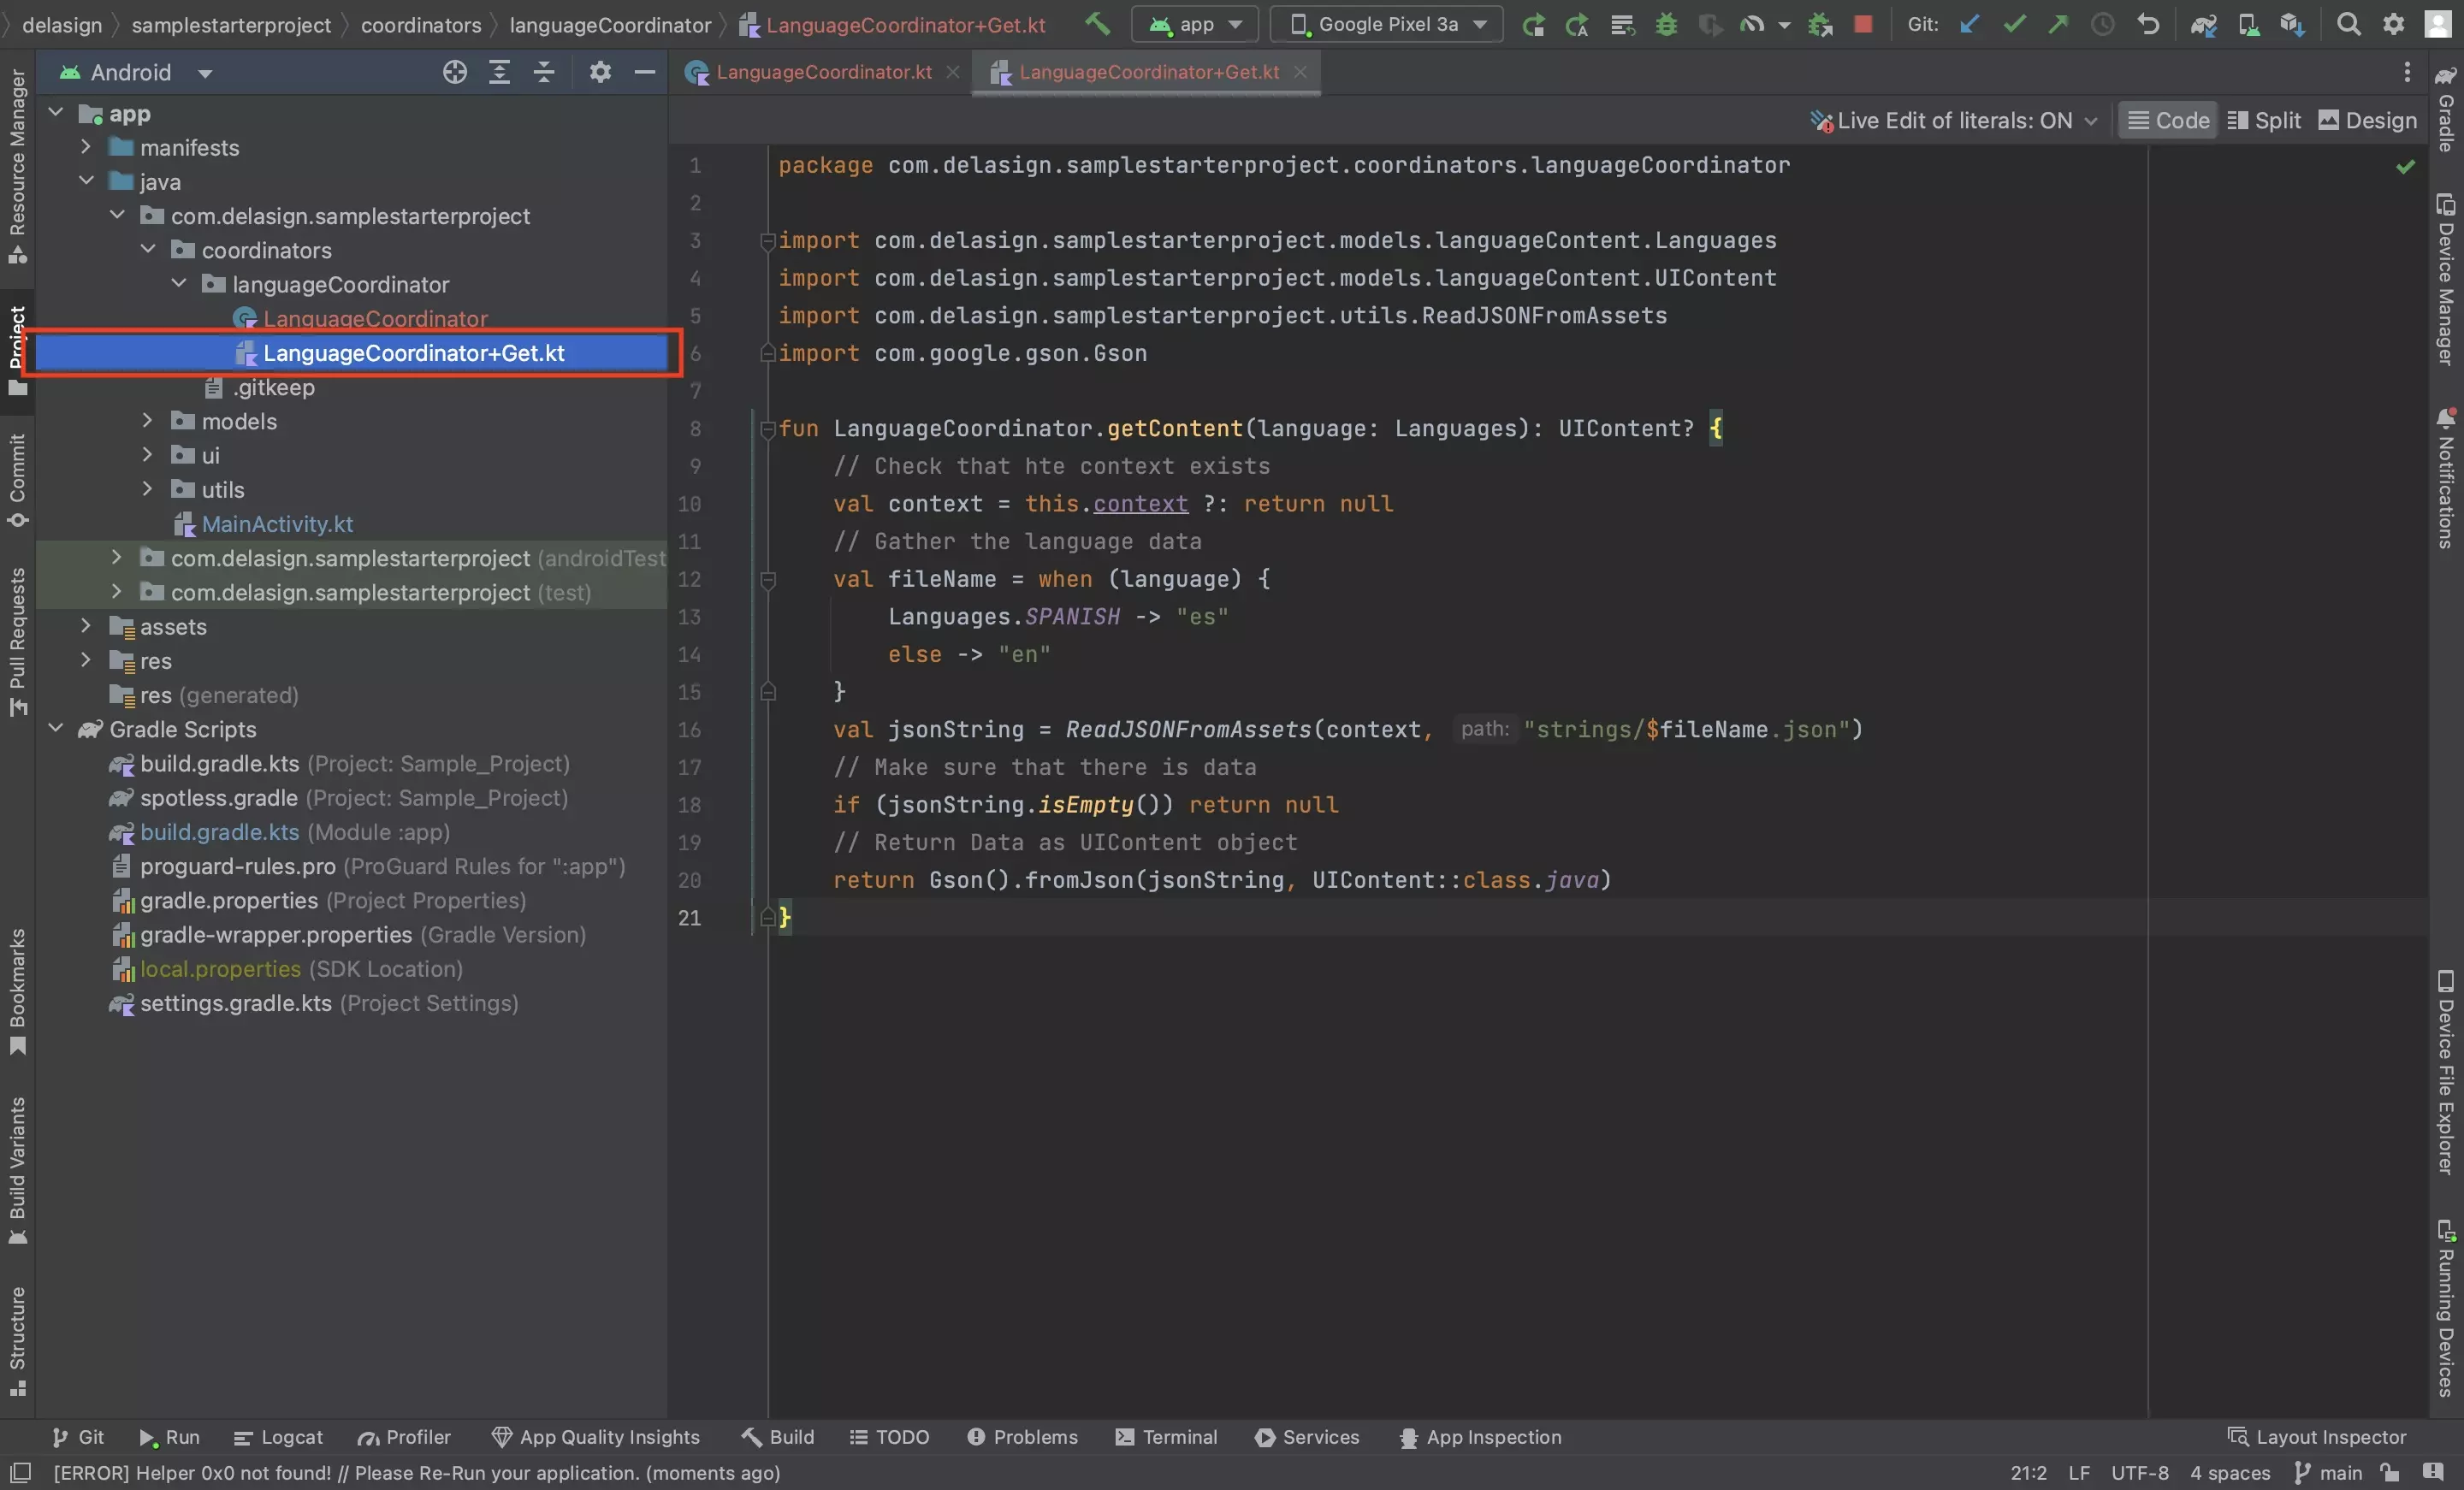
In the languageCoordinator folder, create a file called LanguageCoordinator+Get.kt and paste in the code below.
Please follow the tutorial below to learn how to implement the ReadJSONFromAssets functionality.
Step Eight: Create the Language Coordinator Update Extension
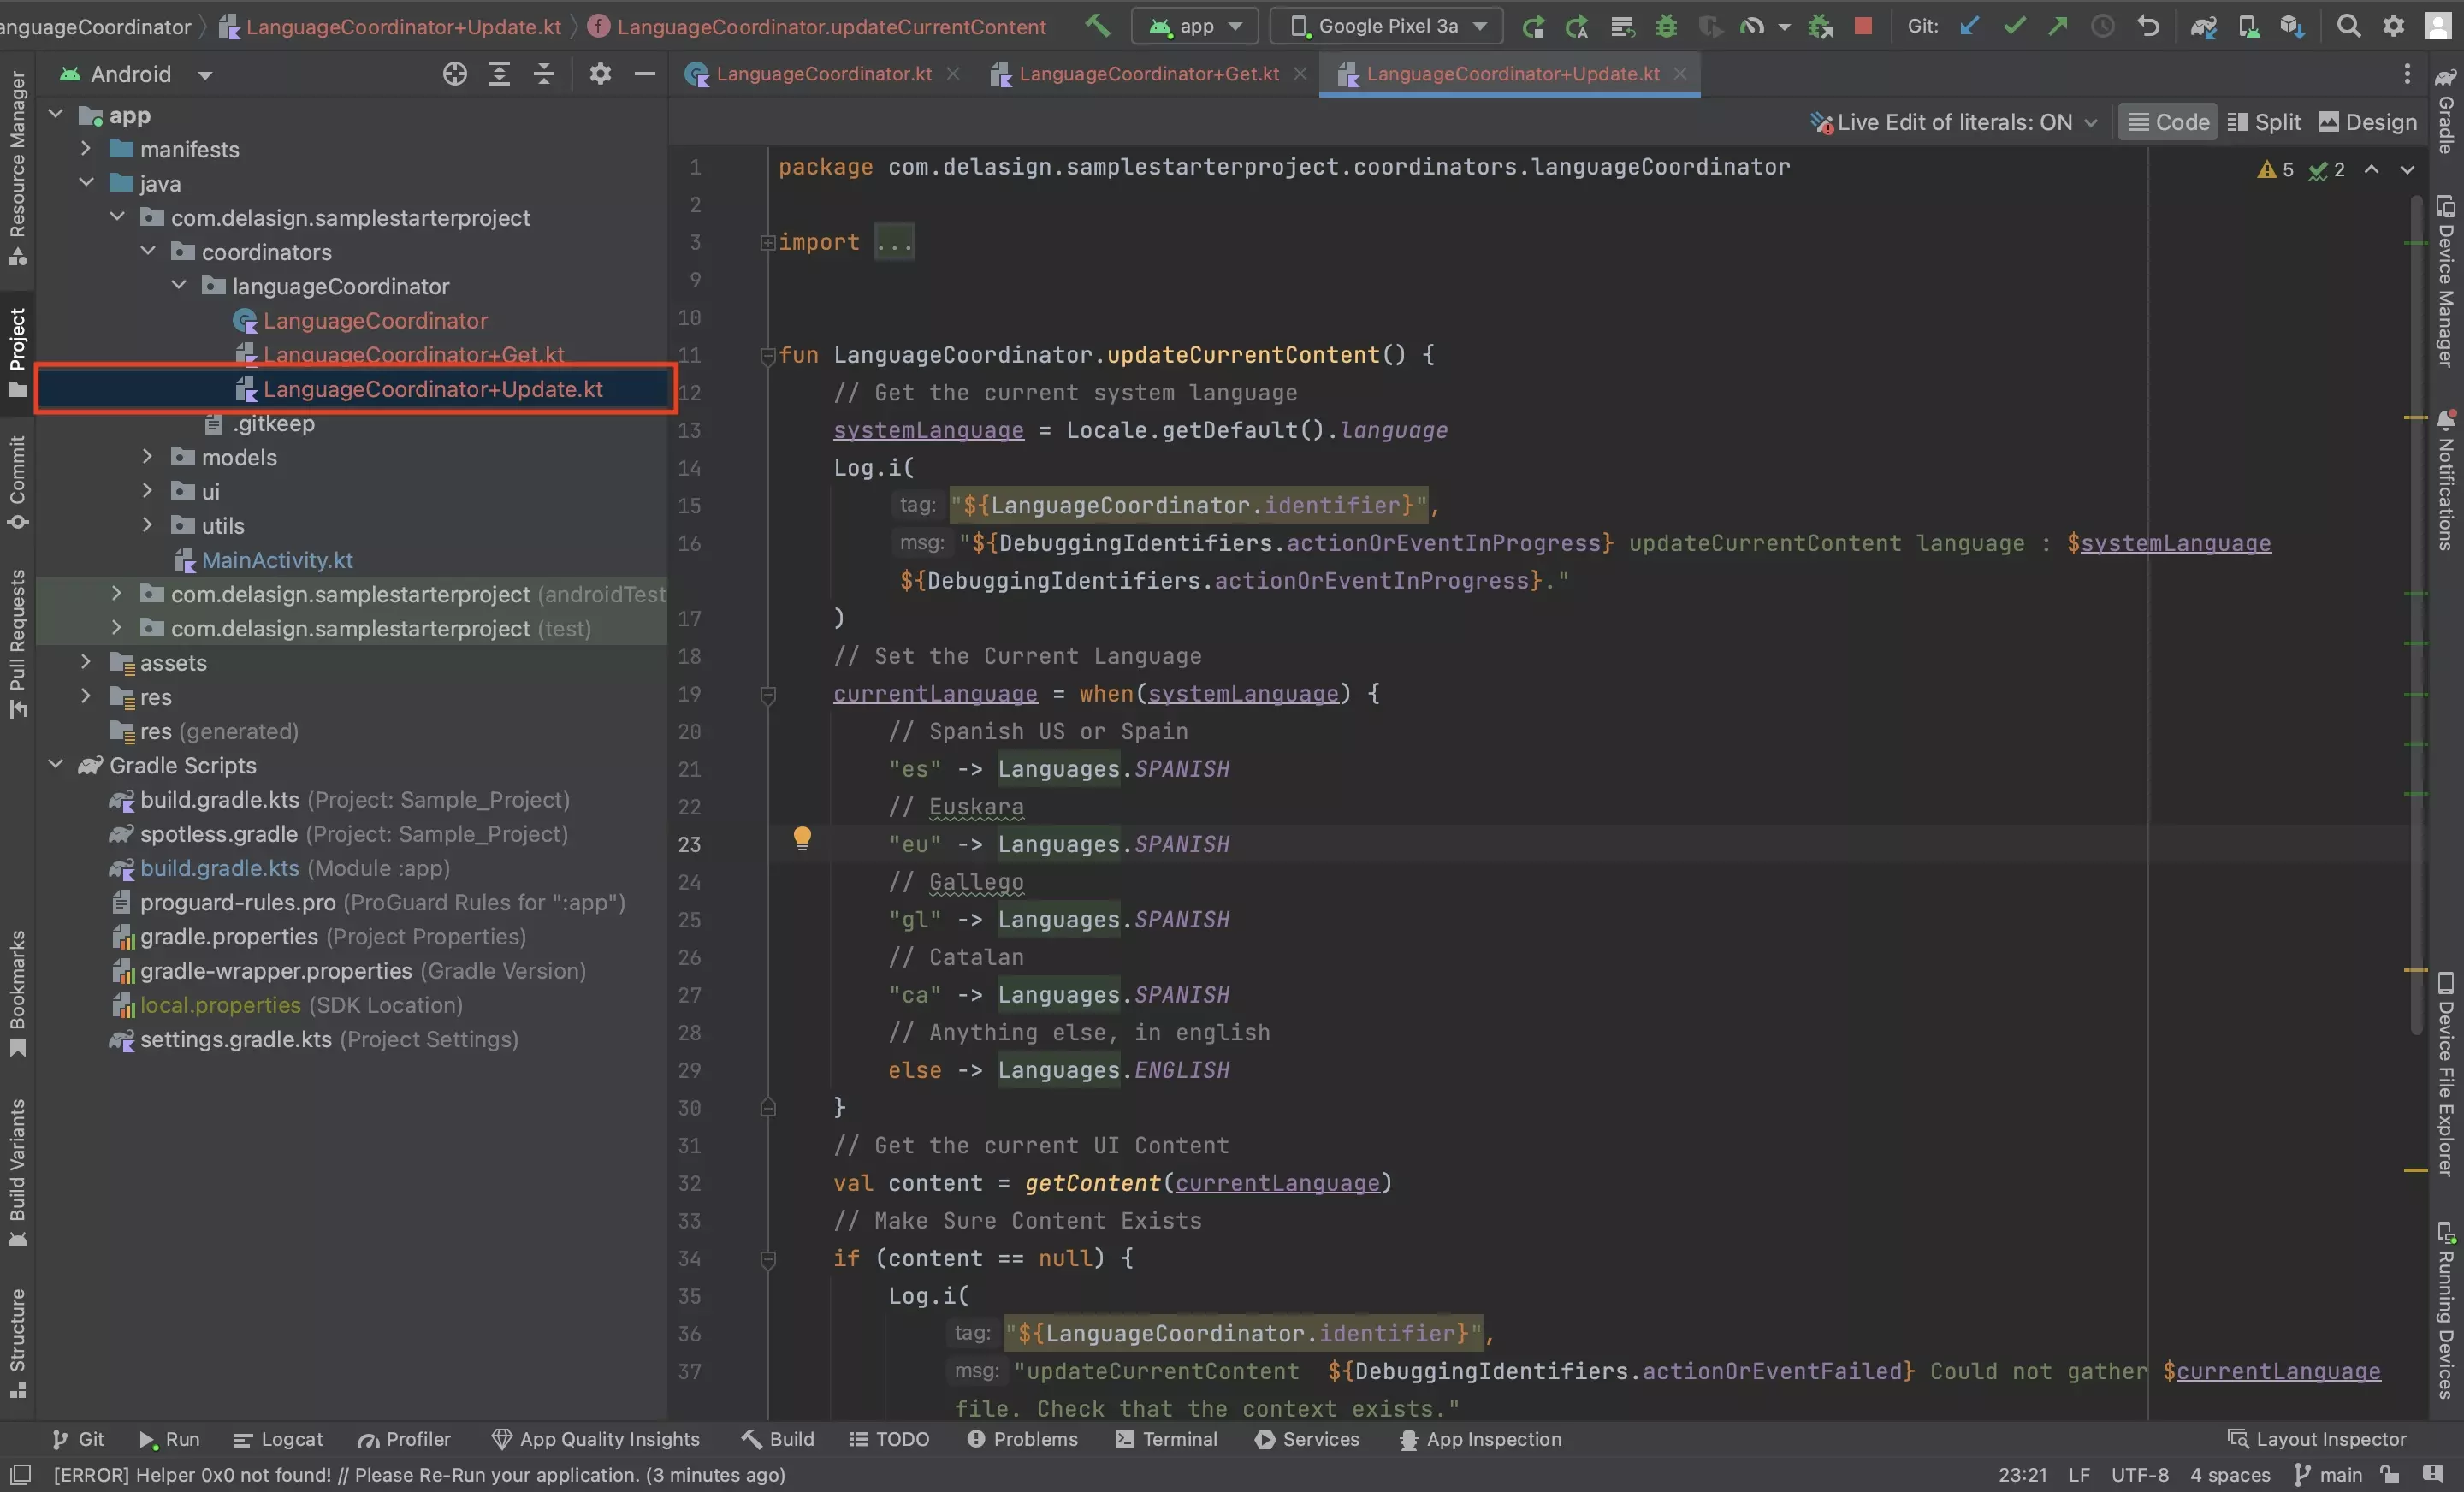
In the languageCoordinator folder, create a file called LanguageCoordinator+Update.kt and paste in the code below.
Step Nine: Initialize the LanguageCoordinator
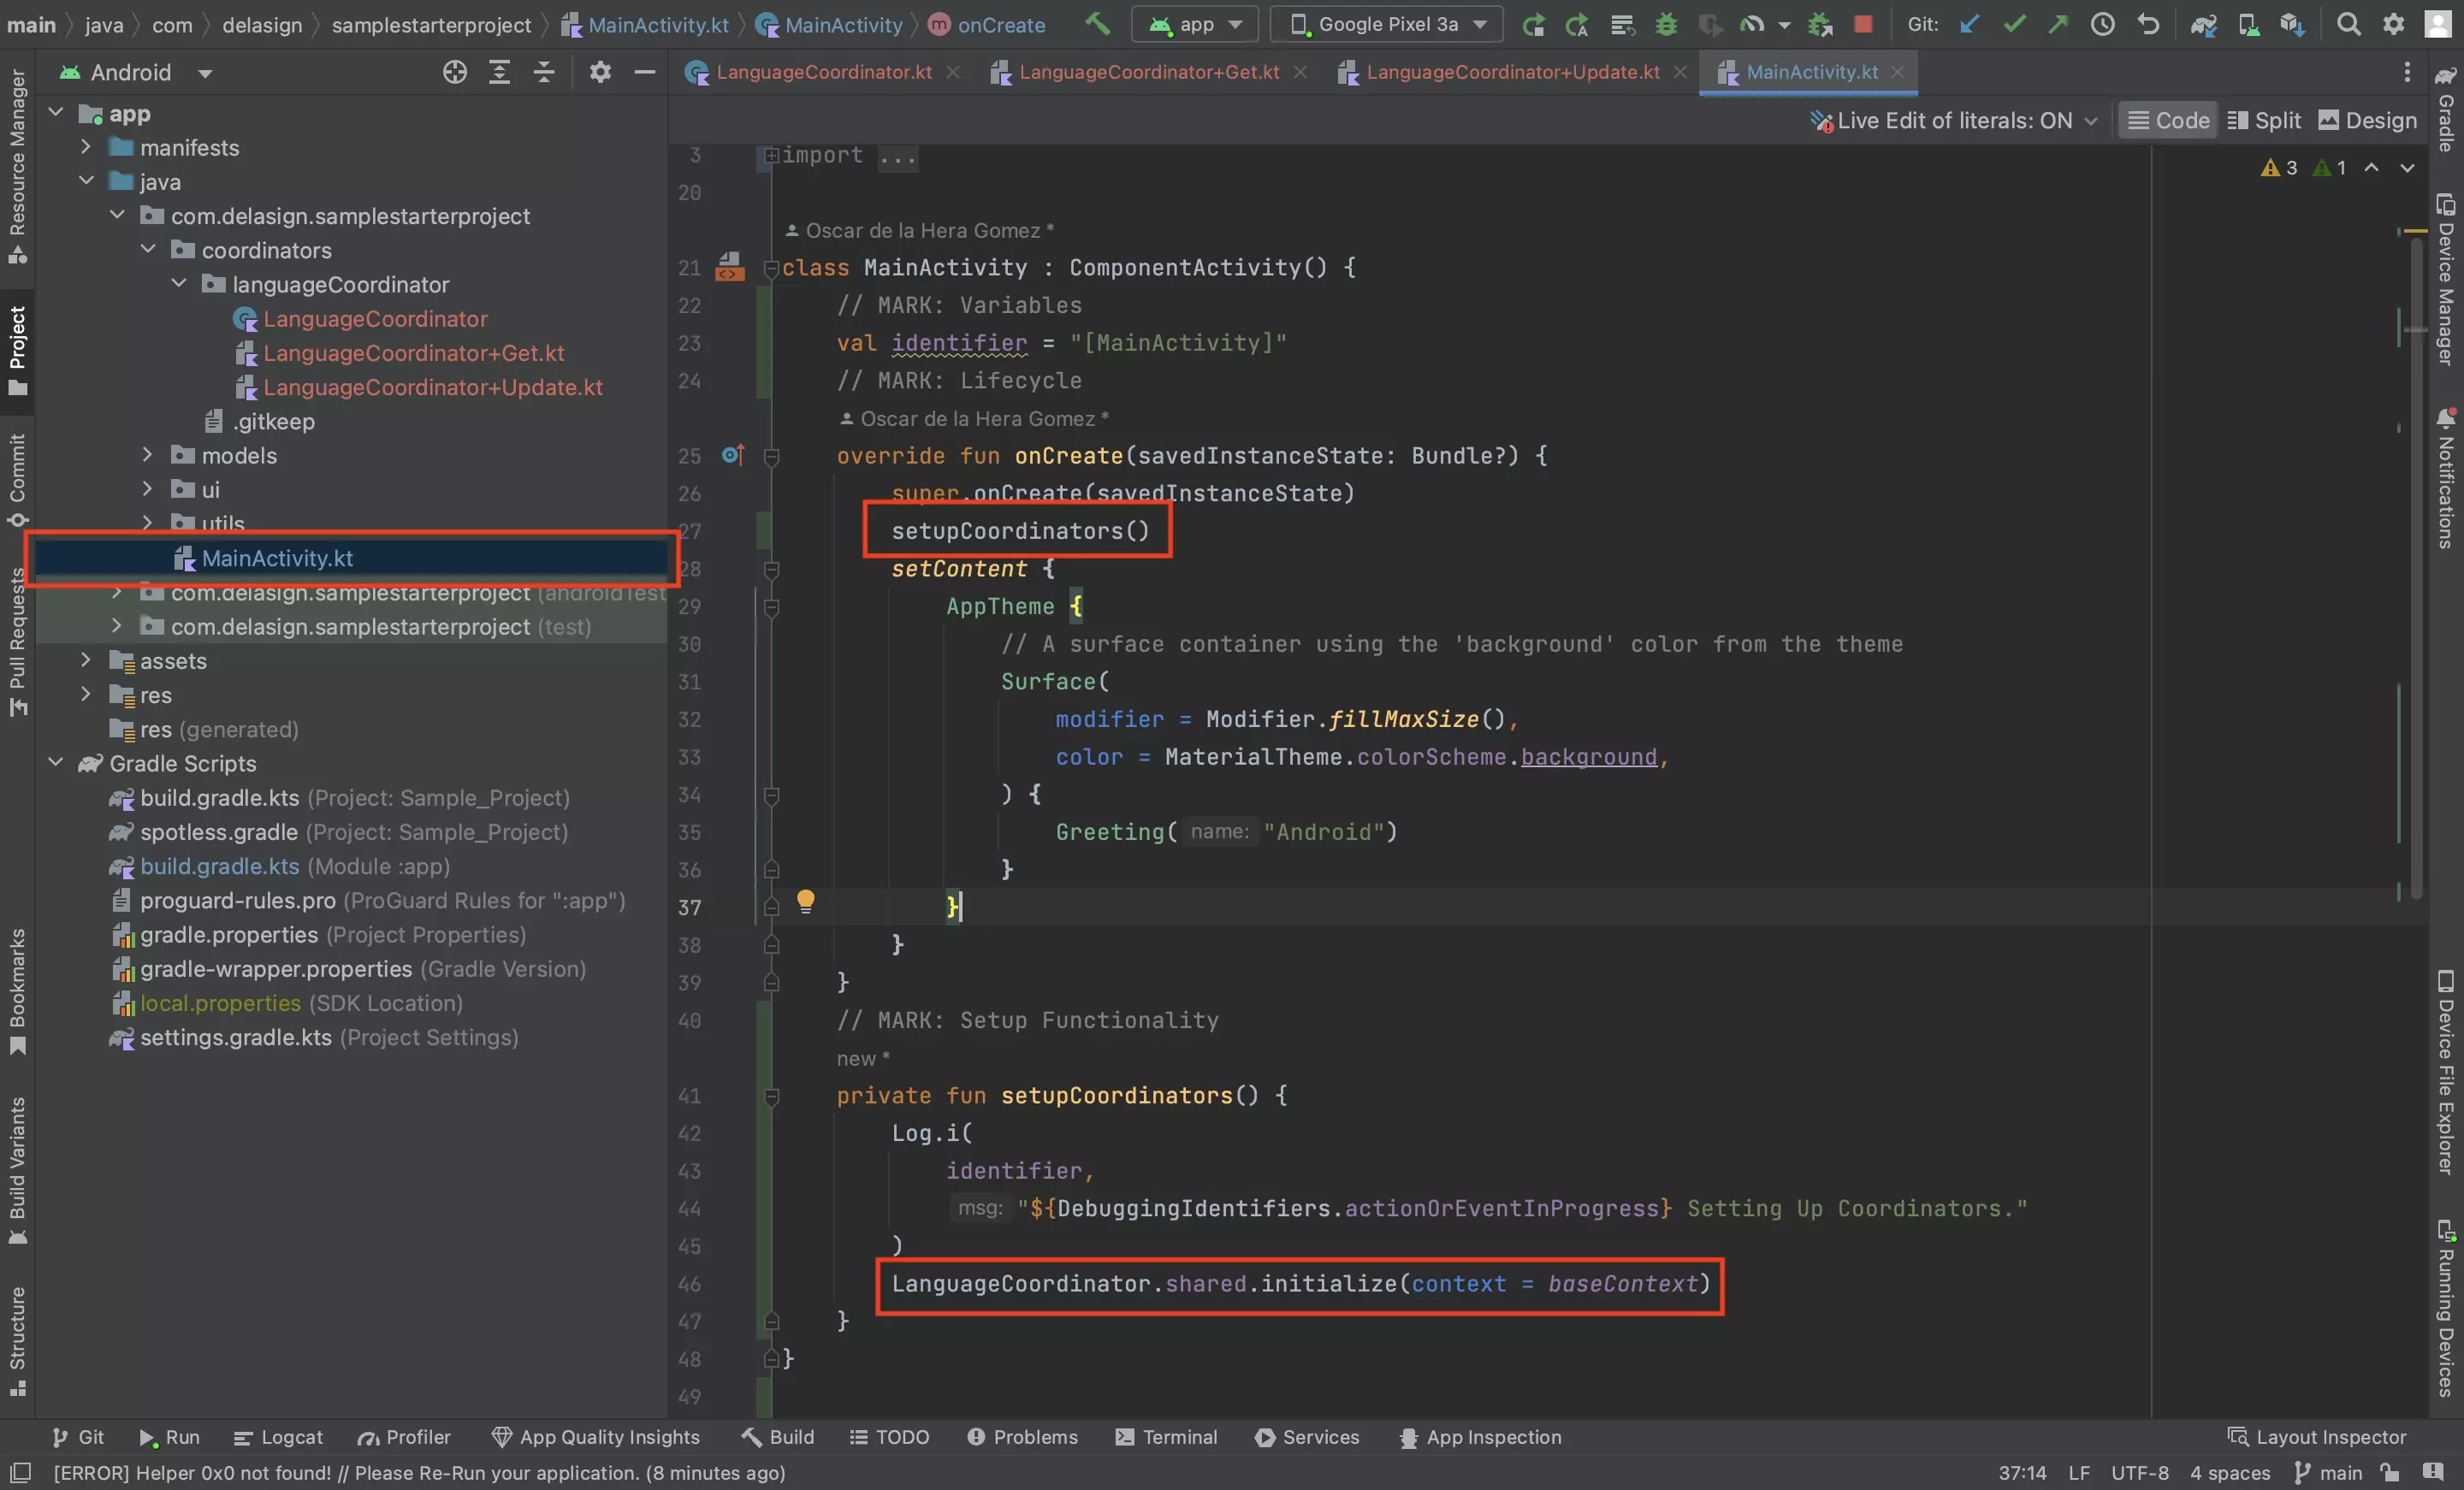
Initialize the LanguageCoordinator by running the following line in the MainActivity.
LanguageCoordinator.shared.initialize()We recommend that you do this in a function called setupCoordinators in your MainActivity.kt.
Step Ten: Update Content on Resume
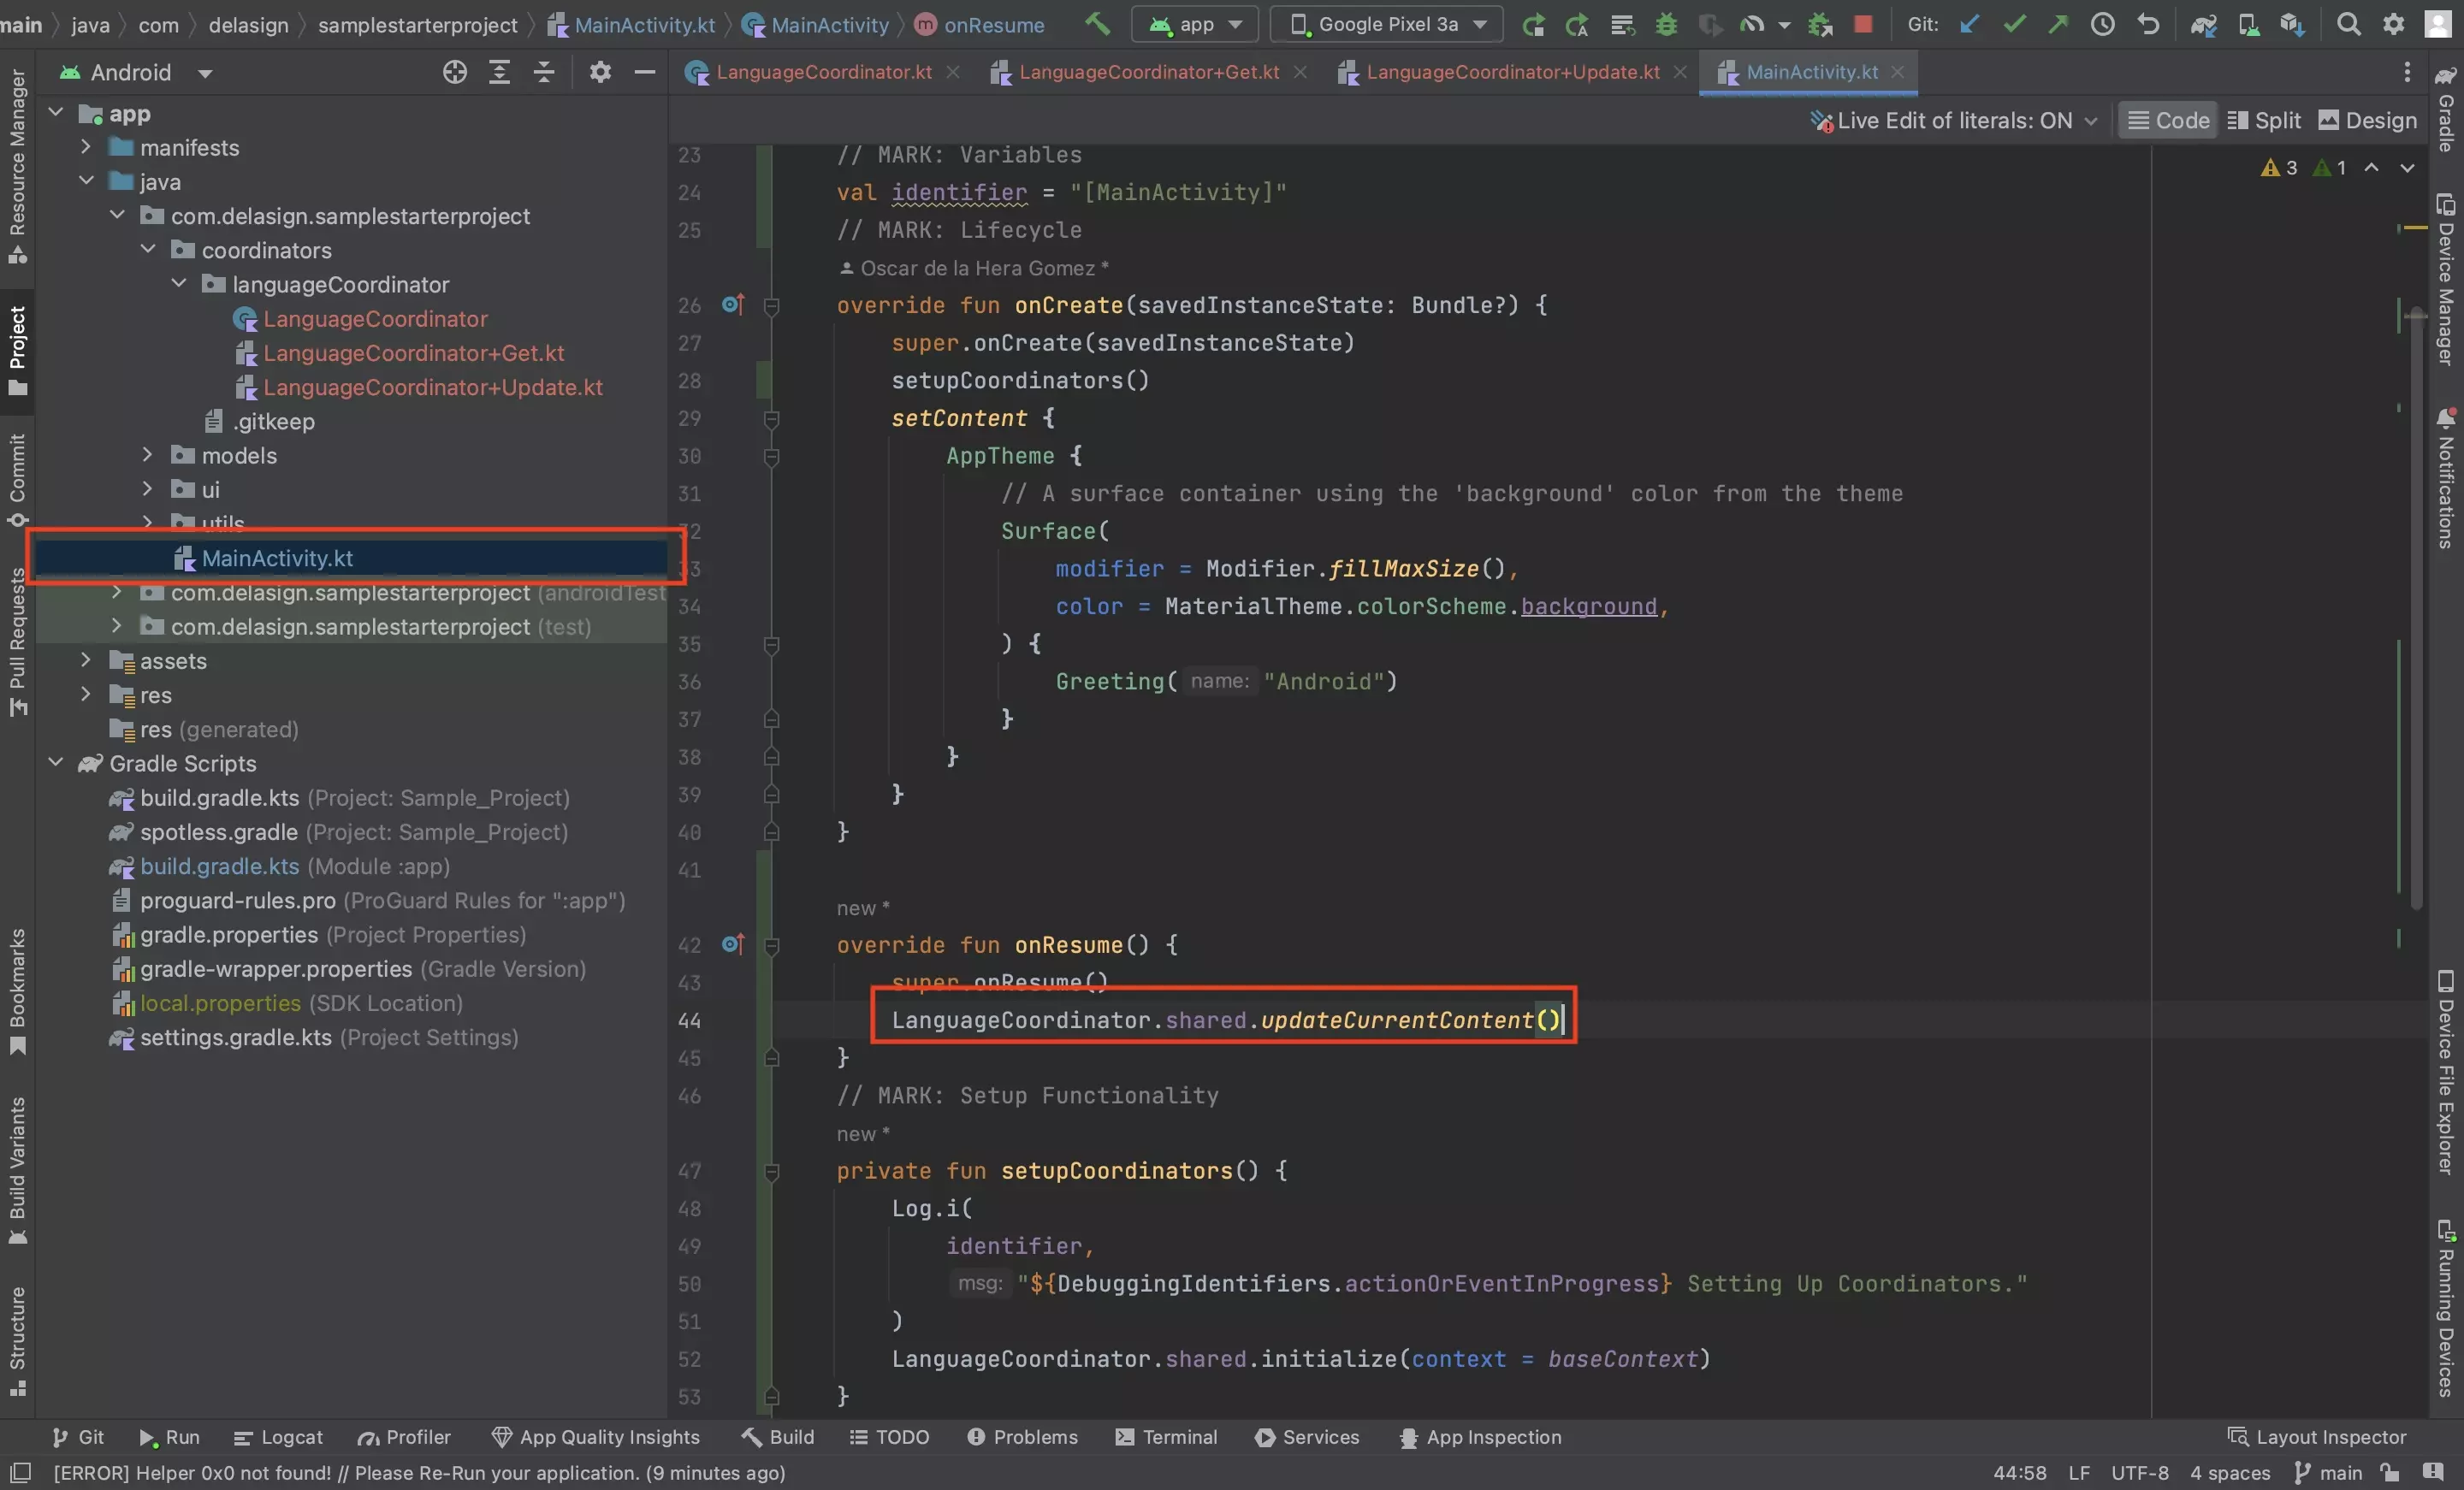
Call the Language Coordinators updateCurrentContent function in the onResume function of the MainActivity.kt's lifecycle to make sure the content updates when the app returns from the background.
Please note that you should send a notification to update the content after coming from the background, to make sure that it updates in the event that the language changes. To learn how to do this follow the tutorial below.
Step Eleven: Implement Content
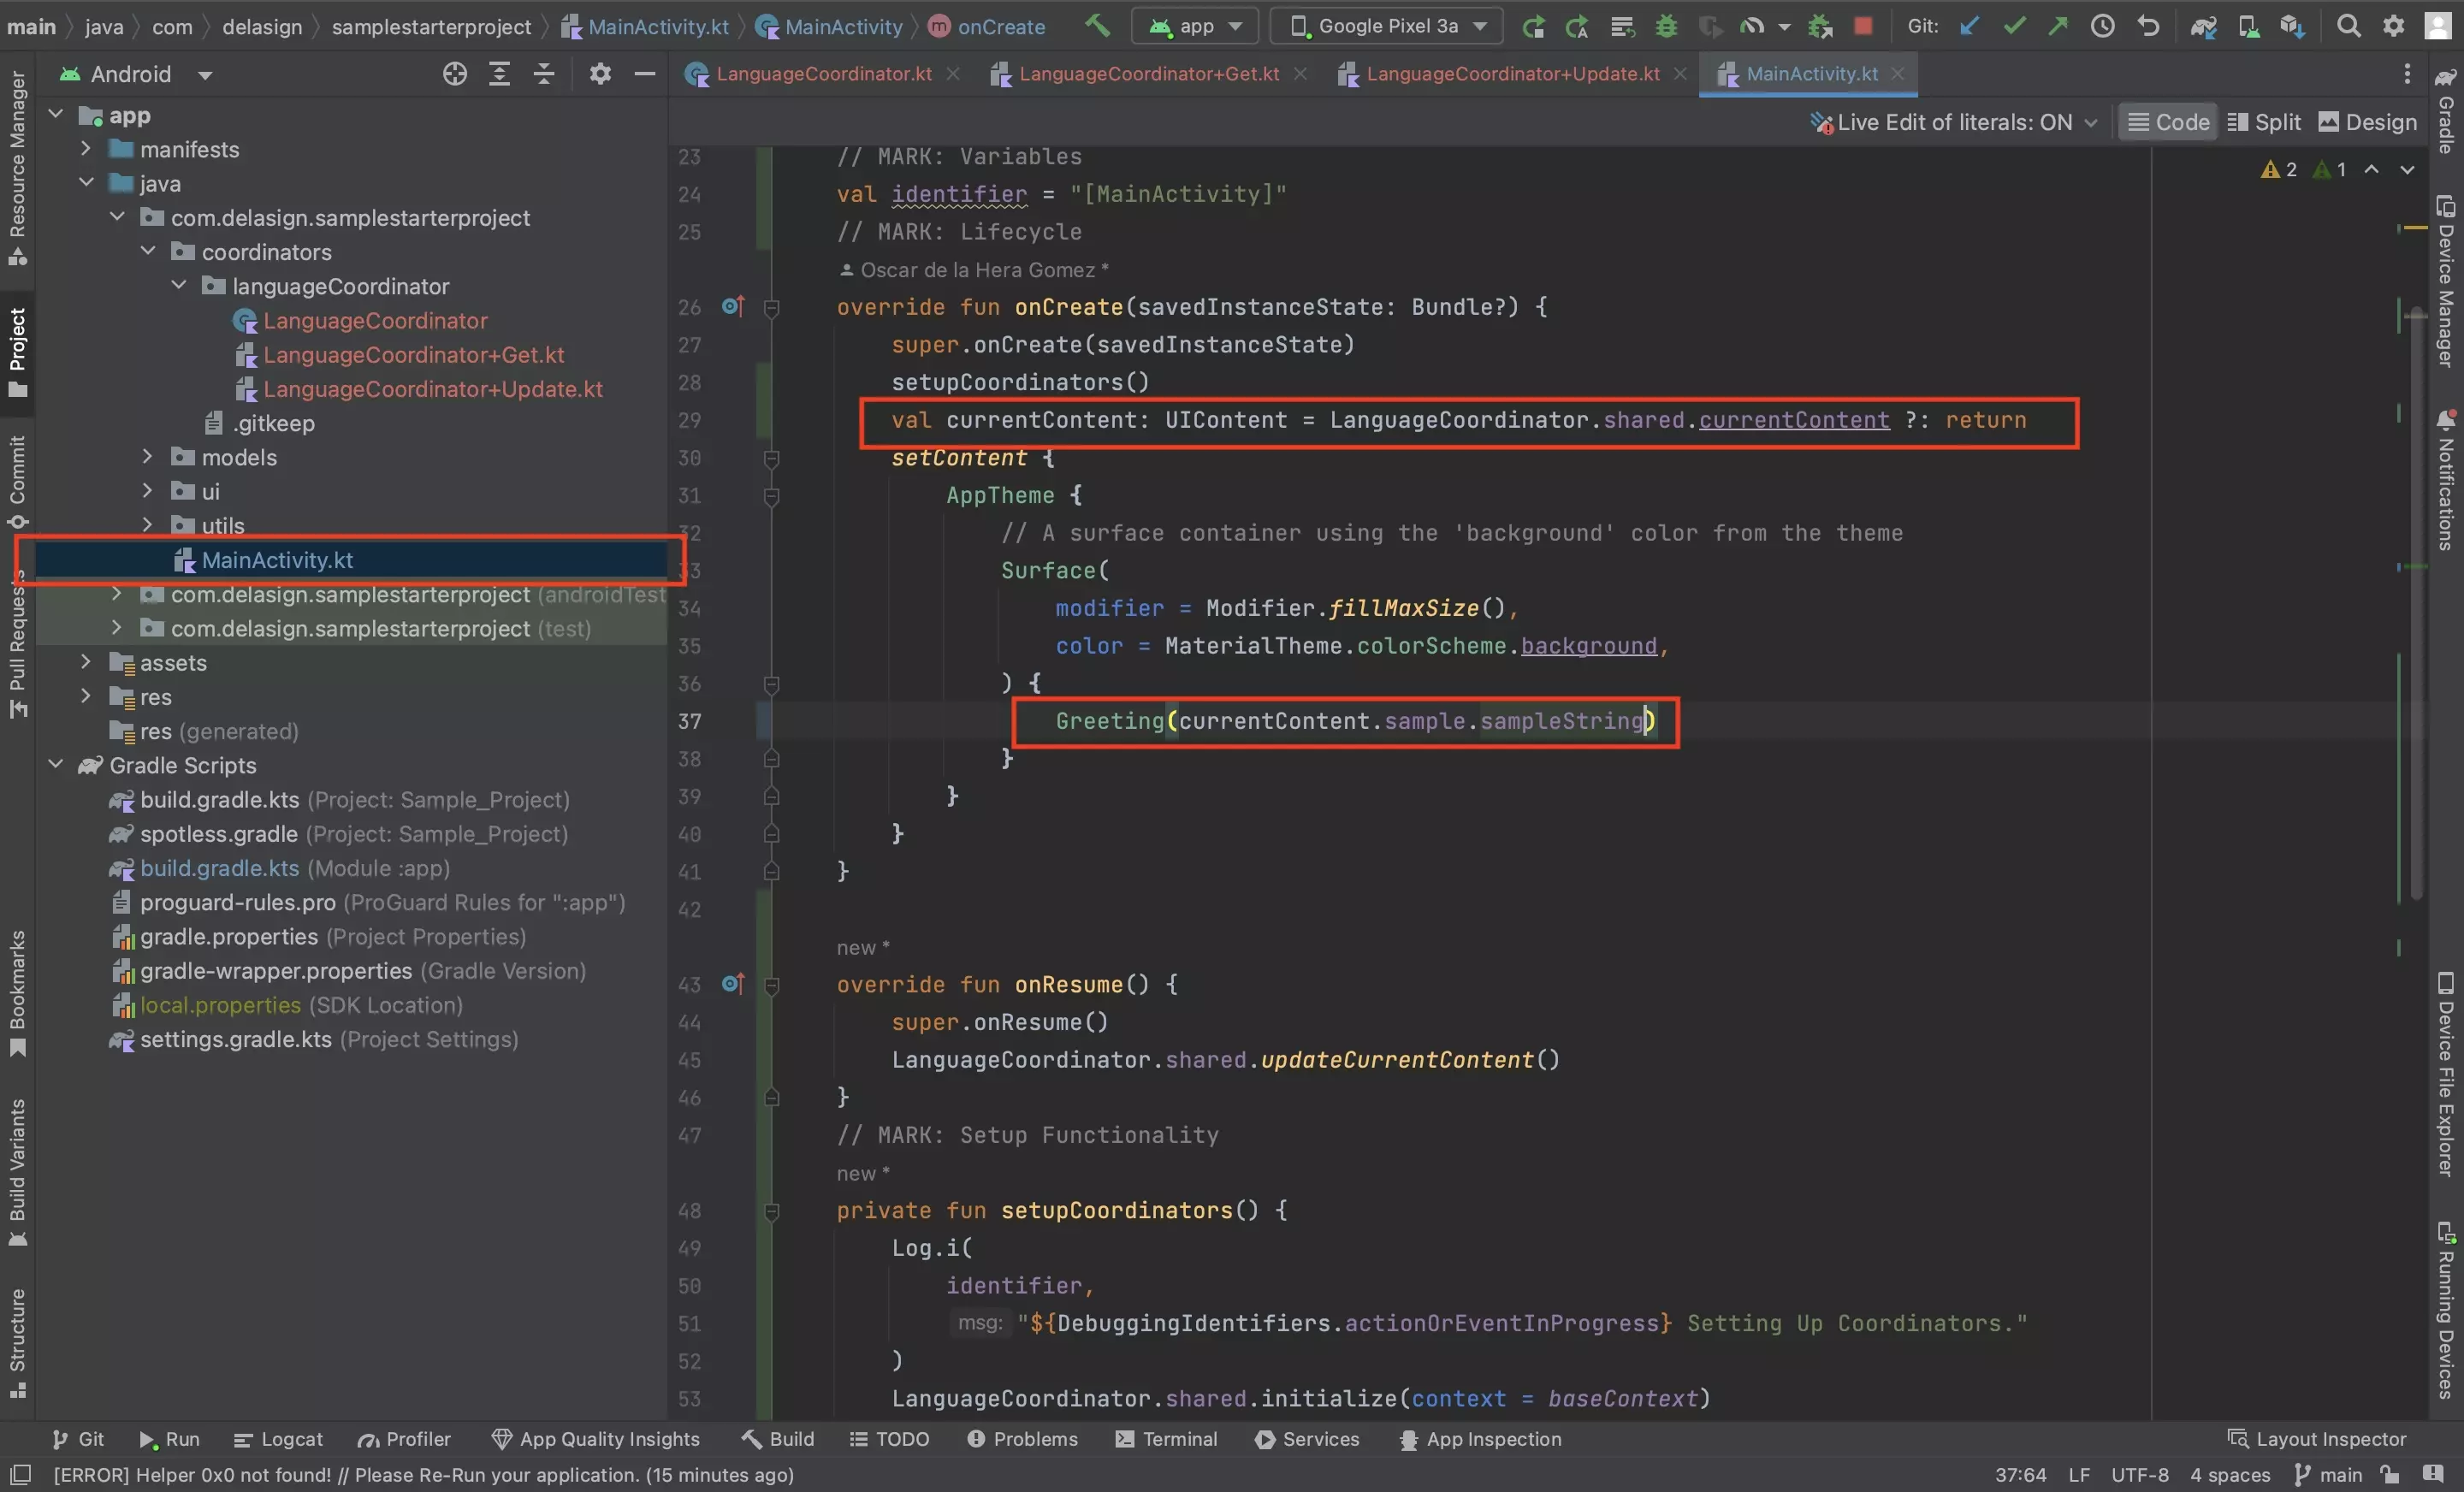
To implement content, first make sure the content exists by using the following line:
val currentContent: UIContent = LanguageCoordinator.shared.currentContent ?: returnThen implement it using dot notation that matches the data class that you created (i.e. data.sample.sampleString or data.sampleTwo.sampleB.aSampleString).
Step Twelve: Test
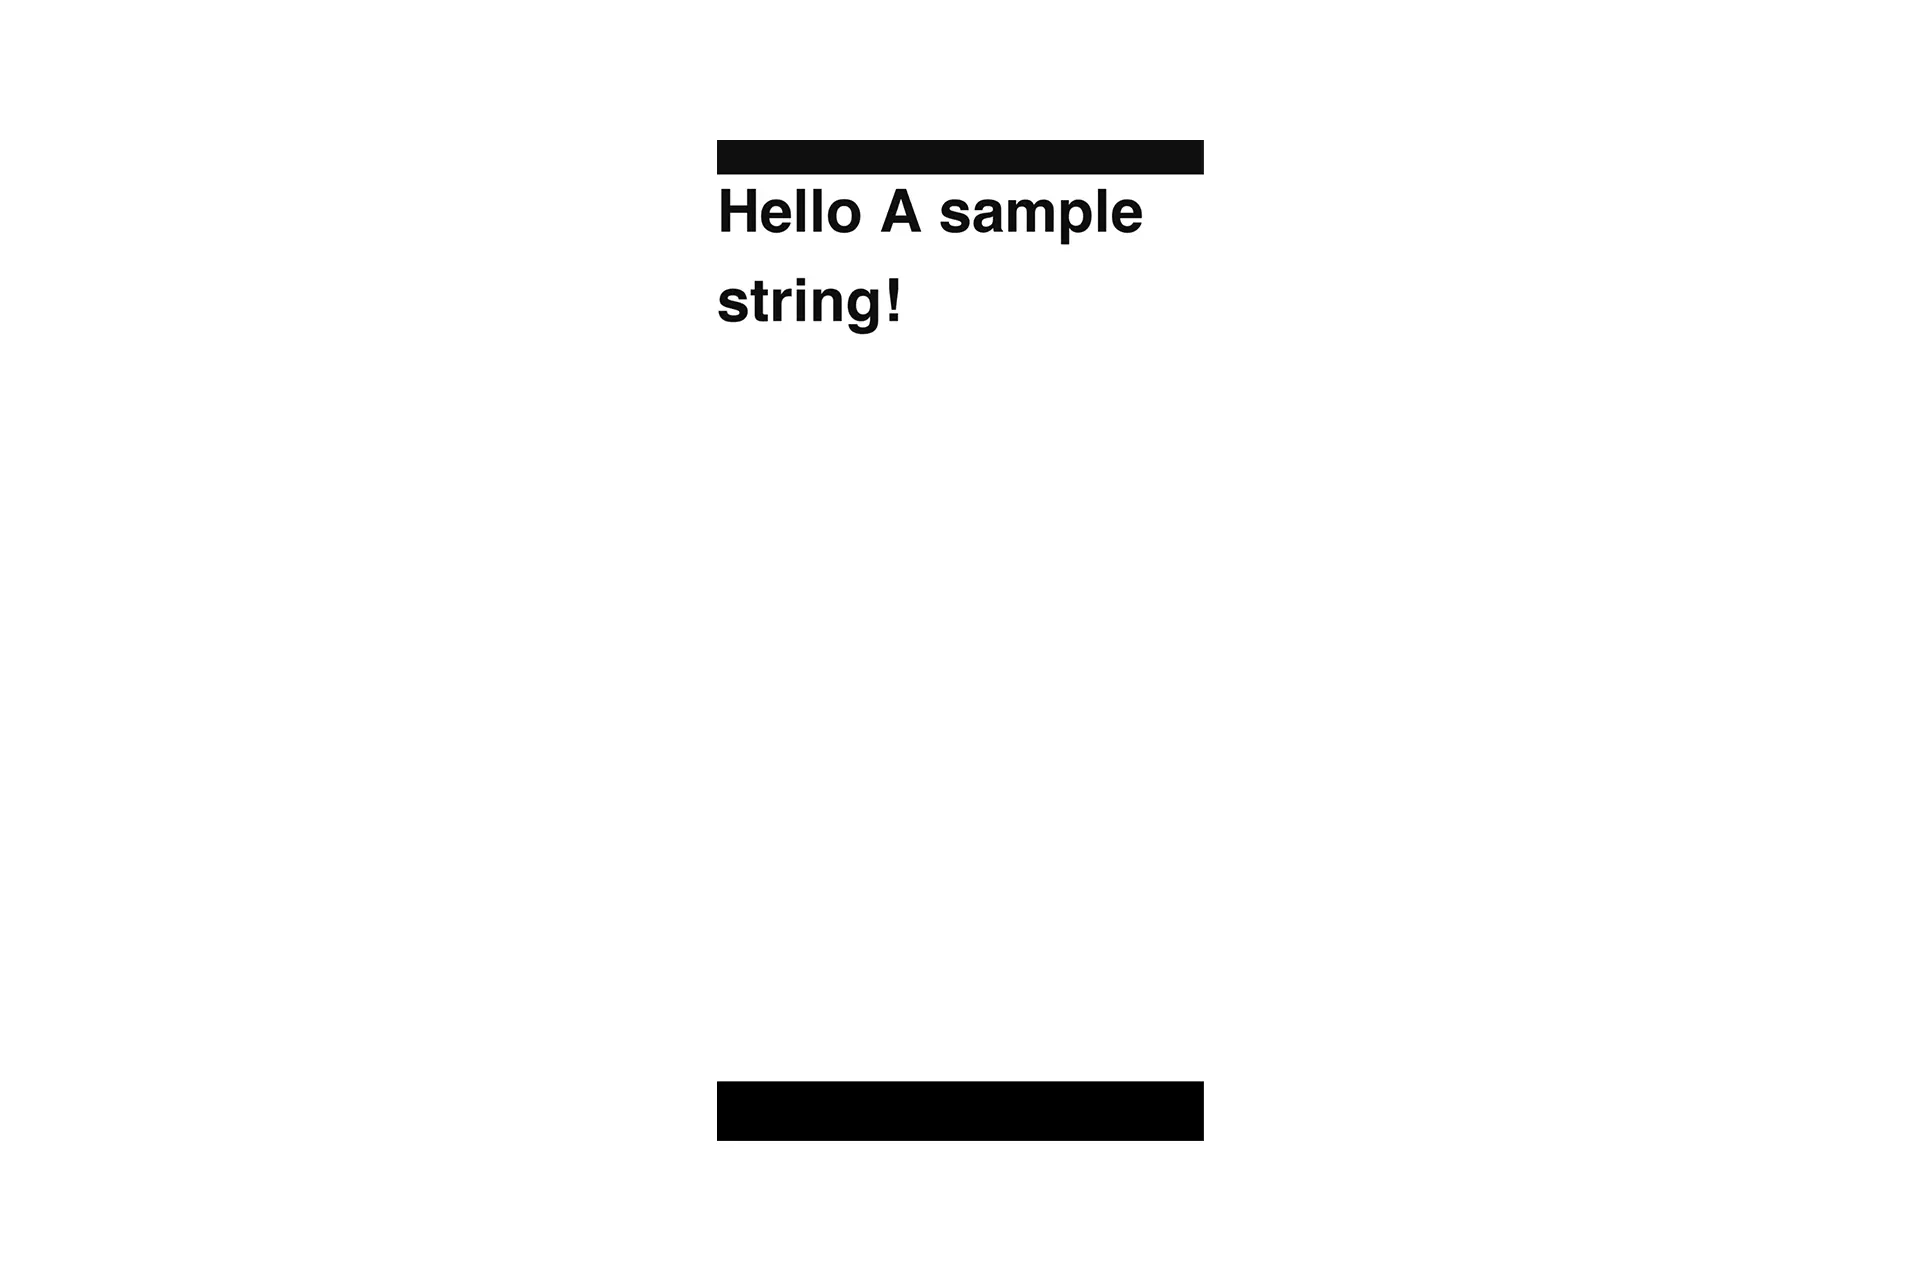
Run the app on a device and confirm that the JSON is read and the data is processed.
Warning: Data classes cannot be obfuscated
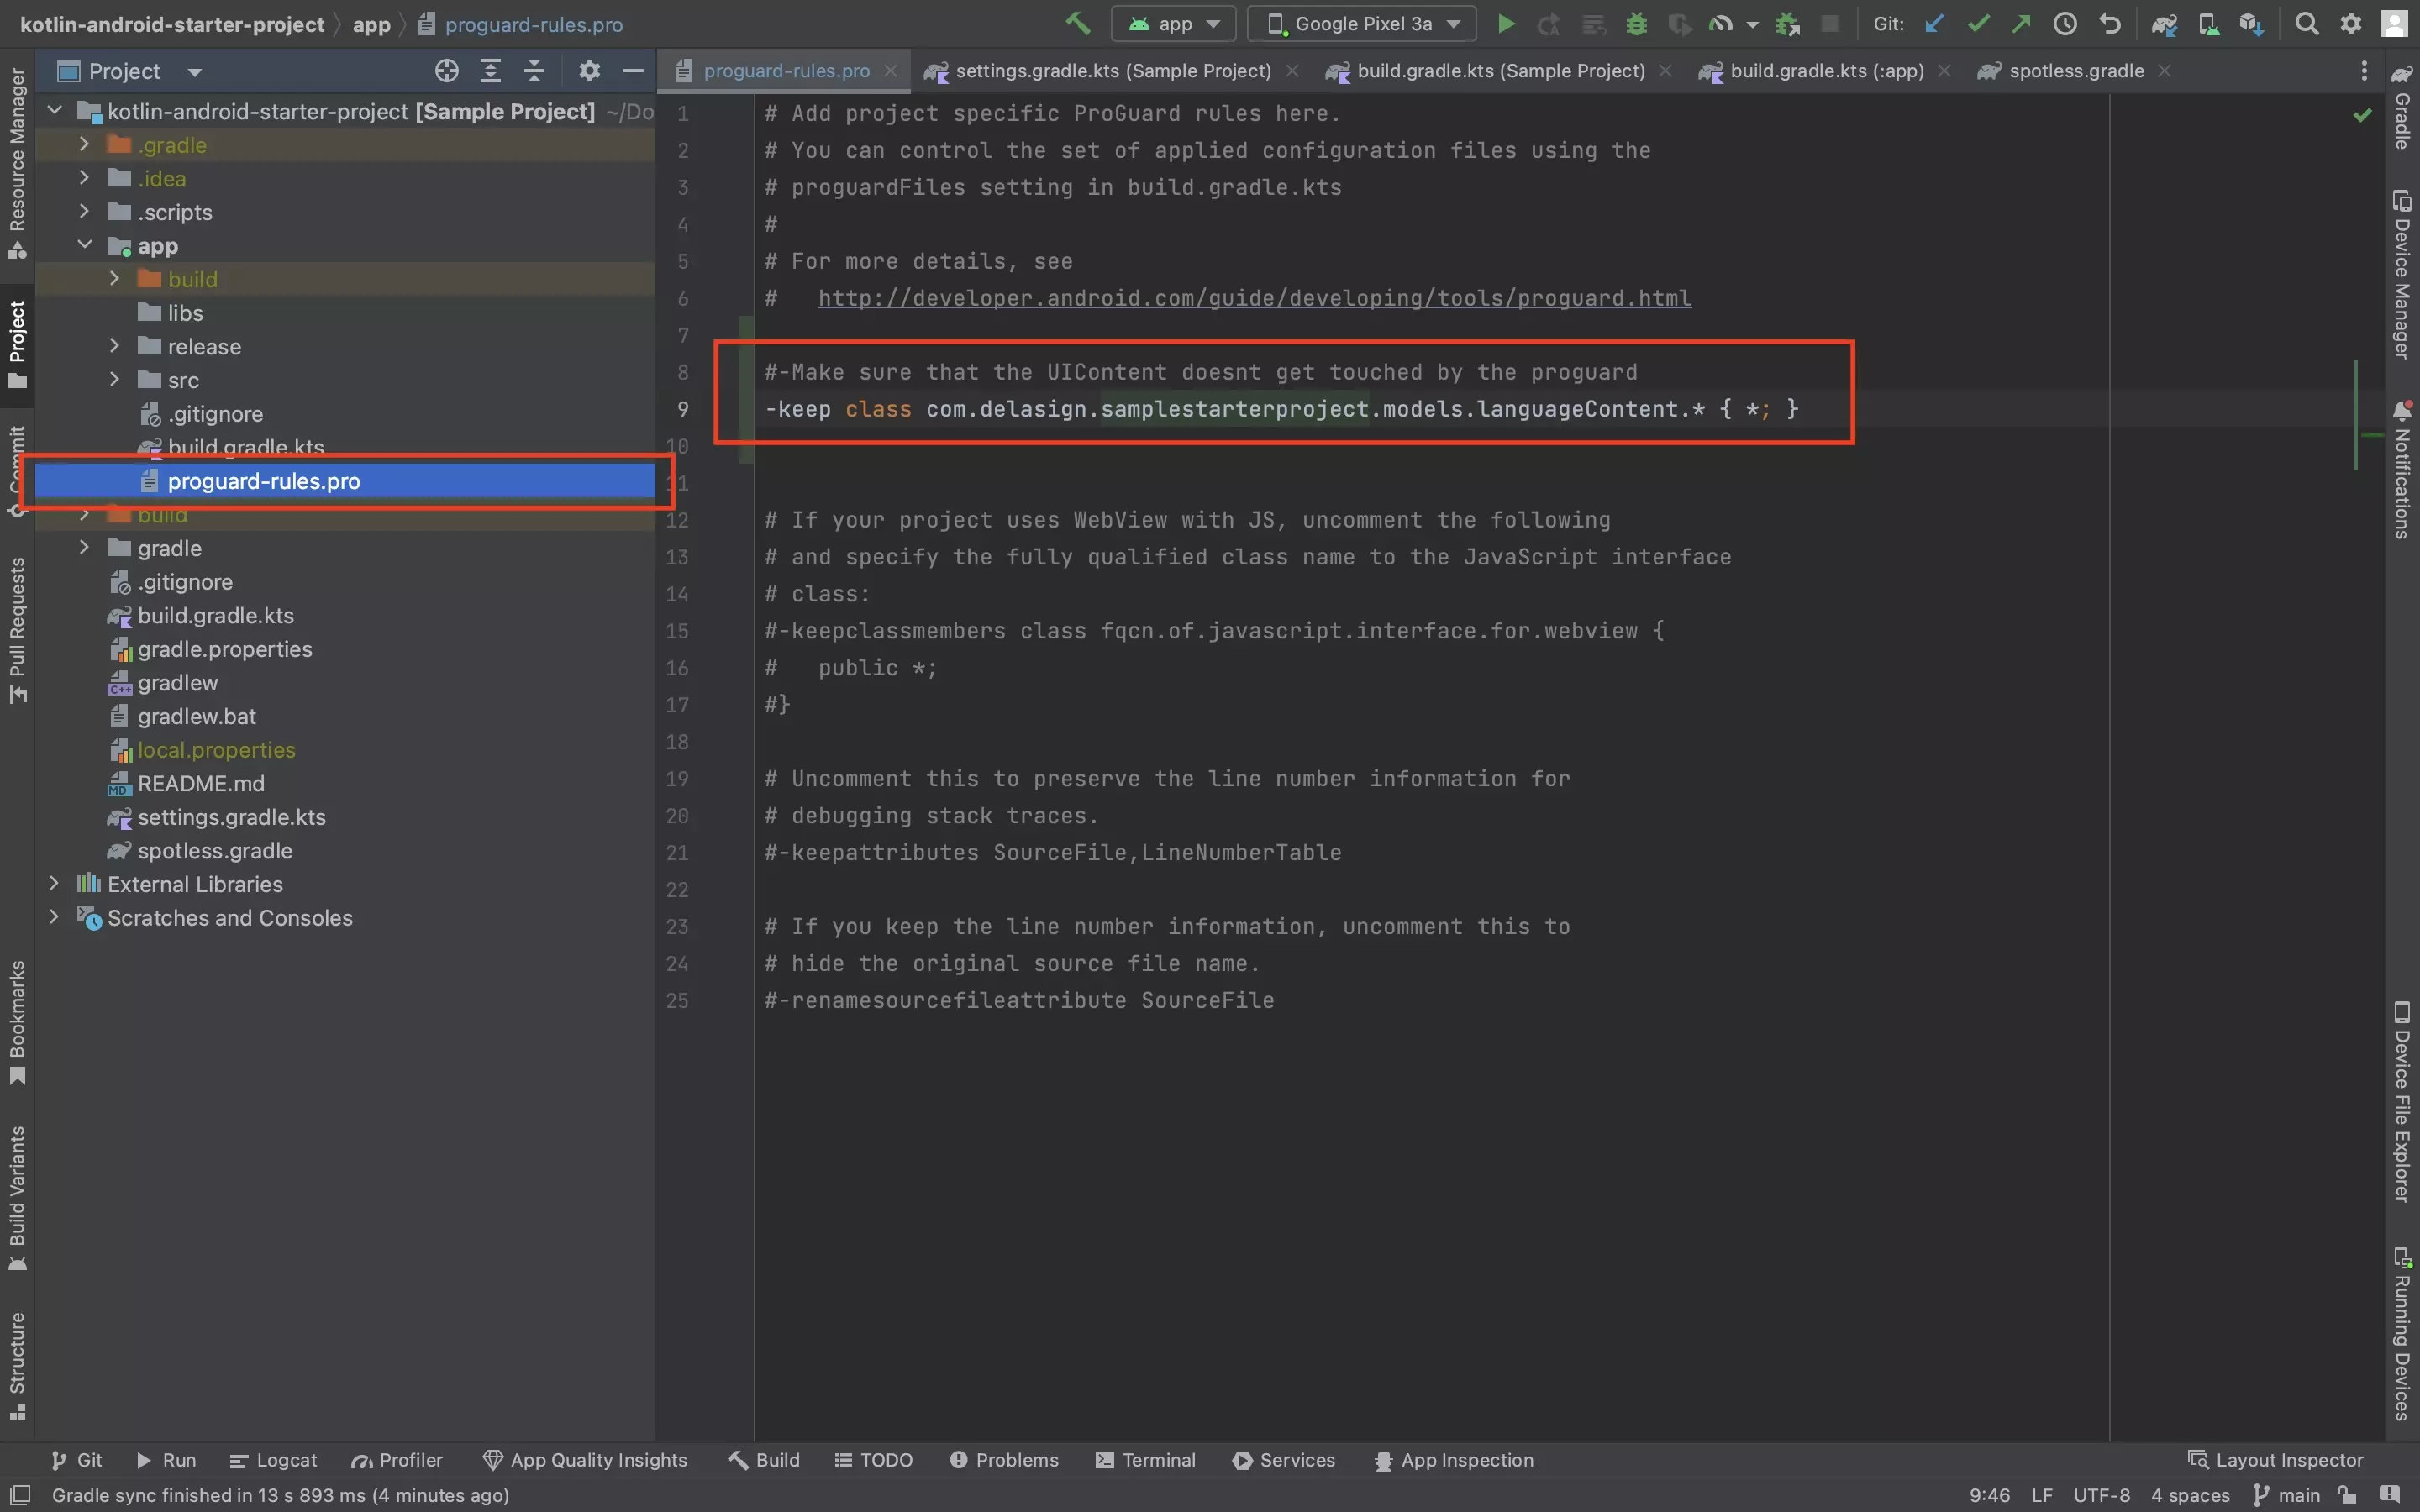
To guarantee that the app functions as expected on release, you should add ANY JSON data classes to the projects proguard-rules.pro file.
If you do not do this and you release the app with obfuscated code using the algorithm demonstrated above, your users will encounter a blank screen.