How to implement an image in Android using Jetpack Compose and Kotlin
A step by step guide on adding a local image to Android Studio and using it in an app using Jetpack Compose and Kotlin.

A step by step guide on adding a local image to Android Studio and using it in an app using Jetpack Compose and Kotlin.
SubscribeDownload Open Source Kotlin Starter ProjectStep One: Add the Image
The following step walks you through how to add an image to your Android apps resources, which can later be consumed by the app.
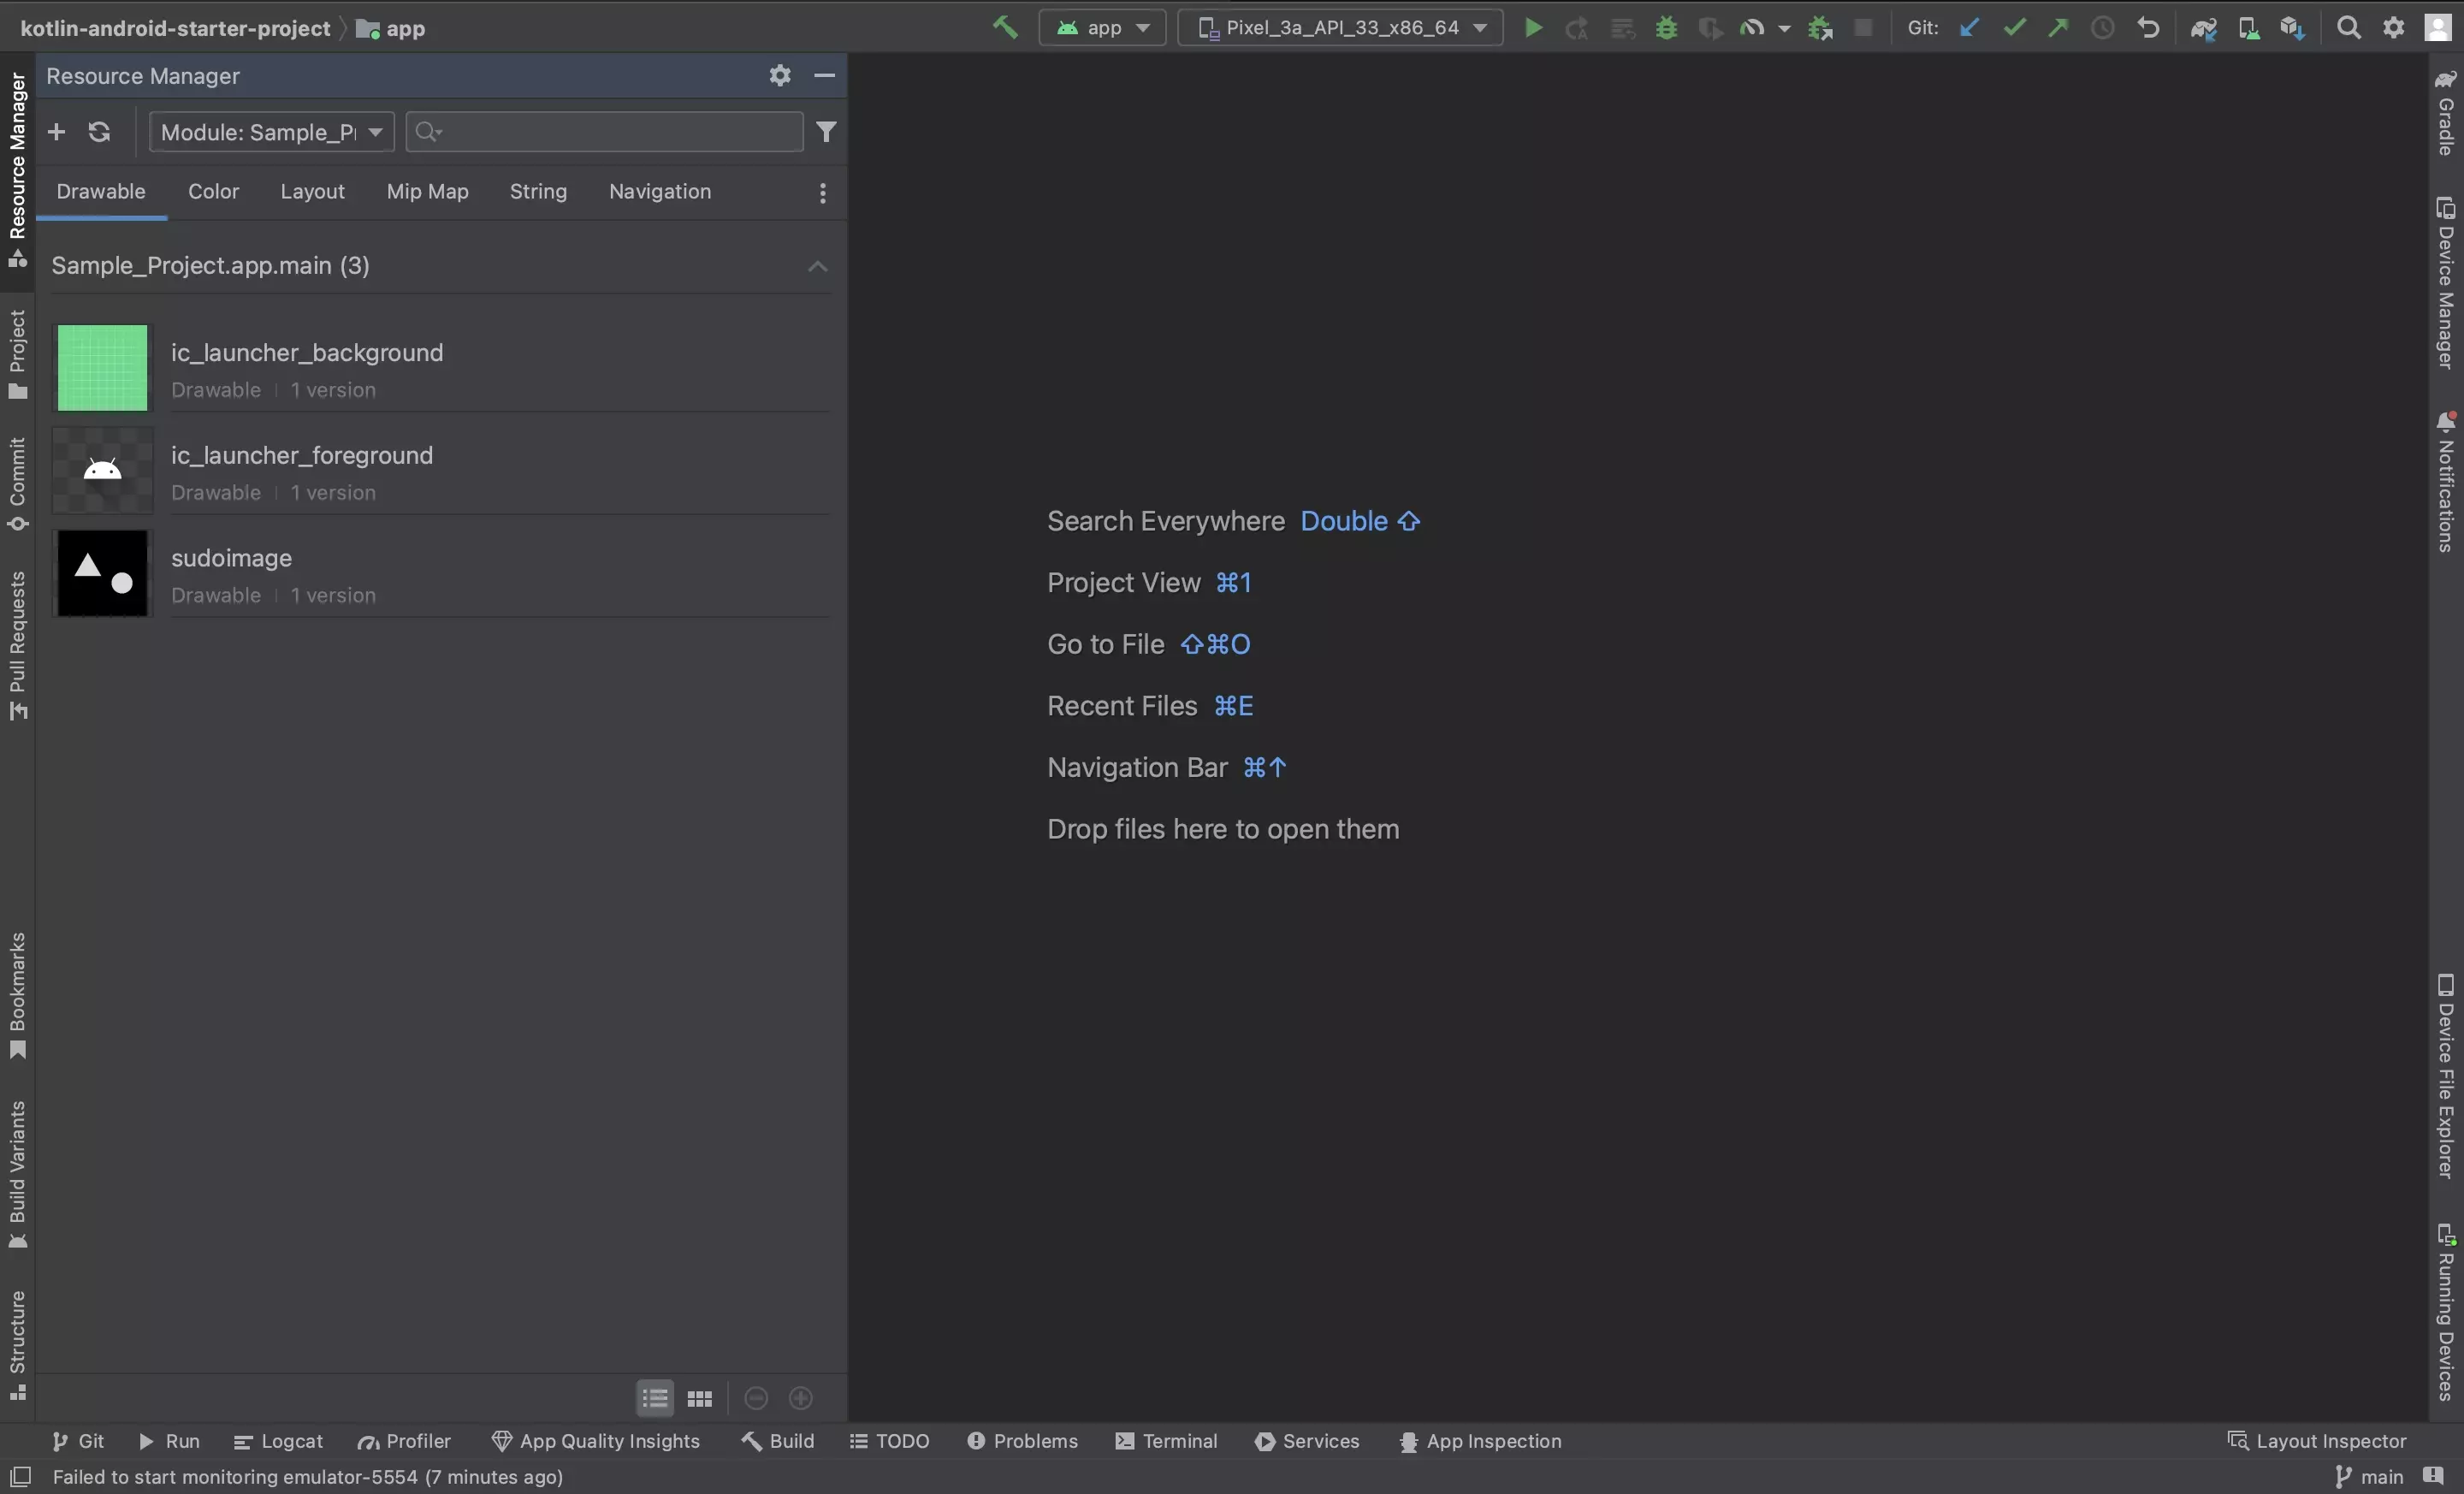
A | Open the Resource Manager
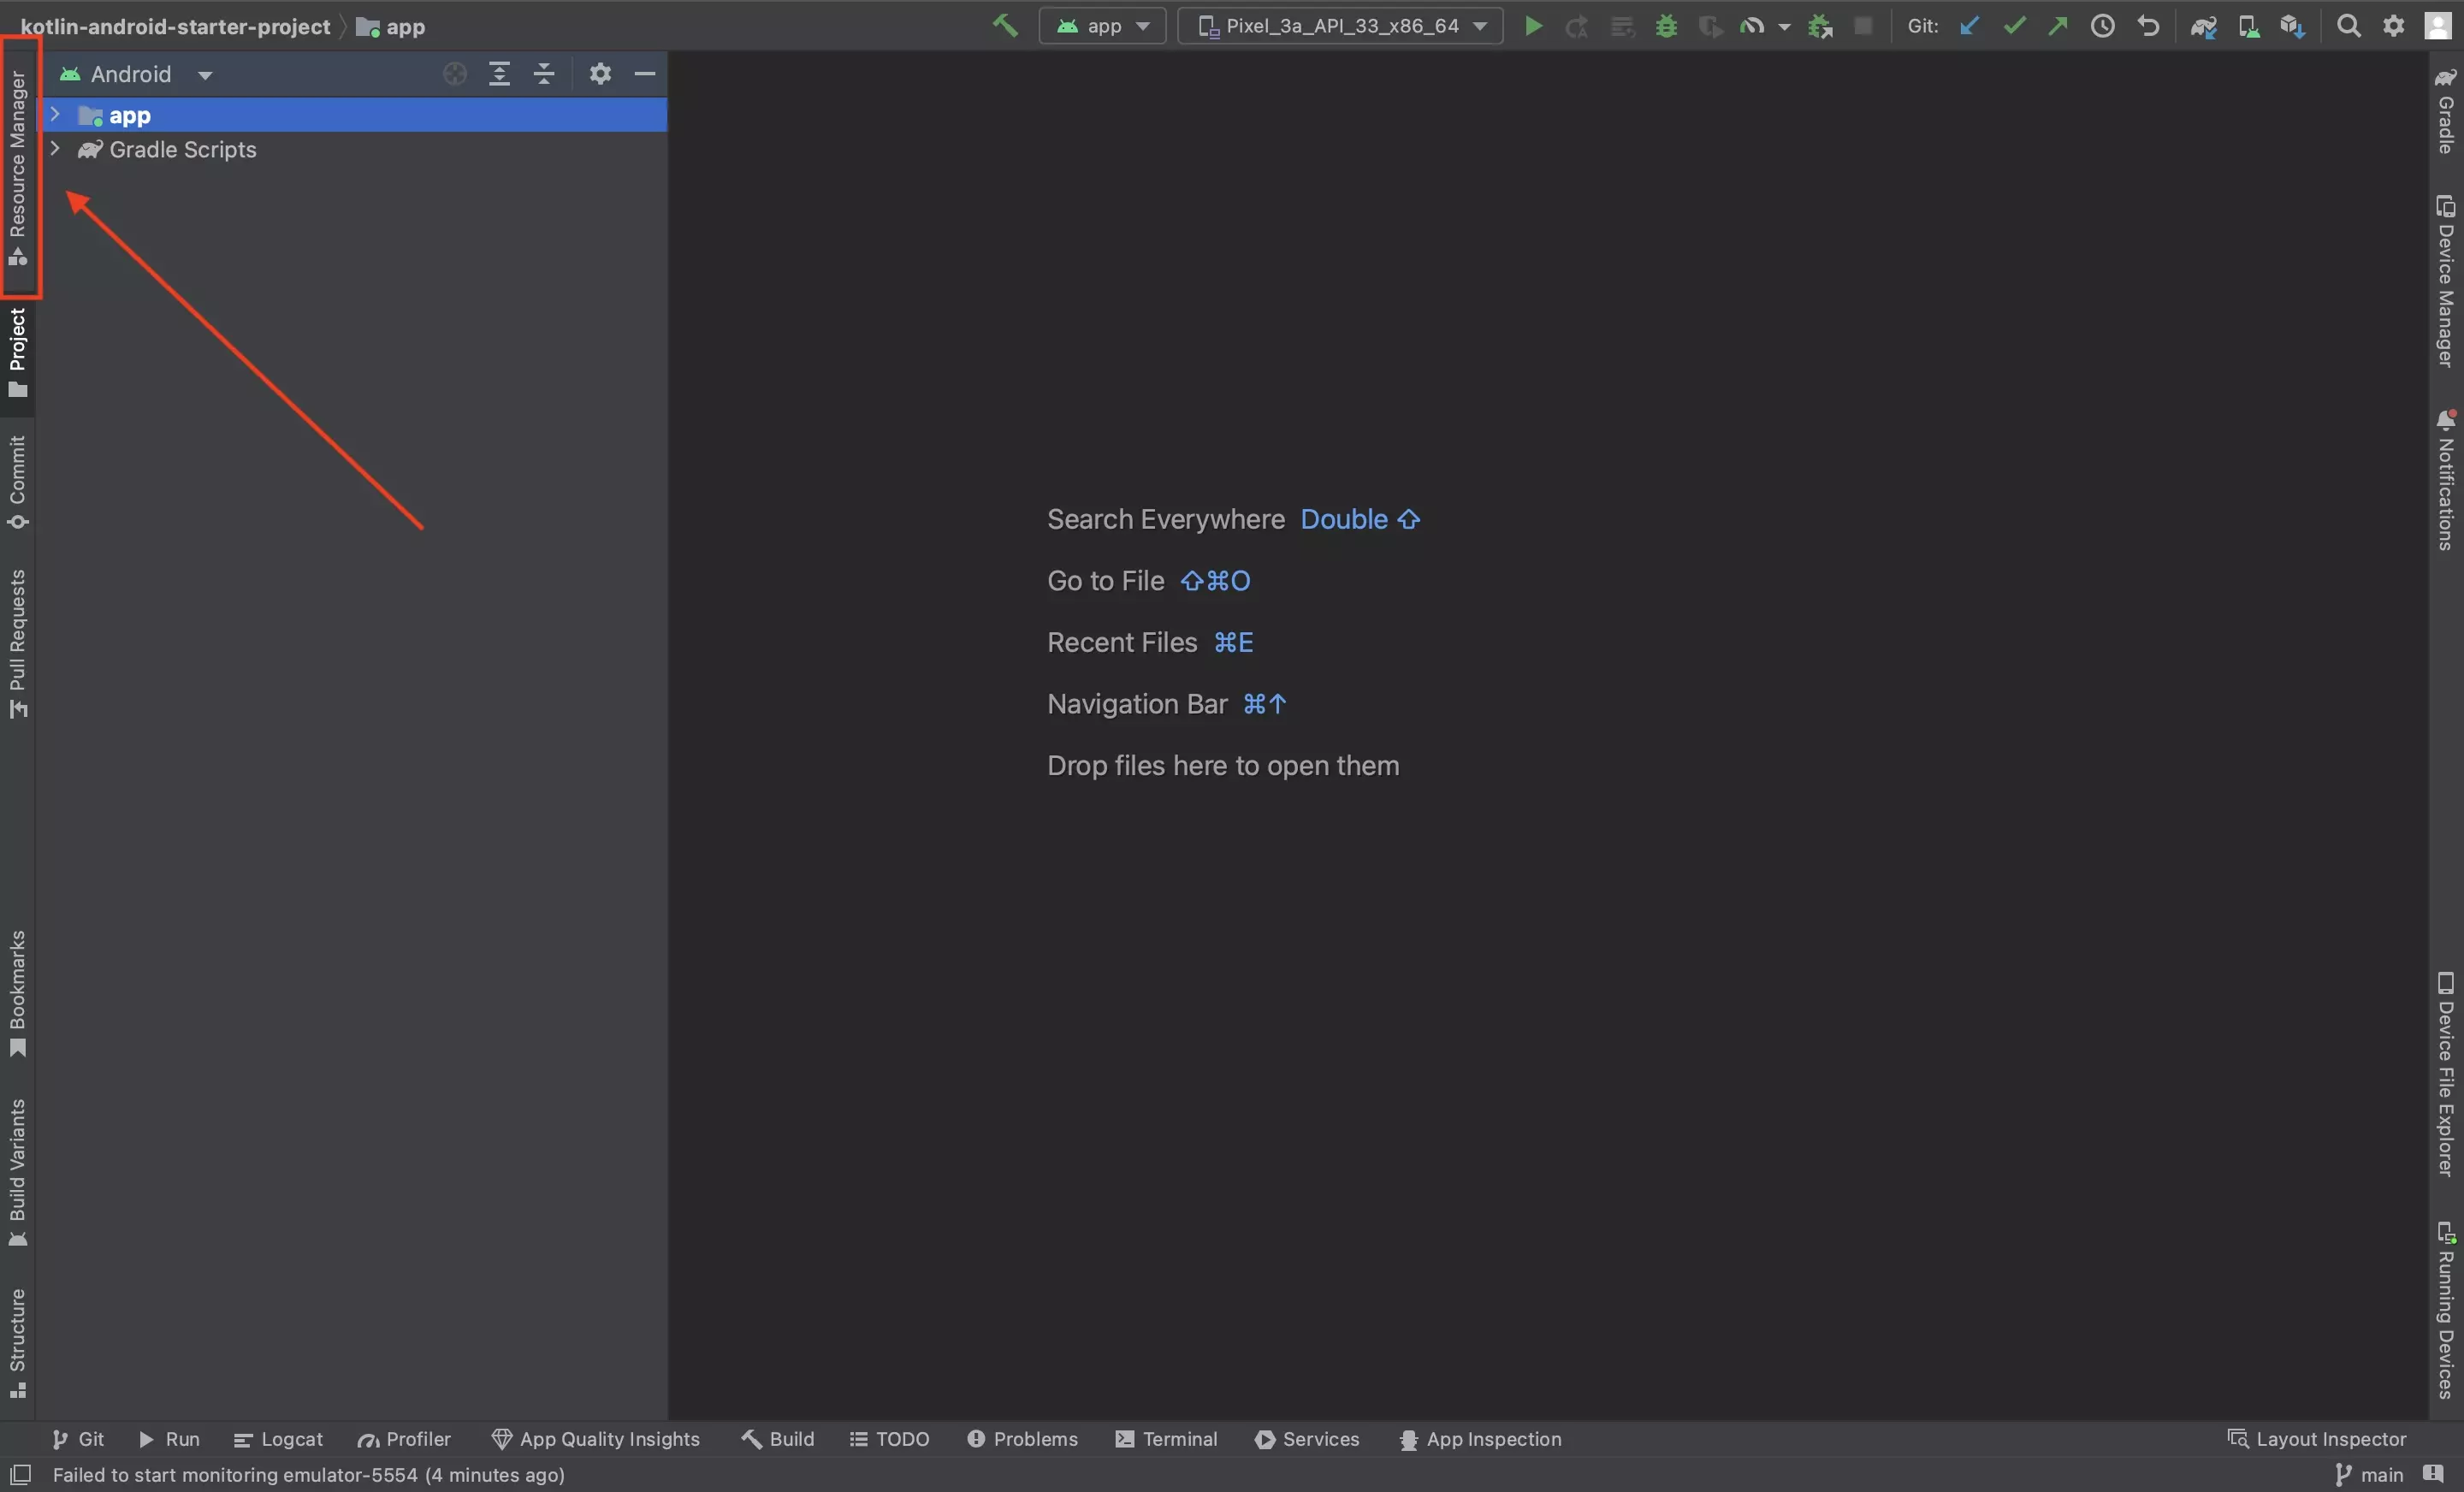
In Android Studio, select the Resource Manager tab on the left menu side bar.
B | Drag and Drop the Image
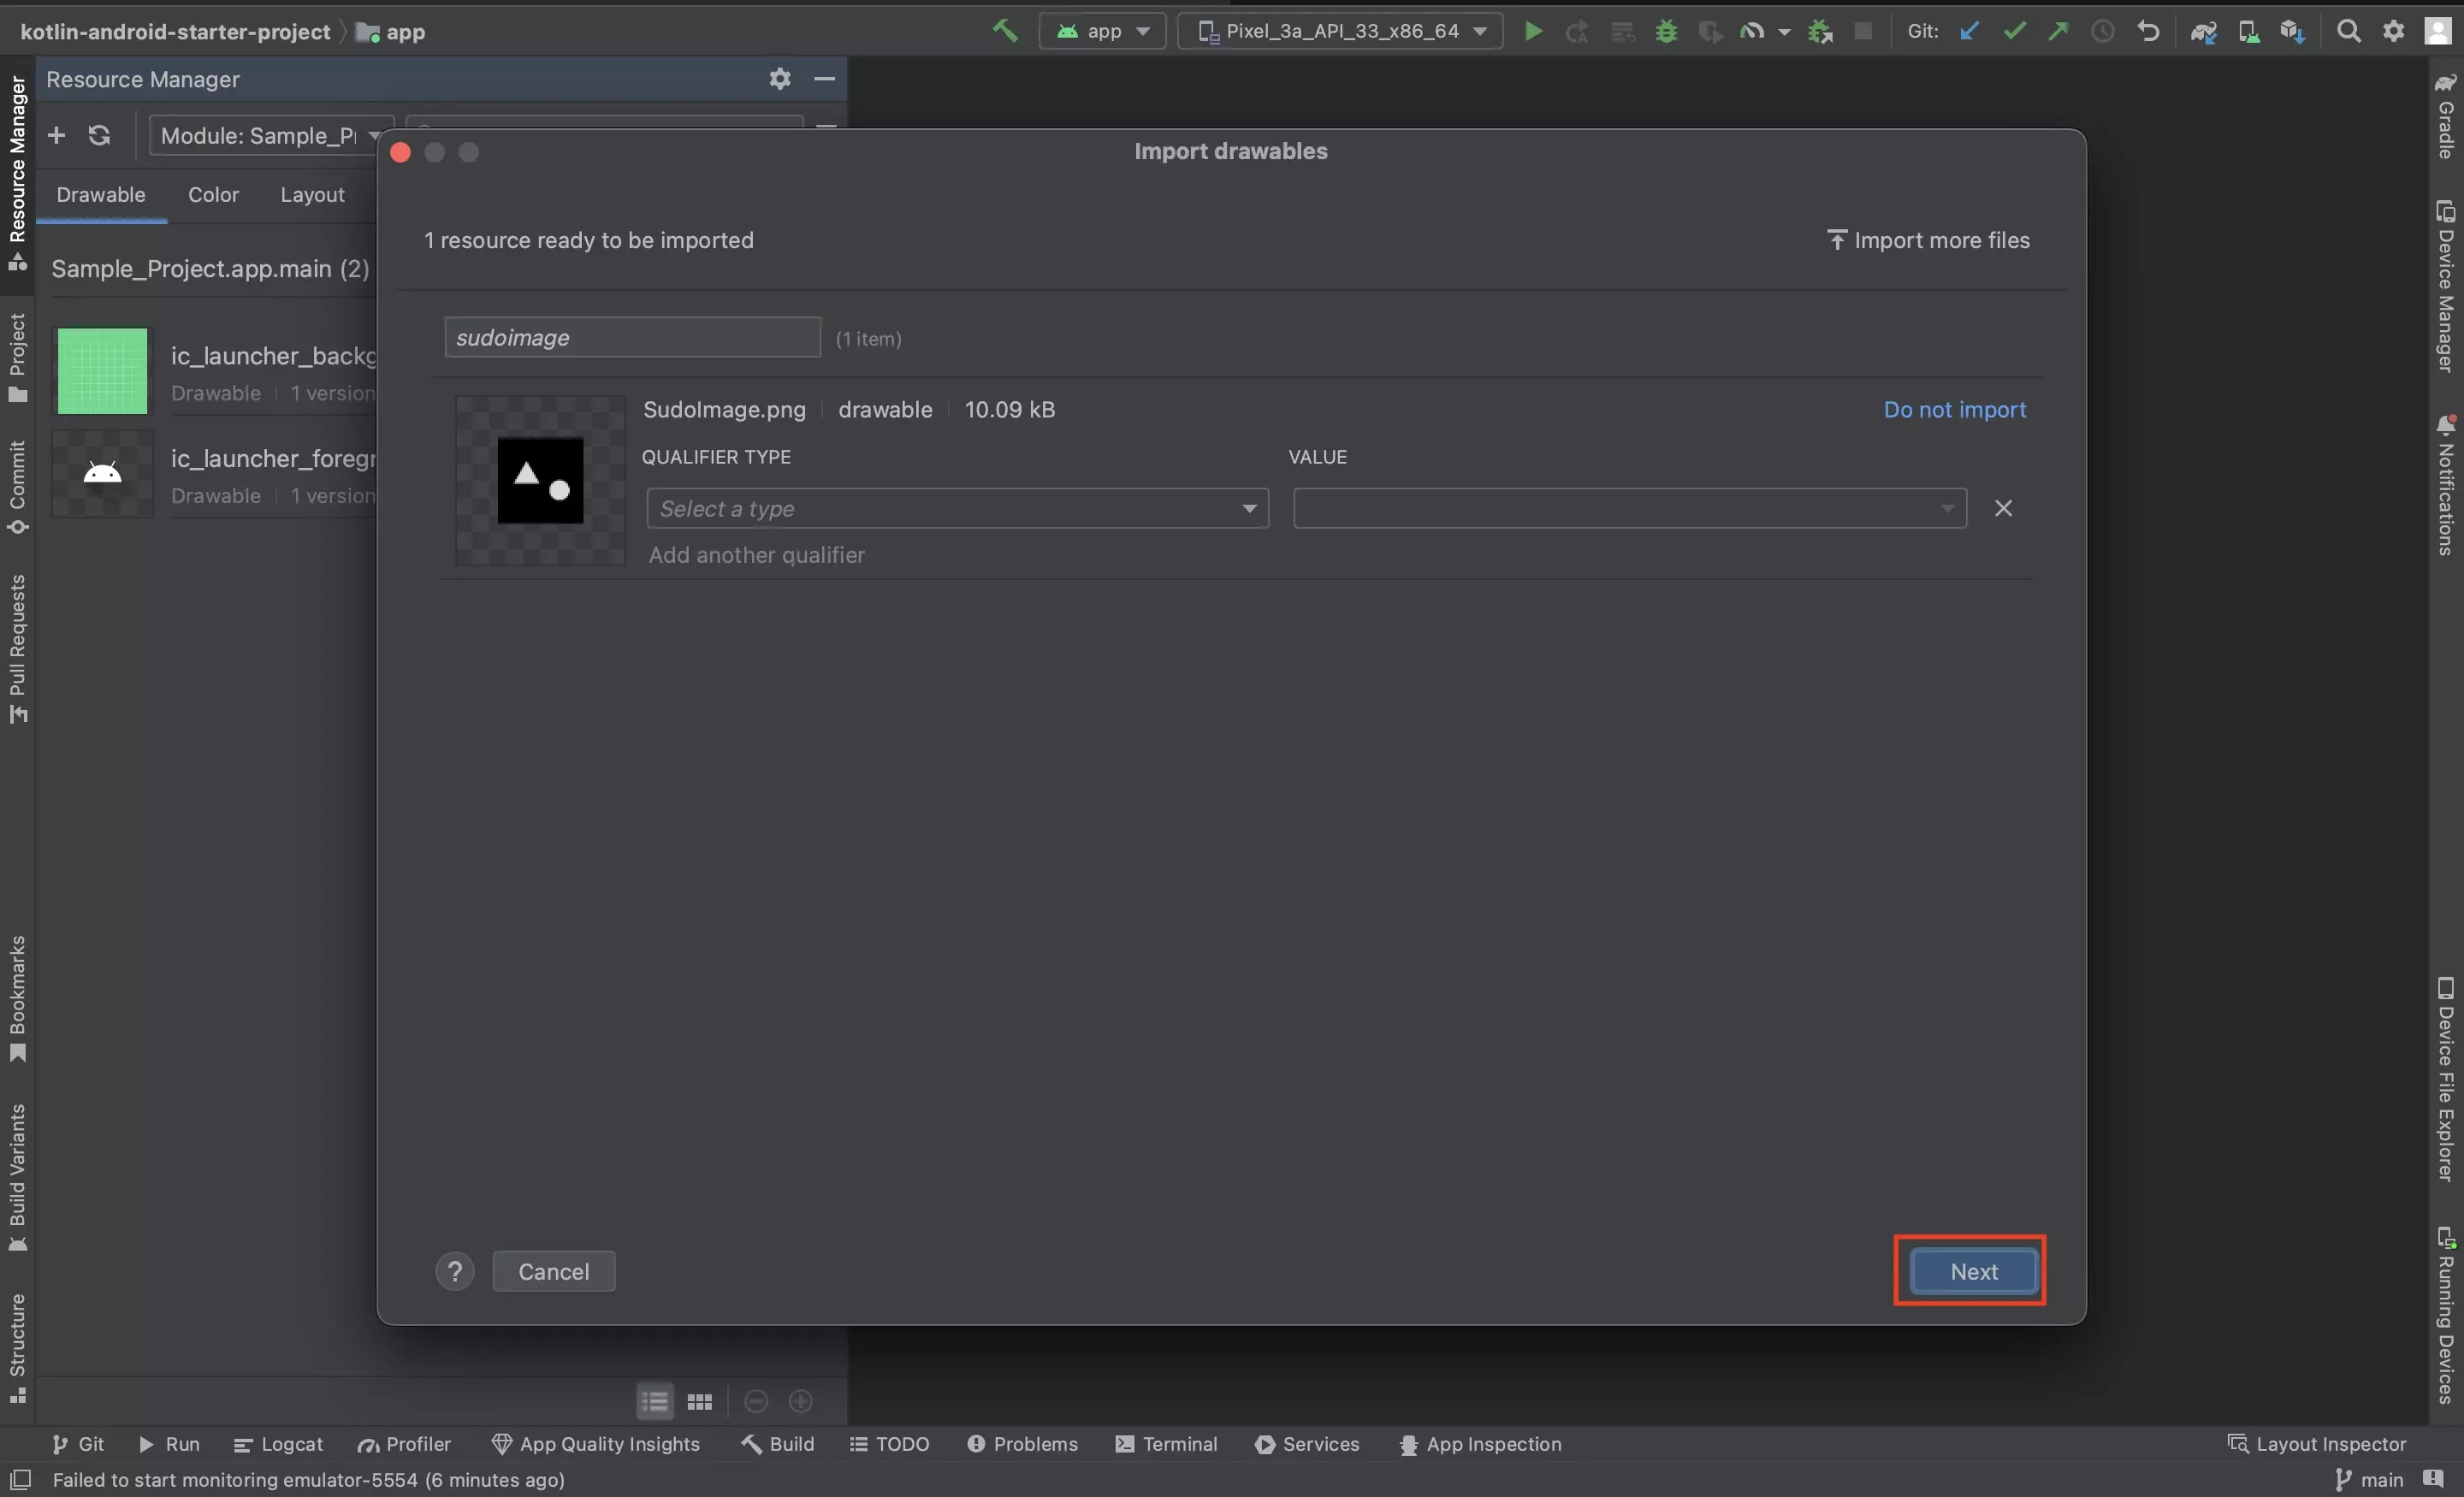
Drag and drop the image into the resource manager.
This will bring up a modal similar to the one above where you can add extra configurations to your image, including changing its reference name (sudoimage on the top left of the imported image). When you are ready, press Next.
C | Import
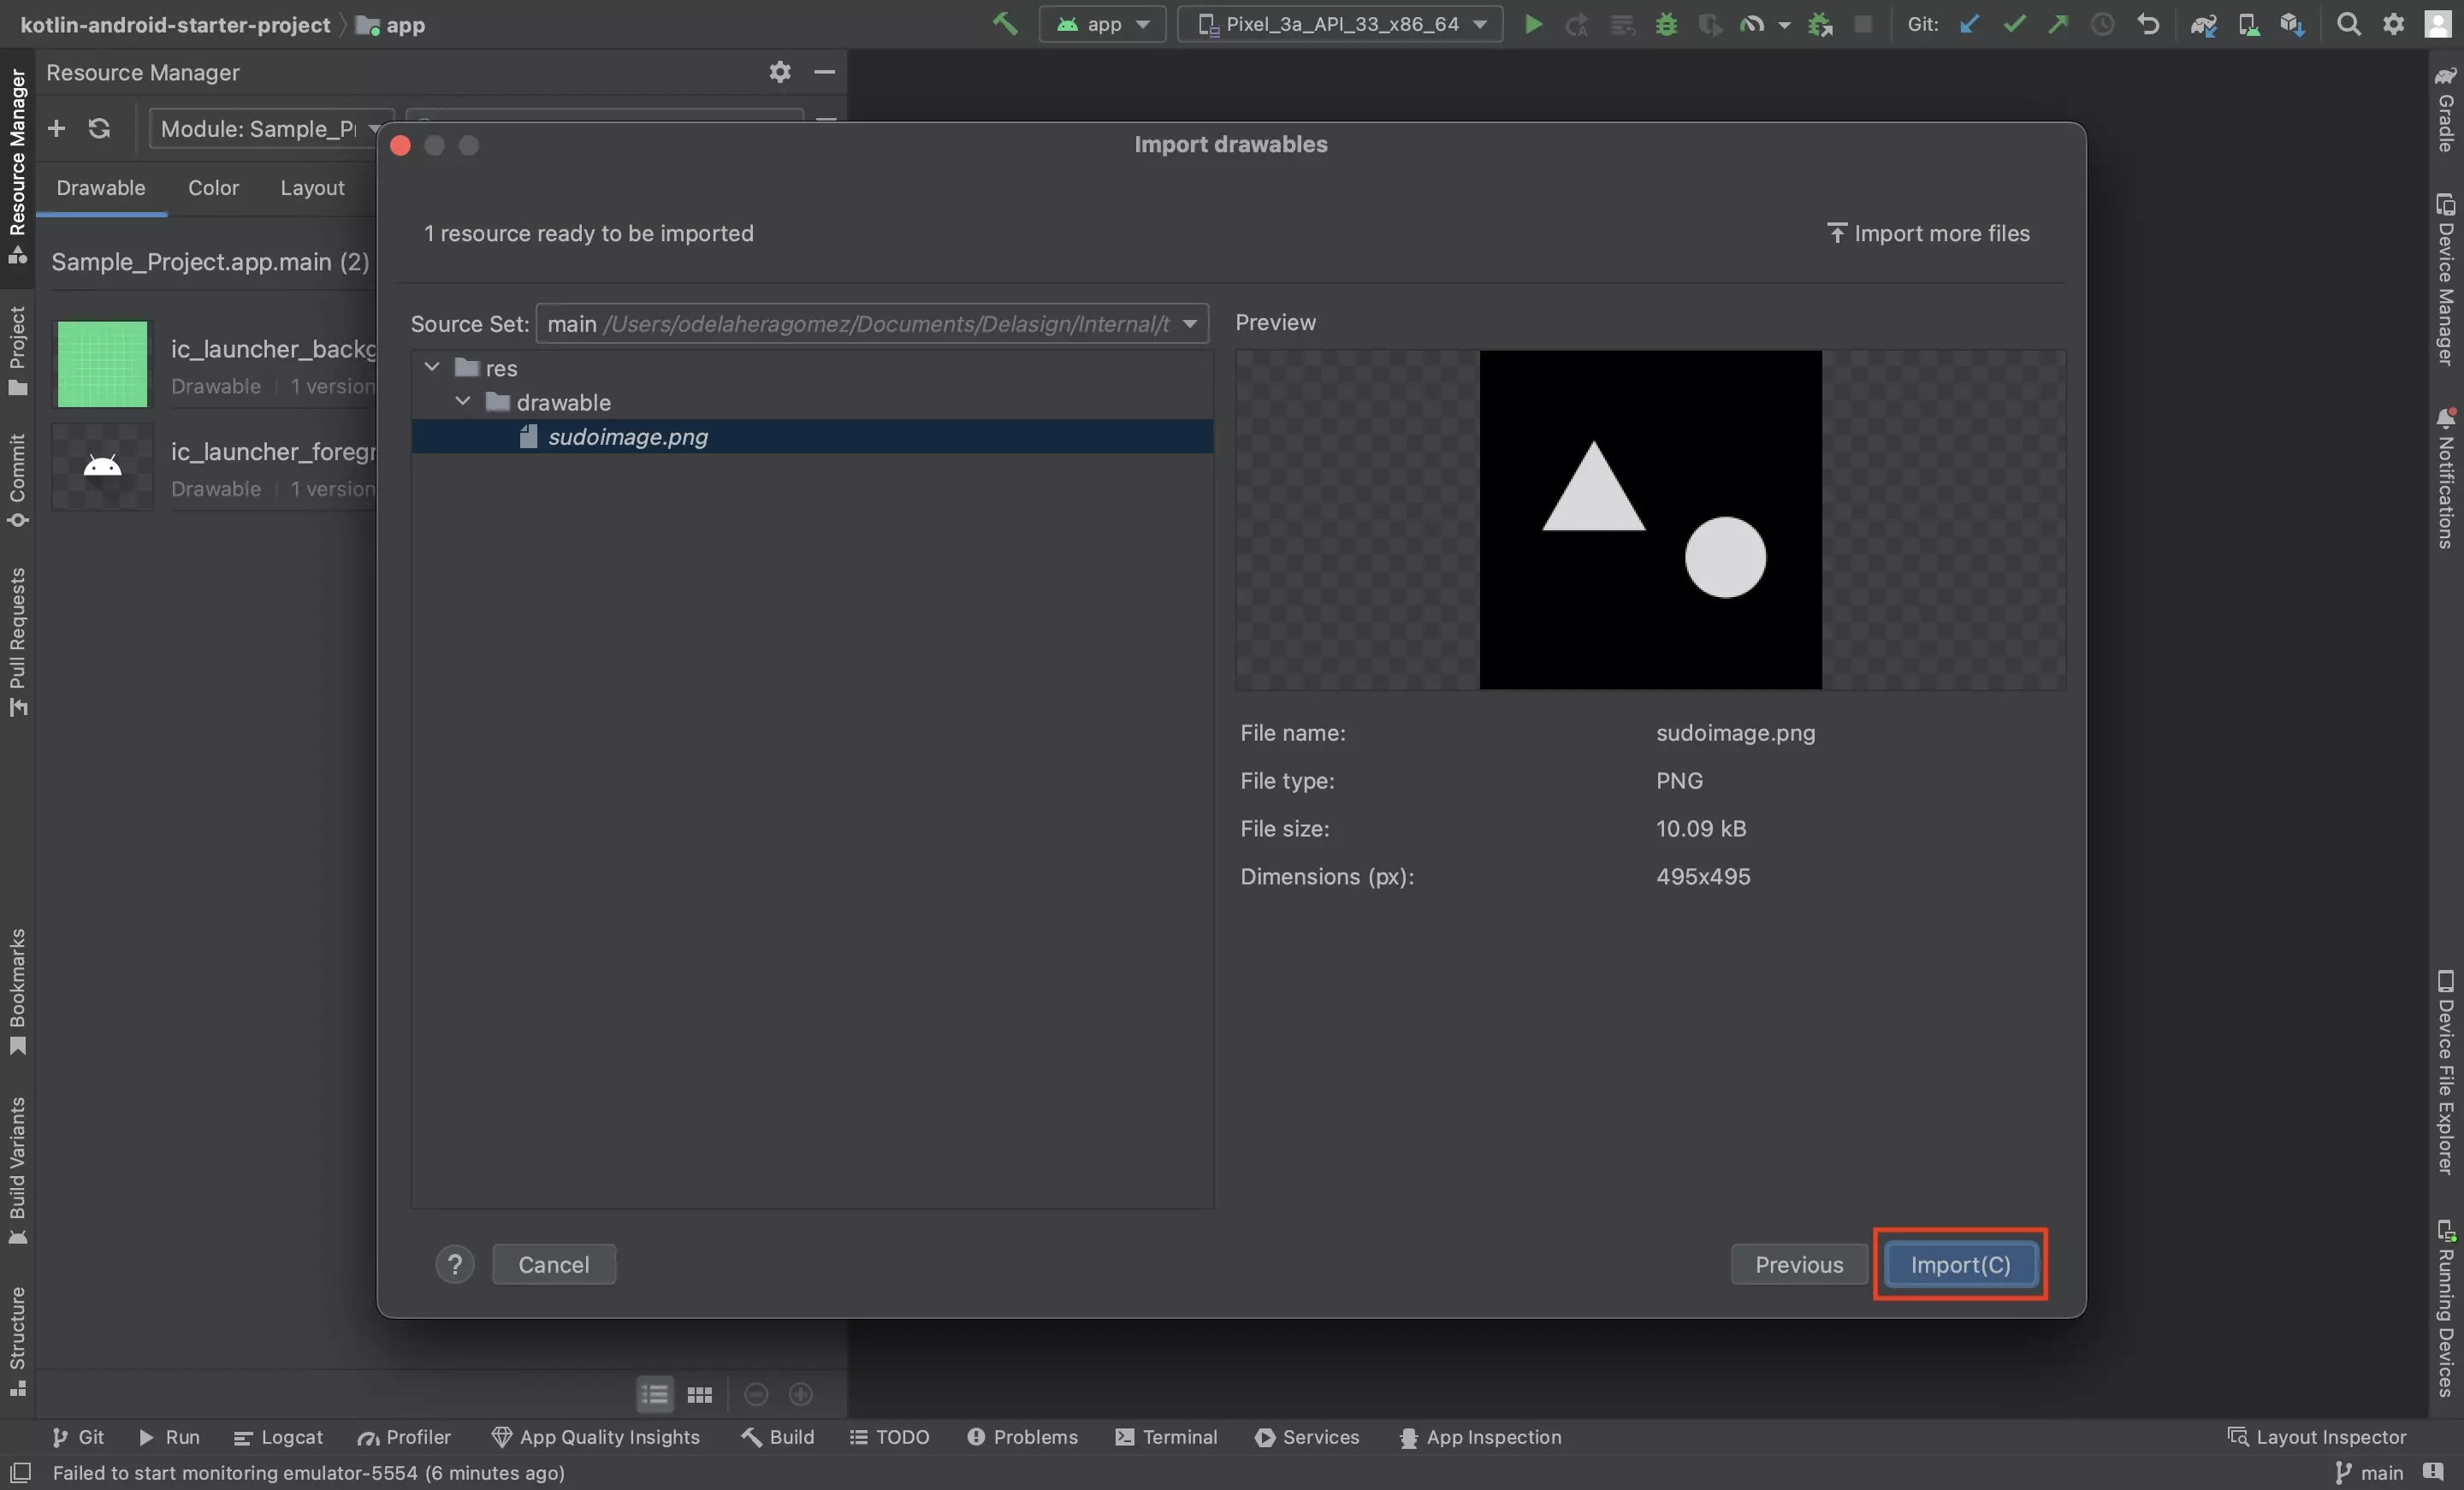
Finally, click Import to complete importing the image into your apps resources.
Step Two: Implement the Image
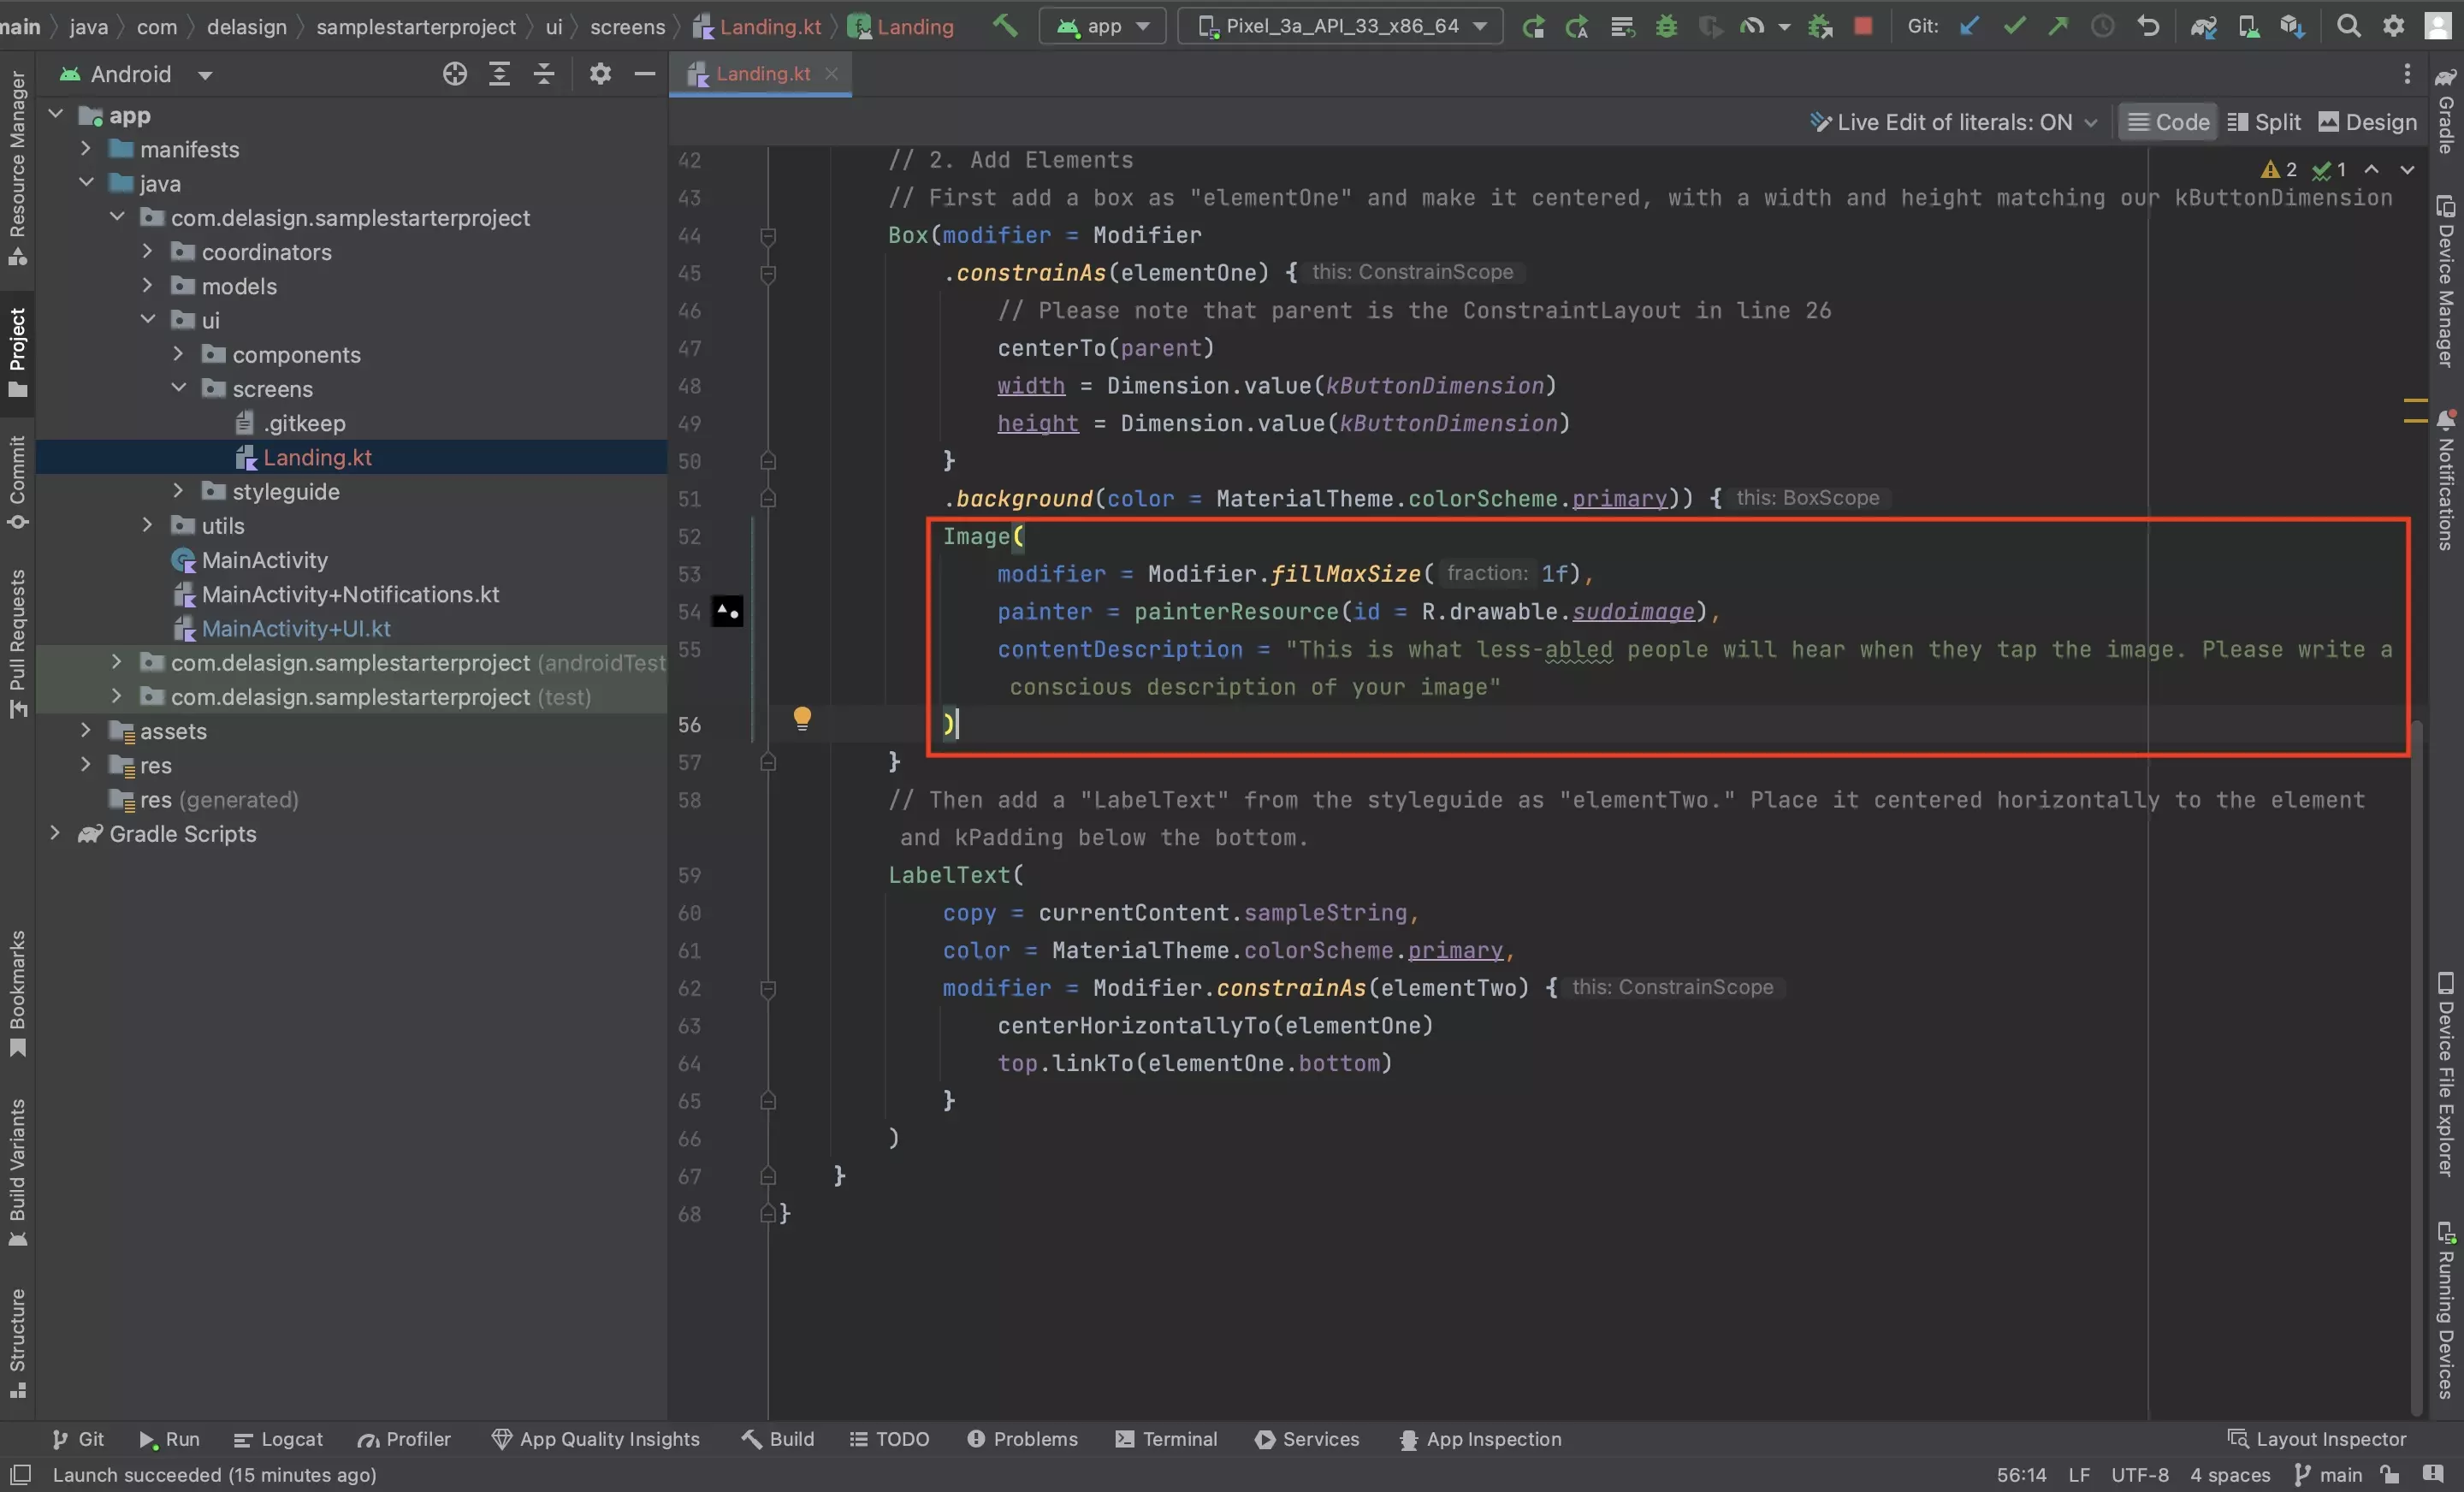
Wherever you wish to implement the image, use code similar to the one below.
Please note that R.drawable.sudoimage should be replaced with R.drawable.THE_IMAGE_REF, where THE_IMAGE_REF is the name that was given to your image in Step One part B.
Step Three: Test
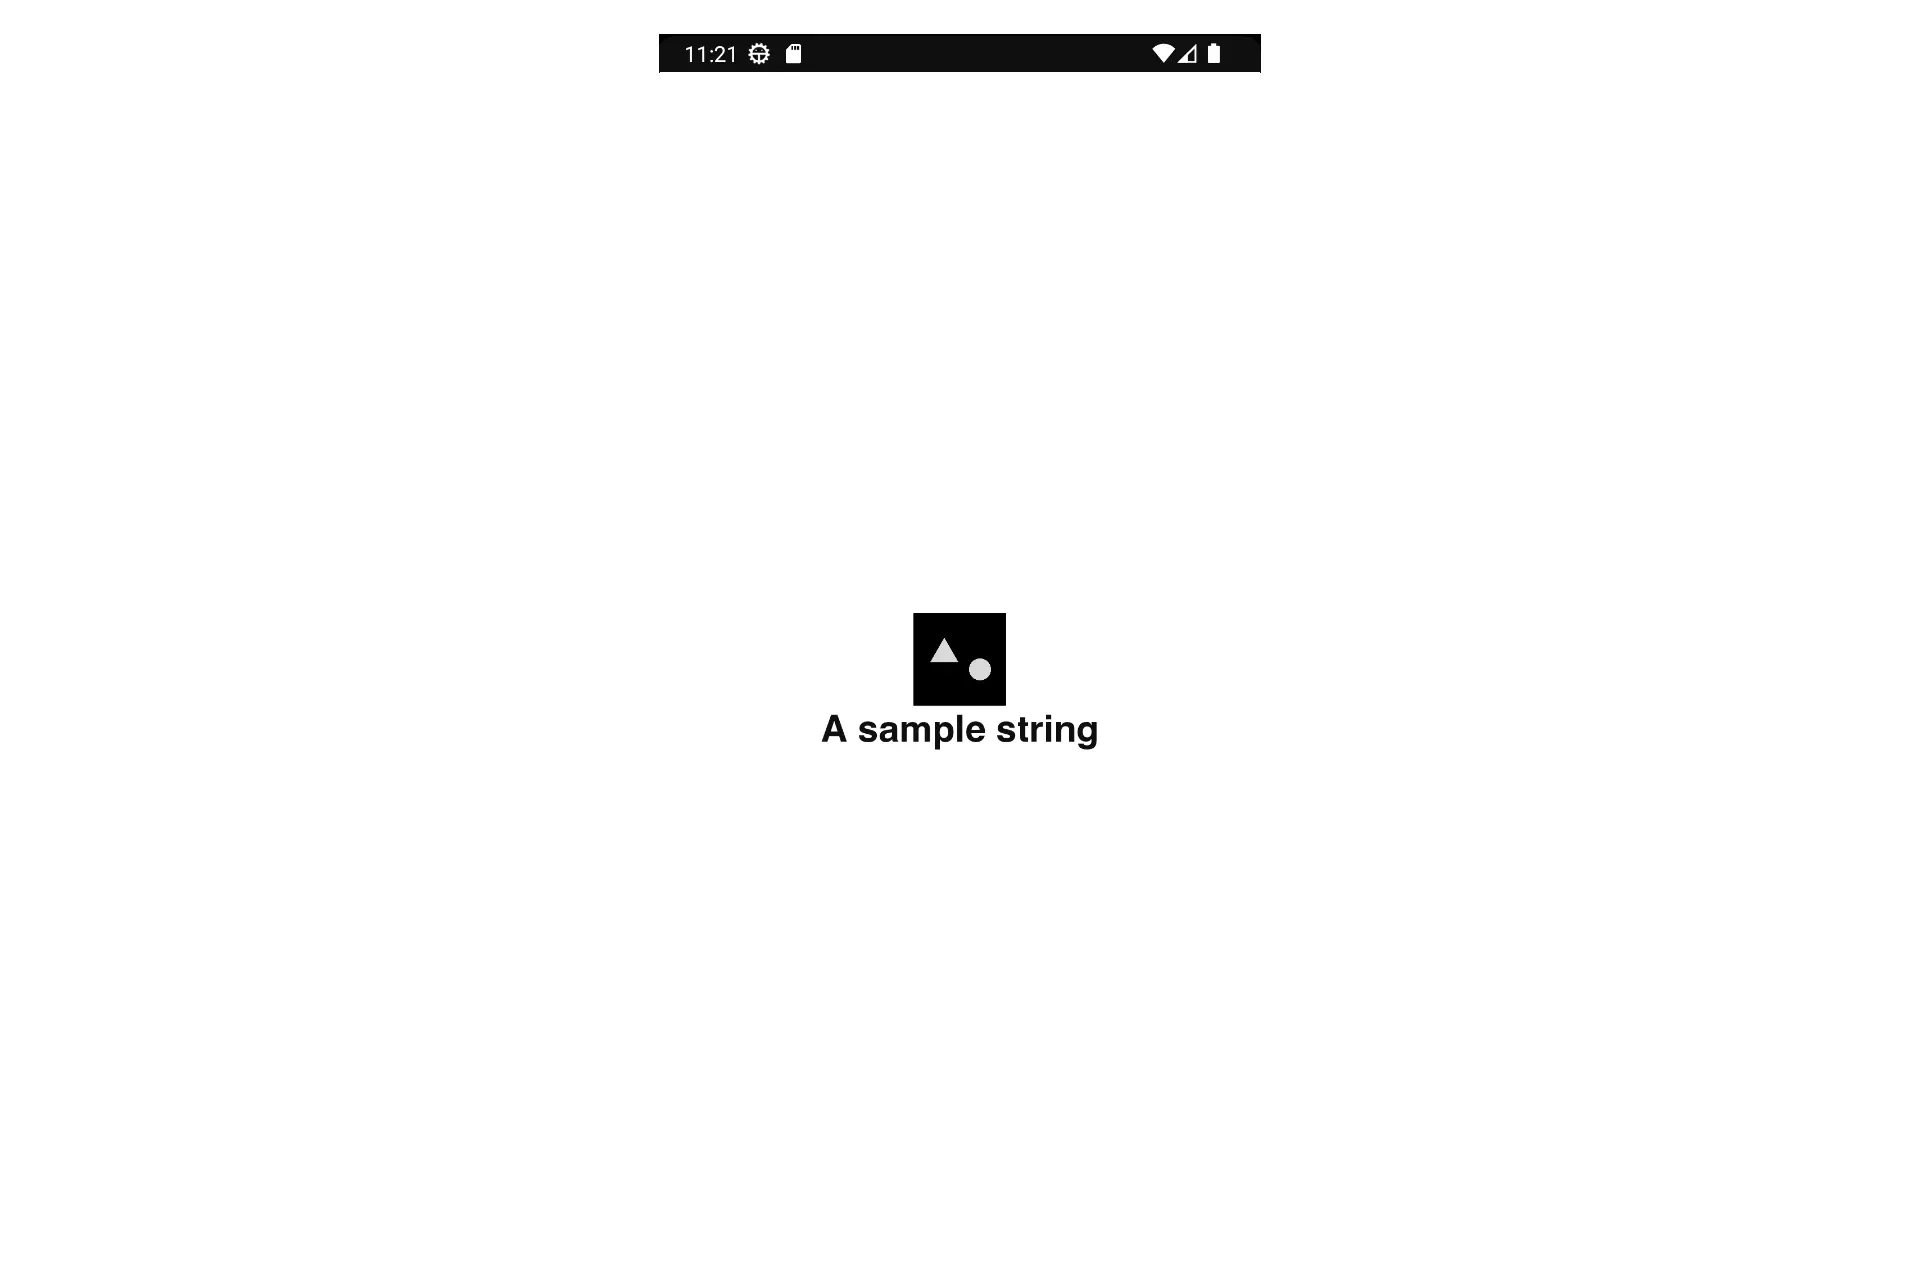
Run your app and confirm that everything looks as expected.