How to create a composable that uses a ConstraintLayout in Kotlin
A step by step guide on creating a screen or component using Jetpack Compose and Kotlin that uses constraints.

A step by step guide on creating a screen or component using Jetpack Compose and Kotlin that uses constraints.
SubscribeDownload Open Source Kotlin Starter ProjectThe following tutorial shows how to create a composable screen that has a constrained layout and demonstrates how you can position a box at any position using constraints.
Step One: Add the dependency
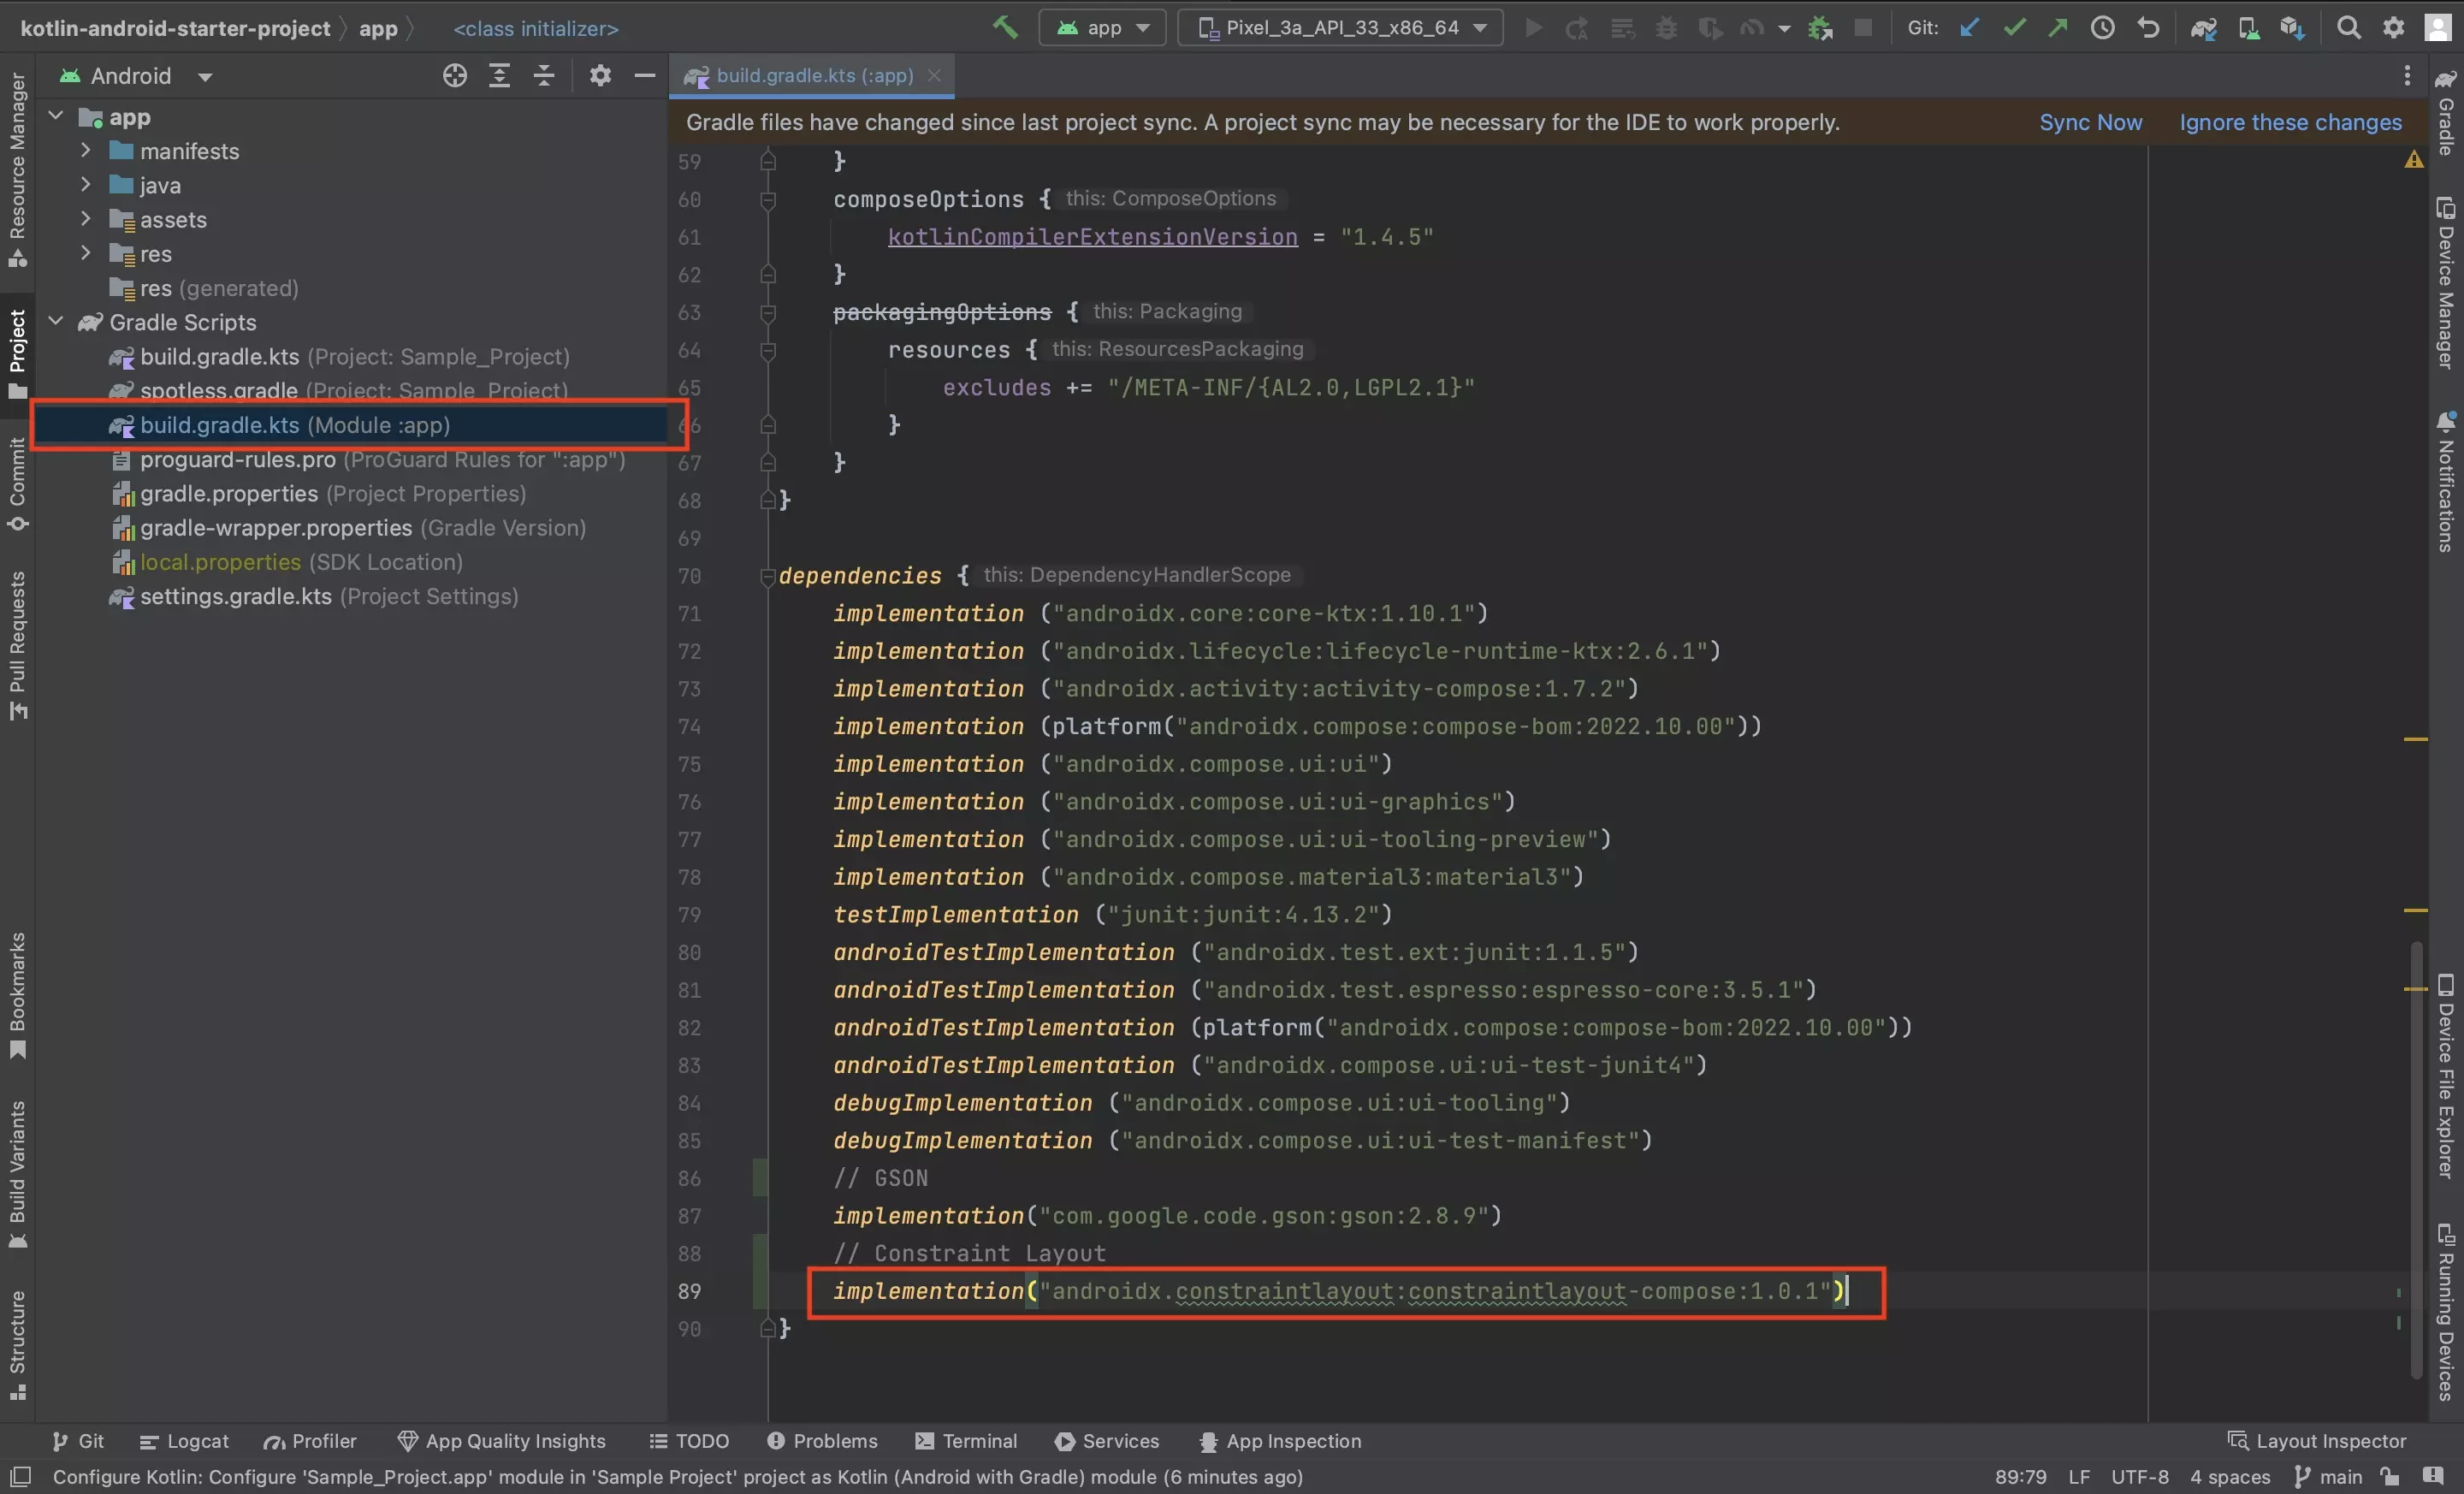
In the App Level, build.gradle.kts add the constraintlayout dependency using the following line:
implementation("androidx.constraintlayout:constraintlayout-compose:1.0.1")Please note that 1.0.1 may not be the latest version, please update the code above to the latest version in your Android Studio project.
Step Two: Sync the Gradles
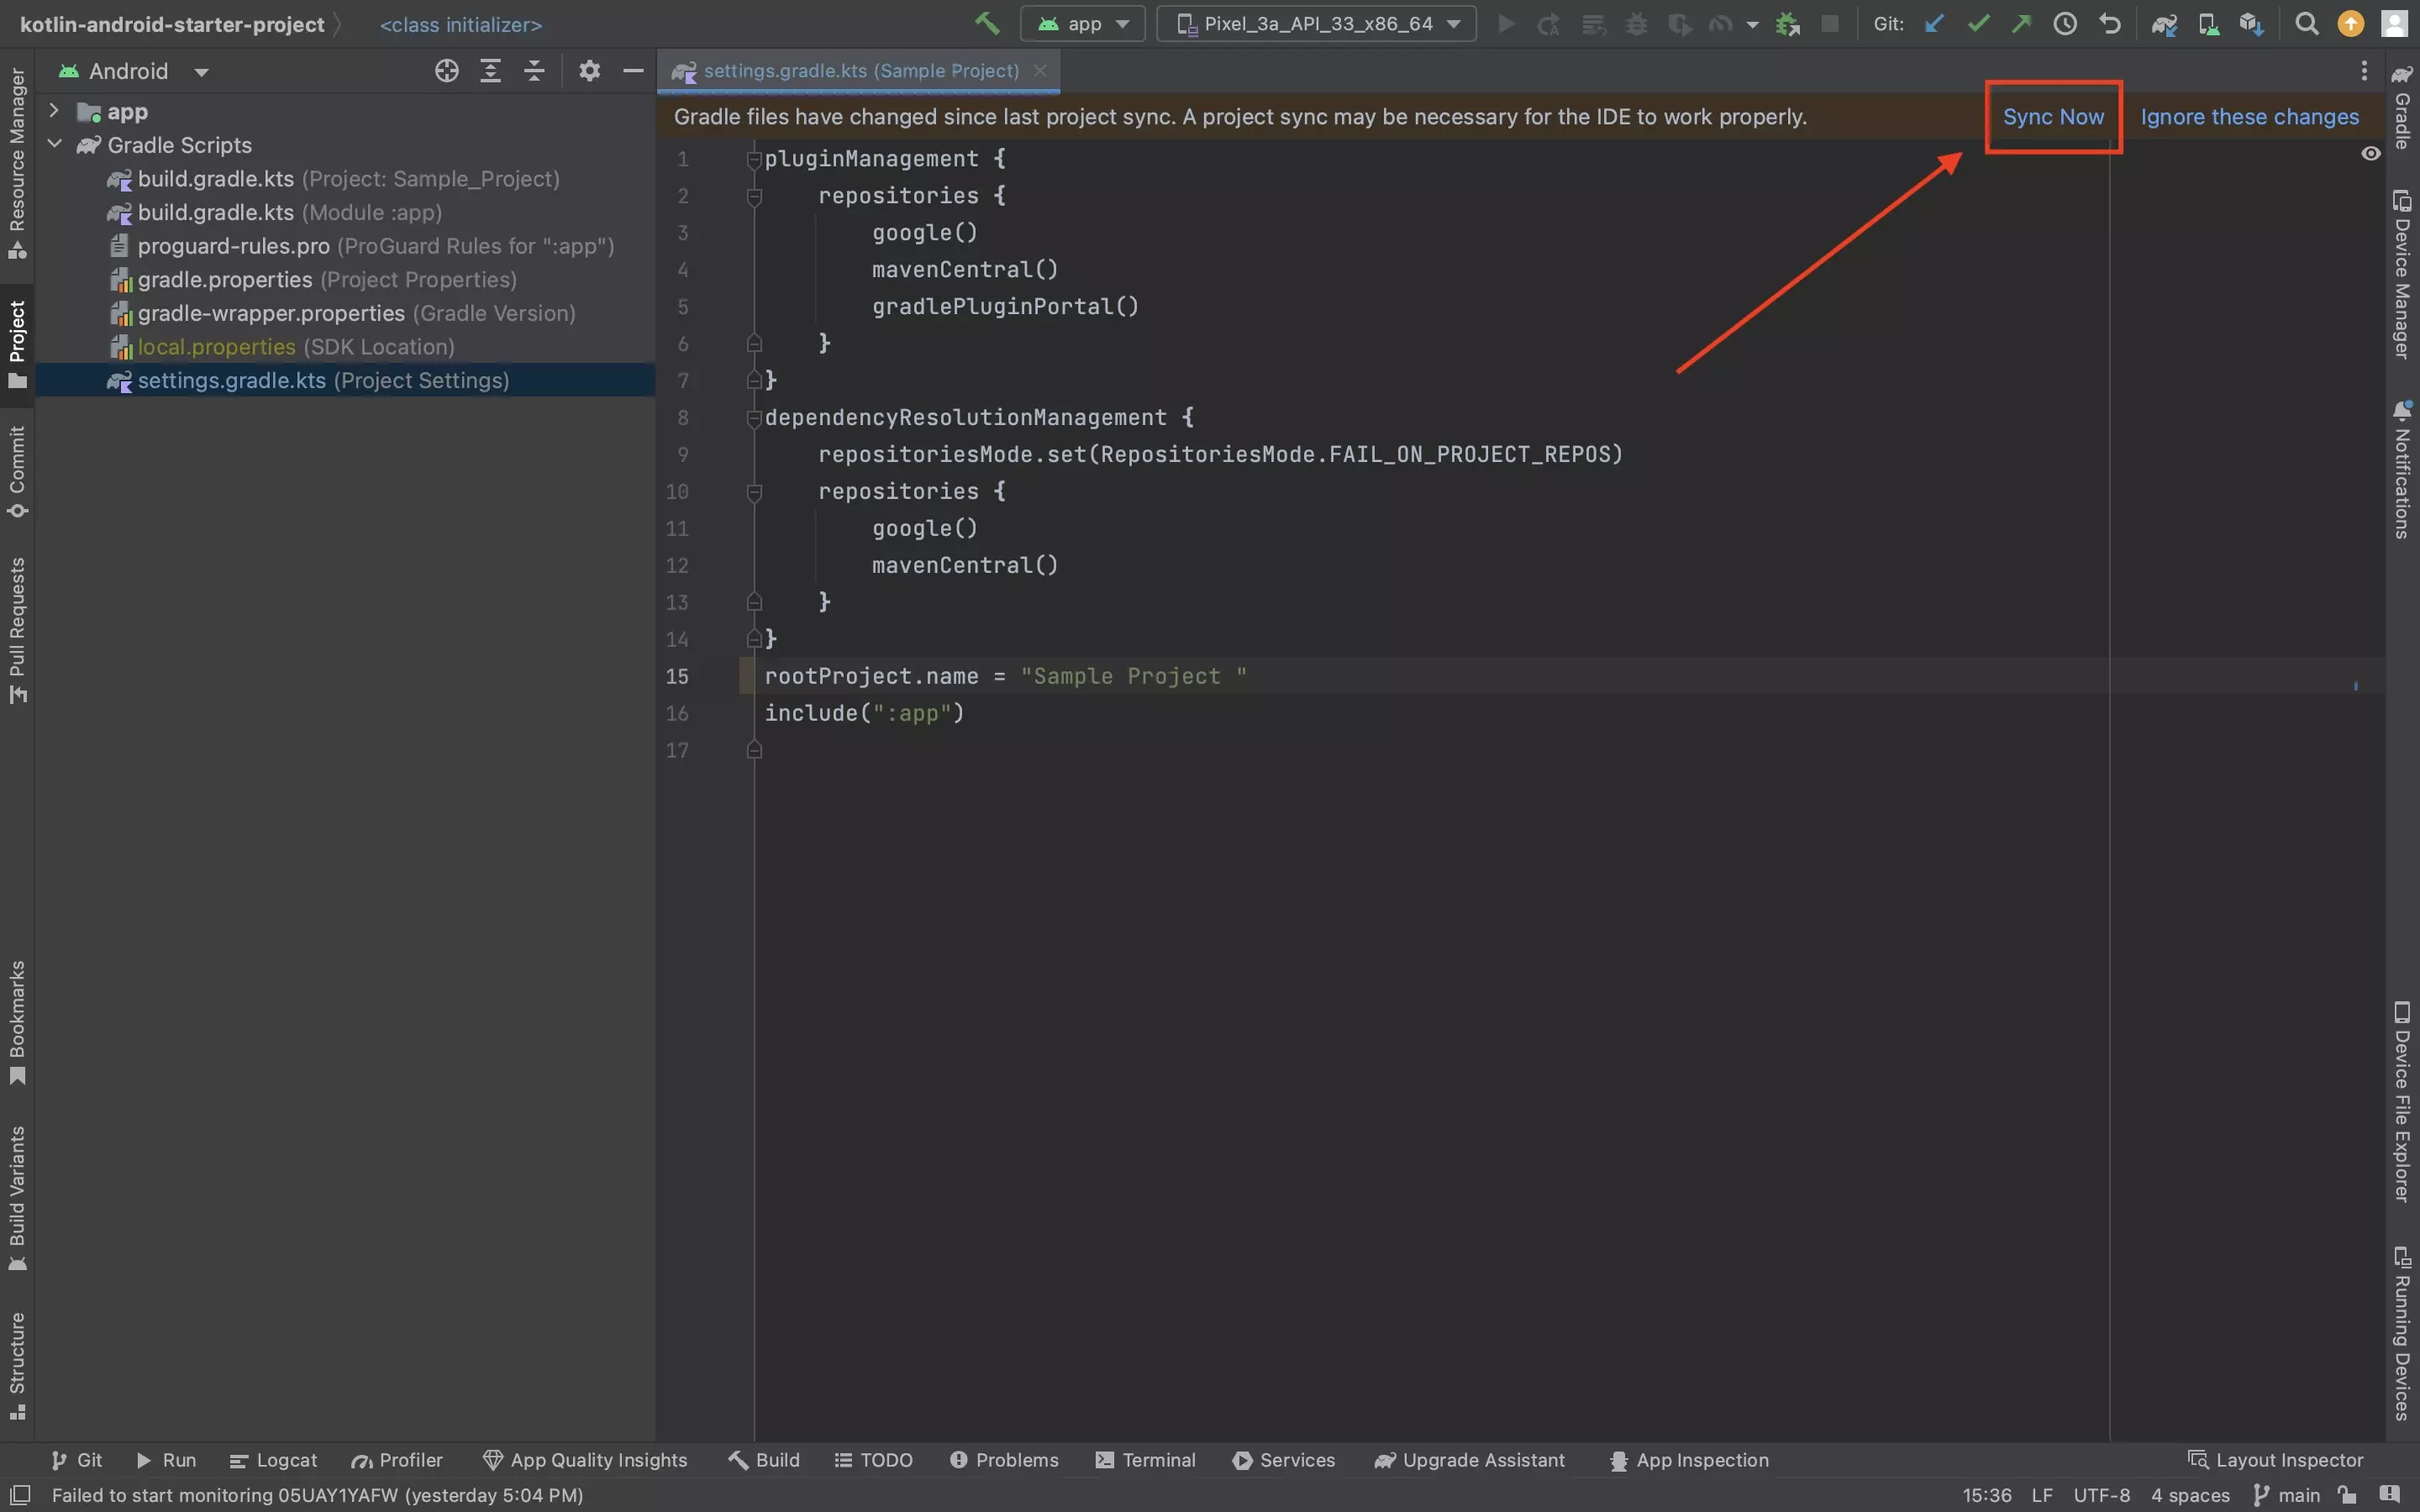
Press Sync Now in the bar above the Gradle to update the project dependencies.
Step Three: Create the Composable
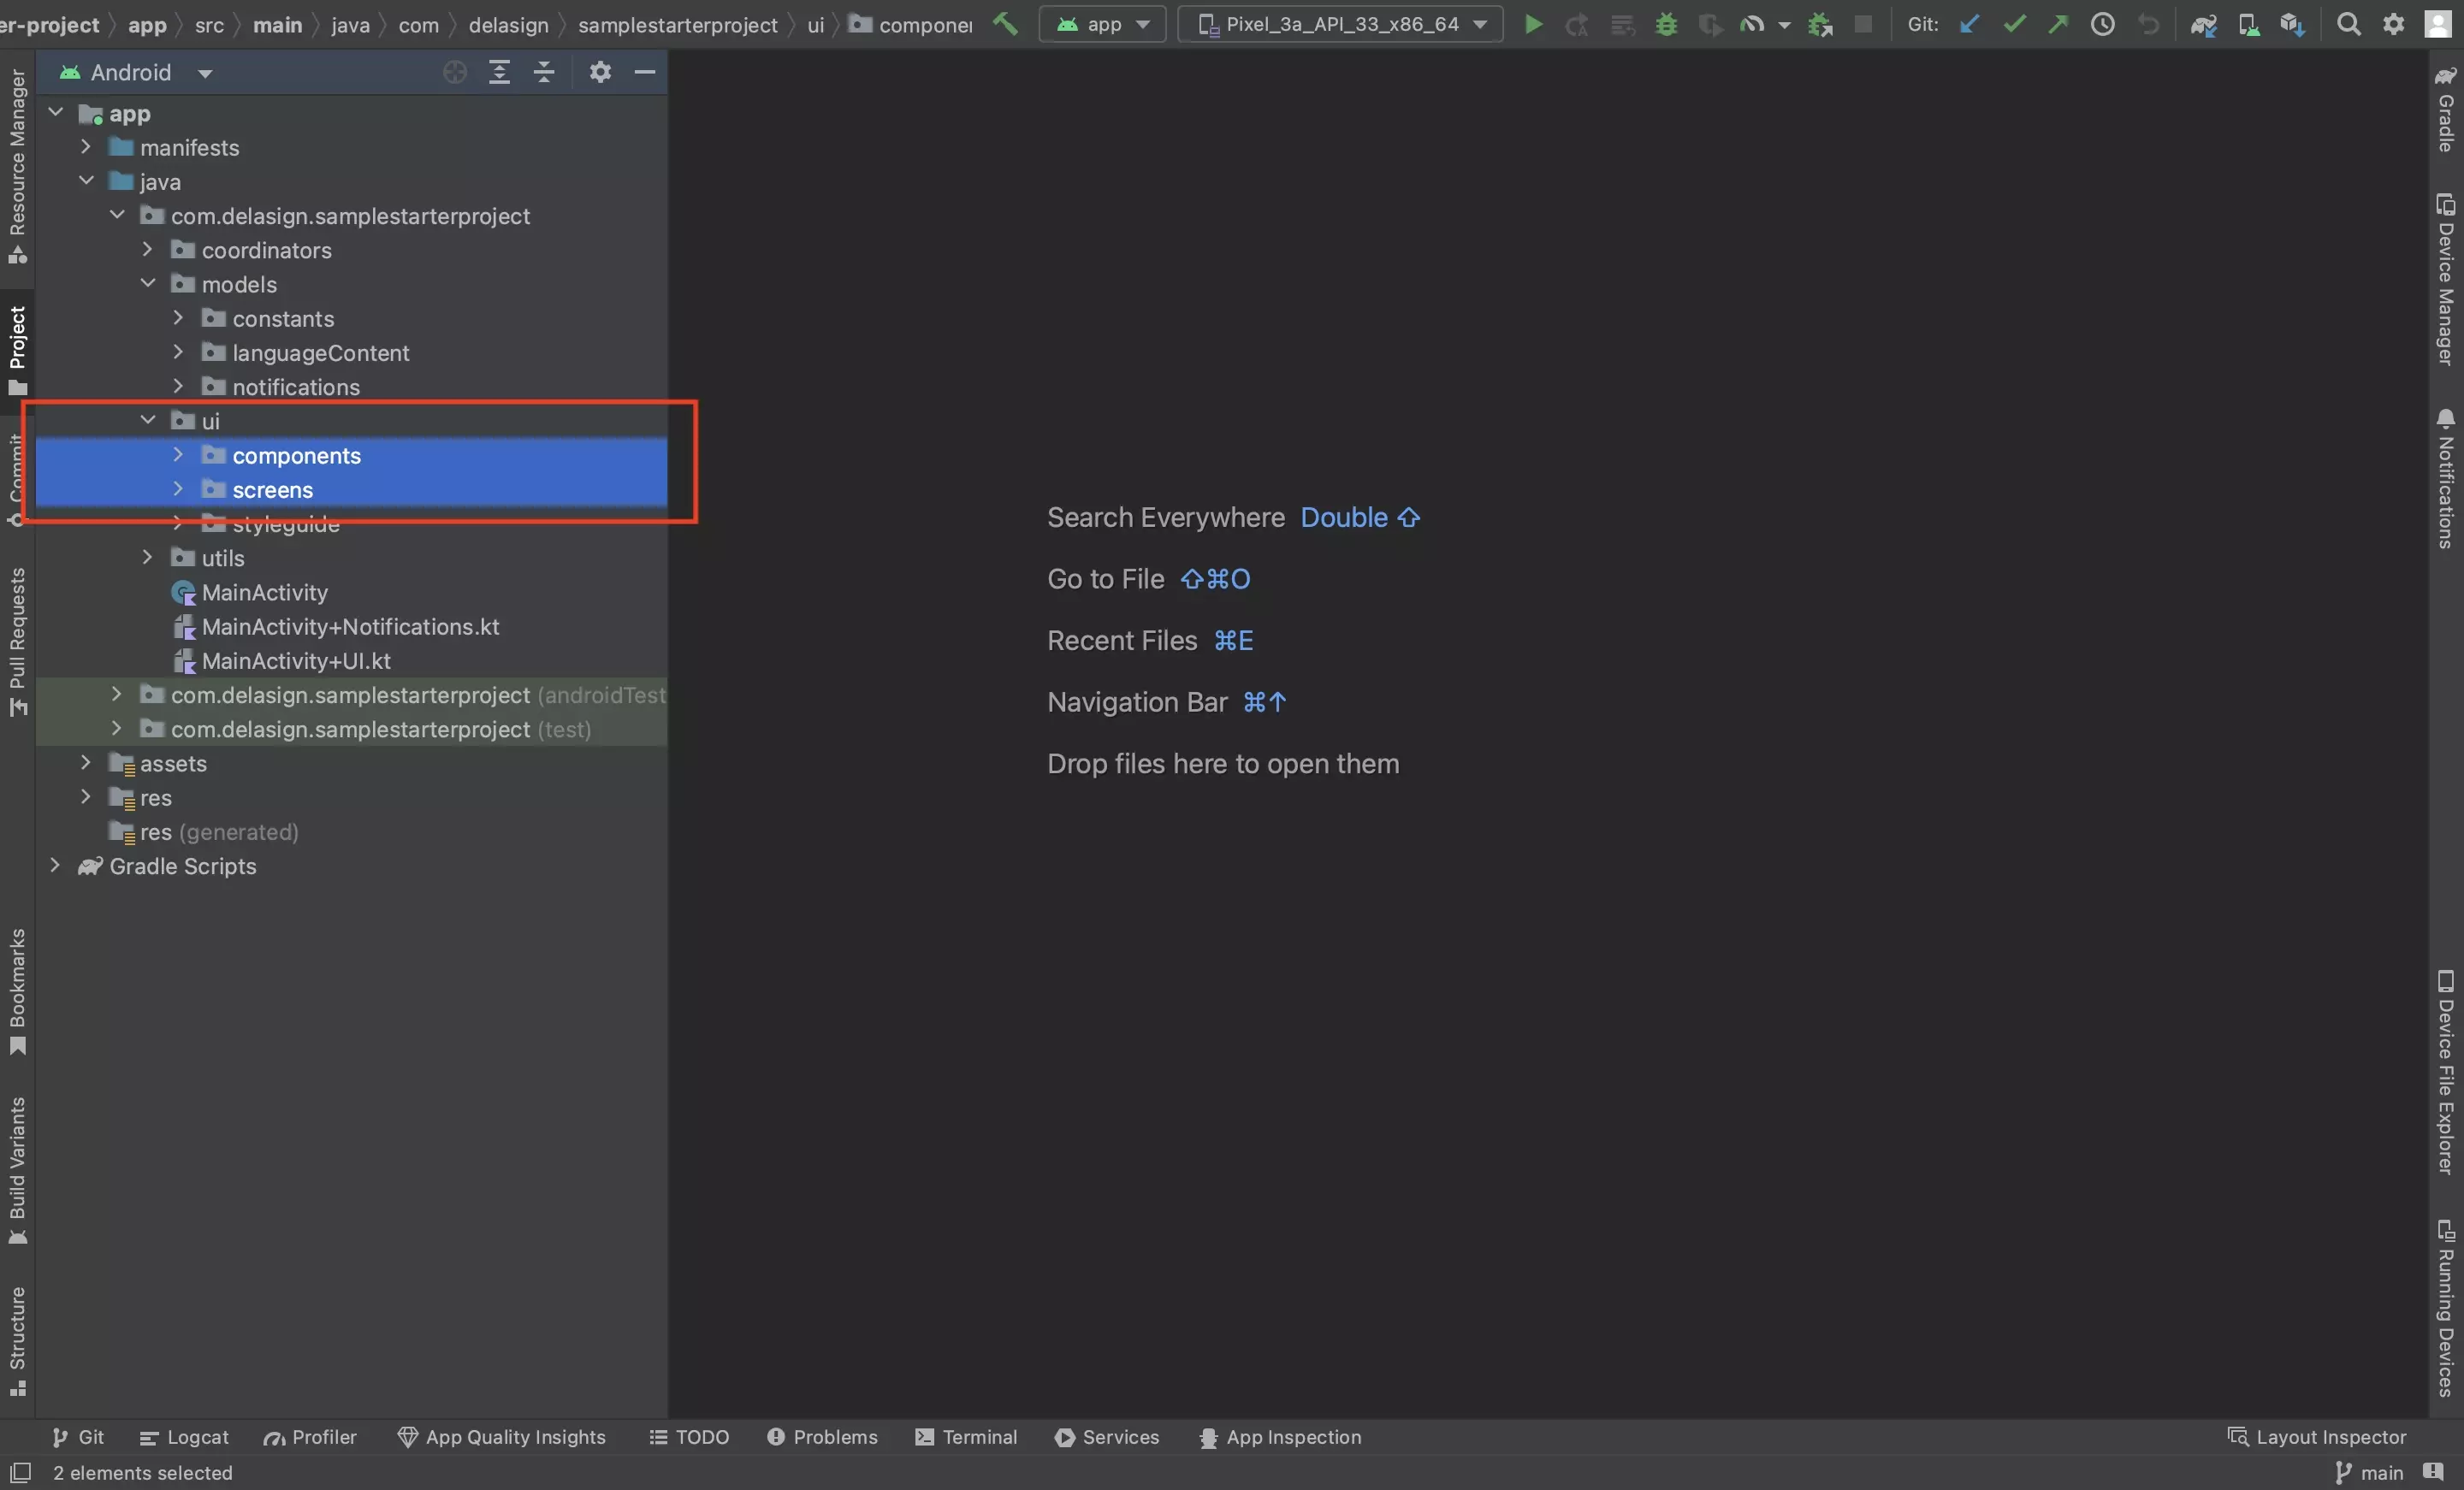
Under the ui folder, in the screens or components folder, create a new Kotlin file with the name of your composable.
Step Four: Create the base
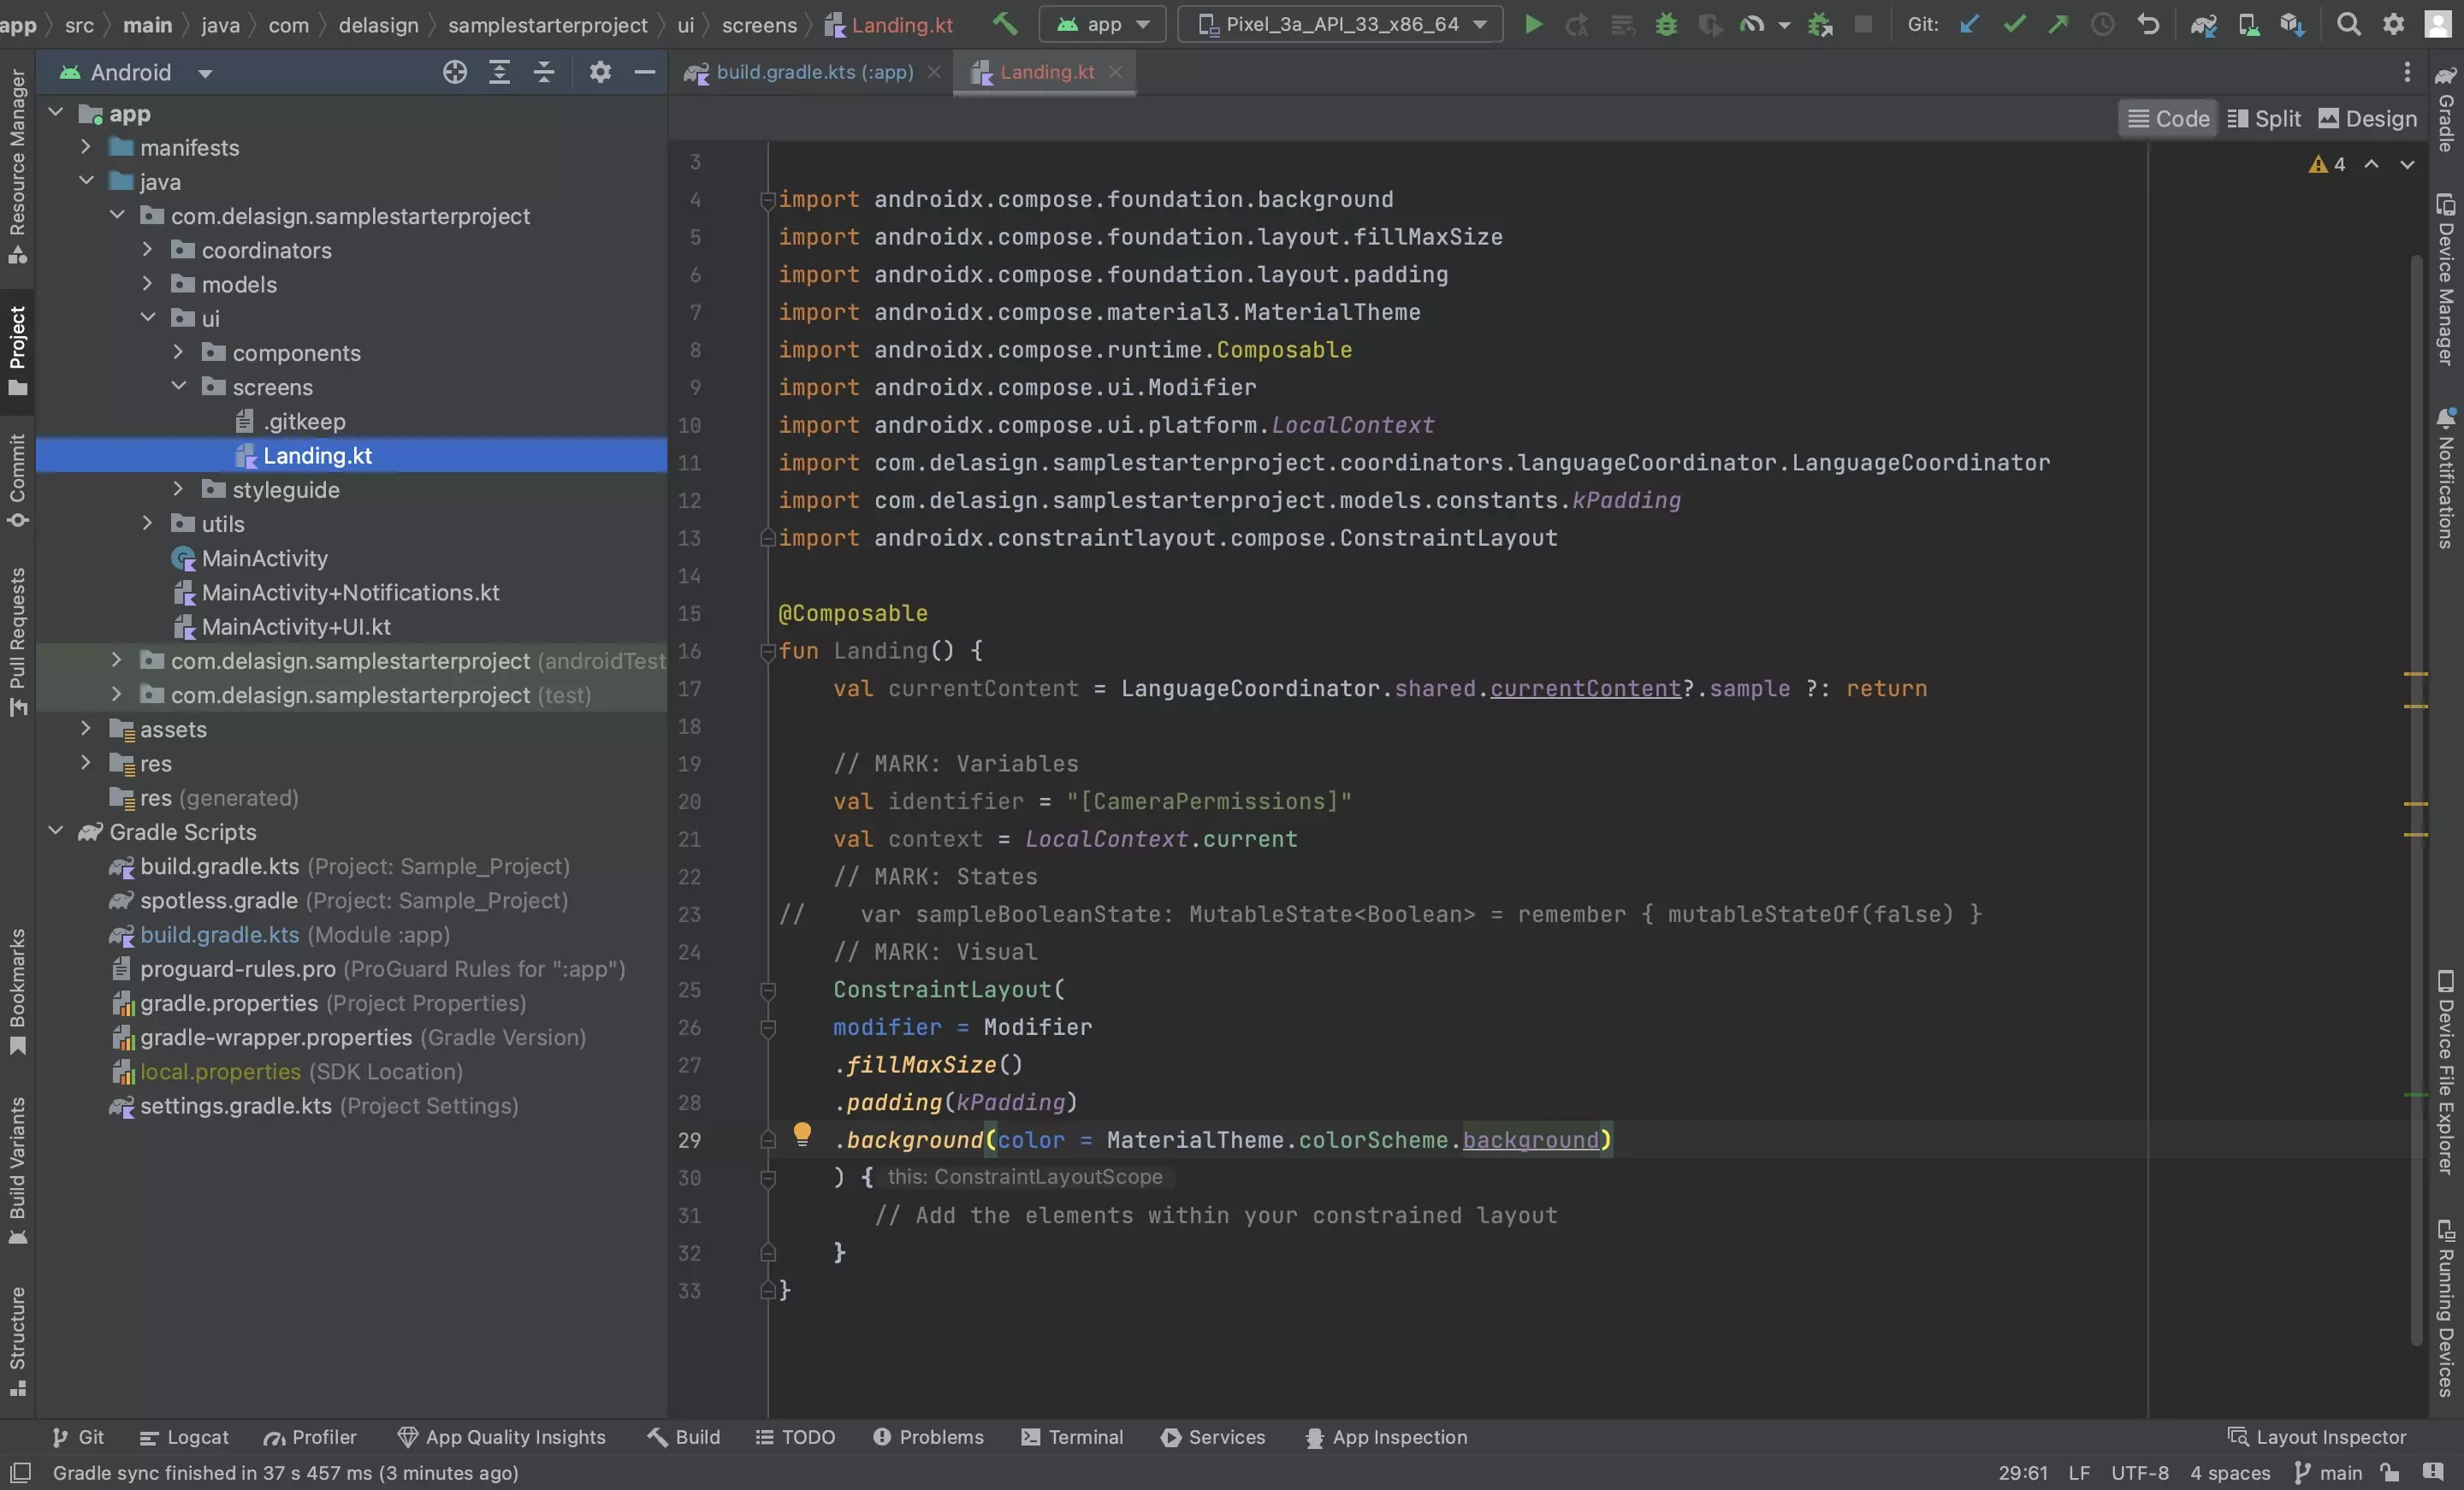
Use the code below to create the base of the constrained composable.
Step Five: Add Elements
The following step shows you how to add elements to the constrained composable.
A | Create the References
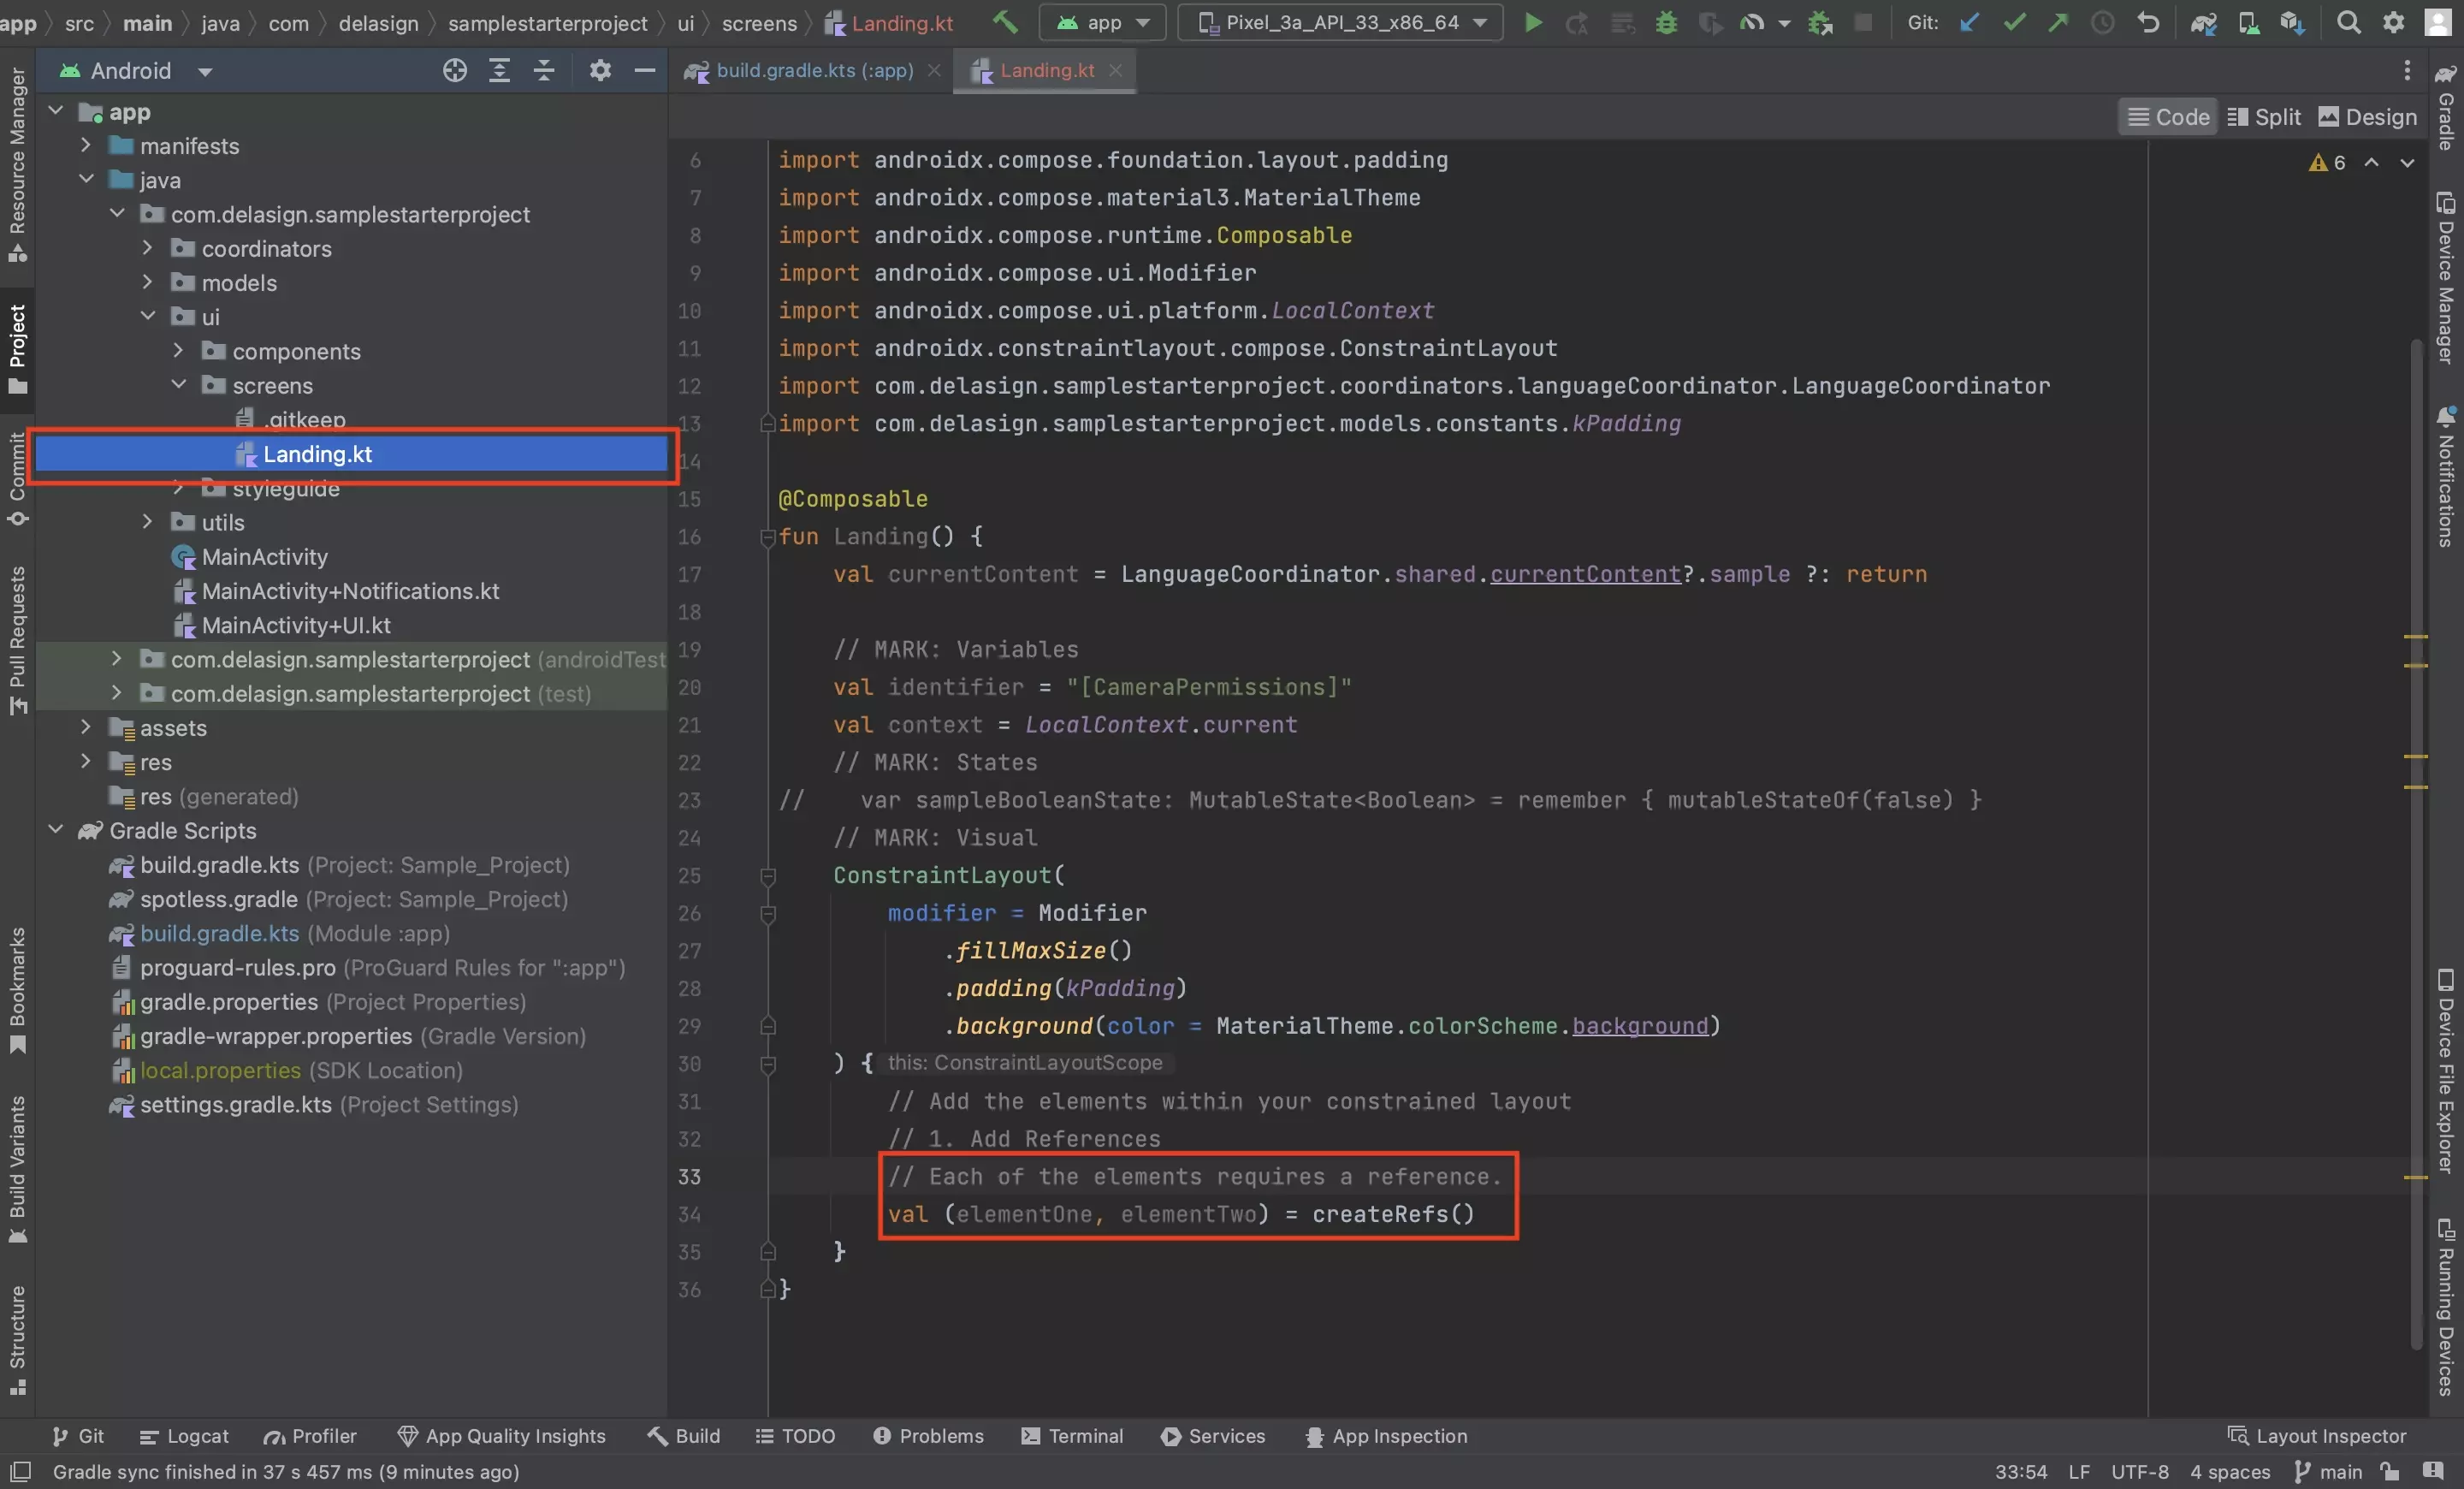
For each element within your ConstraintLayout, create a reference using code similar to the one below:
val (elementOne, elementTwo) = createRefs()B | Add the Elements
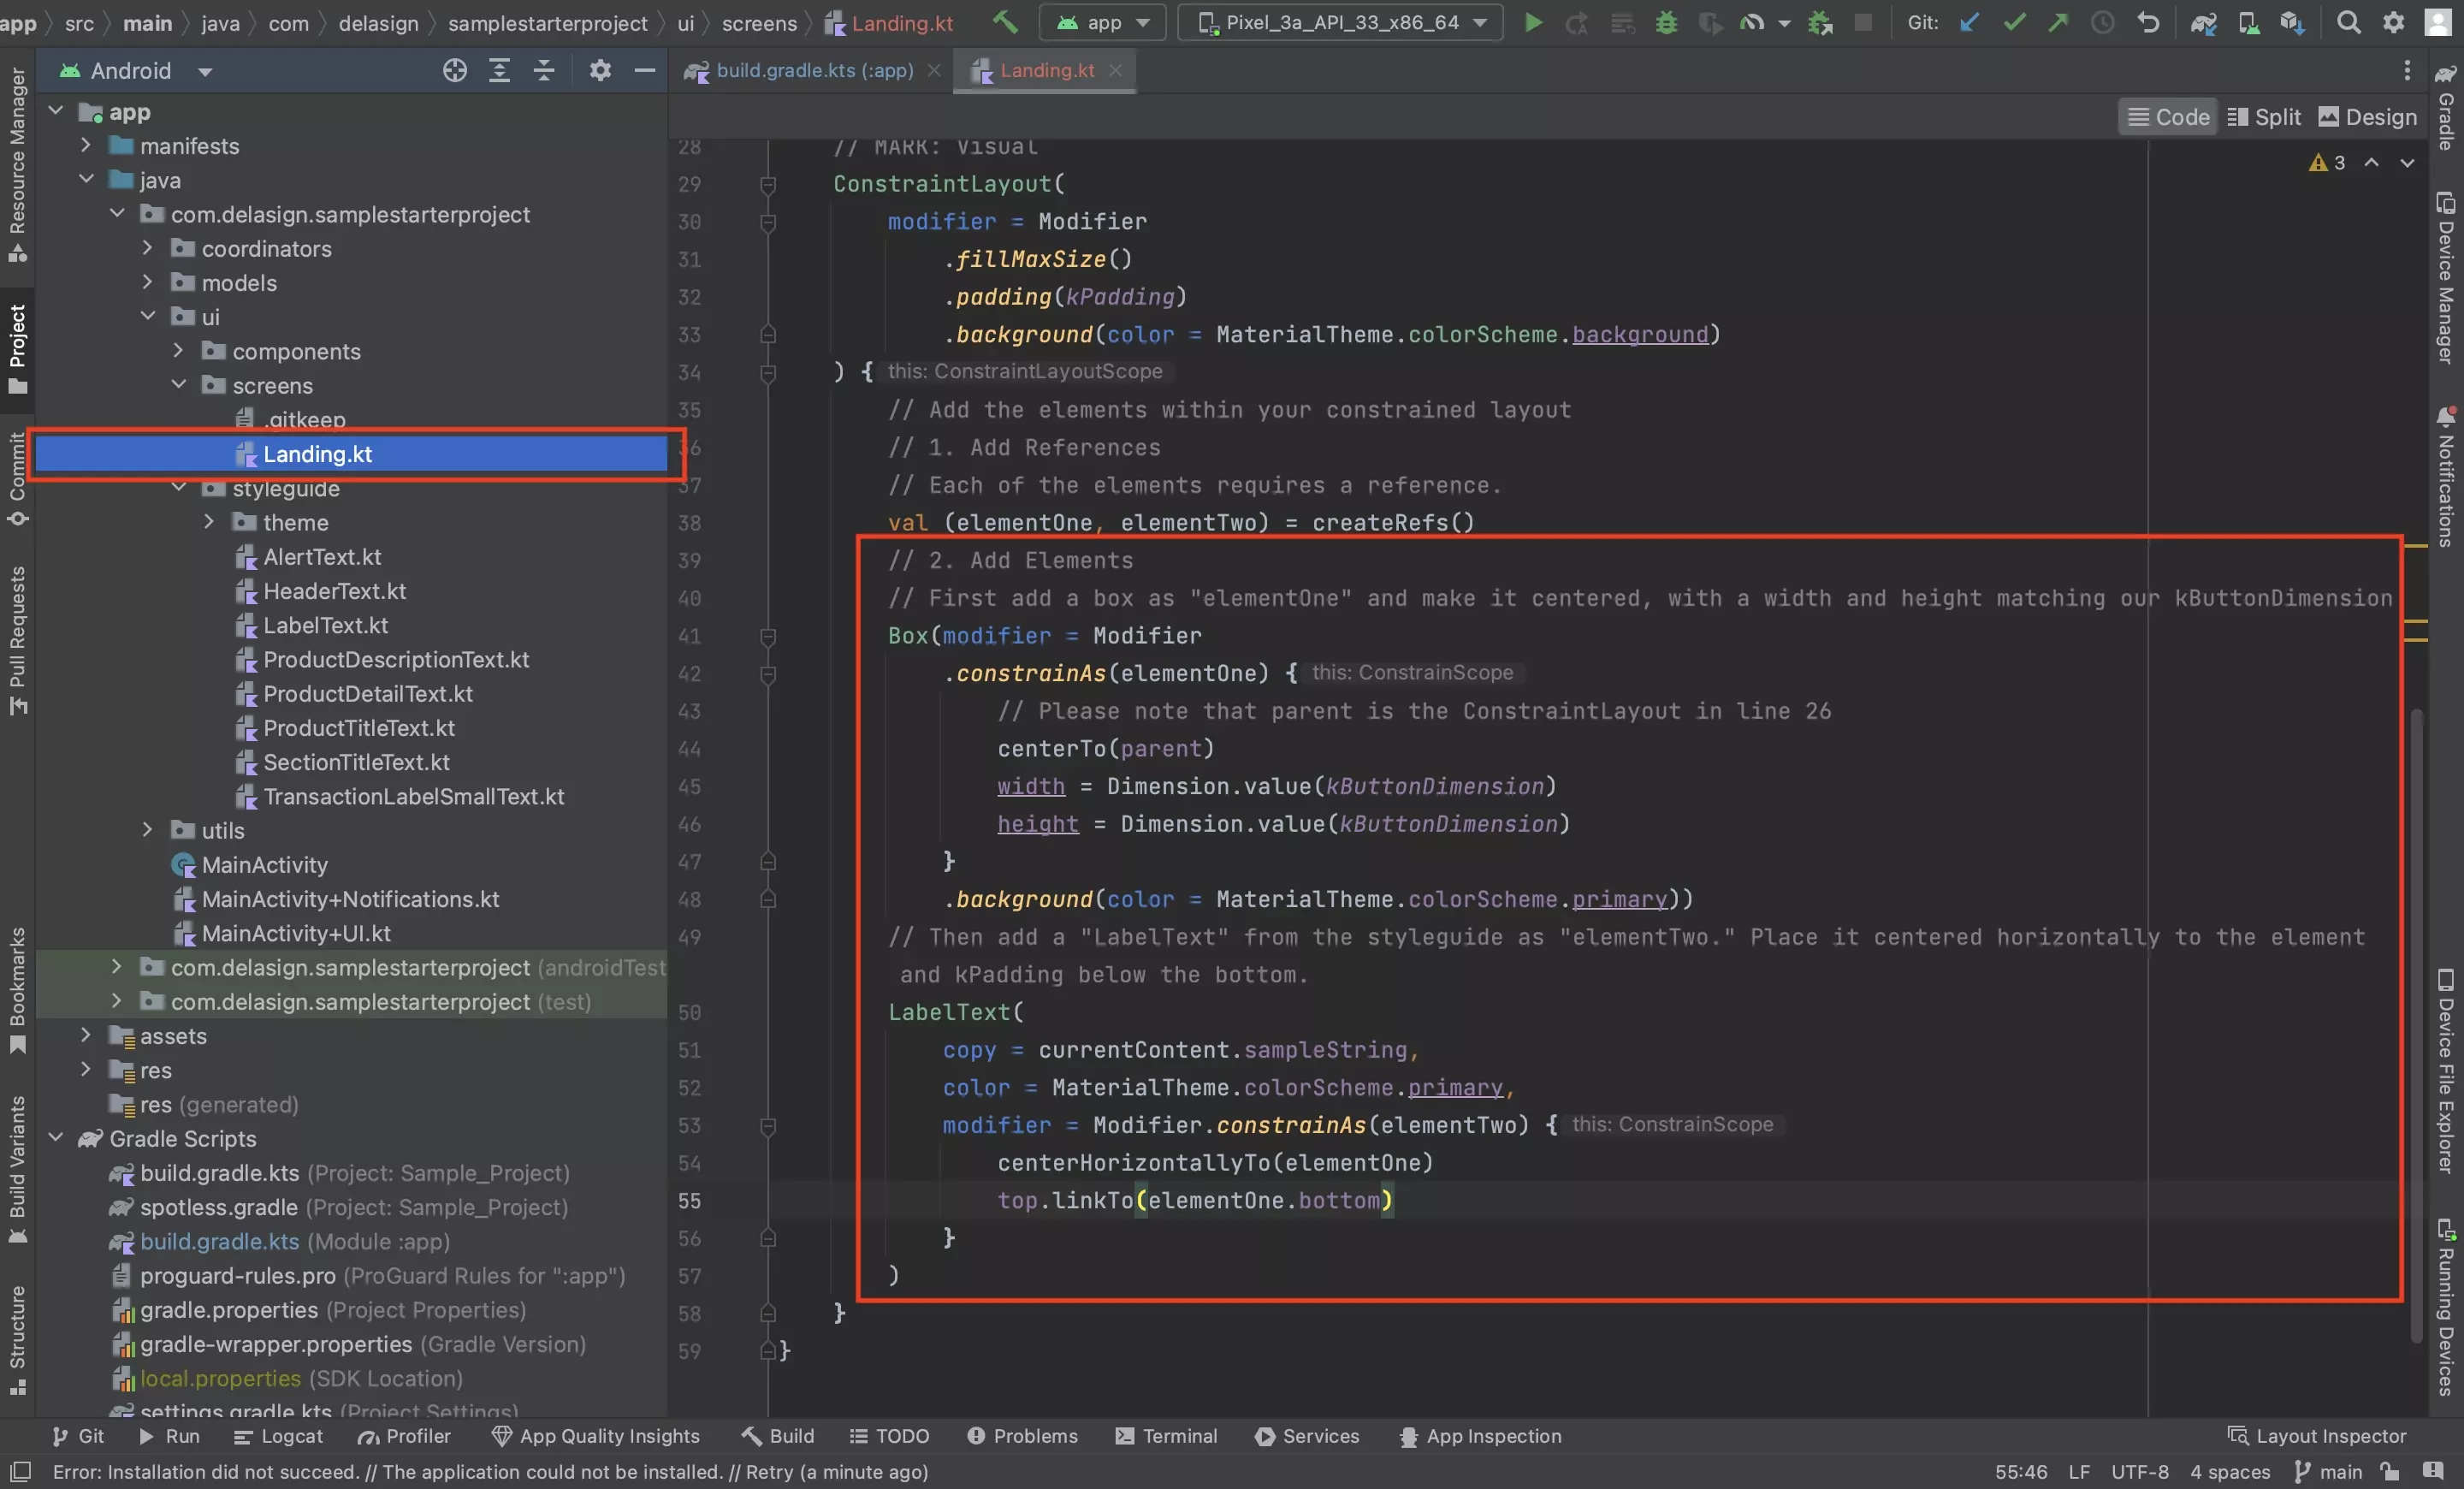
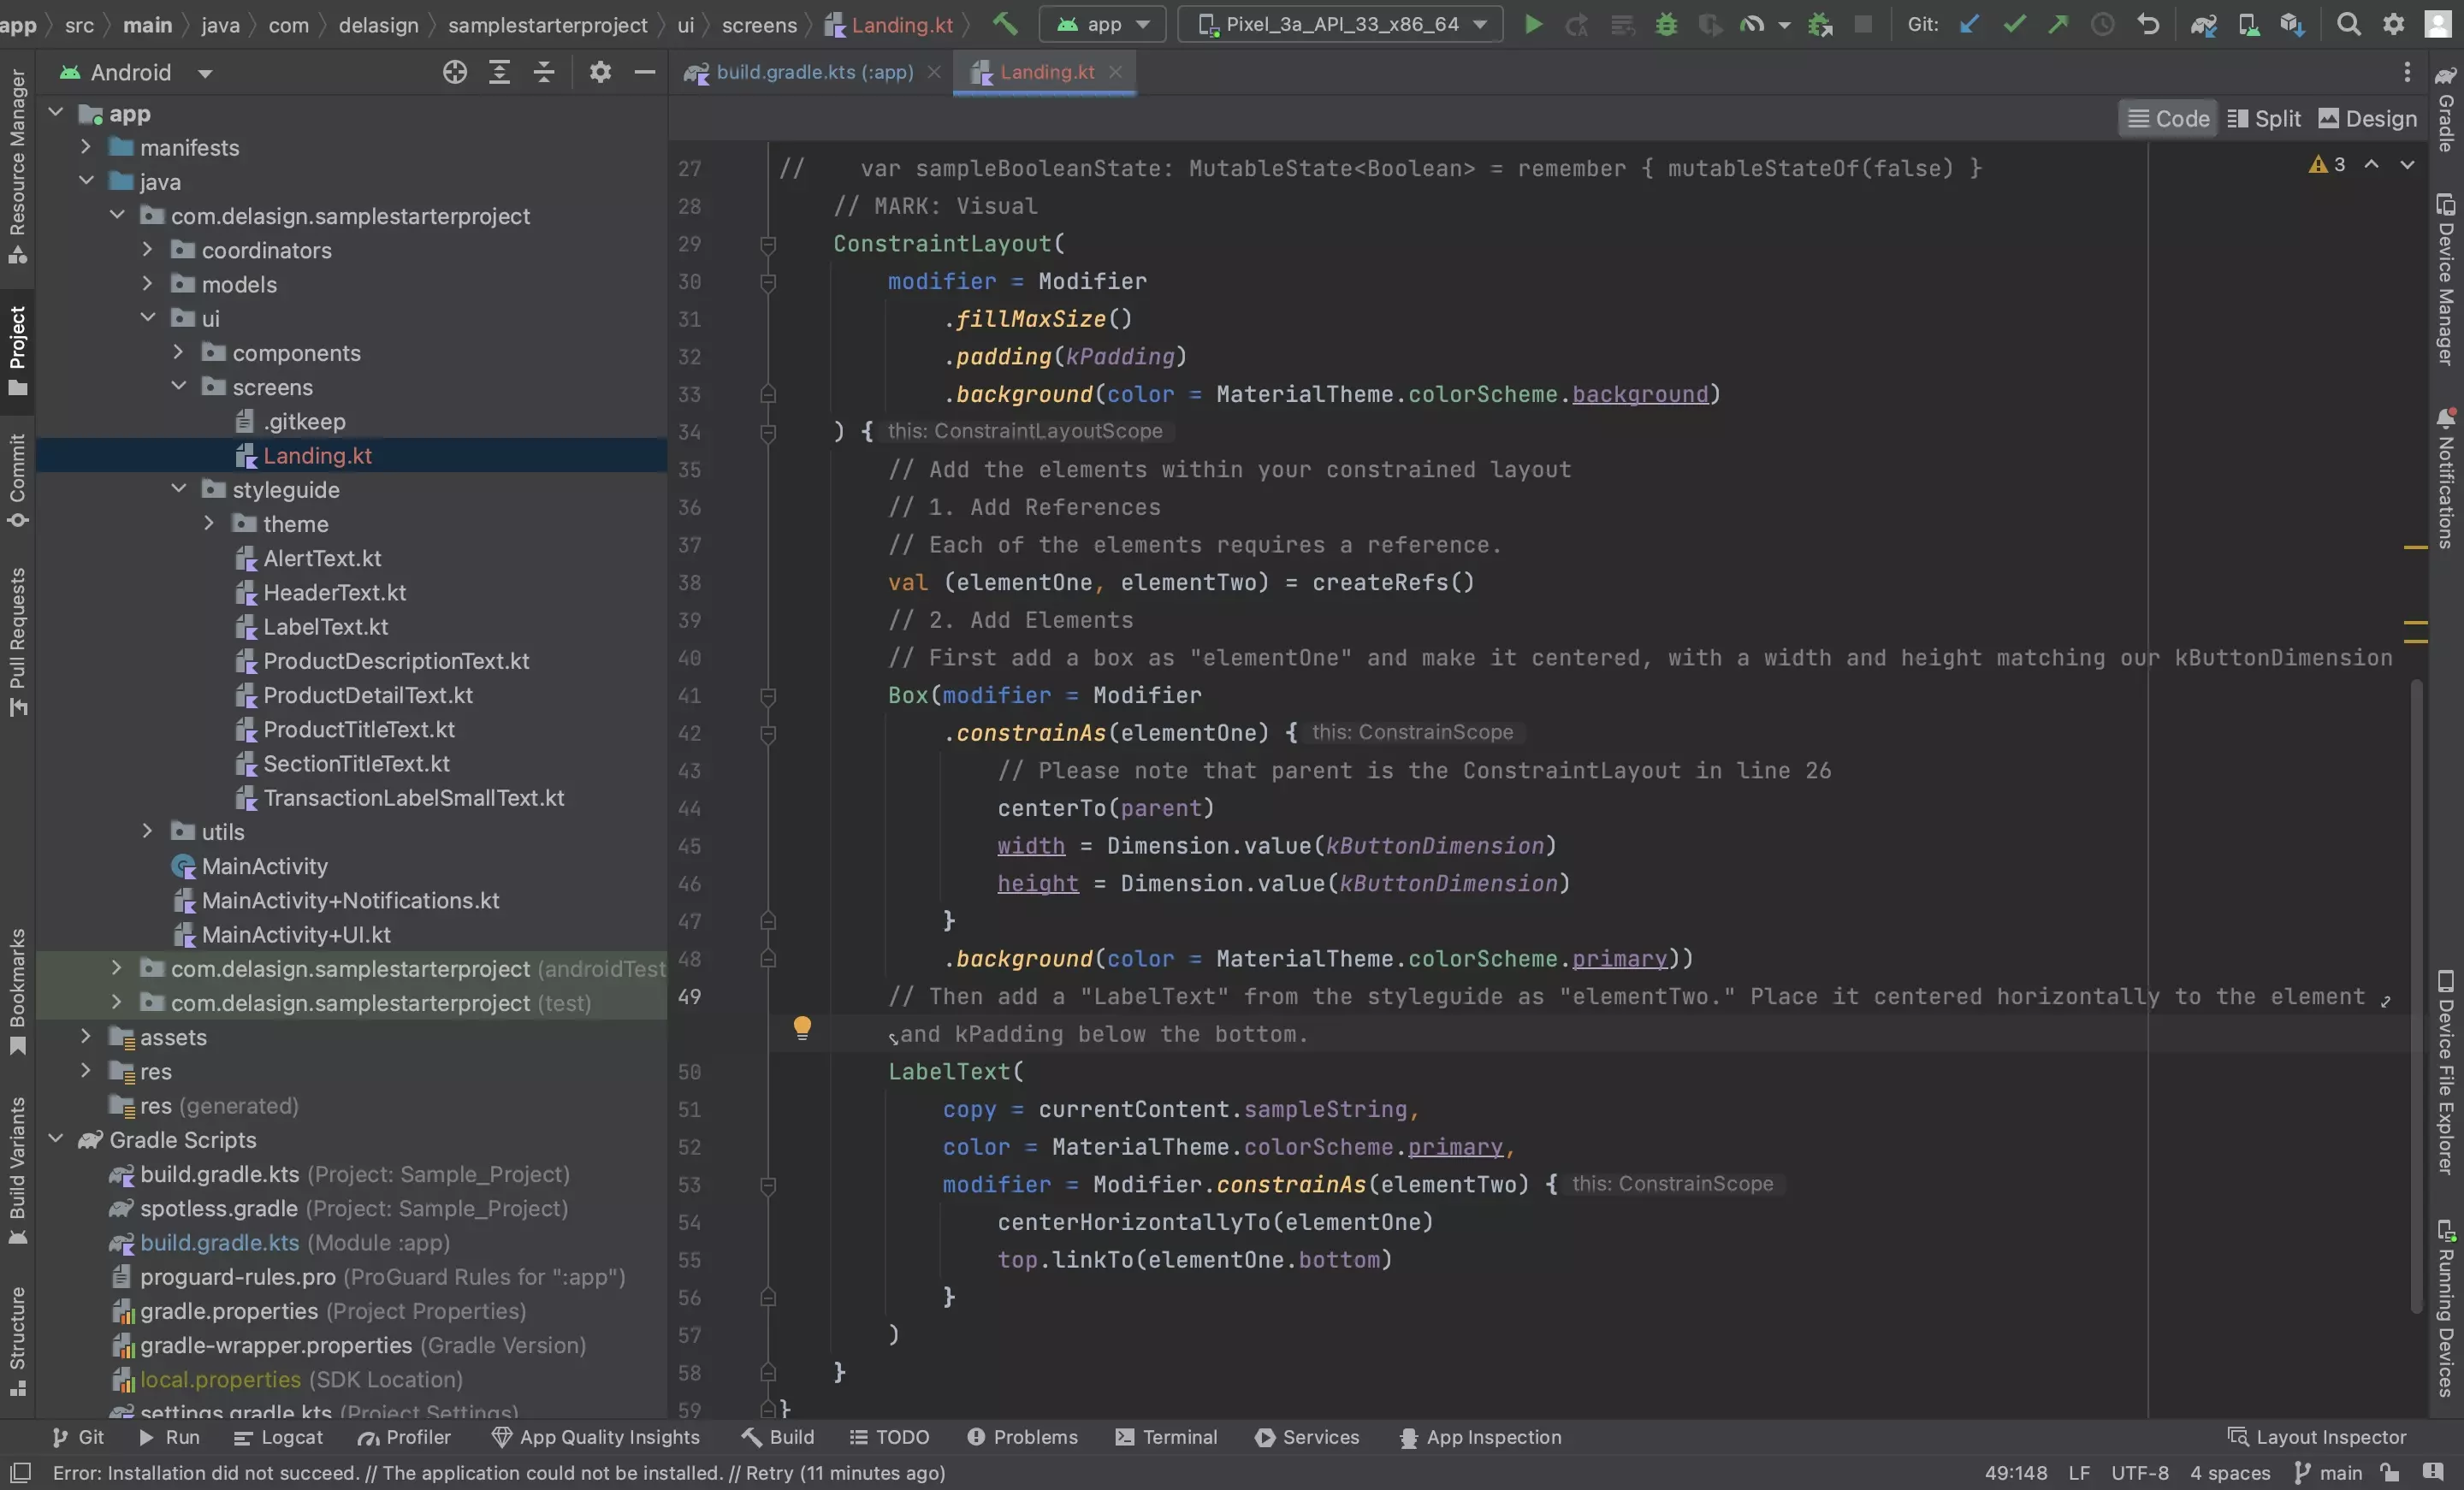
Complete the design of your component or screen by adding elements to the ConstraintLayout.
We have provided sample code to ease your development and suggest that you consult the link below to learn all the possible things that you can do with a ConstraintLayout.
If you are curious to learn how we handle localization (Text depending on language) or how we implemented our Styleguide, please consult the tutorials below.
Step Six: Add the Composable to the UI
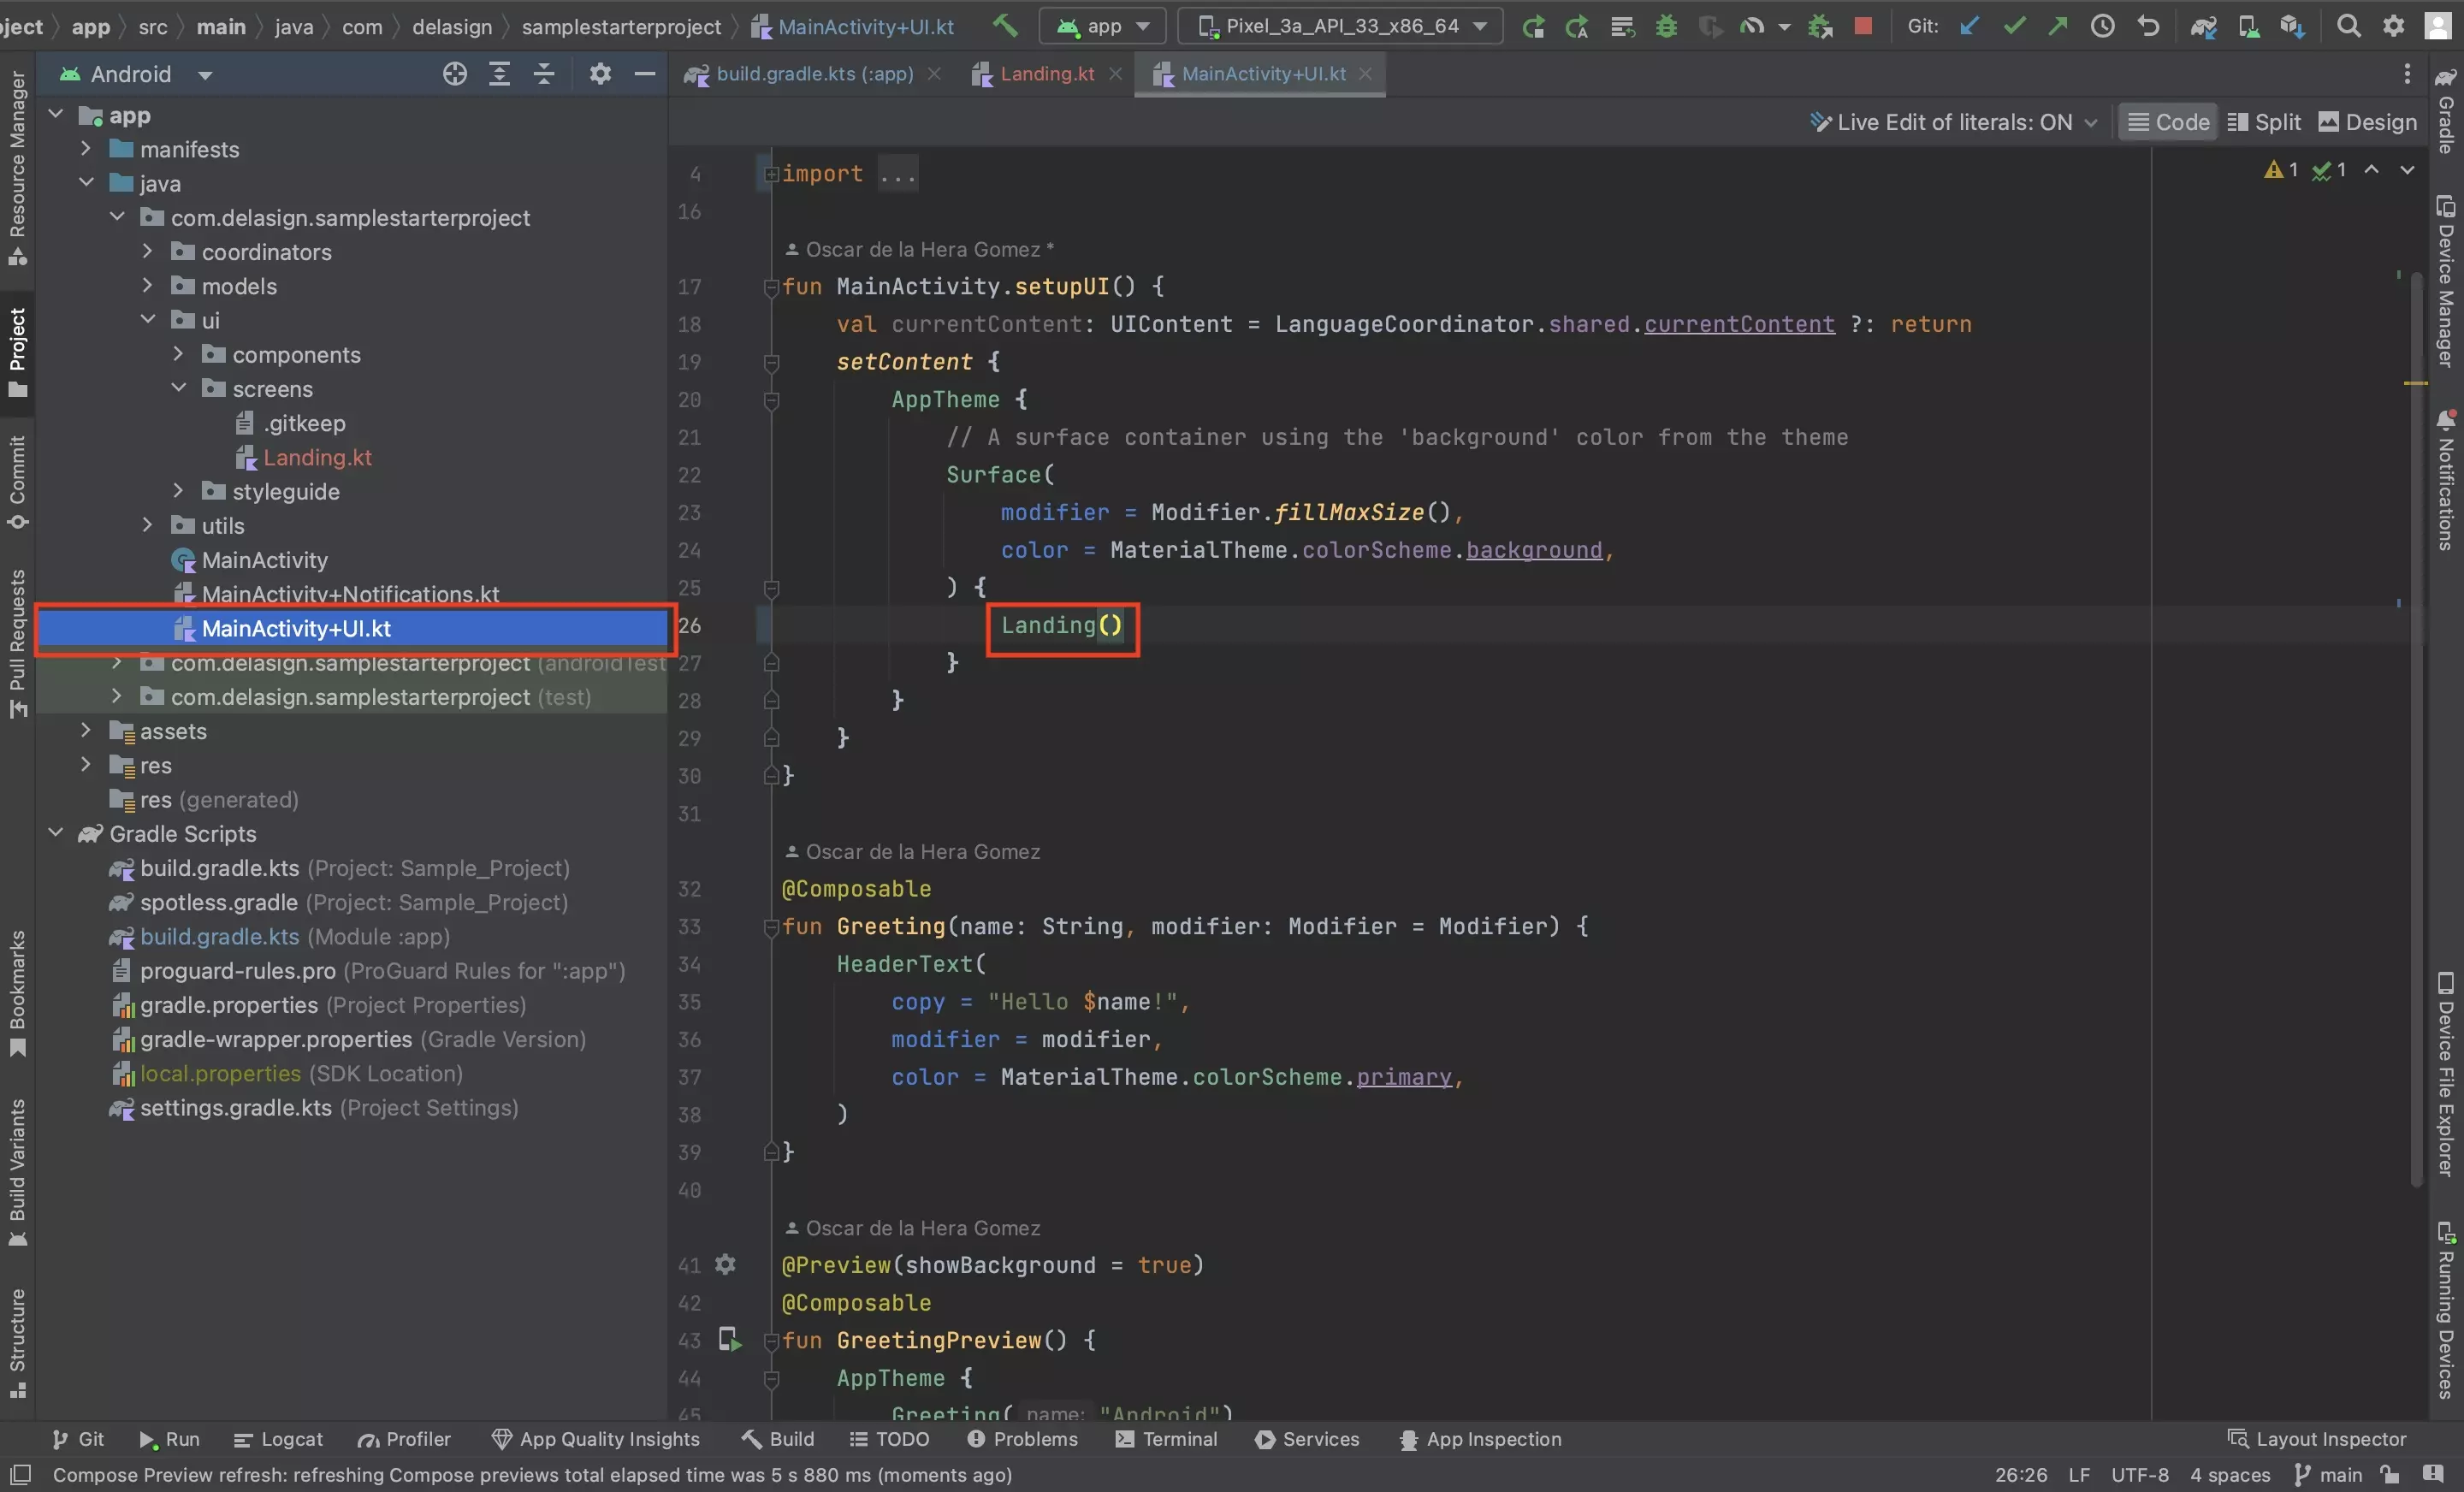
Add the newly created Composable to your UI.
Step Seven: Test
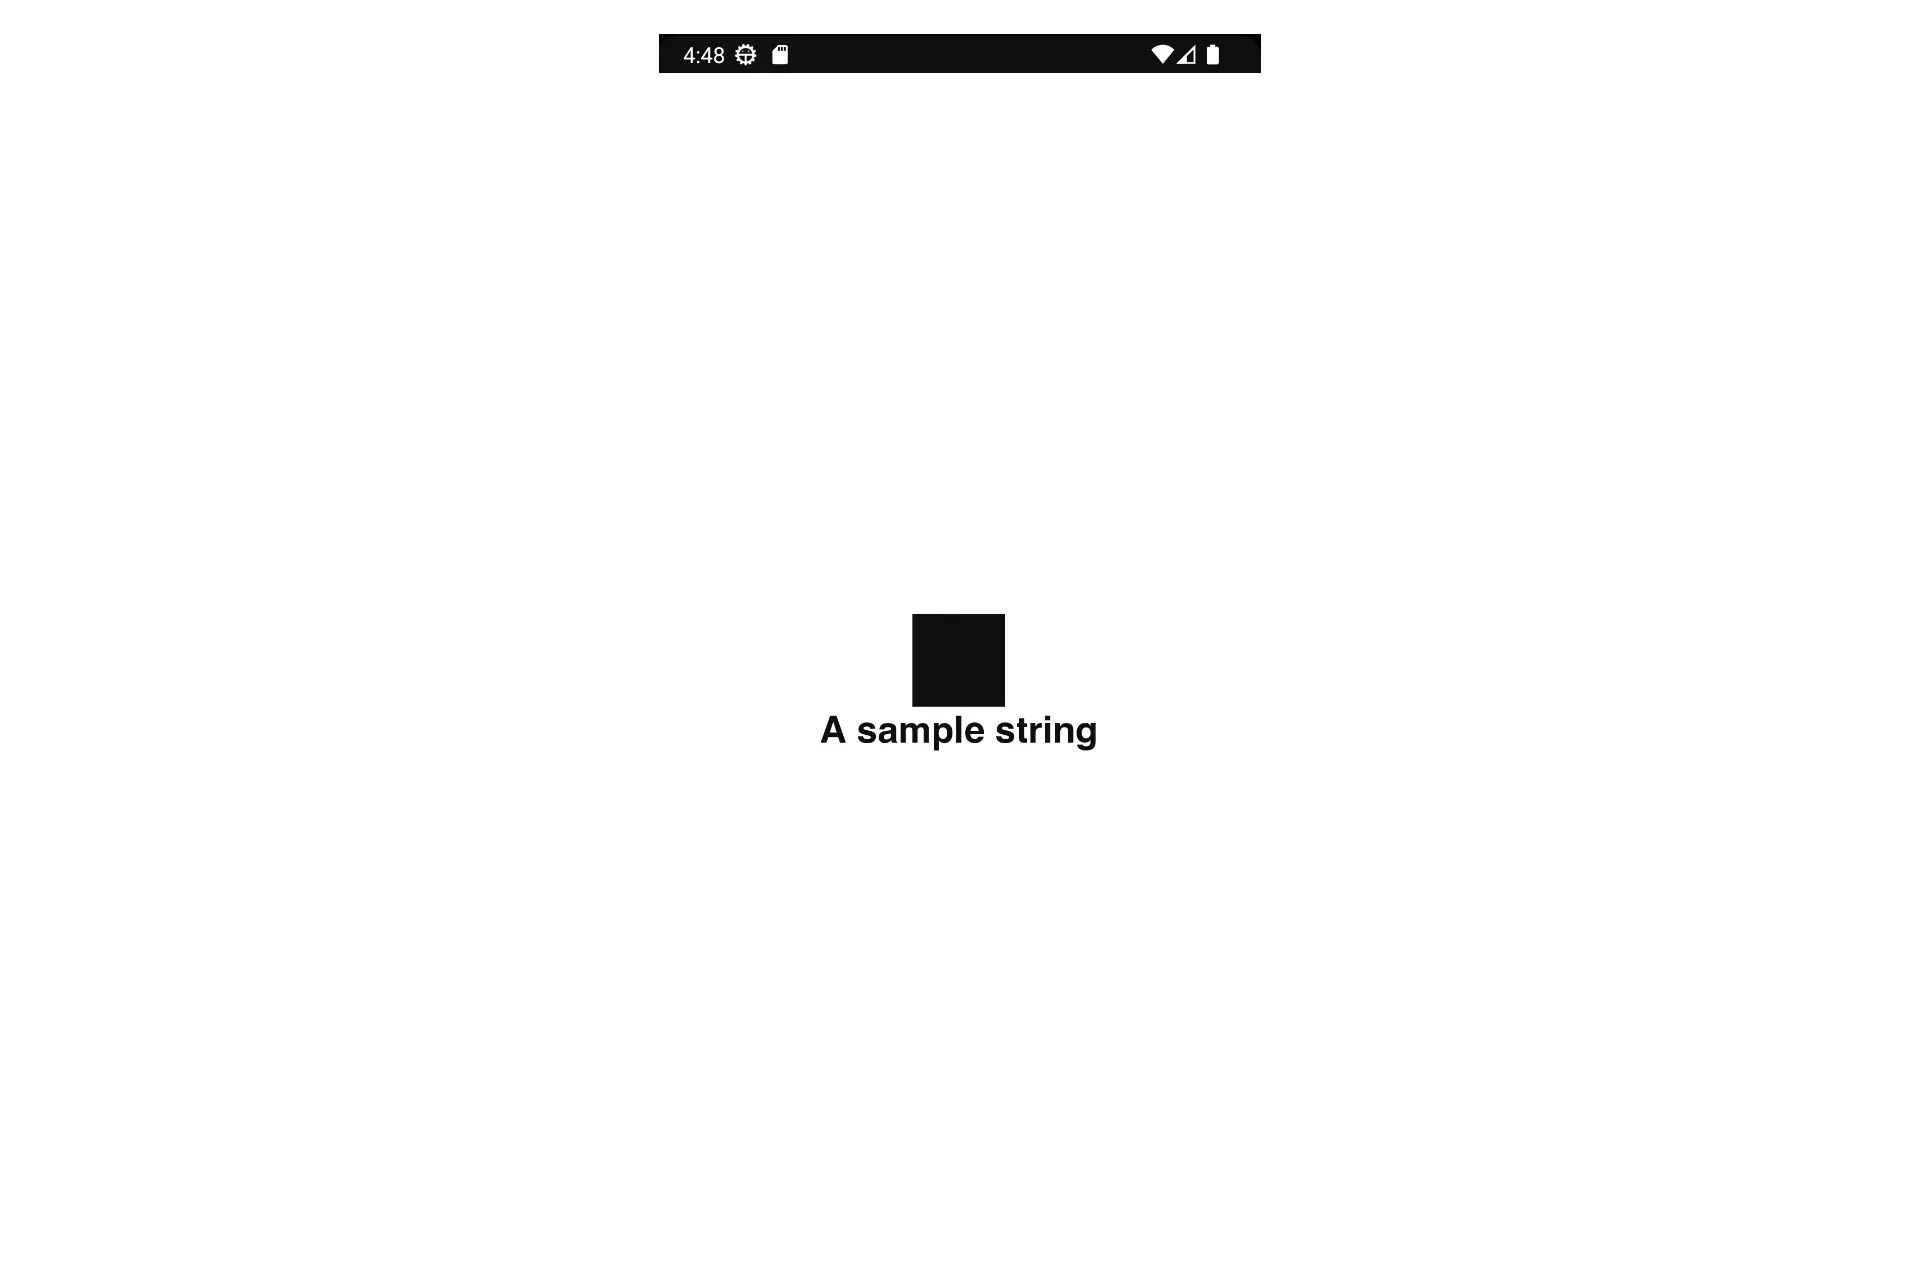
Run the code and confirm that everything looks right.