How to add a custom font to an Android Studio project
A step by step guide on adding custom typography to an Android Studio project that uses Kotlin and Jetpack Compose.

A step by step guide on adding custom typography to an Android Studio project that uses Kotlin and Jetpack Compose.
SubscribeDownload Open Source Kotlin Starter ProjectThe following tutorial walks you through how to add Roboto to an Android Studio project. Roboto was acquired using Google Fonts.
We recommend that you clone our Open Source Kotlin Starter Project, checking out the main branch and carrying out the steps below. The changes can be found on the tutorial/basics/font.
git clone git@github.com:delasign/kotlin-android-starter-project.gitStep One: Create the Fonts Folder
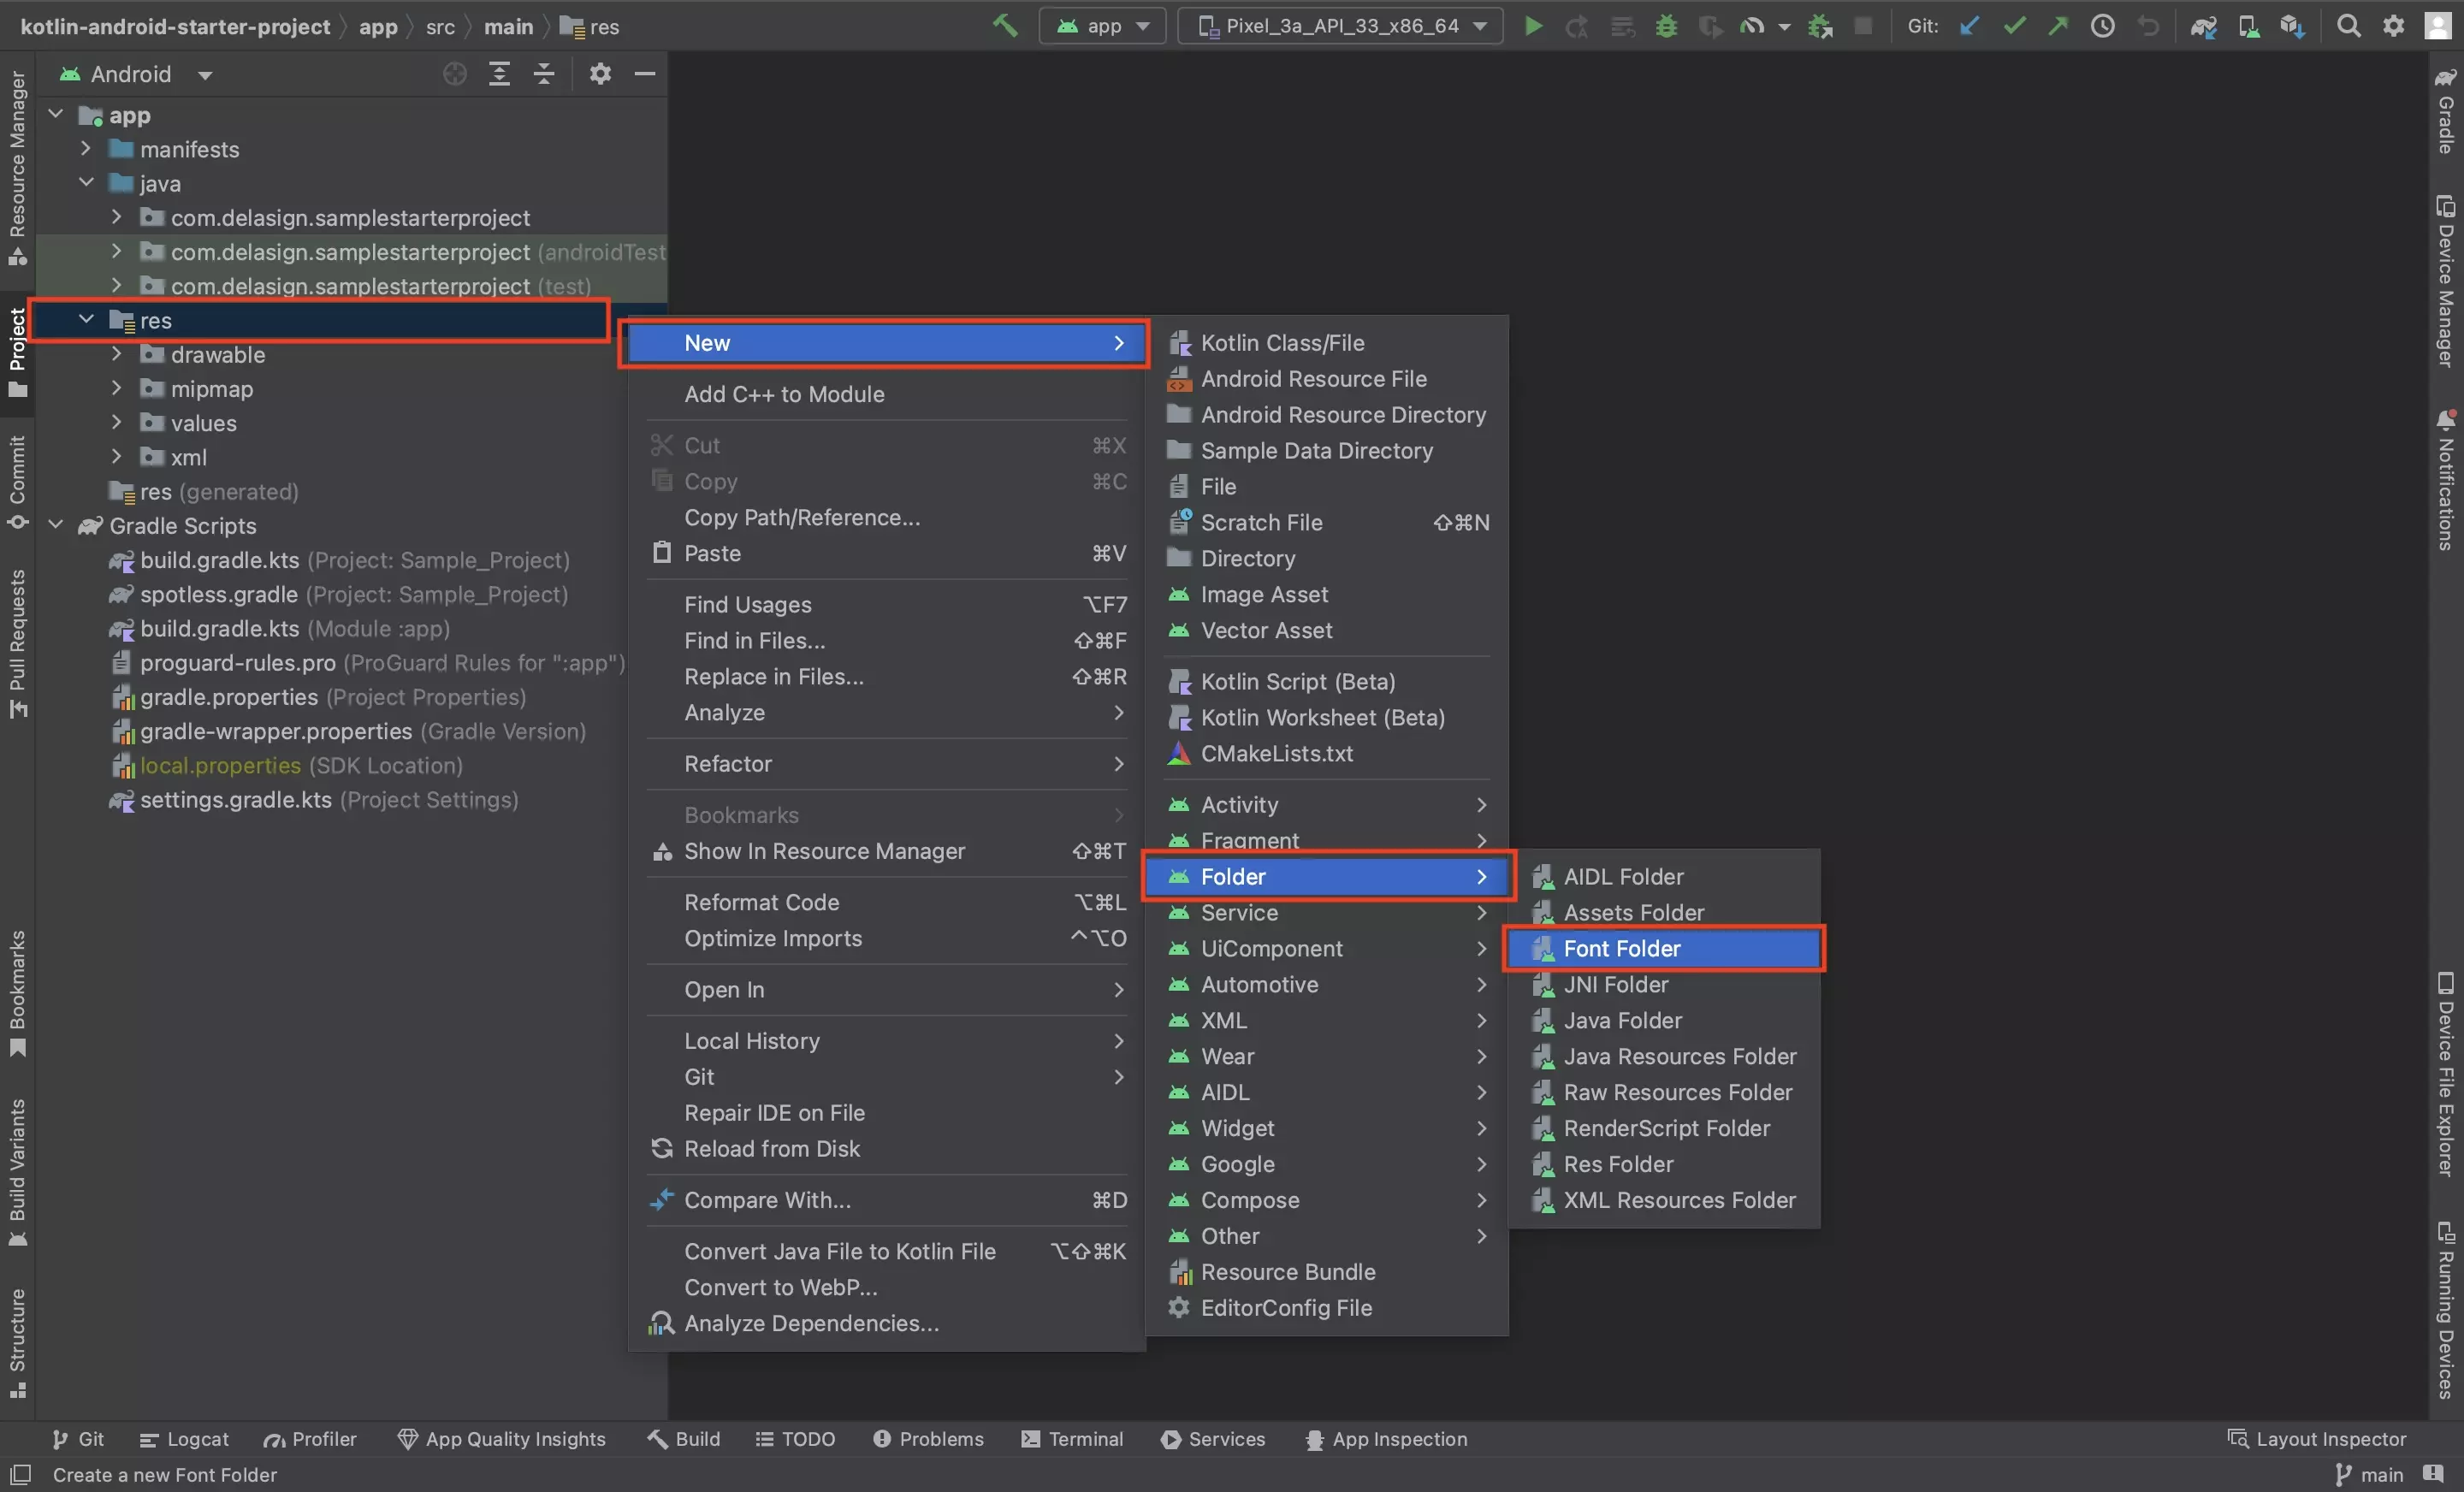
With Android selected in the Project Inspector (top left), right click on the res folder and create a new Font Folder (new > Android Folder > Font Folder).
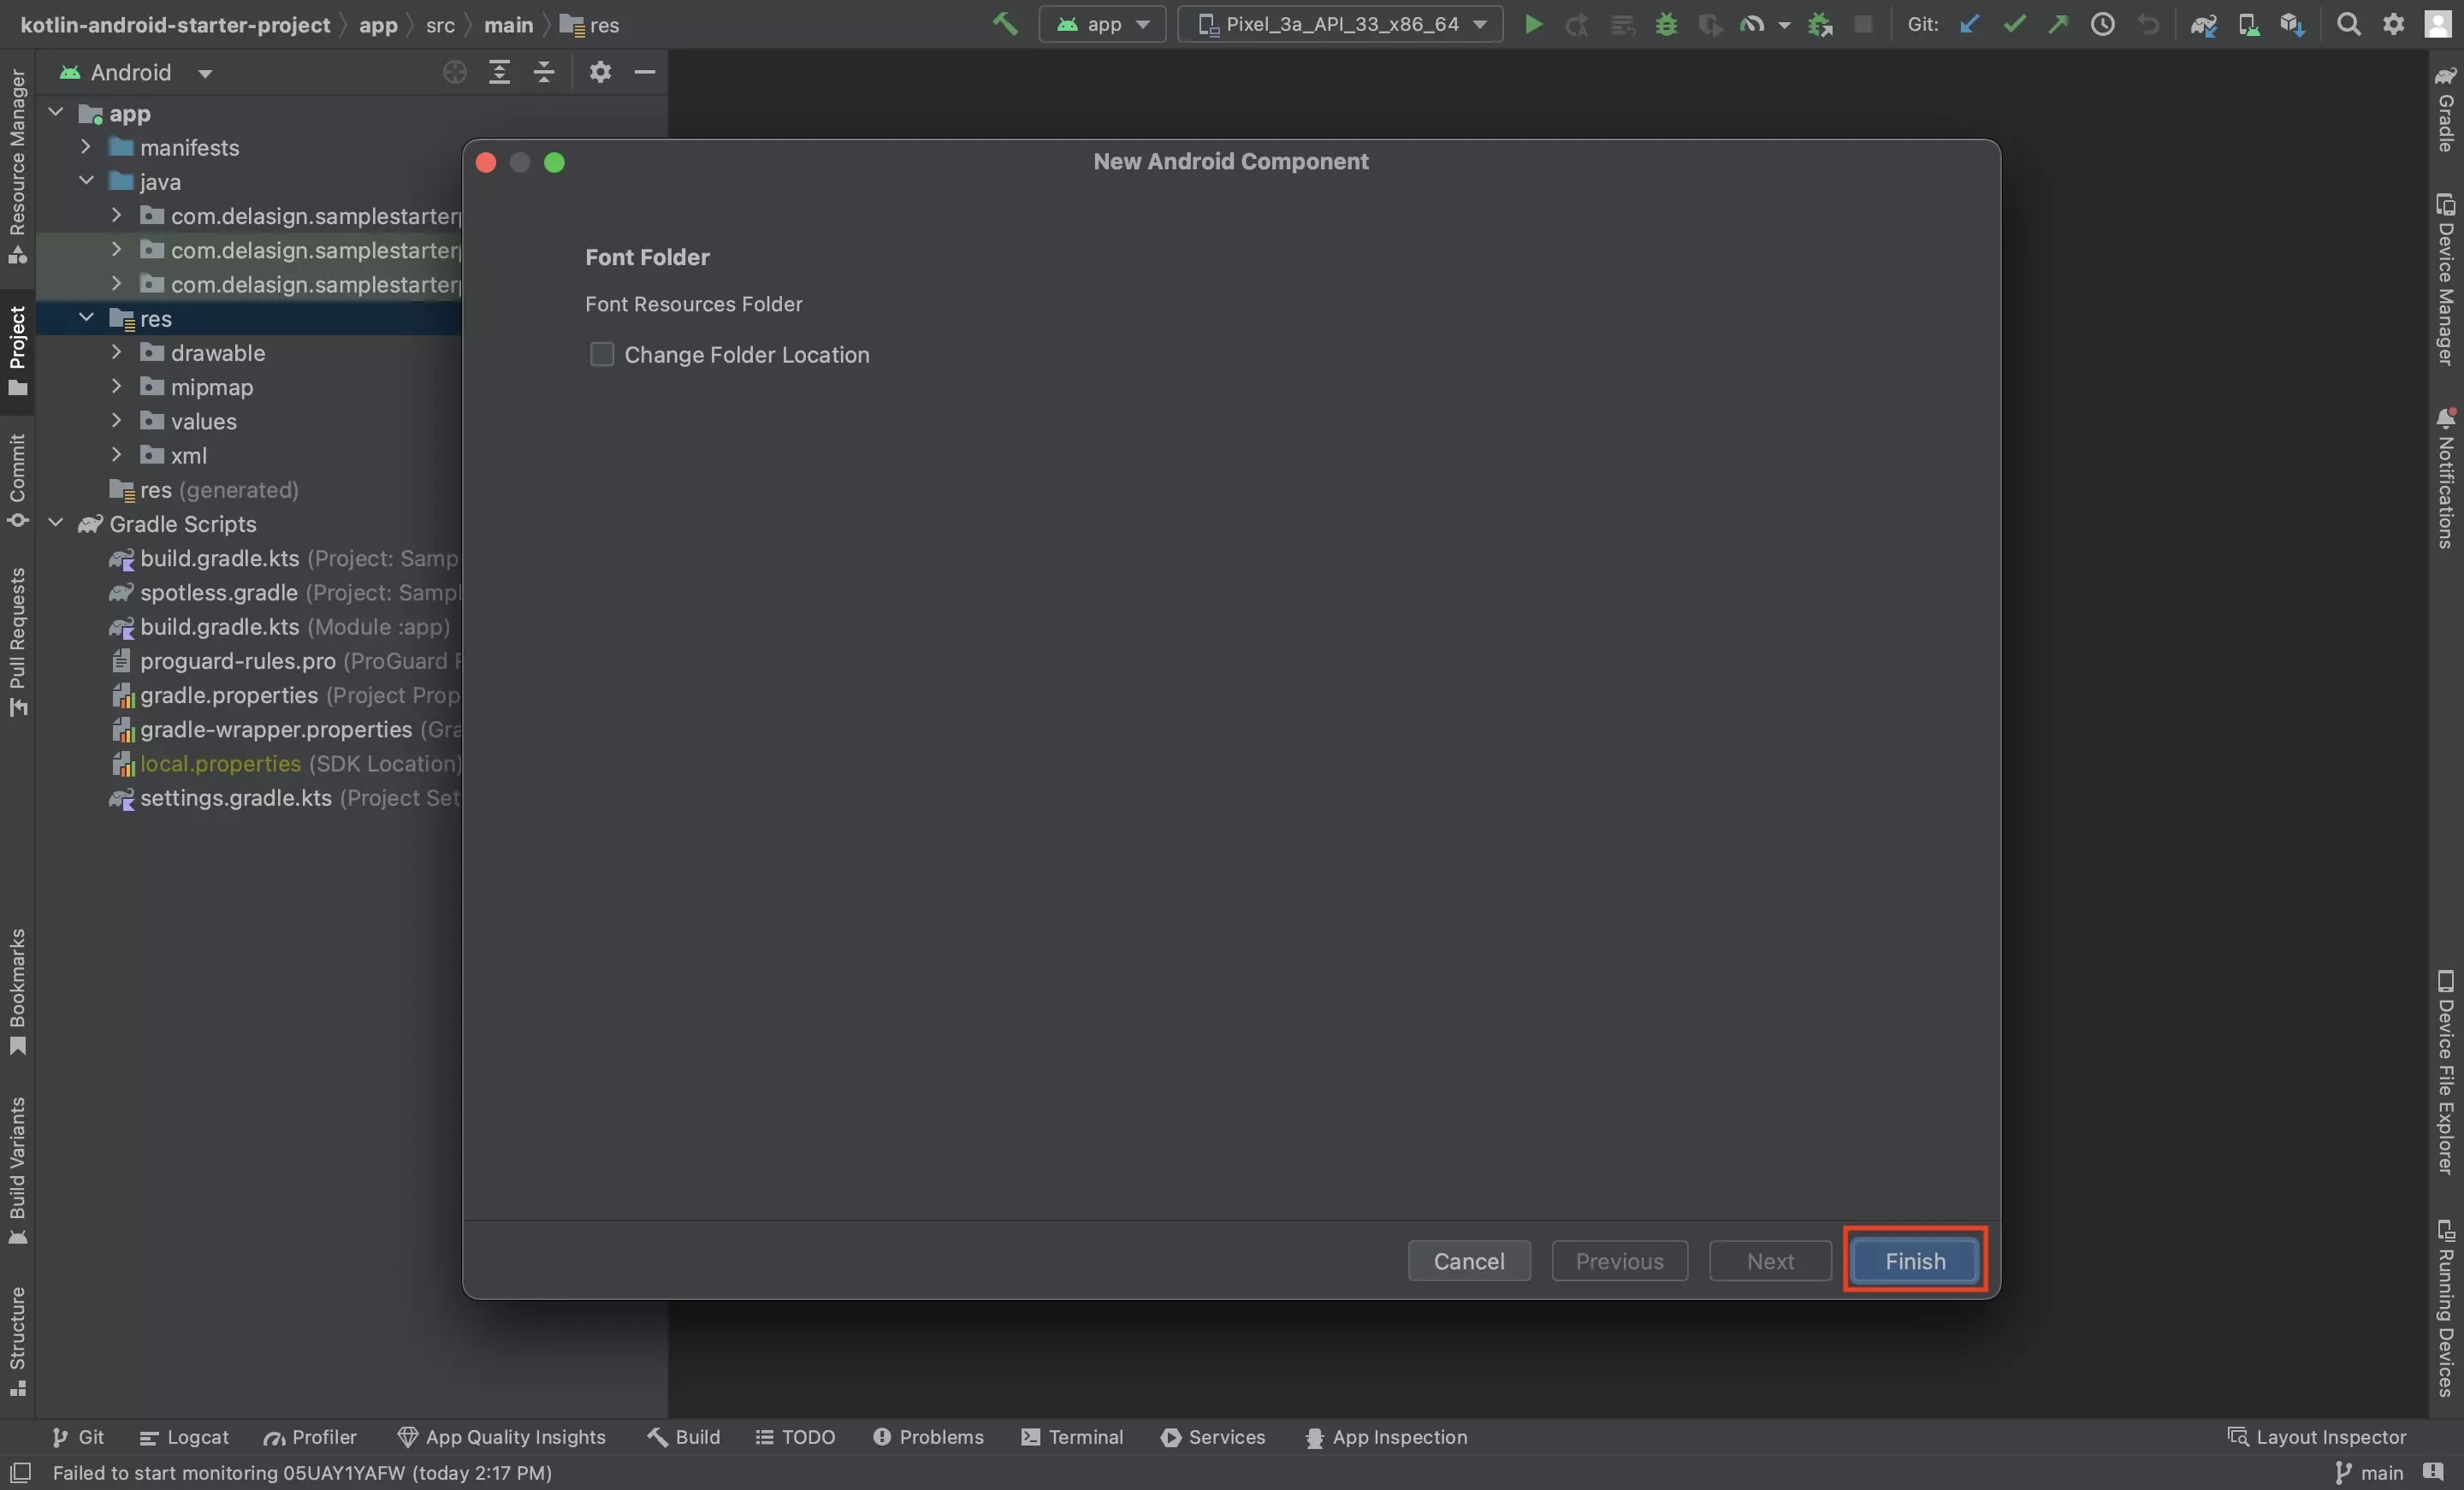
In the pop up that appears, select Finish.
Step Two: Add the Fonts
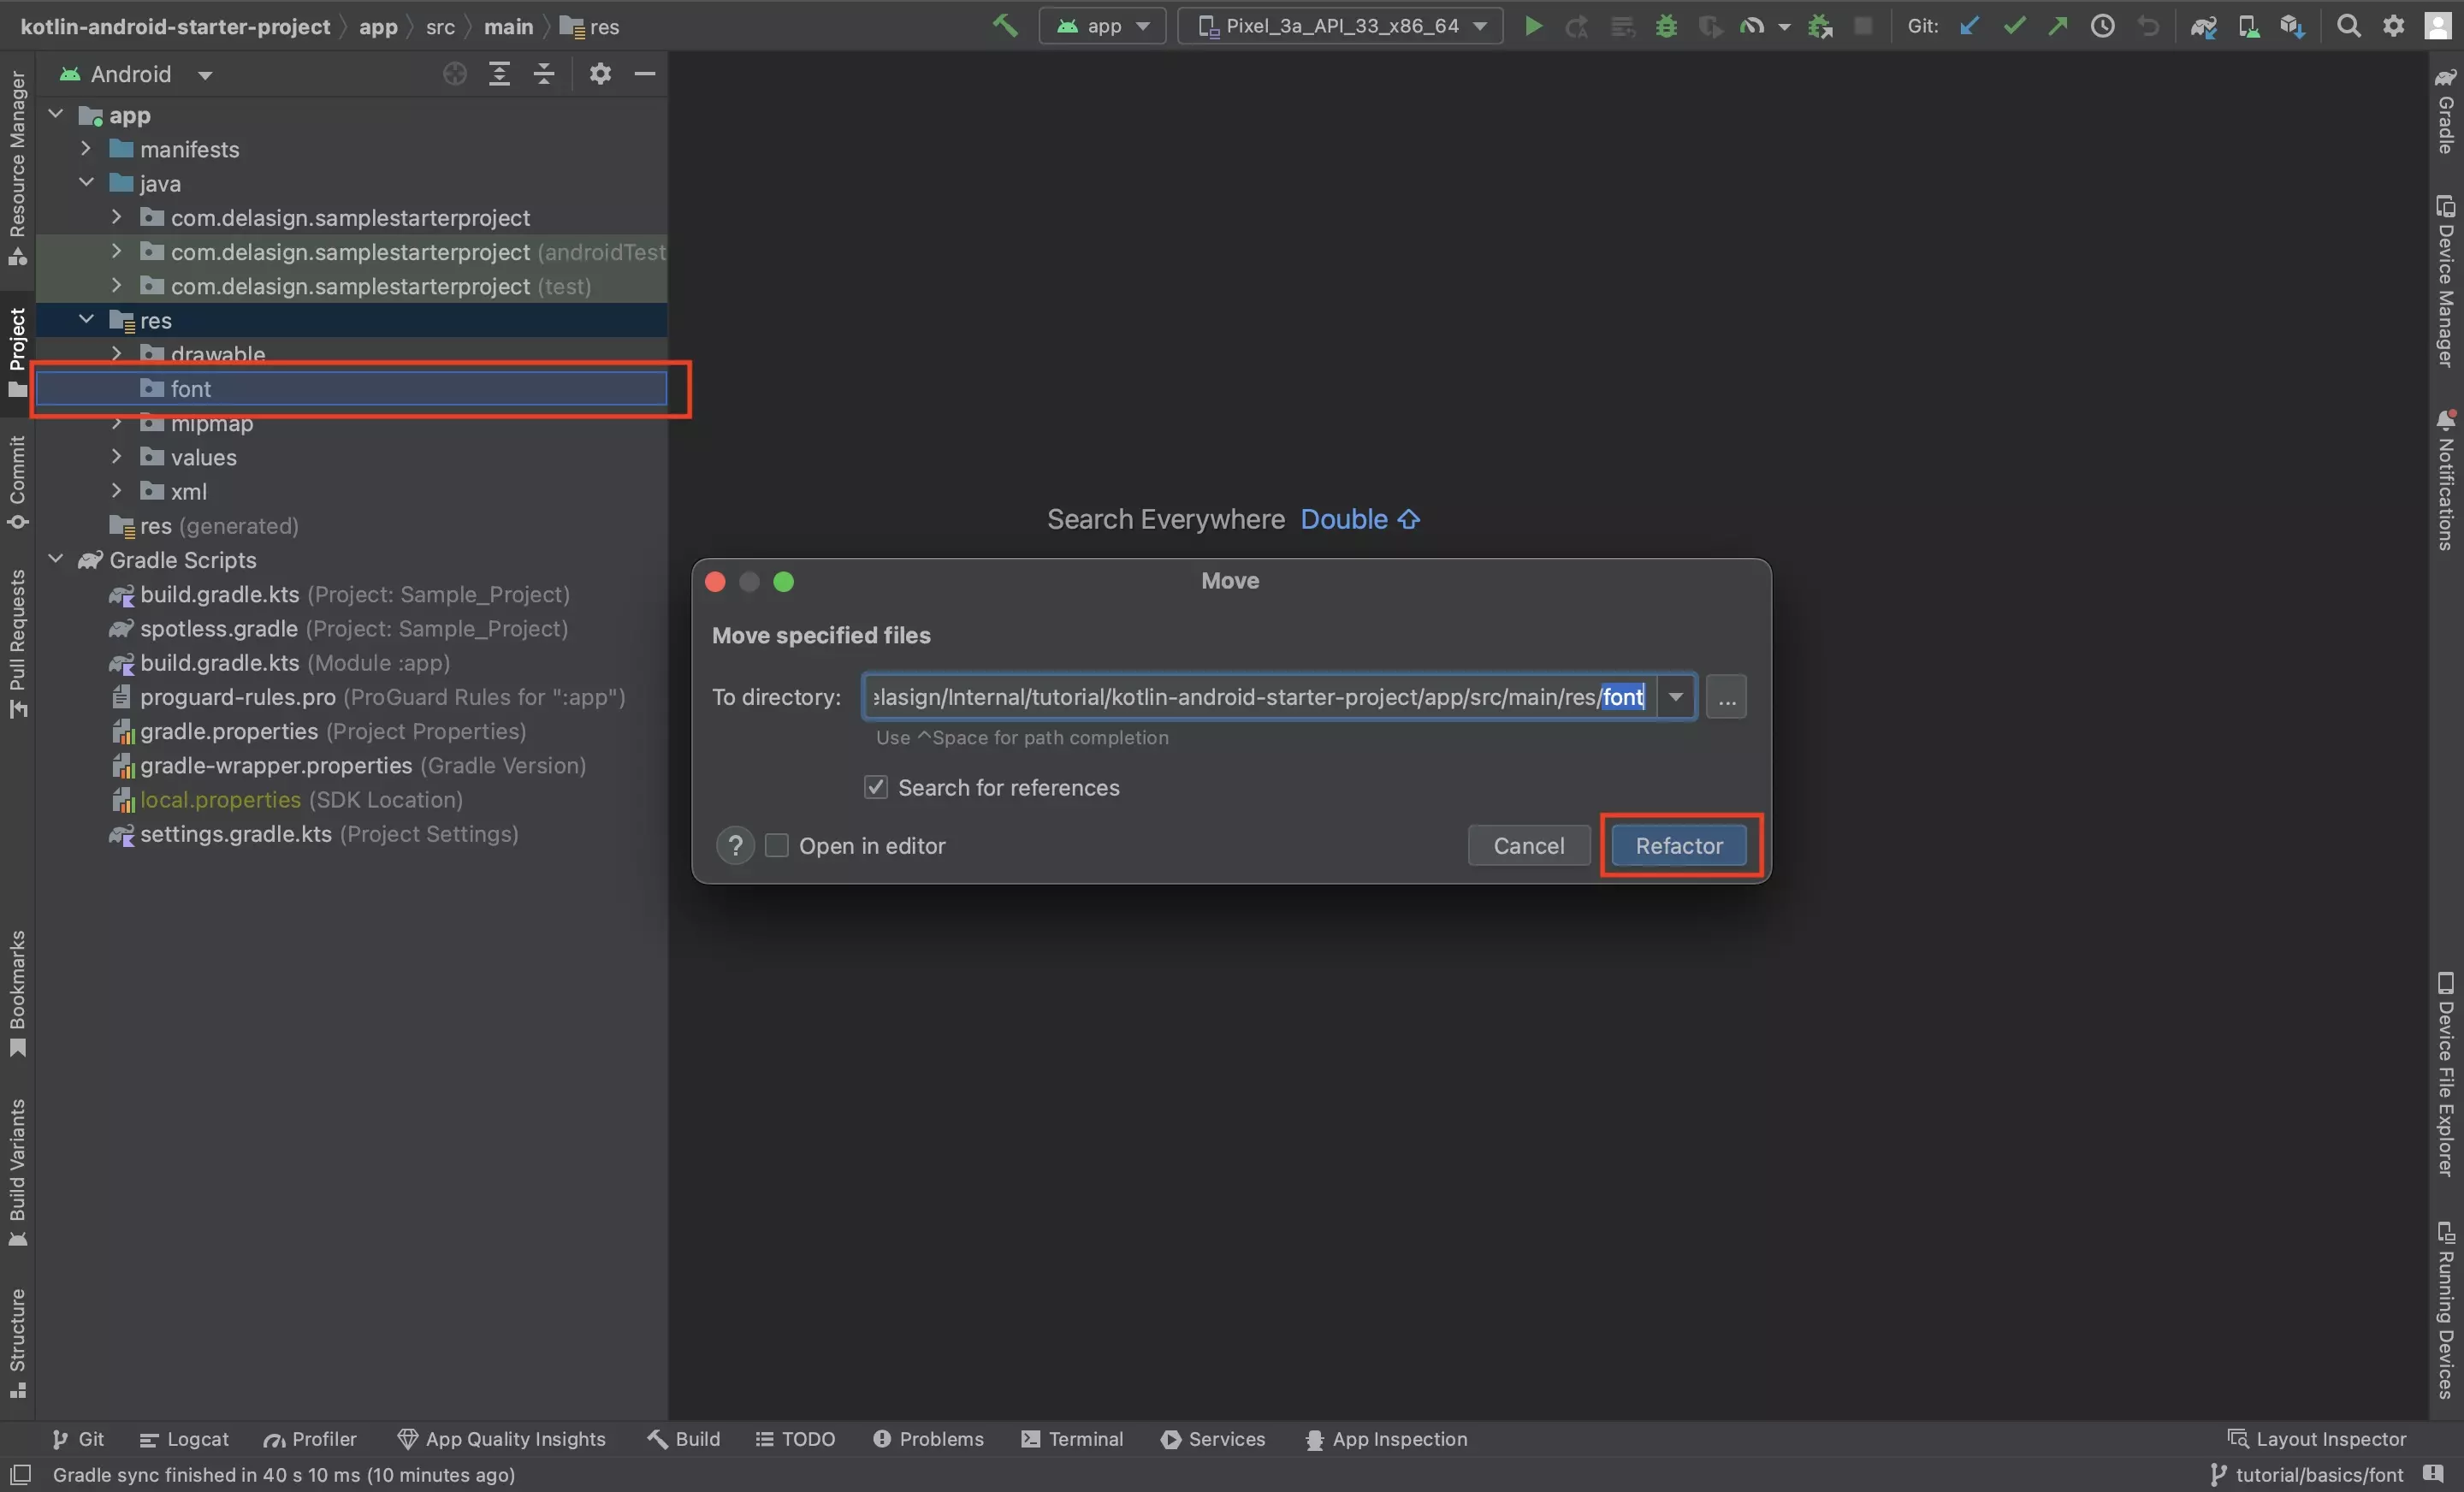
Drag and drop the fonts into the new fonts folder.
In the pop up that appears, click Refactor.
Step Three: Update the Font Names
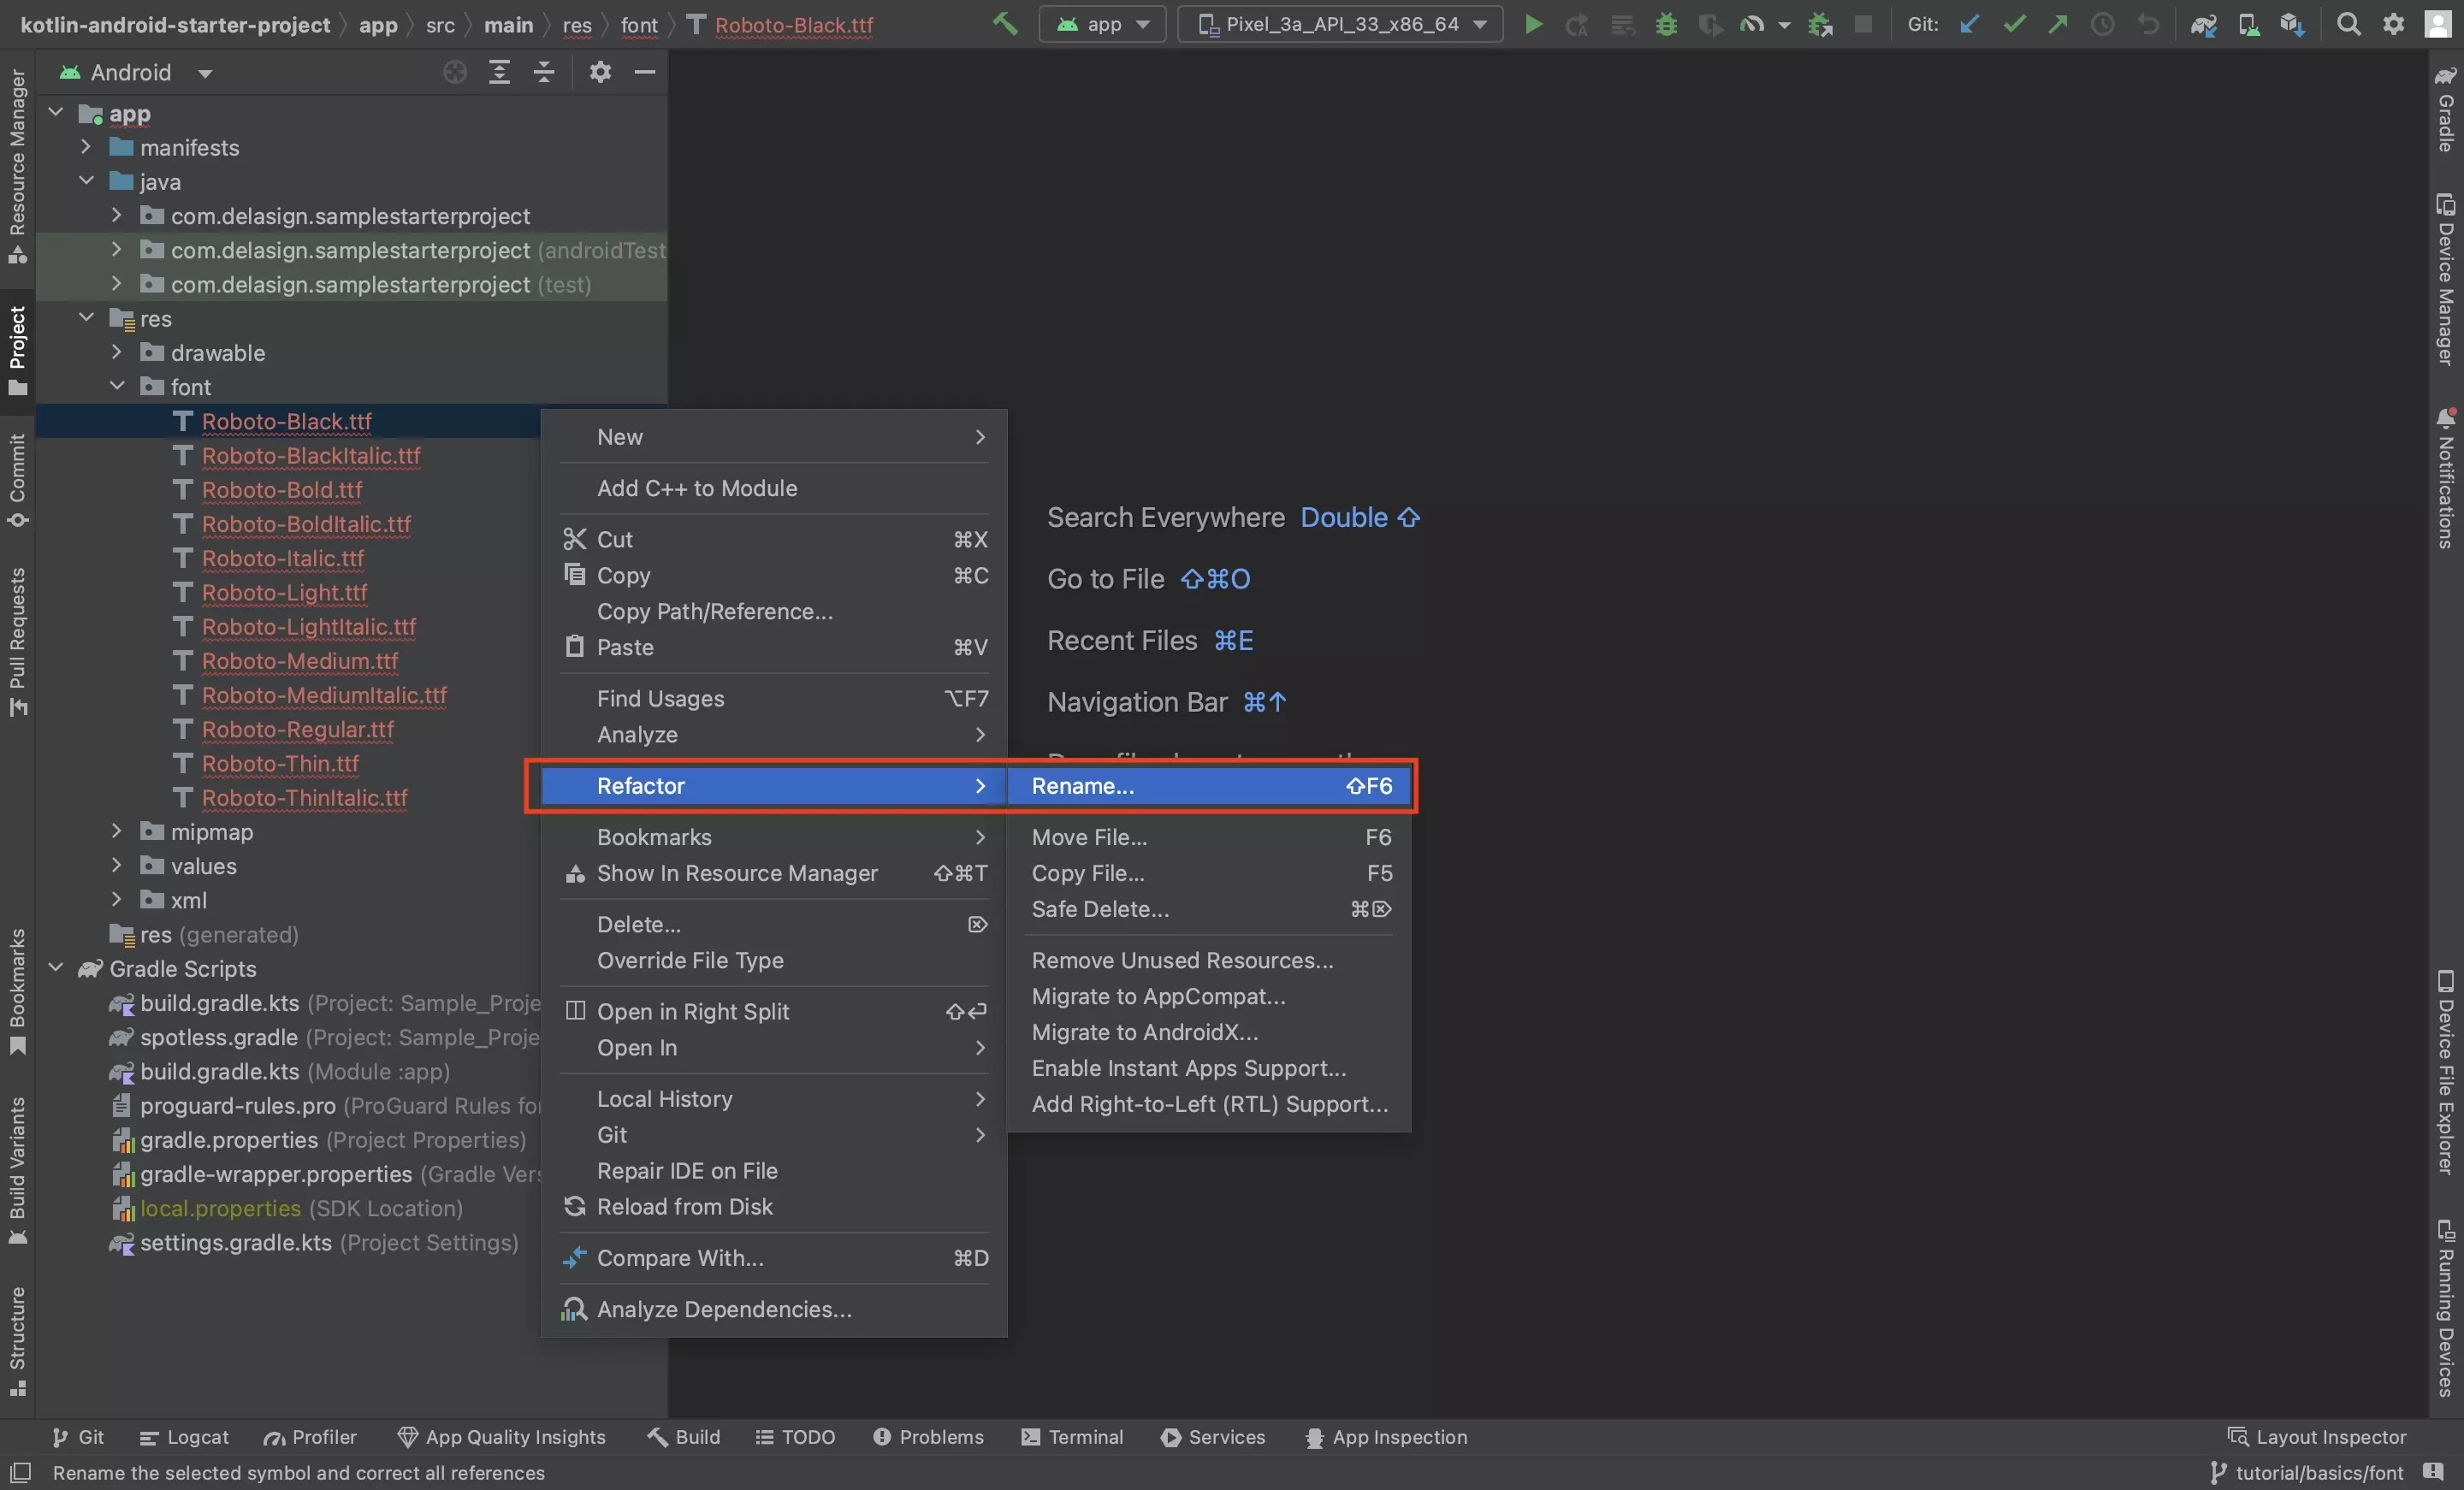
Rename the fonts to only allow for:
- lowercase characters
- underscores
This implies no capital letters, spaces or -.
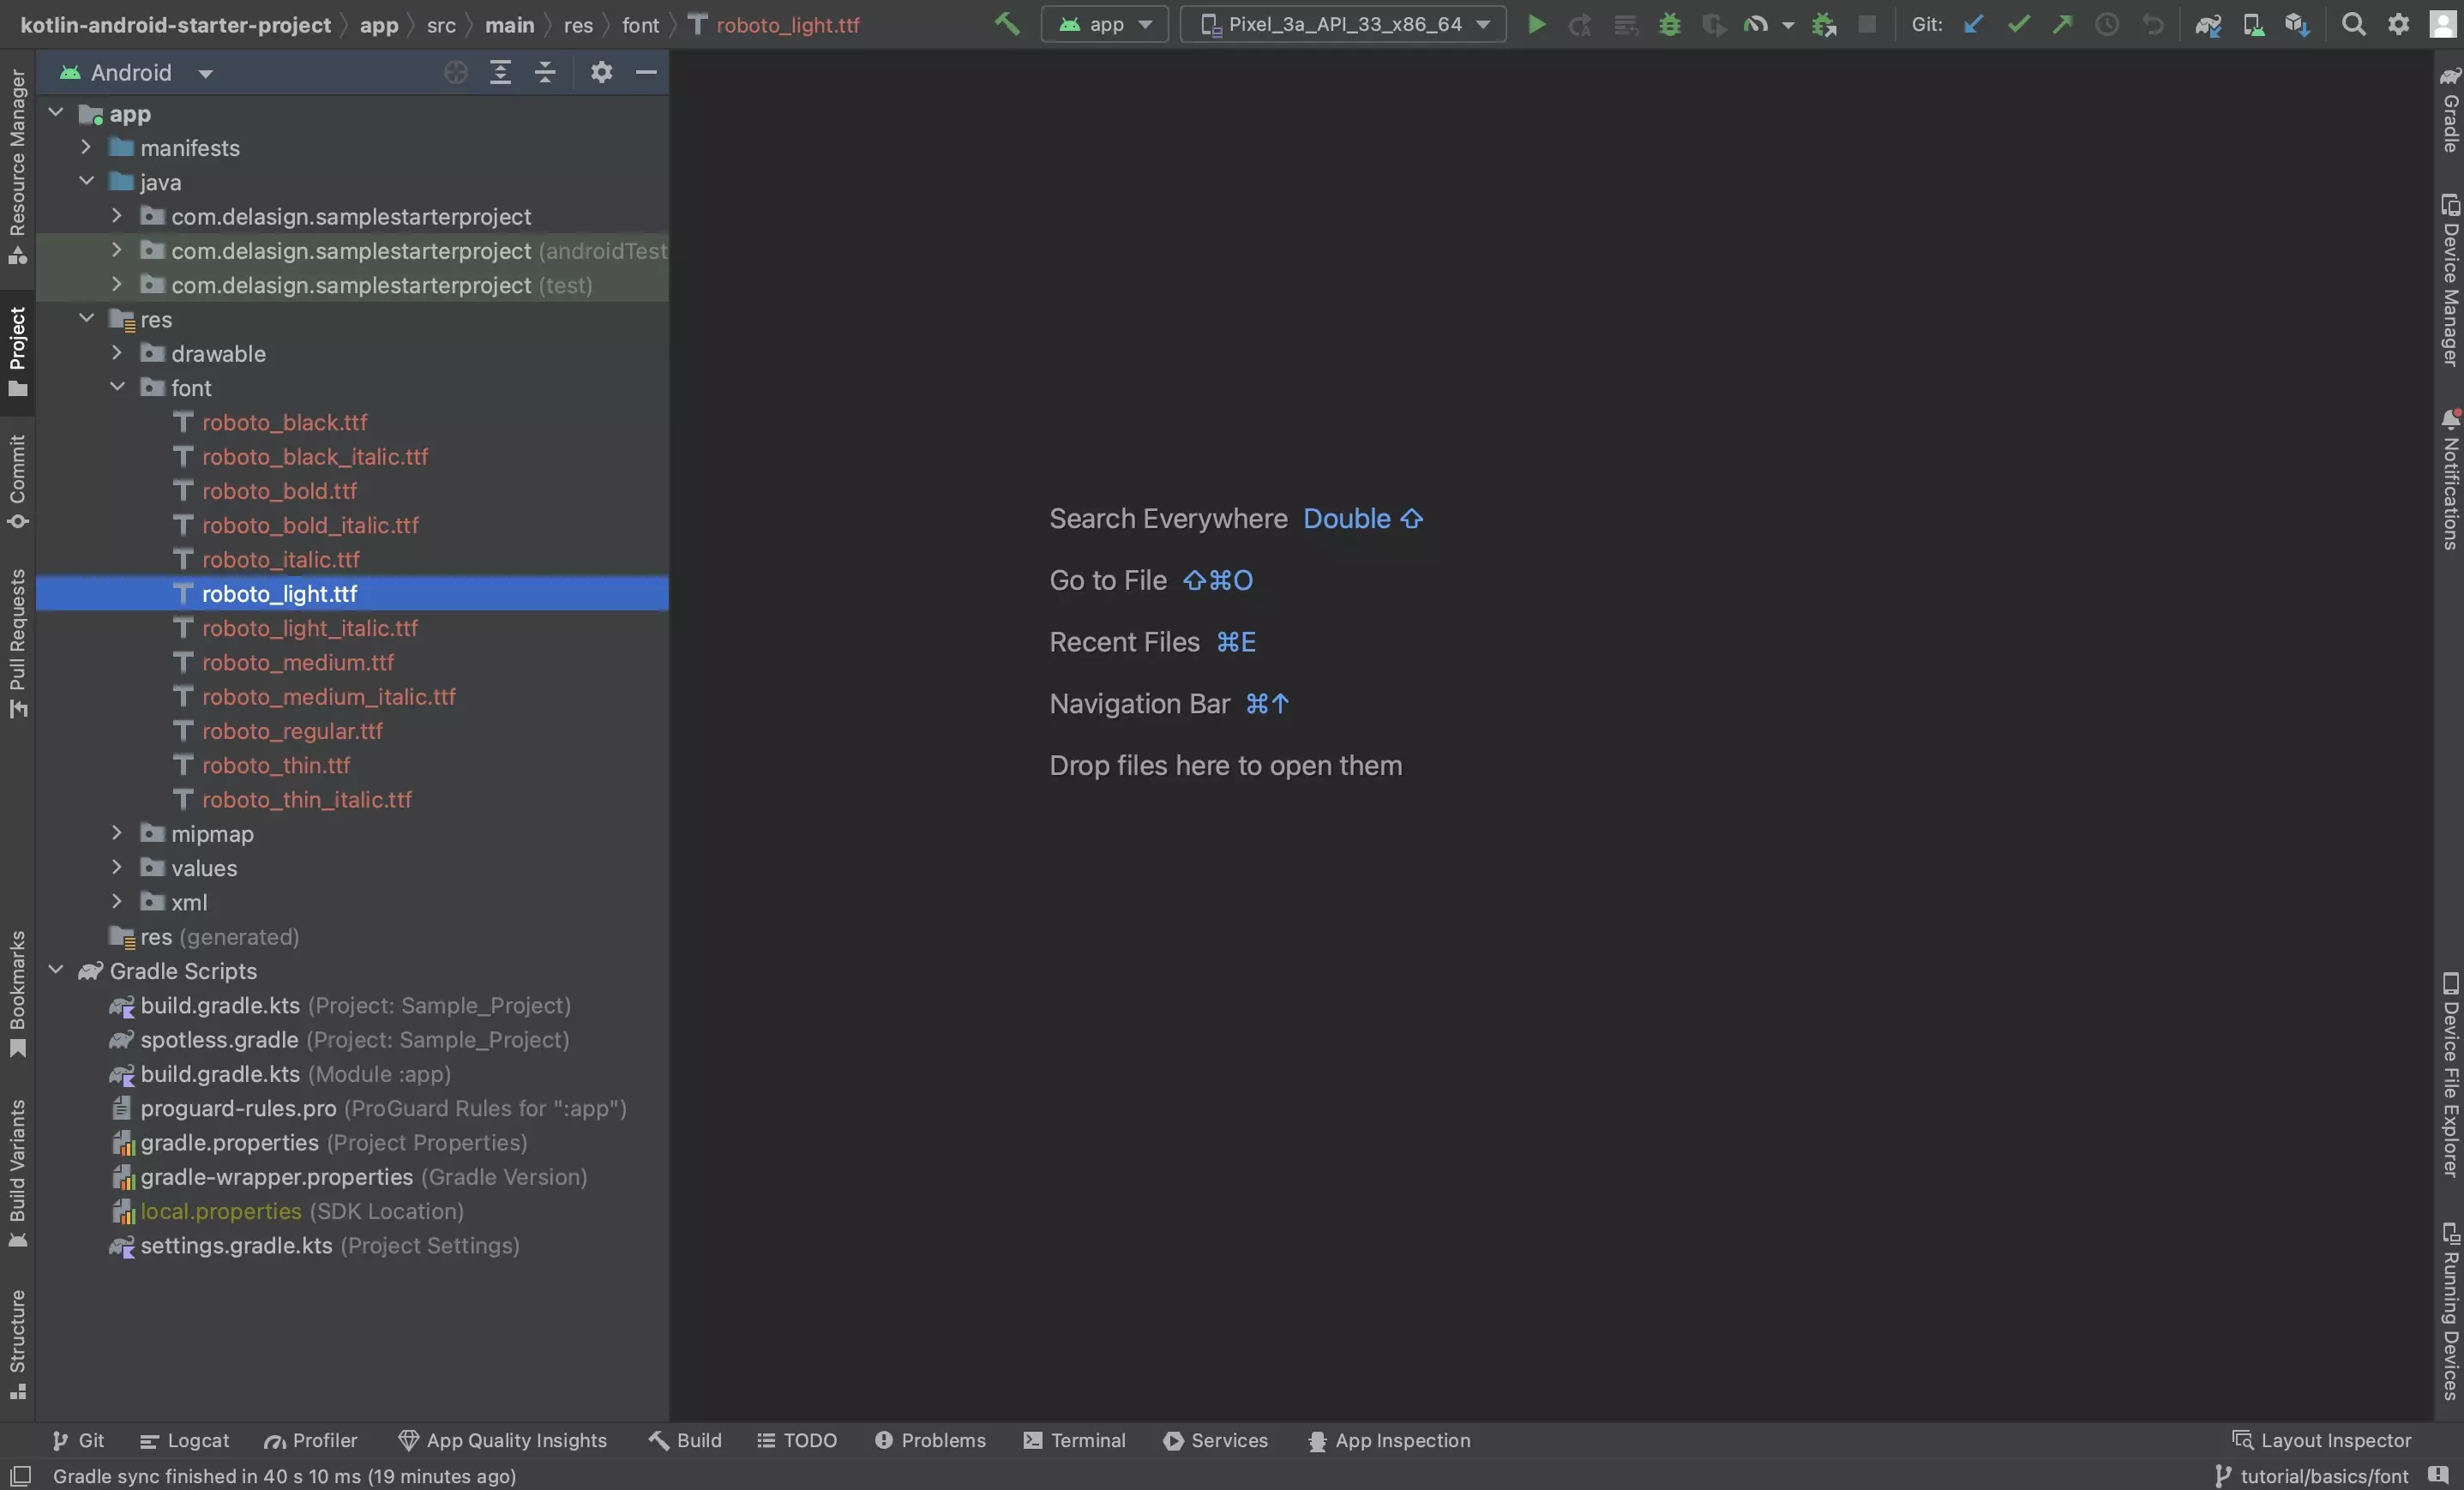
The fonts after being renamed.
Step Four: Create the Font Resource File
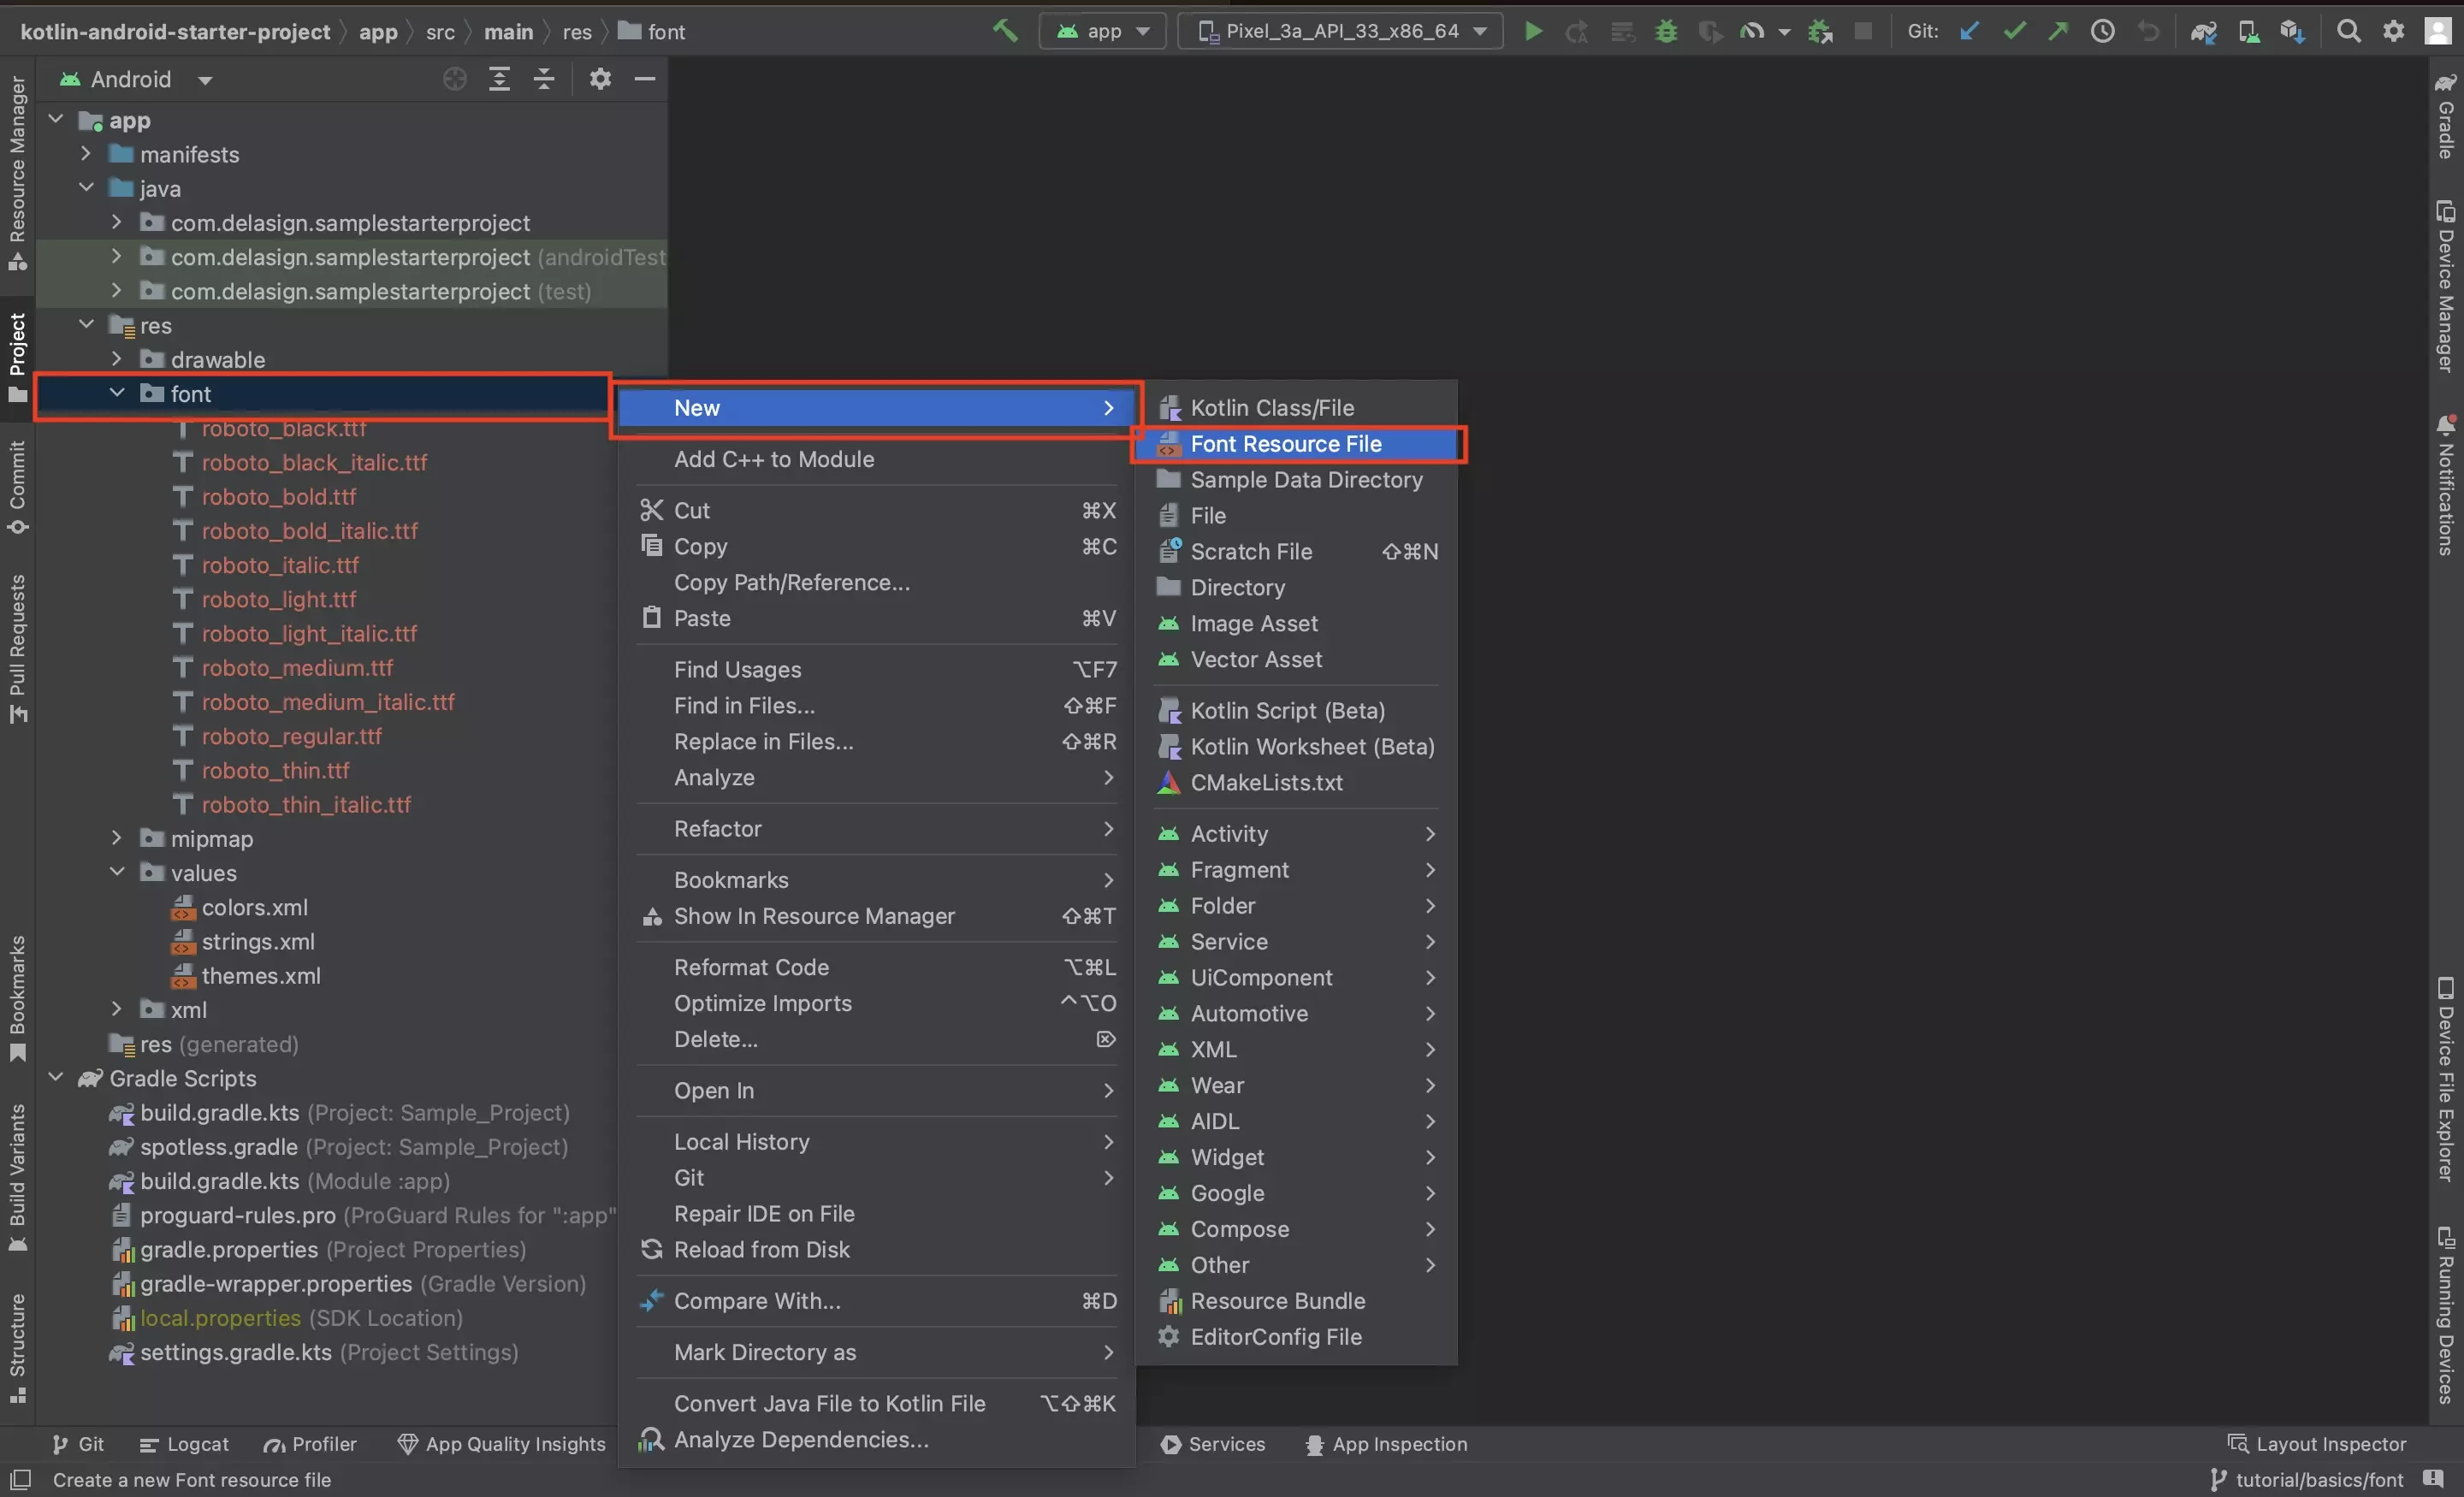
Right click on the font folder and create a Font Resource File (New > Font Resource File).
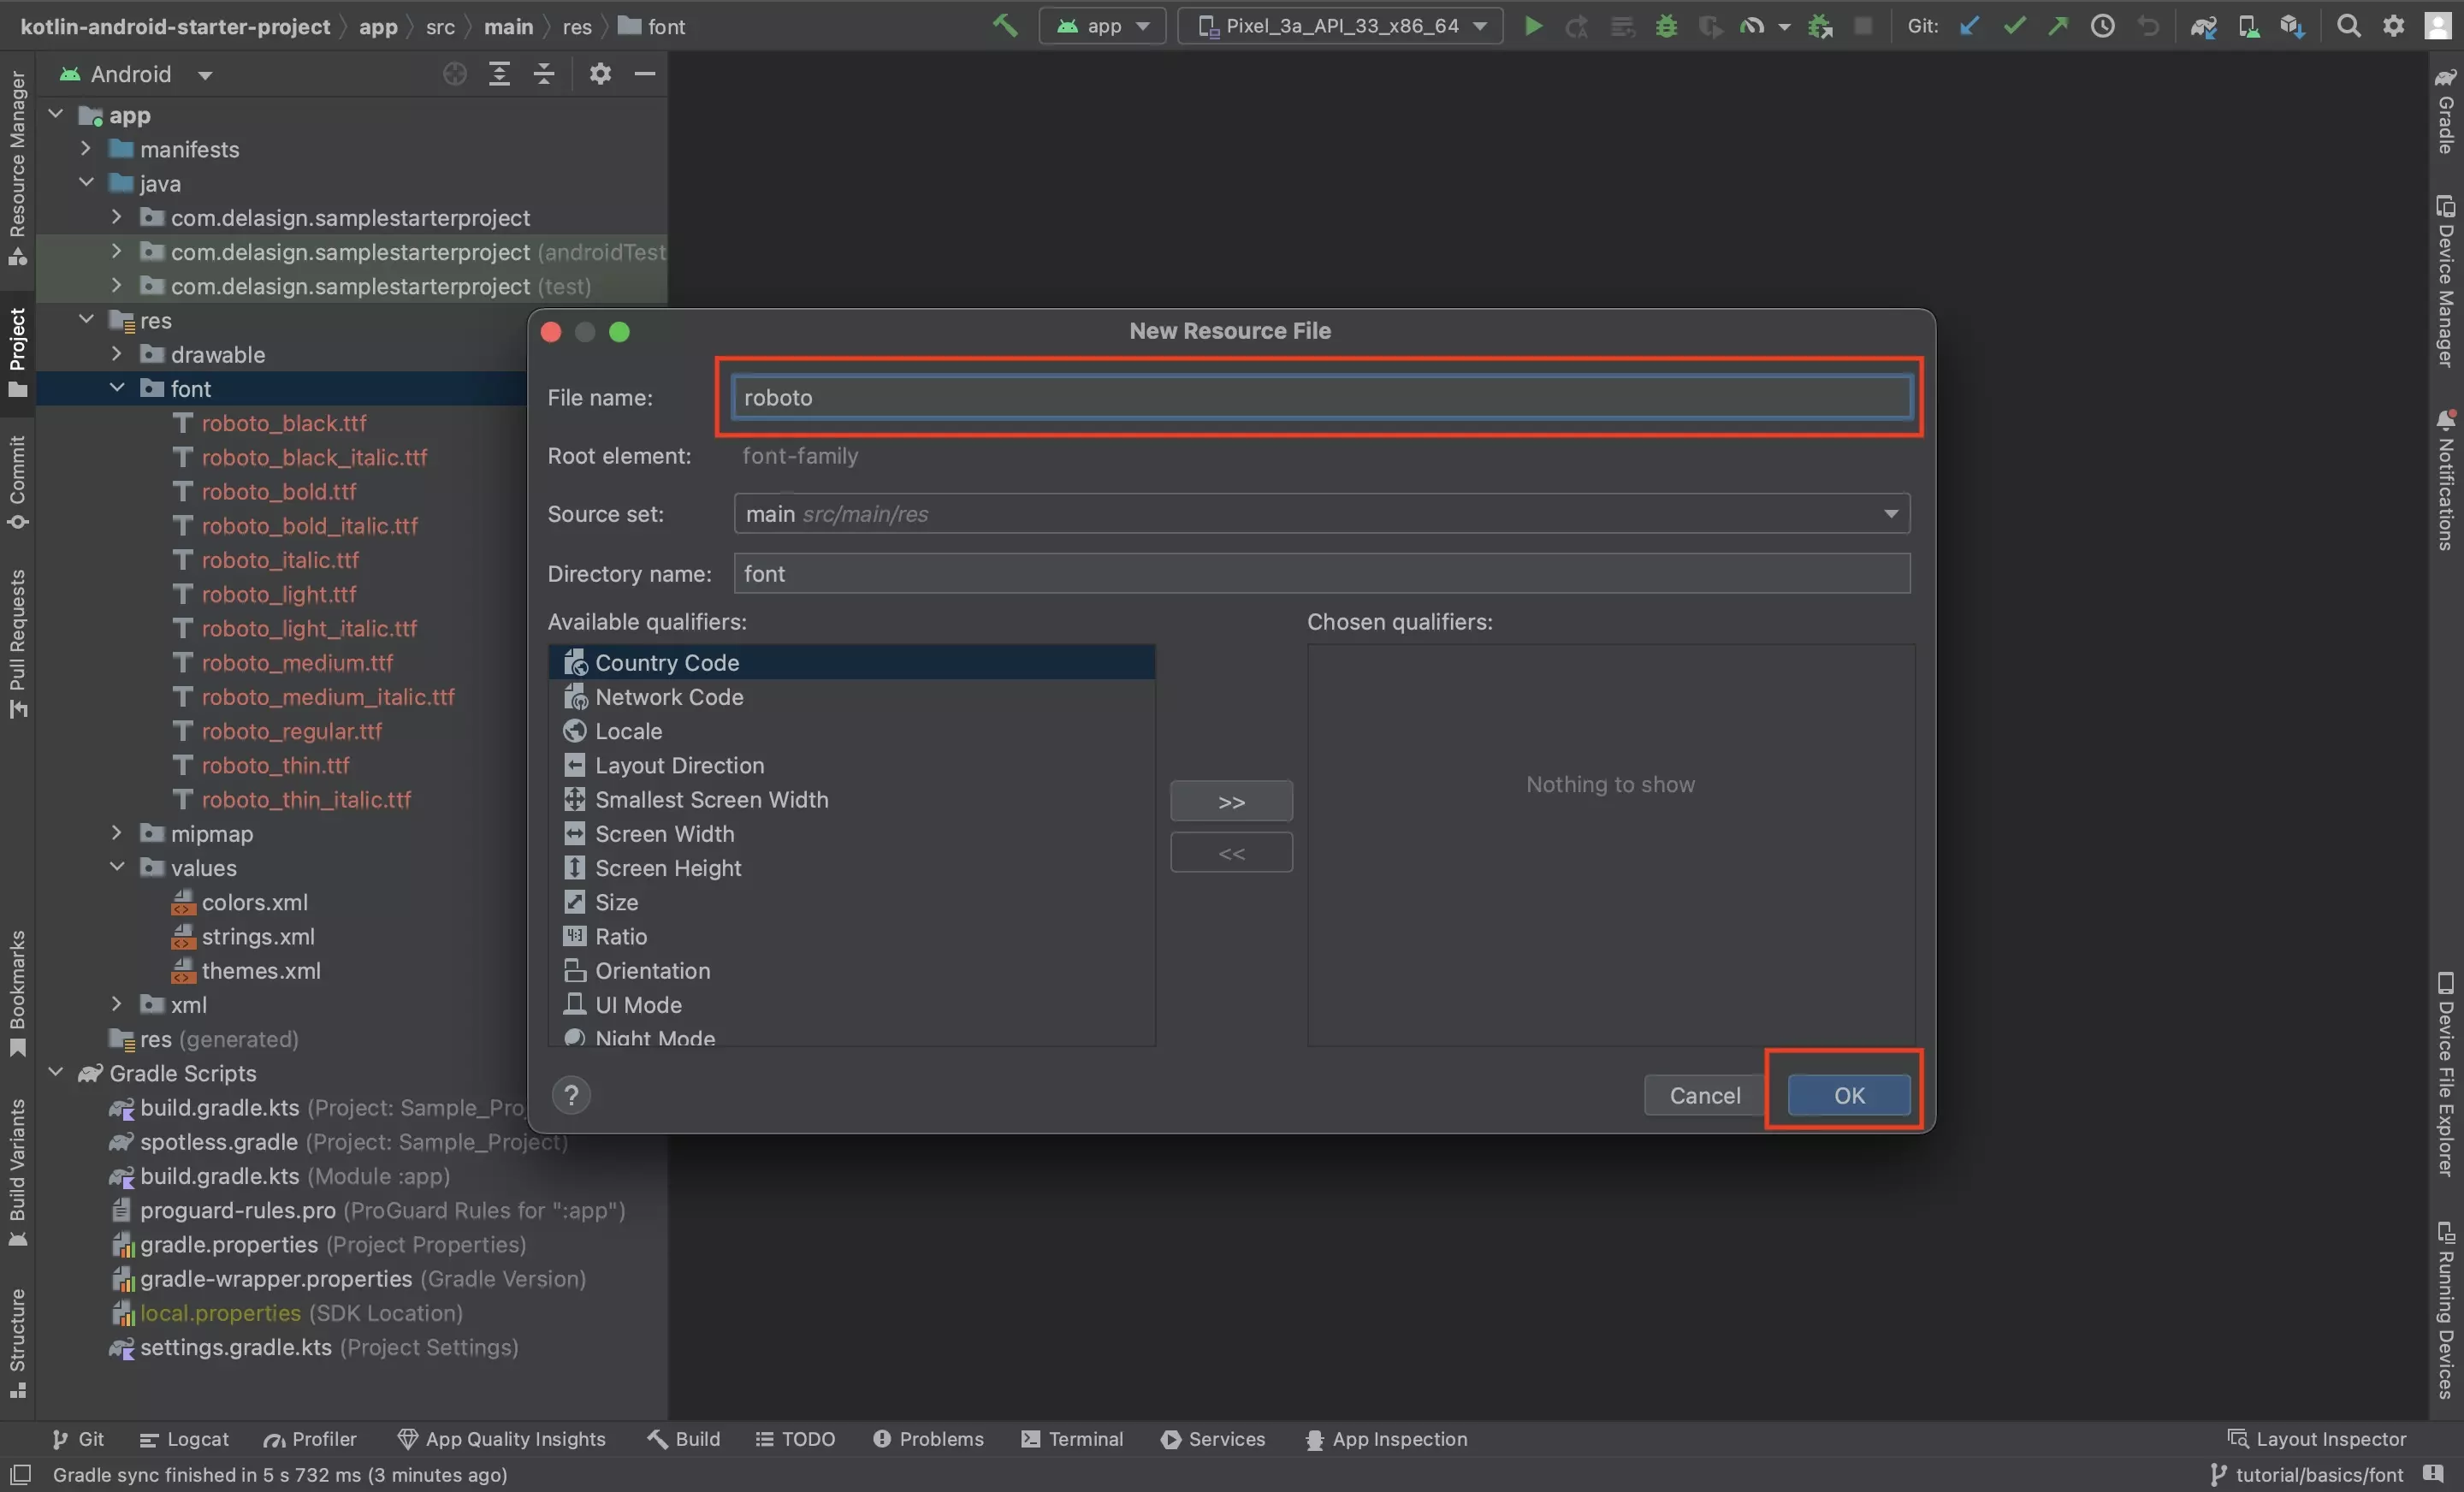
Name the Font Resource File after your Typeface and click OK.
Step Five: Add the Fonts to the XML
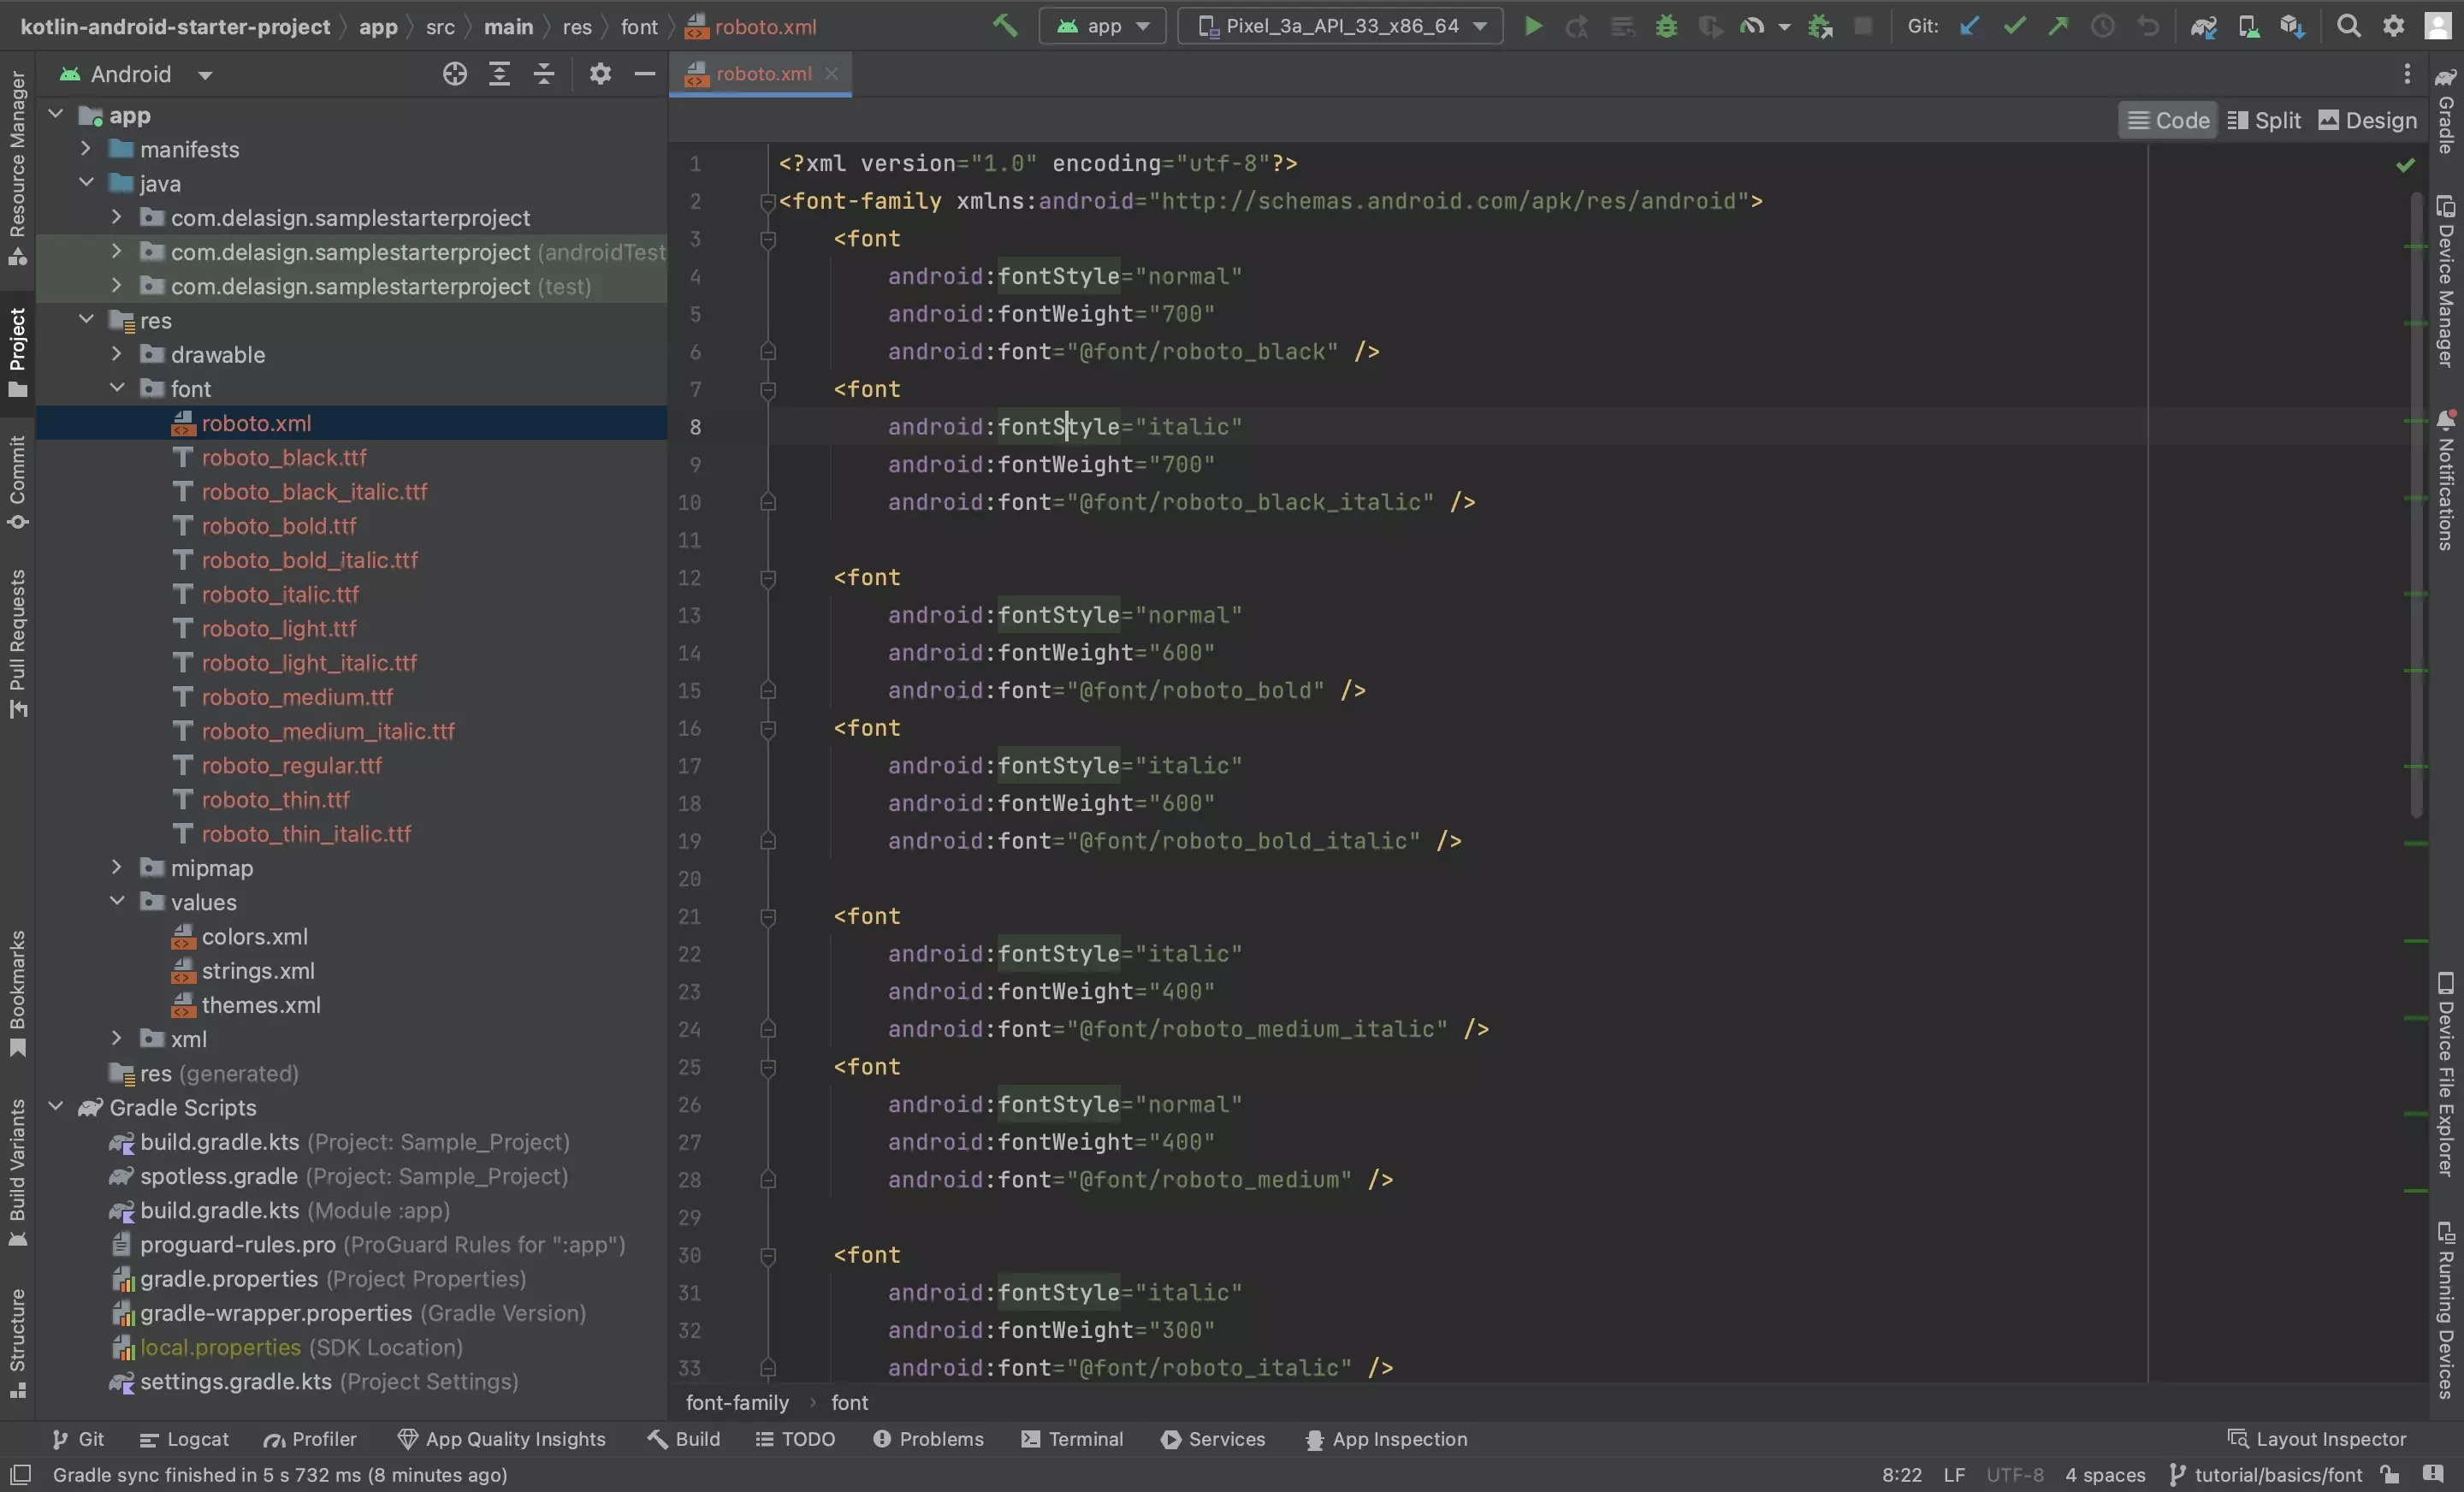
Add the fonts to the fonts.xml through code similar to the one below.
Please note that the fontStyle can only be normal or italic.
Step Six: Create the Font Family
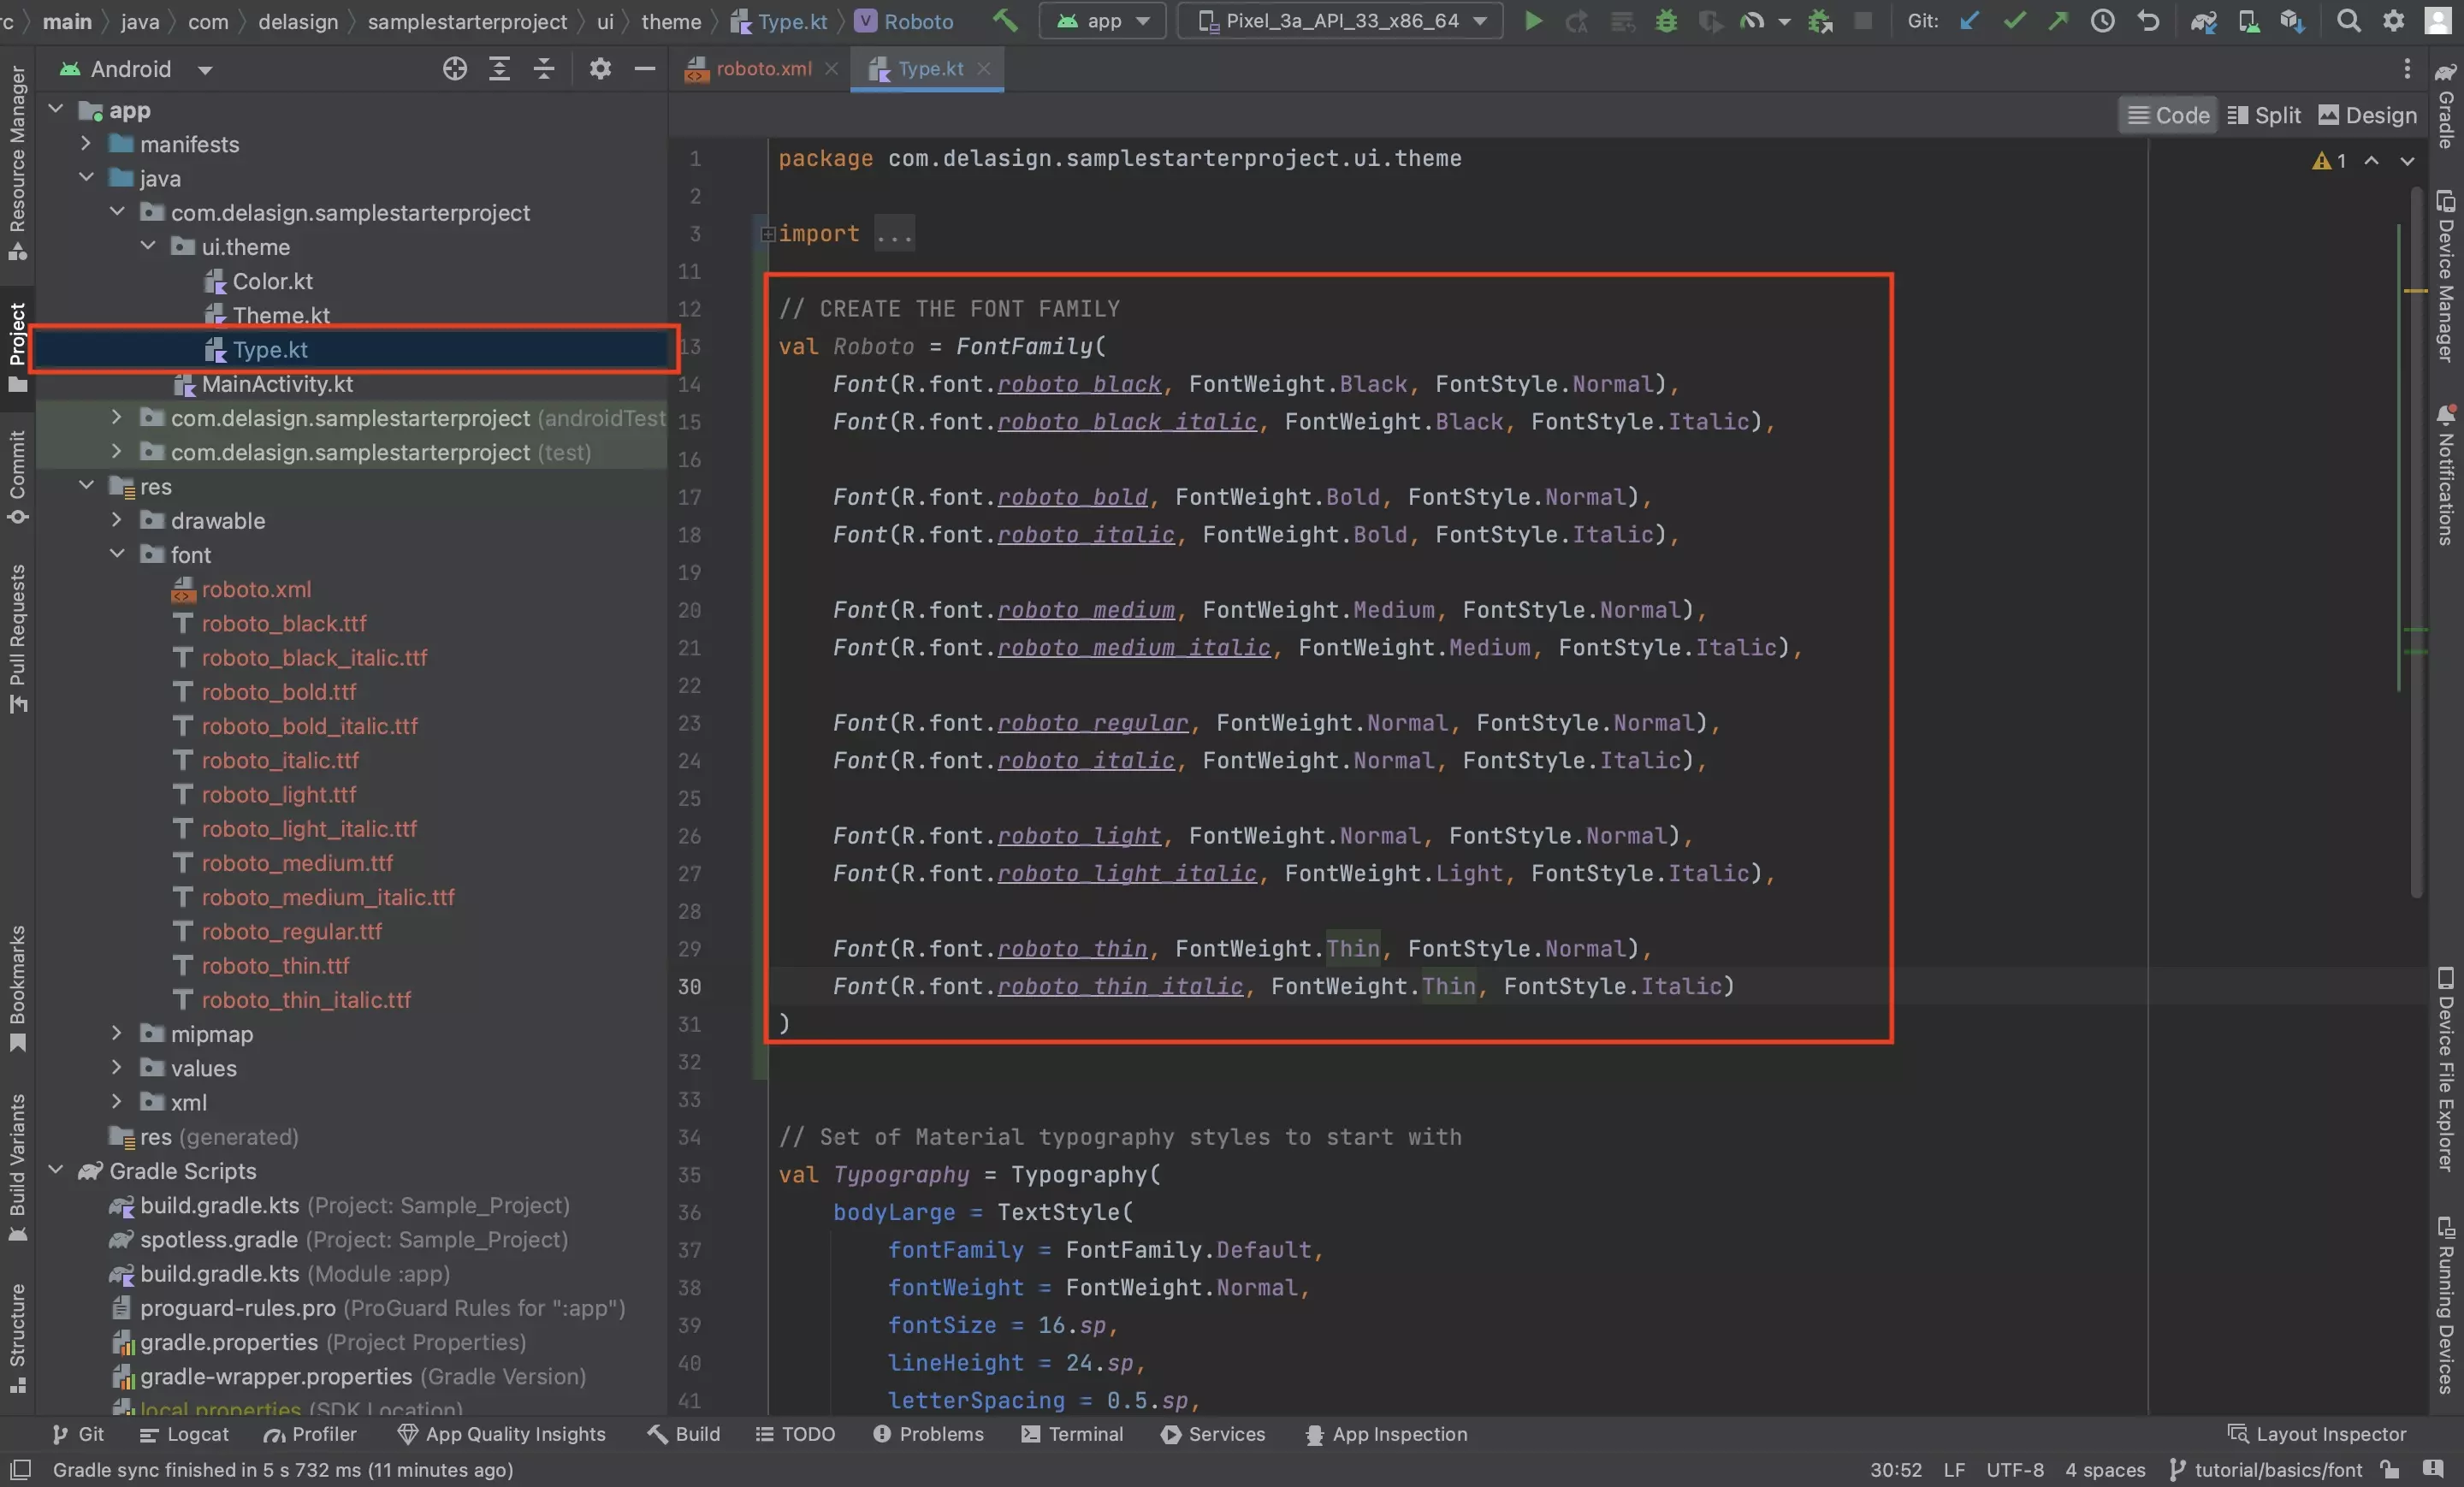
In the Type.kt file found in the ui.theme folder, create the FontFamily using code similar to the one below.
If you are using our open source project, please note that the theme folder is now found under the styleguide folder in our main branch as it forms part of the Styleguide.
Looking to apply the custom font to Text ?
Follow our guide linked below to learn how to use a custom typeface with Kotlin and Jetpack Compose.